With the final battle options for Week 3 we are almost done with the first round of the Market Garden Global Campaign!
The Allies had another strong turn, pushing up the flanks on Weert Road and Turnhout Bridge. Repeated assaults on the airfield failed but the post-battle rolls were deadly.
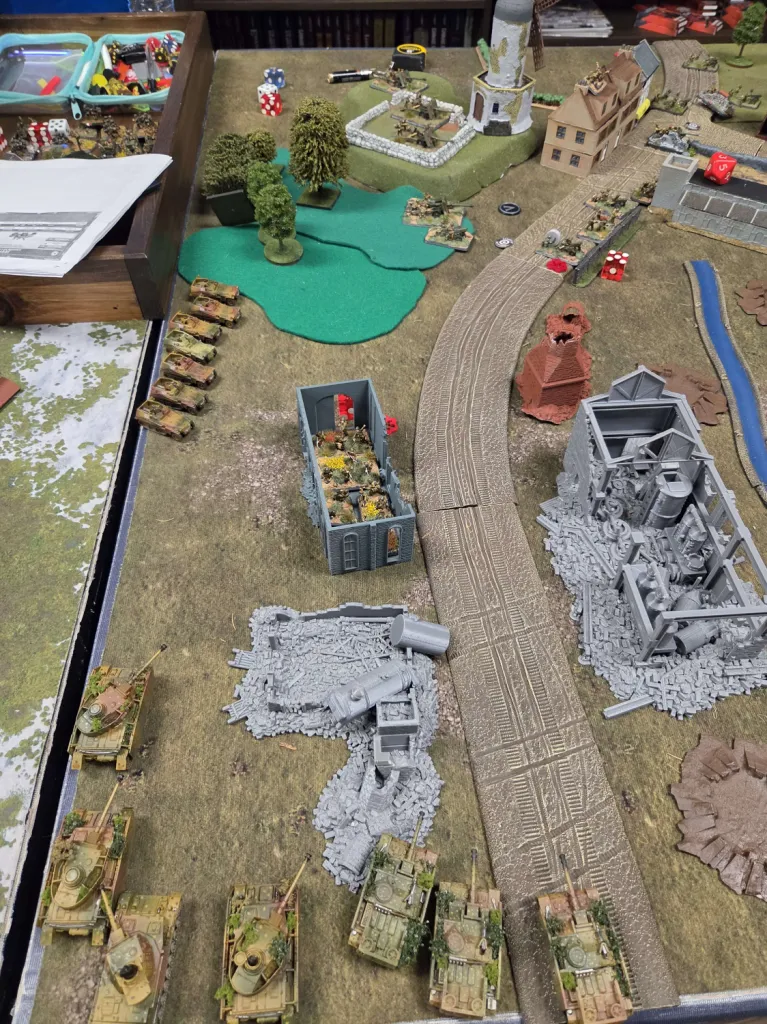
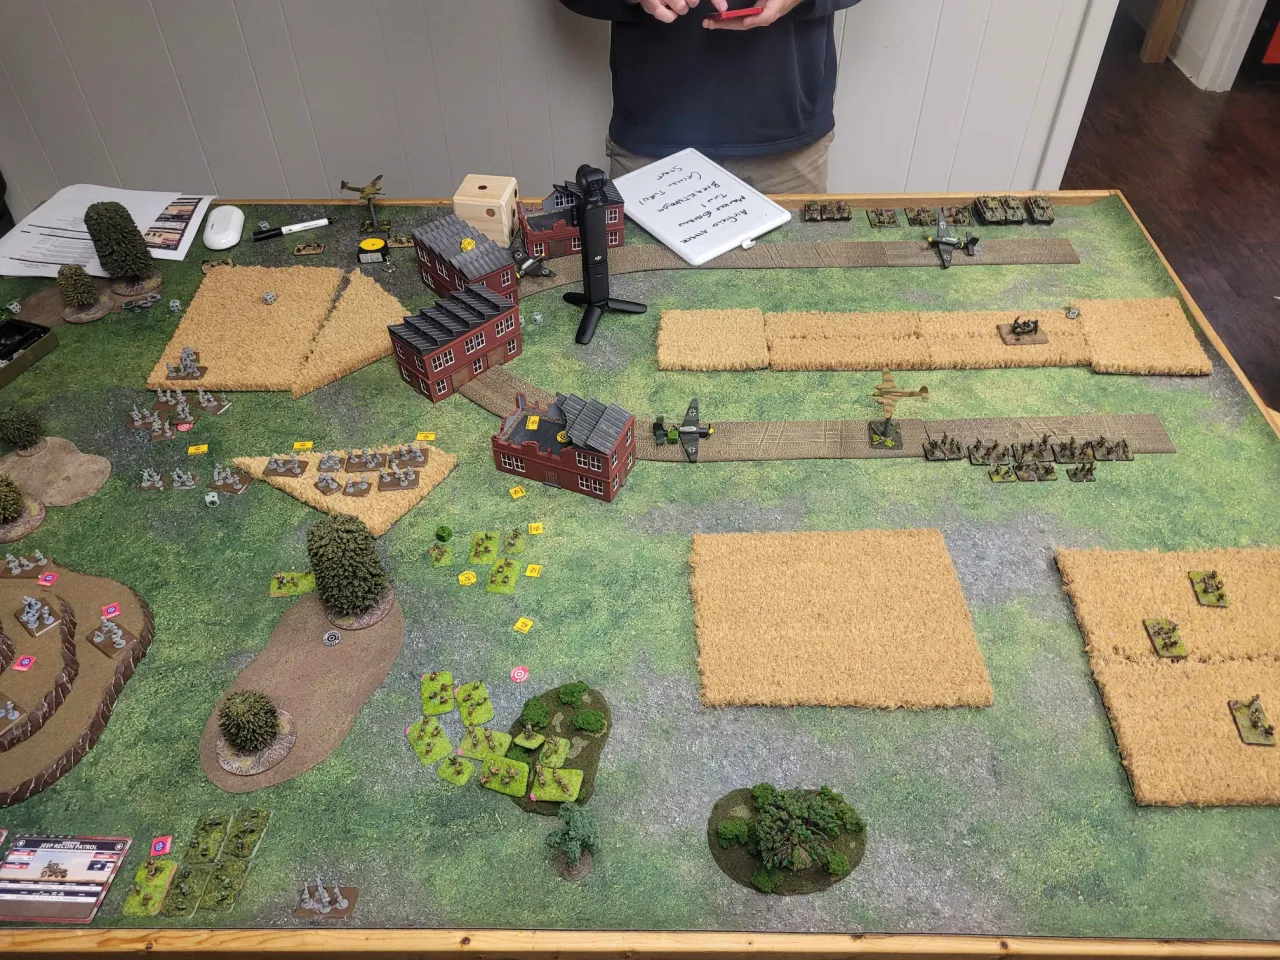
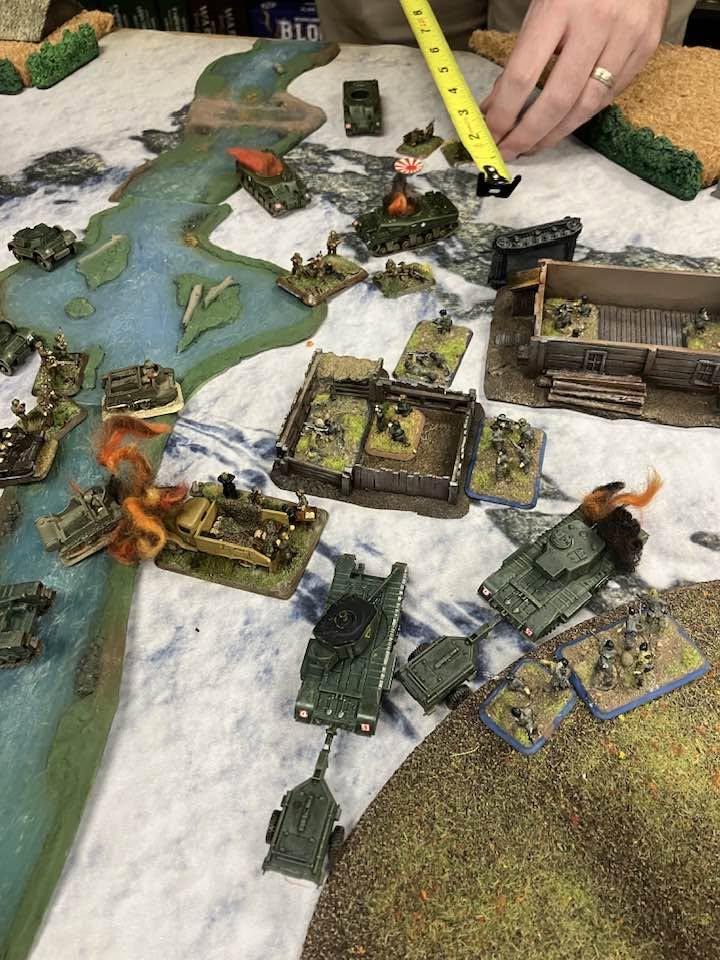
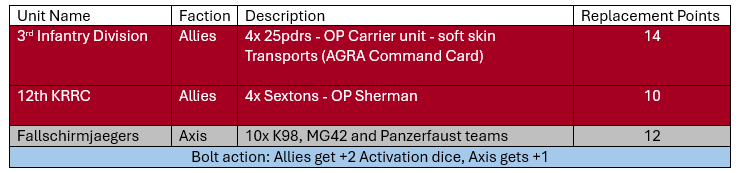
3 Firestorm units were destroyed! The allies lost a Sexton unit and the Axis lost their FW 190s and the 59th Infantry Division. Here is this week’s Map and planned attacks:
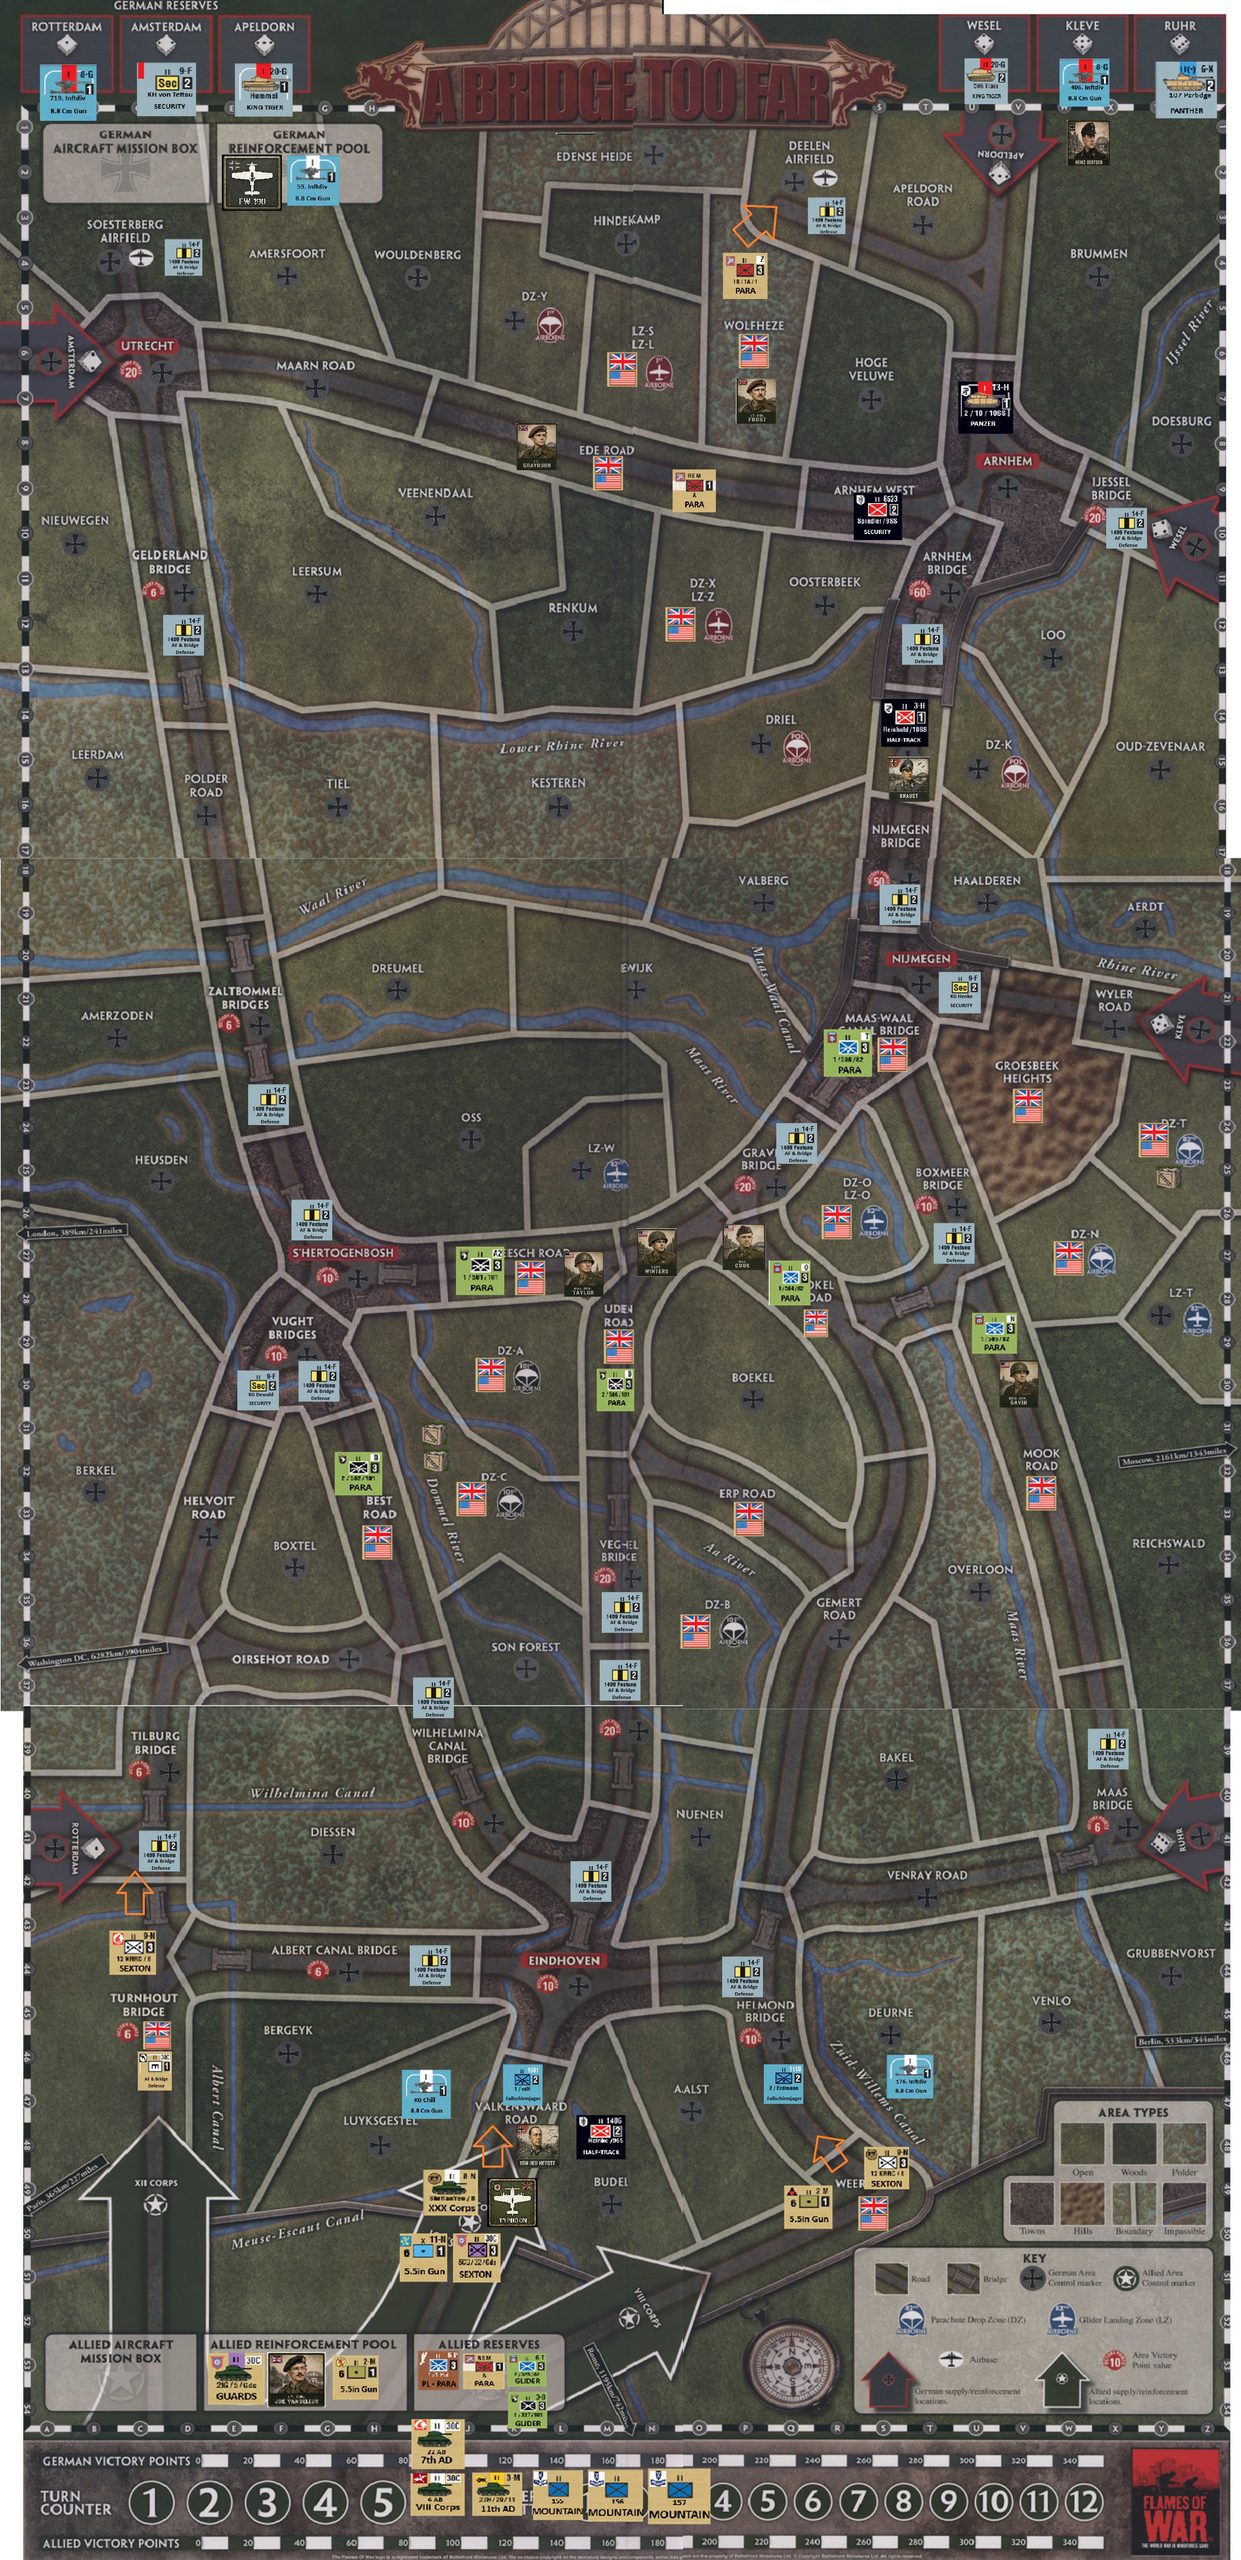
You can read more about how the campaign functions, mission rules and recommended army lists in the link below. You can also follow the previous set of battles here.
For the next week (until midnight on Sunday October 11th) you can log a game here and have it impact the overall campaign.
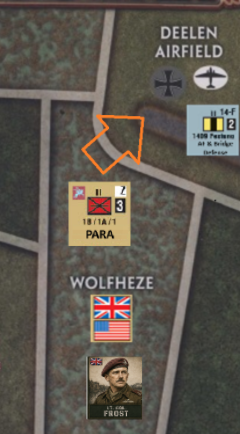
1.3.1 — DEELEN AIRFIELD
1ST AIRBORNE DIVISION
OPERATION ORDER – IMMEDIATE
To: Elements, 1st Airlanding Company
Subject: Seizure of Deelen Airfield
SITUATION: Enemy resistance around Deelen appears scattered, consisting principally of airfield security troops, rear-area personnel, and hastily assembled detachments. Reinforcements may arrive rapidly once our movement is detected.
MISSION: Lt. Col. Frost will press the attack and secure Deelen Airfield before the enemy can organise a stronger defence.
EXECUTION: Advance rapidly through the outer positions and seize the landing ground, hangars, and principal approaches. Bypass isolated resistance where practicable. Particular attention is to be given to preventing destruction of airfield facilities.
Speed is essential. The enemy must not be allowed time to consolidate.
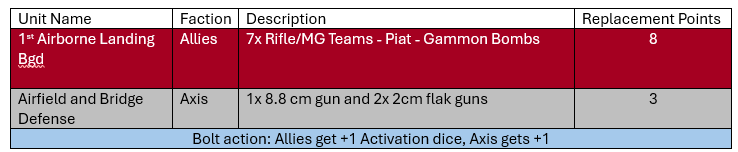
1.3.2 TILBURG BRIDGE
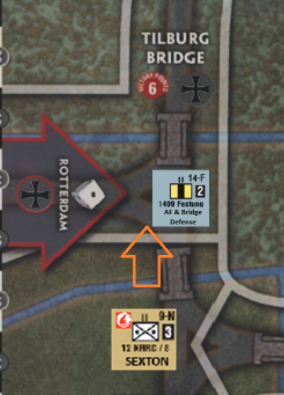
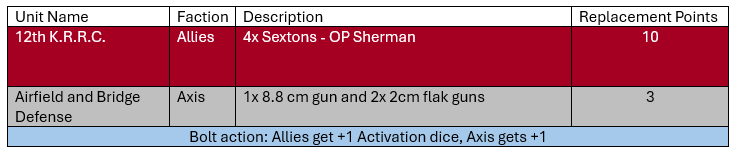
12TH (MOTORISED) BATTALION, KING’S ROYAL RIFLE CORPS
OPERATION ORDER – PRIORITY
To: Forward Companies, 12th K.R.R.C.
Subject: Seizure of Tilburg Bridge
SITUATION: Tilburg Bridge is believed held by bridge guards, security troops, and miscellaneous rear-area elements. Opposition is presently disorganised, but enemy reinforcements may approach from Tilburg.
MISSION: 12th K.R.R.C. will seize the bridge intact and secure both approaches for following formations.
EXECUTION: Motorised elements will advance without delay, overwhelm bridge guards, and prevent demolition of the crossing. Once across, establish a defensive position covering the far approaches and roads into Tilburg.
Do not become delayed by isolated enemy parties. Possession of the bridge takes precedence.
REPORT: Bridge condition, enemy strength, casualties, and security of the far bank to Battalion Headquarters immediately.
1.3.3 VALKENSWAARD ROAD
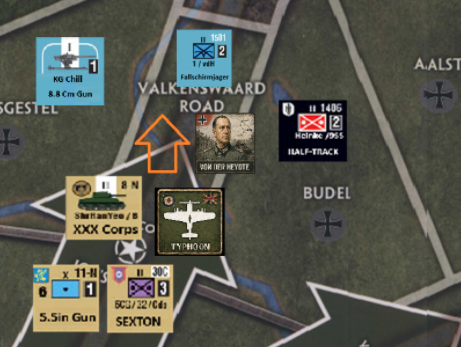
SHERWOOD RANGERS YEOMANRY
OPERATION ORDER – PRIORITY
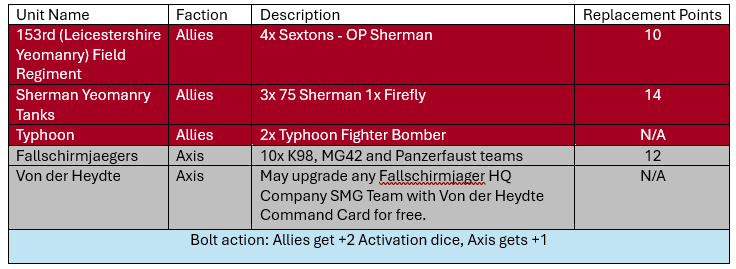
To: Sherwood Rangers Yeomanry and 153rd (Leicestershire Yeomanry) Field Regiment, Royal Artillery
Subject: Clearance of Valkenswaard Road
SITUATION: German positions continue to obstruct the Valkenswaard axis and threaten the pace of the northward advance. Anti-tank guns and infantry strongpoints are expected along the road and adjoining ground.
MISSION: Sherwood Rangers will break the enemy position and reopen the road for continued movement.
EXECUTION: 153rd Field Regiment will engage identified and suspected defensive positions. Sherwood Rangers will advance immediately behind the concentrations, destroy anti-tank opposition, and exploit any breach before the enemy recovers.
Momentum is essential. Isolated resistance is not to halt the column.
REPORT: Road open, enemy guns destroyed, casualties, and progress of the advance to Brigade.
1.3.4 HELMOND BRIDGE
3RD INFANTRY DIVISION
OPERATION ORDER – PRIORITY
To: Forward Elements, 3rd Infantry Division and 12th (Motorised) Battalion, King’s Royal Rifle Corps
Subject: Assault on Helmond Bridge
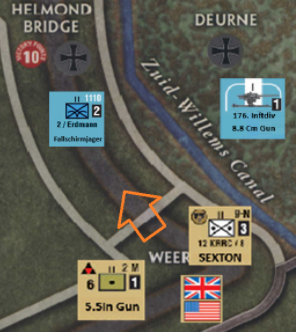
SITUATION: Elements of 2nd Fallschirmjäger occupy the approaches to Helmond Bridge and are expected to defend the crossing strongly. These troops are experienced and should be prepared for deliberate counterattack.
MISSION: 3rd Division will break the enemy position, seize Helmond Bridge, and establish a secure bridgehead beyond.
EXECUTION: Infantry will close with and fix the Fallschirmjäger while supporting weapons engage strongpoints and anti-tank positions. Once resistance is broken, 12th K.R.R.C. will pass through rapidly, seize the far approaches, and prevent German withdrawal from becoming a new defensive line.
The bridge is to be taken intact wherever practicable.
REPORT: Bridge condition, enemy strength, casualties, prisoners, and direction of enemy withdrawal immediately.