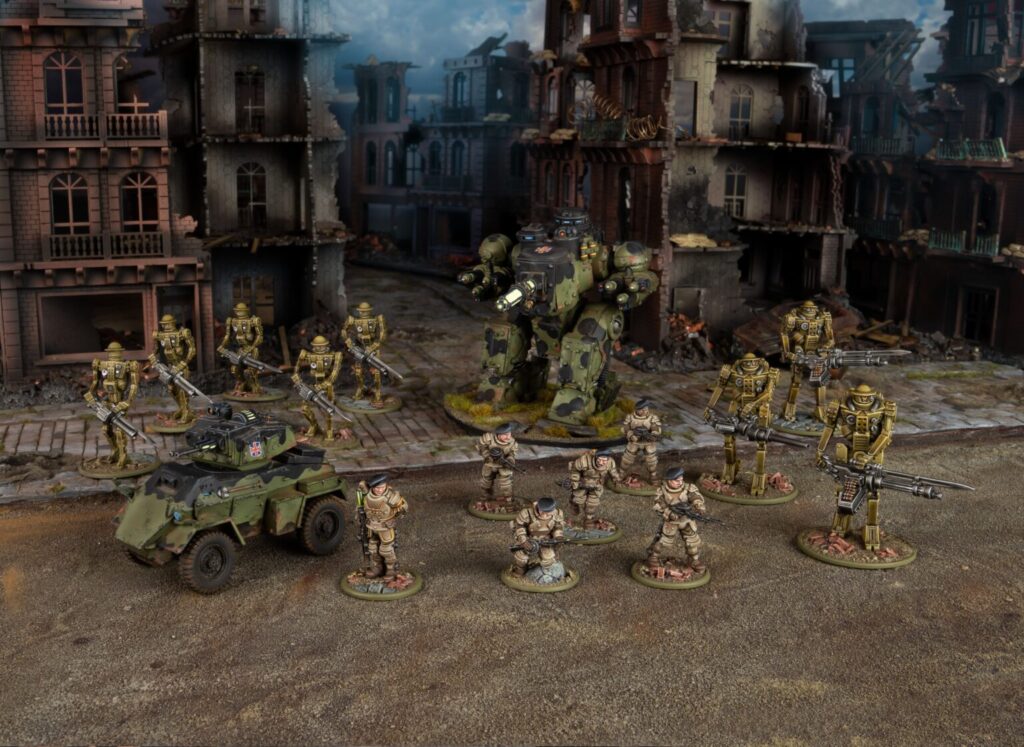
Konflikt ’47 loves its wild Rift monsters, but the British Commonwealth quietly bring a very different kind of power.
This is the army for players who like clean sequencing, strong fundamentals, and game plans that do not rely on miracle dice. They push forward behind overlapping lanes of fire, rather than YOLO charging across the table. Additionally, they lean hard into combined arms and automation instead of gimmicks. If you want to walk the lads through the ruins of Berlin with calm, measured brutality, this is your faction.
What Makes the Commonwealth Tick on the Table
The Commonwealth sit apart from both Axis spike play and American aggression. Their whole identity revolves around reliability, tempo control, and smart coordination. Most of their guns hit on fixed values and their armour happily fires on the move thanks to Computational Systems. Additionally, their infantry have tools to stay functional under pin pressure, which keeps the engine humming even when the dice turn rough. You are not praying for huge swings, you are stacking small, consistent edges until the board state breaks in your favour.
The faction really comes alive when you treat it as a true combined arms force. Infantry, armour, and specialist pieces are designed to cover each other’s weaknesses rather than chase flashy synergies. Furthermore, the army has a high skill ceiling. You can absolutely build a formulaic “automation bubble plus centrepiece” list, but the real strength comes from knowing when to break your own pattern. The answers are in the roster, yet they are often expensive and timing dependent, so they demand protection and careful use.
Core Infantry – The Backbone of the Battle Plan
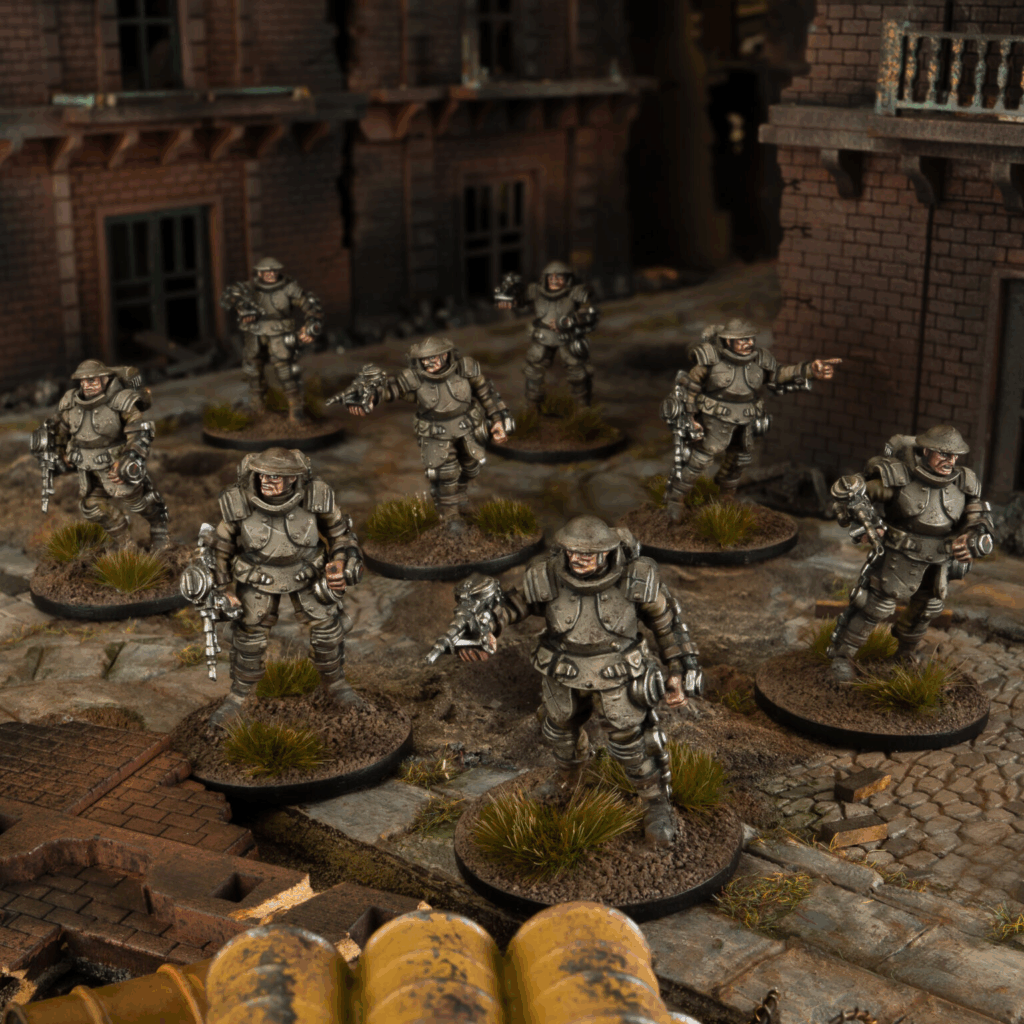
Before you touch the Rift toys, the Commonwealth asks one simple question. Can your infantry and armour work together without falling apart. Galahad Armoured Infantry are the cornerstone here. They are tough, steady heavy infantry that love the midboard. With solid armour and the option for Regular or Veteran, they shrug off small arms and hold ground while the rest of your force manoeuvres. Their default loadout with multiple light machine guns pumps out brutal mid range fire into Regular infantry and light specialists. Additionally, they do it turn after turn without needing special triggers or positional tricks.
Upgrades push Galahads from “good” to “toolbox” without changing their role. Engineers let them clear buildings and dug in positions. Tough Fighters gives them enough punch to survive close quarters scraps. Stubborn keeps them in place through morale tests. Anti tank grenades or PRIAM launchers let them threaten vehicles and heavy infantry. Crucially, none of this changes the core job. They remain a reliable, midfield anchor that fits the Commonwealth love of consistent tempo.
British Grenadiers then bring a more elite flavour. They are Veterans with assault rifles, access to rifle grenade launchers, and the option for a Heavy Tesla Rifle. Additionally, they can fill compulsory slots in an Assault Platoon, which makes them structurally important in some builds. On the table, they thrive as mid range pressure pieces that support your main hammer. They can push into contested zones, punish exposed infantry, and ride their Veteran statline plus Stubborn and Keep Calm Lads to survive counter fire. However, they are still only human, so overextending them gets punished quickly.
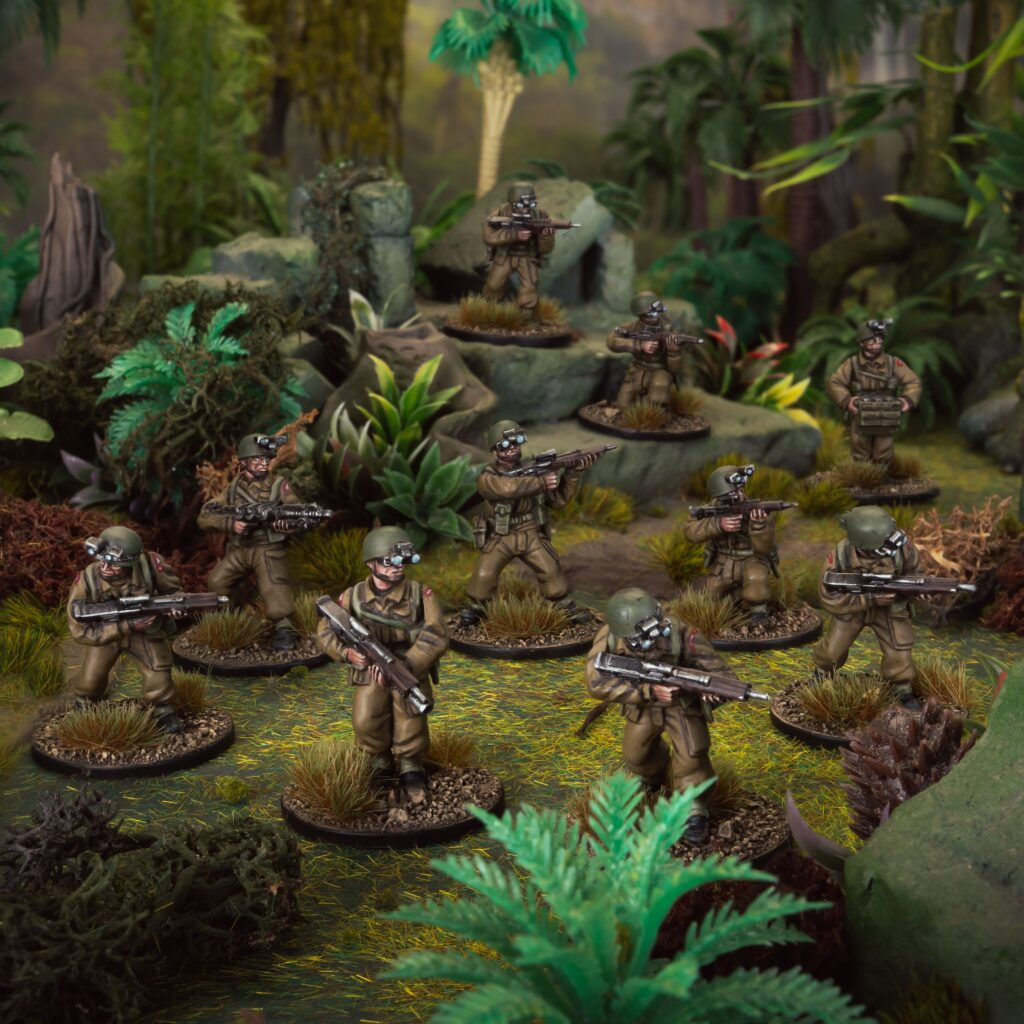
The Heavy Tesla Rifle gives Grenadiers a Rift die you are actually happy to spend. It threatens elite infantry and light armour yet still plays into the army’s “steady pressure” theme. With the right loadout, Grenadiers can flex between forward skirmishers, mobile fire support, or midboard responders, depending on what the list around them needs.
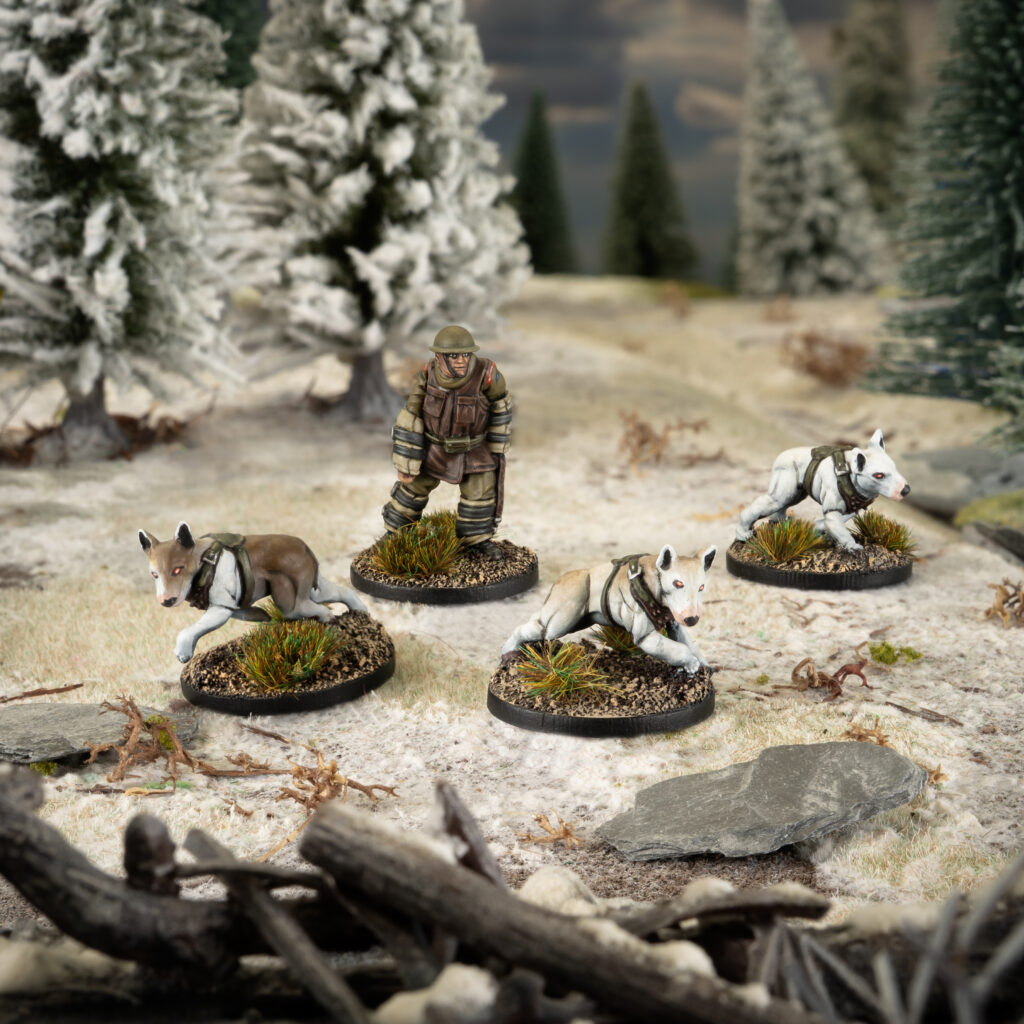
Cerberus Squads change the tone. They are the Commonwealth’s early game bite, bringing speed, Fearless, and Tough Fighters on their war dogs. With 8 and 16 inch movement, they can slam into exposed screens before your opponent really settles. Additionally, they excel at punishing unsupported units, clearing light chaff, and forcing awkward reactions that buy your guns time. They are not designed for long grind fights, though. Used properly, they are a tempo piece that shapes the first few turns rather than a late game bludgeon. If you throw them away on a coin flip charge, you are playing against the faction’s strengths.
Automation and Command – The Hidden Engine
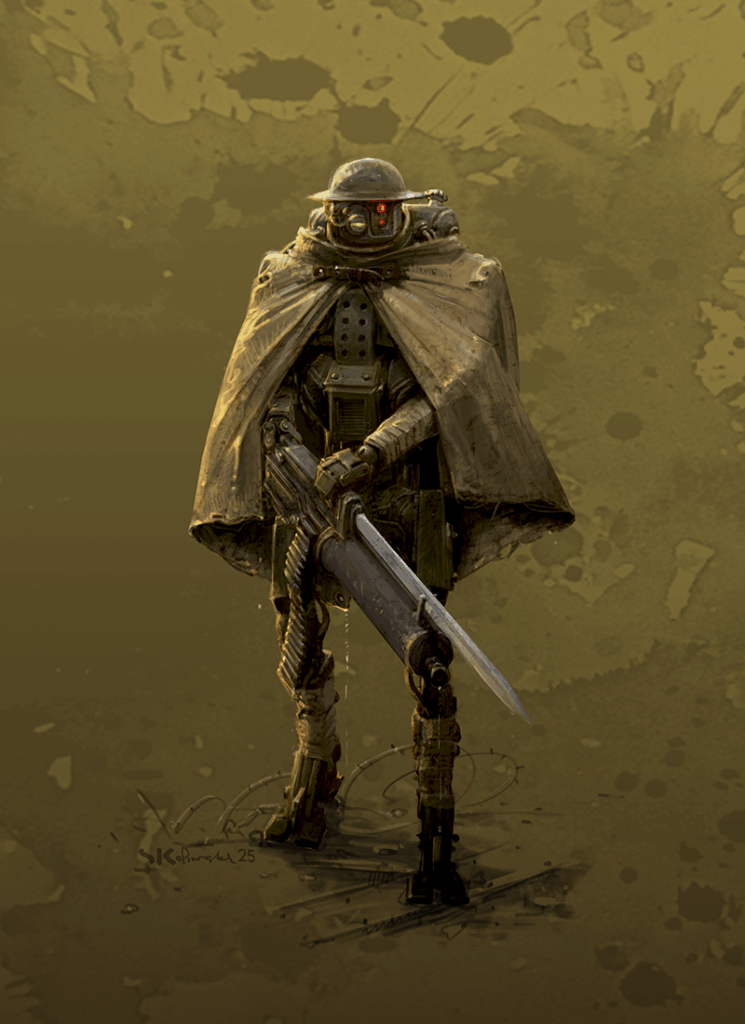
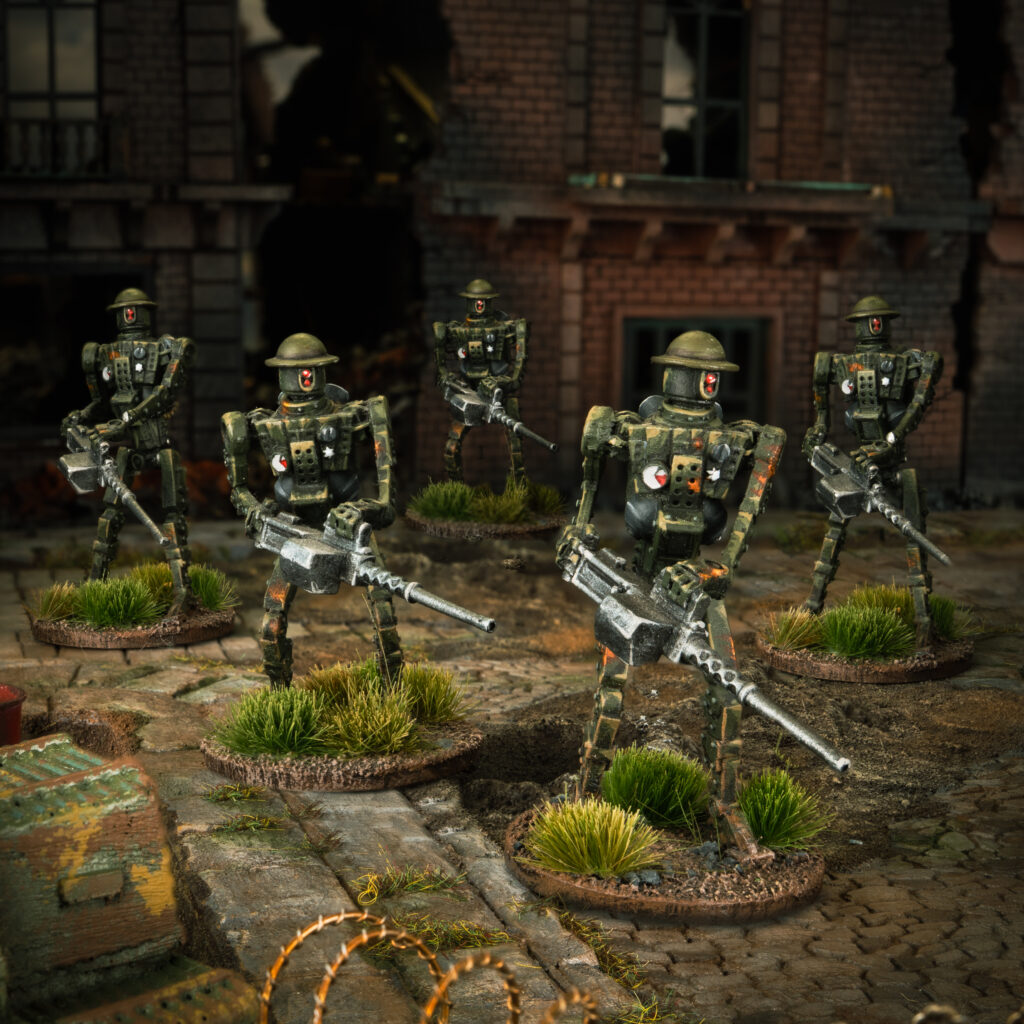
Once you have the human pieces in place, the automation layer really defines the Commonwealth’s unique feel. Mk II Heavy Automated Infantry are the lynchpin here. On their own they are another steady specialist unit, but their real value is how they supercharge your other automated elements. A single Mk II dramatically improves nearby Mk I squads or Automated Carriers, making their output far more reliable. Additionally, you do not need a cluster of Mk IIs to get this benefit, which means one carefully positioned unit can anchor a whole automated wing.
Their Co ordinated Strike Rift enhancement and Rift dice management add another tactical layer. If you burn their Rift die too early, your entire automated net weakens. Therefore you need to plan when to switch that buff on and when to hold it in reserve.
Rift Mastery and Guts then support the command game rather than define it. Commonwealth officers do not get the wild spikes some Axis builds can chase, but an extra Rift die on a Mk II keeps buffs running while still enabling Co ordinated Strike. Additionally, Guts gives you controlled double activations at key moments, letting you reposition, set up a Cerberus follow up, or snap onto an objective. Neither rule is mandatory, yet both reward that same careful planning that runs through the faction.
Superior Codebreaking is the big signature lever. Once per game, you get to pull the first die from the bag that turn. That single choice lets you steal initiative at a critical moment or force your opponent to move first during a scoring turn. It is subtle rather than flashy, but it is also one of the strongest tempo tools in Konflikt ’47. Additionally, it pairs perfectly with an army that loves dictating the rhythm of the mid and late game.
Choosing Your Hammer – How Centrepieces Shape the List
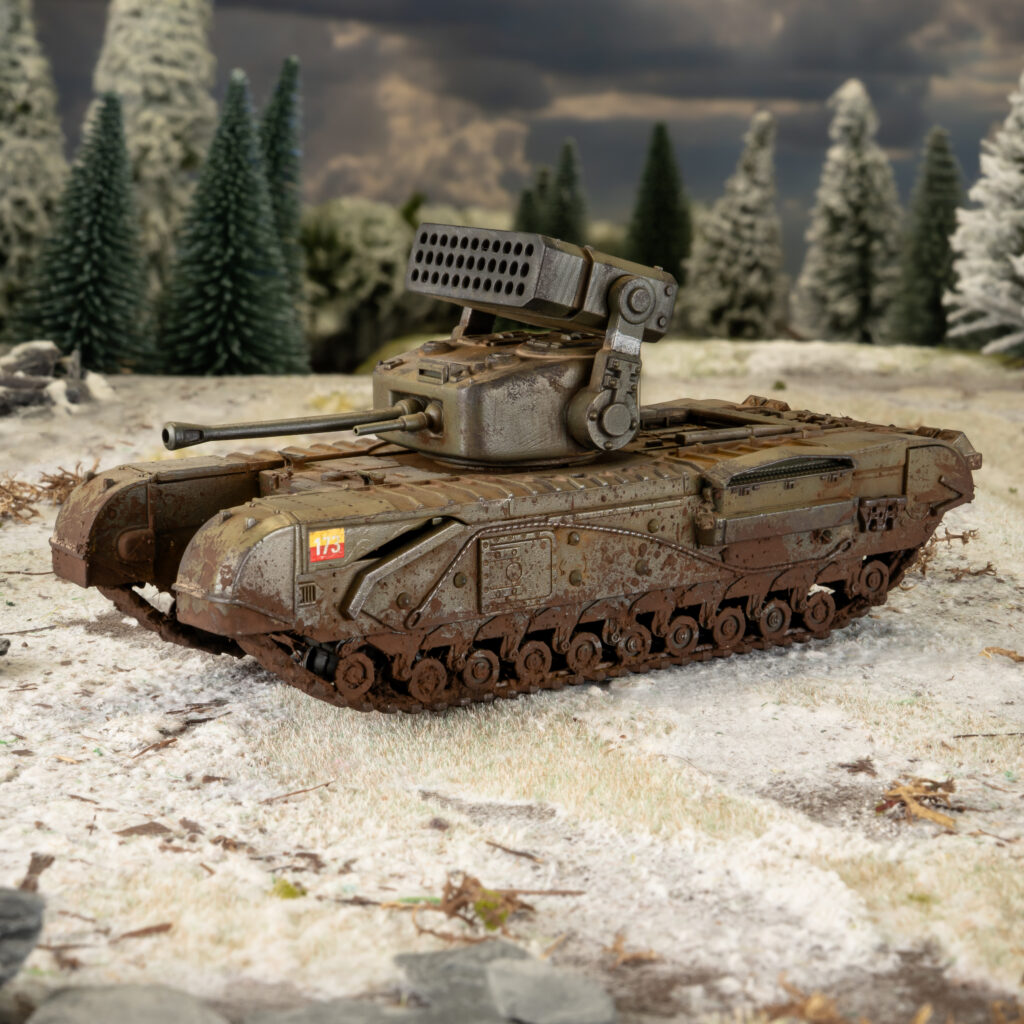
Most strong Commonwealth lists revolve around one major “hammer” piece, backed by that steady infantry and automation spine. The faction does not demand this structure, but each centrepiece pulls your plan in a different direction.
The Churchill Meteor gives you oppressive indirect threat and area denial. Its high explosive and Rift options plus thick armour make it perfect for a standoff game. Additionally, Meteor lists often lean into layered indirect fire from Bombardiers or rifle grenades, Galahads or riflemen in the midboard, and Codebreaking to ensure the Meteor acts when it must. You win by forcing your opponent to advance through shaped kill zones.
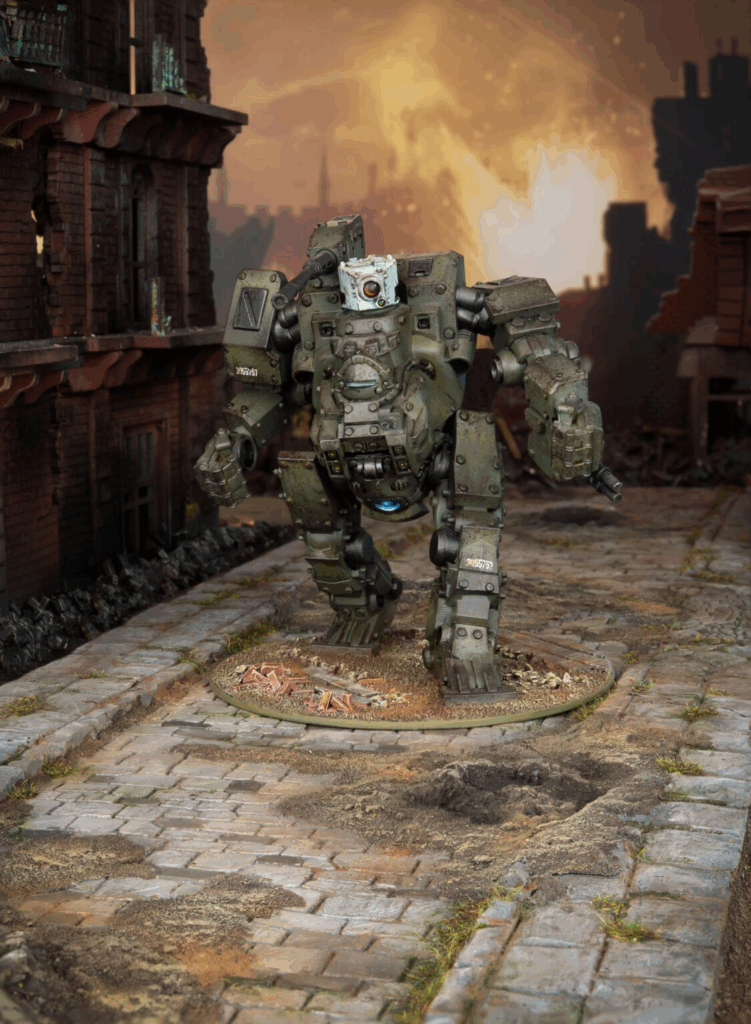
Percival and Merlin walkers, by contrast, offer independent multi role disruption. Their weapon loadouts threaten infantry, armour, and elites while their mobility lets them probe flanks and exploit gaps. A walker focused list typically spreads wider, using Grenadiers and Humbers to pressure edges, Cerberus to punish mistakes, and Automated Infantry to hold the centre. Additionally, you are asking your opponent to split attention across multiple threats instead of walking into one fixed lane.
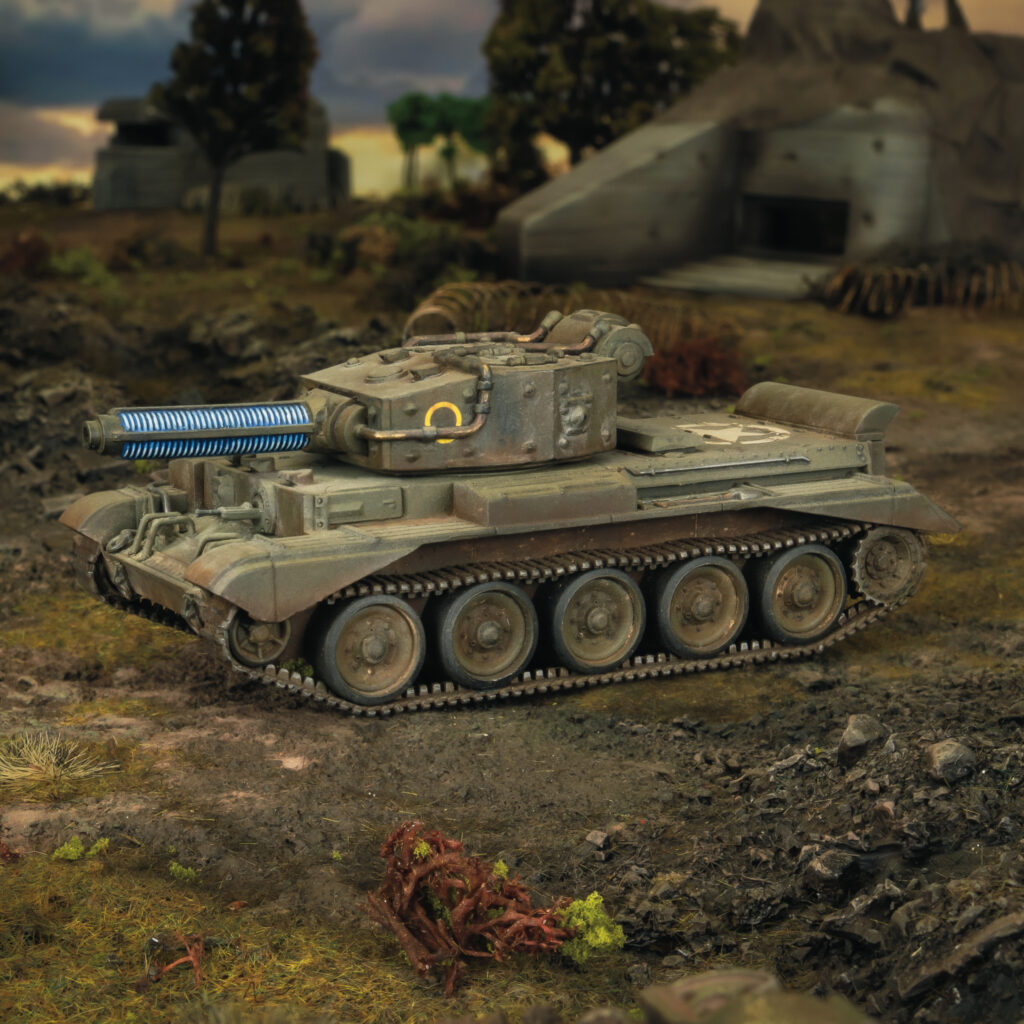
Veteran Tesla Cromwells plus Humbers give the army something it otherwise lacks. You get a fast, accurate, mobile threat group that can pivot and hammer isolated targets. These lists reward tight order sequencing and mid game pivots, letting you decide where fights happen rather than waiting for the enemy to cross the line.
Automation heavy builds treat Mk I HMG squads, backed by Mk II support, as the hammer. Their strength is raw dice volume. Even hitting on fives without buffs, they peel pins and wounds off elite units by sheer output. Additionally, with the First Off the Line penalty removed, they are brutally consistent. These armies often play a “move into my fire” game similar to Meteor lists, making movement inherently unsafe while infantry and carriers block and counter.
Crucially, none of these centrepieces win games alone. They define the tempo, threat profile, and board plan, but they rely on that reliable infantry and automation core to really shine. Understanding how your chosen hammer wants to play is the key step to mastering the faction.
How the Commonwealth Feel to Play – And Who Will Enjoy Them
On the table, the Commonwealth reward players who like control and foresight. They thrive in the mid game, when Superior Codebreaking, strong positioning, and a well chosen centrepiece come together. Additionally, they punish opponents who move carelessly into overlapping fields of fire or chase low percentage charges. Their units are not cheap, and their synergies often depend on proximity, so mistakes hurt. However, when you lean into their strengths, the army delivers some of the most satisfying strategic play in Konflikt ’47.
If you enjoy methodical, thoughtful games, reliable units over high variance gimmicks, and combined arms that feels like a proper battle plan, the Commonwealth will click fast. Additionally, if you like shaping the pace of the fight instead of praying for a wild Rift spike, you will feel very at home. This article lays out the foundations, but there is a deeper layer waiting in their automated units and support platforms. When you are ready to go further, the next step is diving into how Mk I, Mk II, and Automated Carriers reshape list building from the ground up.
And remember, Frontline Gaming sells gaming products at a discount, every day in their webcart!


