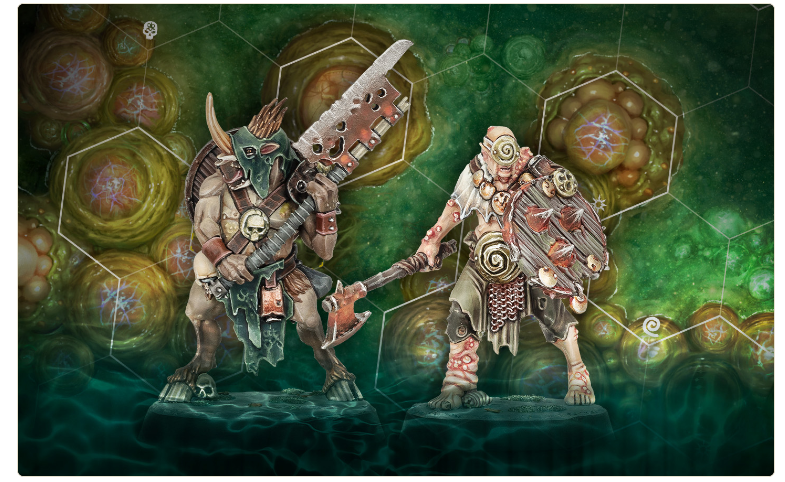
arhammer Quest: Darkwater is not just a box of gorgeous tiles and grimy Nurgle art, it is a proper campaign engine that wants to chew up your adventuring party.
You are not just poking a dungeon and seeing what falls out. Instead, you are threading your way through a branching quest structure, juggling objectives, timers, rewards, and that constant sense that Nurgle is two bad rolls away from ending your run. This article breaks down how encounters, skirmishes, and full campaigns fit together, and why the game feels so replayable even after multiple trips into the Jade Abbey.
Campaigns, Skirmishes, And How A Run Actually Starts
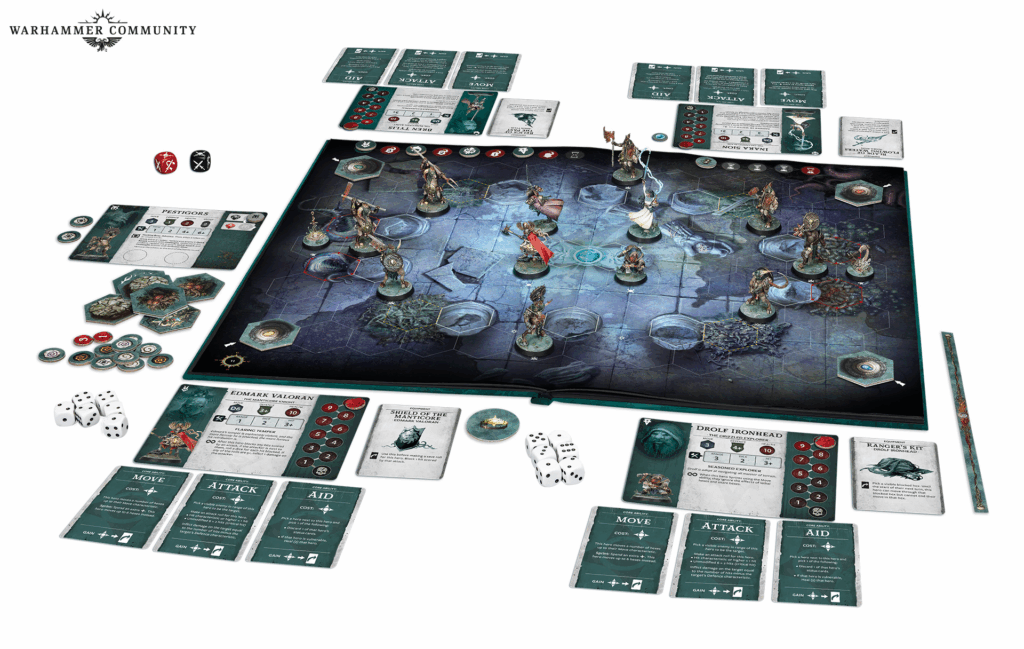
Darkwater’s core experience is a three act campaign that ramps difficulty as you go, and it is built to be replayed a lot. A full run takes roughly ten to fourteen hours, so it feels closer to an RPG mini campaign than a one off dungeon crawl. You start by picking your heroes, choosing their starting equipment, and then building two decks for the act you are about to play. One deck is your encounter and event stack for that act, with three unique boss encounters tucked at the bottom. The other is a reward deck that spits out gear and upgrades when you survive.
However, if you are not ready to commit to a full act, you can just grab a single encounter and play it as a skirmish. Then you either add some rewards up front if you choose a later act card, or try it with basic gear to see how far you get. There is even a scoring method for skirmishes, so you can replay the same map and try to push your best result. Consequently, it is easy to demo the game for friends or warm up before you launch into a proper campaign.
Encounters On The Map: From Spawn Pits To Supply Carts
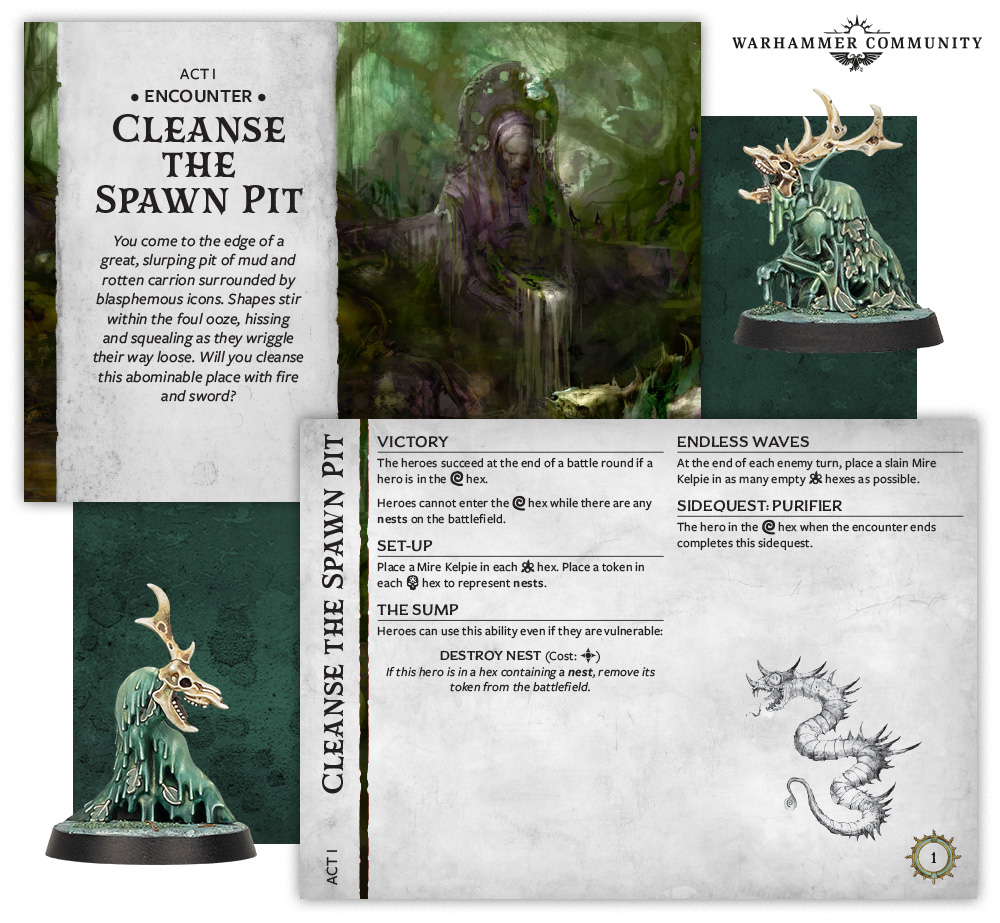
Encounters are the core loop of Darkwater. Each one is defined by a card that shows which page of the lay flat map book you use, the victory conditions, the setup details, and any special rules. At the start of a campaign, you flip two encounter or event cards from your shuffled act deck and pick one, so even early decisions shape how your run unfolds.
The article’s example is “Cleanse the Spawn Pit,” which uses map 1. Your heroes reach the lip of a disgusting pit full of rotten carrion and writhing Mire Kelpies, and the only way through is to burn out the nests. To win, a hero must reach a special spiral marked hex, but that hex is off limits while any nests remain. Meanwhile, Mire Kelpies keep spawning, so you are constantly juggling crowd control, survival, and the action cost of using Destroy Nest with your limited energy each turn.
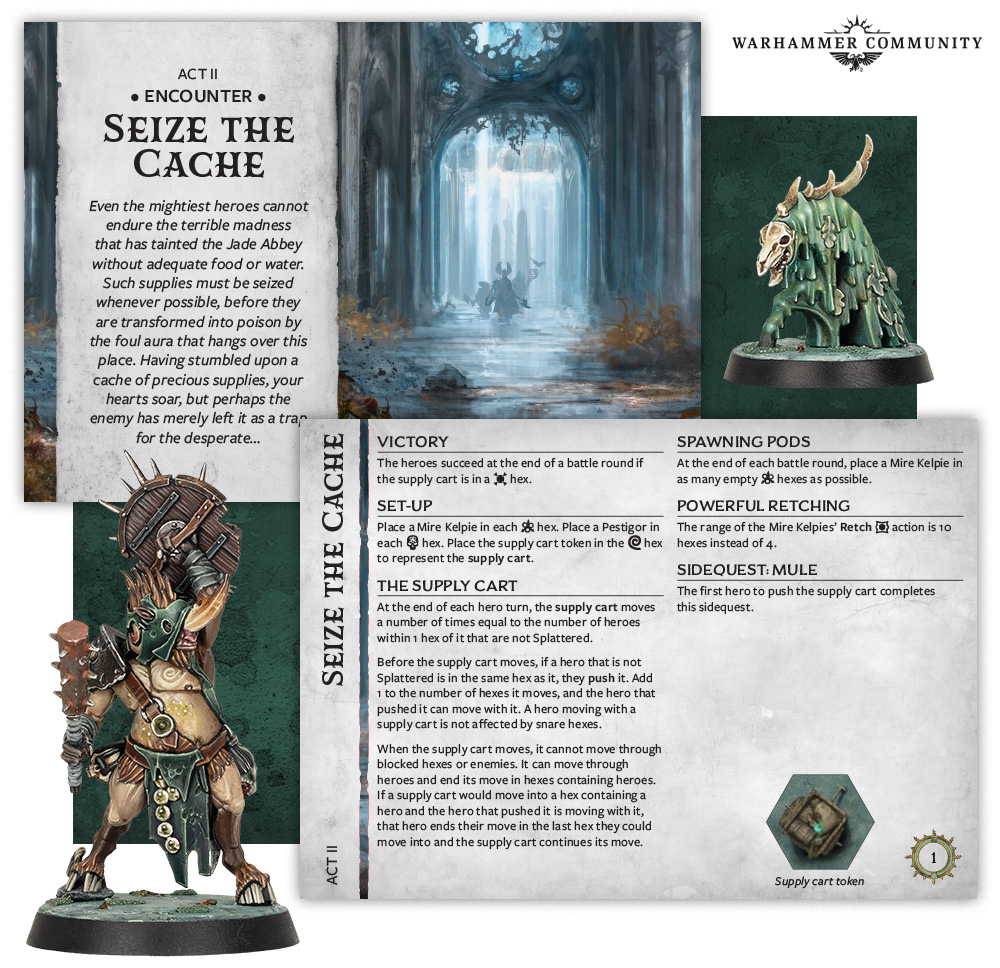
Then the same map gets reused later in Act II as “Seize the Cache.” This time Pestigors join the party, Mire Kelpies get buffed, and you have to push a supply cart through the mire instead of merely cleansing a pit. Consequently, the identical layout plays completely differently, and by that point your party and gear will have changed as well.
Reading The Board: Initiative Tracks, Hex Types, And Tempting Treasure
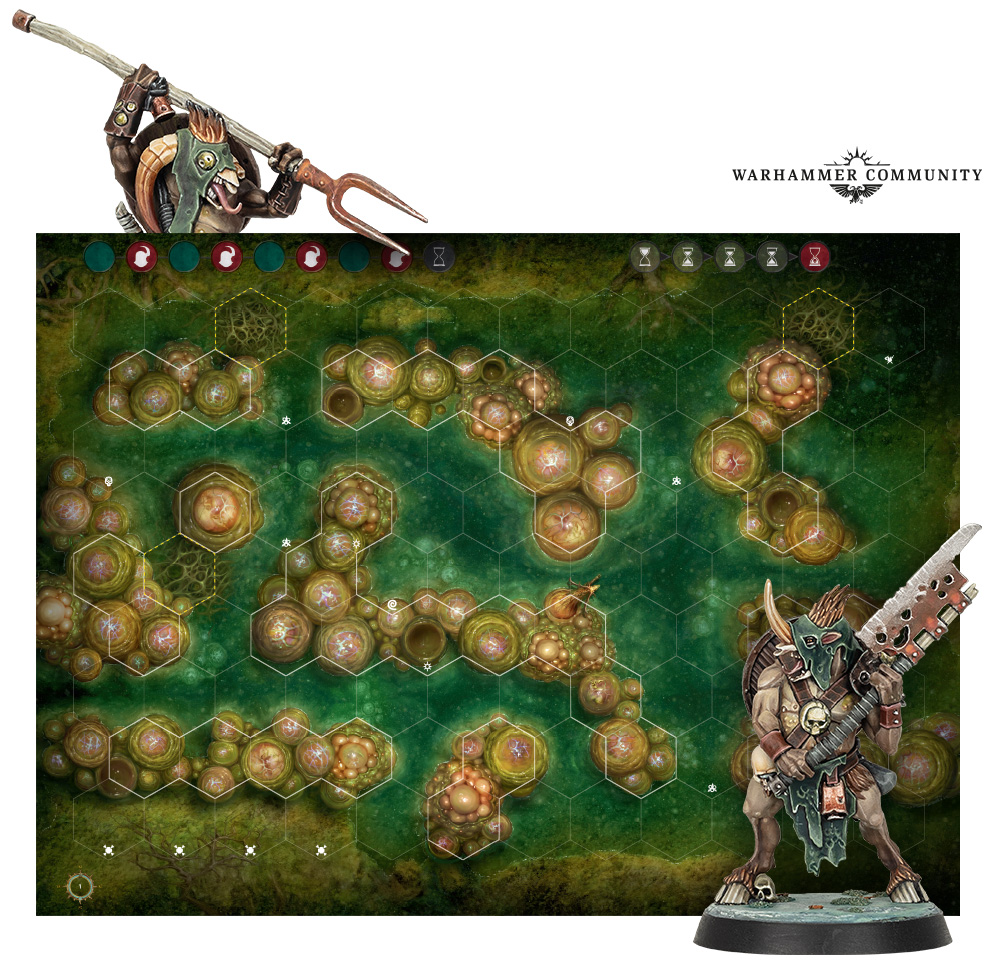
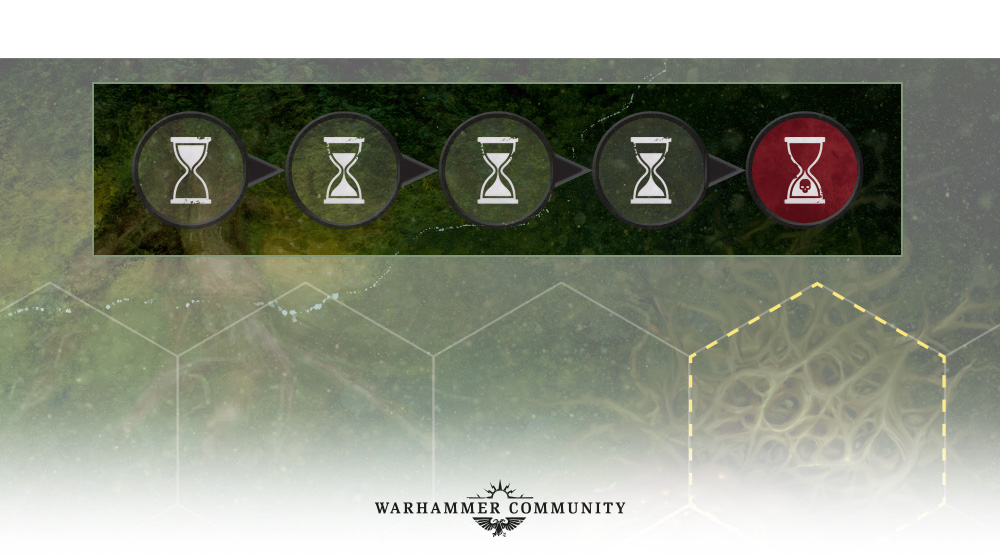
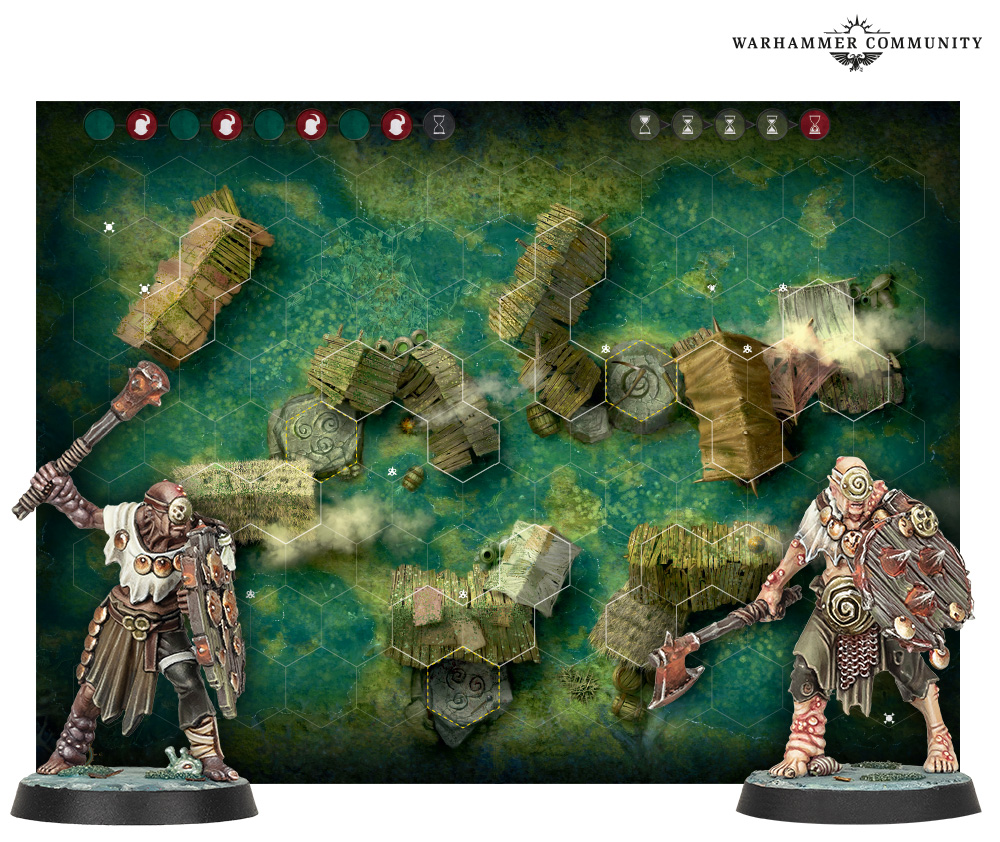
Each map page is loaded with both art and information. Up in the top right sits the initiative track, which shows alternating hero and enemy slots. At the start of a round, the leader places their hero token first, then other players choose in clockwise order. Enemy groups fill the enemy slots, and once the track reaches the timer symbol you tick the scenario’s timer down on the map. The red space marks the last round, and different encounters can have different time limits, so you always know how close you are to a fail state.
The hexes themselves carry important tags that change how you move. White outlined hexes are obstacles you cannot normally cross, unless some equipment lets you cheat that. Yellow dashed hexes are snares, which slow your movement by one when you go through them. Red outlined hexes are lethal and will hurt you if you move into them or get dumped onto them. Therefore, routing around the terrain is not just flavour, it is baked into how you manage your energy and abilities.
Additionally, the map shows treasure token hexes, where you place loot markers during setup. Looting costs an action, so it directly competes with objective play and survival. However, treasure can add extra reward cards into the pool at the end of the encounter, which is very tempting when you are trying to build a nasty combo on your hero. Darkwater constantly tempts you to take the greedy line in an already tight scenario.
Winning, Failing, And How The Reward Economy Works
If you manage to complete the objective before the timer runs out and before everyone collapses, the party wins the encounter. You heal a little, then you draw five reward cards, or six if nobody is Vulnerable at the end. Each player in turn chooses one card from the pool, and anything you looted during the game also gets added when your pick comes up. You only ever get one reward per hero per encounter, so you need to think carefully about whether you grab raw power, utility, or something that sets up a later combo. Rarity is colour coded for magpie players who just want the shiniest option.
If you fail, either because the timer runs out or every hero becomes Vulnerable, the game does not immediately bin your run. Instead, you can discard four rewards from your party’s stash to heal up and try the encounter again. However, if you cannot or will not pay that cost, you have to retreat and restart the entire campaign. Consequently, the game forces you to weigh the long term value of your gear against the risk of wiping out.
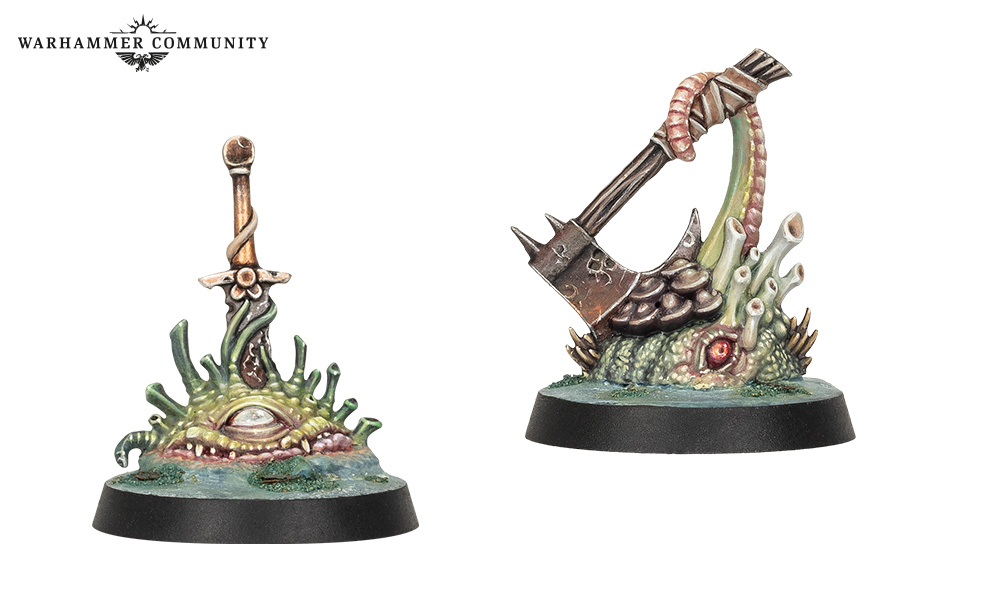
Encounter types vary widely. Some are more puzzle like, asking you to coordinate movement and actions while waves of Nurgle followers converge. Others are brutal slugfests against Blight Templars and other tanky horror shows that soak damage for days. Finally, the act bosses and Gelgus Pust himself are built to test every system the game has taught you. The article is very clear that beating him is meant to be hard, but also satisfying.
Campaign Structure, Replay Value, And Parking A Run
Each act deck contains sixteen encounters plus separate boss cards, events, and rest spot cards, along with rewards unique to that act. Therefore, between the draw order, event choices, and your hero combinations, it is very unlikely that two full campaigns will play out exactly the same. Your decisions outside encounters matter just as much as your dice. You are constantly choosing between limping into another fight while wounded for a chance at better rewards, or detouring into a safer event or rest spot that might not move the main story along.
The box also supports long campaigns by making it easy to pause. There are dedicated storage boxes for each hero, one for the reward deck, and one for the act, so you can pack away cards and tokens in a stable state. That means you can leave the table, come back a few days later, and dive straight back into the Jade Abbey without rebuilding everything from memory. Nurgle will wait, and he is very patient.
Summary
Overall, this part of the Darkwater adventurer’s guide shows how much of the game lives in its encounter structure rather than just its dice mechanics. You are not simply clearing rooms; you are navigating timers, terrain hazards, spawn mechanics, and a reward economy that keeps tempting you into risky plays. Moreover, the mix of skirmish mode, three act campaigns, and a big pool of encounter and event cards means the system should stay fresh for a long time.
Until the box actually lands, you can scratch the itch a little by signing up for the Forge Your Destiny email mini adventure, which mirrors the branching feel of the campaign. Once Darkwater is on your table, though, this structure is what will keep you coming back to the Jade Abbey to try “just one more run” against Gelgus Pust and his rancid followers.
And remember, Frontline Gaming sells gaming products at a discount, every day in their webcart!
