This is a summary of a Warhammer Community article that itself adapts coaching from White Dwarf.
The piece distills Stephen Box’s competitive insights on tenth edition shooting. Consequently, it focuses on movement, weapon types, threat ranges, terrain, and sequencing. Moreover, it maps those ideas to clear tabletop plays. Therefore, if you want more hits on 2+, read on.
Why the Shooting Phase Matters
Stephen frames shooting as tempo control, not just dice volume. Therefore, you win by planning moves that create high quality shots. However, you also deny enemy lines of fire and angles. Additionally, he reminds us the article is a two-parter, with updates for current rules. Crucially, this Warhammer Community feature showcases material you find monthly in White Dwarf.
Movement and Shooting Tricks You Should Steal
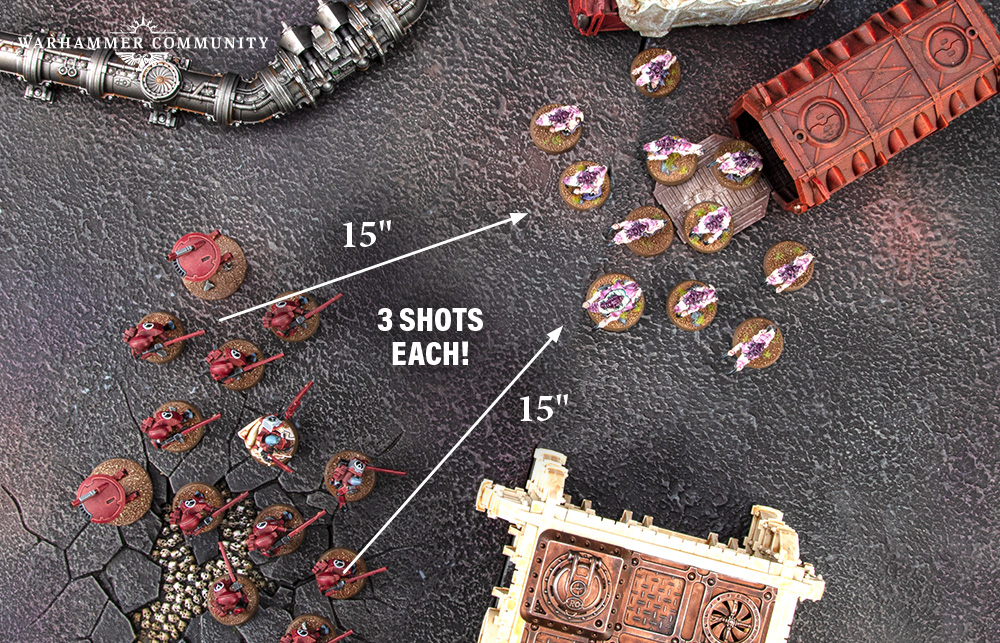
Remaining Stationary is a big deal with Heavy. Moreover, the whole unit must remain still for +1 to Hit. He spotlights Eradicators hitting on 2+ or 3+, then wounding monsters and vehicles with re-rolls. Meanwhile, Rapid Fire loves movement, because half range means double shots. Consequently, push to 12 inches with lasguns or pulse rifles, then stack buffs like Fireblade’s Volley Fire.
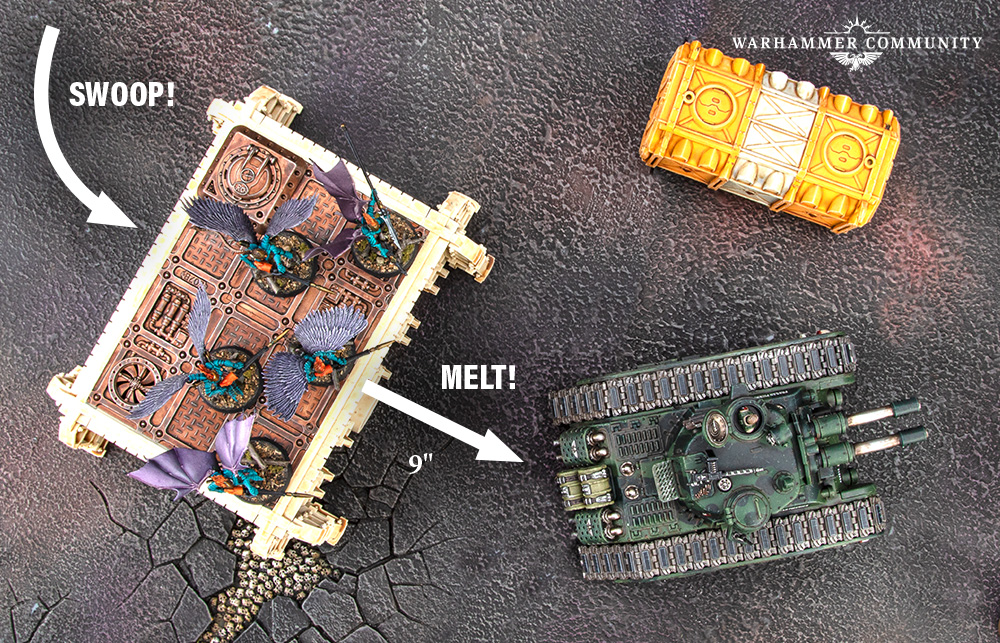
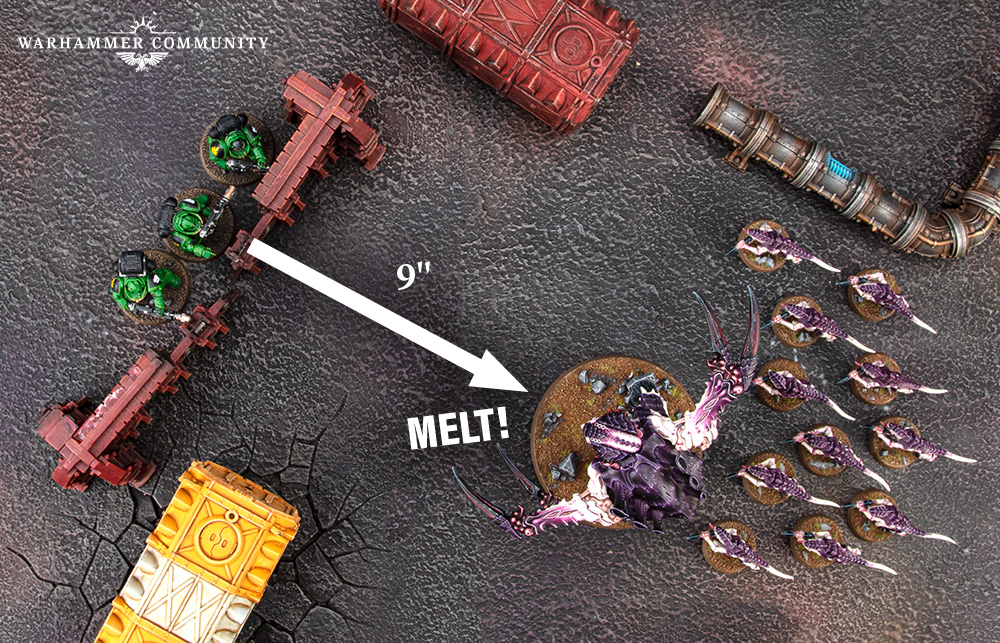
Assault weapons unlock Advance and shoot. Therefore, threat ranges spike on units like Drukhari Scourges. Additionally, Melta gets nastier at half range, so plan your weapon placement. Some units move after shooting, which is filthy. For example, Gargoyles move, shoot Assault guns, then Winged Swarm back to safety or onto points. Consequently, you score secondaries like Engage or Behind Enemy Lines while staying slippery.
Transports, Fire Support, and Firing Decks
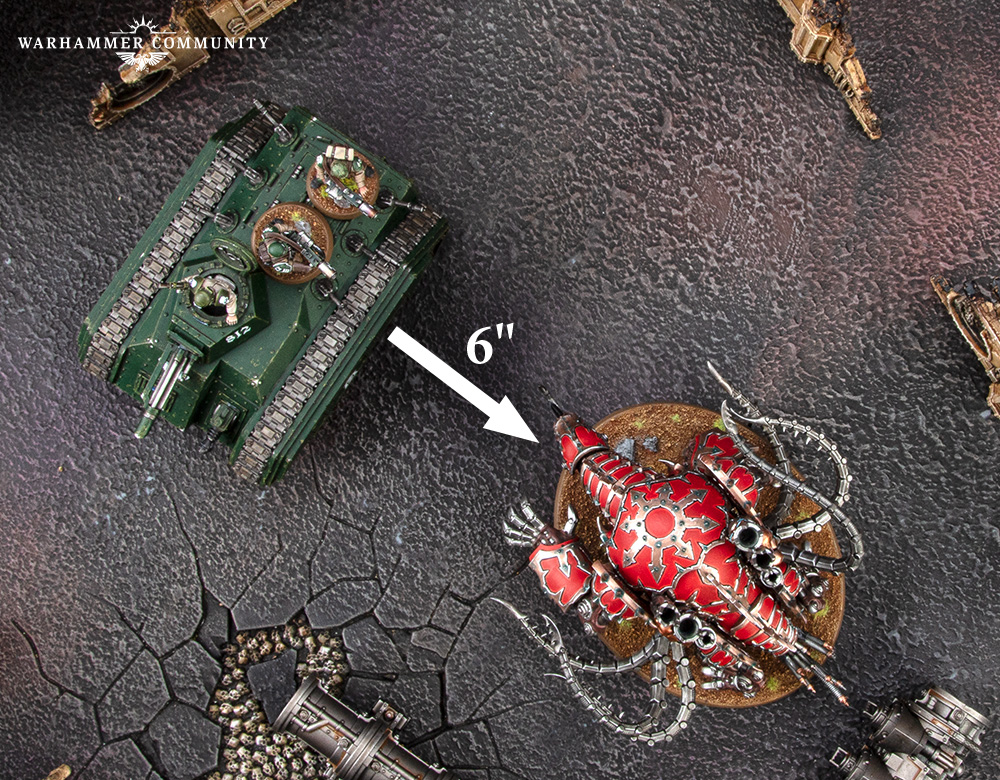
Transports can juice your output if you sequence correctly. If a Falcon or Goliath hits first, disembarking squads gain re-rolls to wound via Fire Support. Therefore, always shoot the ride before the passengers. Additionally, Firing Deck lets embarked models shoot while protected. Ork Trukks, Drukhari Raiders, and the Chimera enable mobile gunlines. However, consider your weapon choices carefully to exploit those firing ports.
Sequencing the Combo: The Fire Dragon Gambit
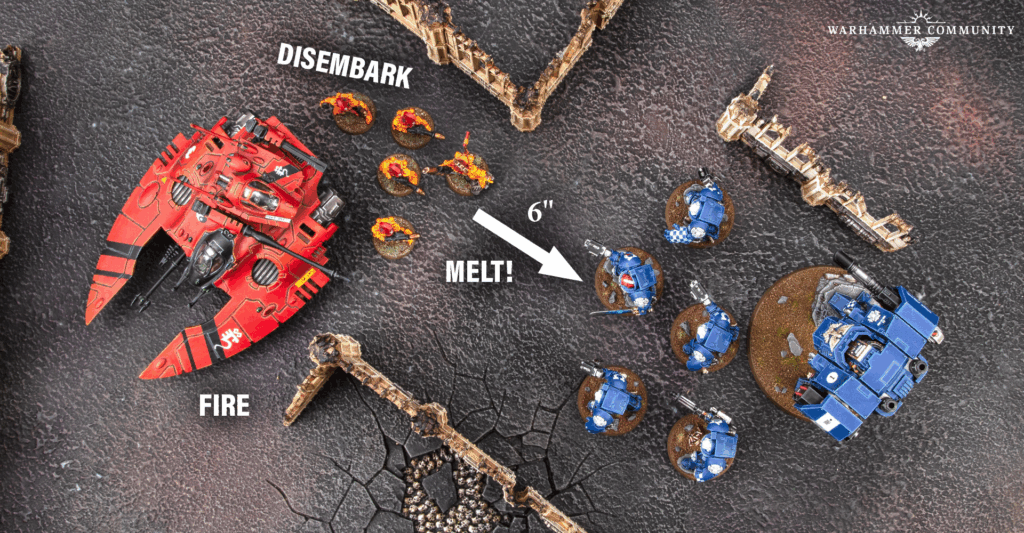
Stephen stitches the concepts together with a Falcon delivery. First, the Falcon Advances up to 20 inches to stage. Next turn, Fire Dragons disembark 3 inches, move 7, Advance up to 6, then shoot 12. Consequently, their effective threat is 28 inches, ideally 22 to trigger Melta 3. Moreover, if the Falcon tags the target first, the Dragons re-roll wounds. Therefore, you create a devastating spike that respects tenth edition movement math.
Final Thoughts and Where to Read More
This Warhammer Community summary pulls straight from a White Dwarf tactics feature, updated for tenth. Moreover, it shows how editorial White Dwarf content becomes practical guides on the site. Additionally, the throughline is simple: plan movement first, then let weapons shine. Consequently, your shooting phase becomes a scalpel, not a hail Mary. Finally, if you want deeper dives and part two, subscribe to White Dwarf and keep an eye on Warhammer Community.
And remember, Frontline Gaming sells gaming products at a discount, every day in their webcart!

