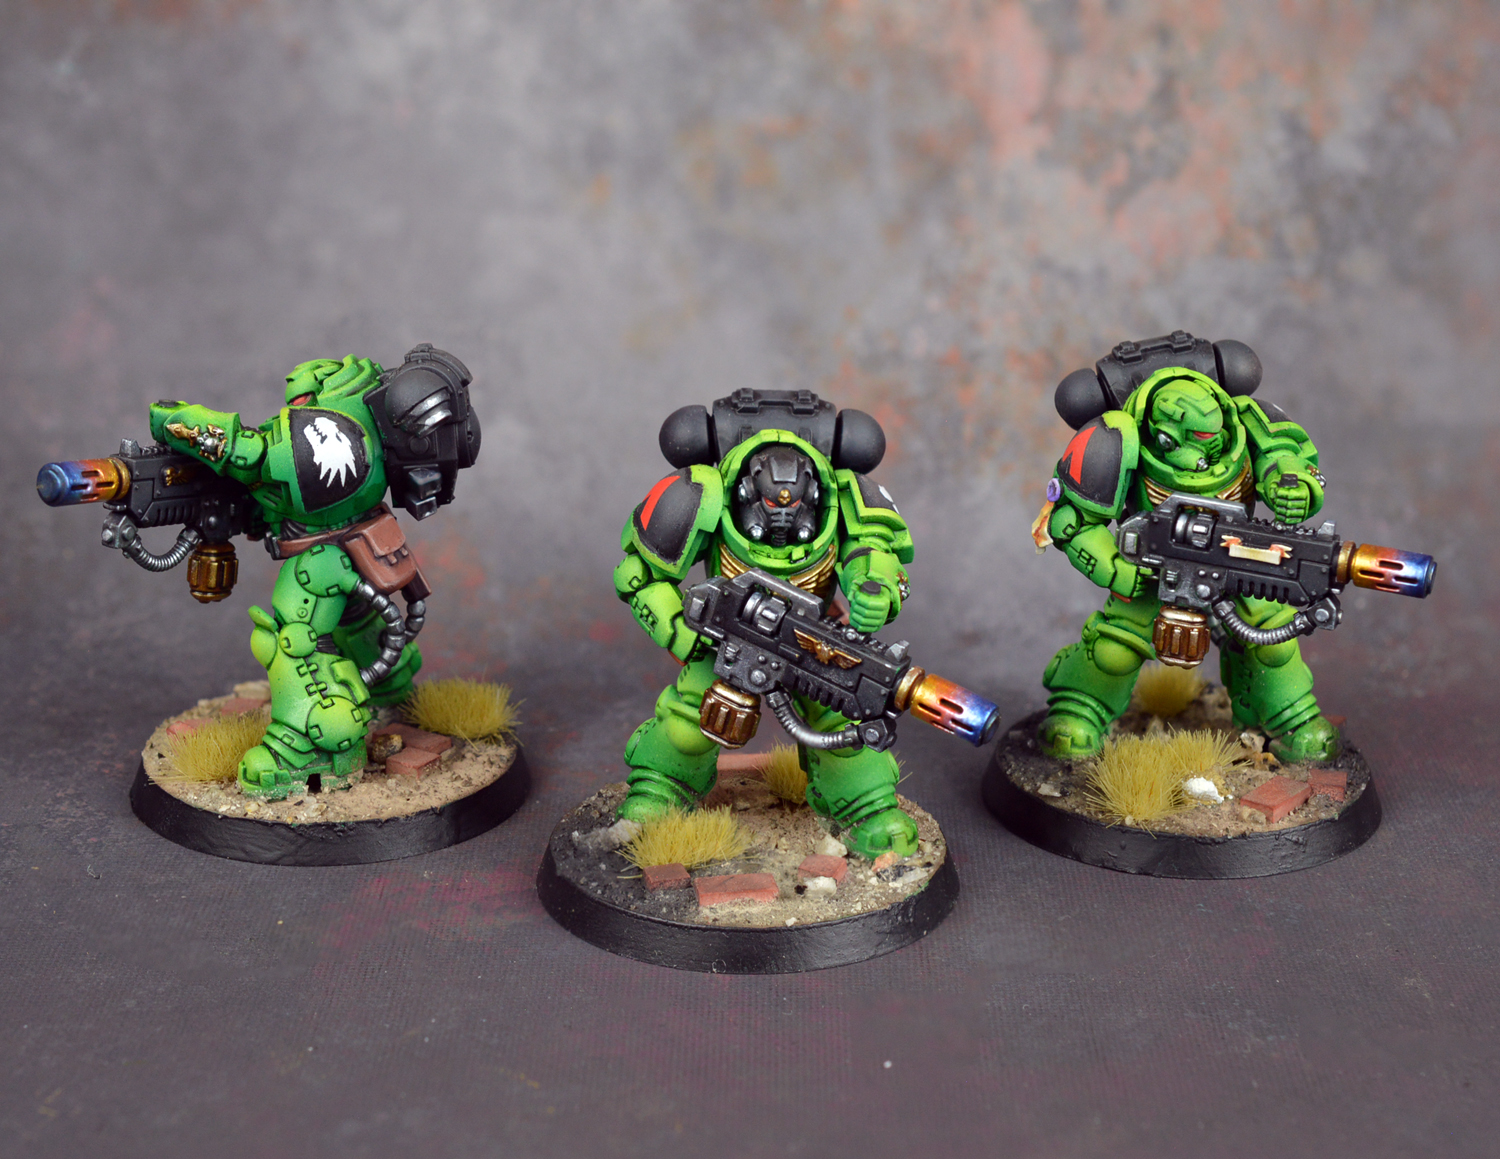
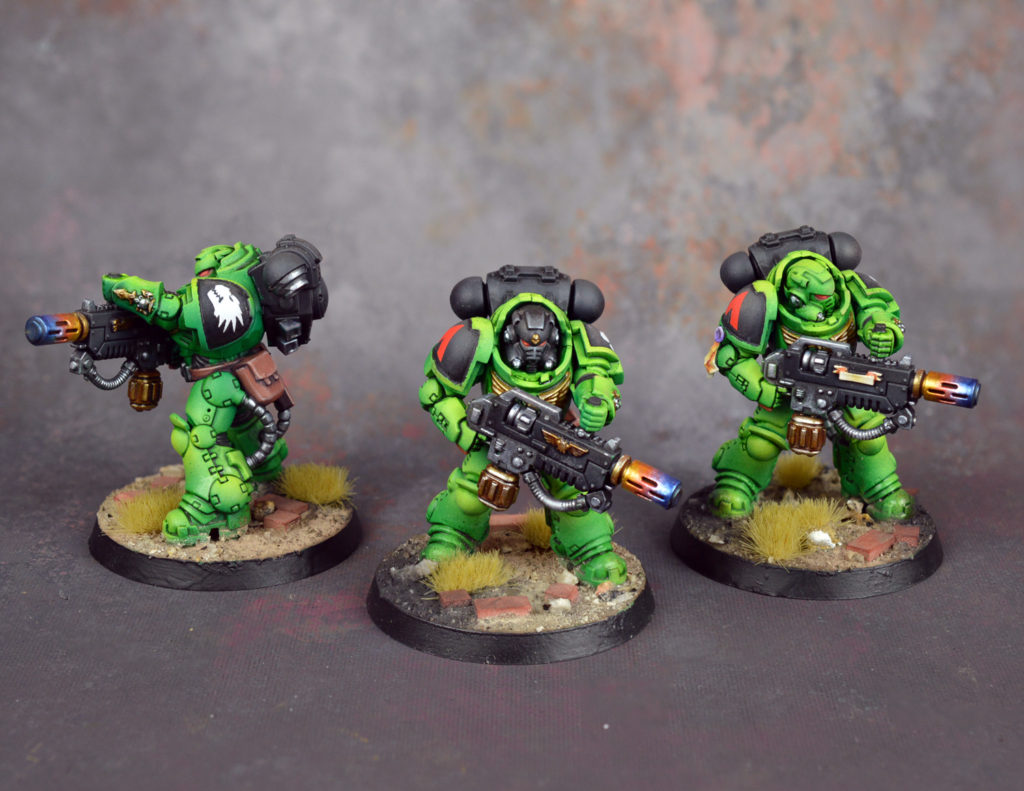
As a Salamanders player, I am well versed in painting melta and flamer weaponry. I’ve always thought the discoloration that intense heat causes to metal is super cool and adds visual interest to my models. I’ve tried many iterations of muzzle burn, and I finally settled on the quick receipt that I’d like to share with you today!
John “JP” Paul
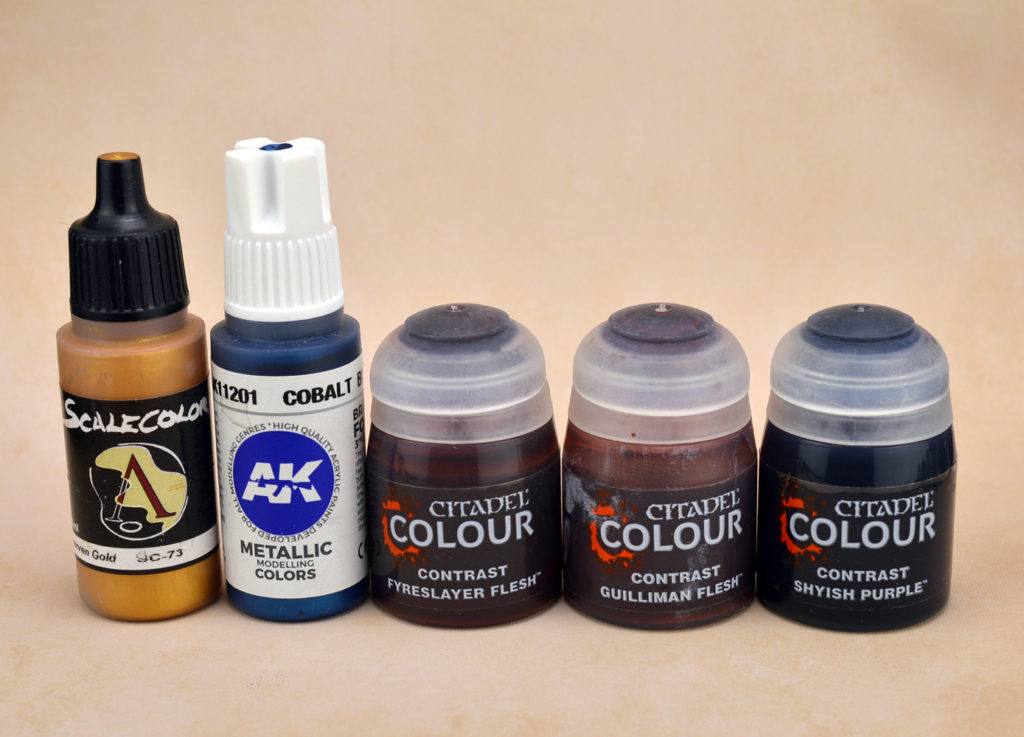
For this process, I’m using a combination of different paints. I used to use GW Washes for most of the process, but I find that GW Contrast Paints work better for my purposes. AK Interactive’s 3rd Generation Cobalt Blue is my favorite metallic blue, bar none, for this purpose. There are other companies that do similar colors, but this one really pops for me.
I didn’t show it as a paint, but I lay down a basecoat of GW’s Balthasar Gold. Any dark gold or bronze-y color works here. I find Balthasar Gold offers great coverage and saves me a lot of time.
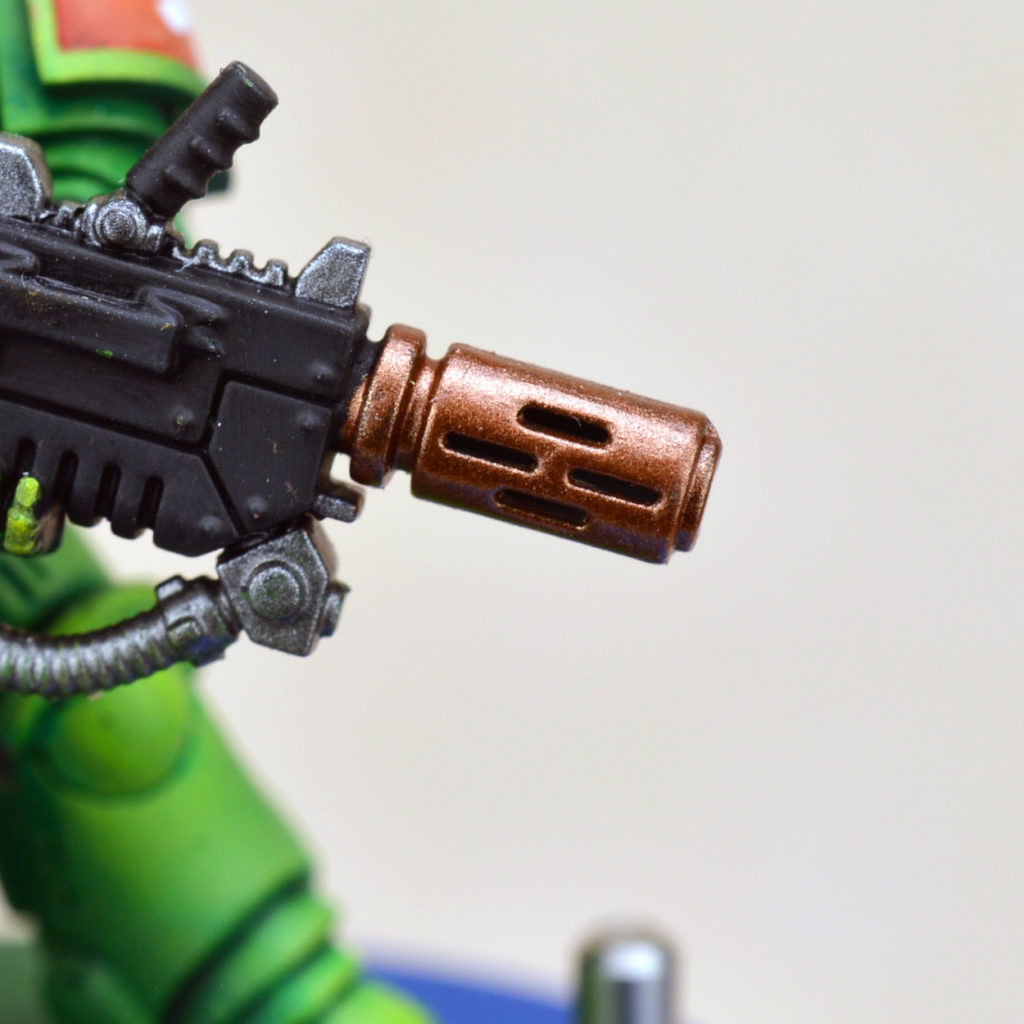
I then give a wash over all of the gold bits with Guilliman Flesh Contrast Paint thinned approximately with two parts water to each part paint. This will generally tint all of the gold and provide some natural shading.
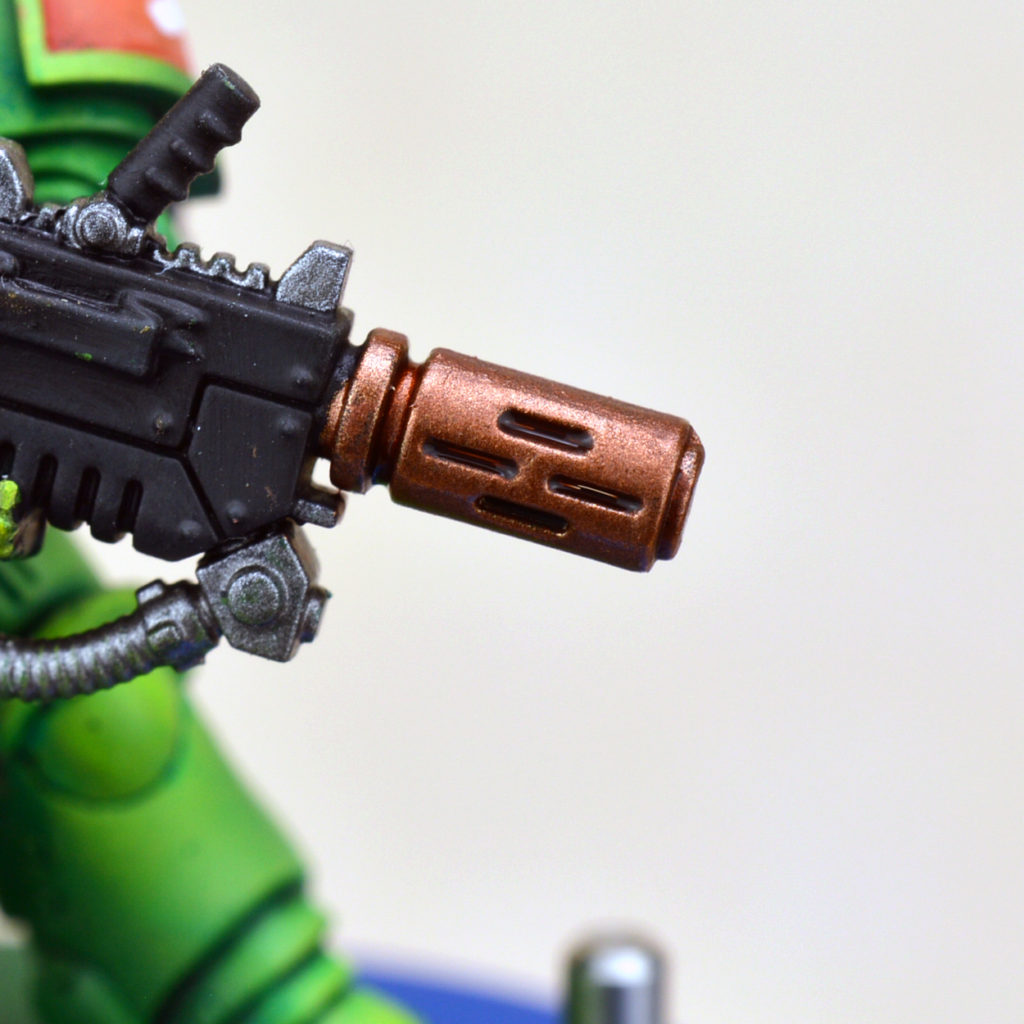
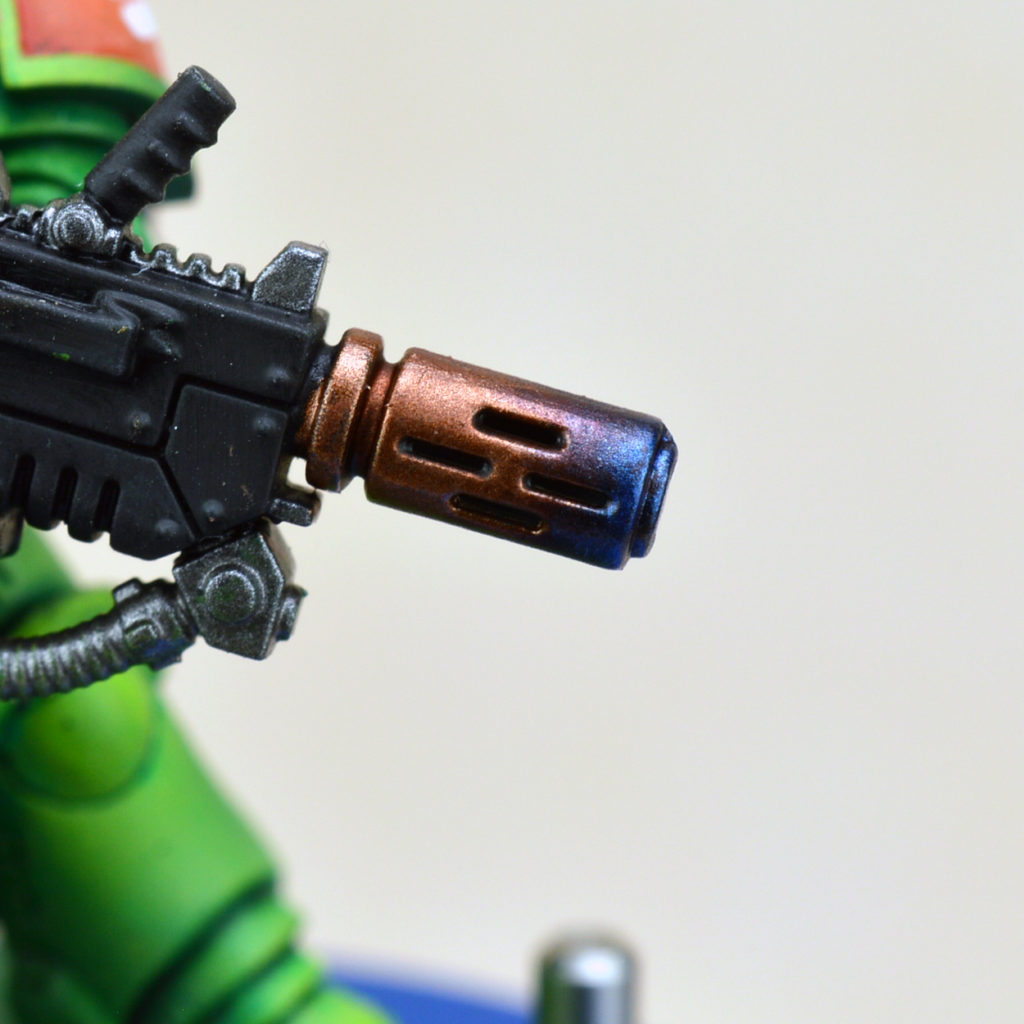
Now, it’s time to build up the actual muzzle burns. I think down Shyish Purple (again about 2:1 water) and apply it to about half of the muzzle. When applying this, I like to start my brush strong at the middle of the muzzle and drag the paint towards the end of the muzzle. This way, it pools more towards the end. I also feather the edge of the purple so that it blends more smoothly into the rest of the muzzle.
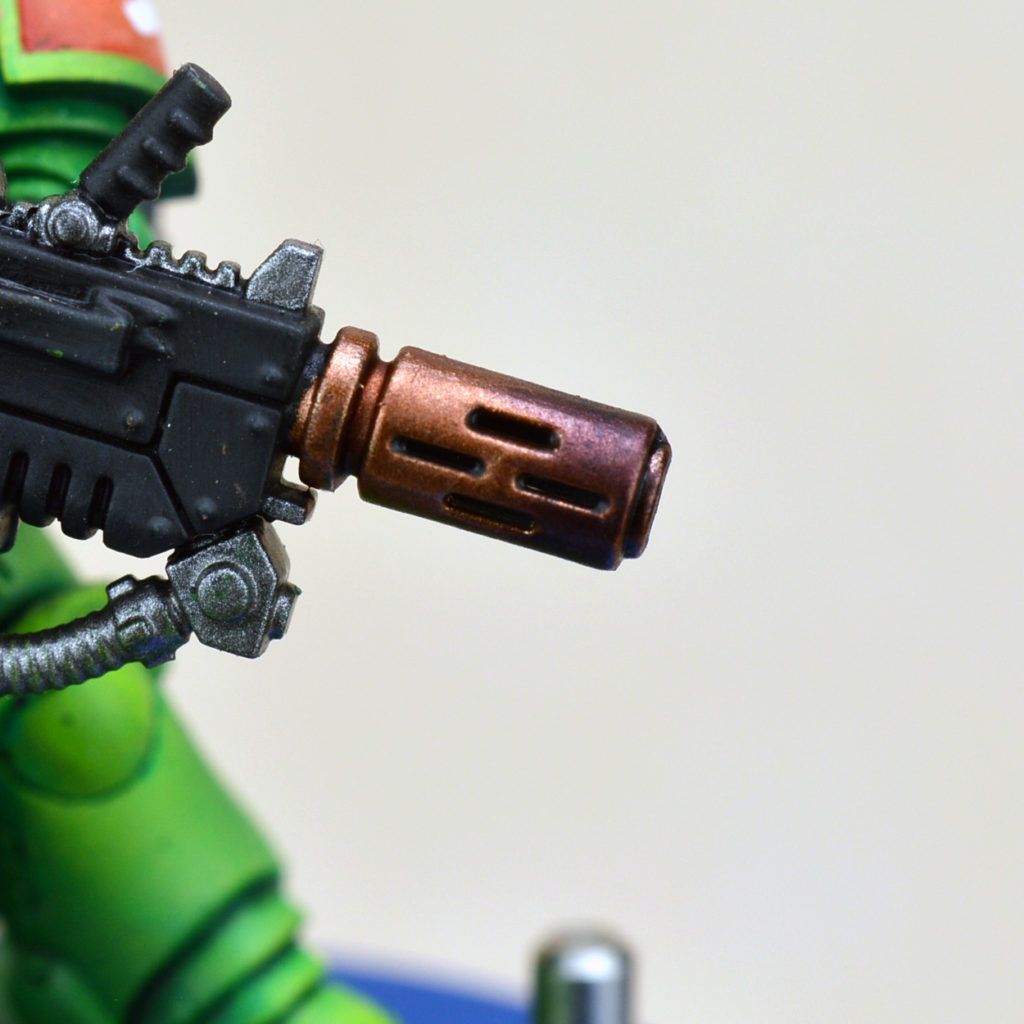
Cobalt Blue is a lot sharper than the contrast paints, and it takes some thinning. Much like with the purple, I thin the paint and apply it in a glaze-like manner, dragging the brush towards the end of the muzzle. Like the purple, I’ll feather the edge of the cobalt blue so it blends into the purple.
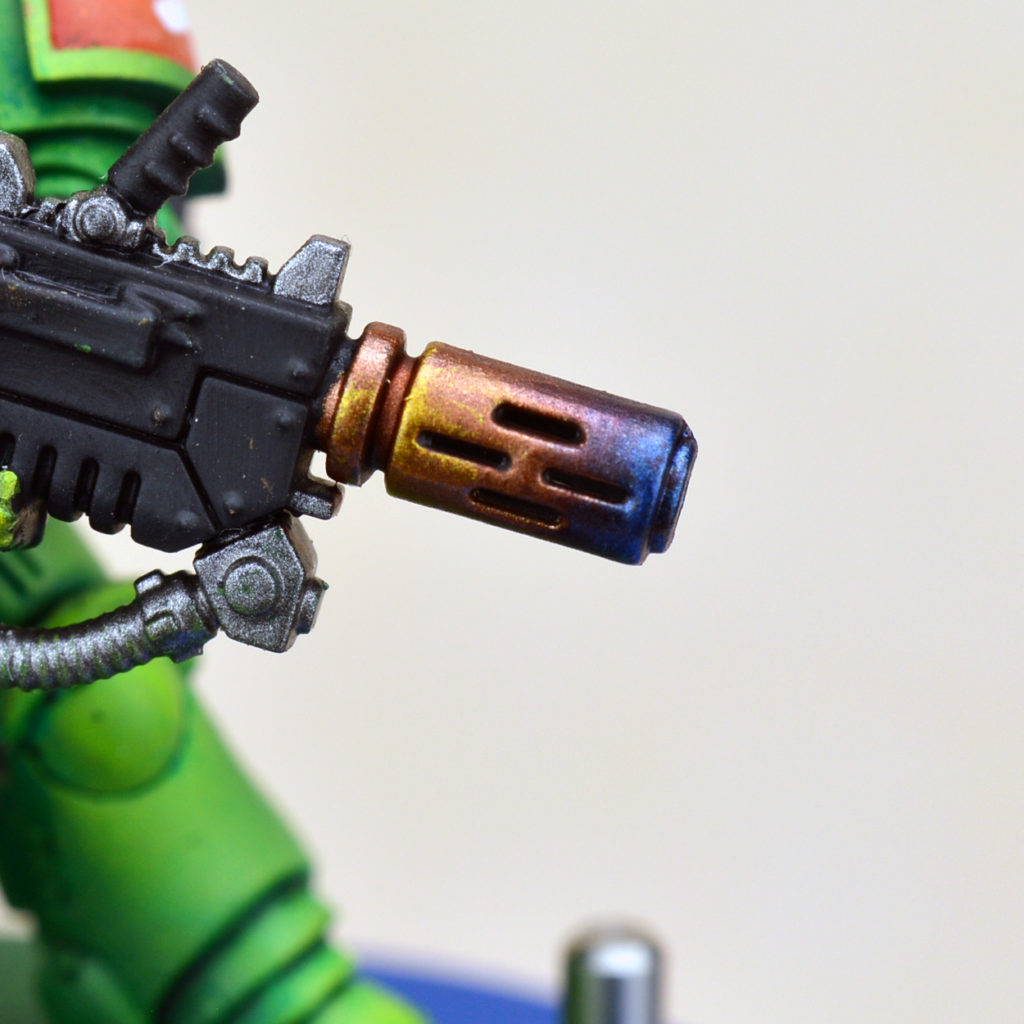
The final step is to clean up the other end of the muzzle with a quick golden highlight. For this, I used Scale 75’s Dwarven Gold. A quick highlight helps make the overall muzzle pop.
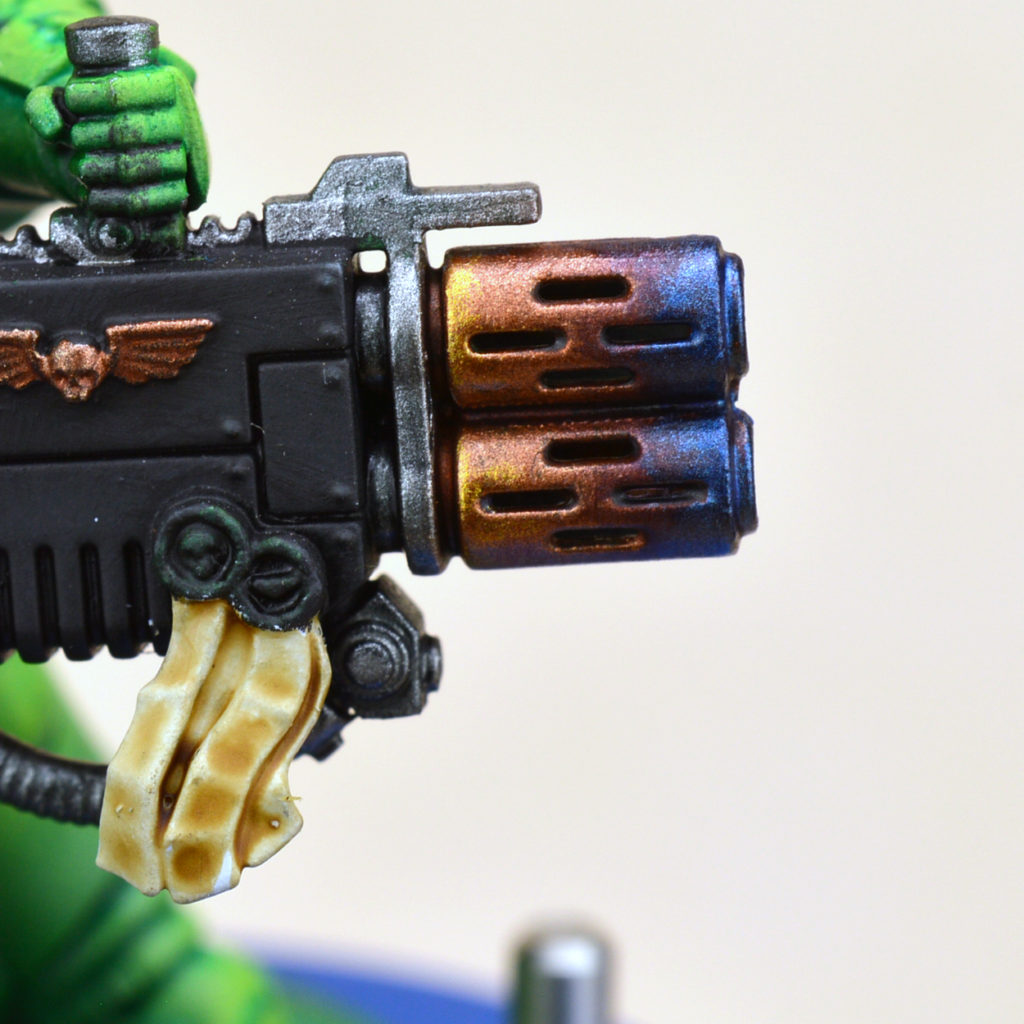
That’s all there is to it! It’s a simple process and easy to batch out with the assistance of a wet palette. In this session, for instance, I did the muzzles on five Eradicators, including the muzzle of a multimelta wielding son of Nocturne.
This recipe works for flamers, meltas, and any other heat-based weaponry. I hope you find time to give it a whirl! Check in next time for our next hobby hangout.
And remember, Frontline Gaming sells gaming products at a discount, every day in their webcart!

Great tips JP! (see what I did there?), But could you share the colours you used to get the amazing Sally green armor as well? I have got to do that!!!