
Hi everyone, Michael here with another terrain tutorial, this time I’ve been making some forests for my lava mat. For more reviews and analyses, check out the Tactics Corner.
I’ve been on a bit of a terrain kick recently, getting some new boards made up for my local gaming club, and the tournaments that we are hosting. I had already made some lava hills for my board, so wanted some dense terrain to add some variety. I decided to make some barren forests. These go very well with the FLG mats, Planet 37 or Lava 1.
For this piece, you will need:
- Chipboard for base (I use 2 mm)
- cork board (I use 2 mm)
- PVA glue
- Sand
- Poster paints
- Plastic wasteland trees
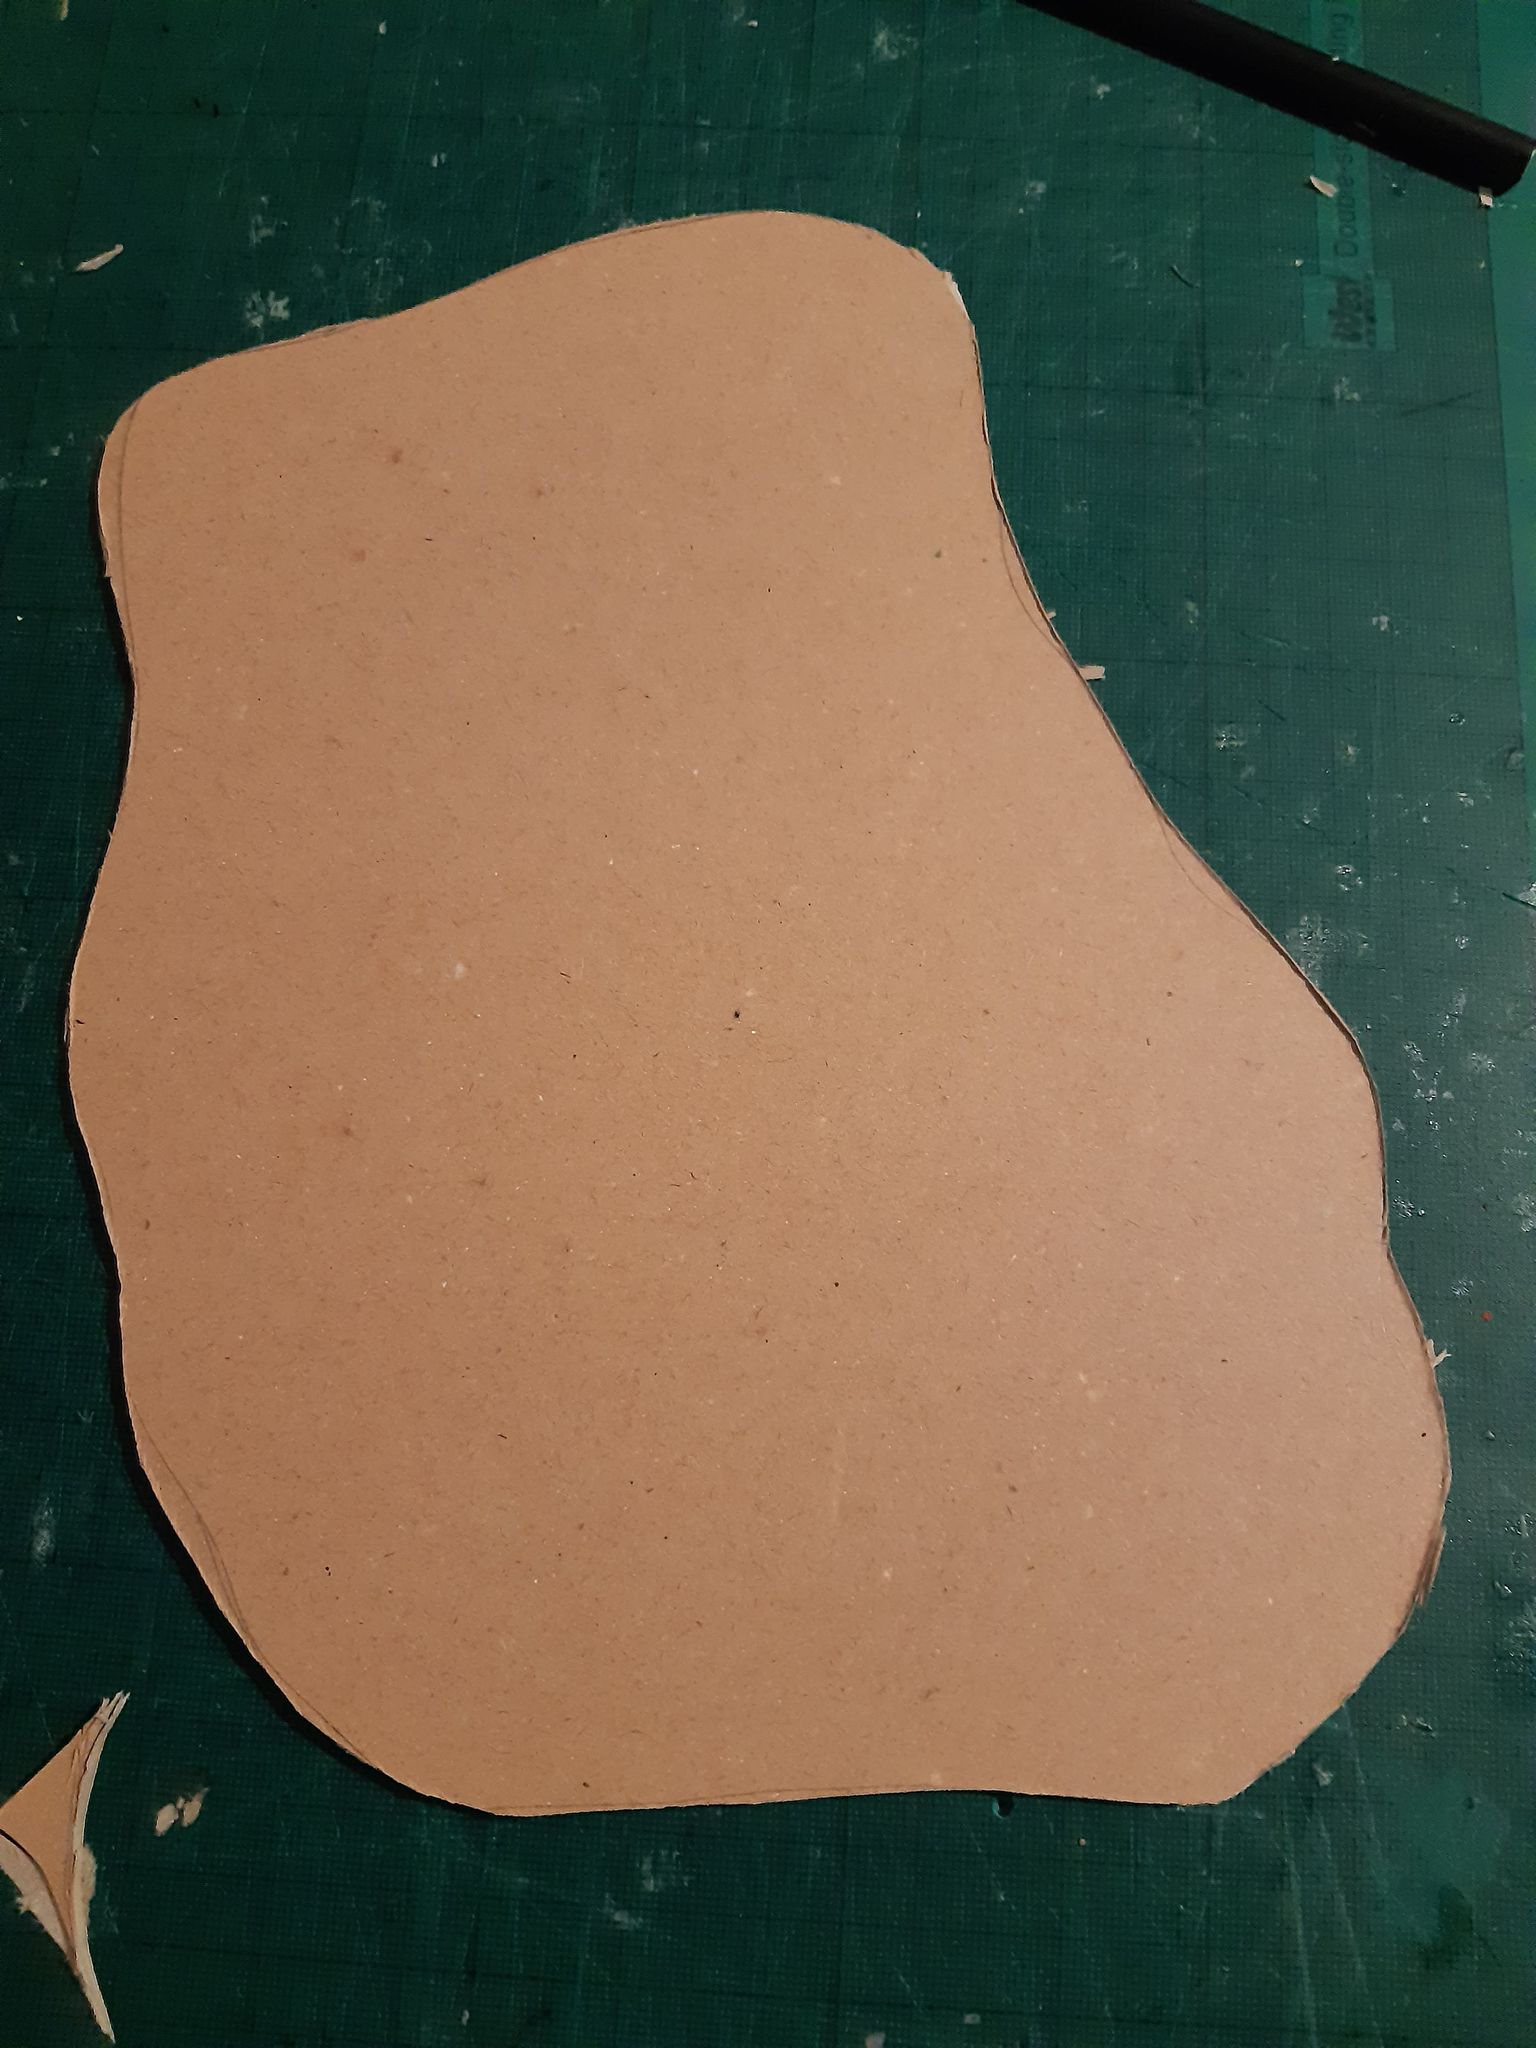
Step 1- Cut out the base using chipboard. You can cut whatever size coverage you wish.
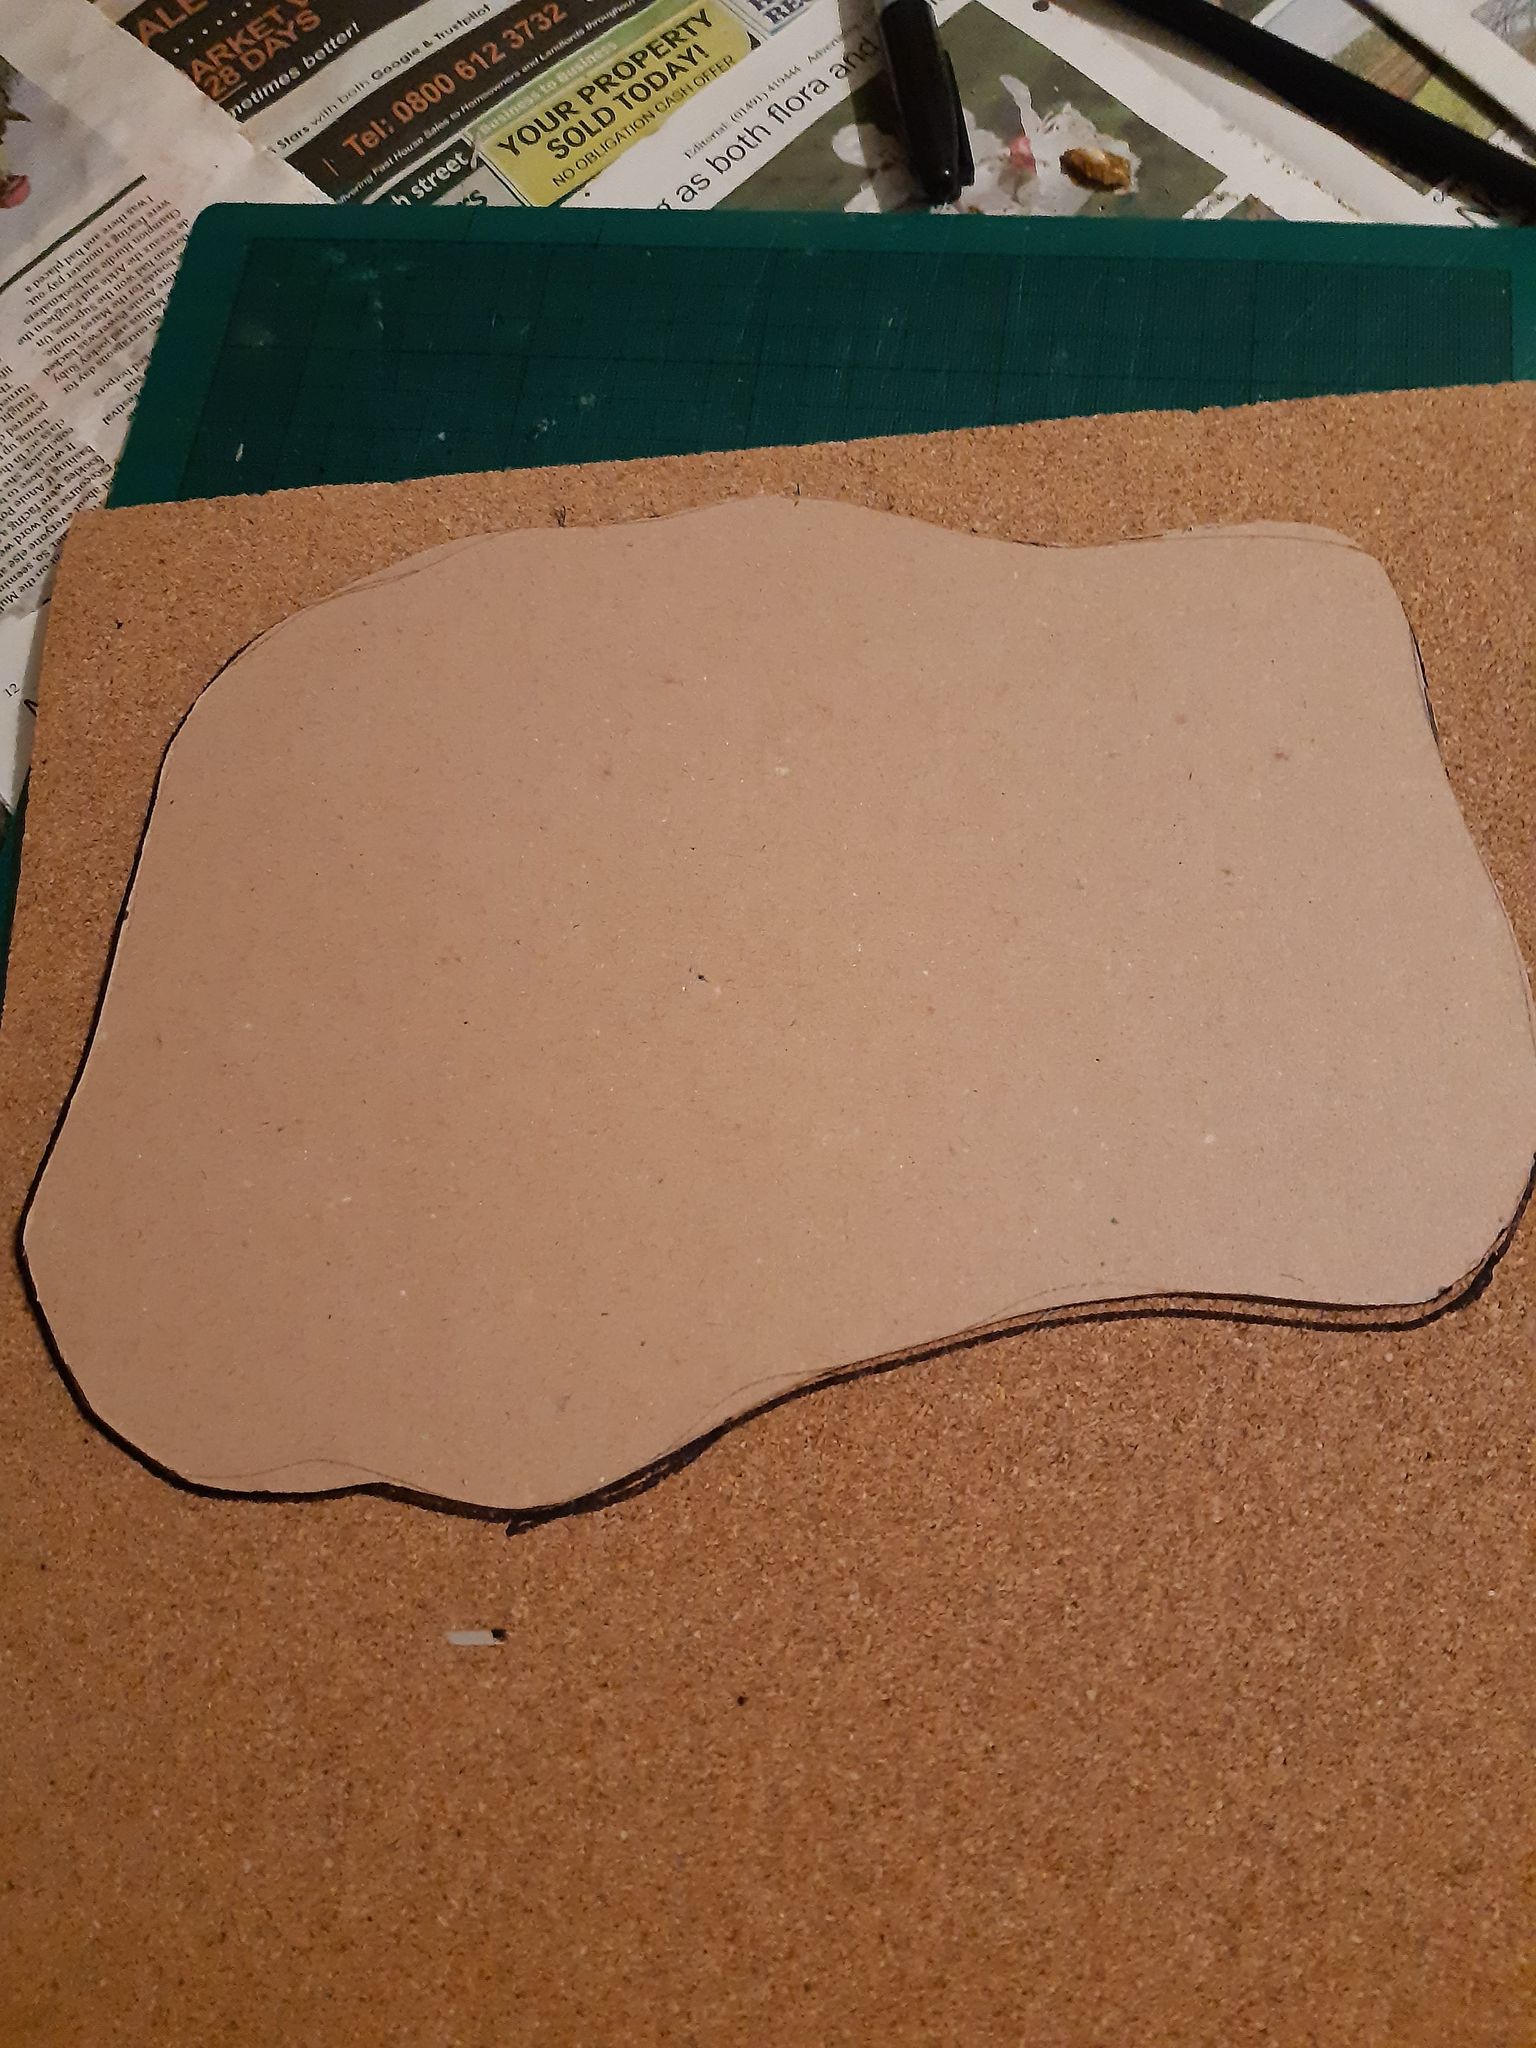
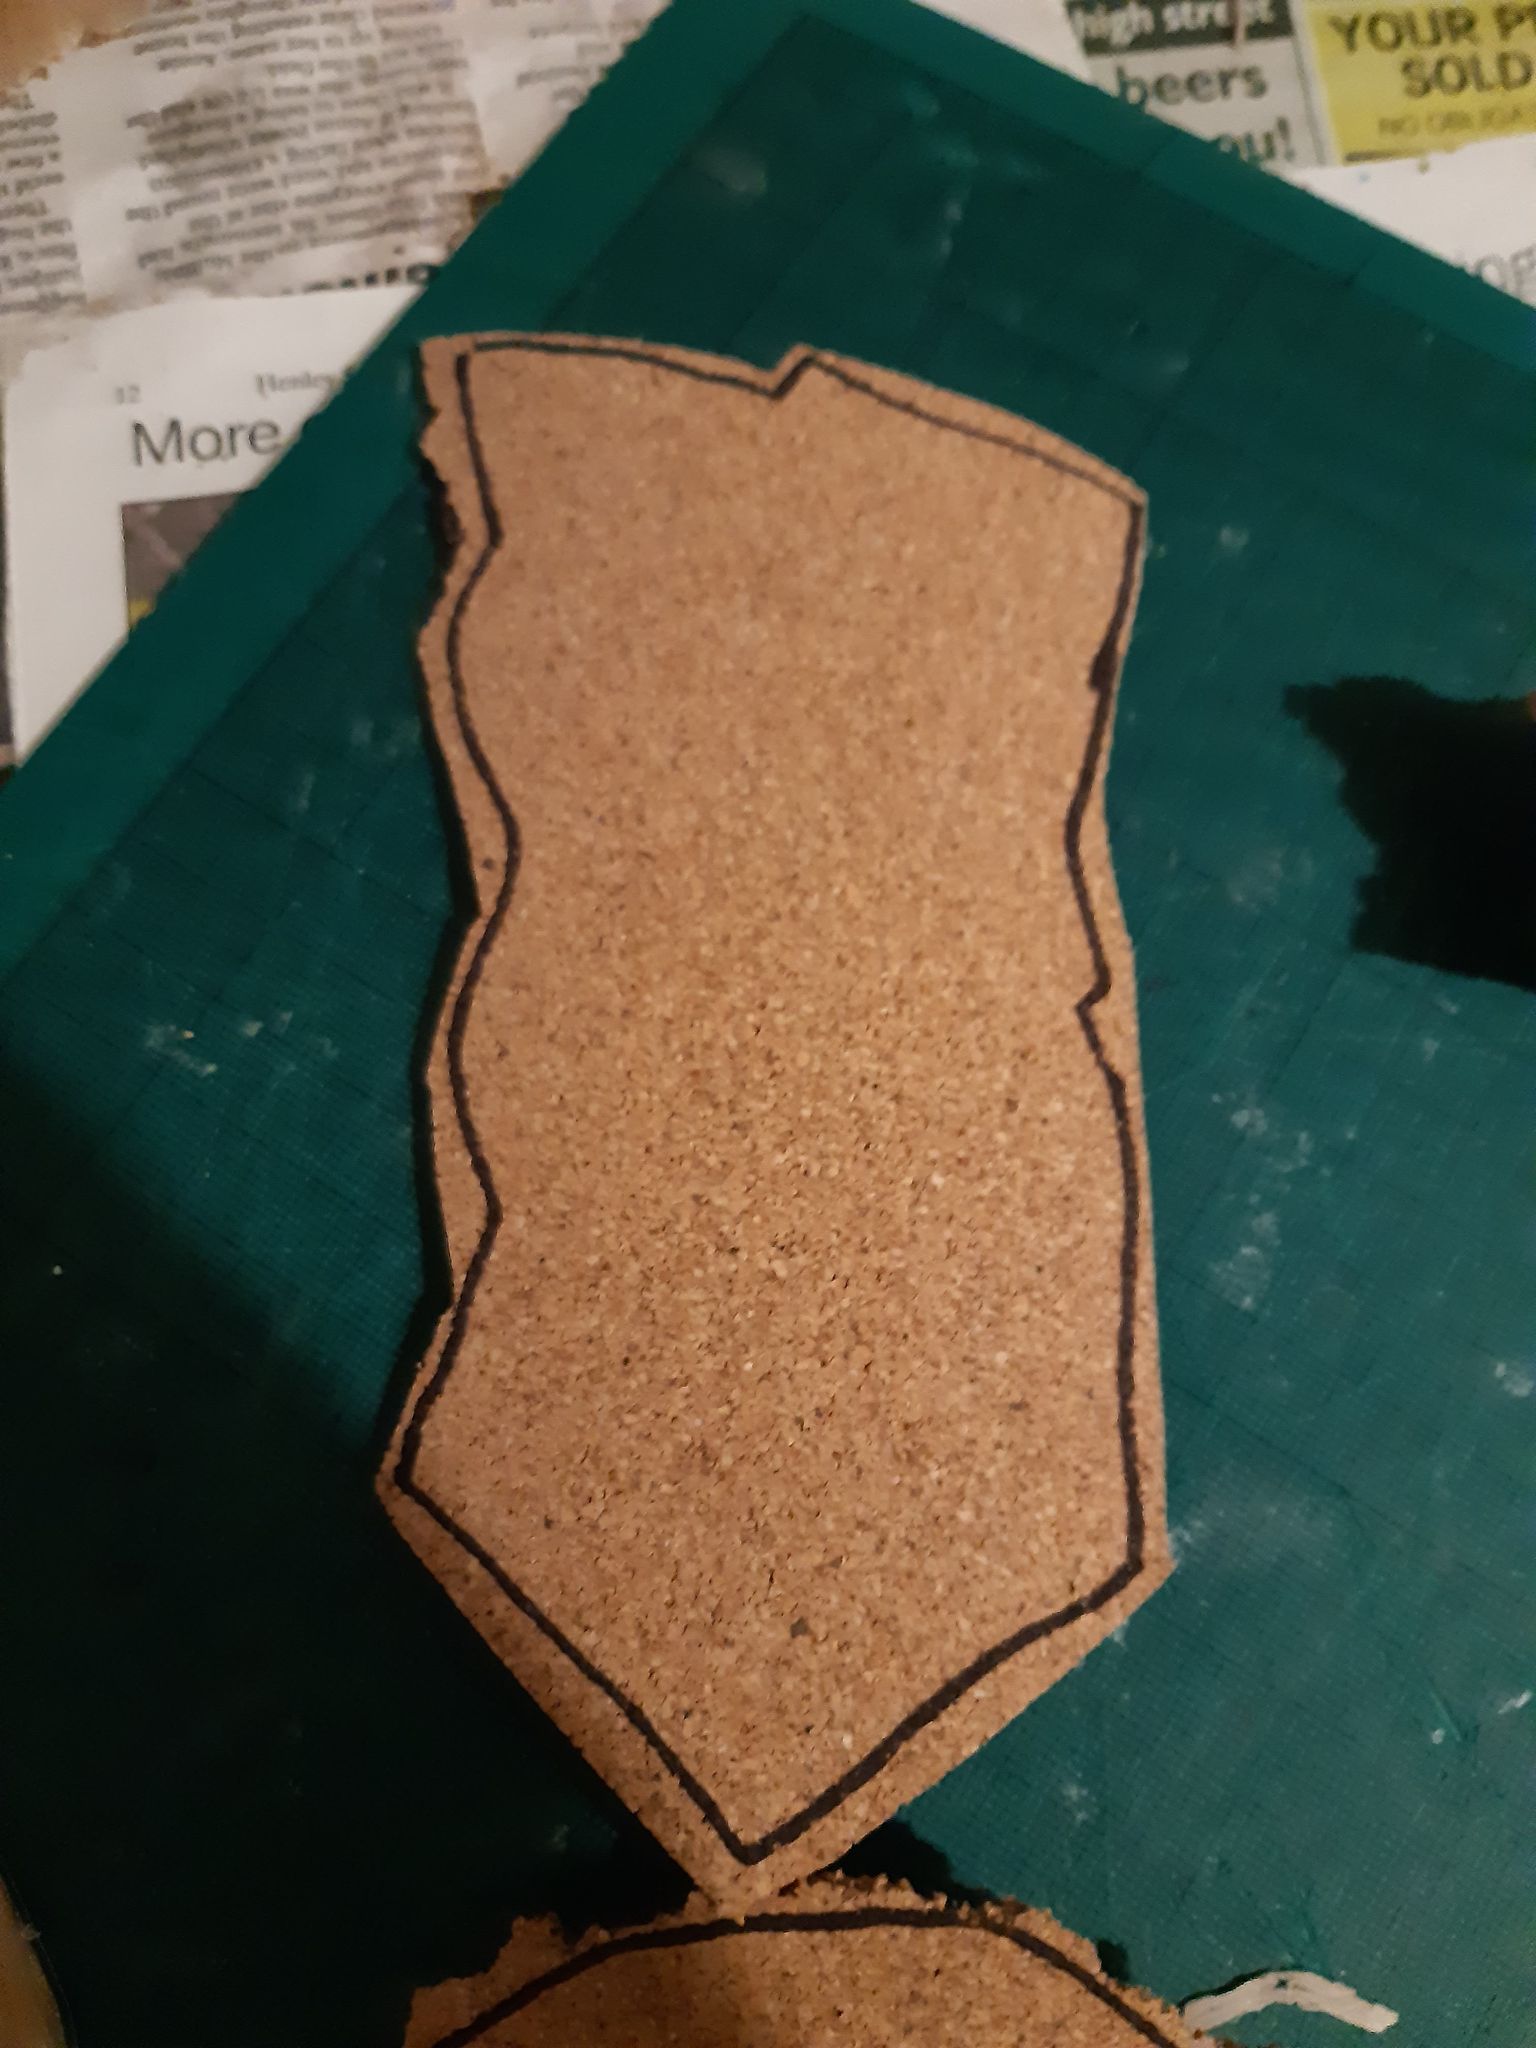
Step 2- Trace the outline of the chipboard base on your cork board. Rip off the selected section. I like to keep a rough edge on the cork outline and overlap the base a little.
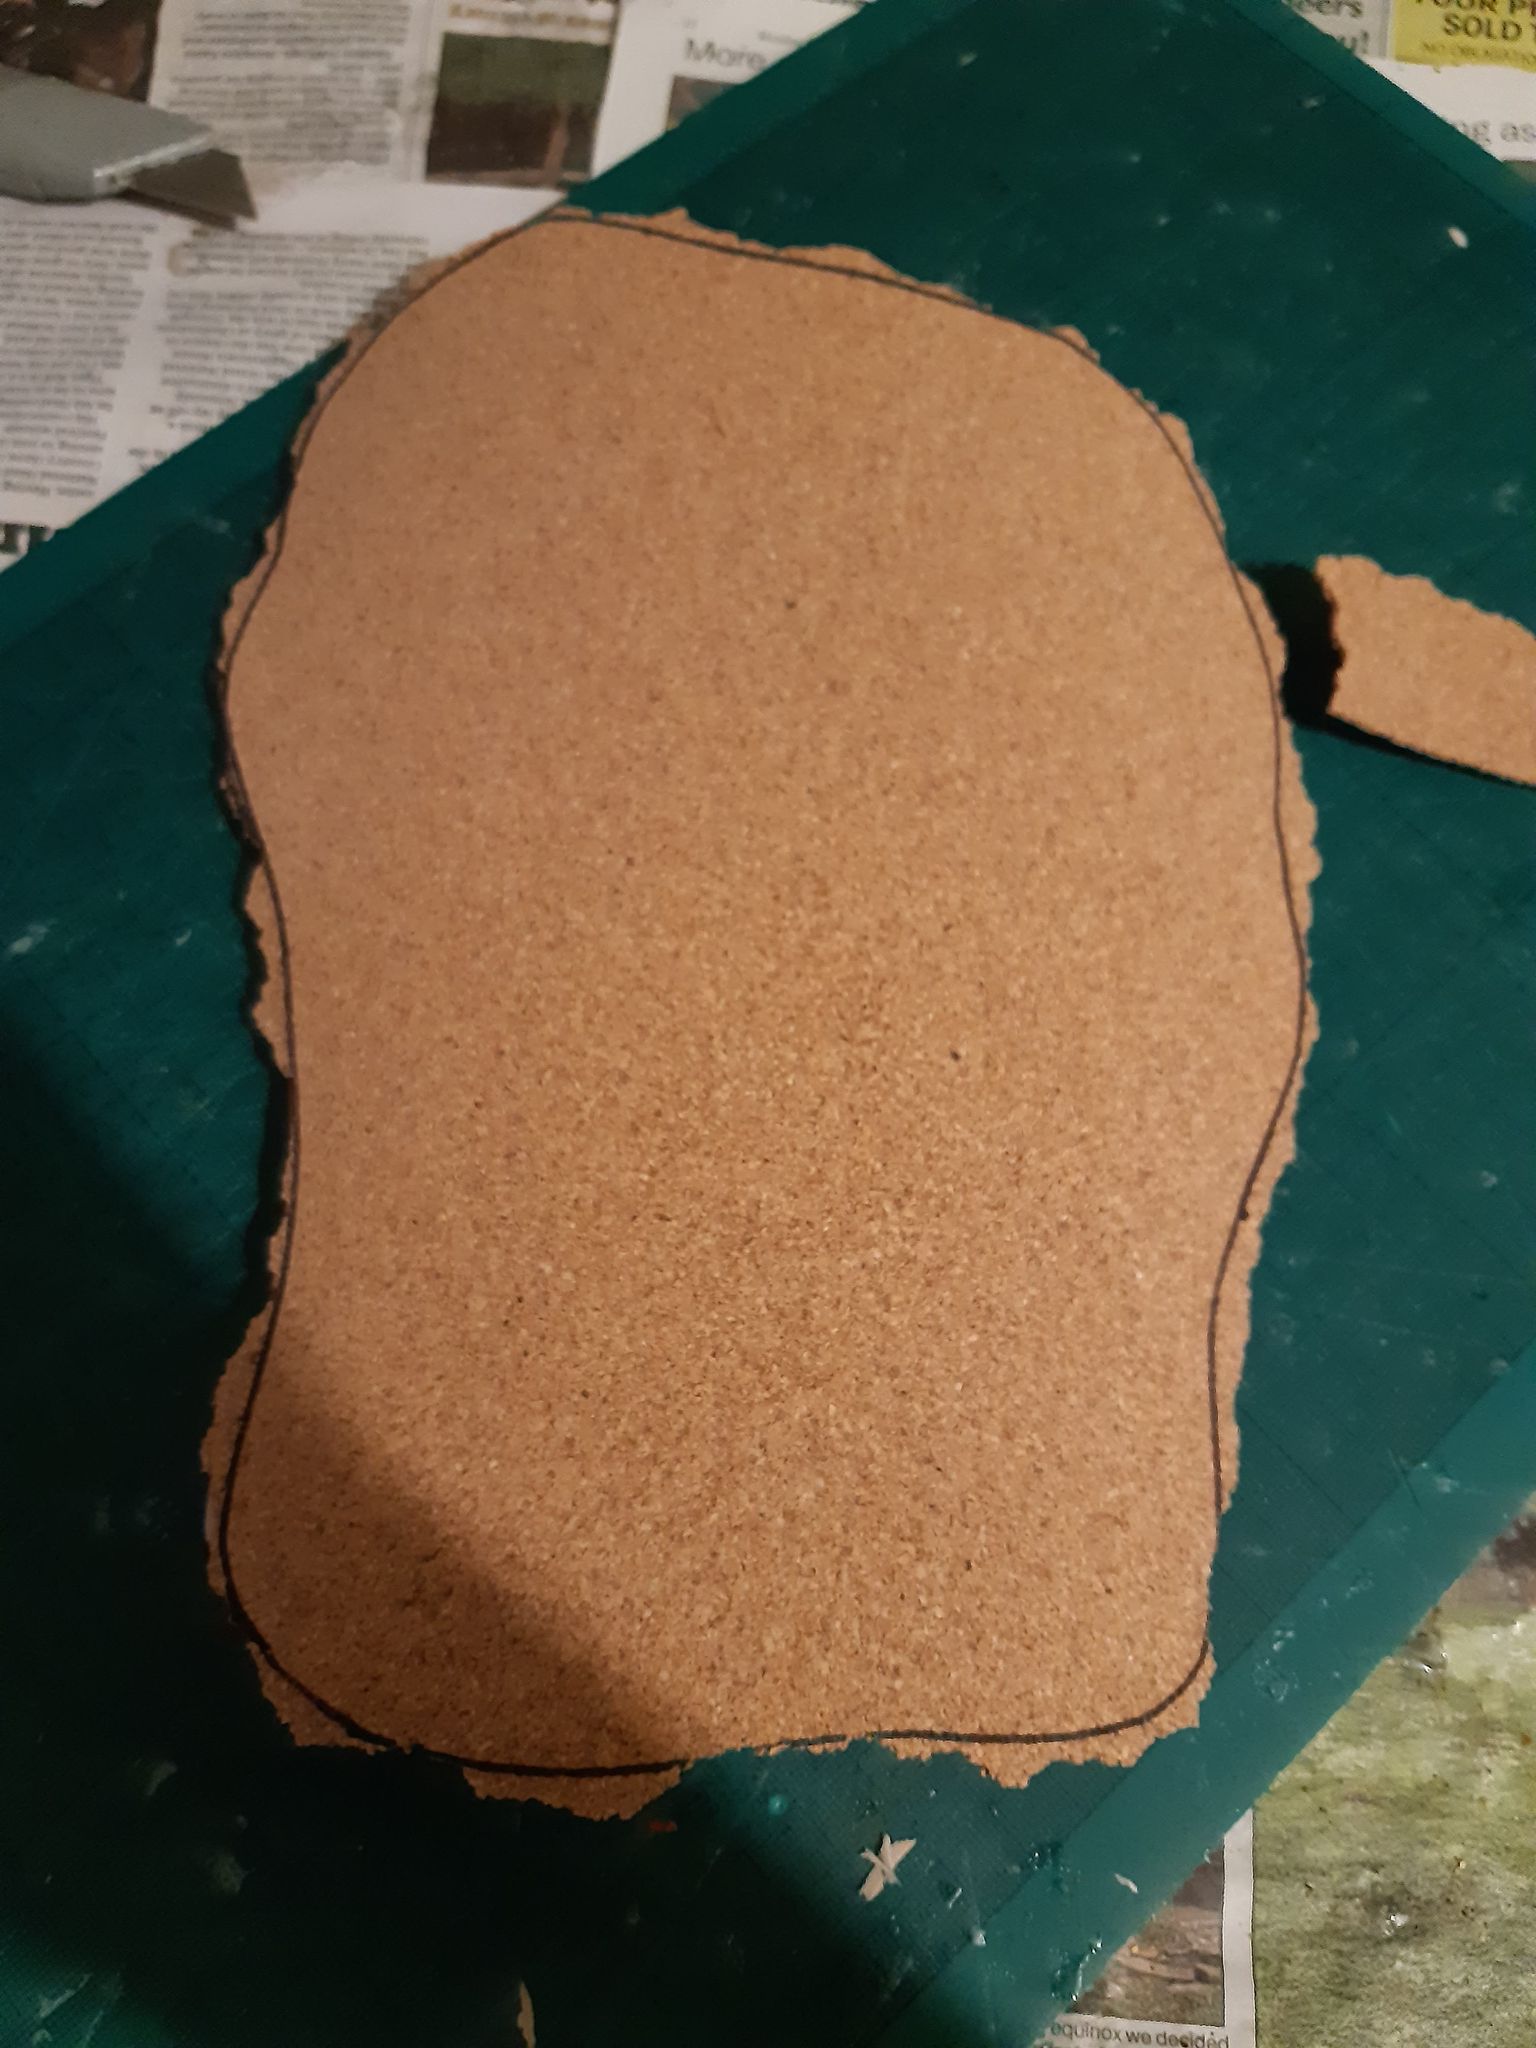
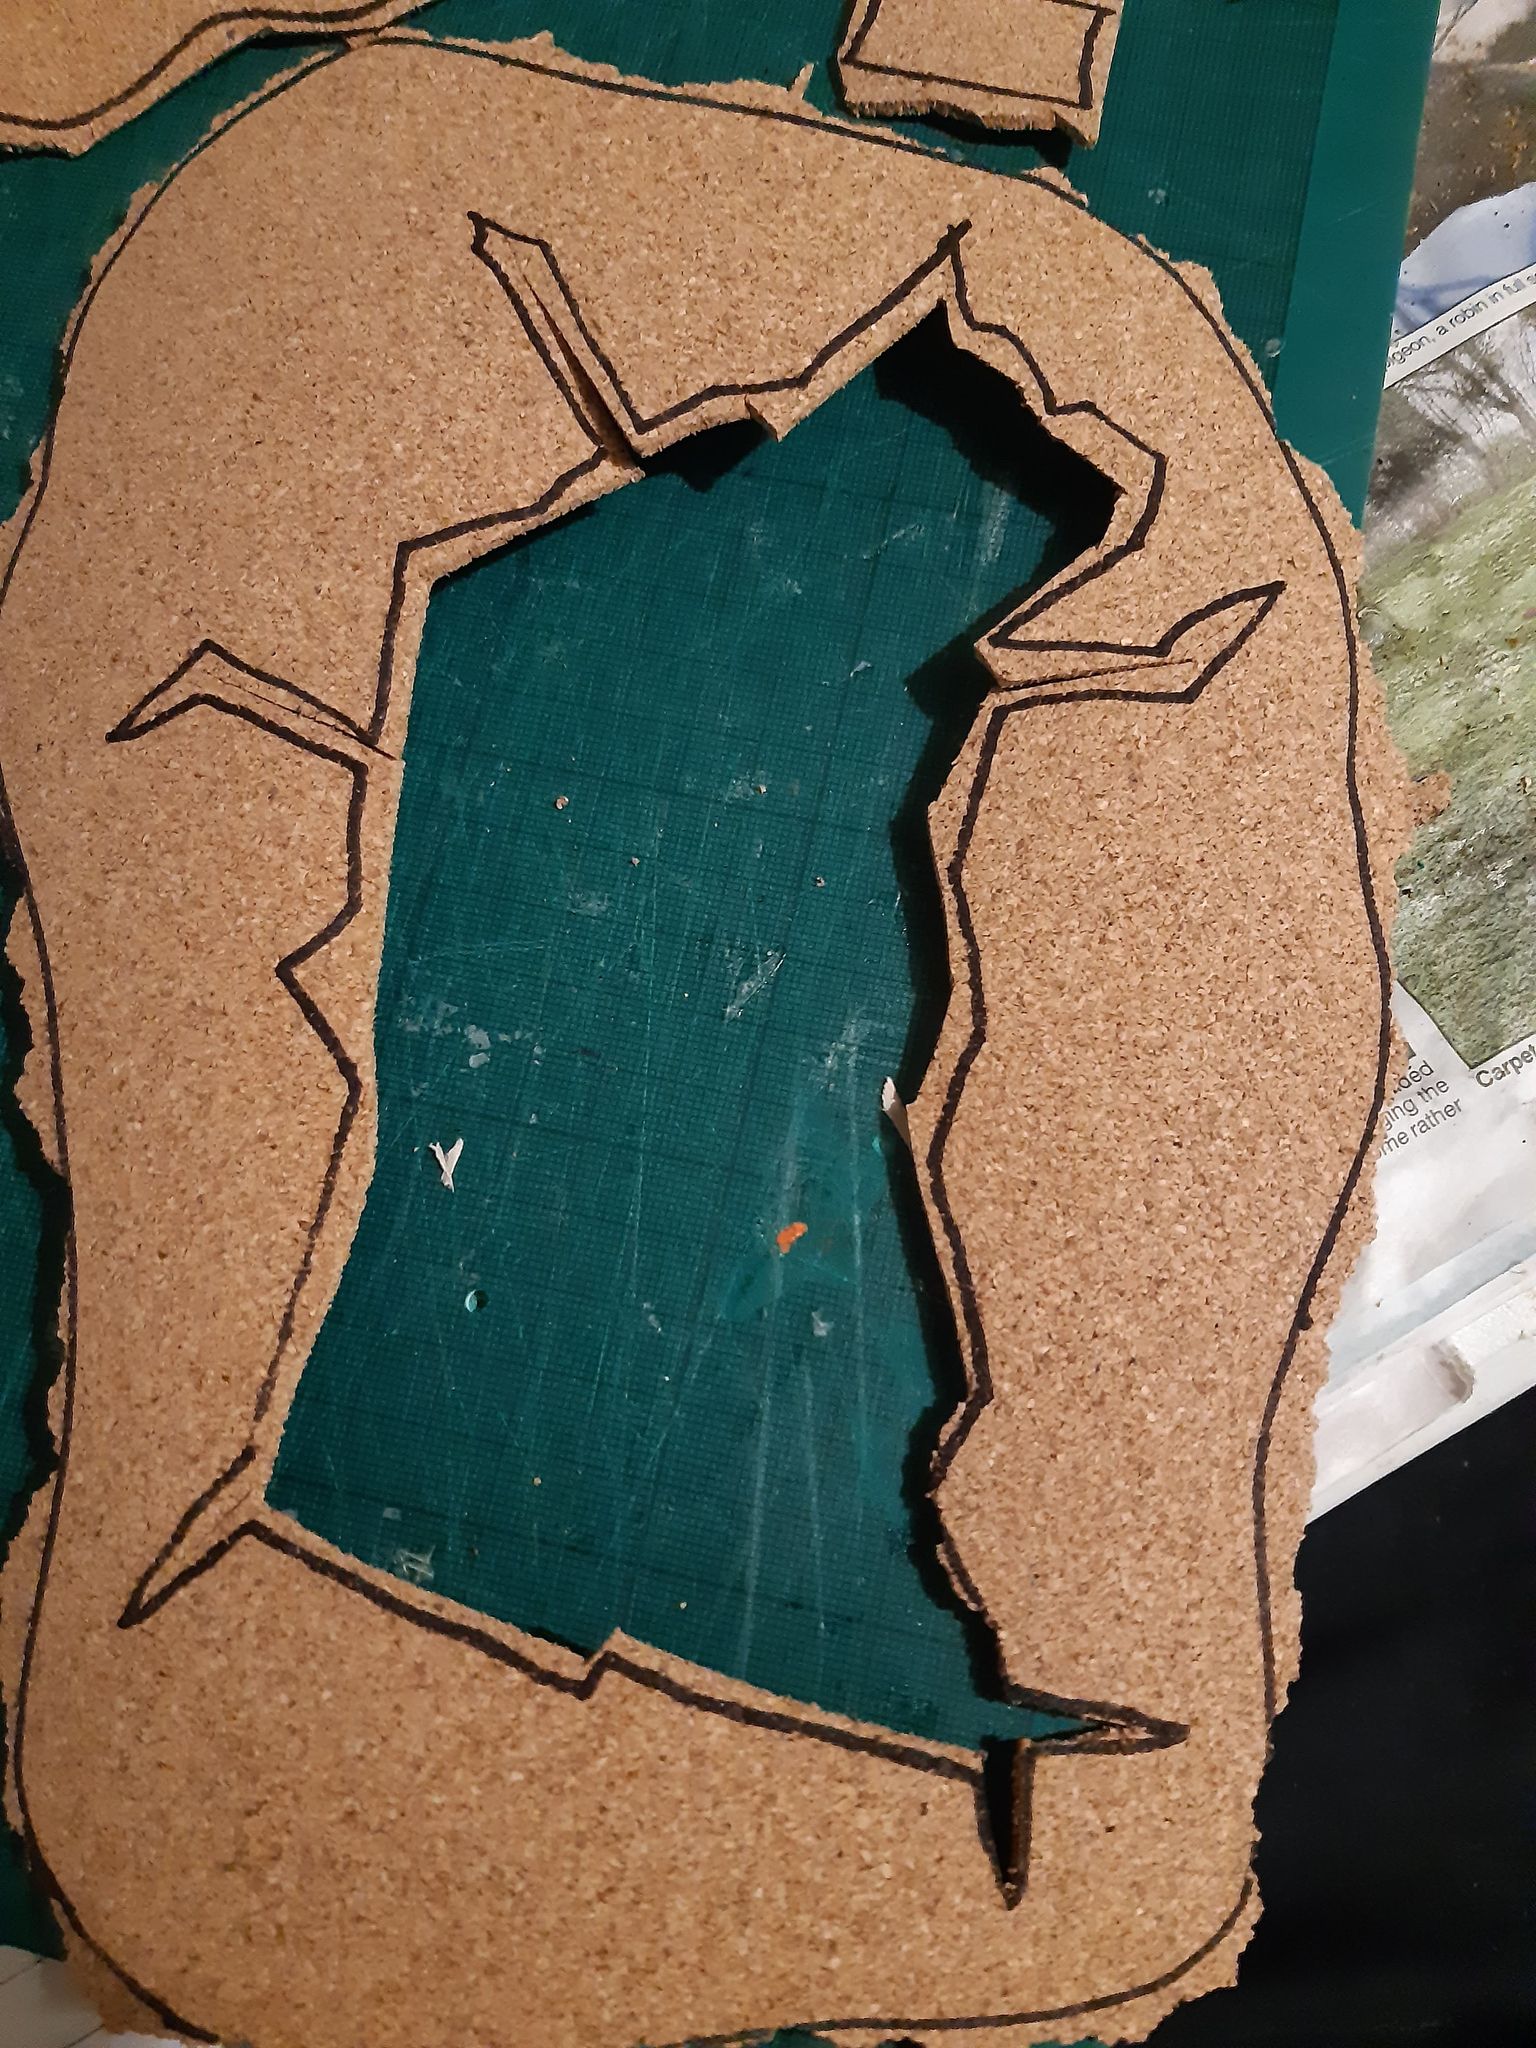
Step 3- Draw on your cracked earth design. I like to mimic some sections of the mat to help it blend in.
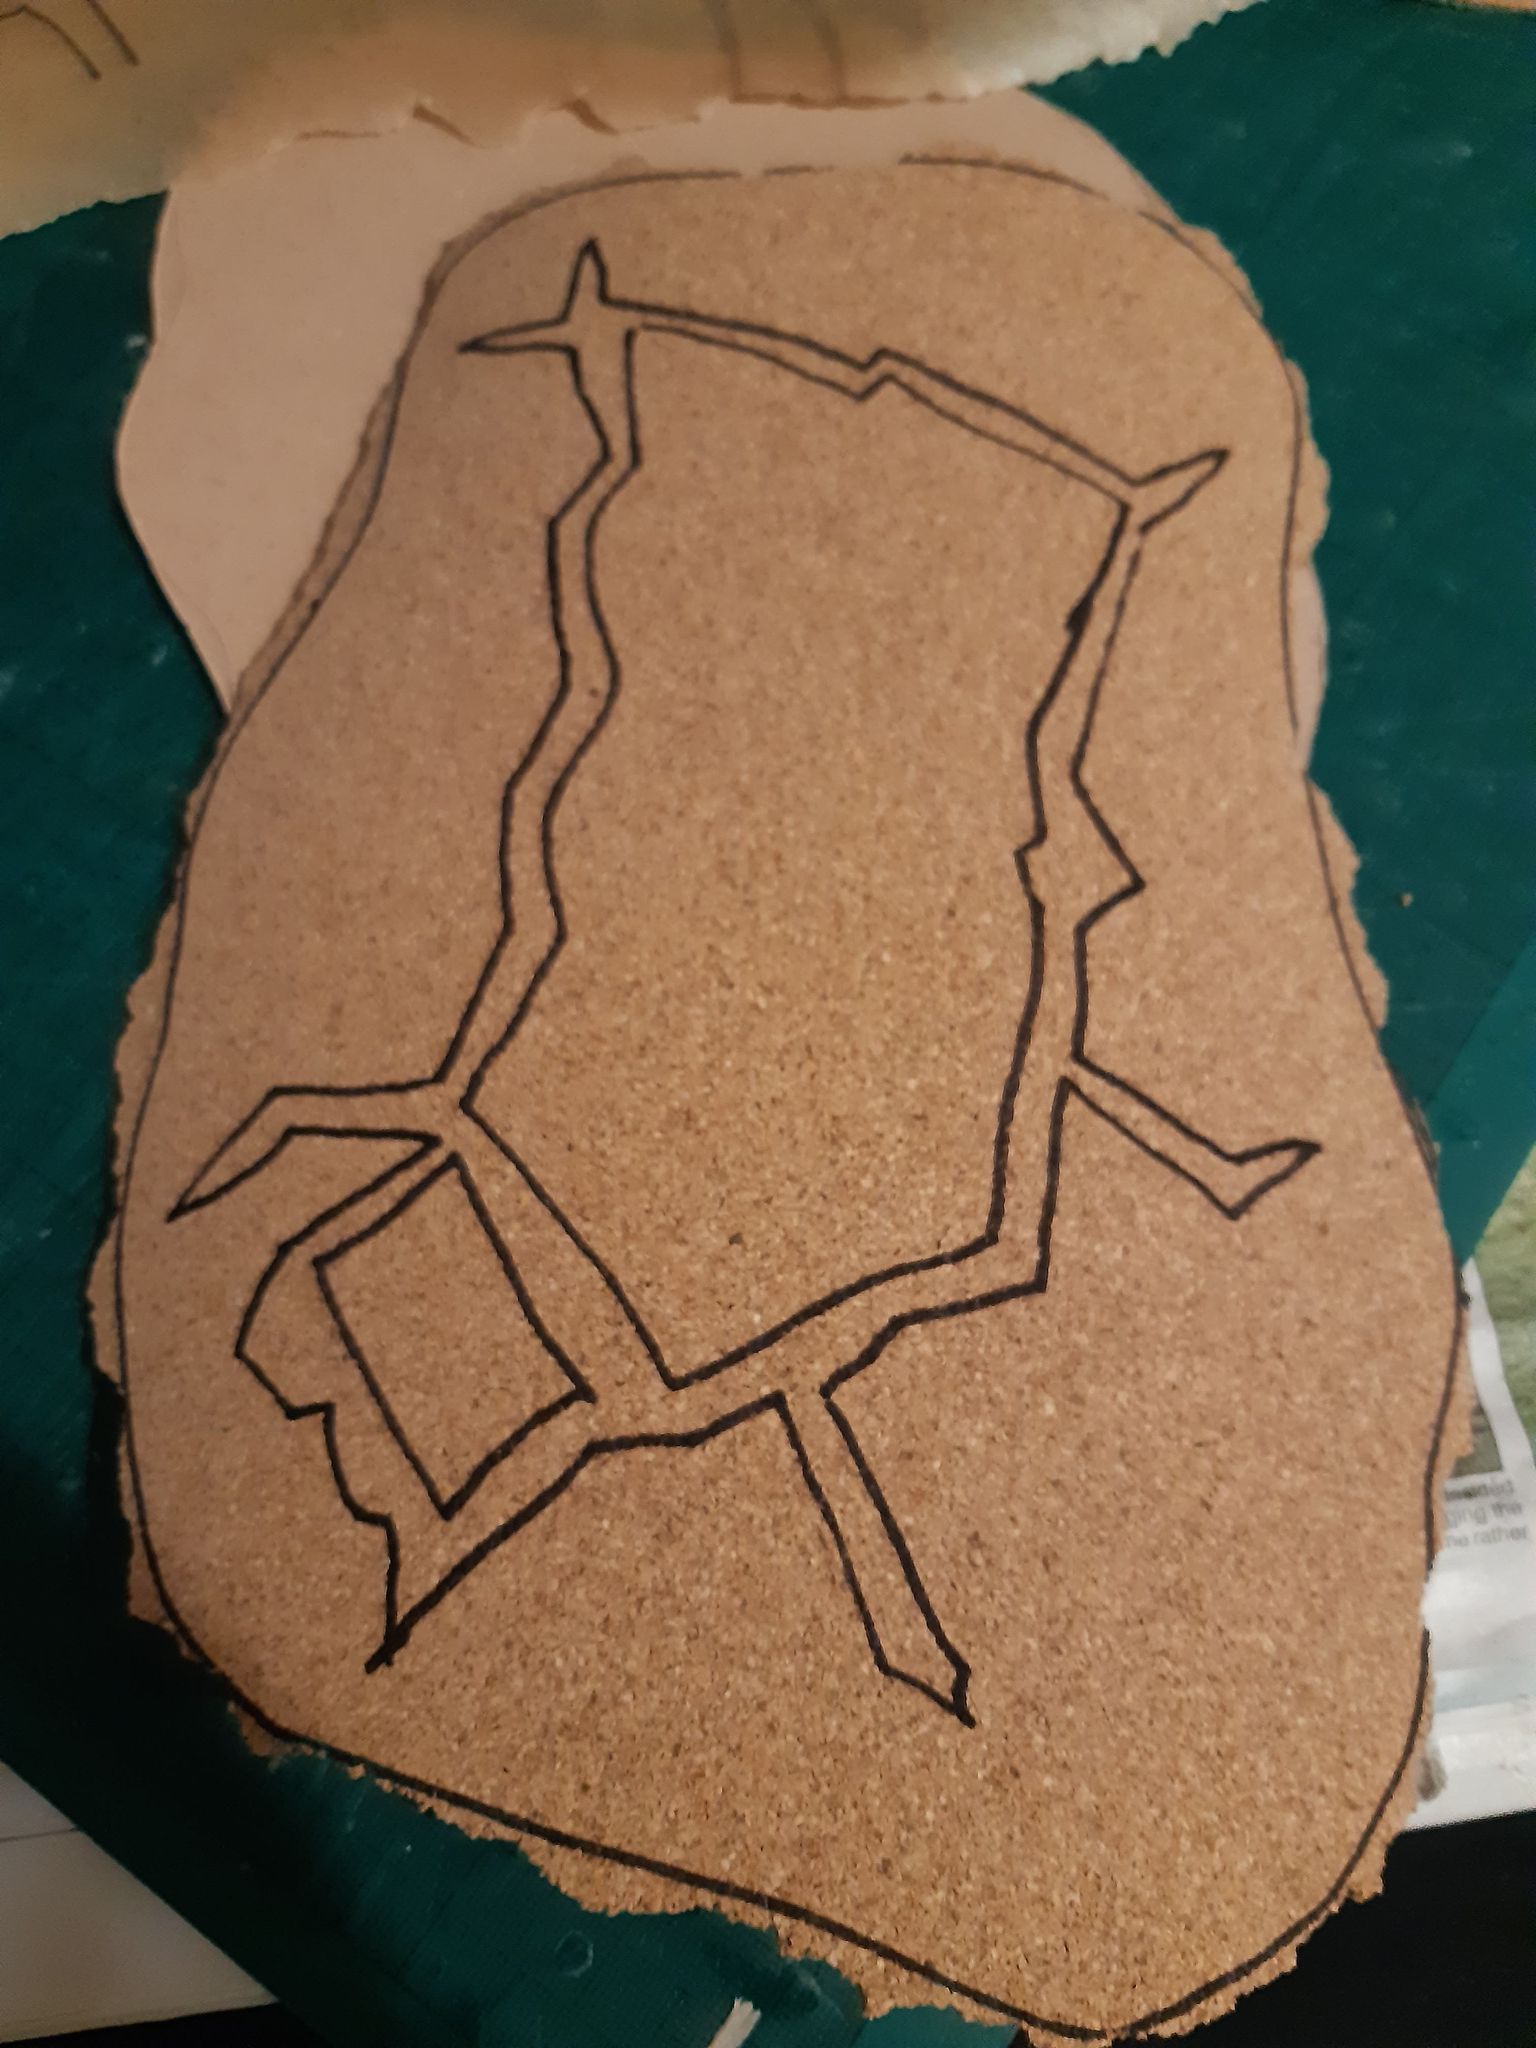
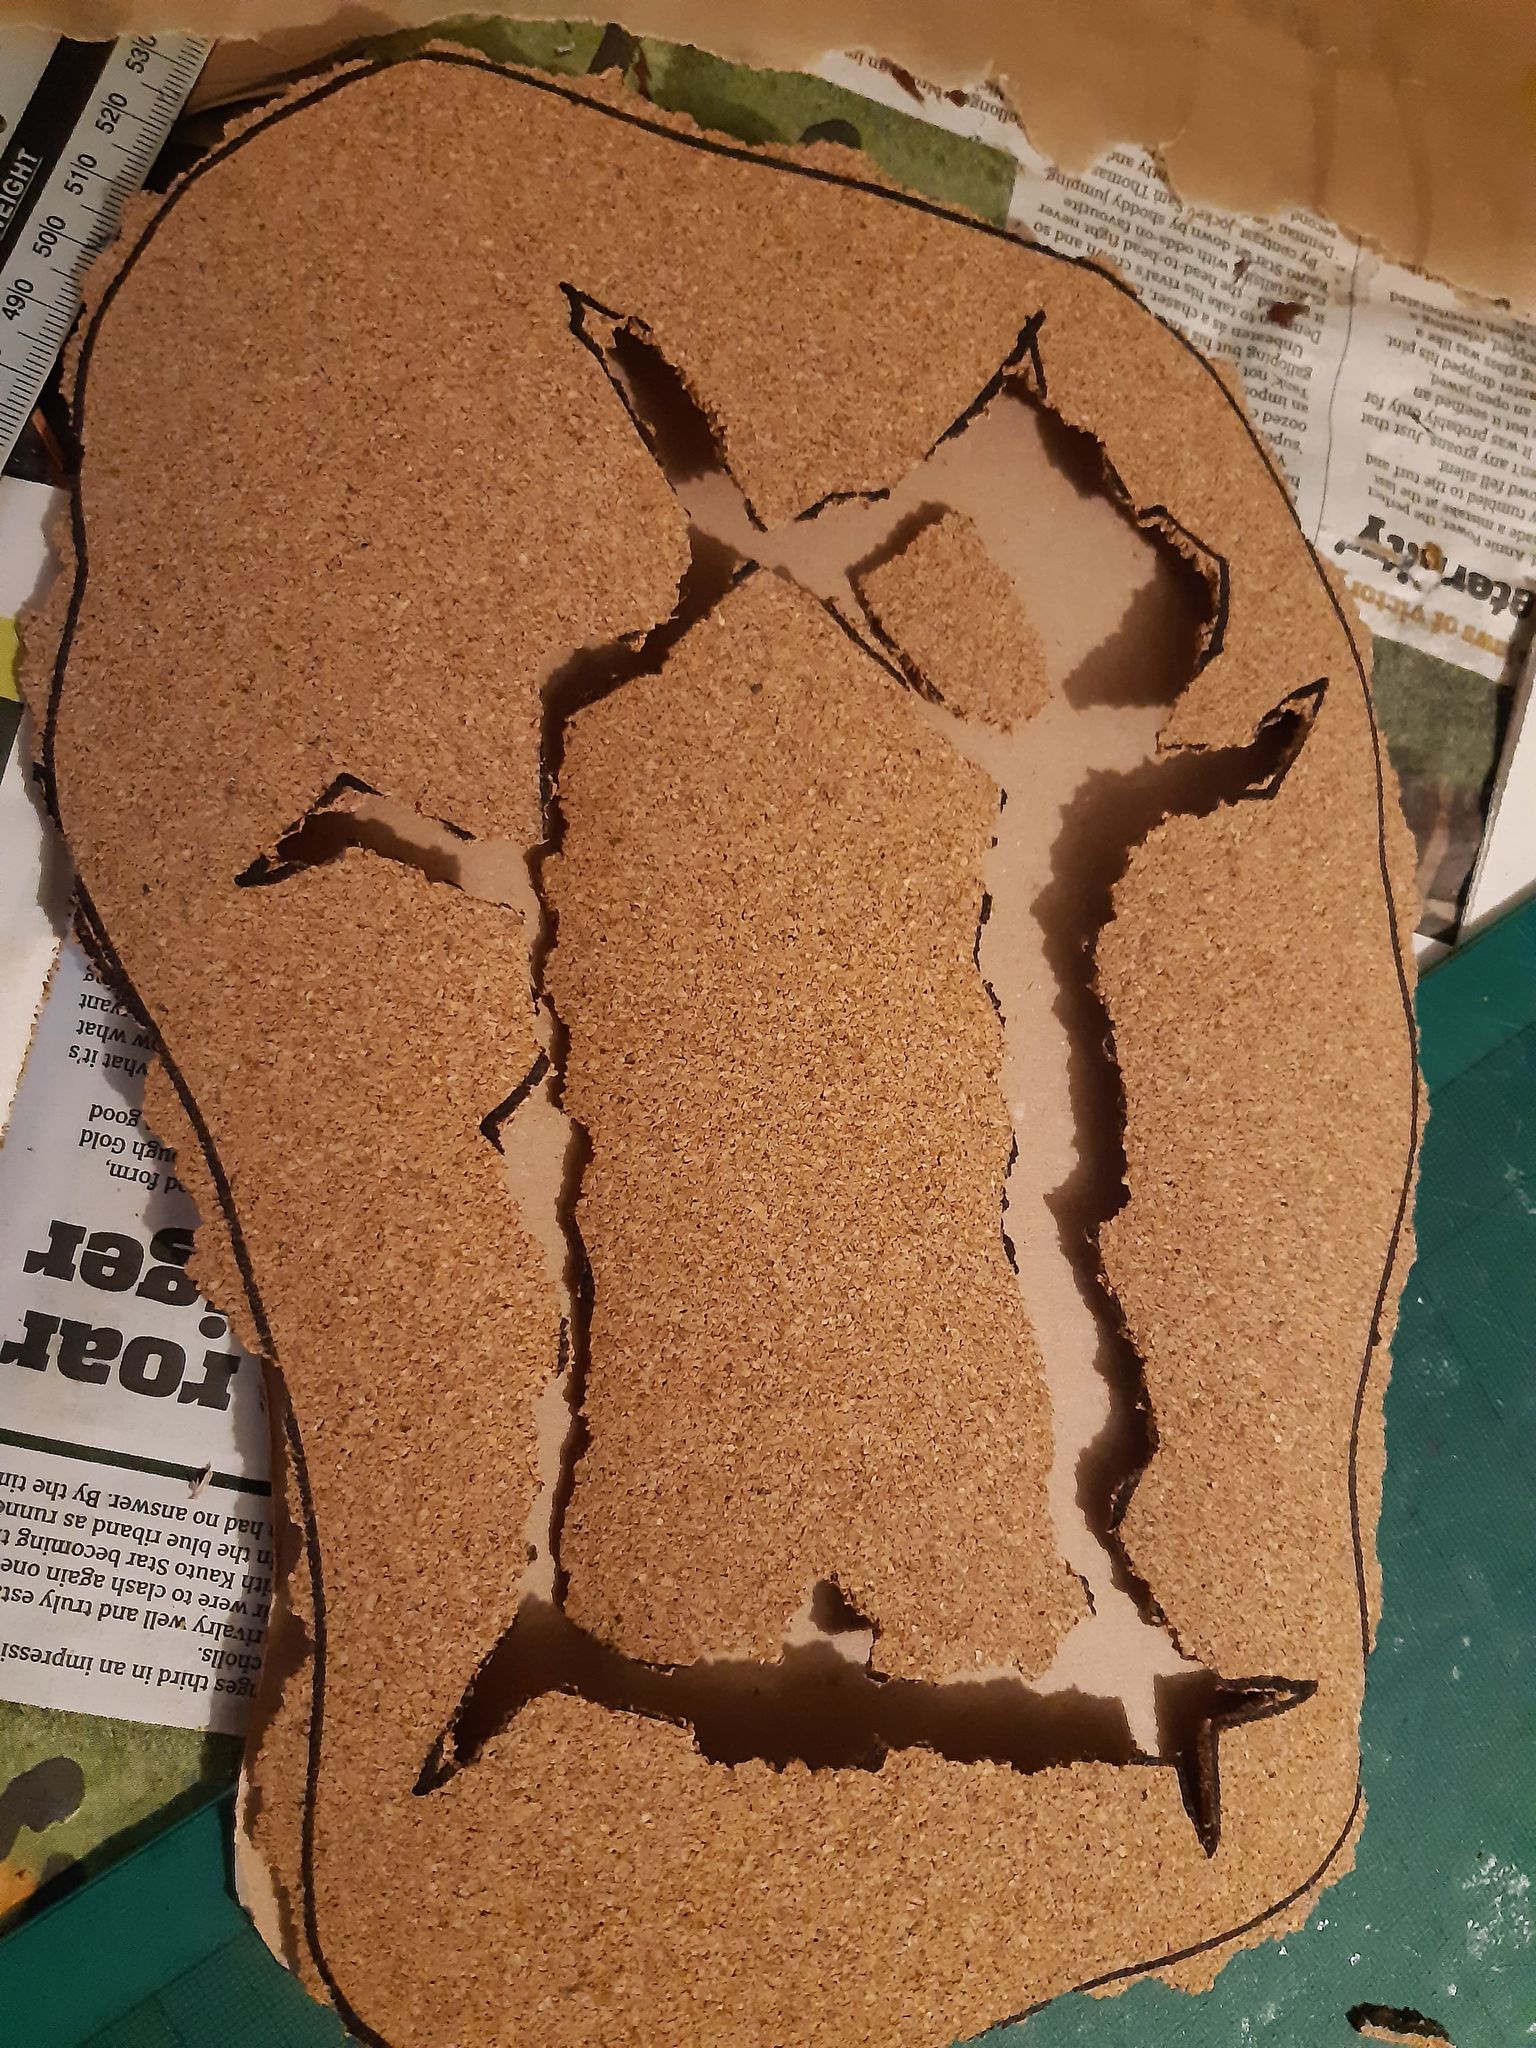
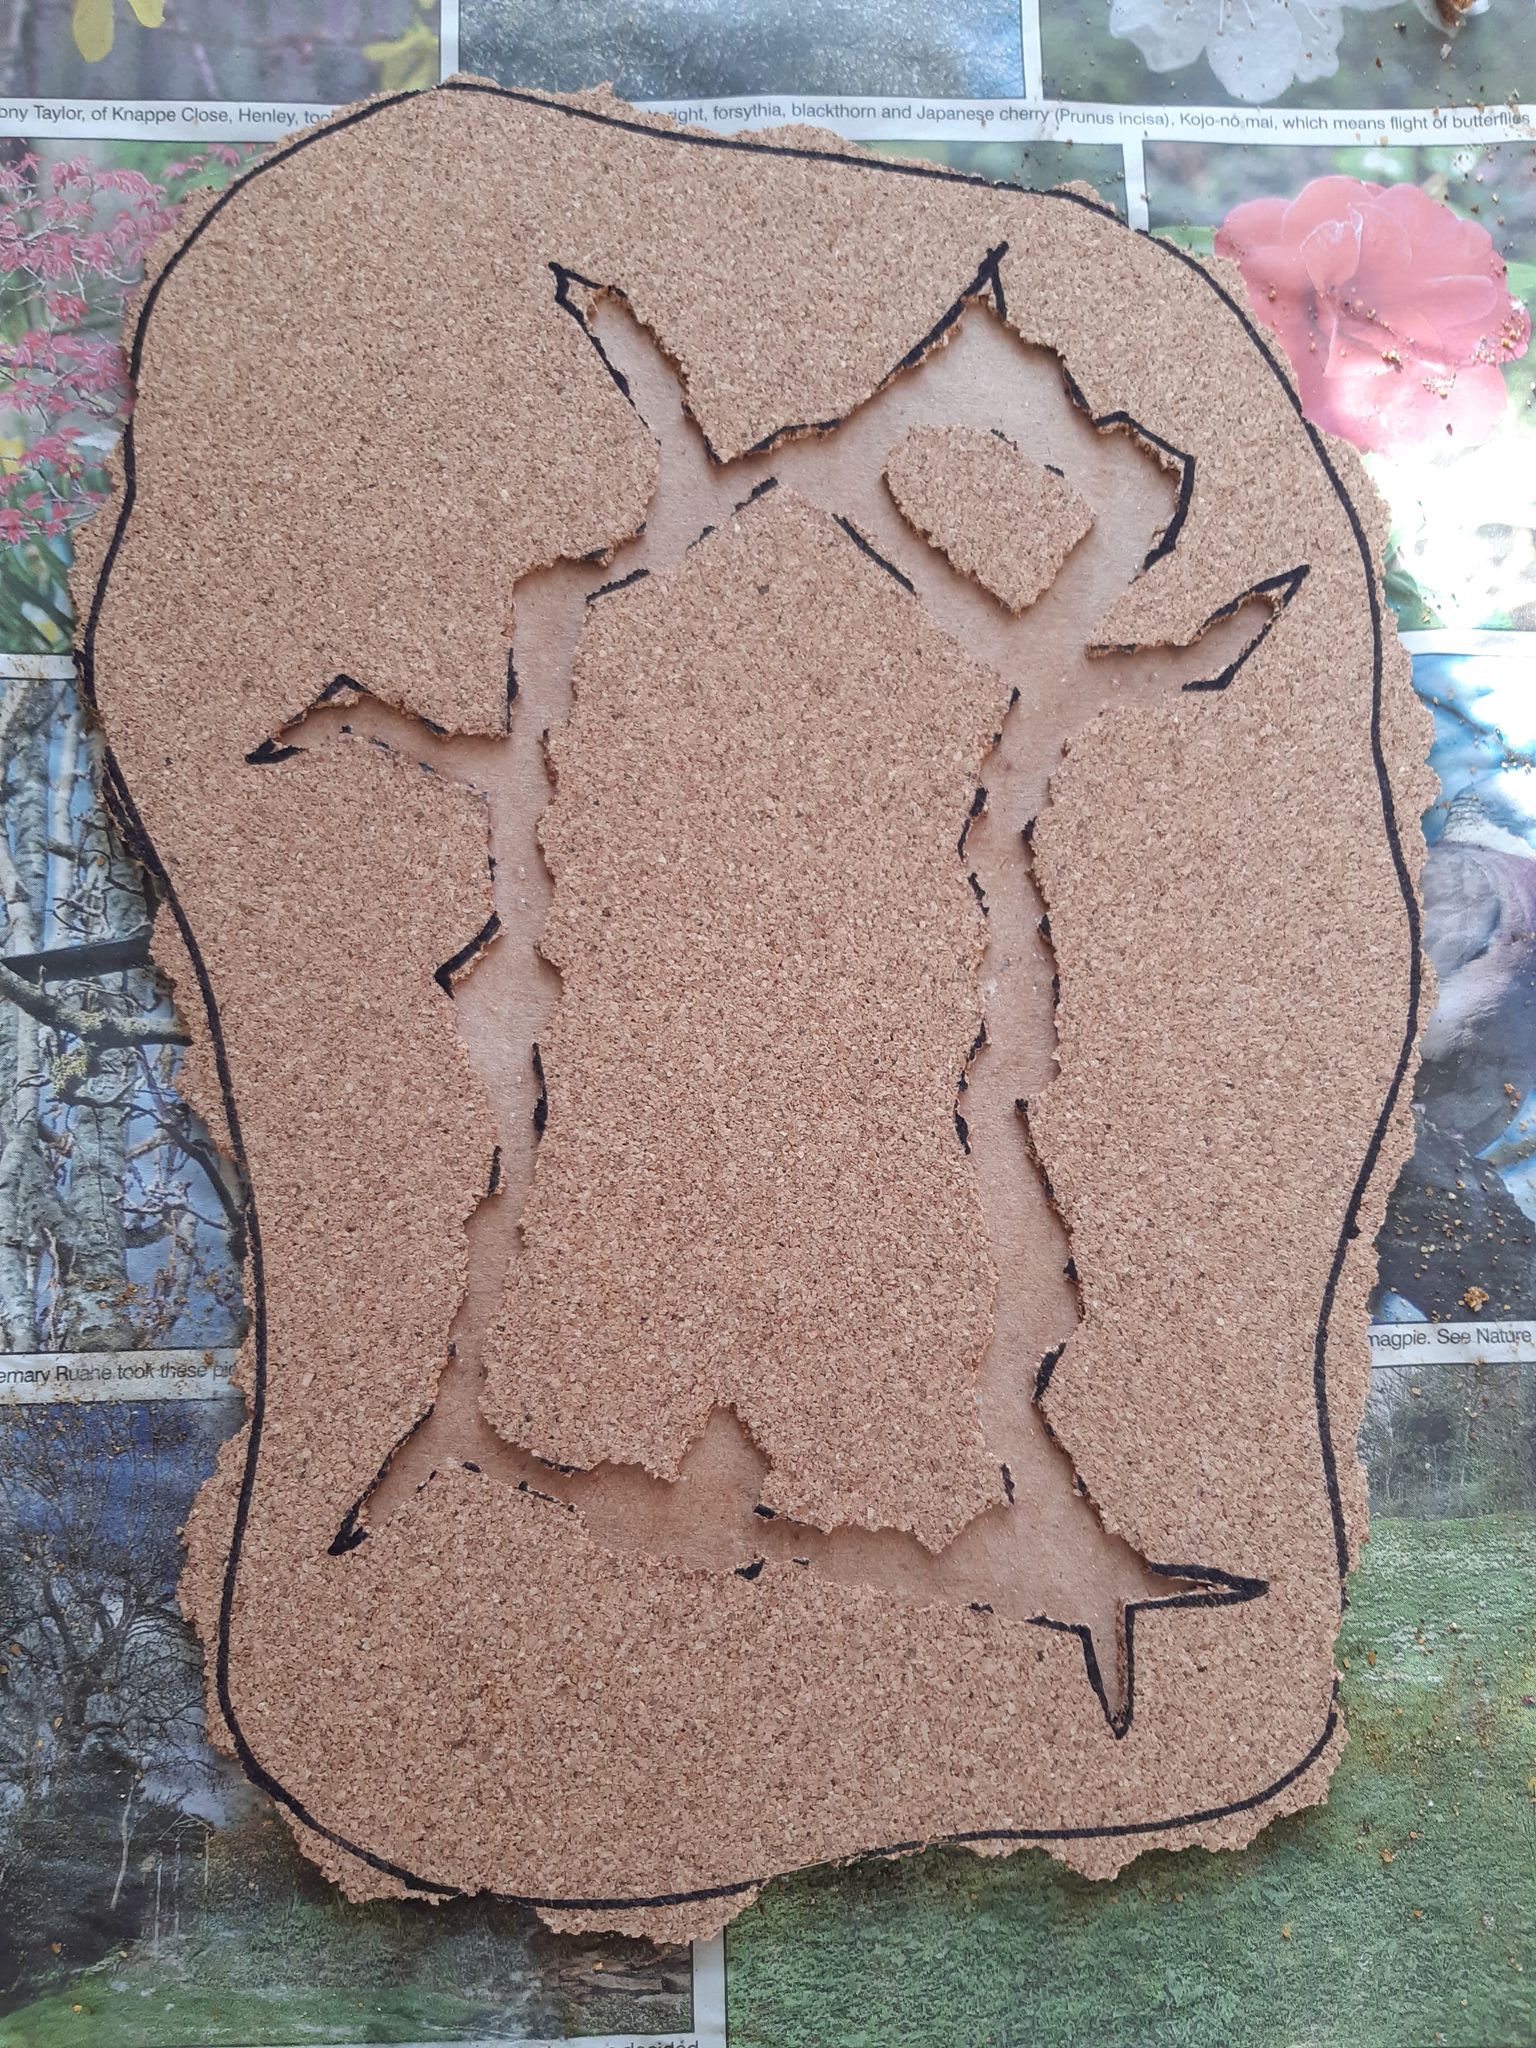
Step 4- Cut out the cracked earth design. Again, I like to roughly cut the area of the piece and rip off sections of cork to get a rougher look for the terrain.
Step 5- Glue the cork to the chipboard base using PVA glue. Once applied, I like to put a few heavy books on the base to ensure a tight seal with the glue.
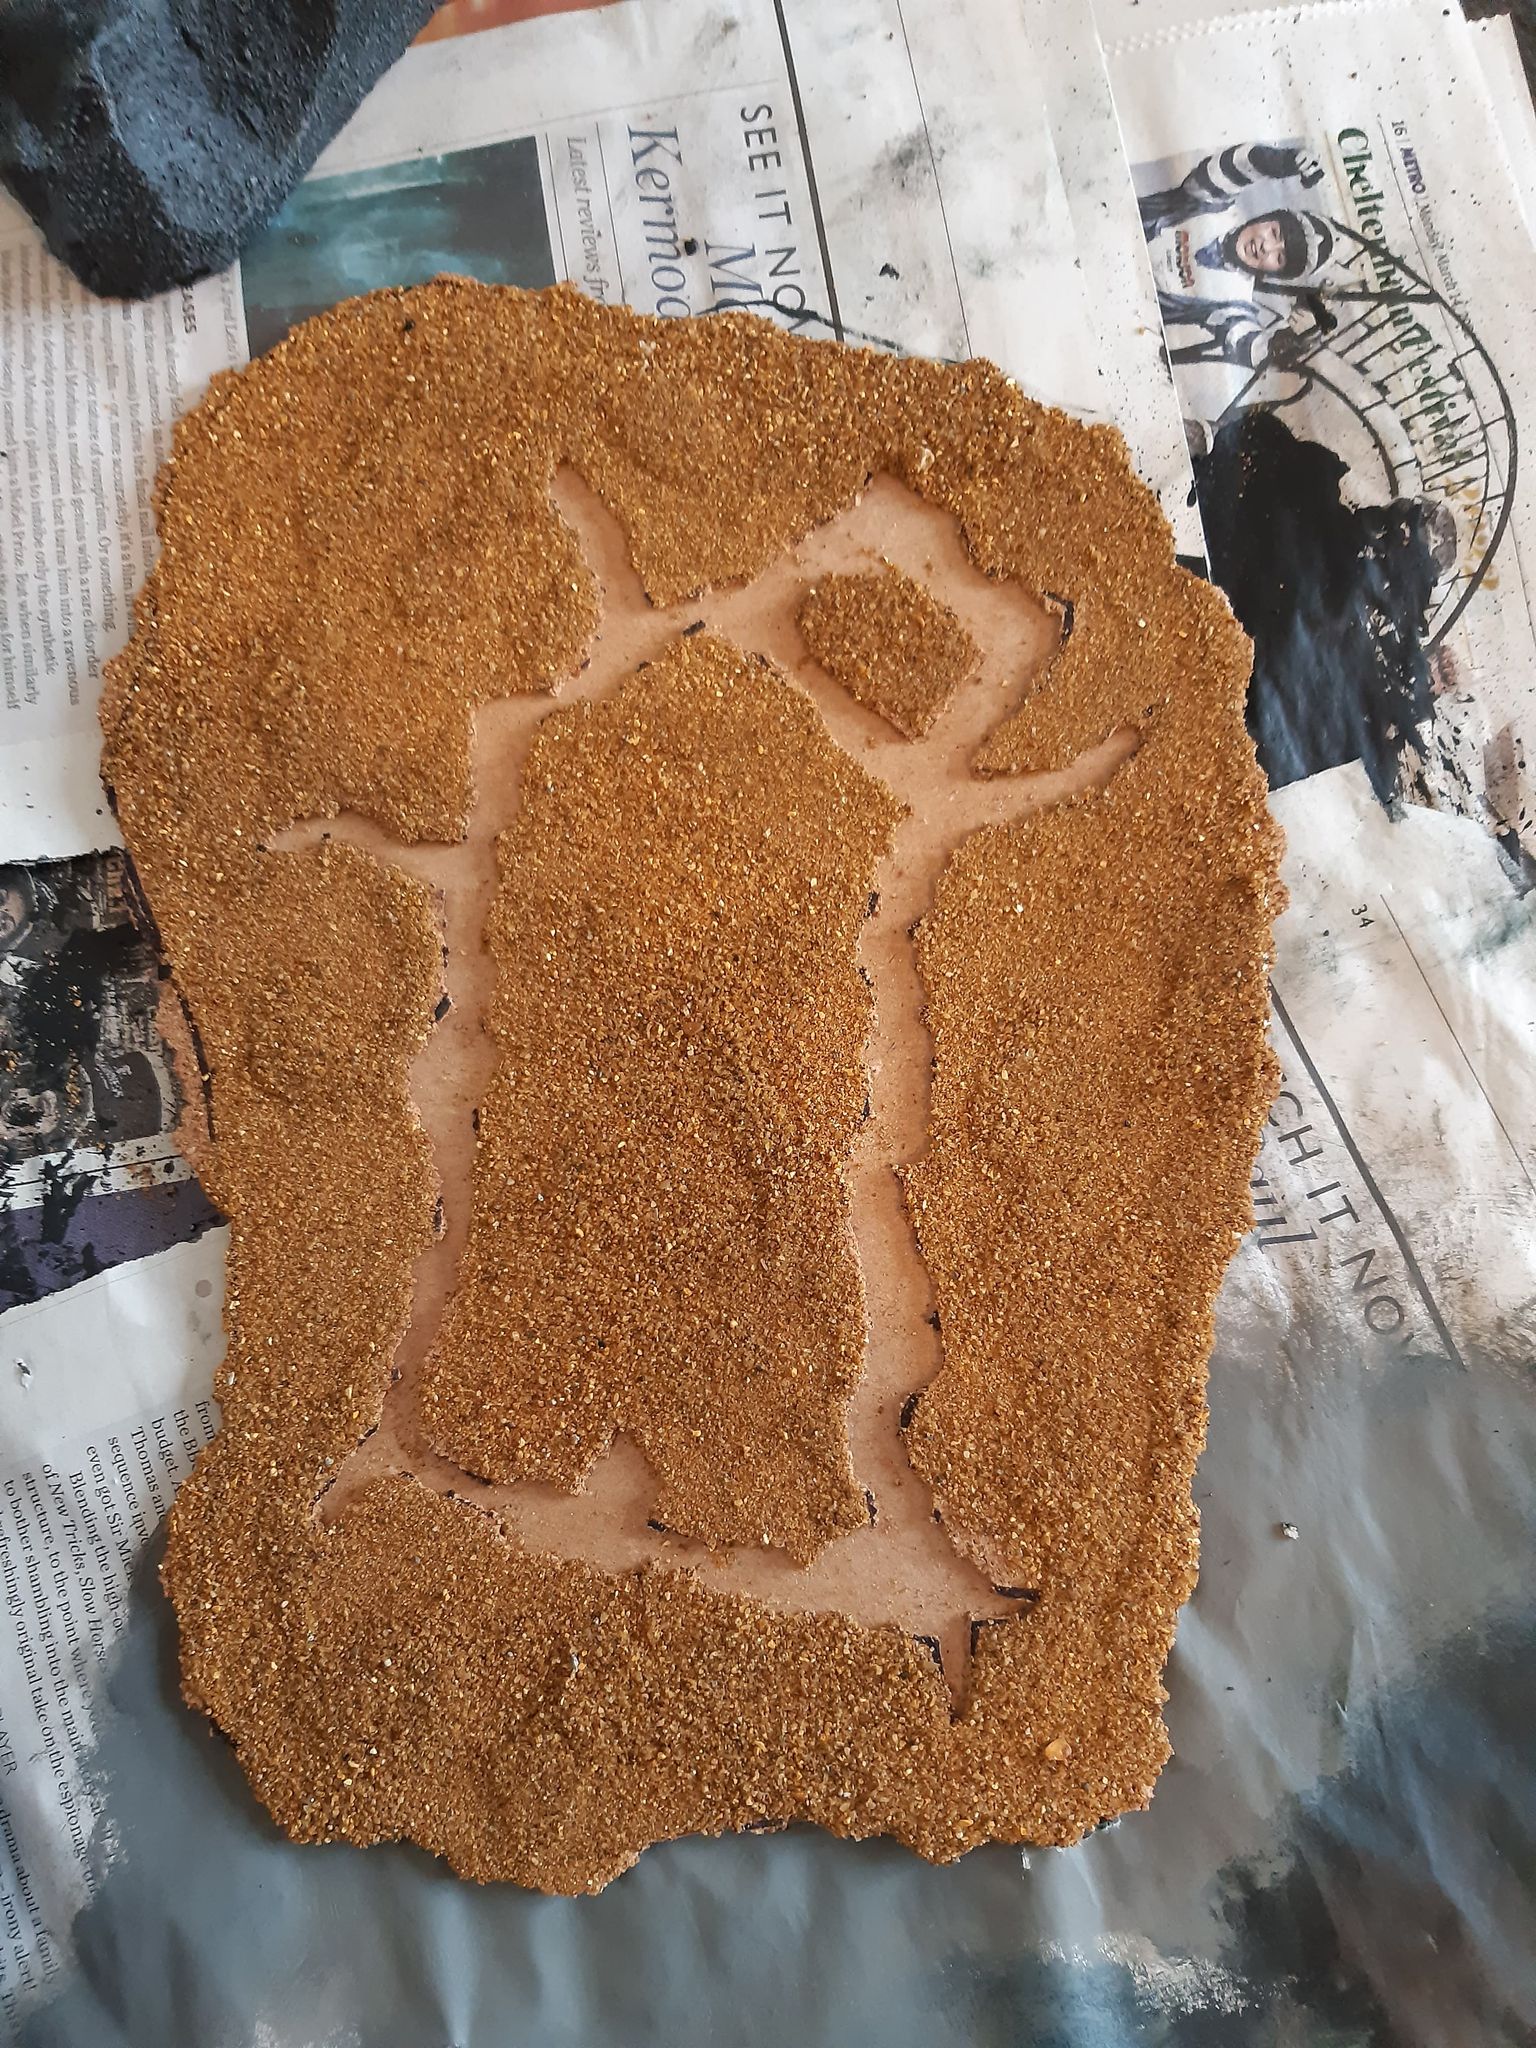
Step 6- Glue sand to the cork board areas using PVA glue. Once dry, brush over the sand with a mixture of 1:1 PVA:water (with a little washing up liquid/dish soap) to get a good seal. Allow to fully dry before painting.
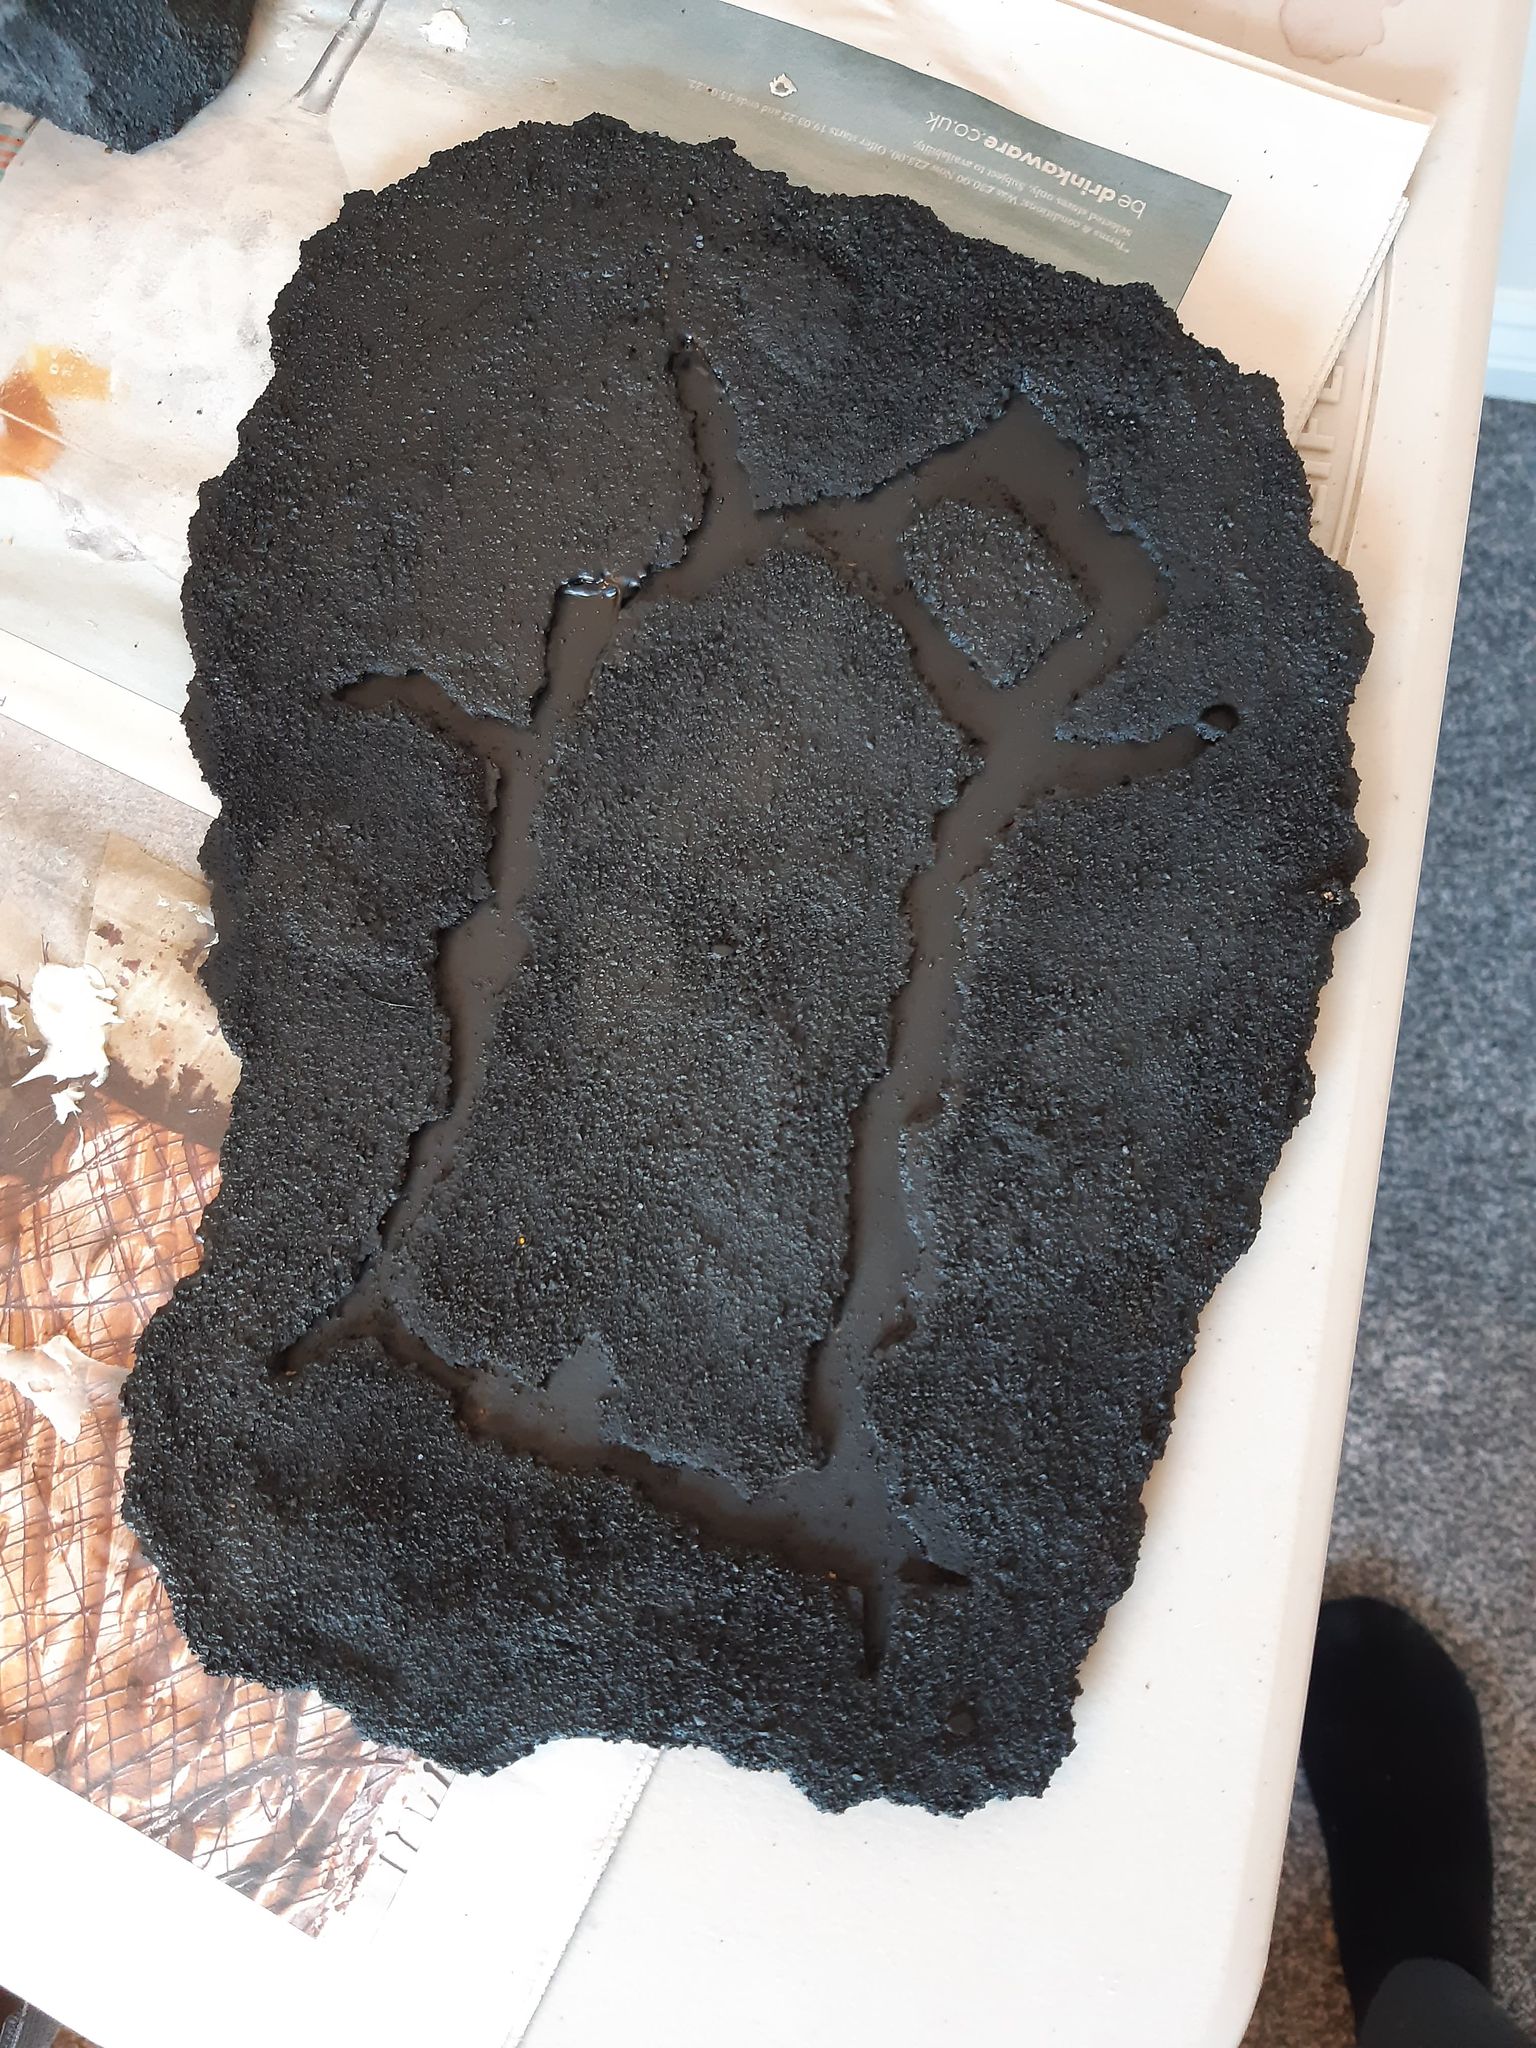
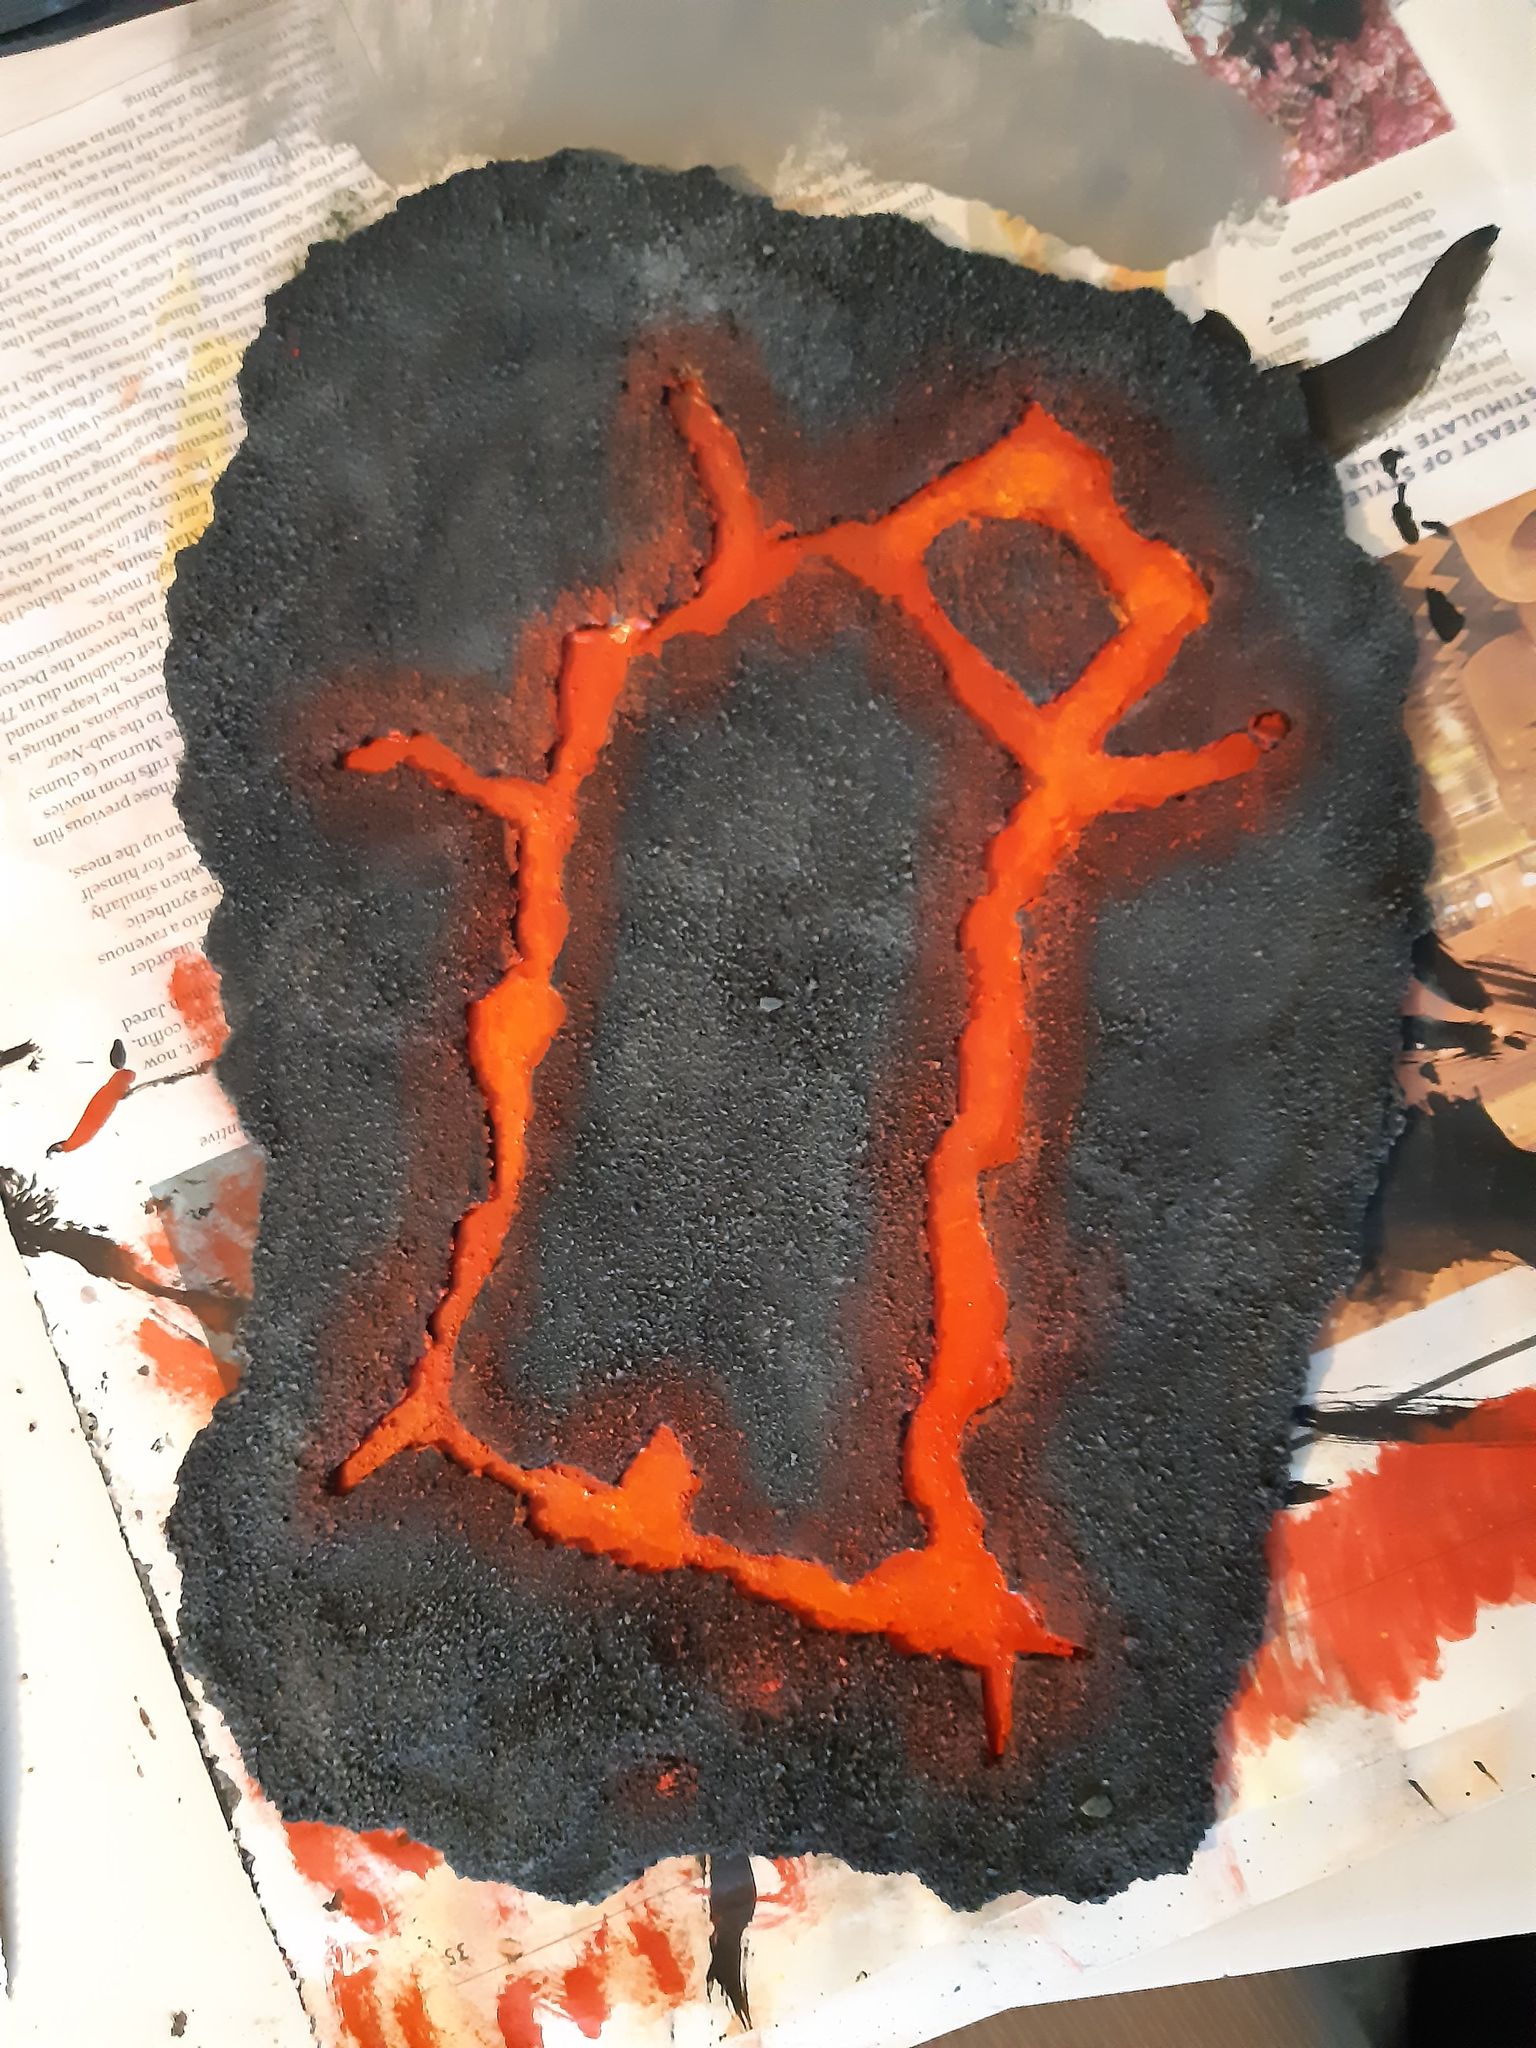
Step 7- Paint the rock. For my volcanic board, I give the piece a base coat with black poster paint. This usually takes a couple of coats to get good coverage. You can use whatever colour you wish to match your gaming mat.
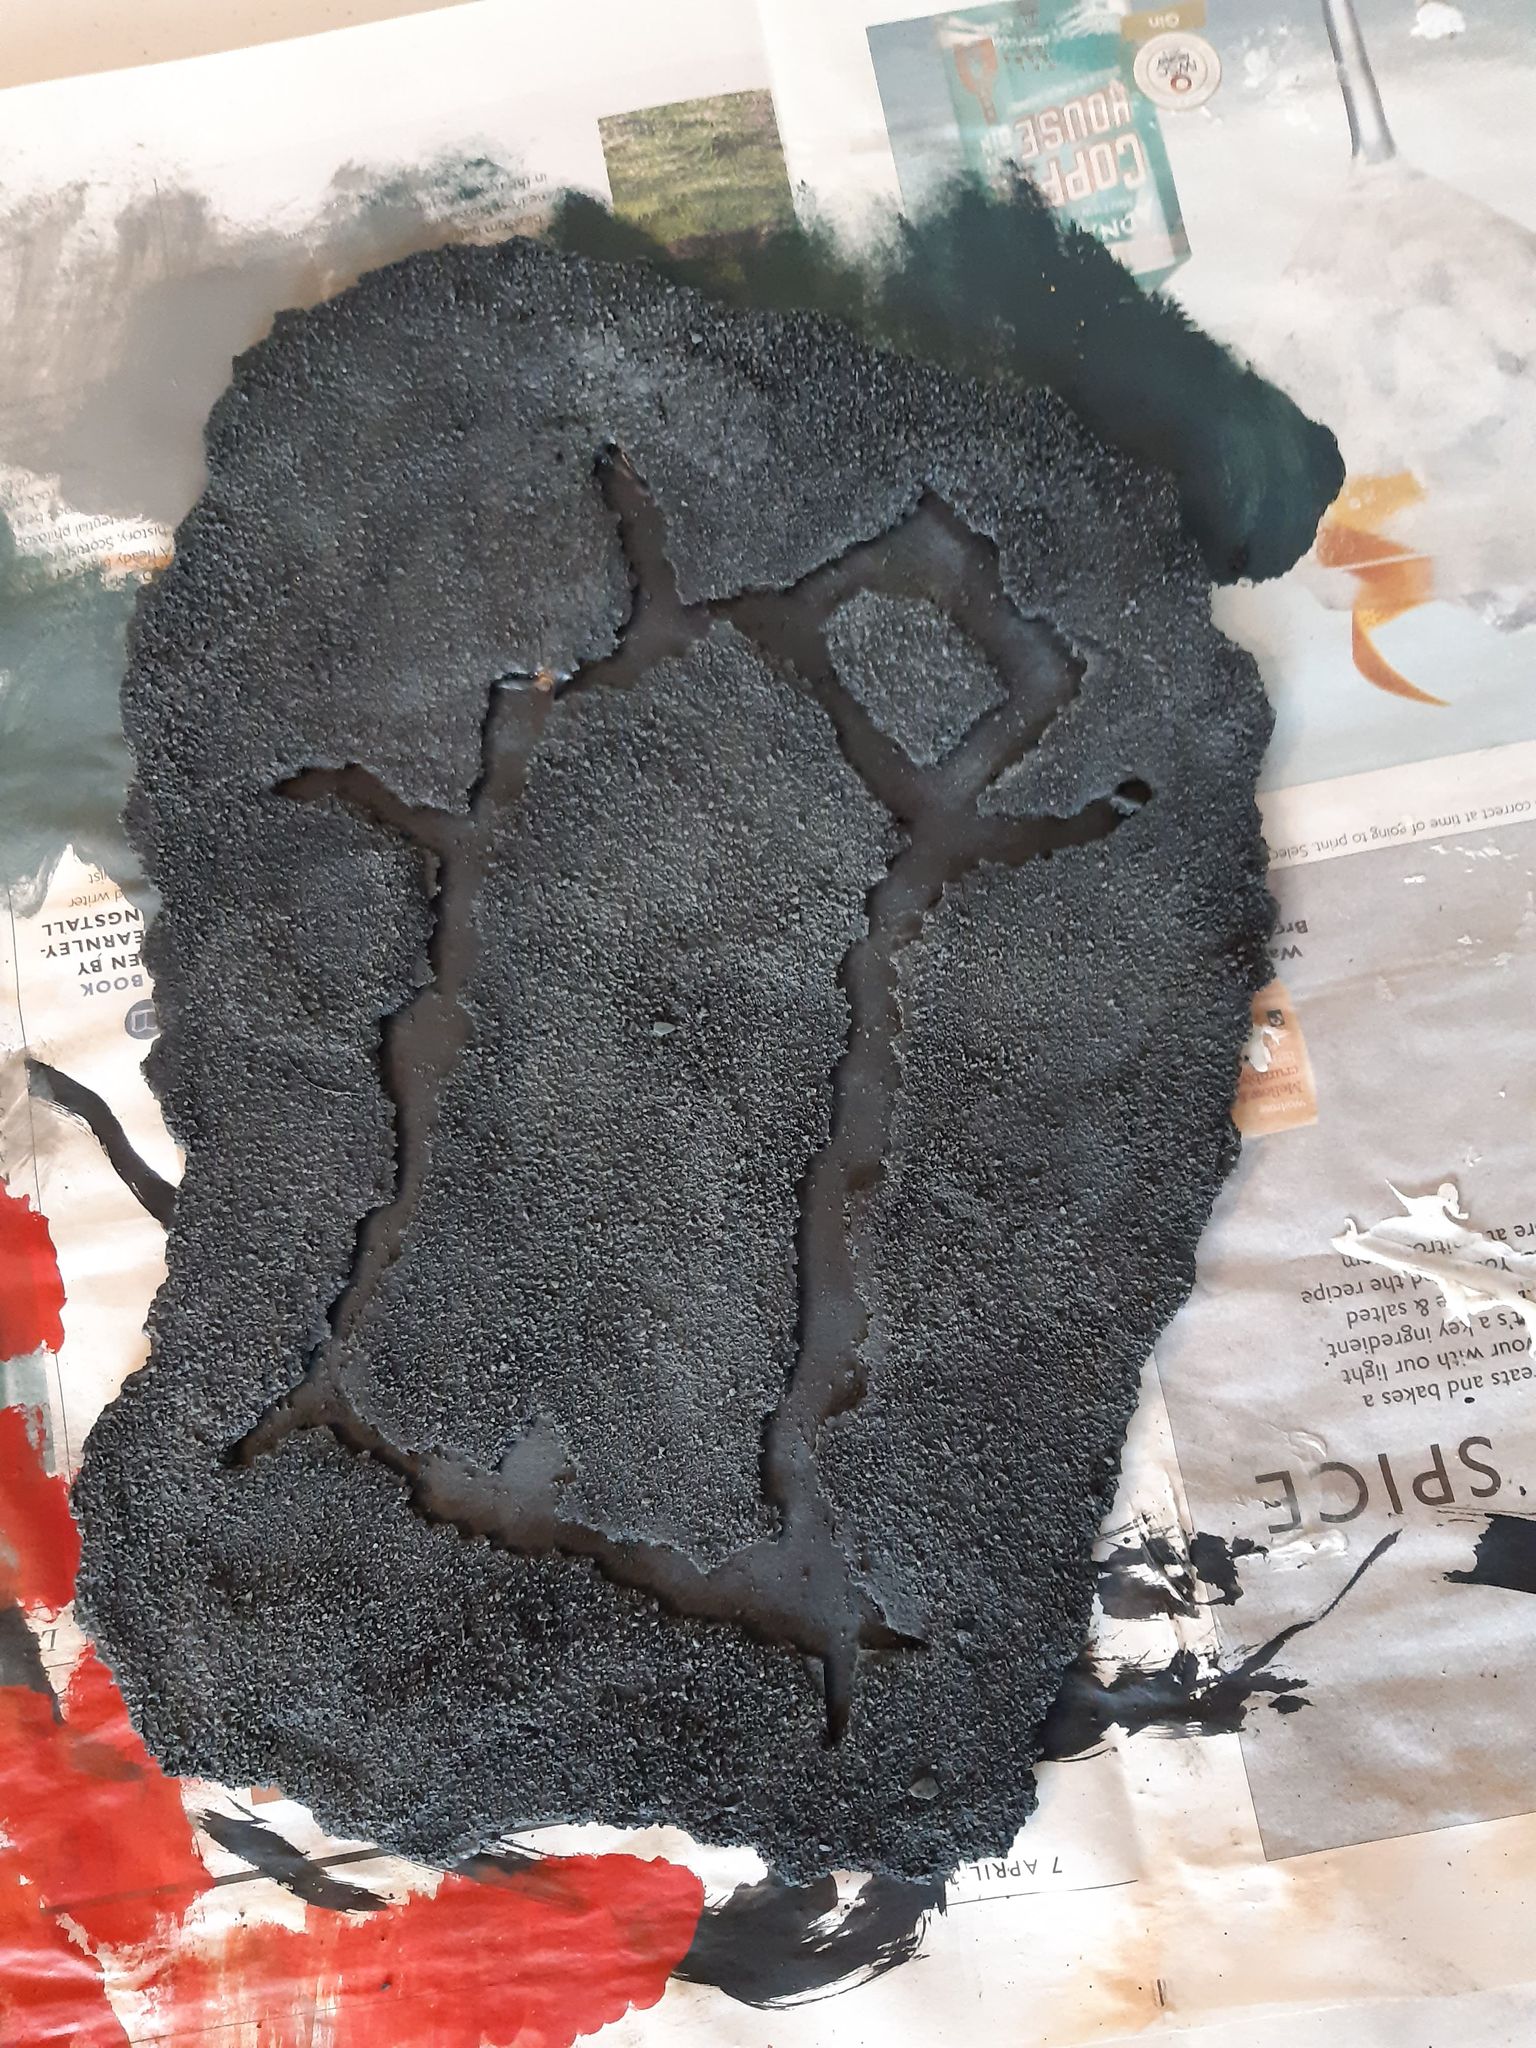
Once the black layer is down, I will give the piece a drybrush highlight in a lighter grey.
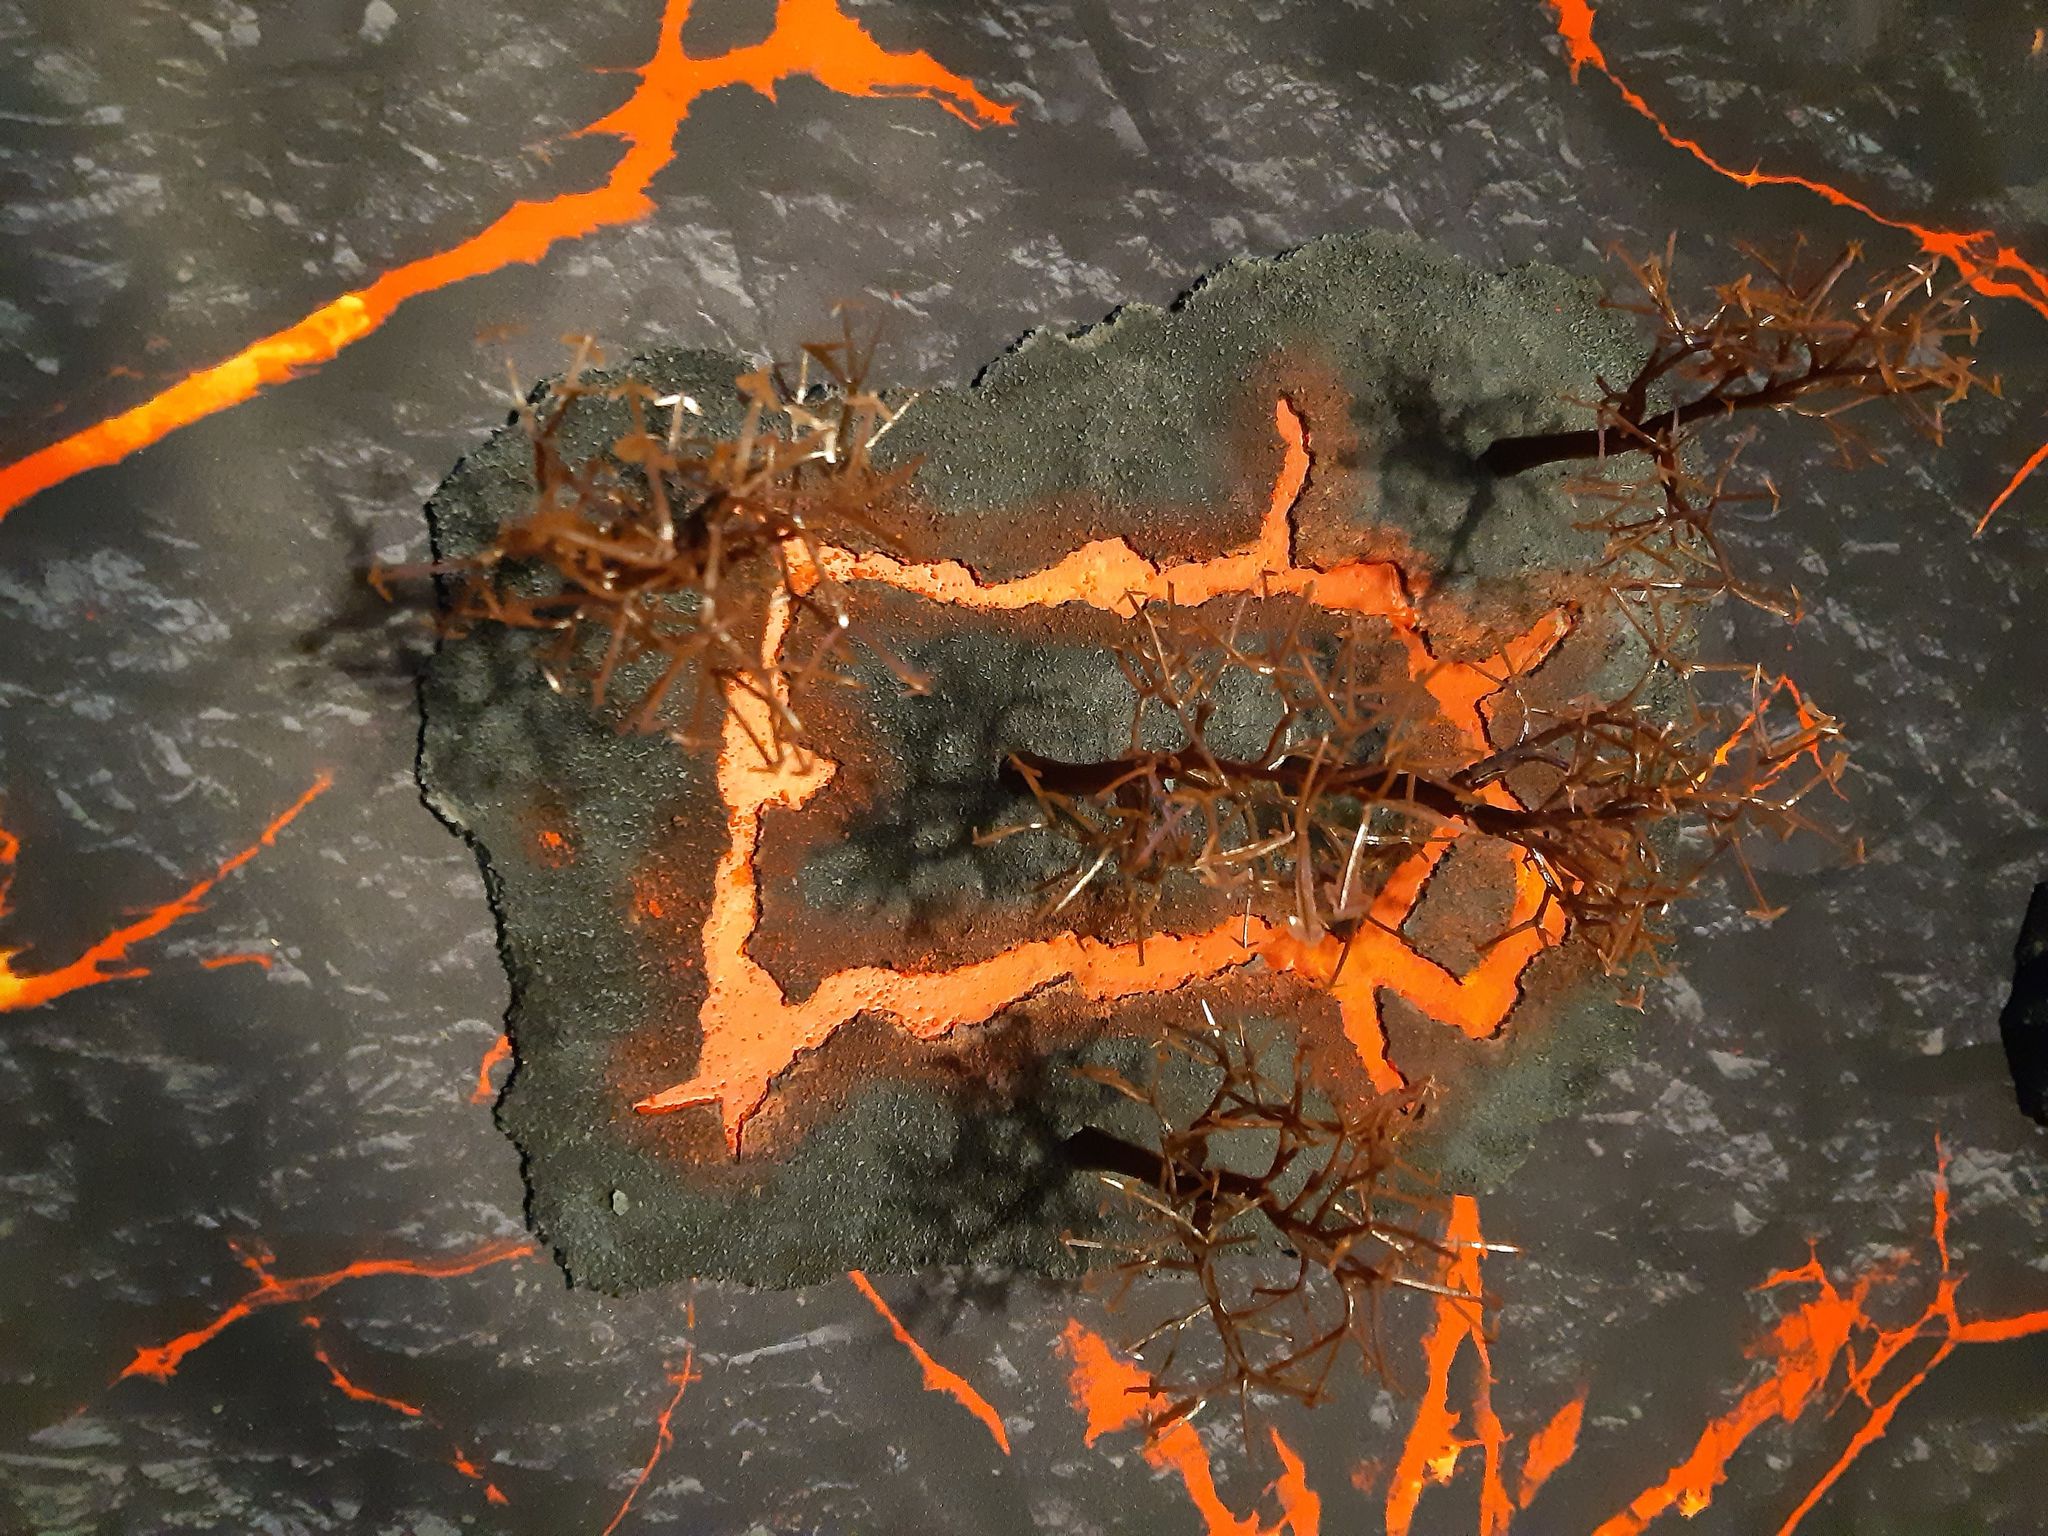
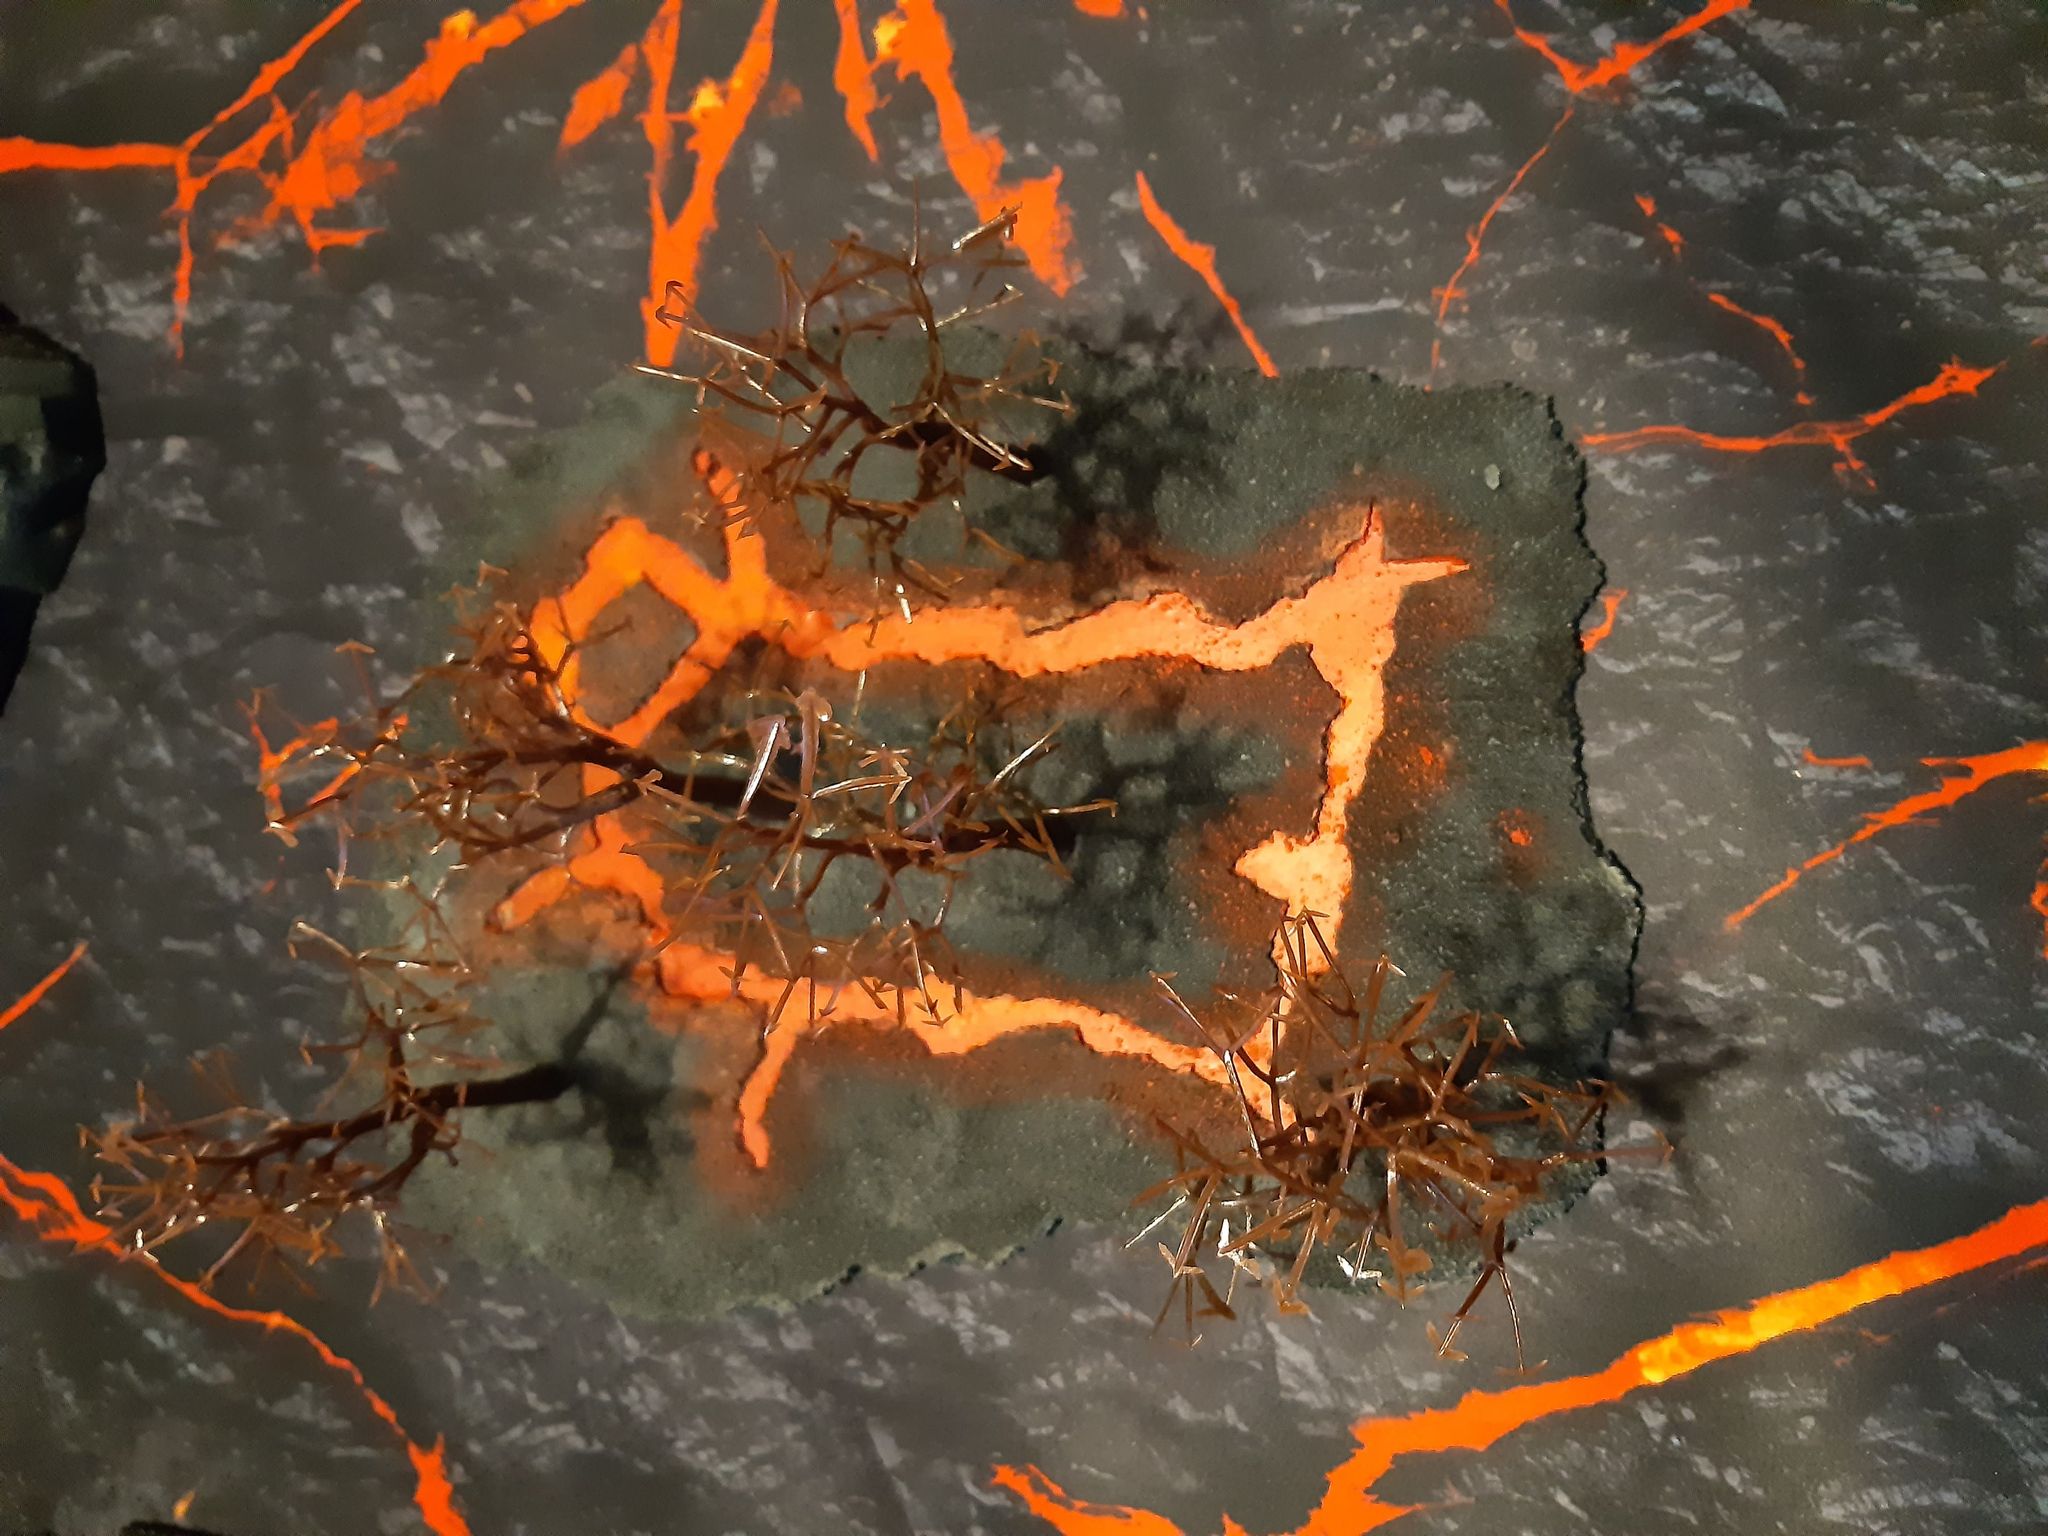
Step 8- Paint the lava. To match my gaming mat, I give a base coat of Evil Sunz Scarlet. Again, this takes a couple of coats to get a good colour. Once done, I drybrush some Troll Slayer Orange over the red.
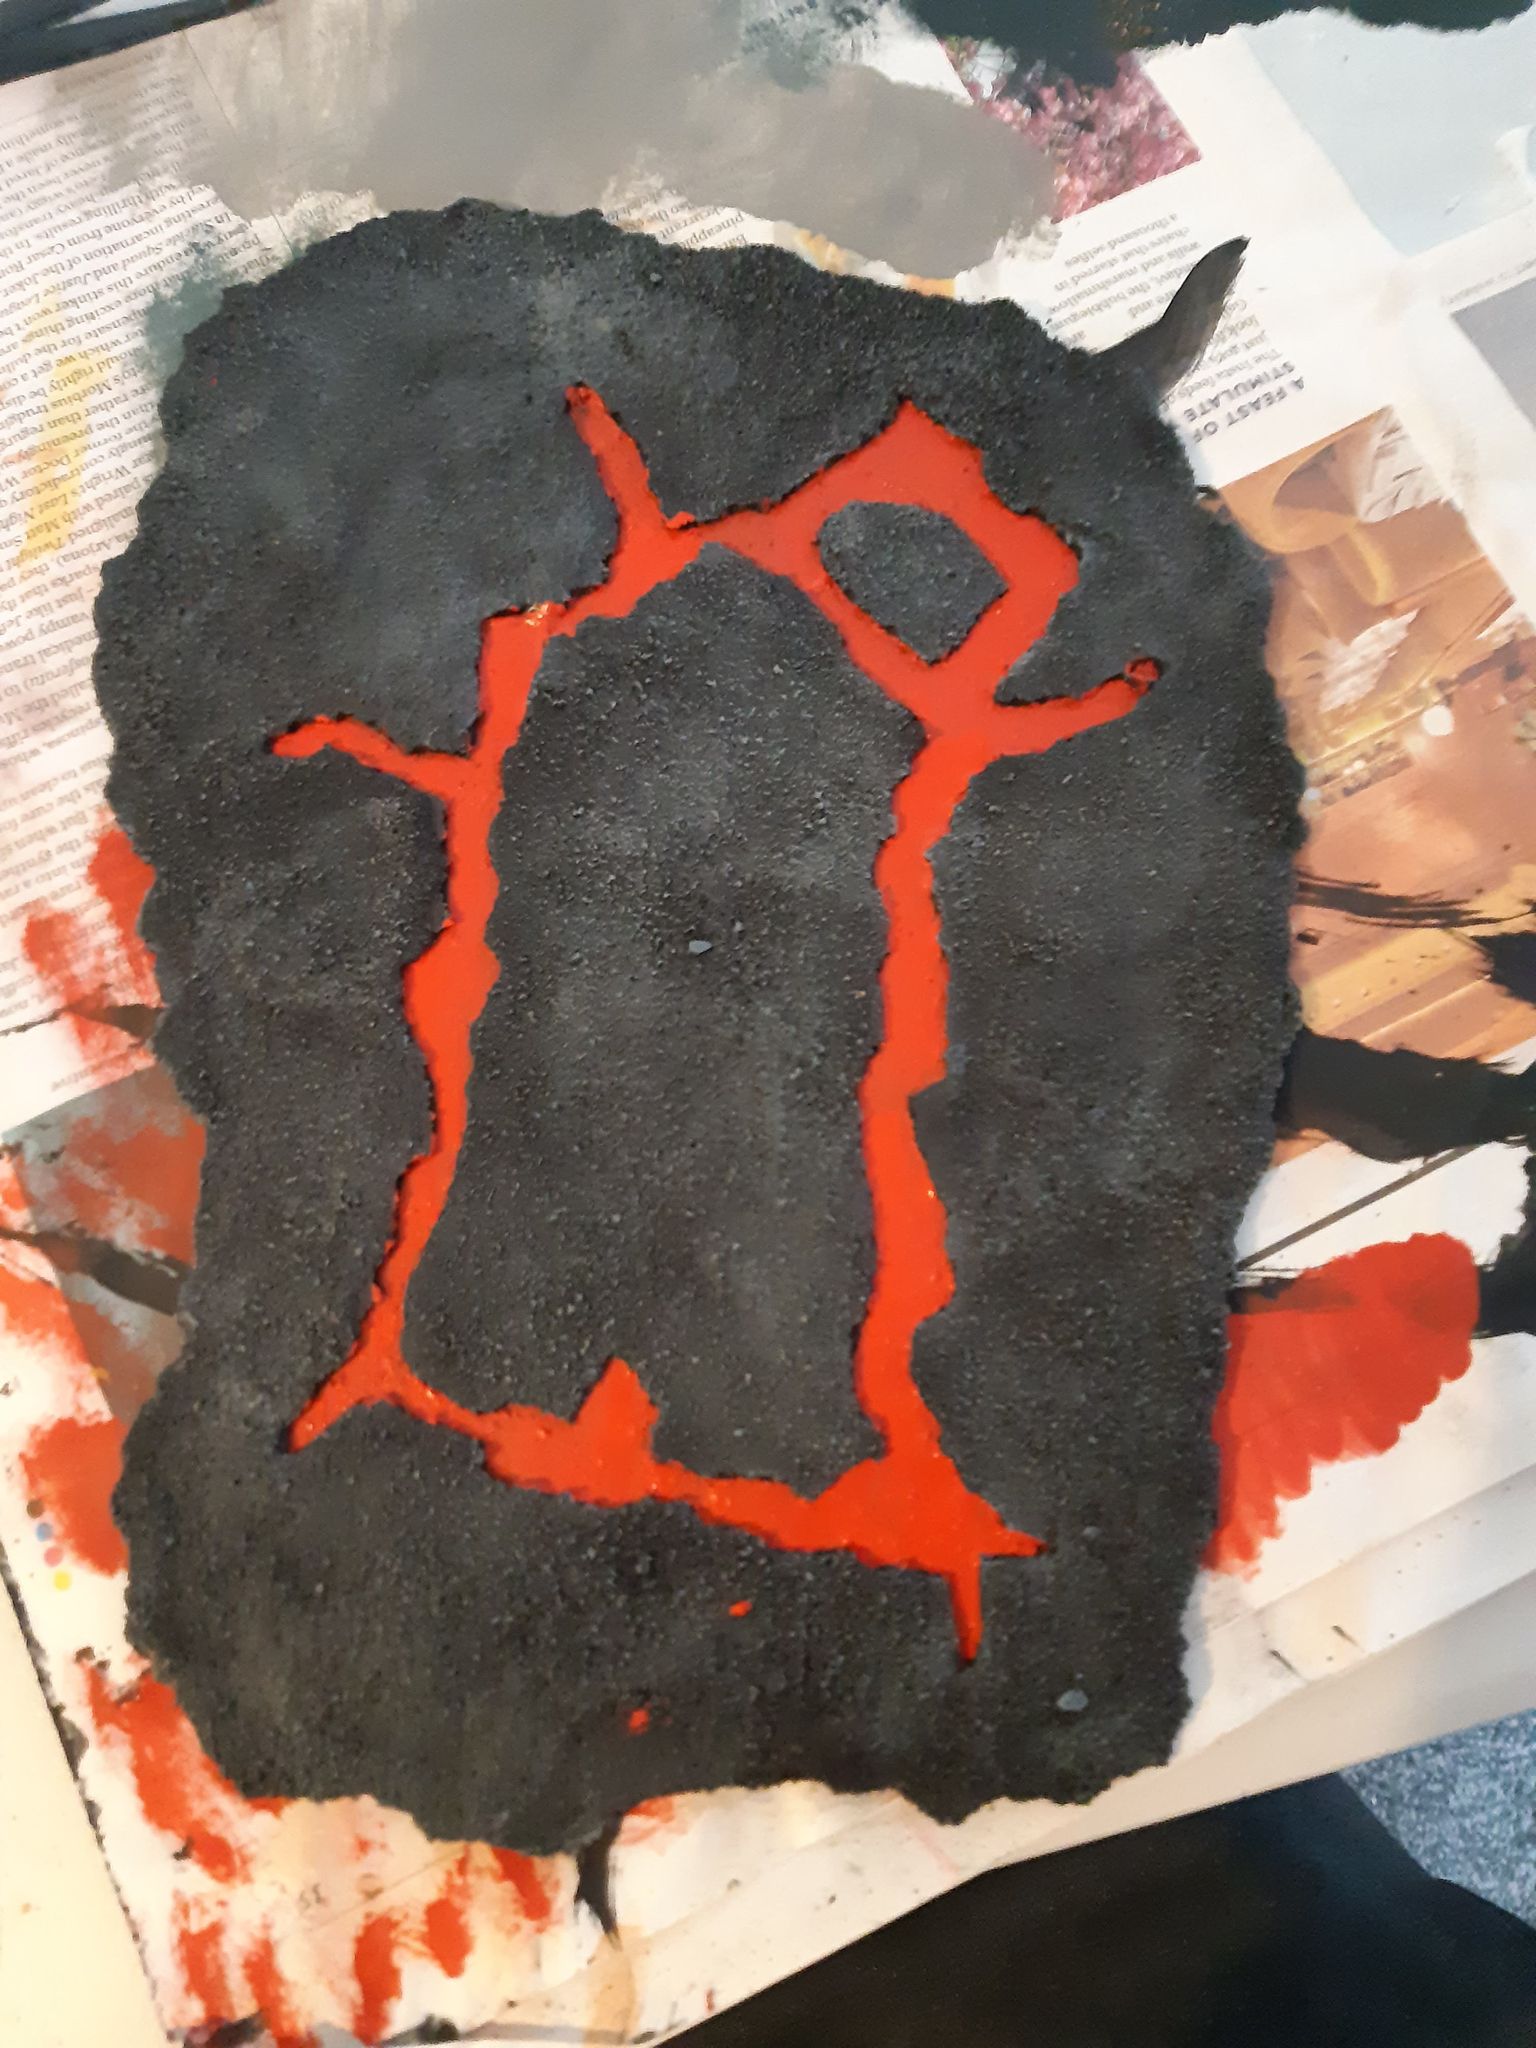
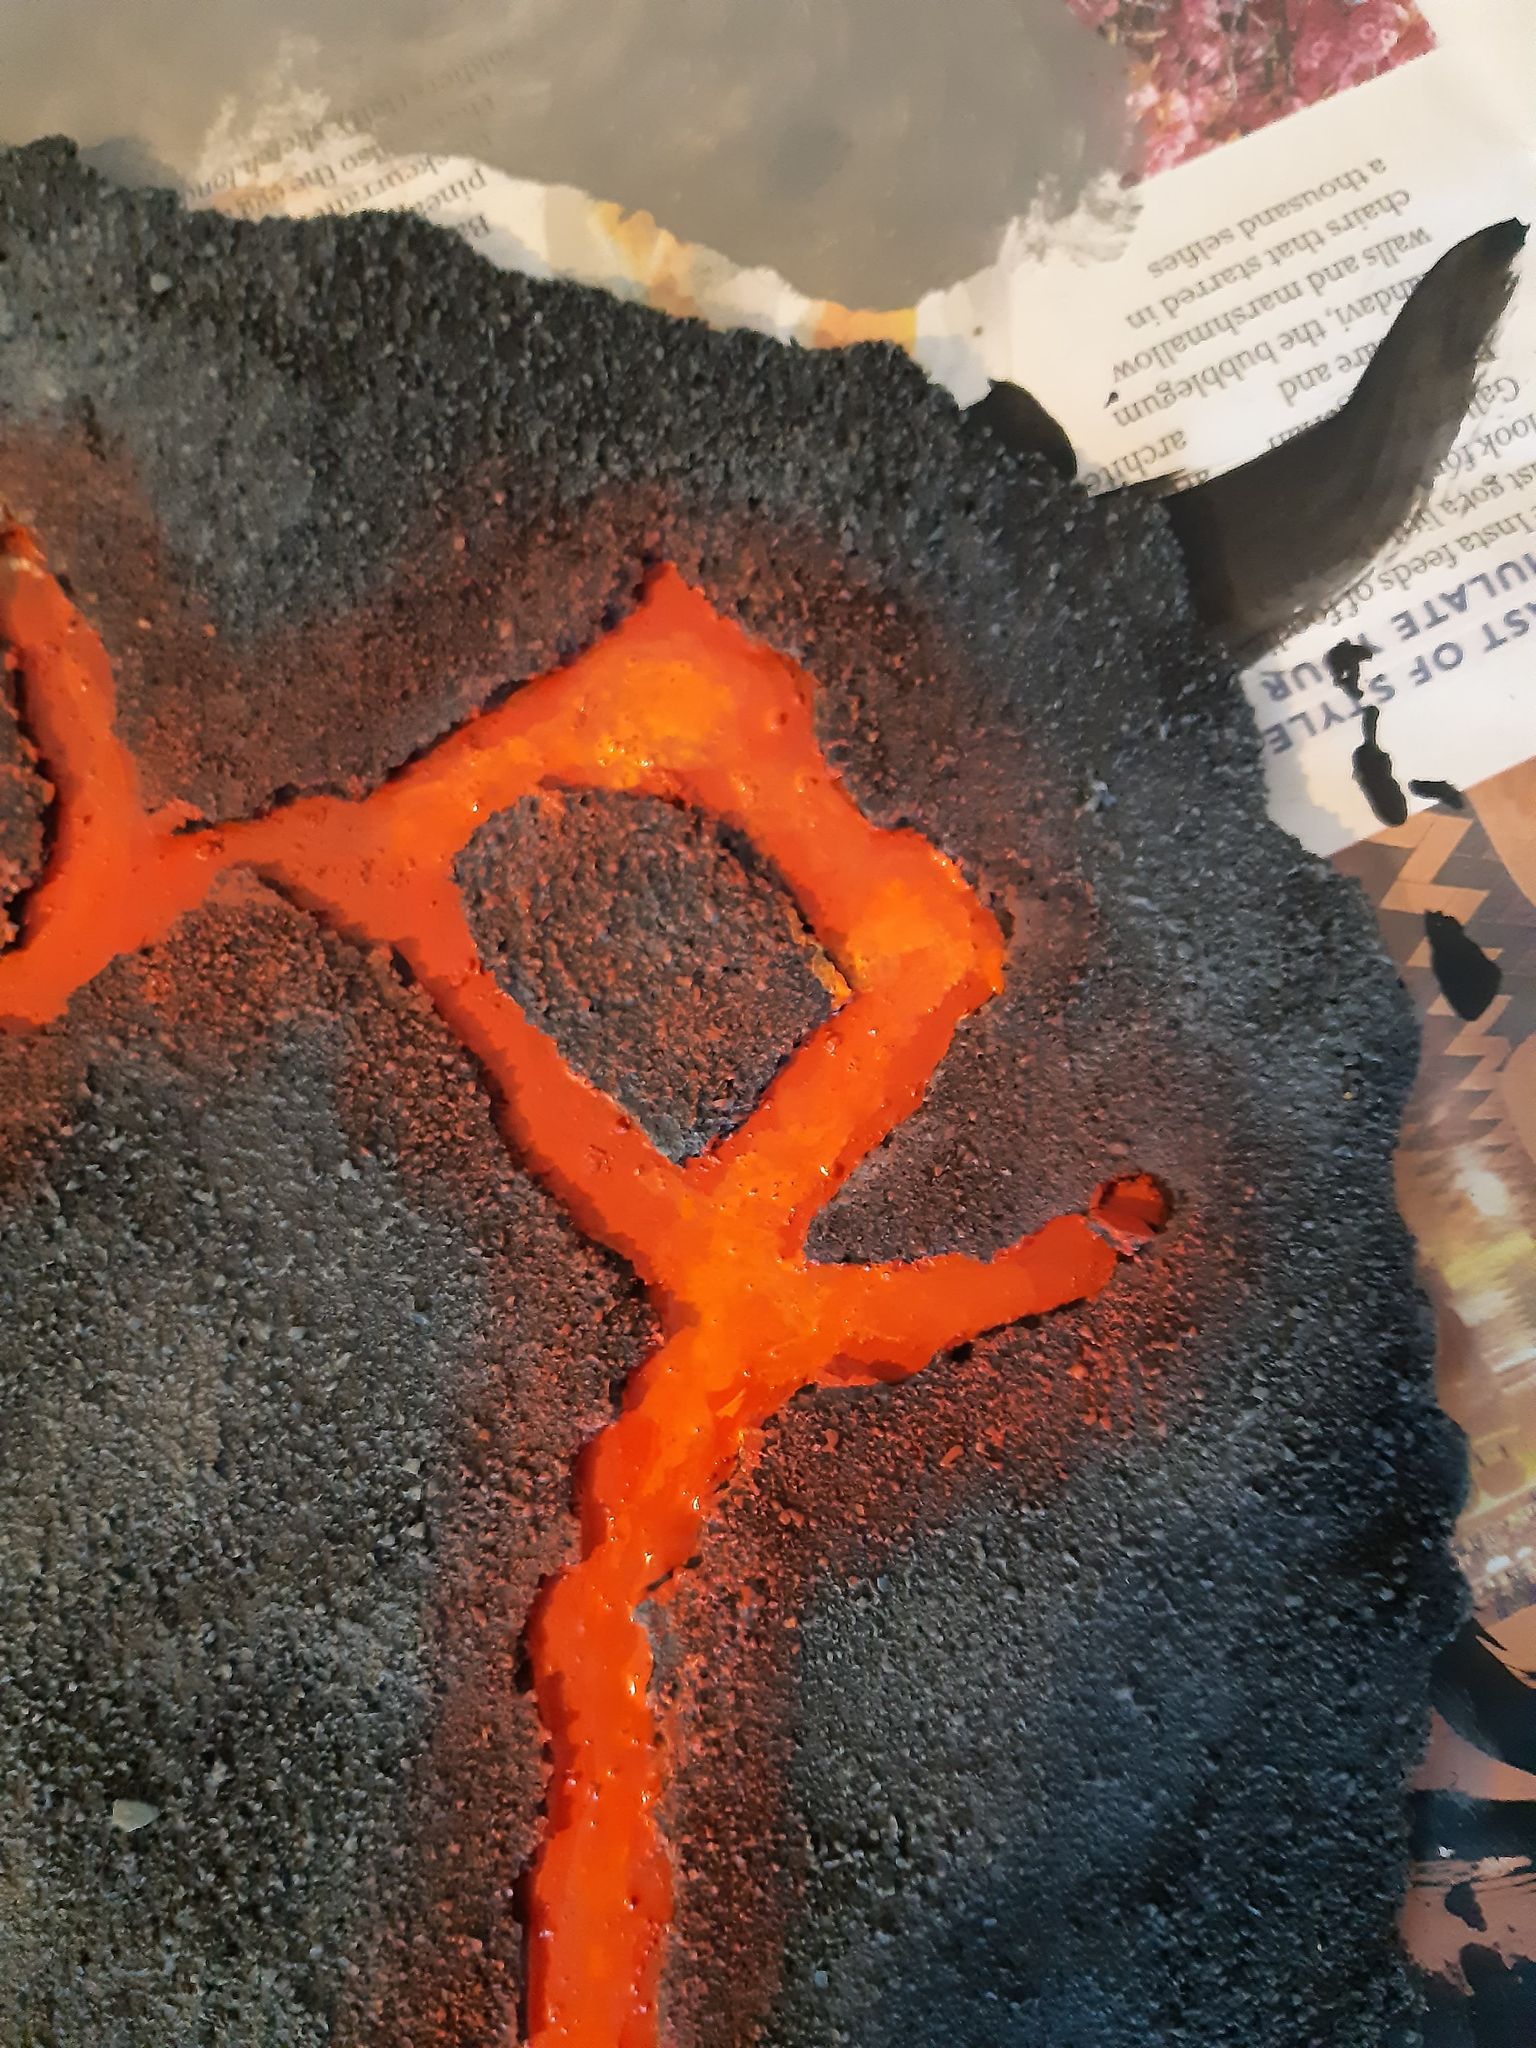
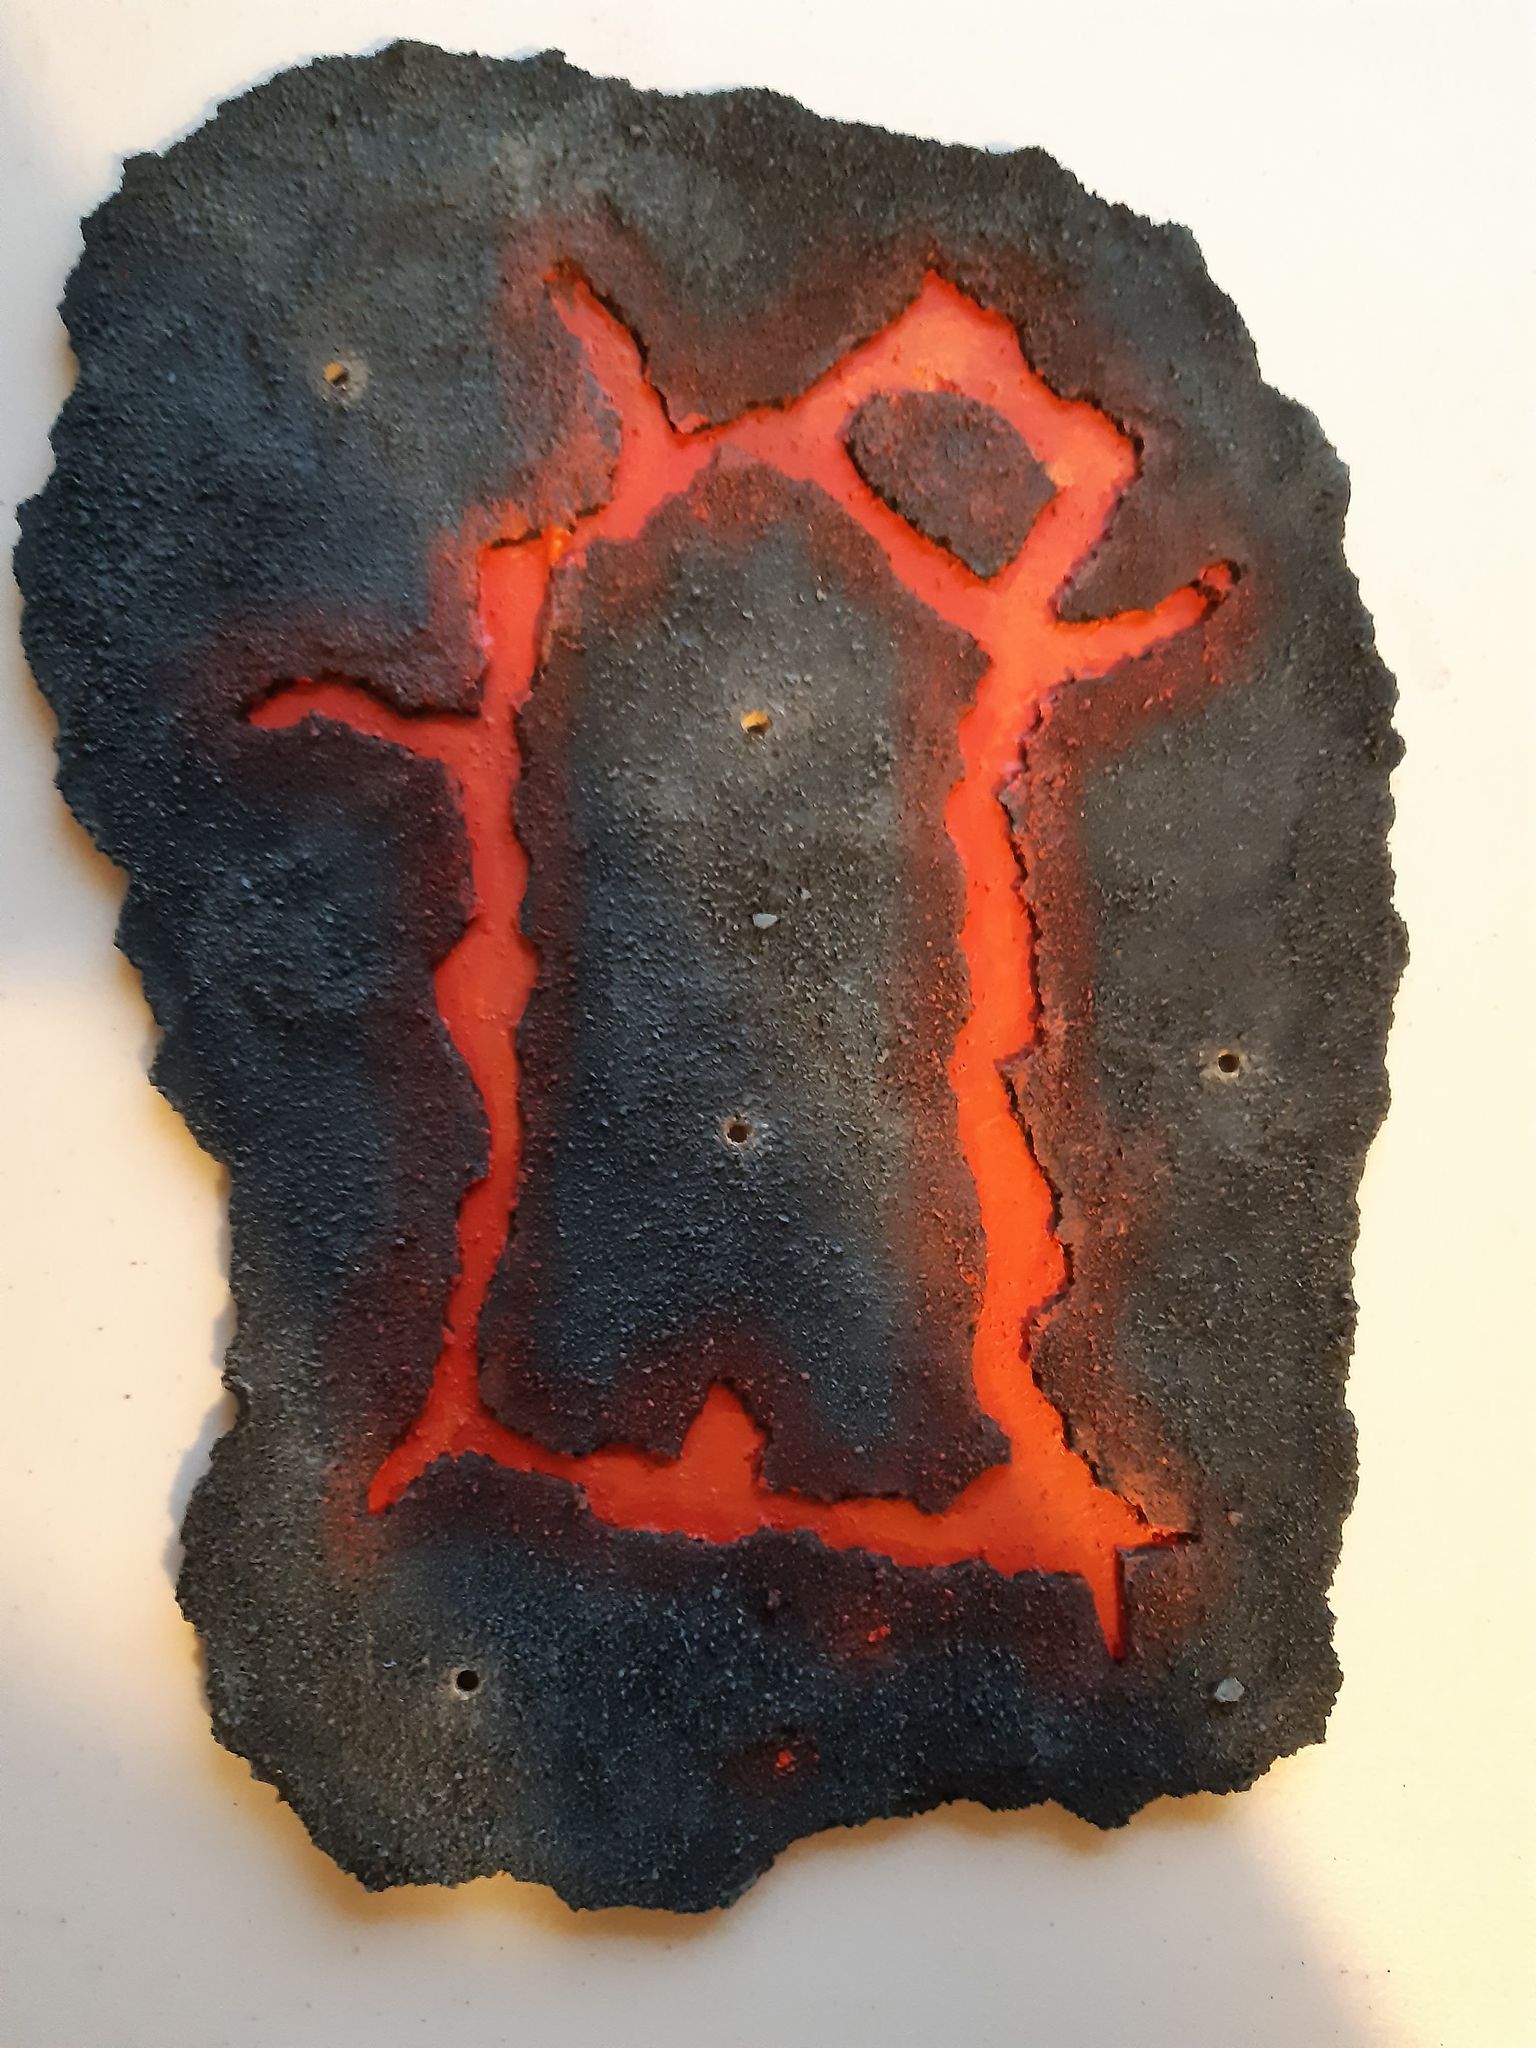
I also drybrush some red onto the rocks surrounding the lava to simulate the glow of the lava. Again, you can use different colours that match your mat.
Step 8- Drill holes for the trees. I like to have these pretty sparse on the base. This makes the trees look more desolate, which suits the mat, but also makes it easier from a practical point of view of moving models through it.
Step 9- Add your trees. I use some bare, brown plastic trees that I purchased. These suit the desolate look of the battlefield. You can glue them onto the base if you want, but I prefer to leave them detachable for ease of storage.
And here you have the completed tree base!
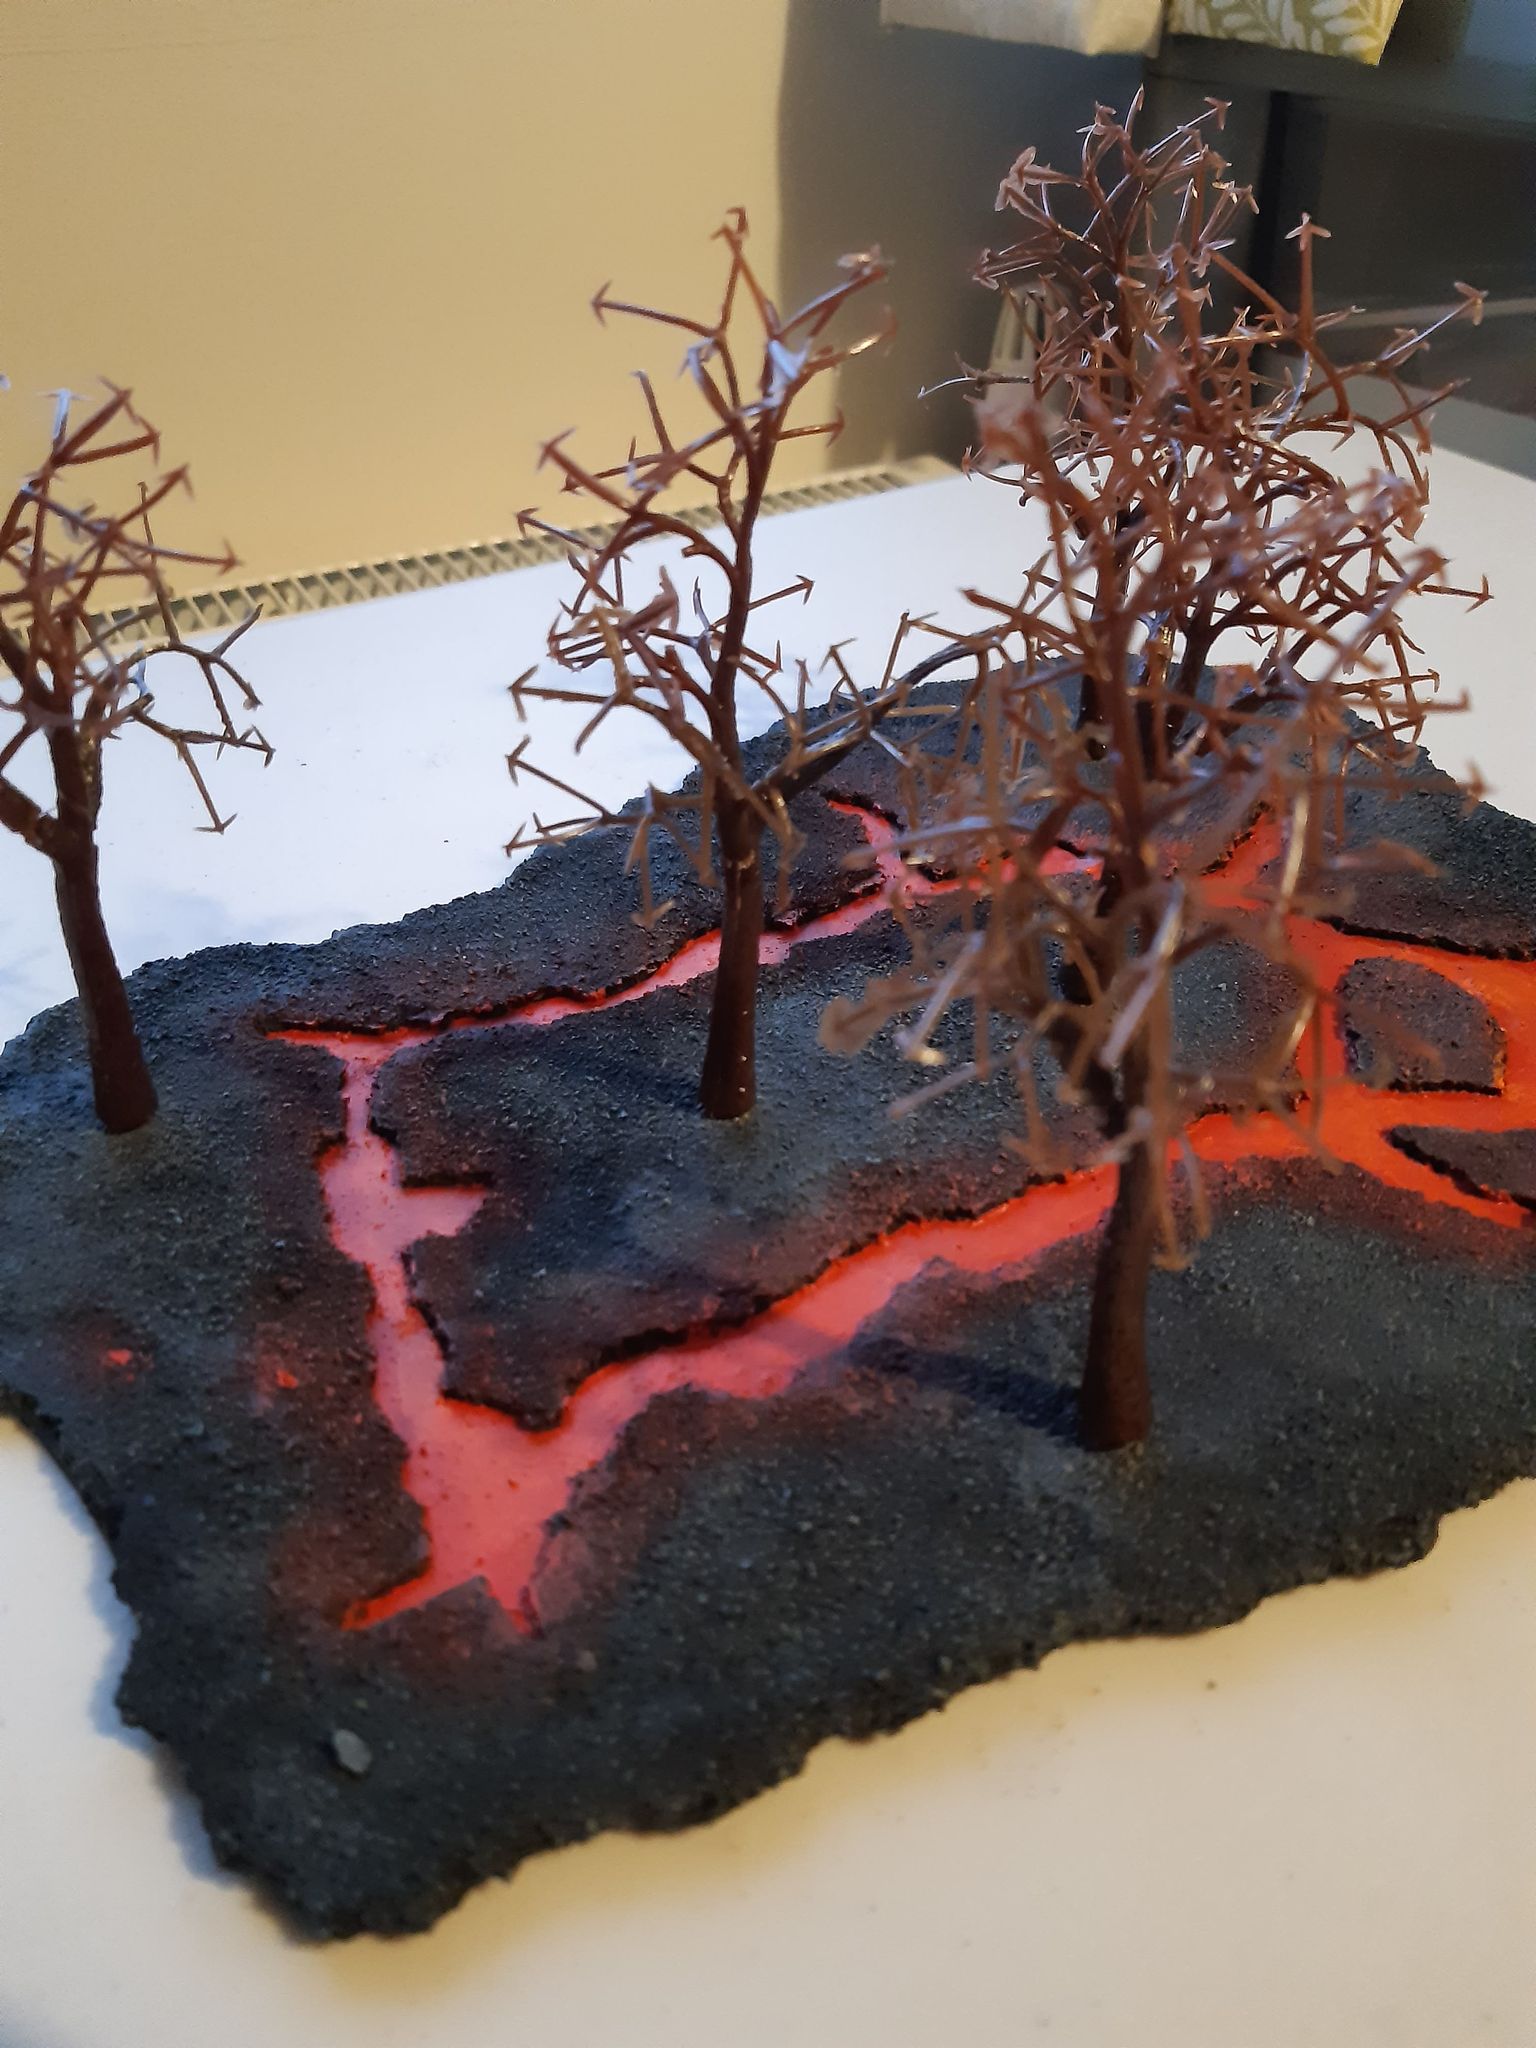
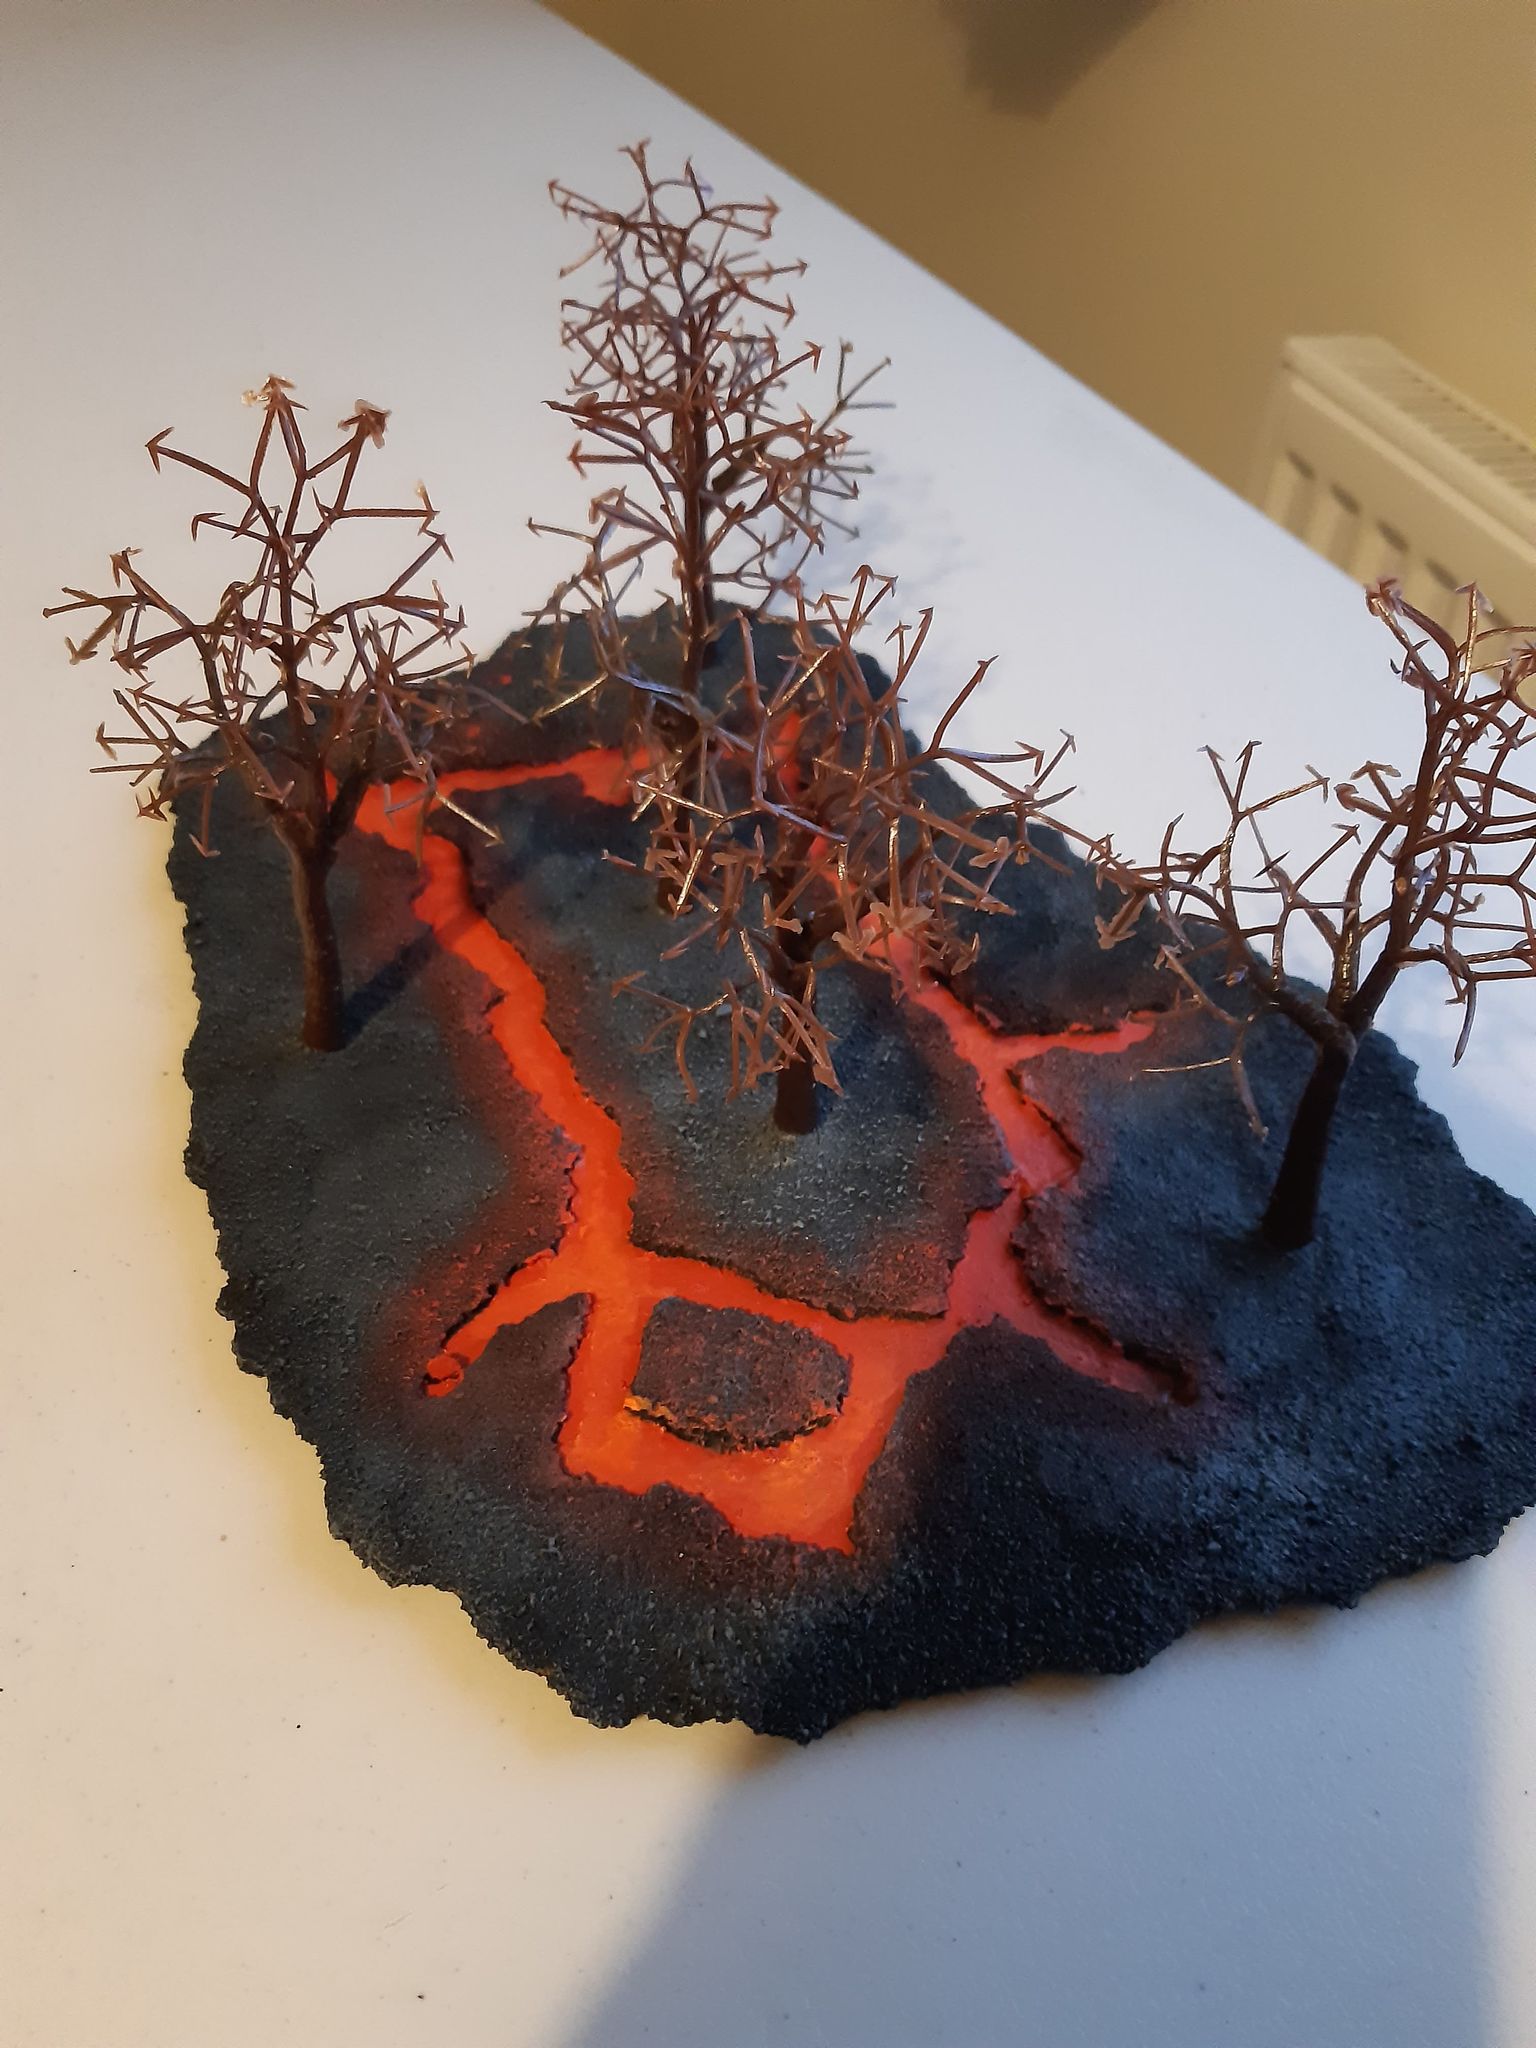

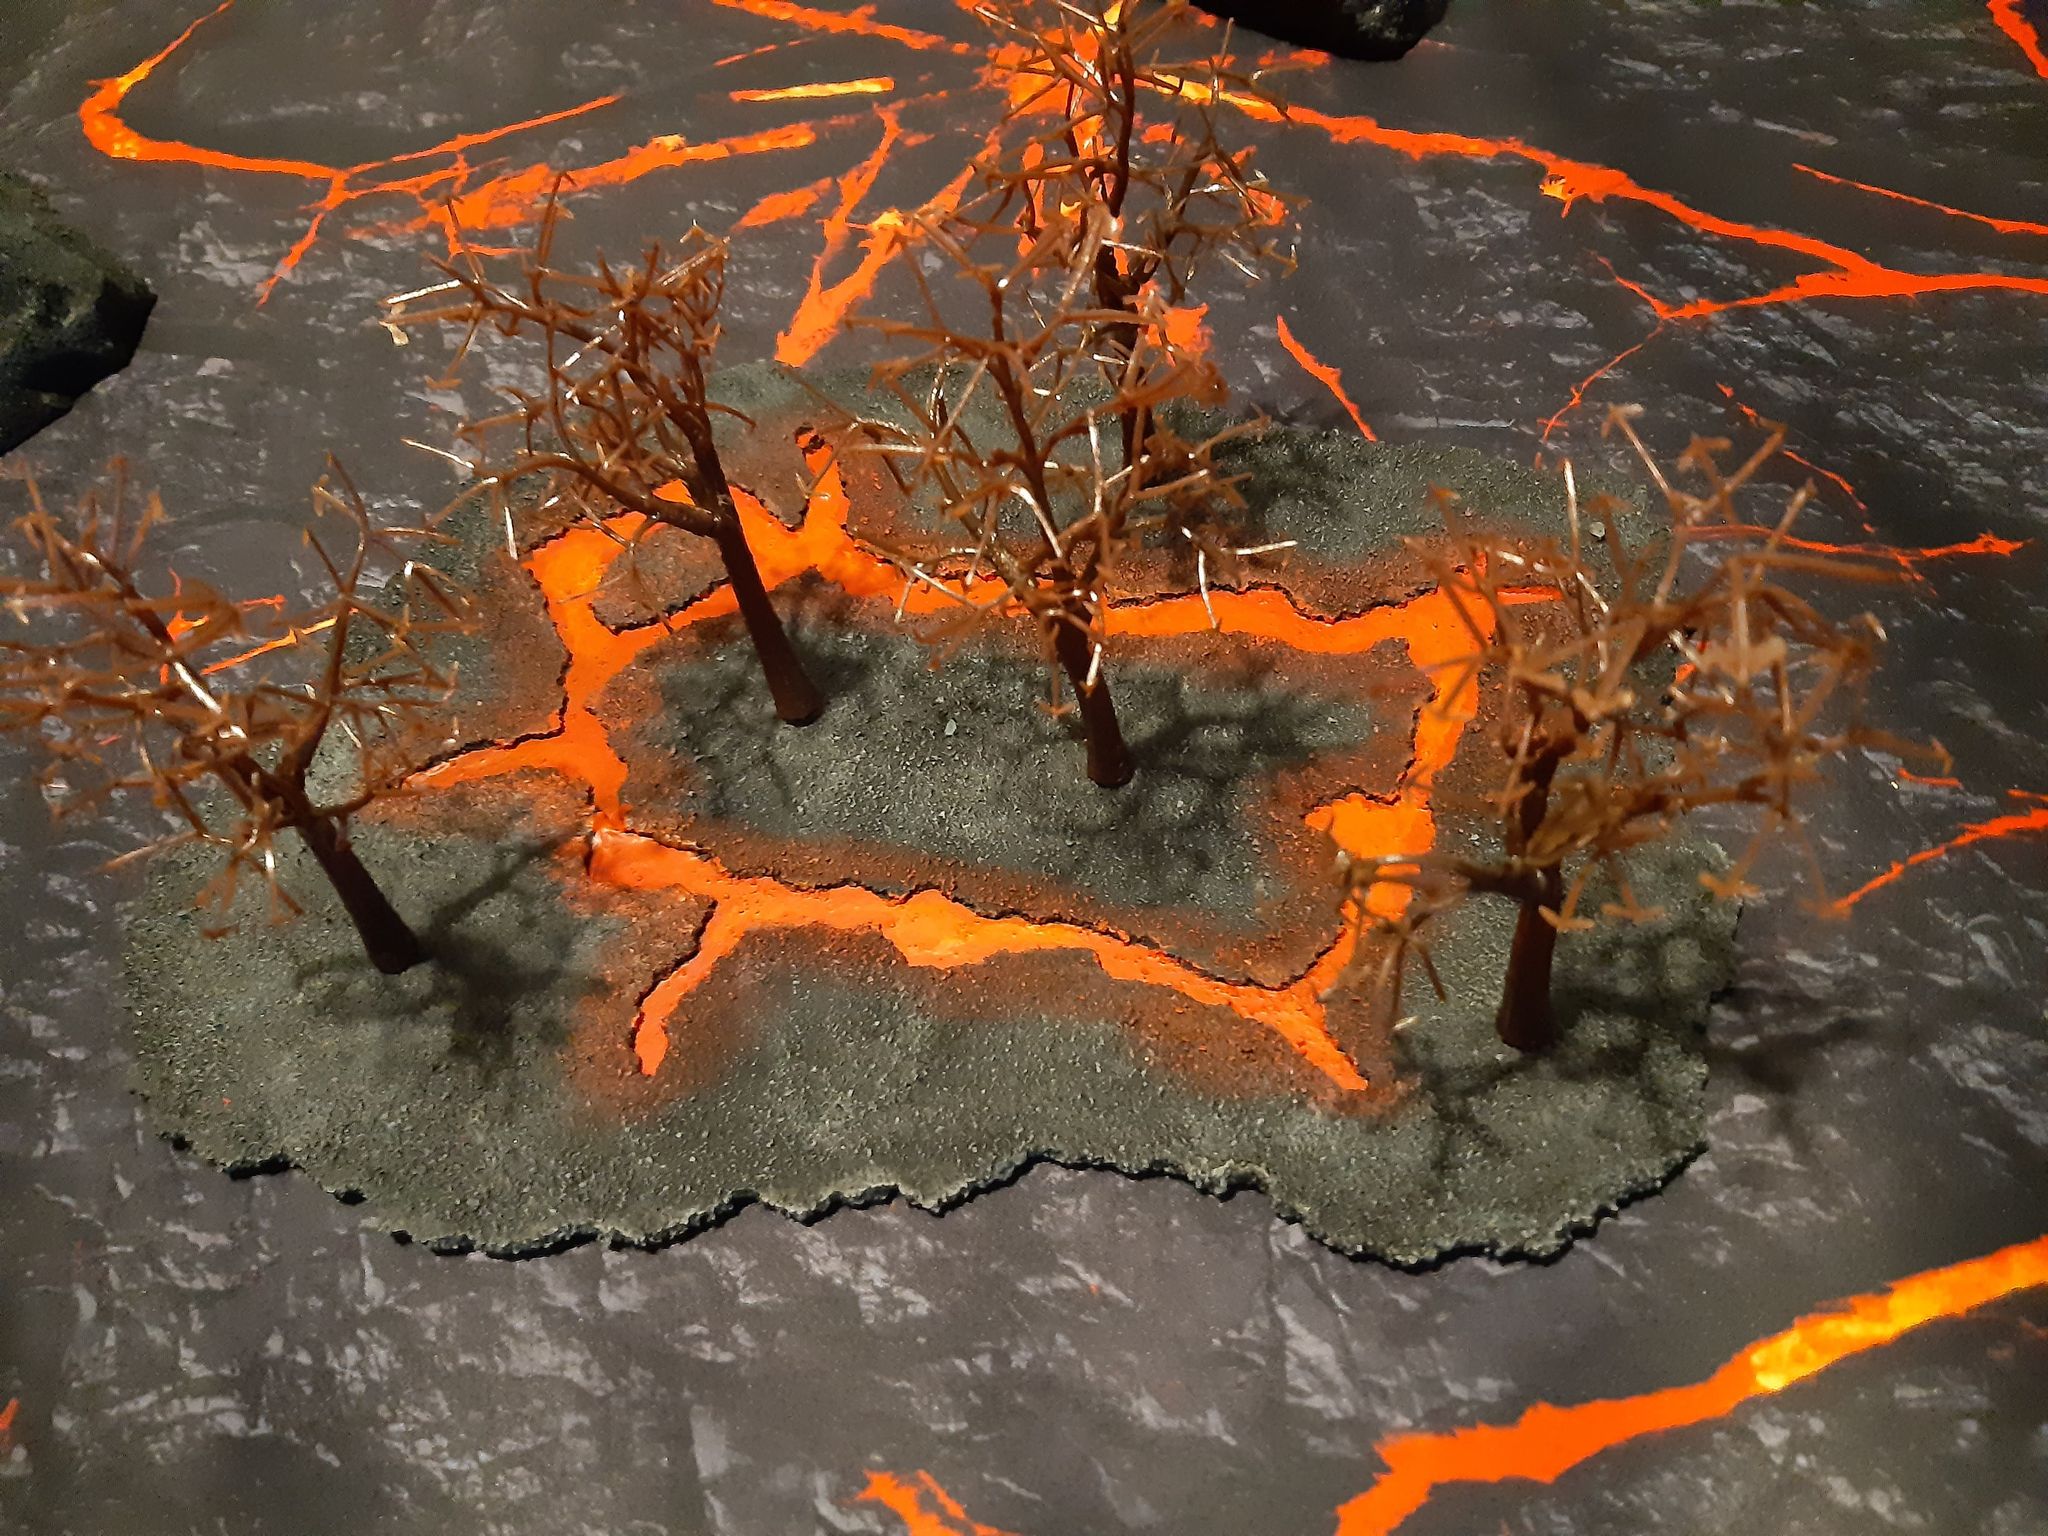
These go really well with your lava gaming mat, and compliment the lava hills quite nicely as well.
#mc_embed_signup{background:#fff; clear:left; font:14px Helvetica,Arial,sans-serif; } /* Add your own Mailchimp form style overrides in your site stylesheet or in this style block. We recommend moving this block and the preceding CSS link to the HEAD of your HTML file. */And remember, Frontline Gaming sells gaming products at a discount, every day in their webcart!


