
Hi everyone, Michael here with a tutorial on making your own lava hills for your gaming mats. For more reviews and analyses, check out the Tactics Corner.
Terrain makes a huge difference to your battlefield. Not only does it make the game more immersive, but it has added tactical benefits to your games. Today, I take a look at making some hills for a lava board. These go great with FLG mats like Planet 37 or Lava 1. Alternatively, by changing the colour of the “lava”, they could easily match a mat such as Urban Plague.
For these hills, you will need:
- Dense polystyrene- pink polystyrene or insulation polystyrene work well
- Hot wire cutter or craft knife
- Contact glue or other adhesive
- Sand, stones and other rubble
- PVA glue
- Filler/Caulk
- Appropriate paints
Step 1- Cut your polystyrene to the appropriate hill shapes. I tend to use a craft knife for this. The polystyrene you use should cut well and not flake off, giving you greater control over your cuts.
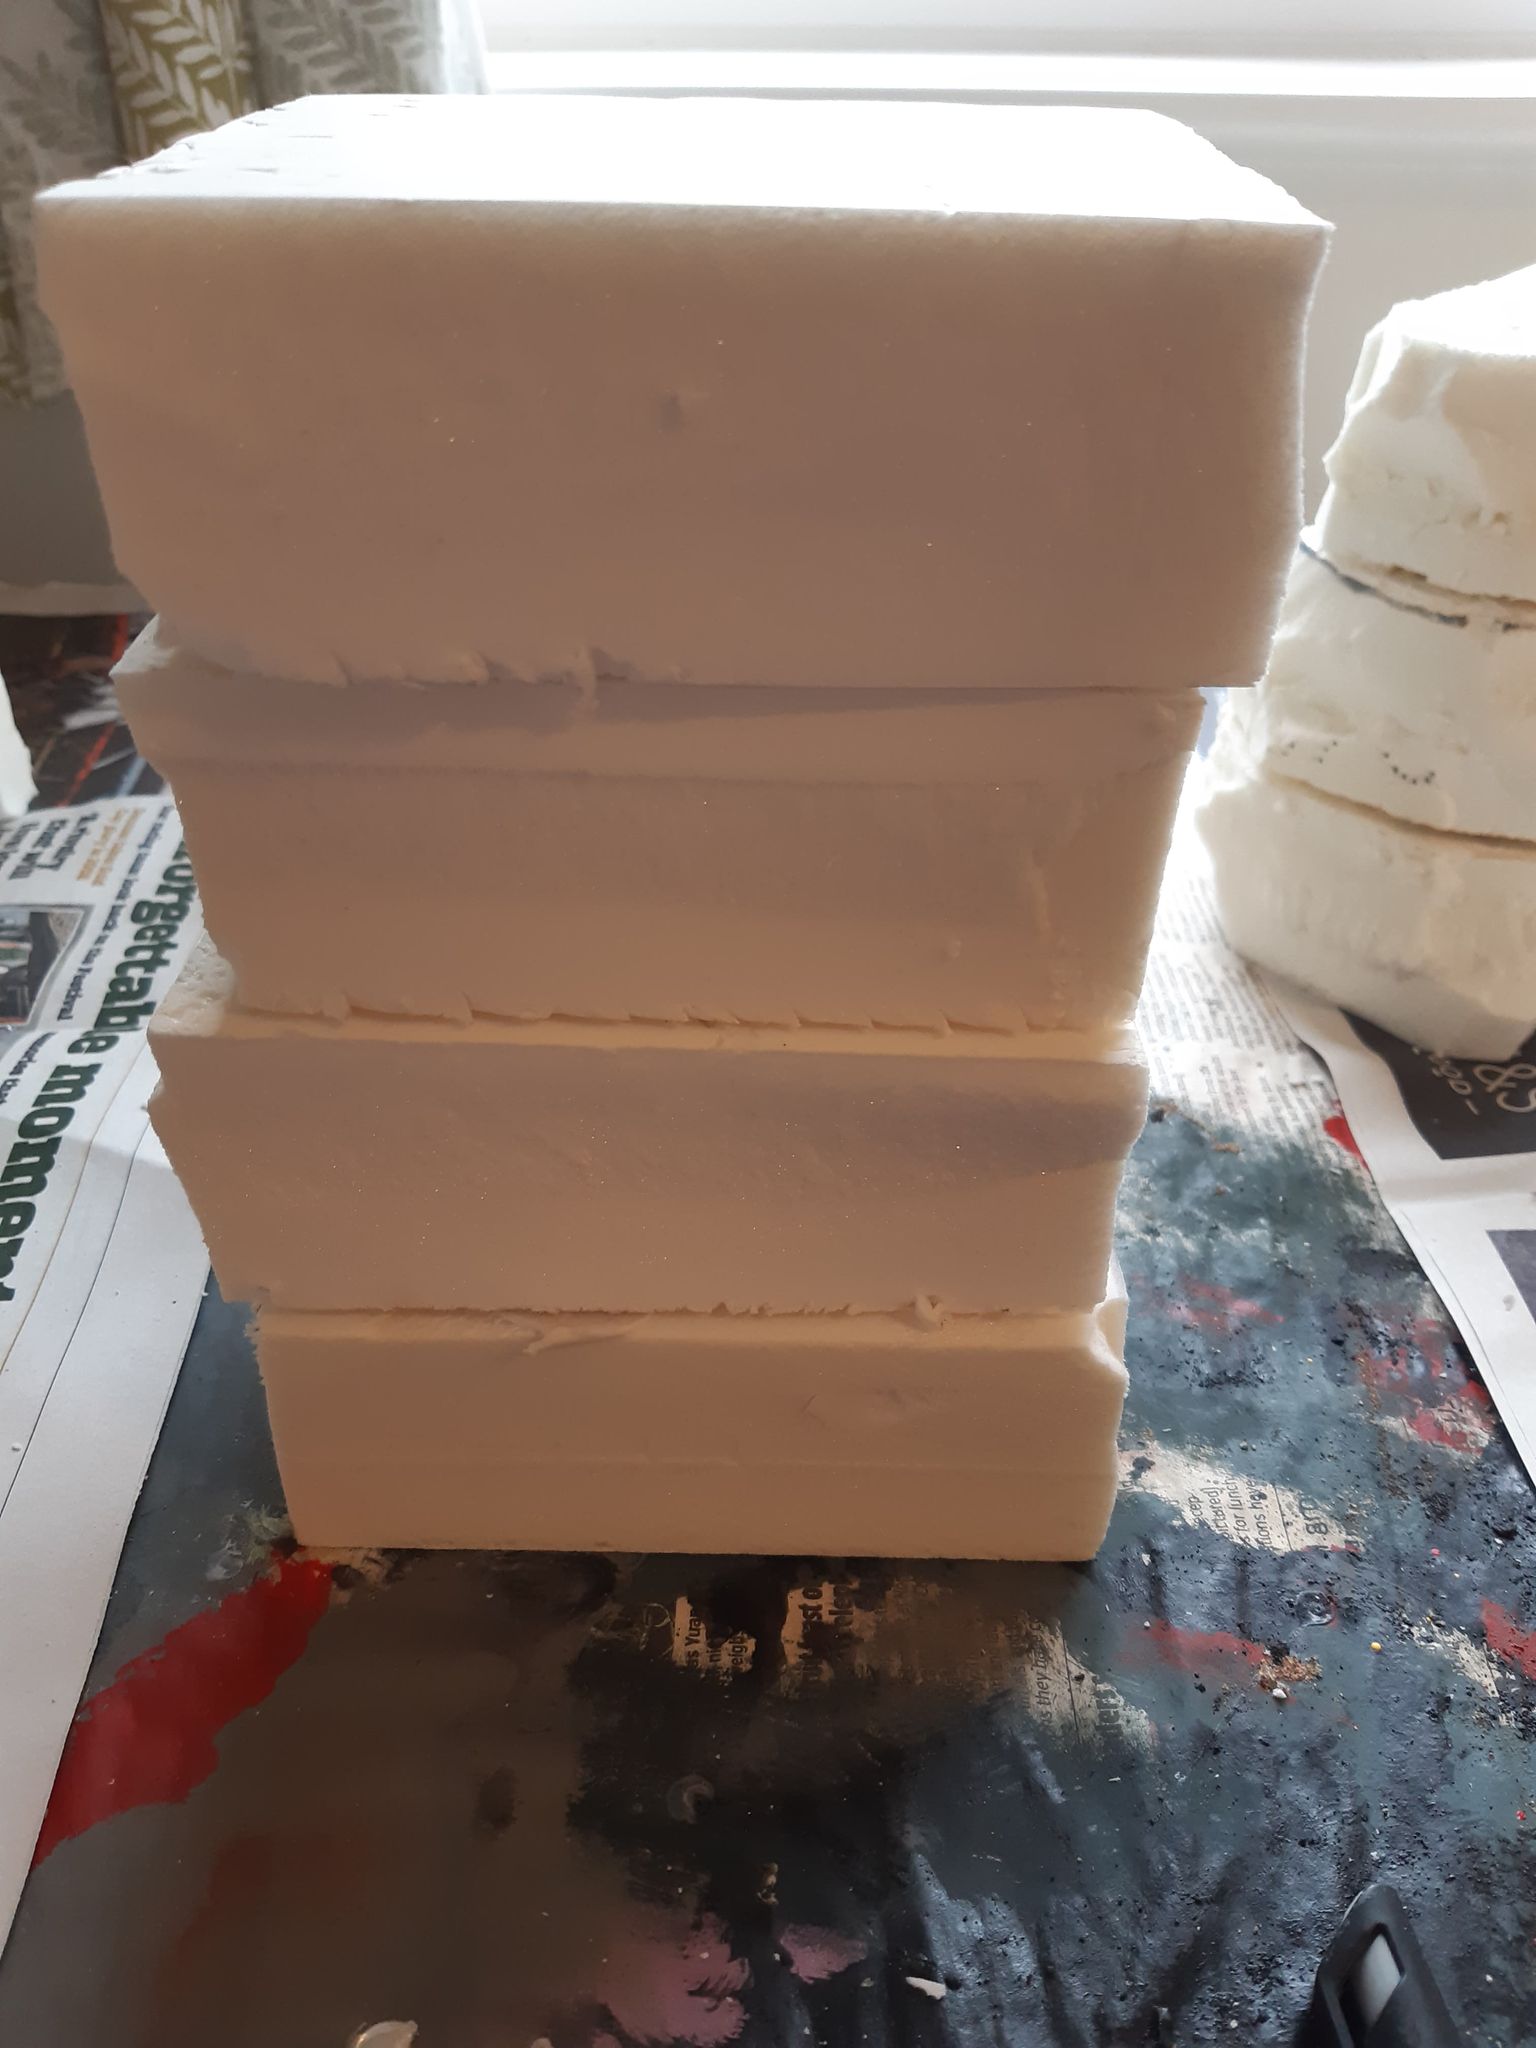
For making stepped hills, you can cut out the bottom layer, then use this as a guide for cutting the smaller top sections. I used 50 mm polystyrene and stacked between 2 and 4 sheets for the hills and rock structures.
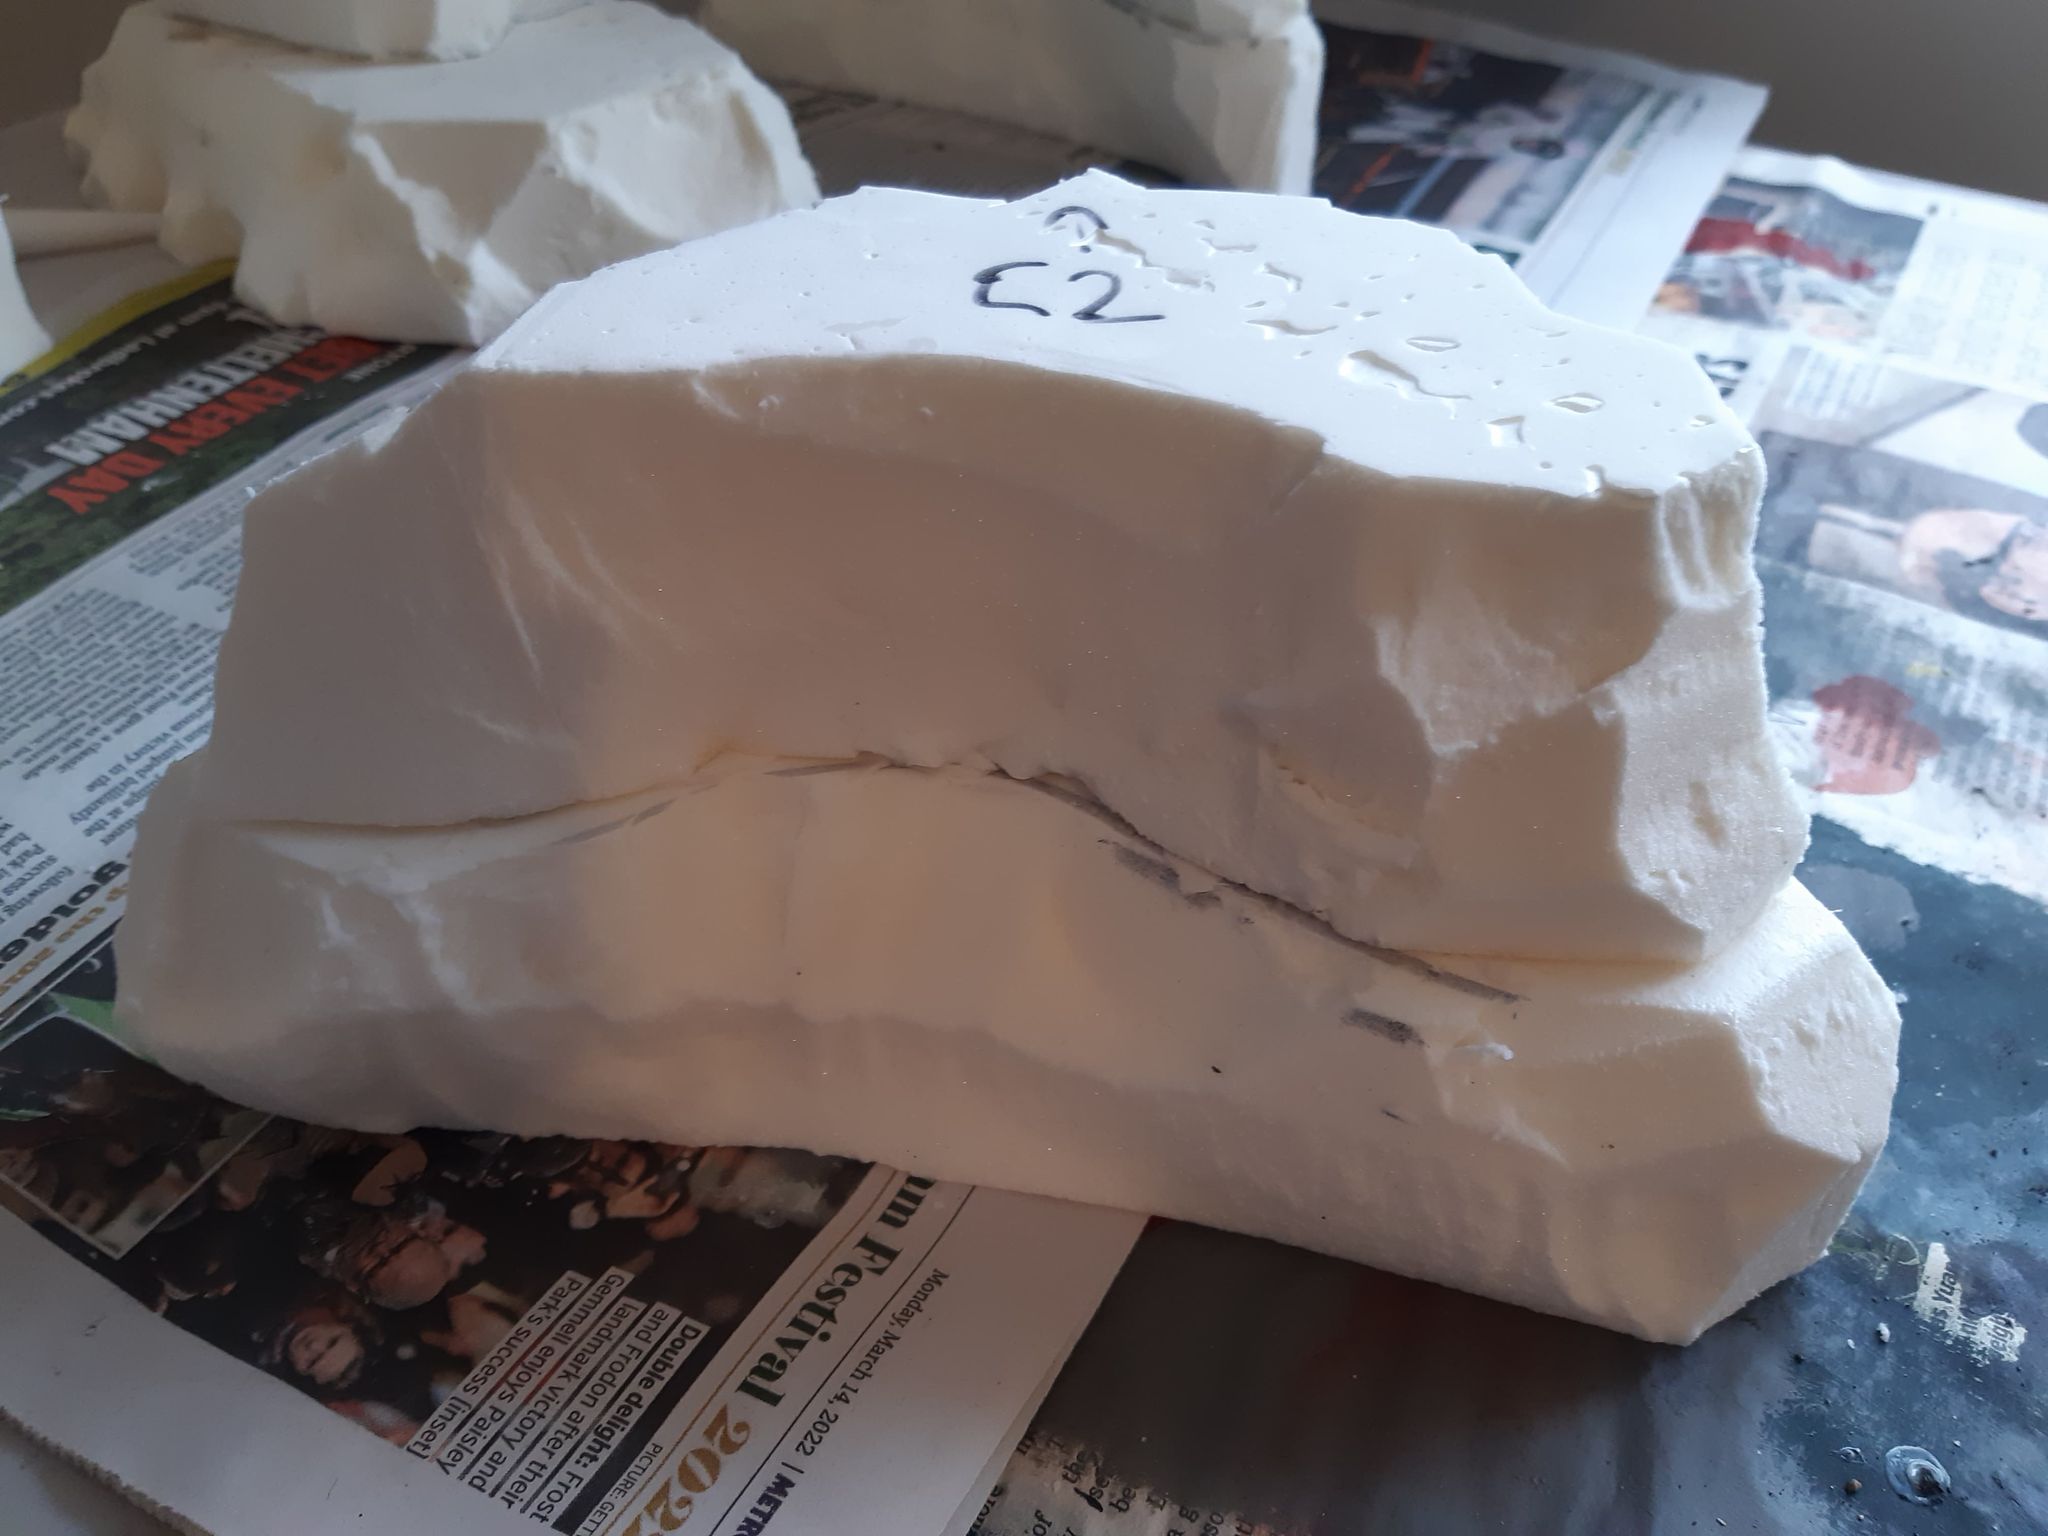
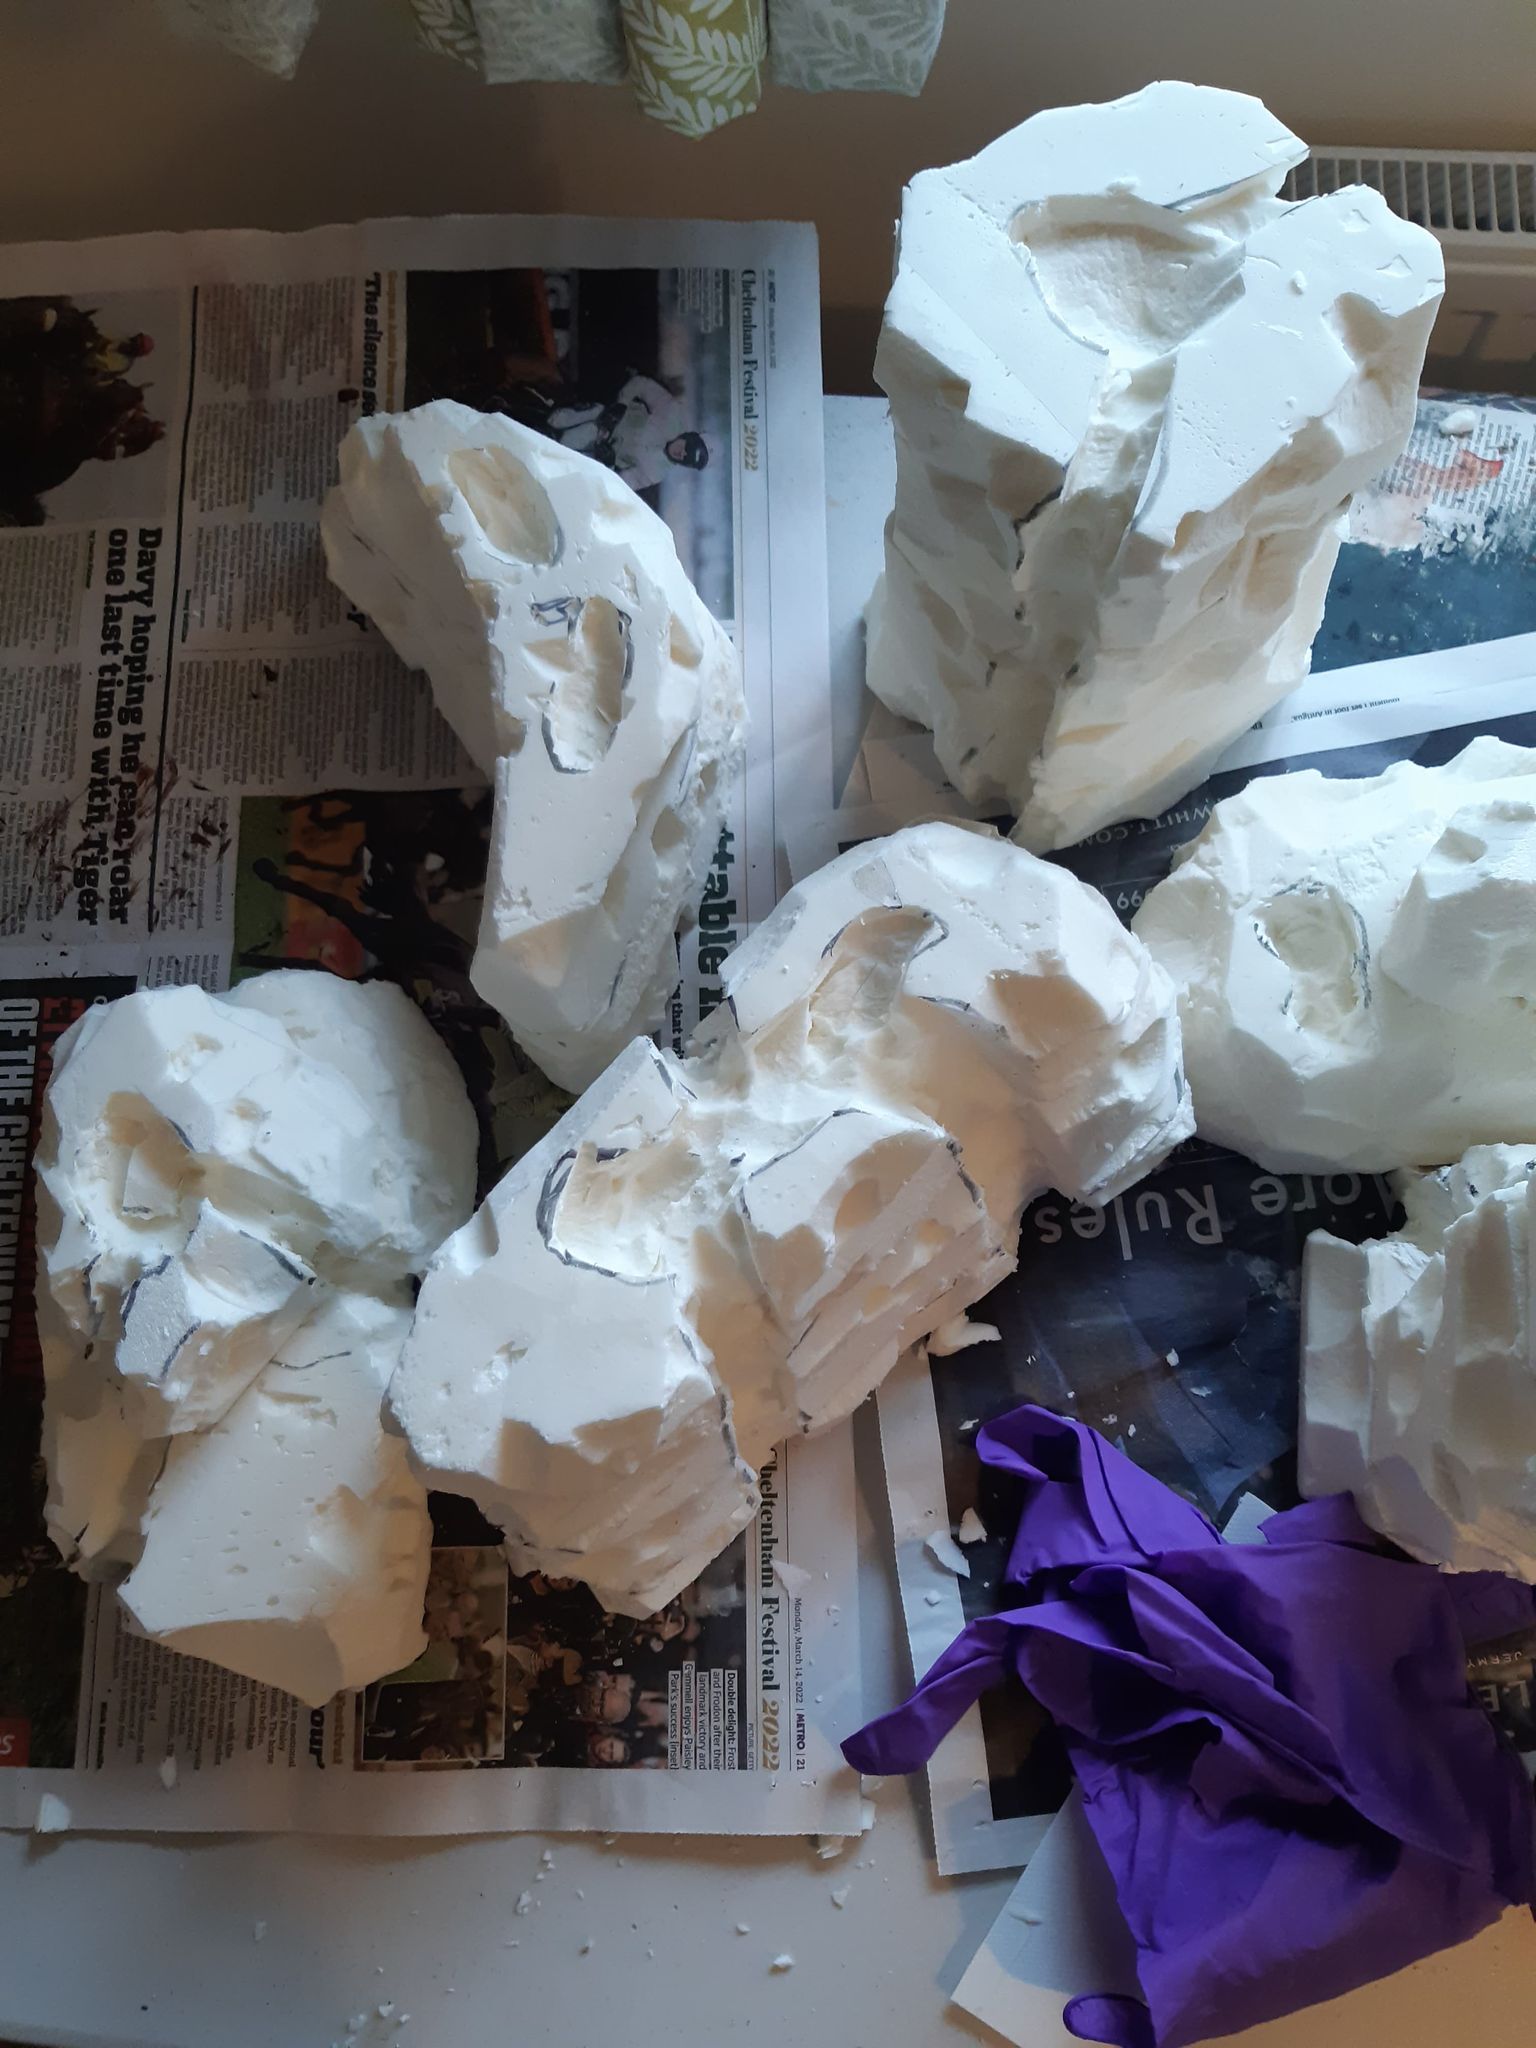
Step 2- Glue the hill sections together. I used an adhesive such as “No More Nails” or contact adhesive, to create a strong bond. PVA will do, but I like a stronger seal than PVA glue provides to prevent the sections coming apart. Allow the glue to fully dry before proceeding.
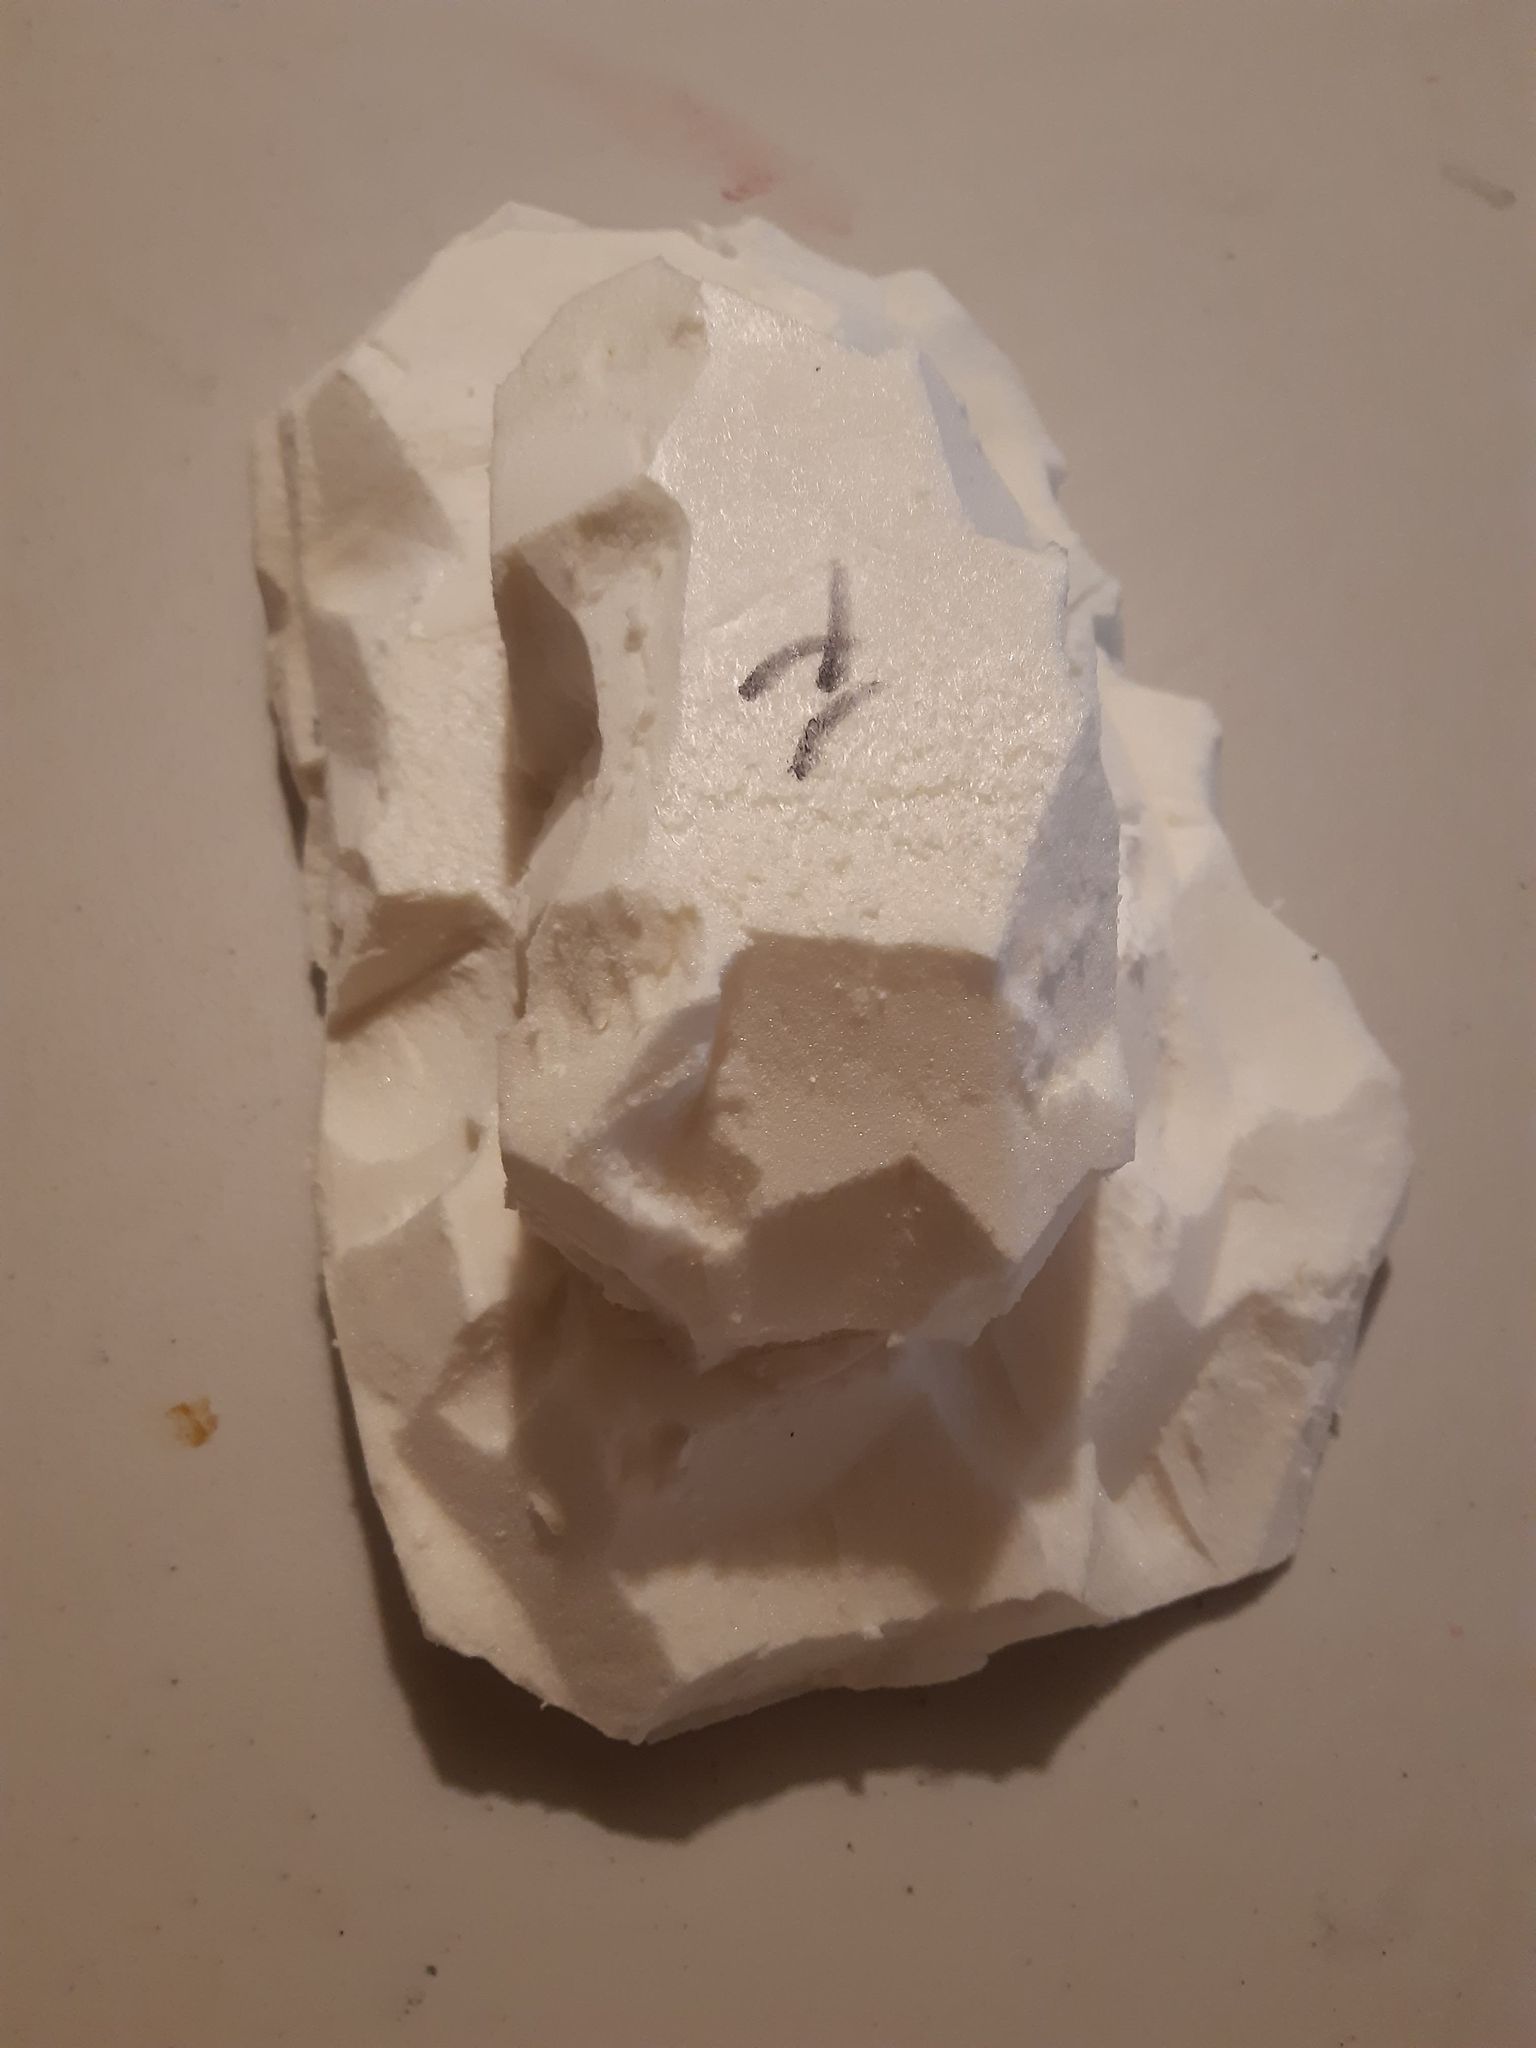
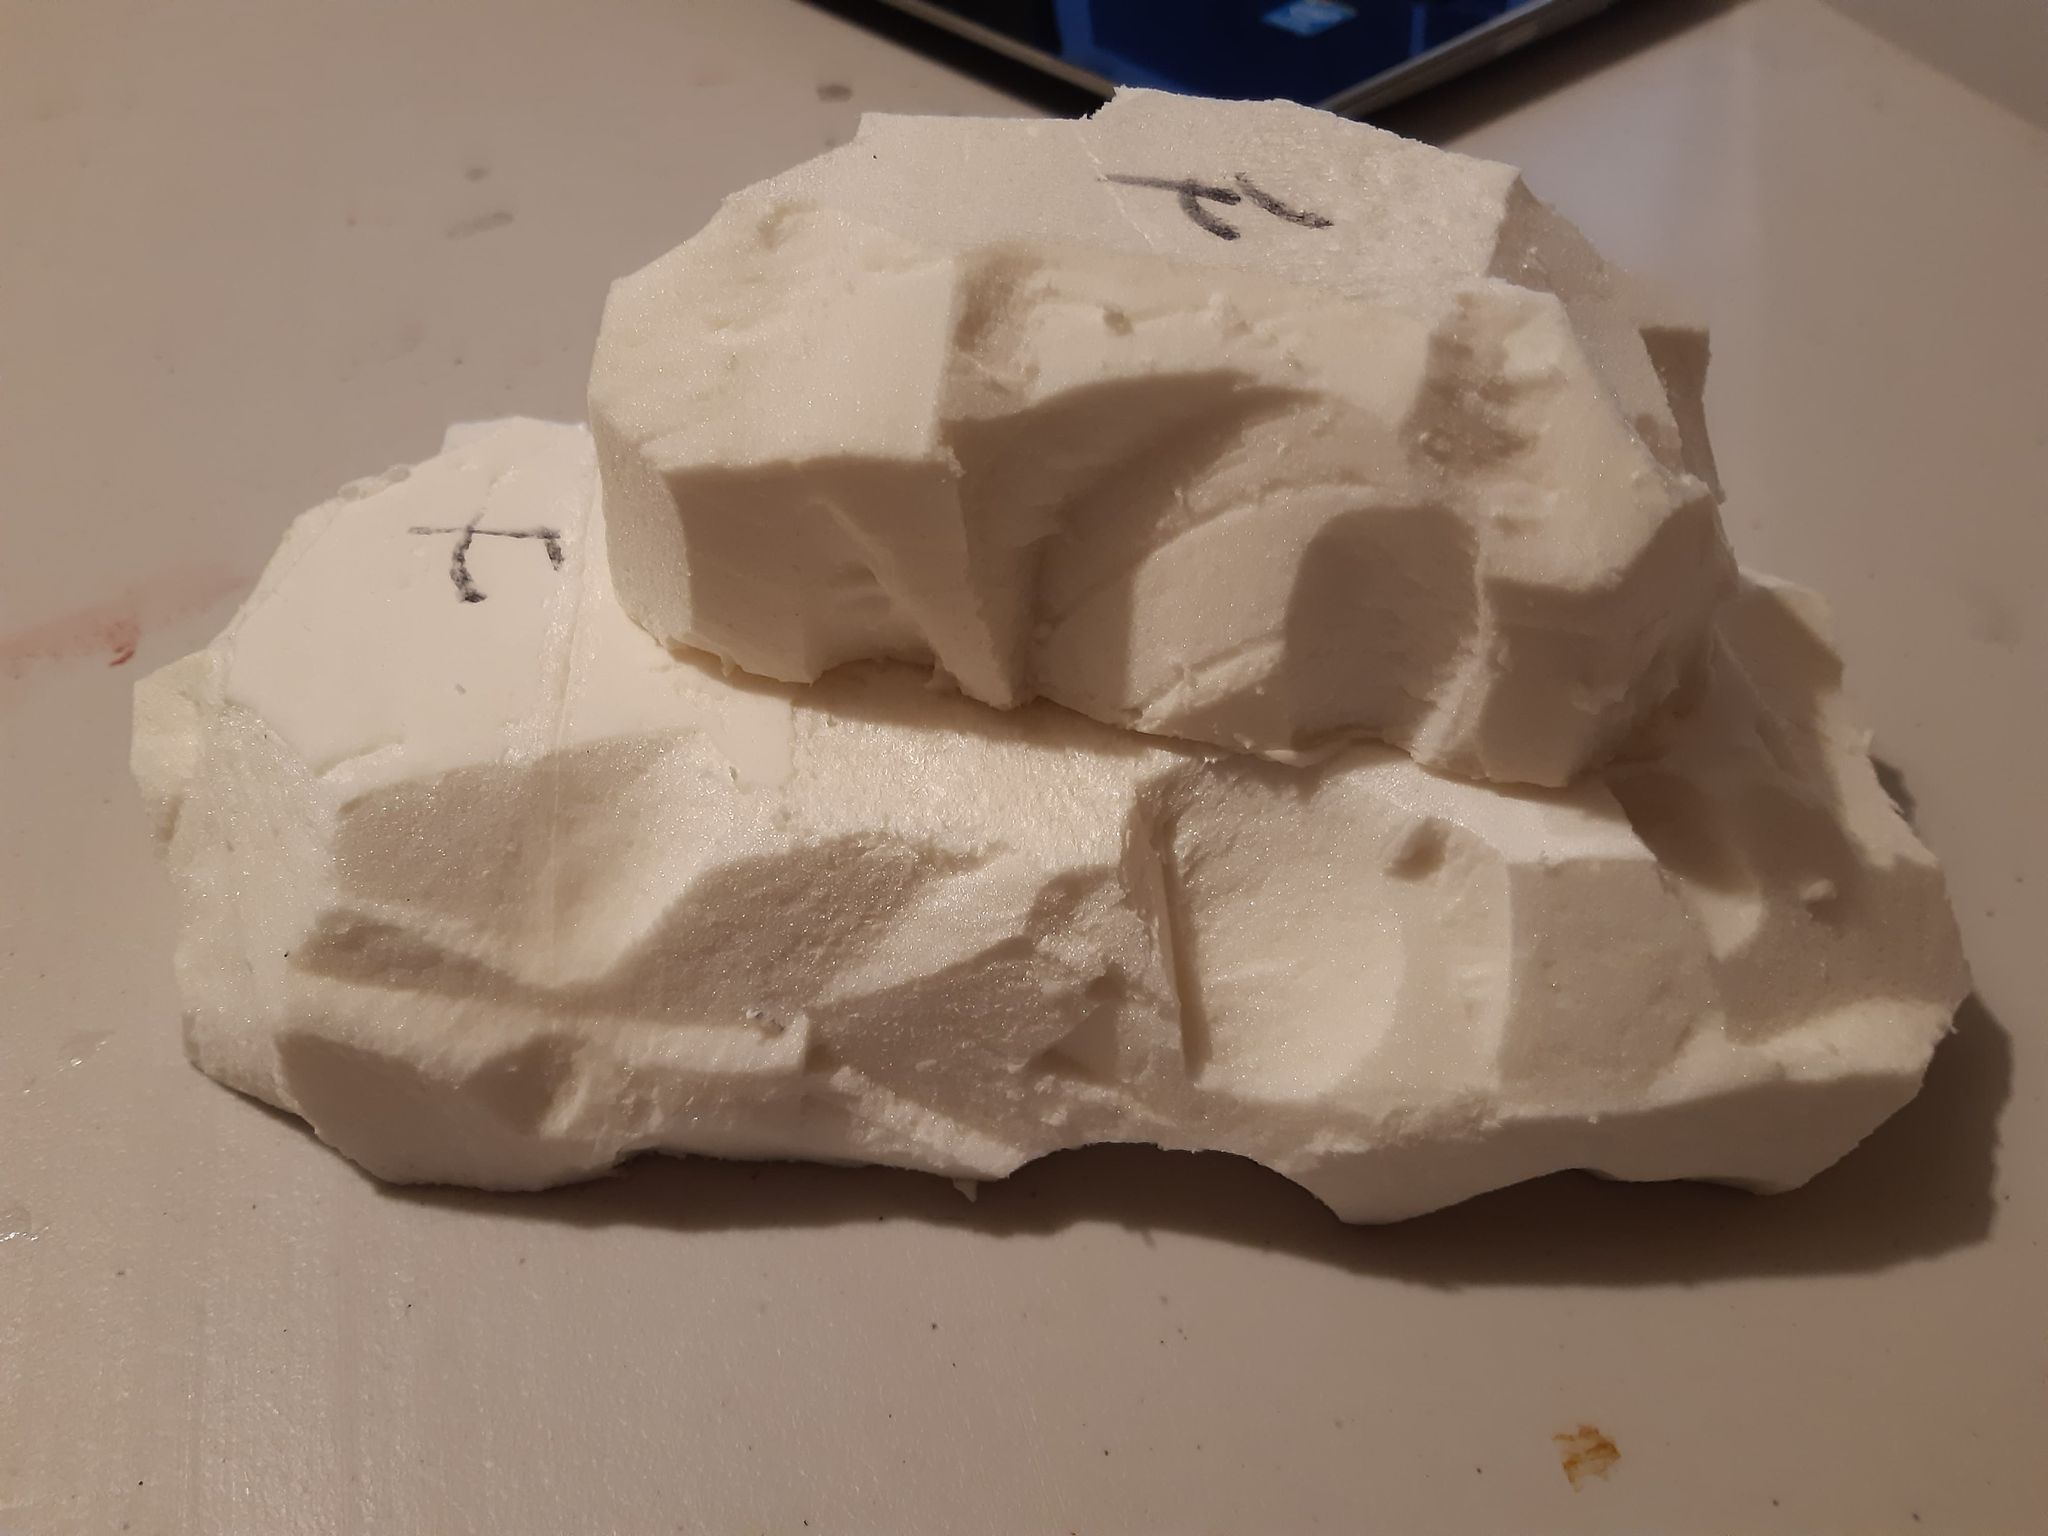
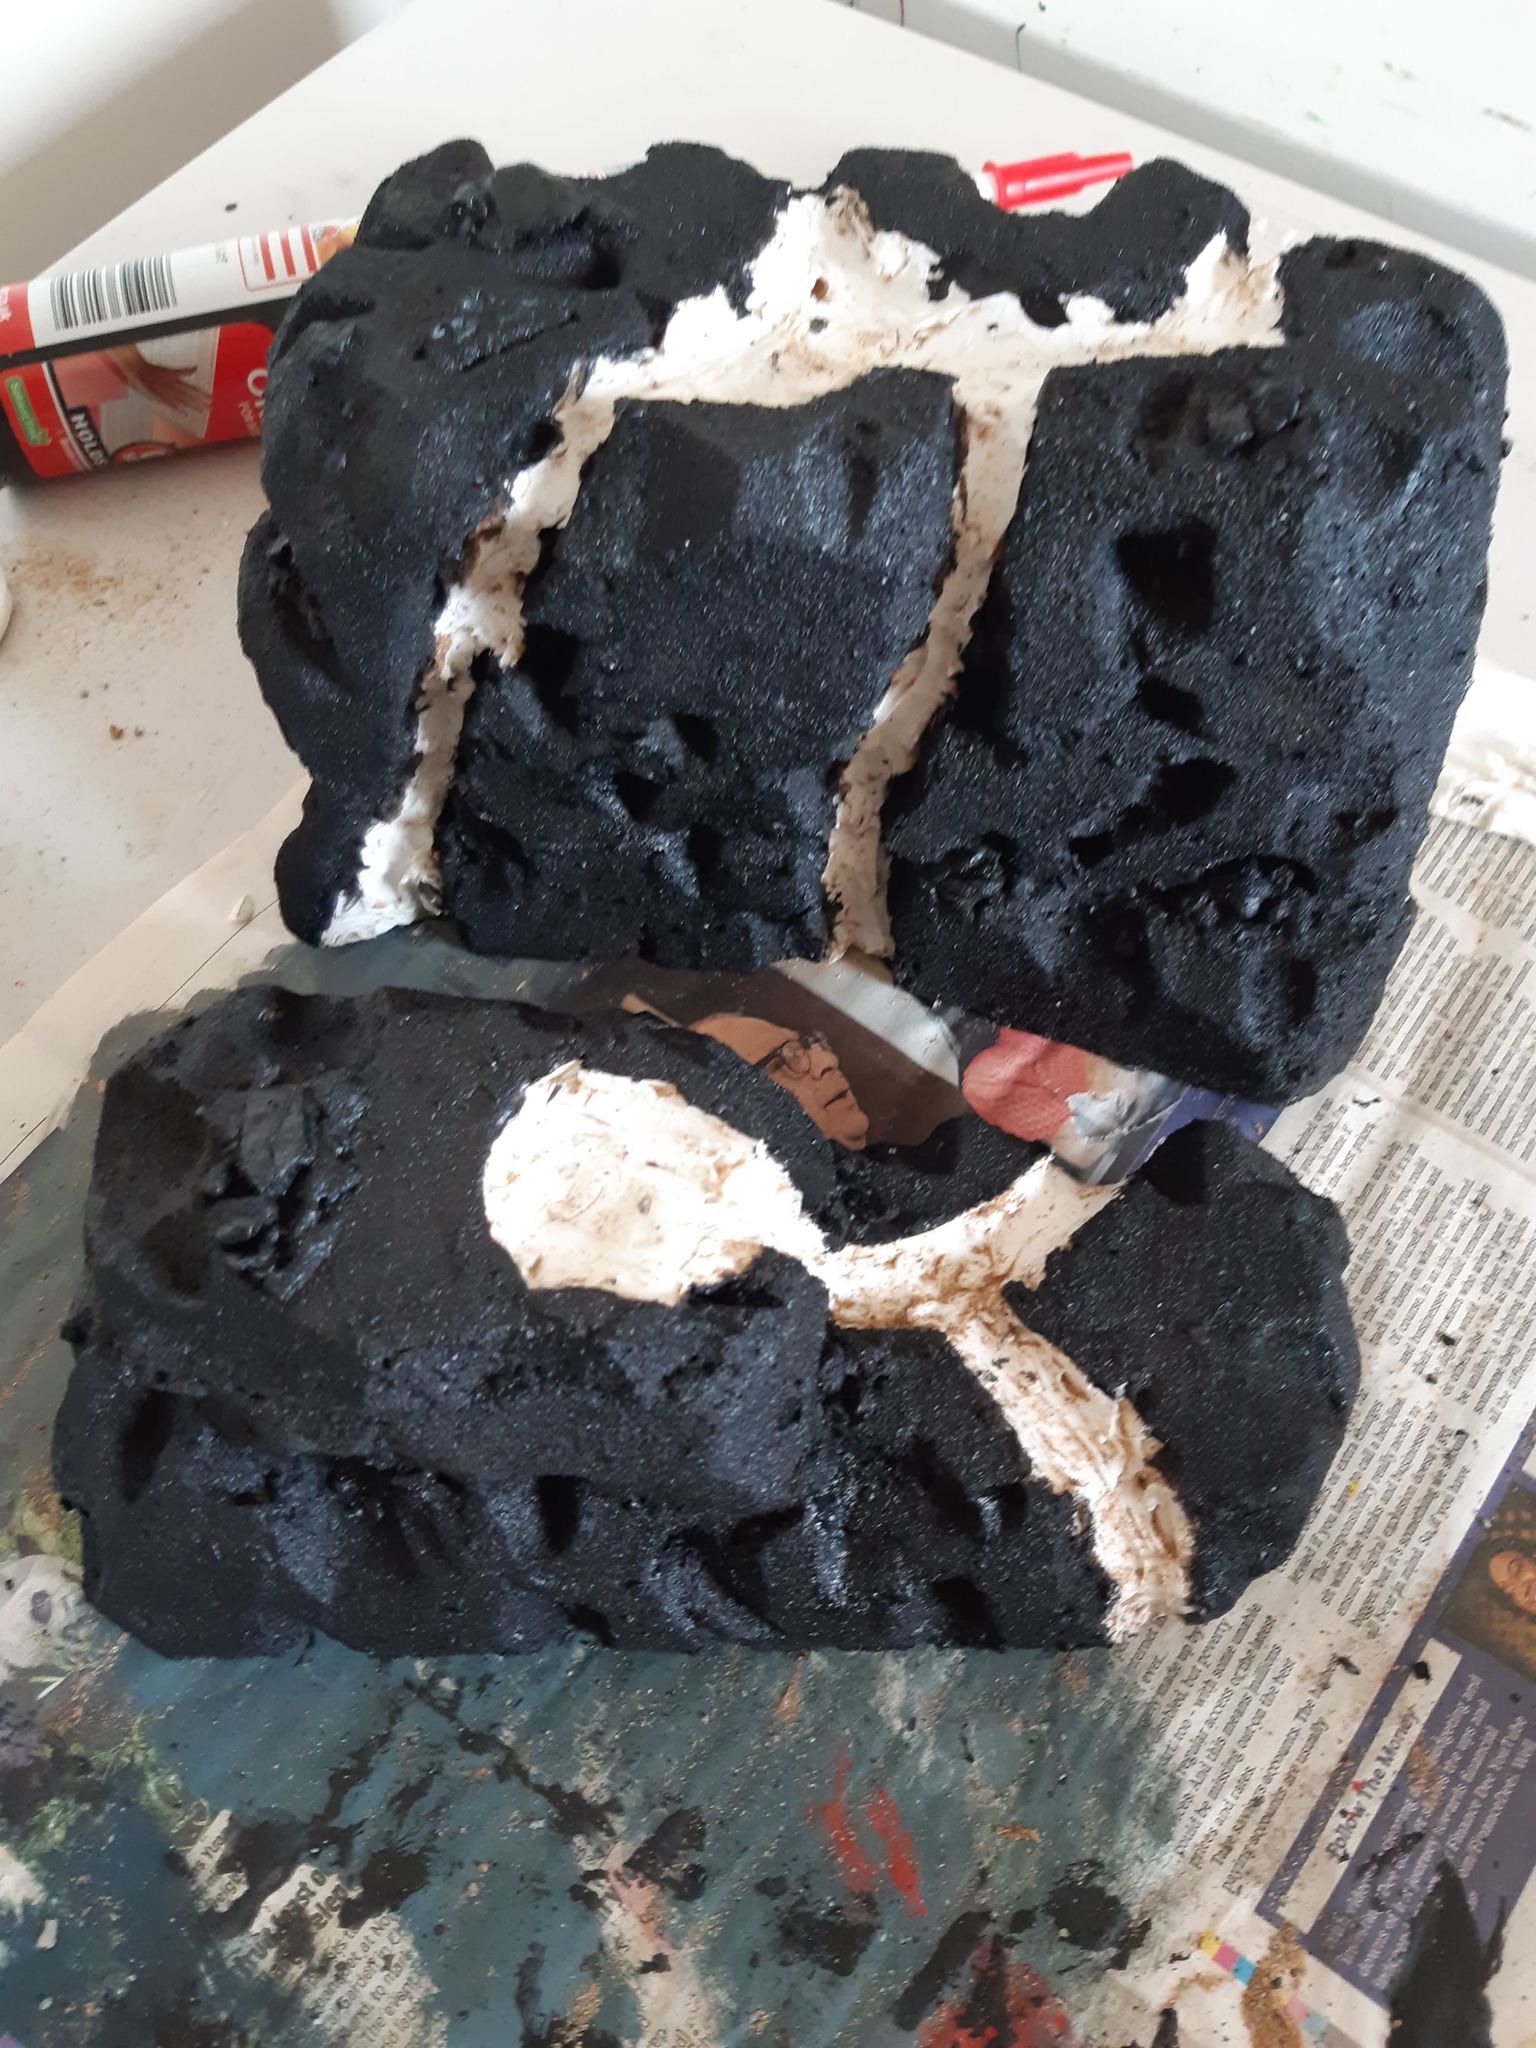
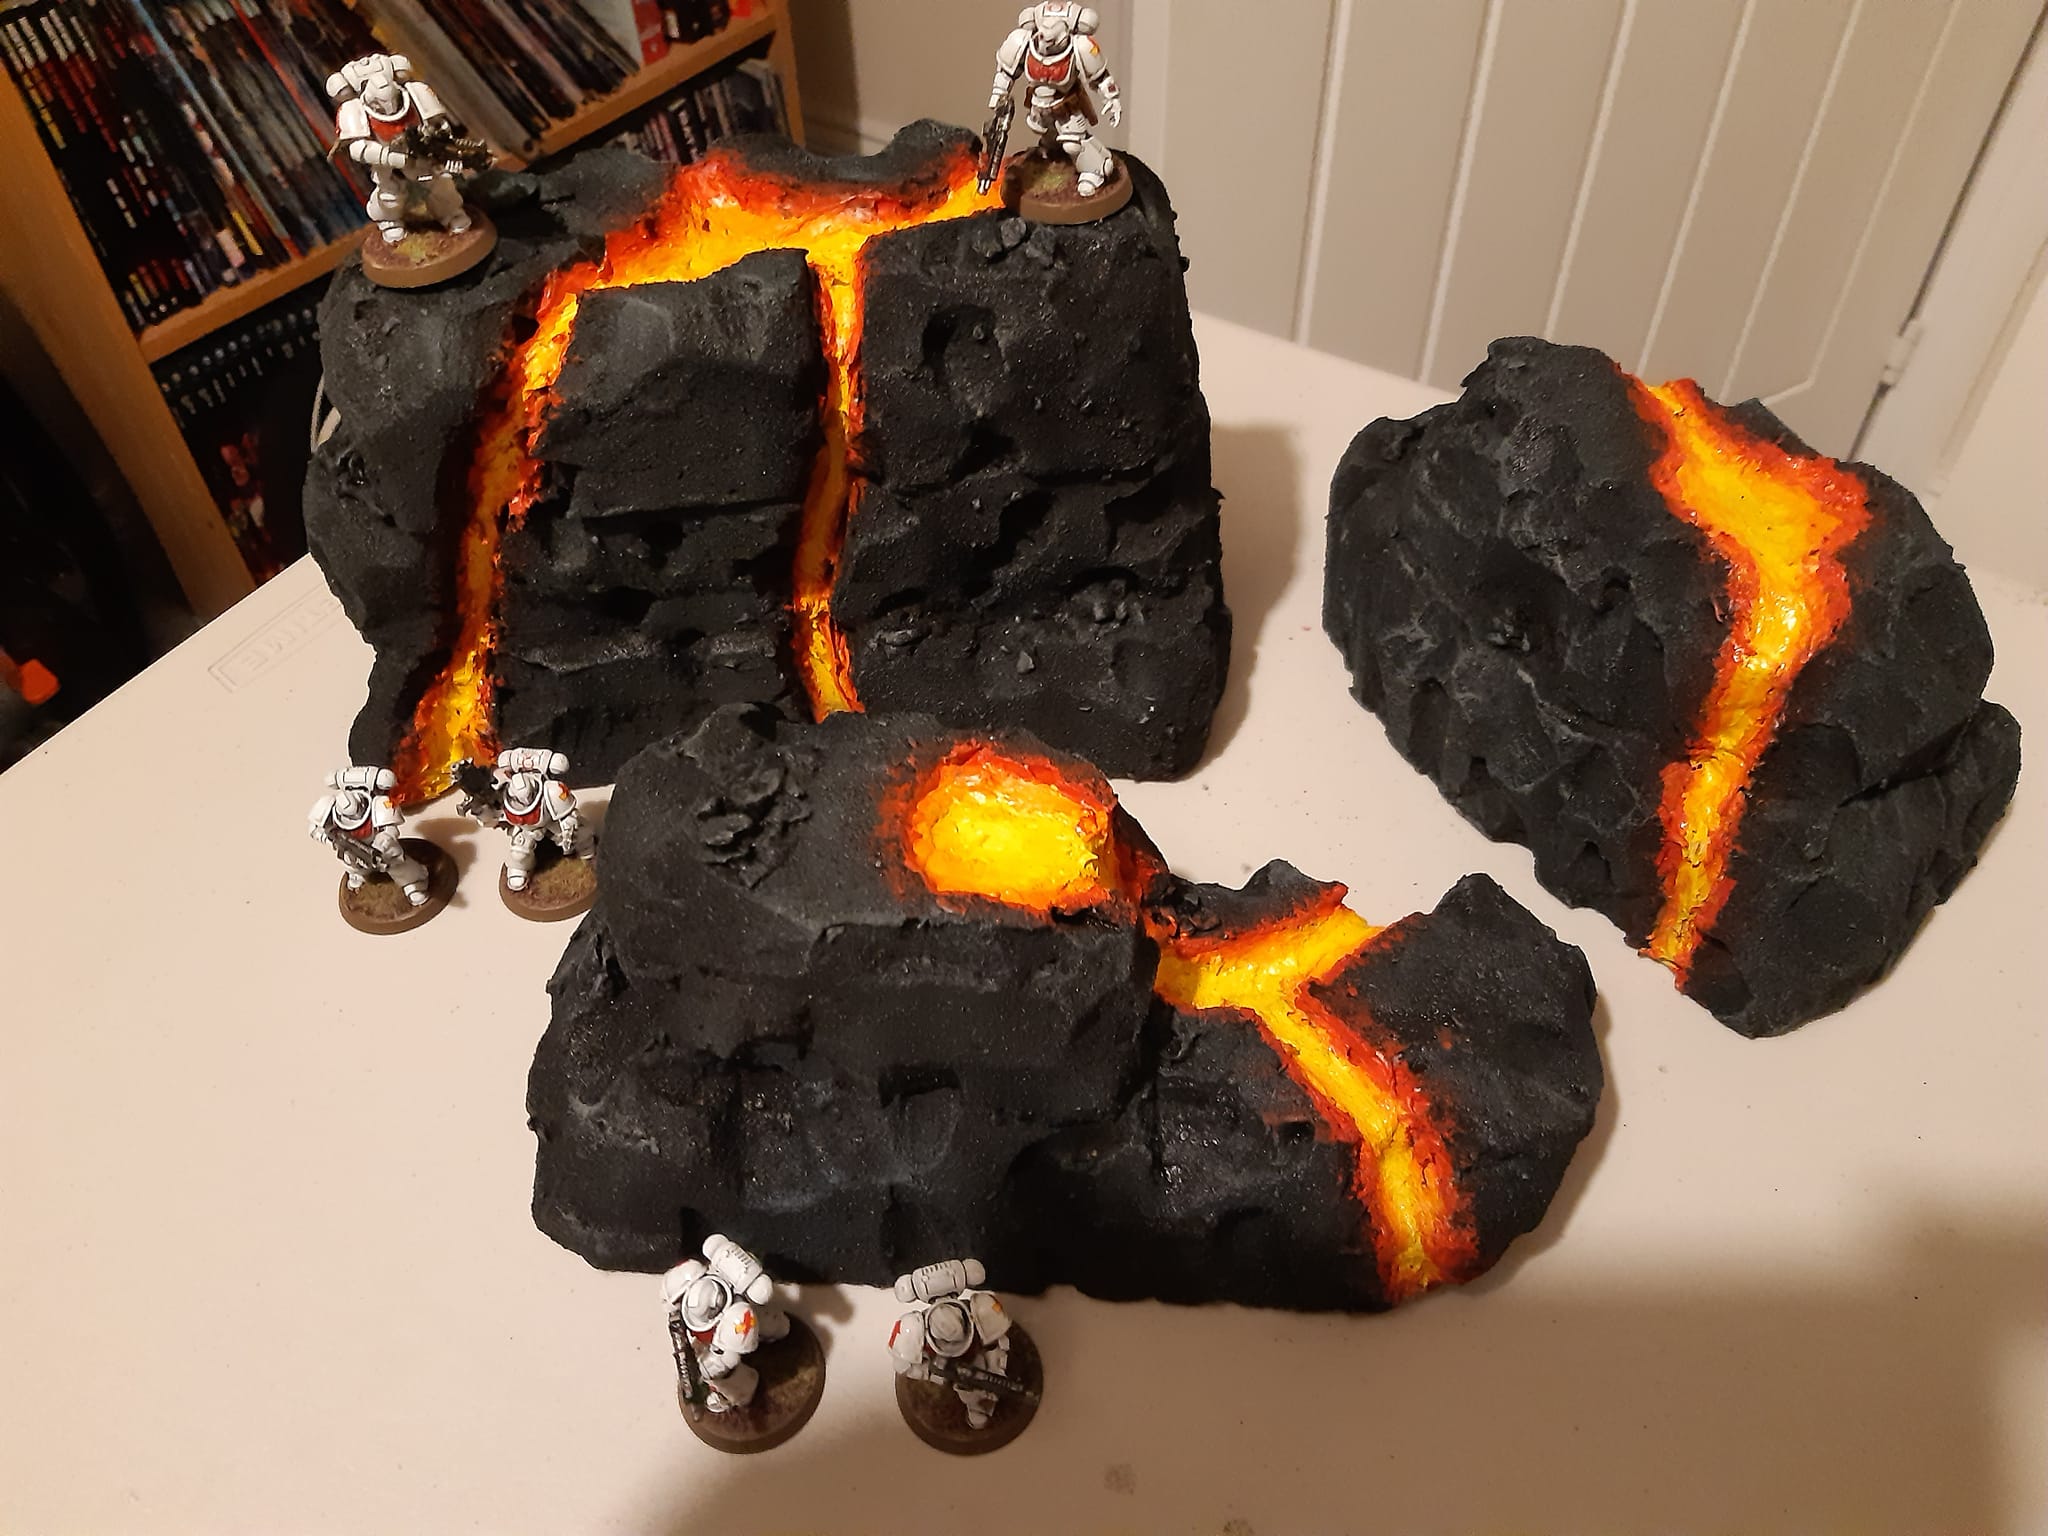
For example, here are some two-level sheets good for hiding infantry and small vehicles.
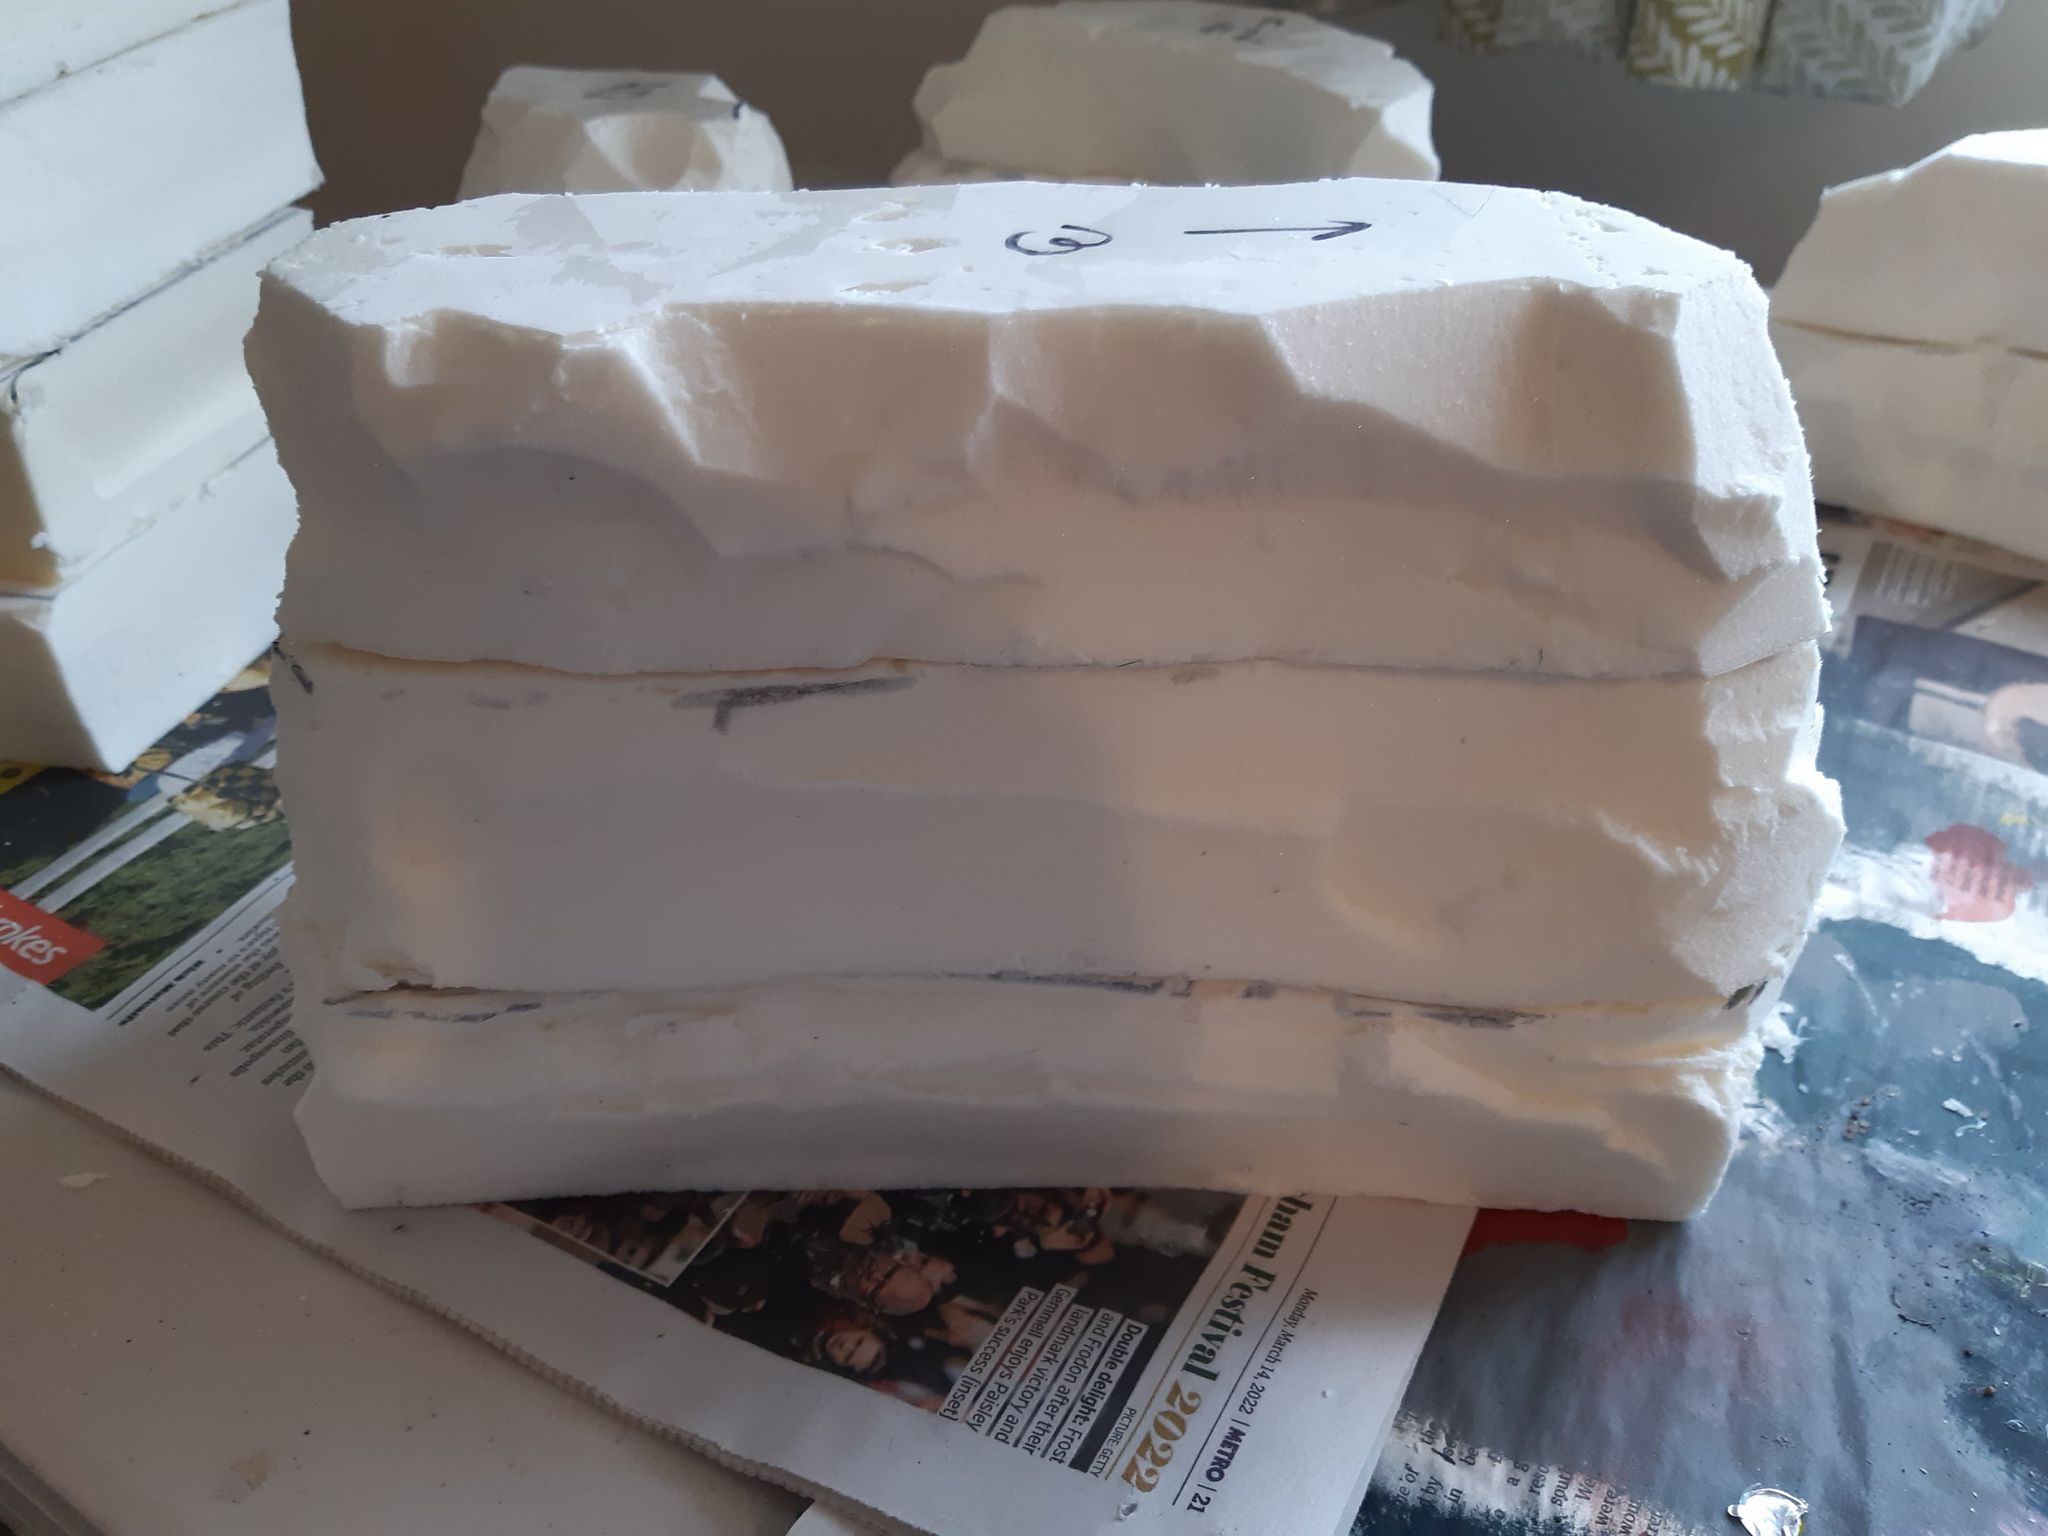
Three sheet levels are good for obscuring most units in the game.
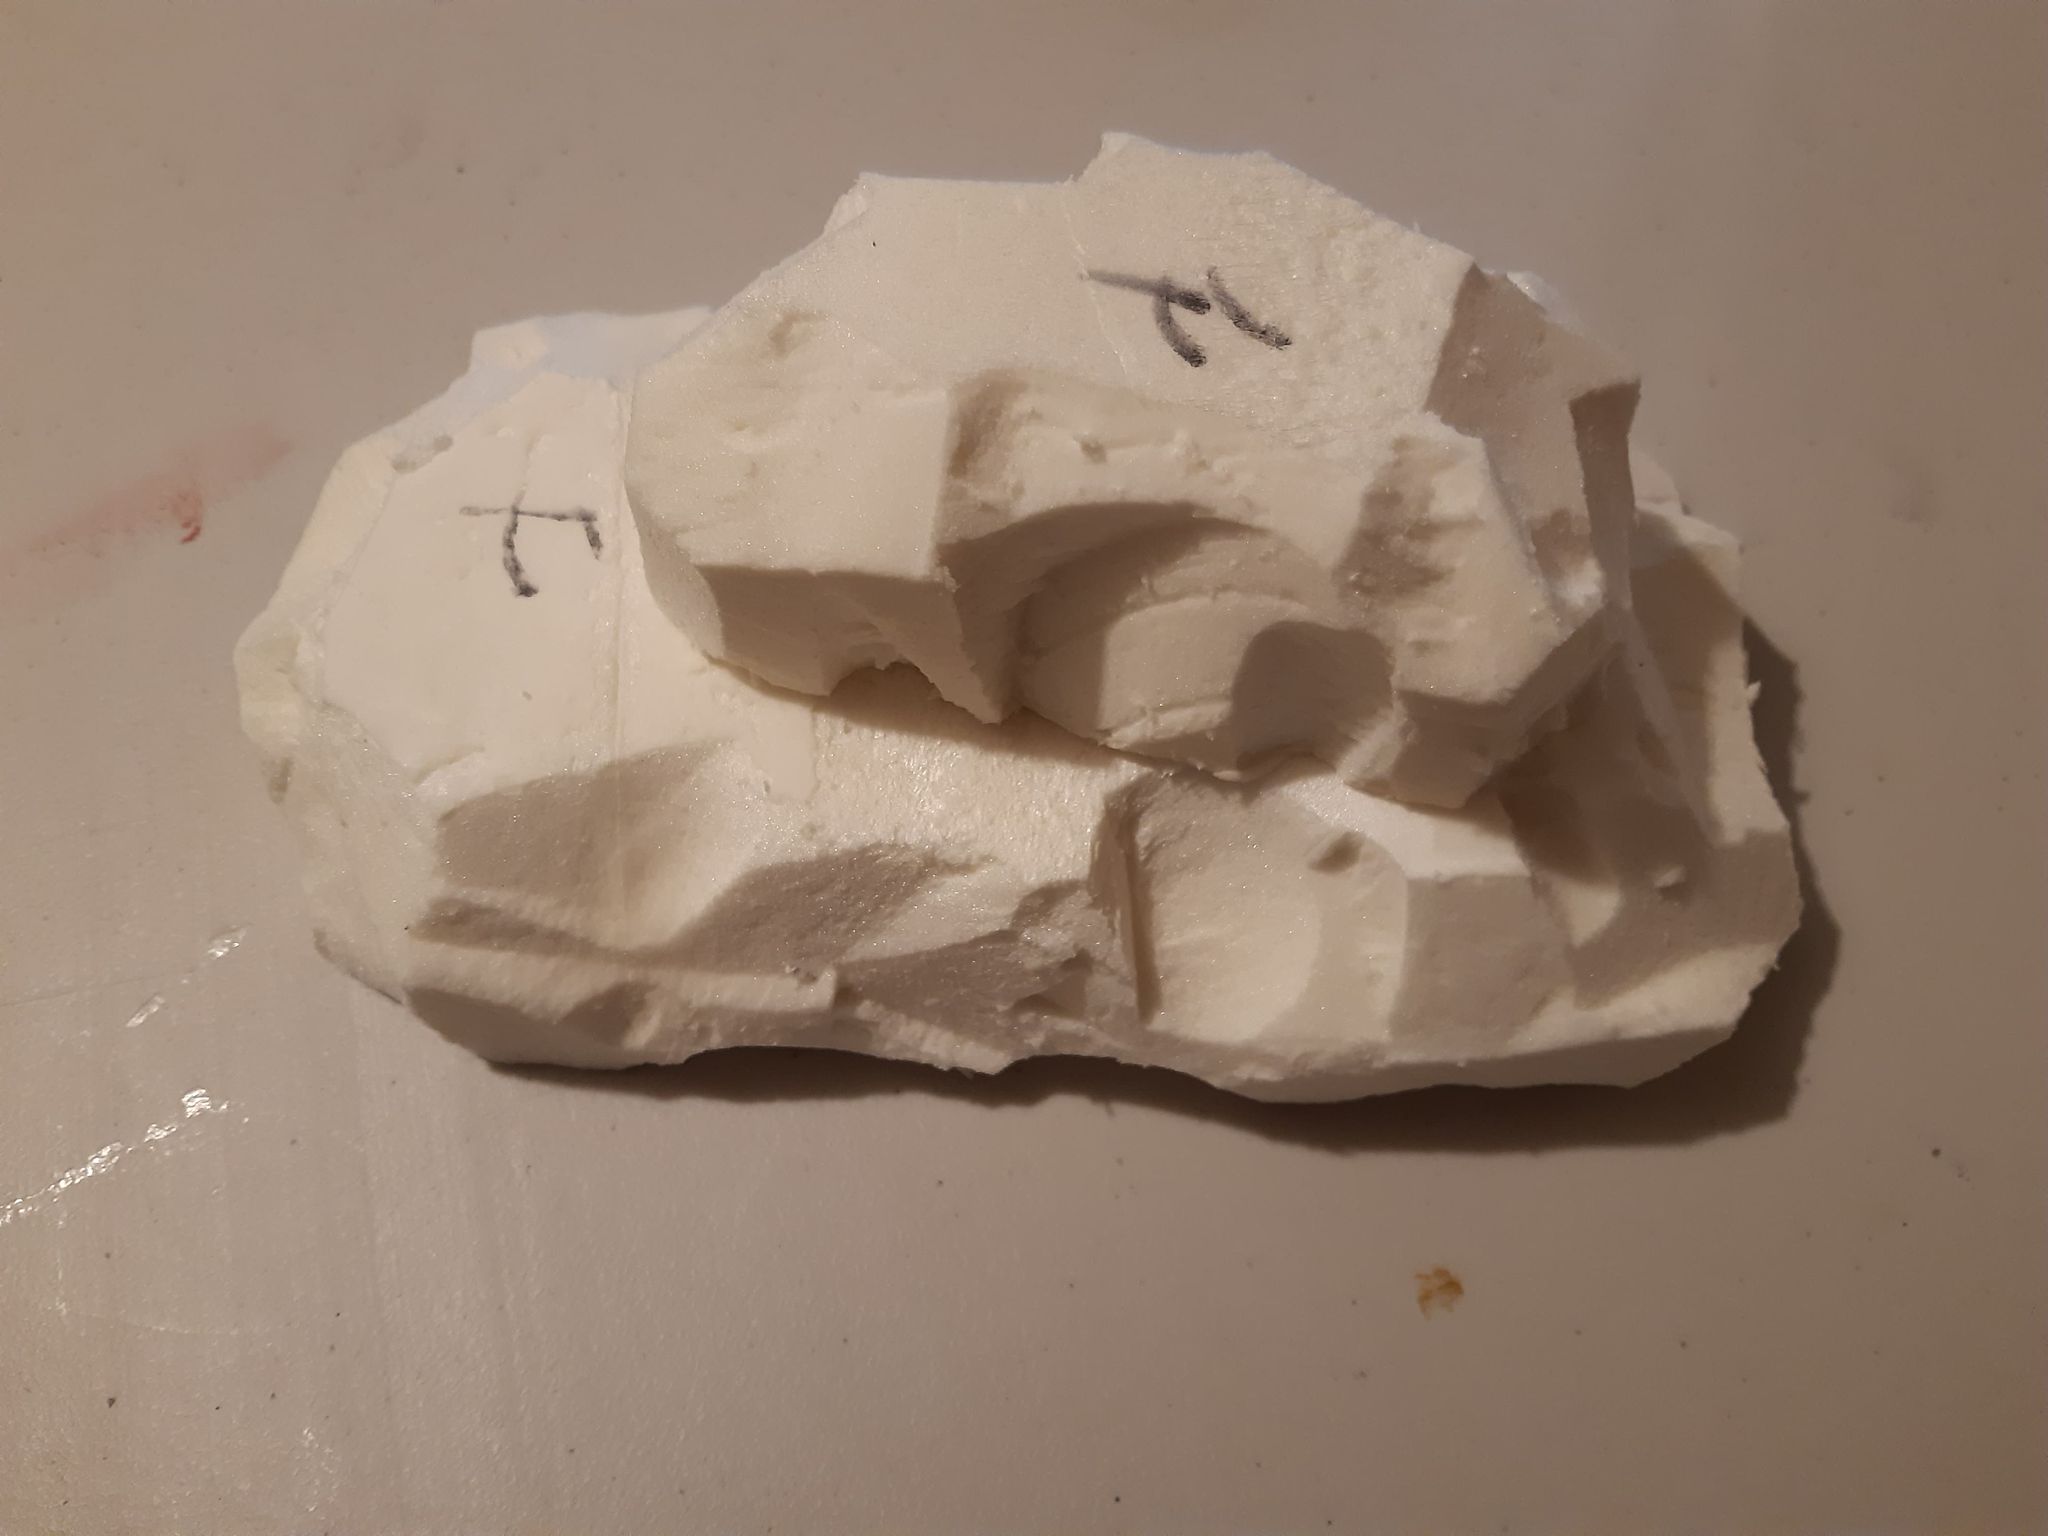
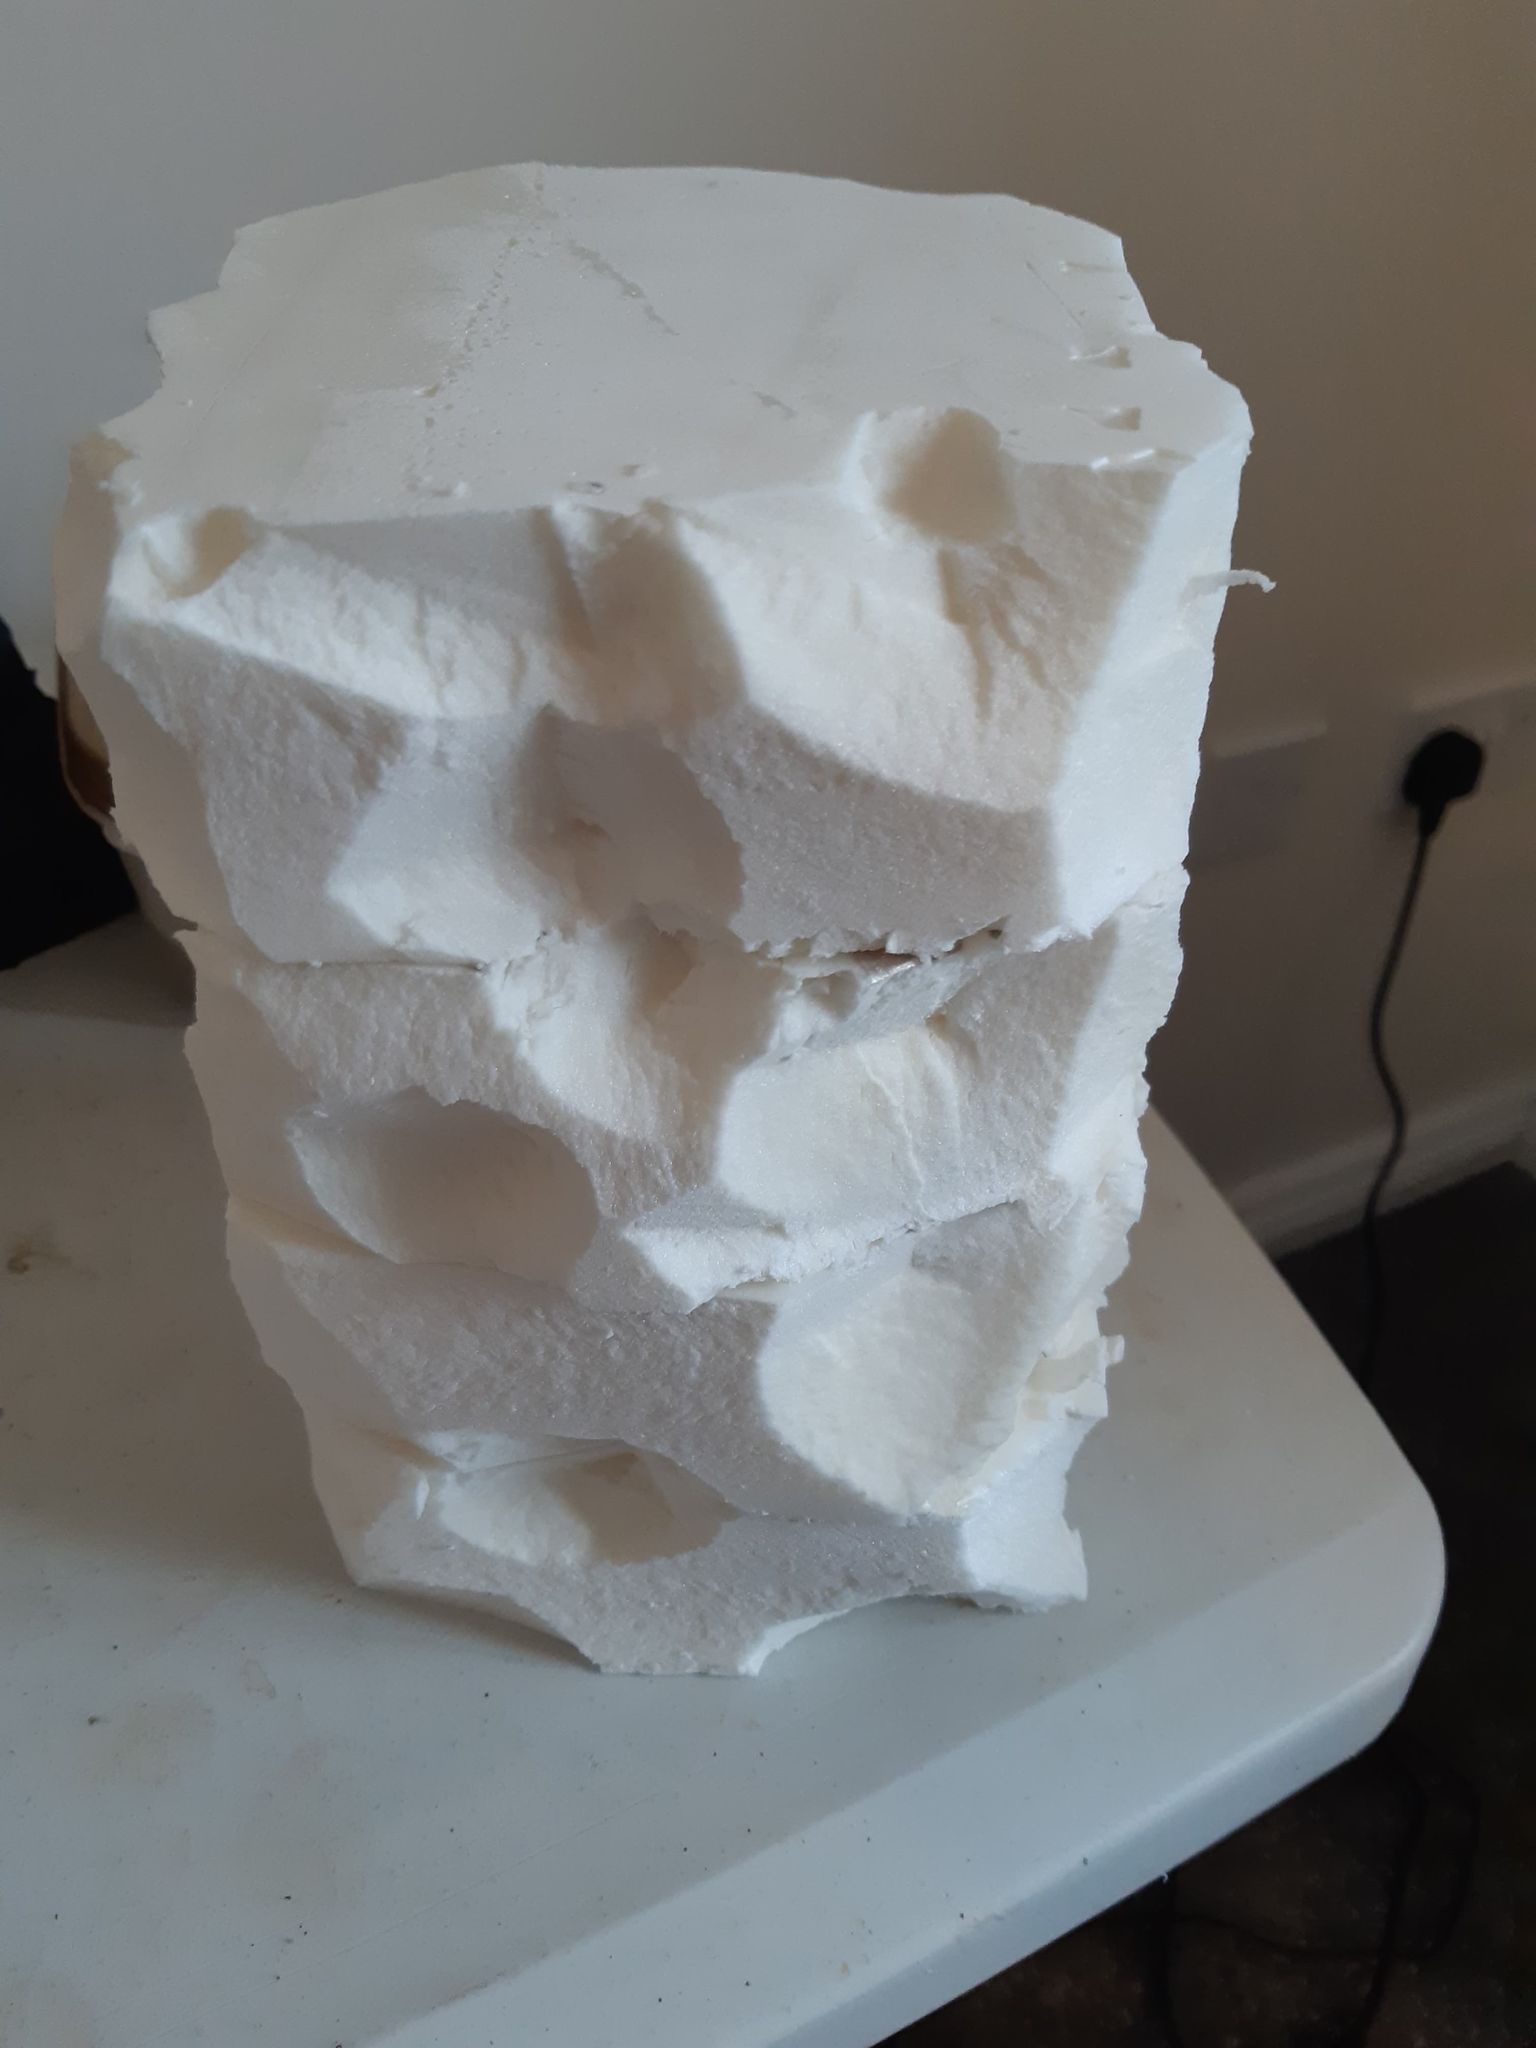
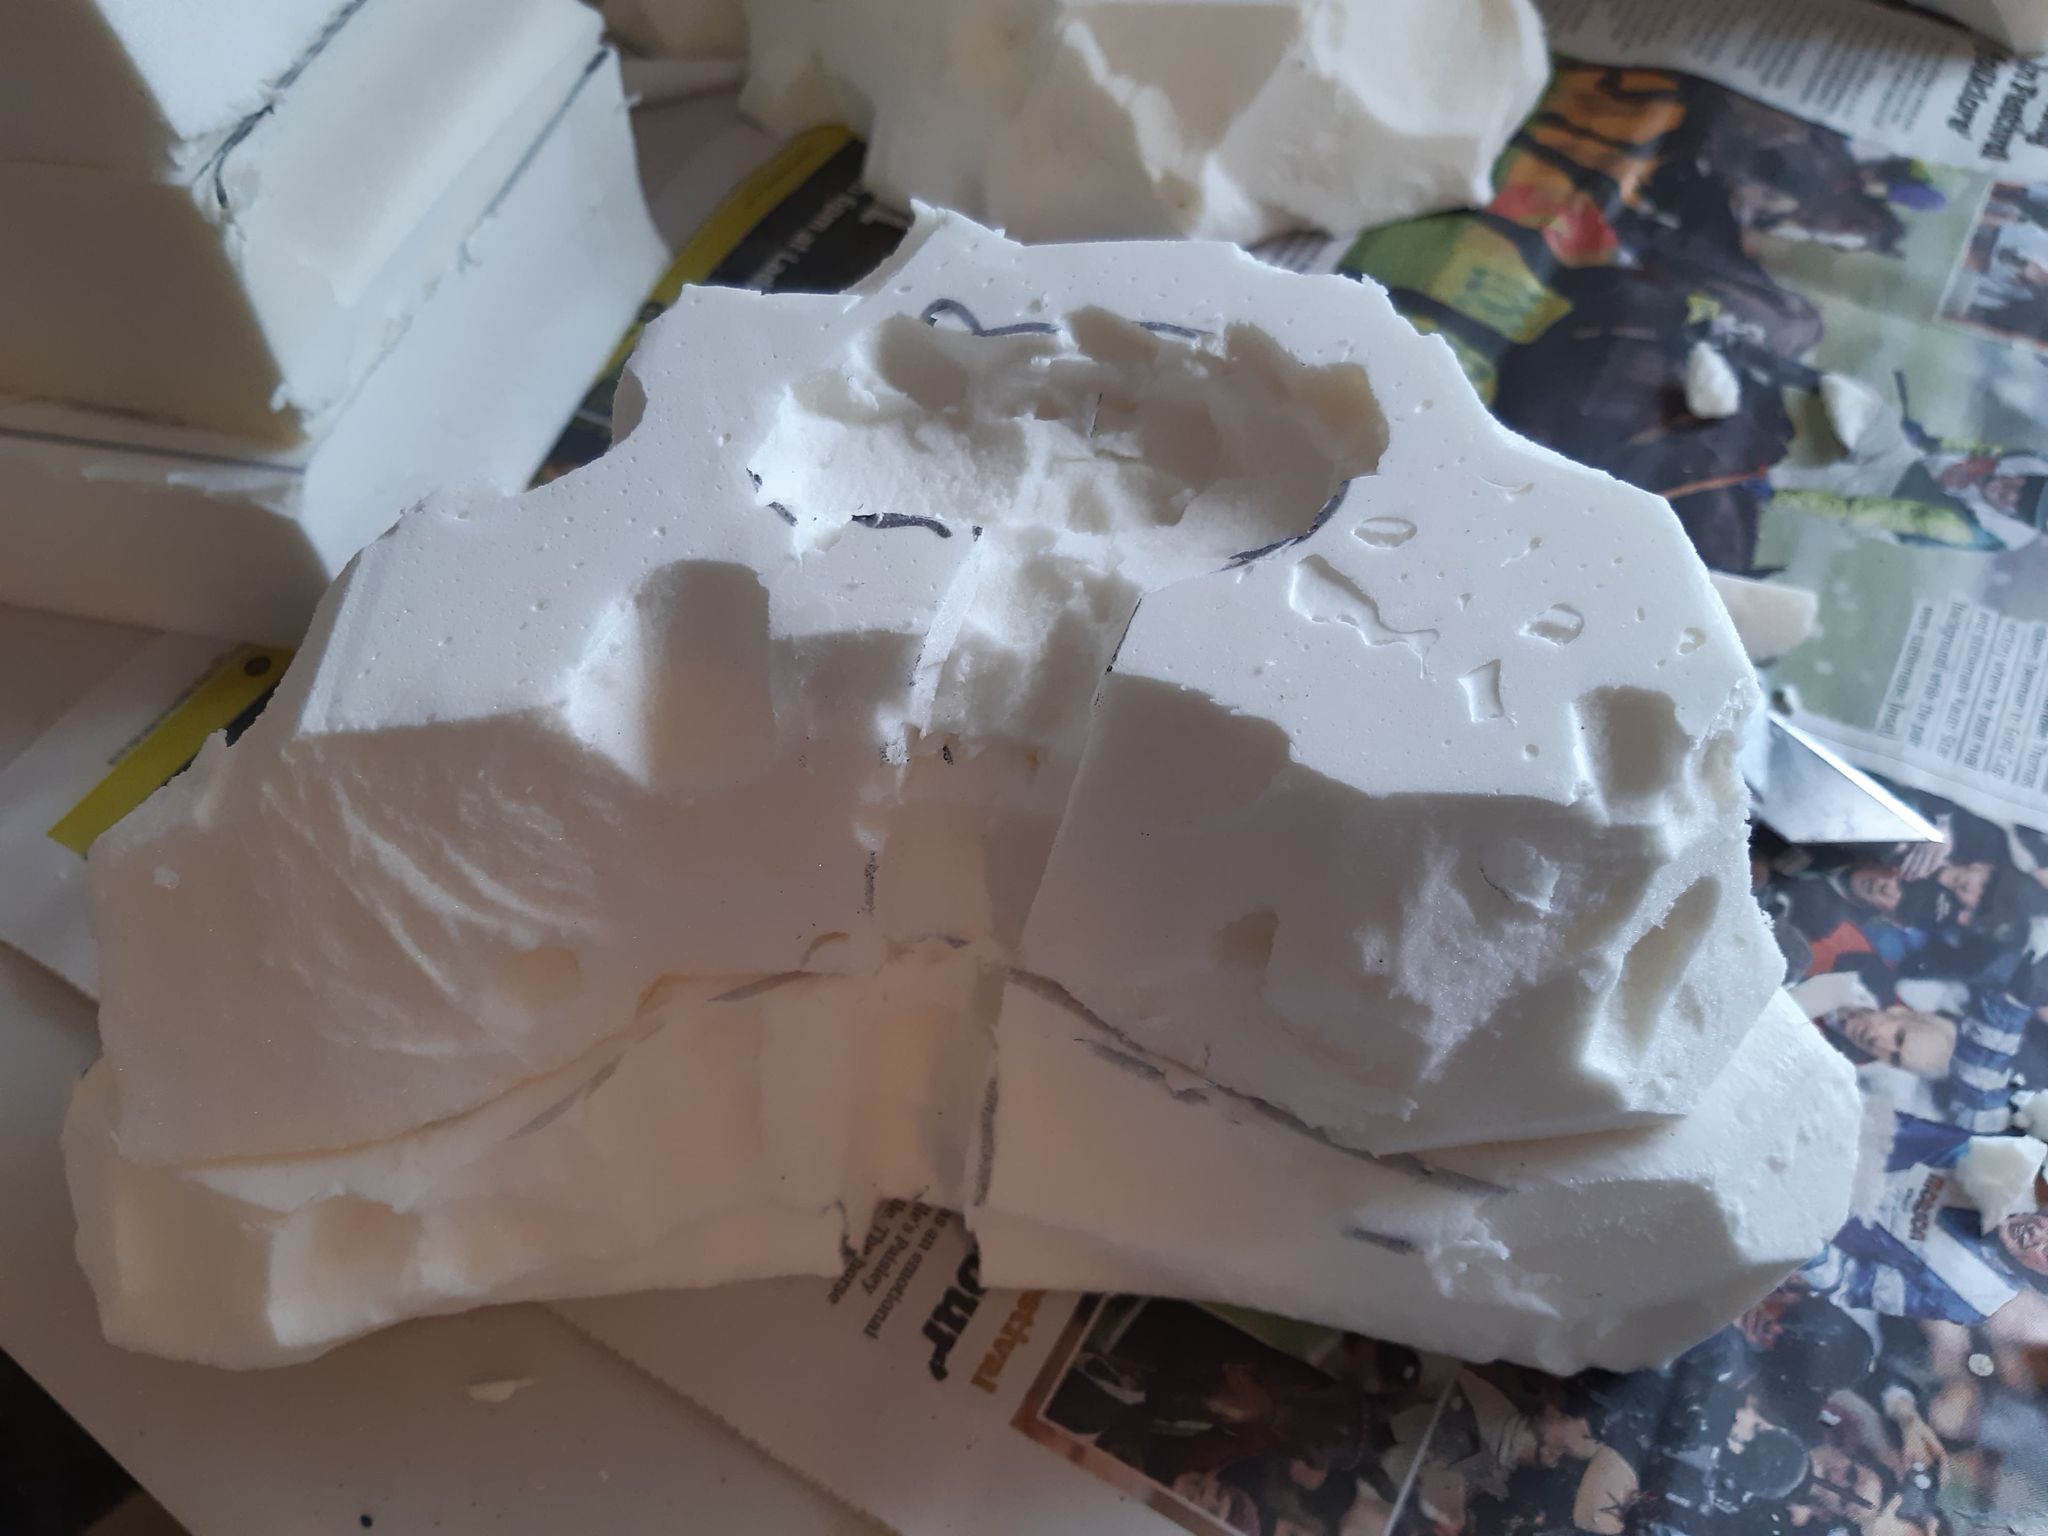
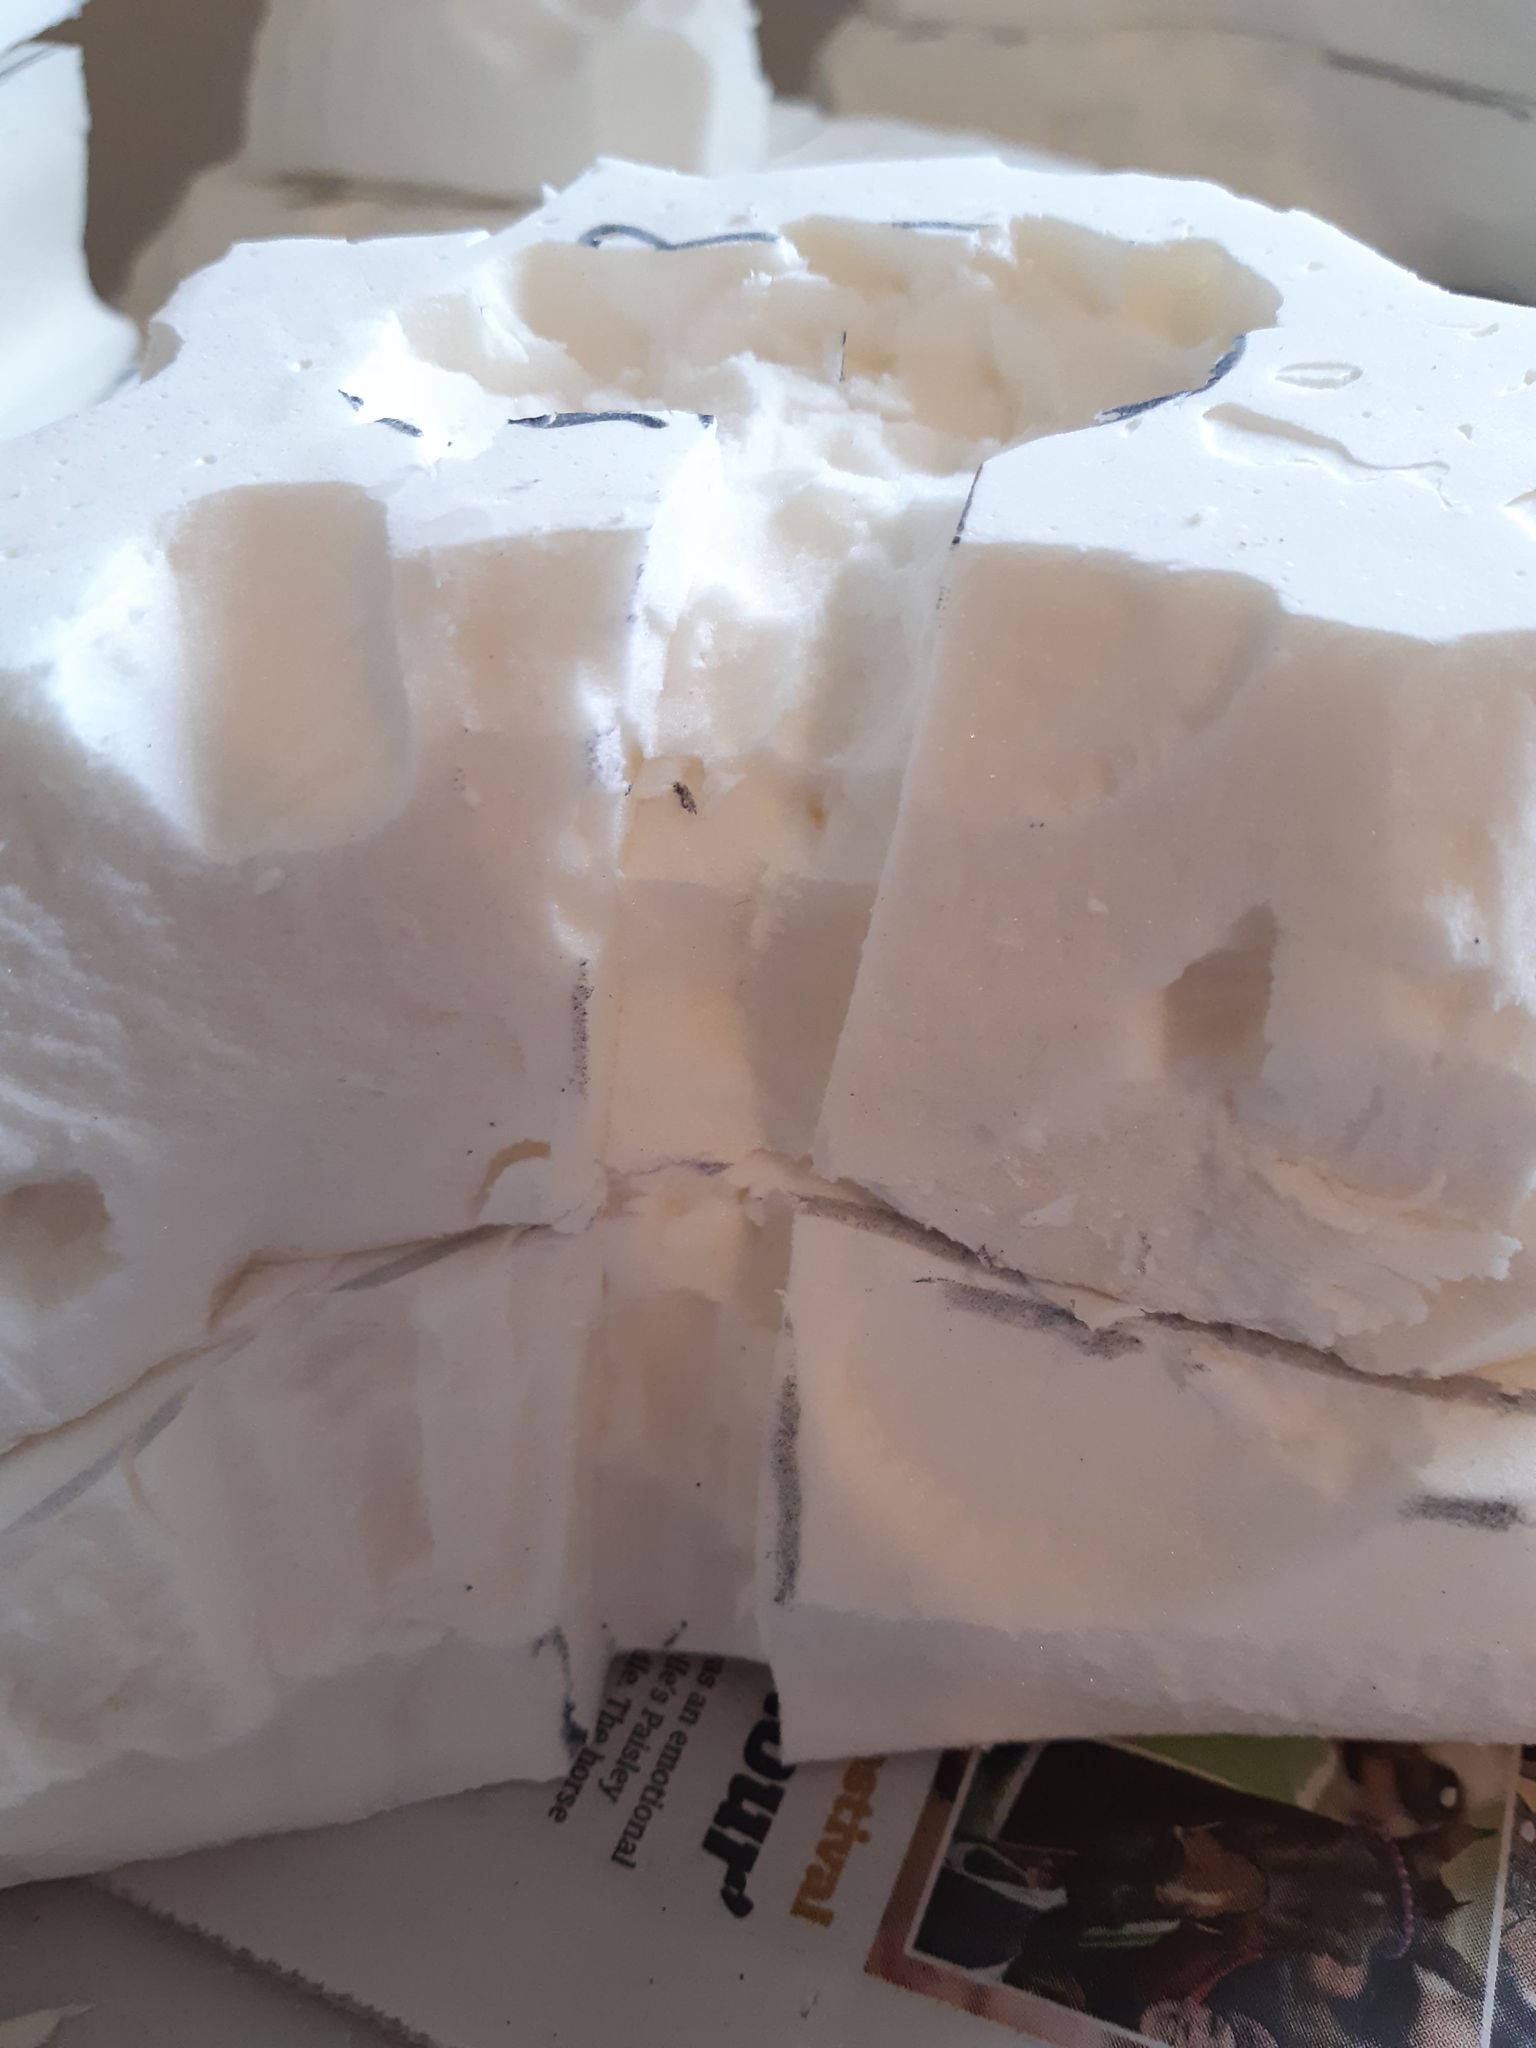
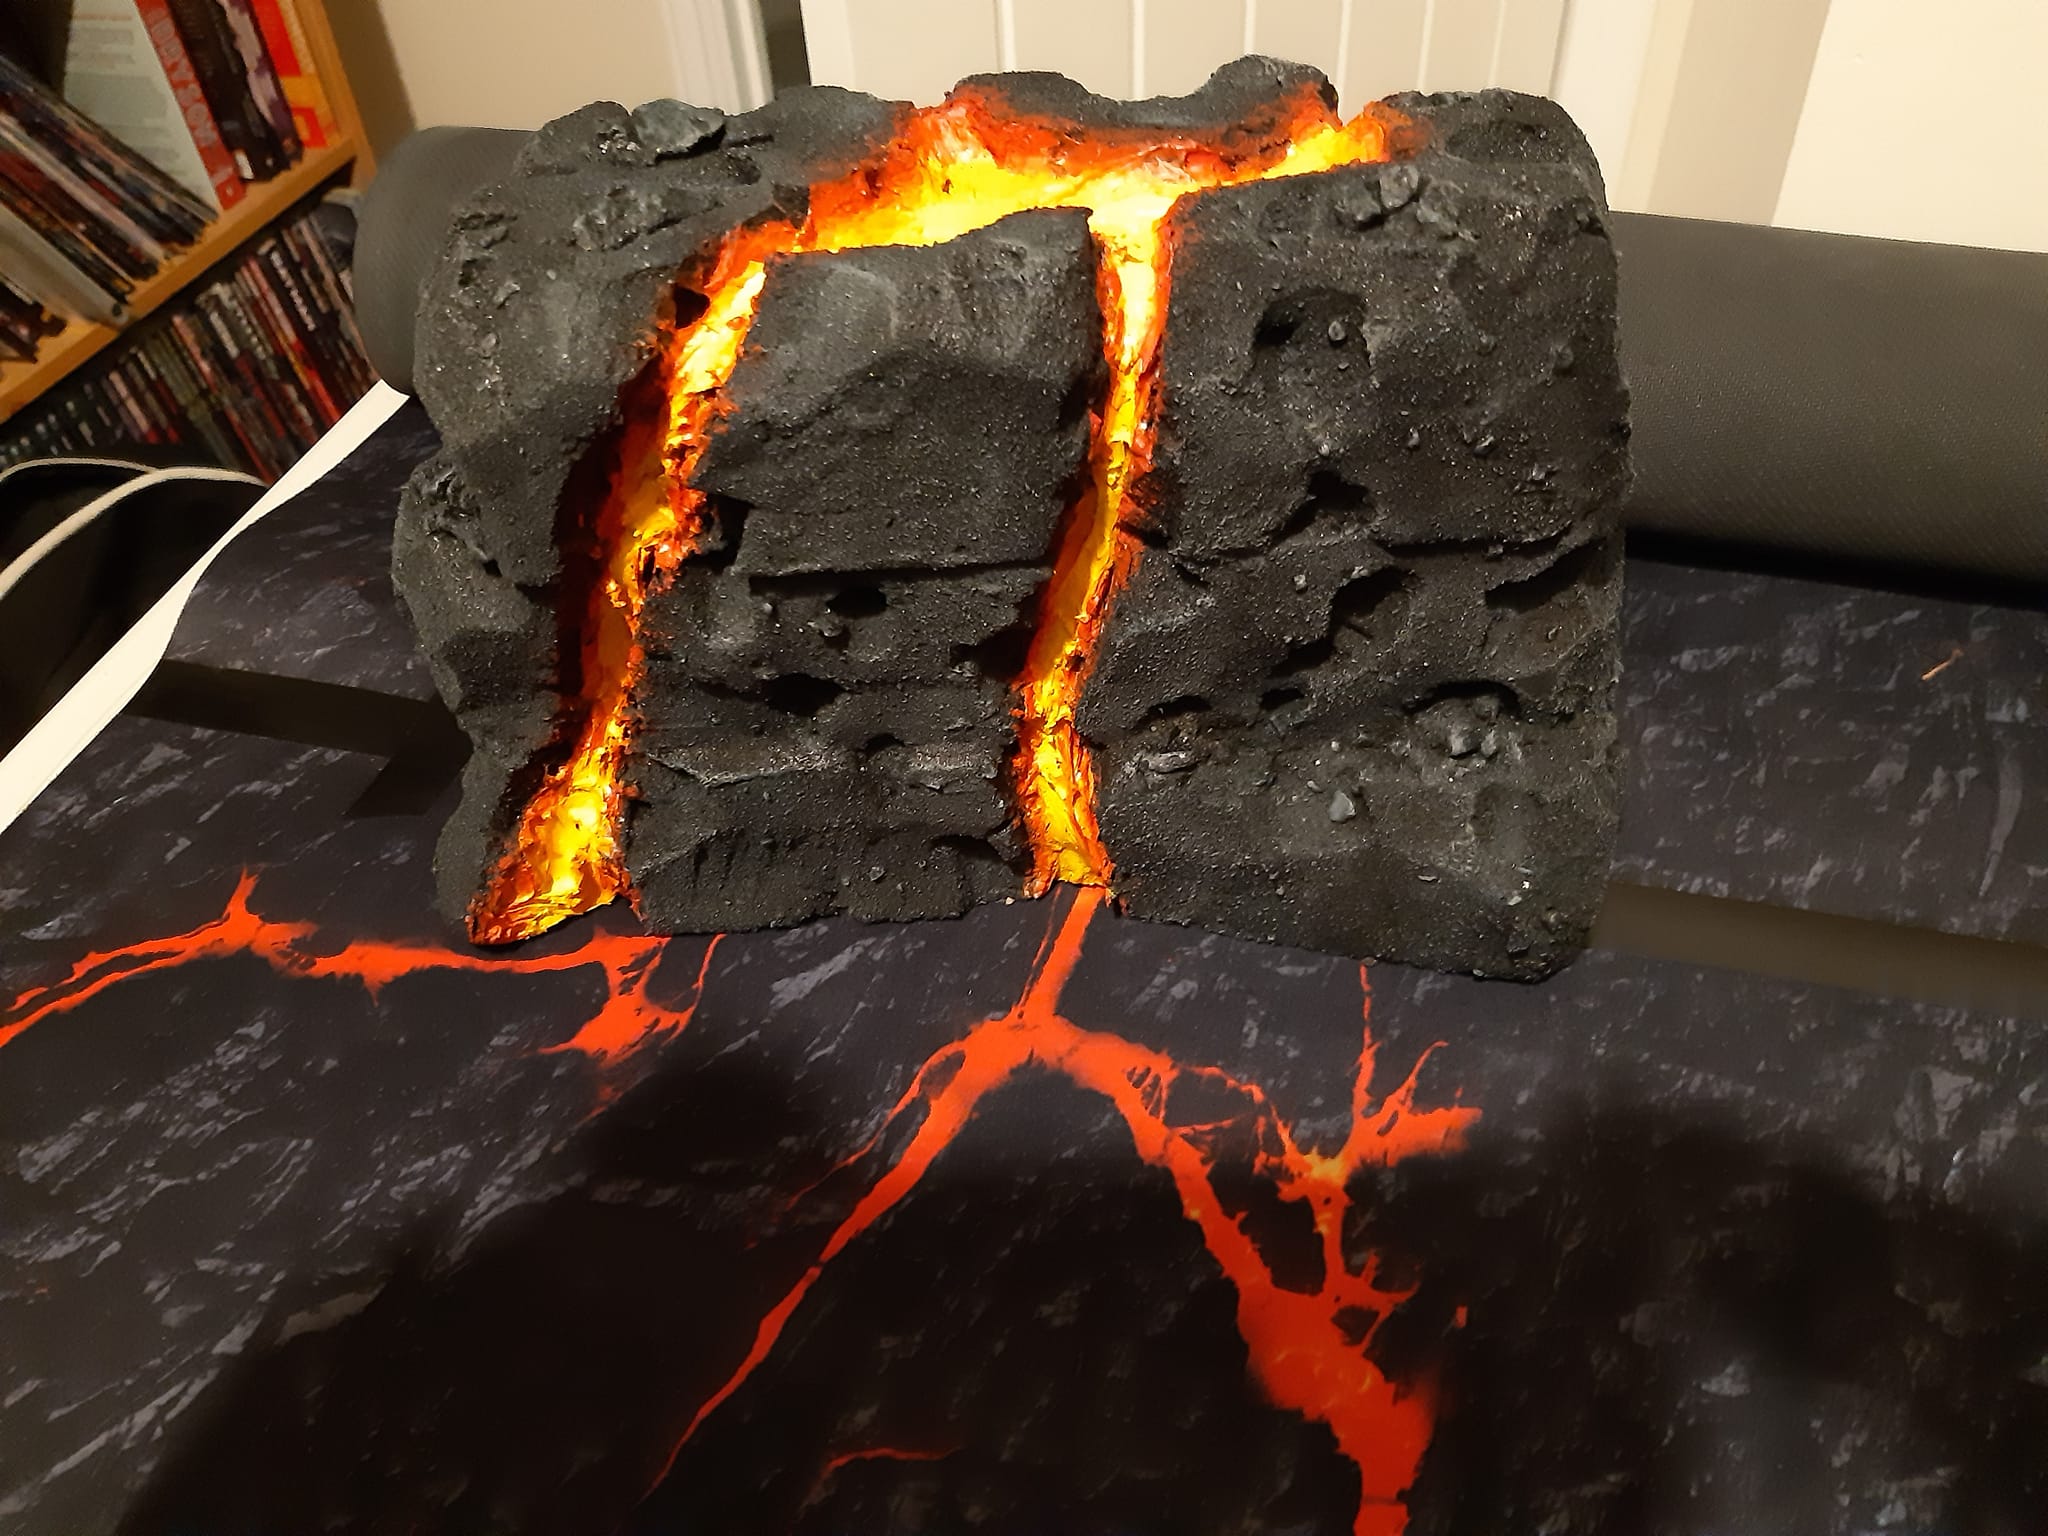
Here are four squares together for a large rock formation.
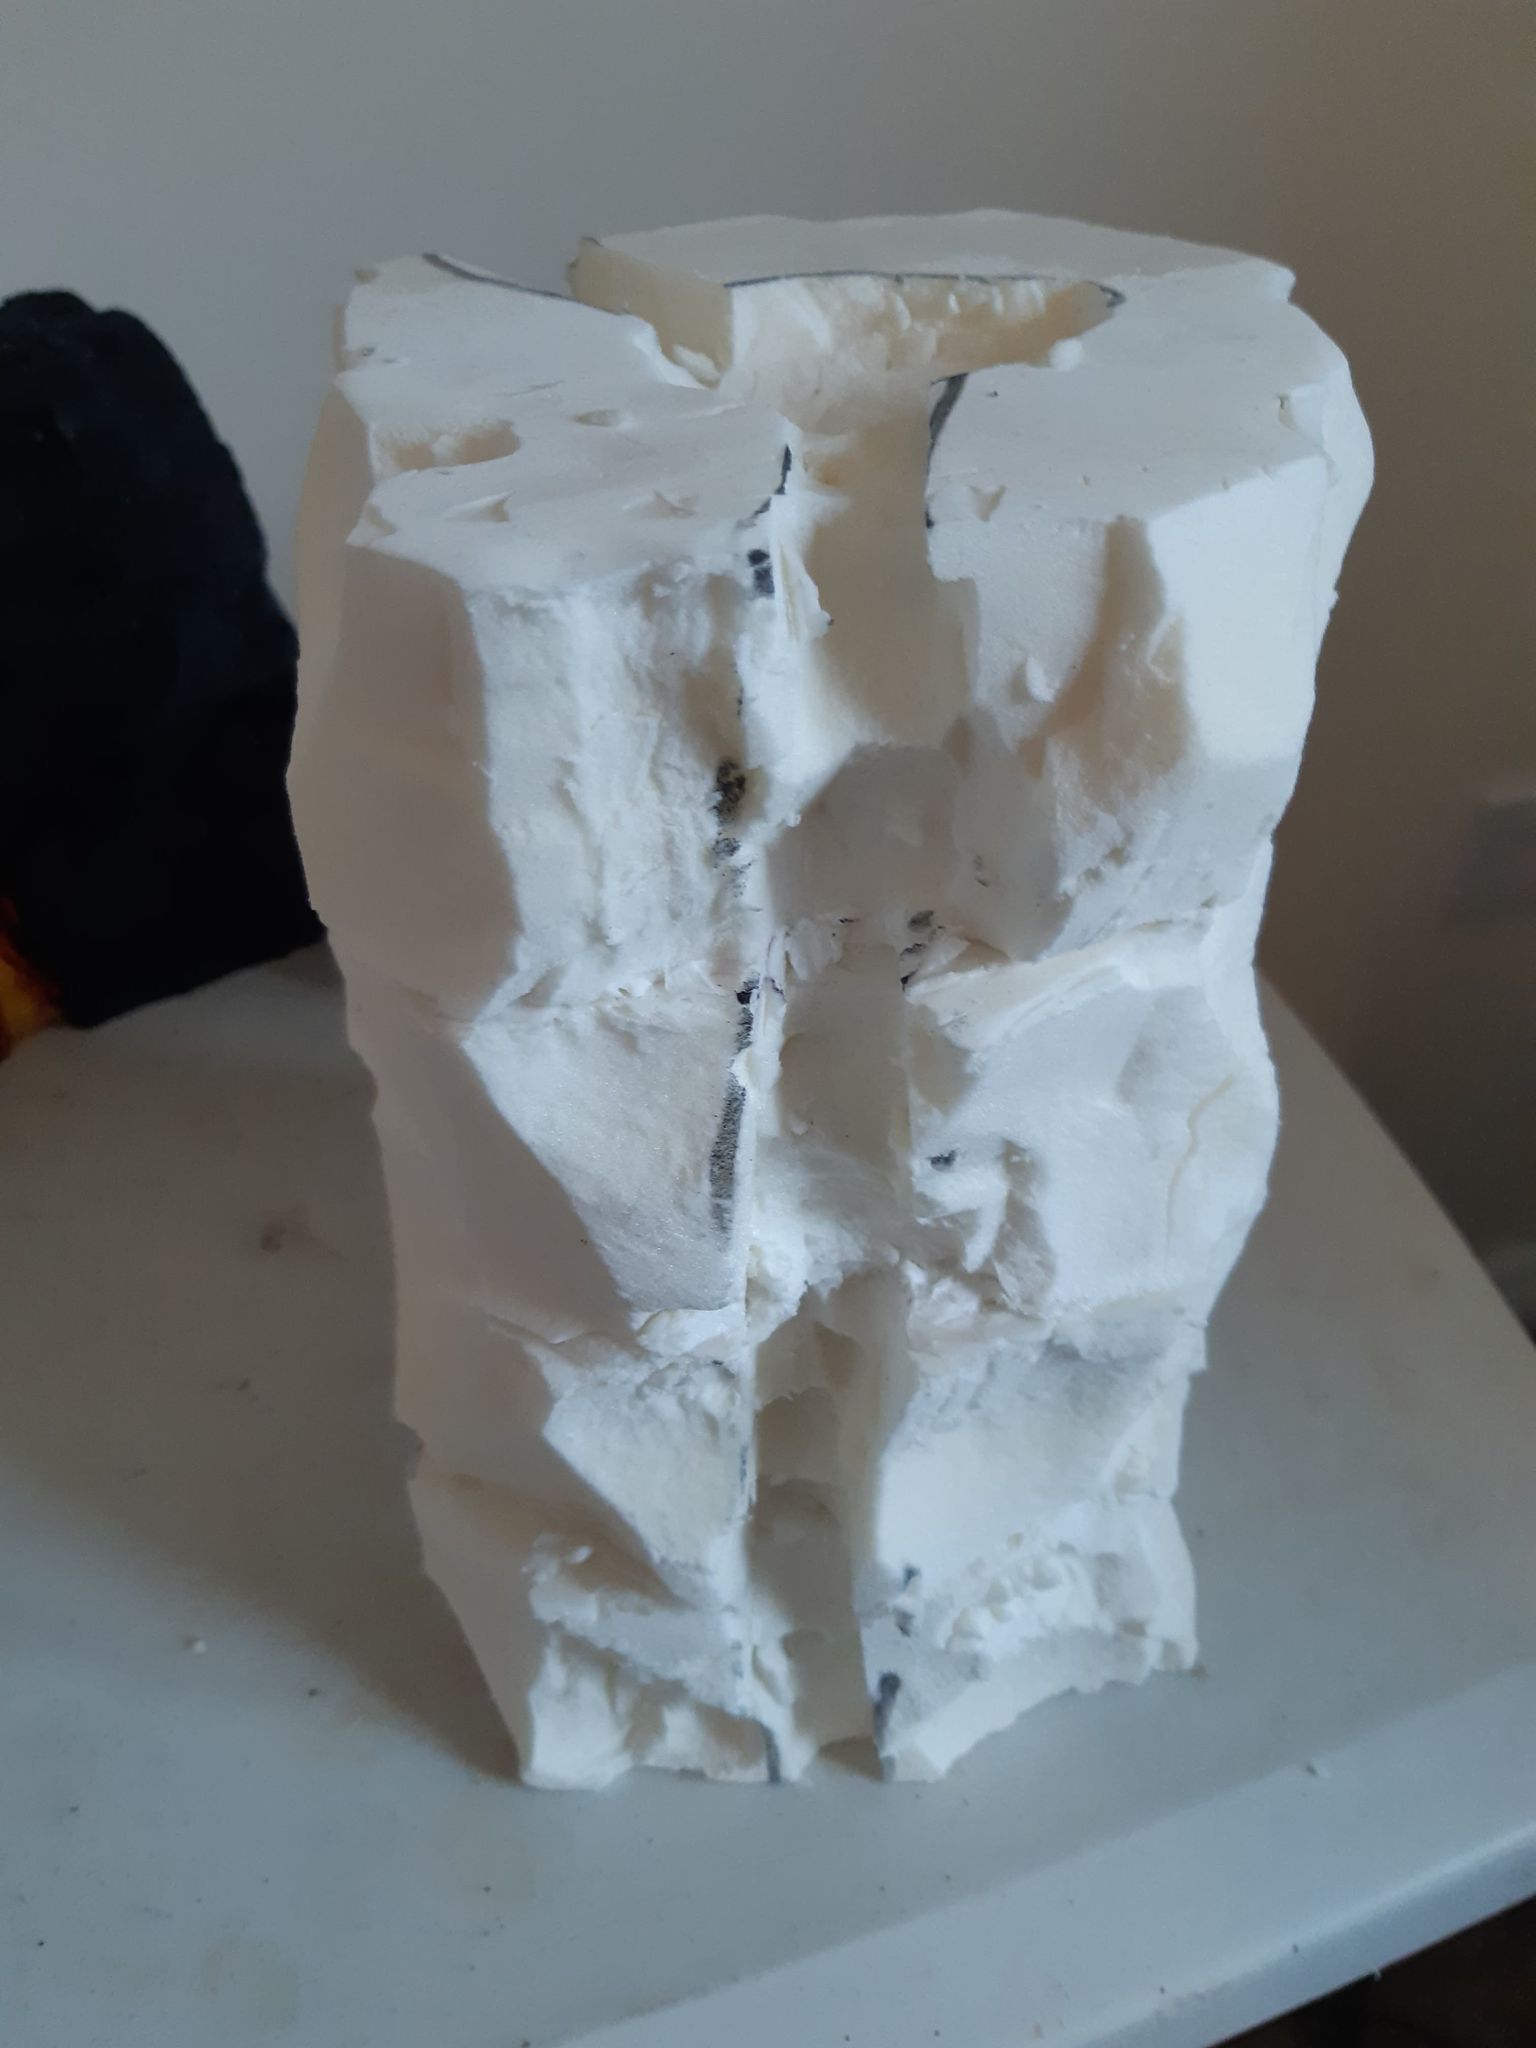
Step 3- Using a craft knife, cut out sections of the hills to make them look more like rock formations. There is no set rules for this, just cut out areas that look realistic and make the hills appear more rock-like.
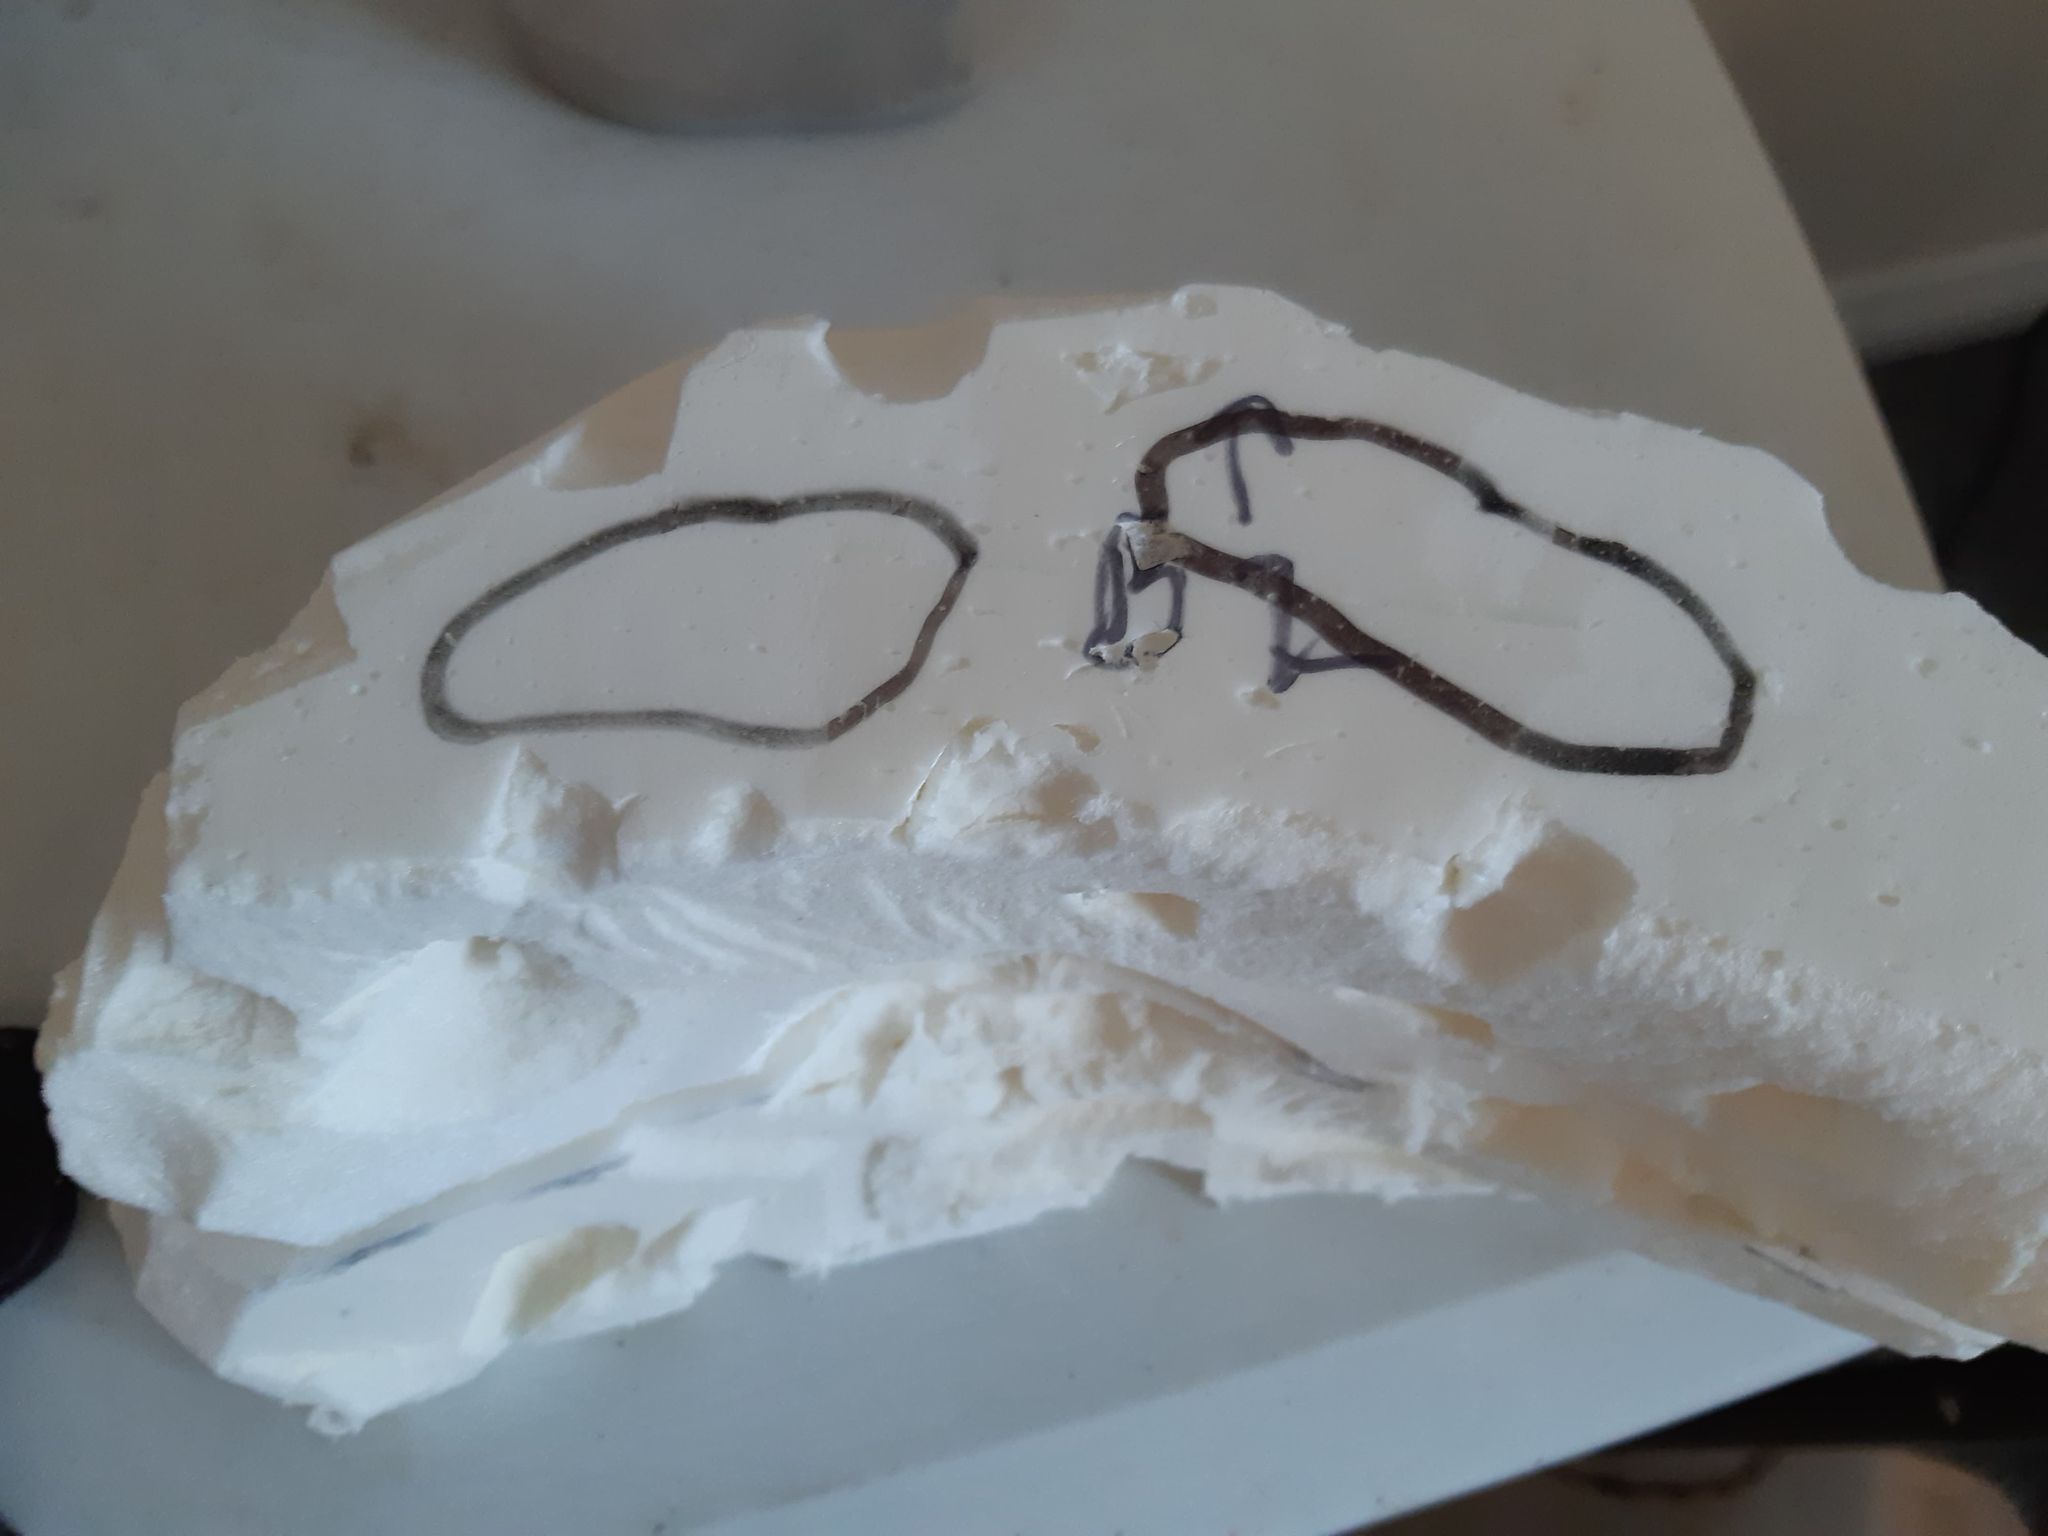
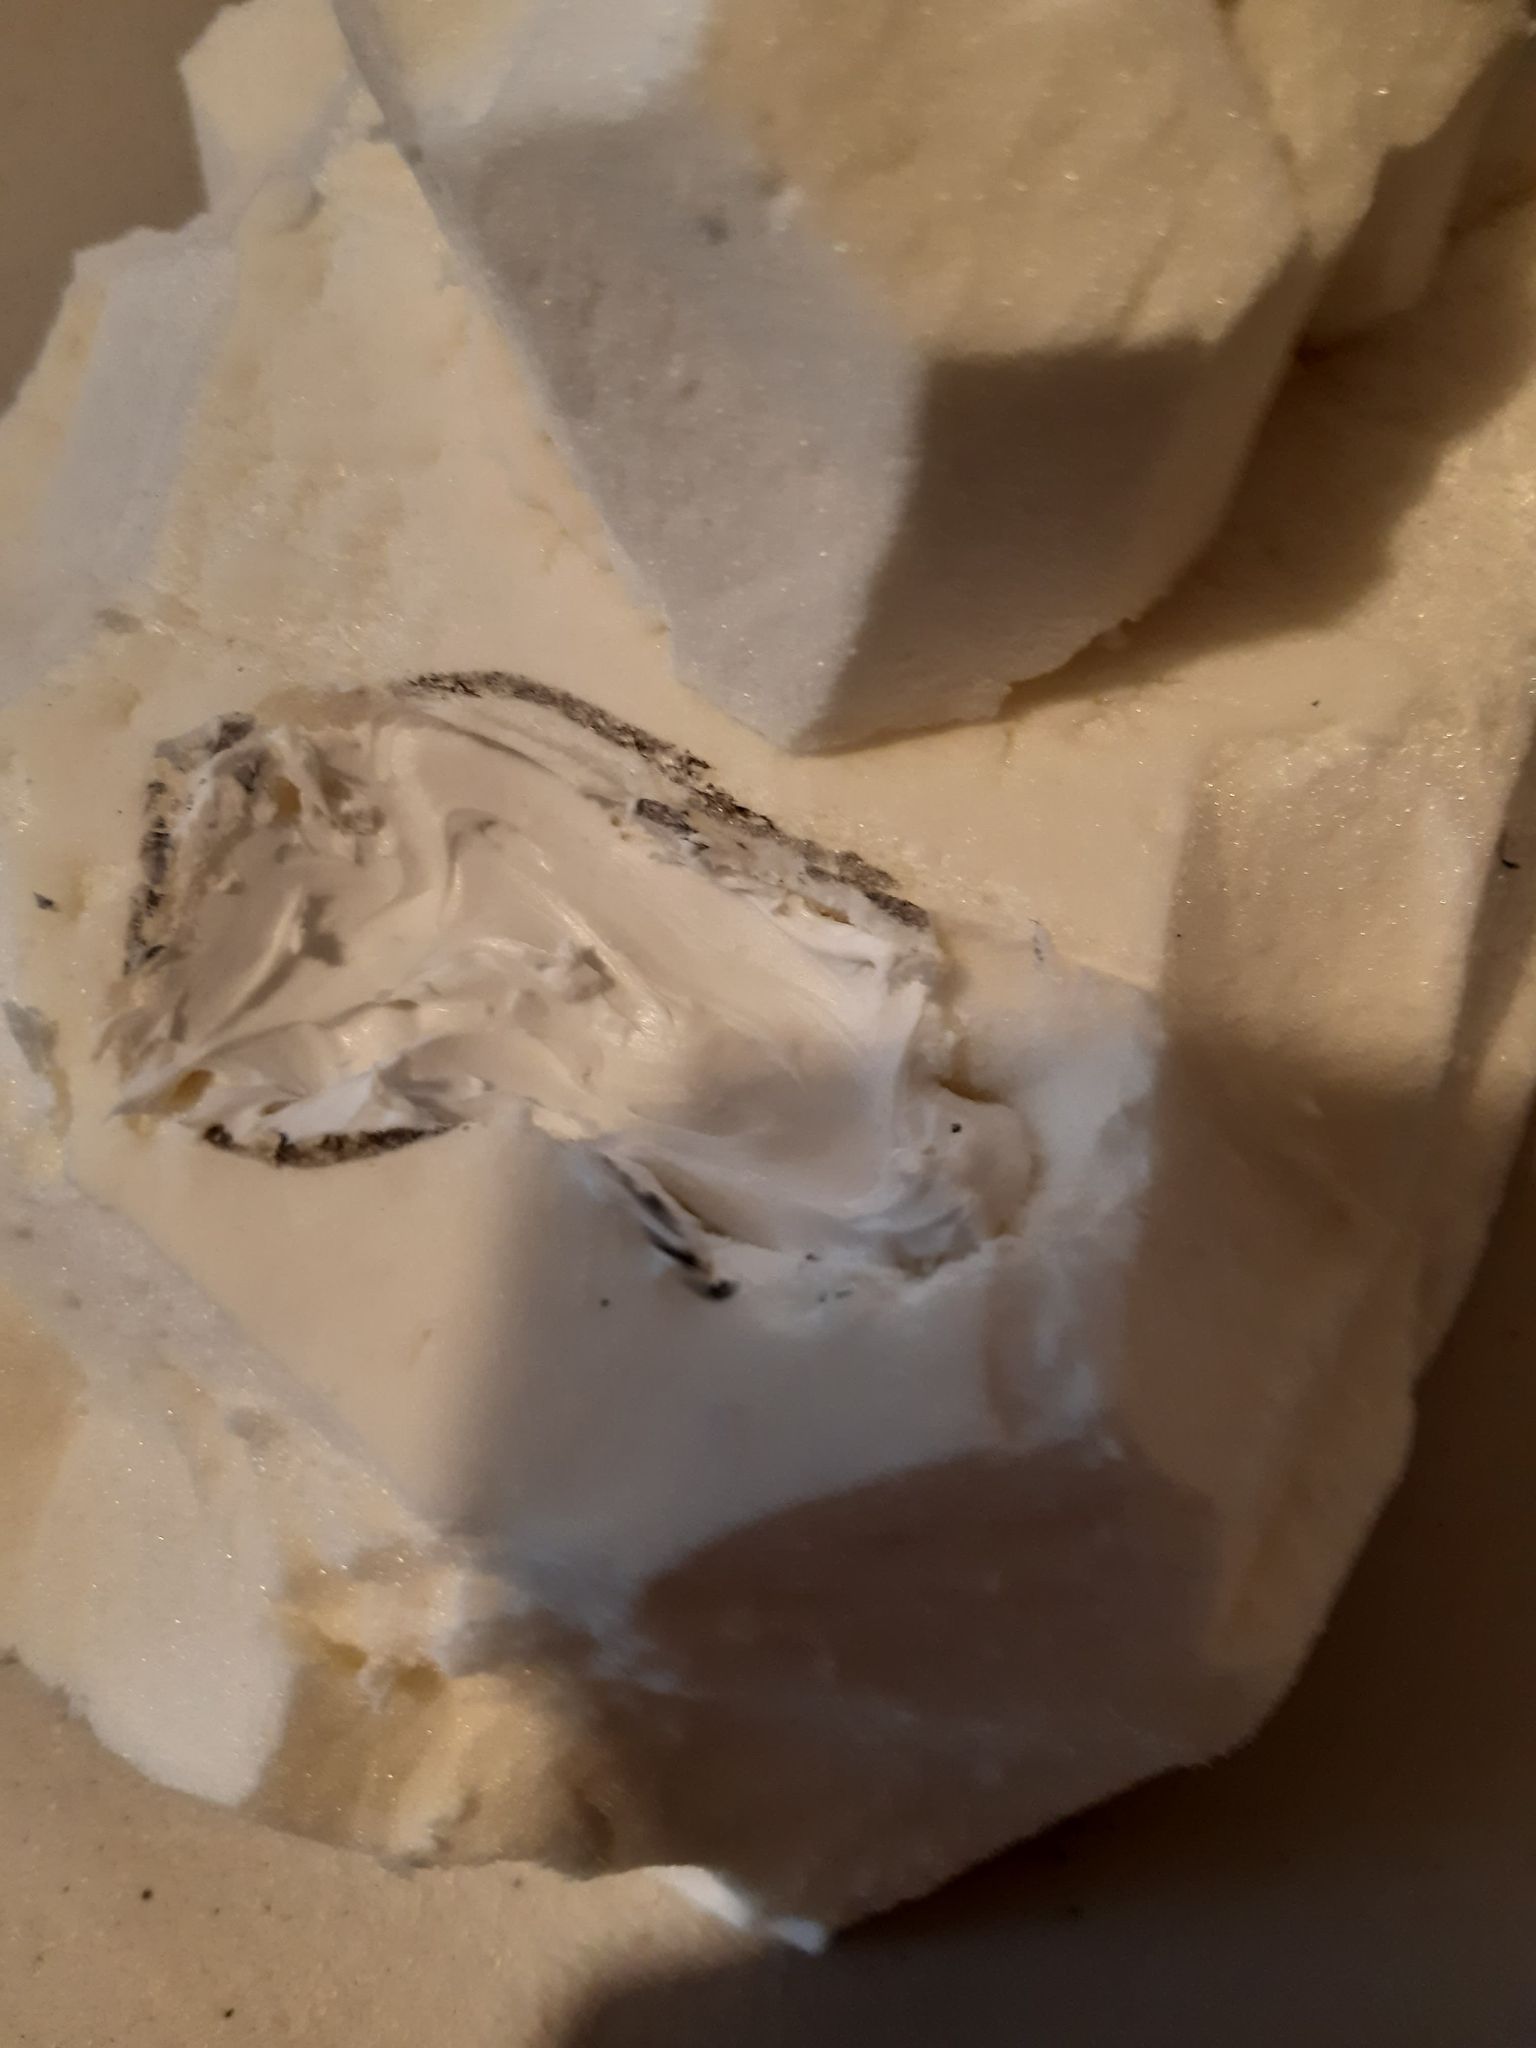
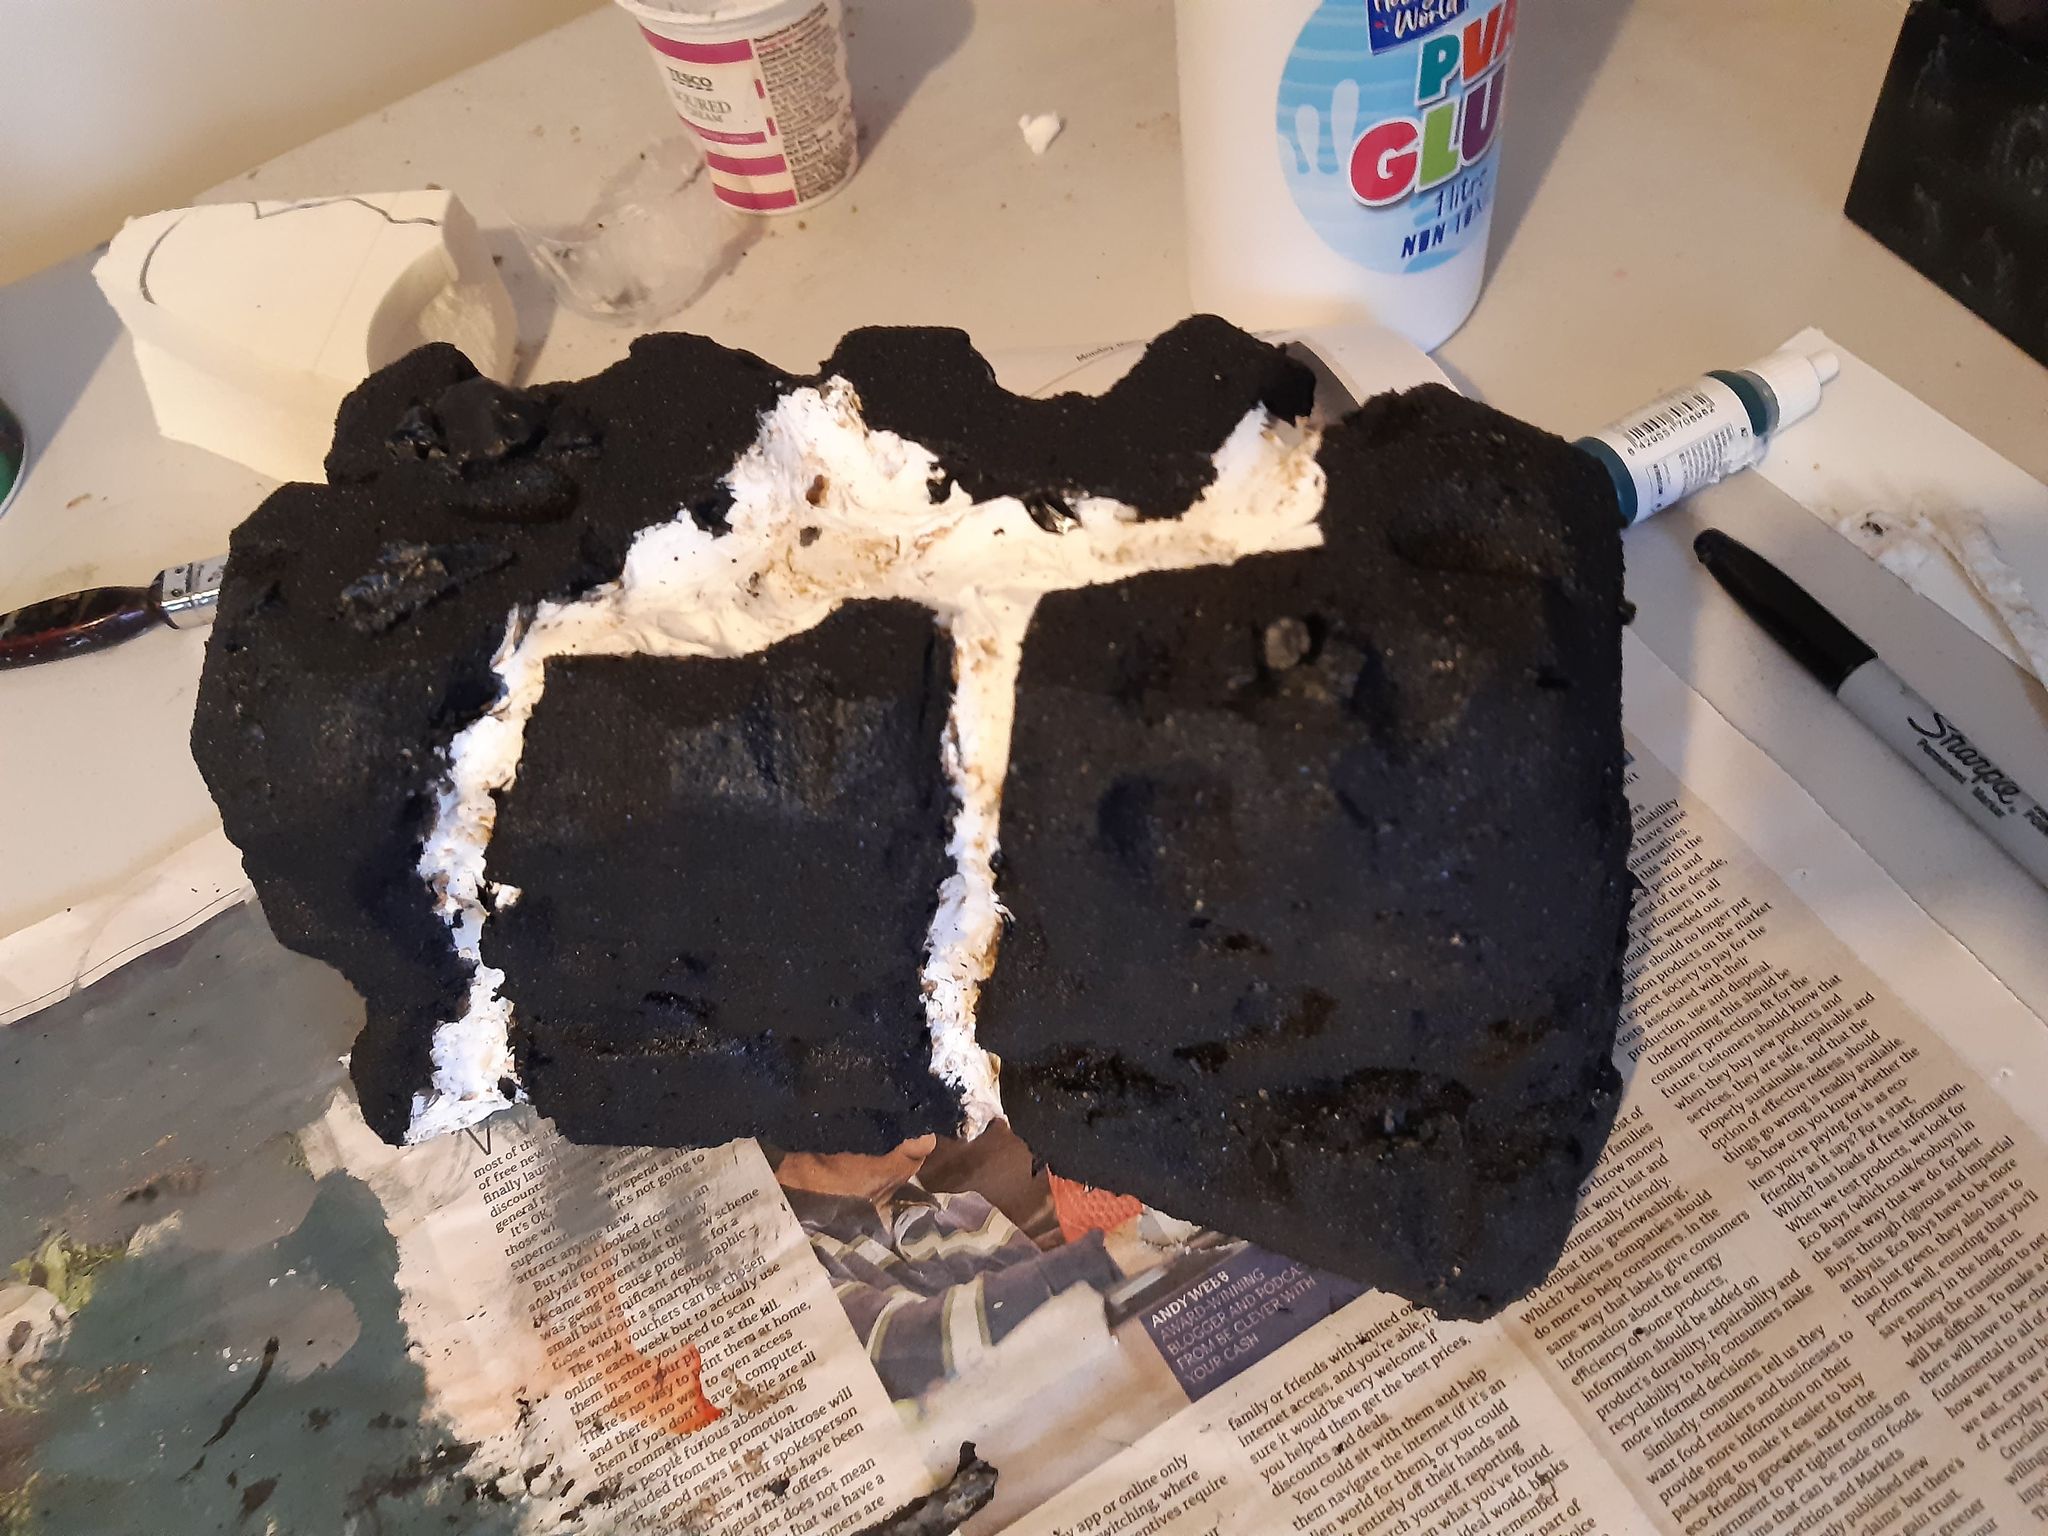
Step 4- Mark out the “lava” sections you wish to have on your hills. Cut out these sections using your wire cutter or craft knife. These should be gulleys deep enough to allow you to add filler/caulk to them, without overlapping the rock sections.
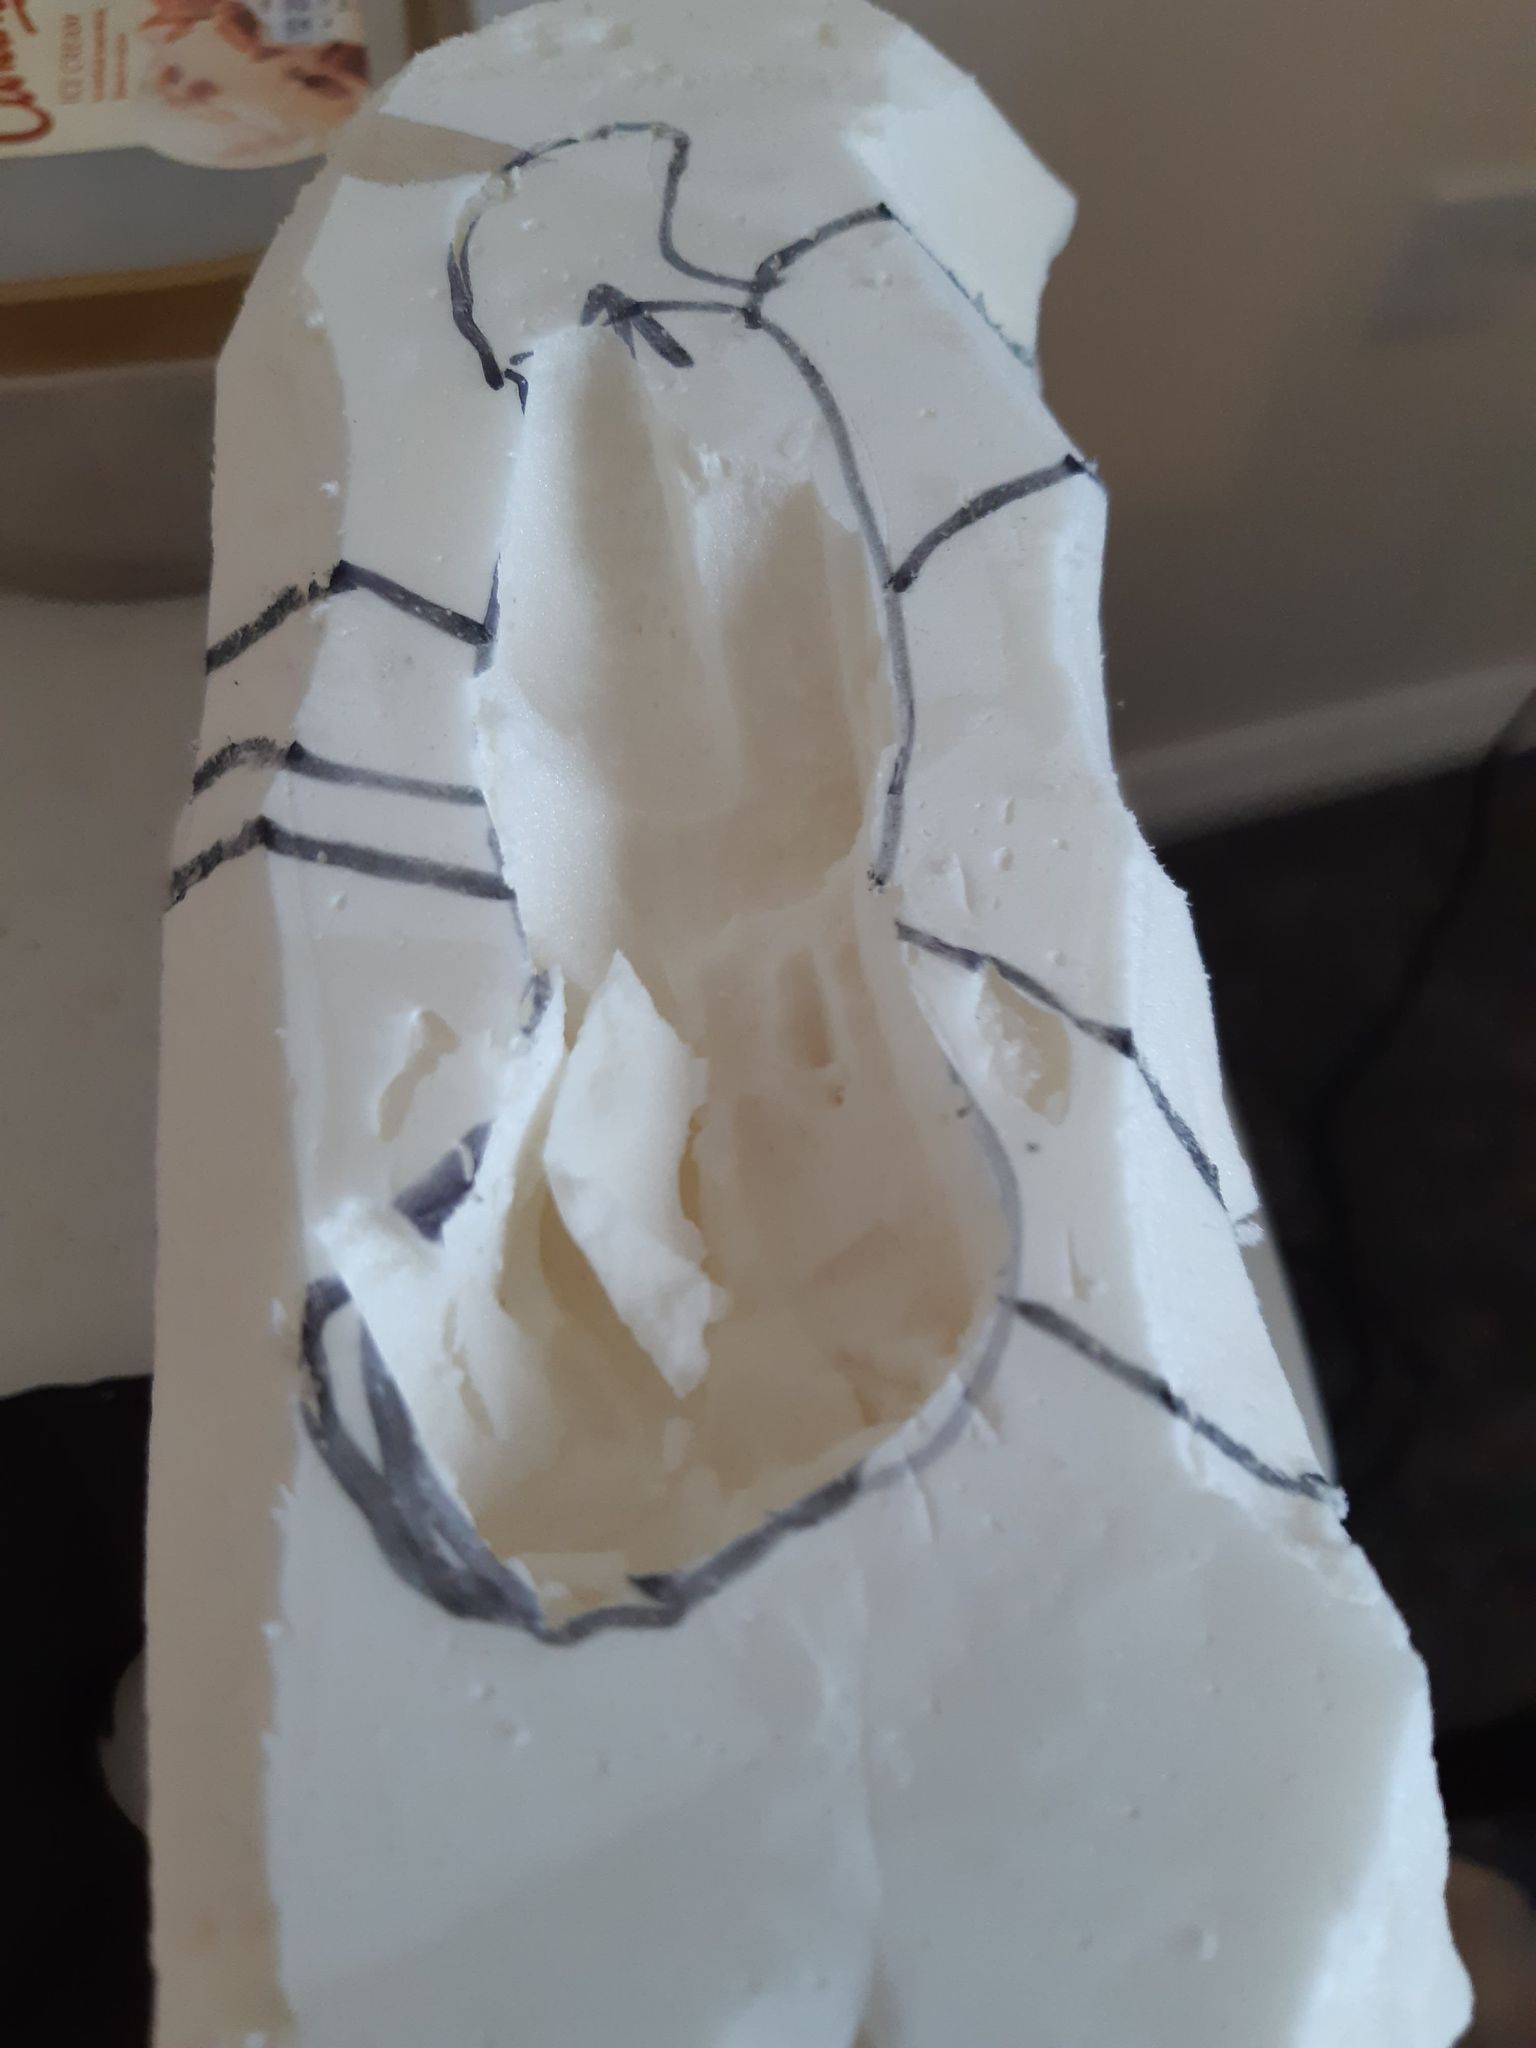
Step 5- Add filler to the lava trenches. I use a caulking gun to apply the filler to the sections. This allows tighter control over where the filler goes. As an added benefit, they pattern of the gun helps it look like the lava is flowing. Use a craft stick or brush handle to smooth sections of the filler and make them reach the rock edges. You can also use this to make some flowing patterns in the lava flow.
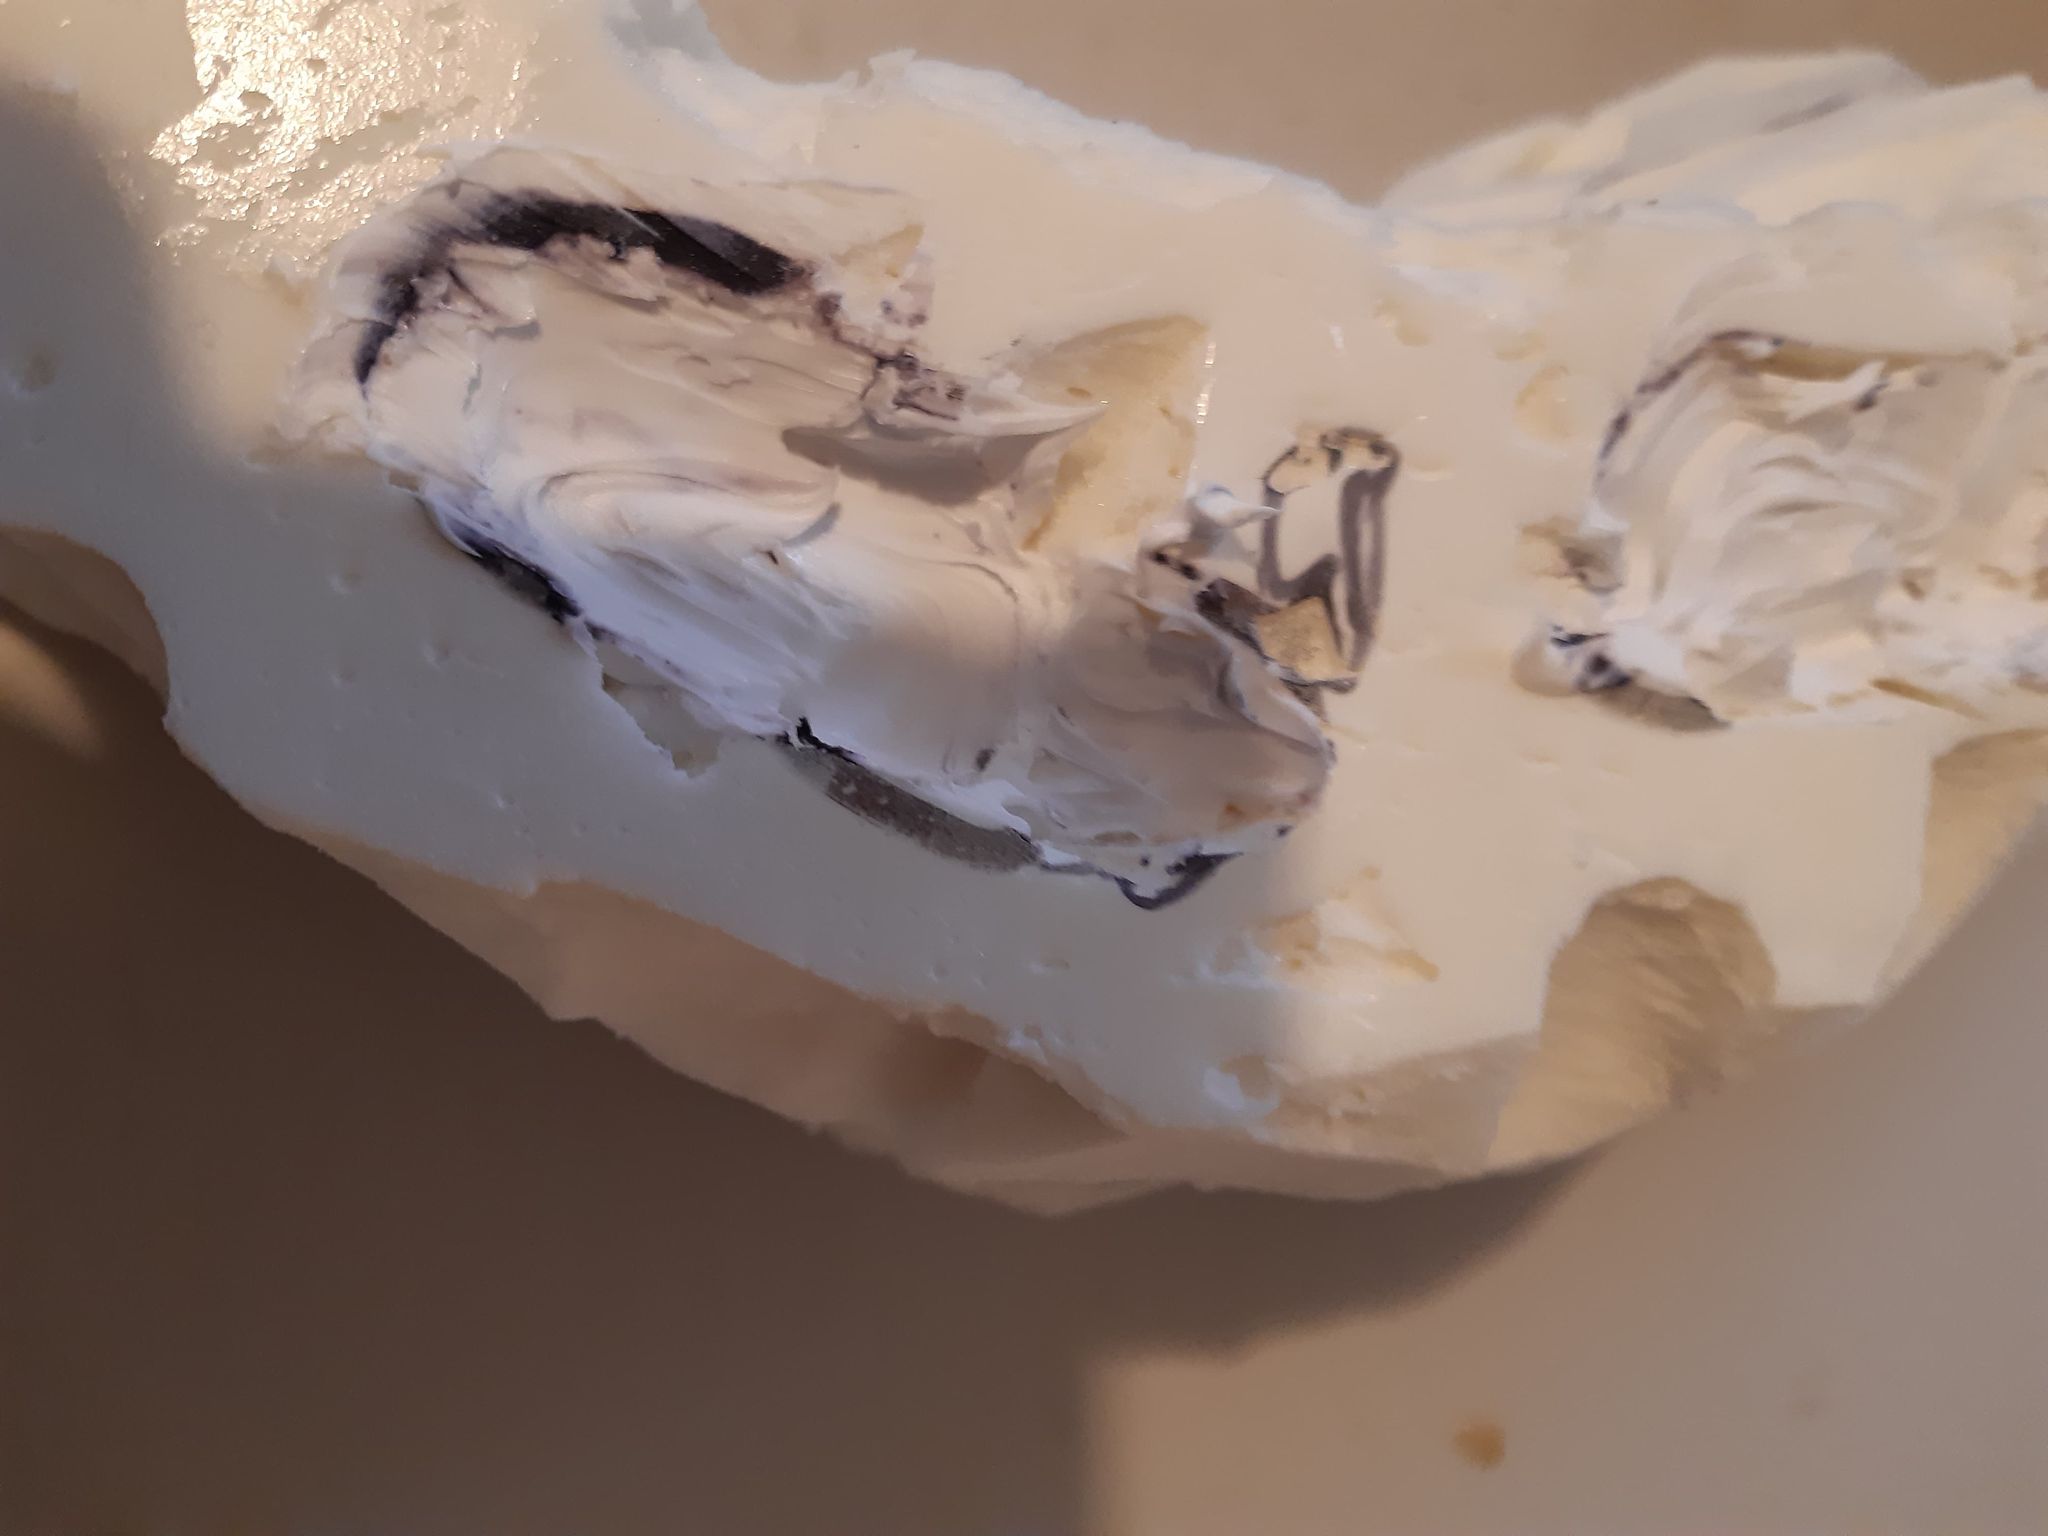
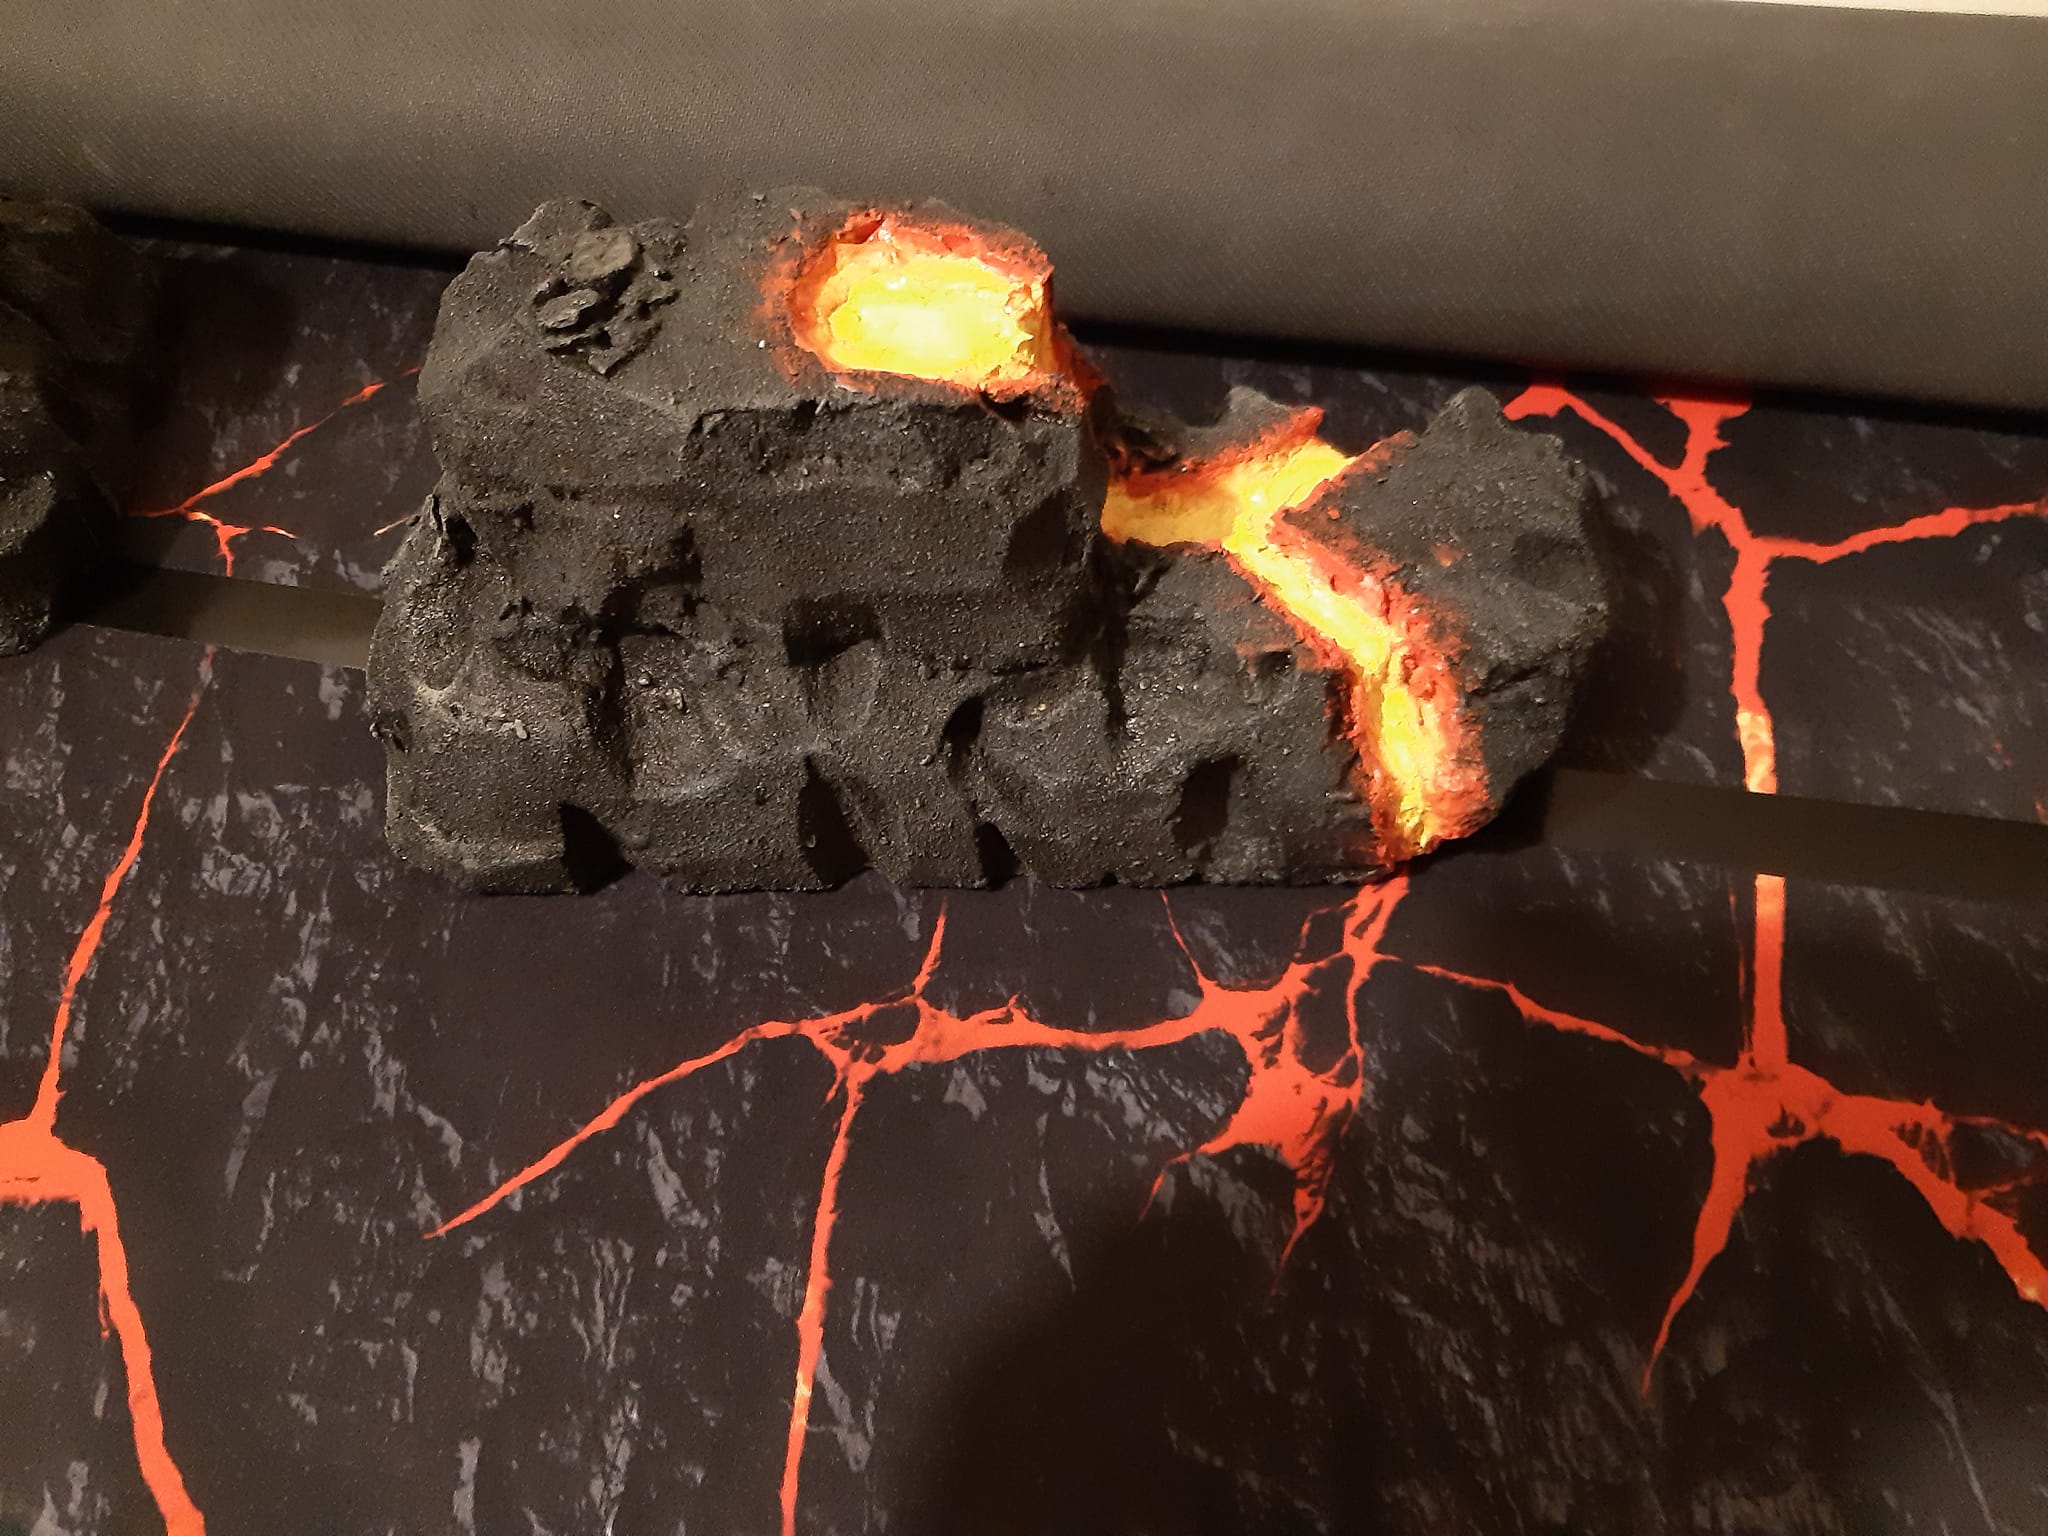
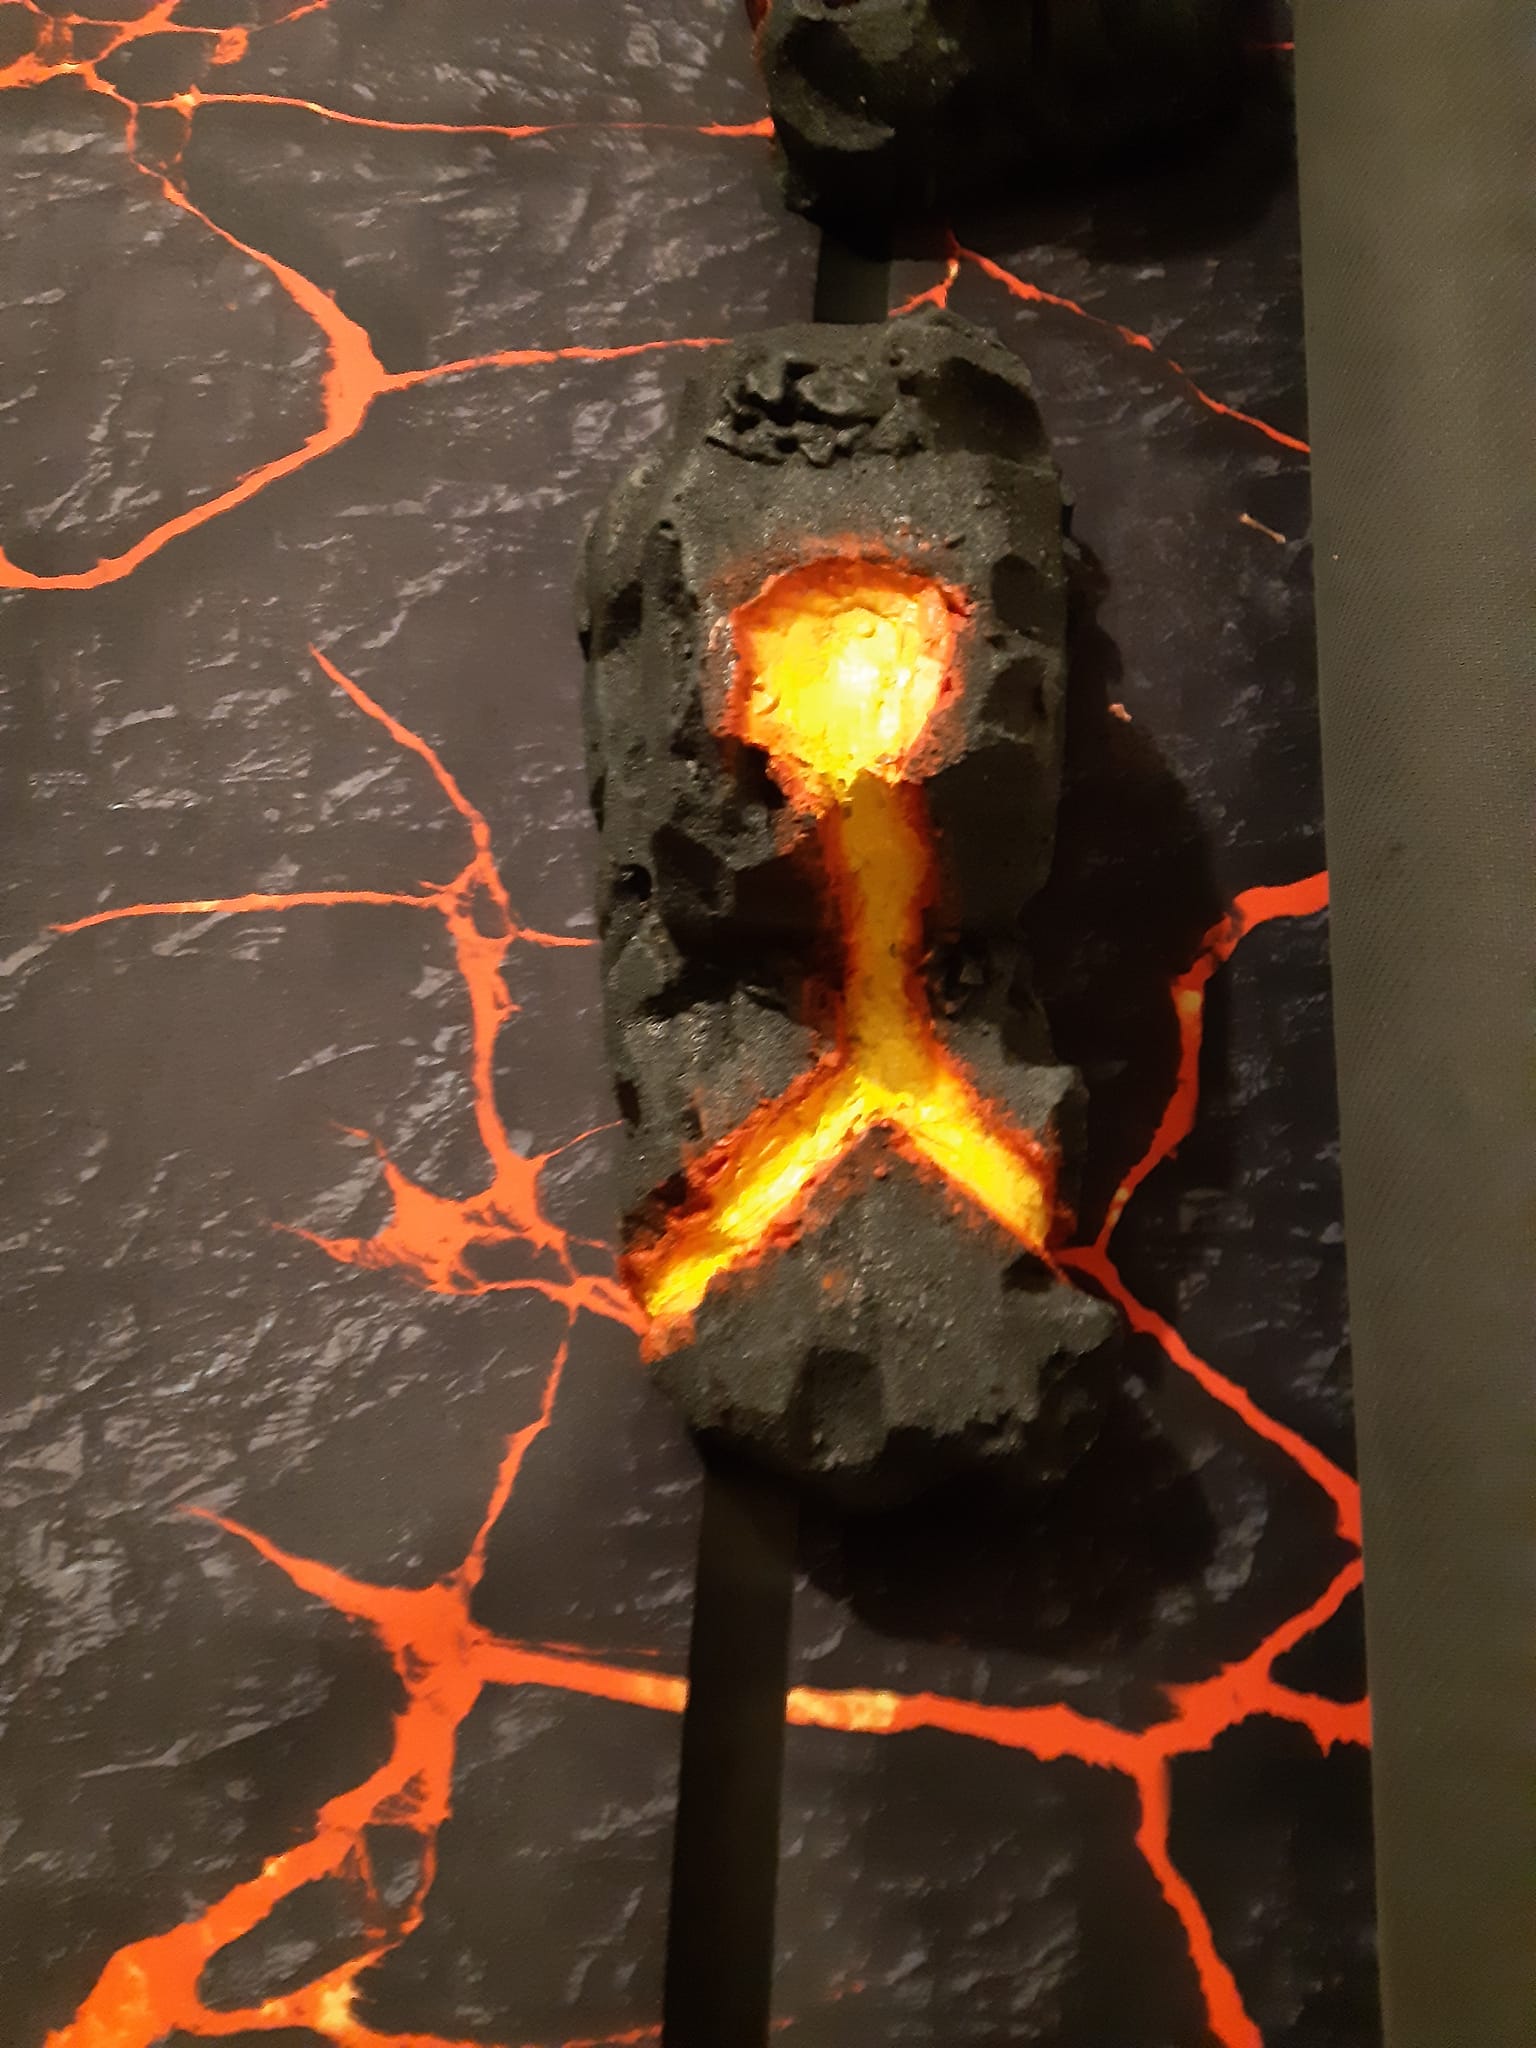
You can make these as simple or as complicated as you wish, with branching flows, or creating an island of rock in the lava flow.
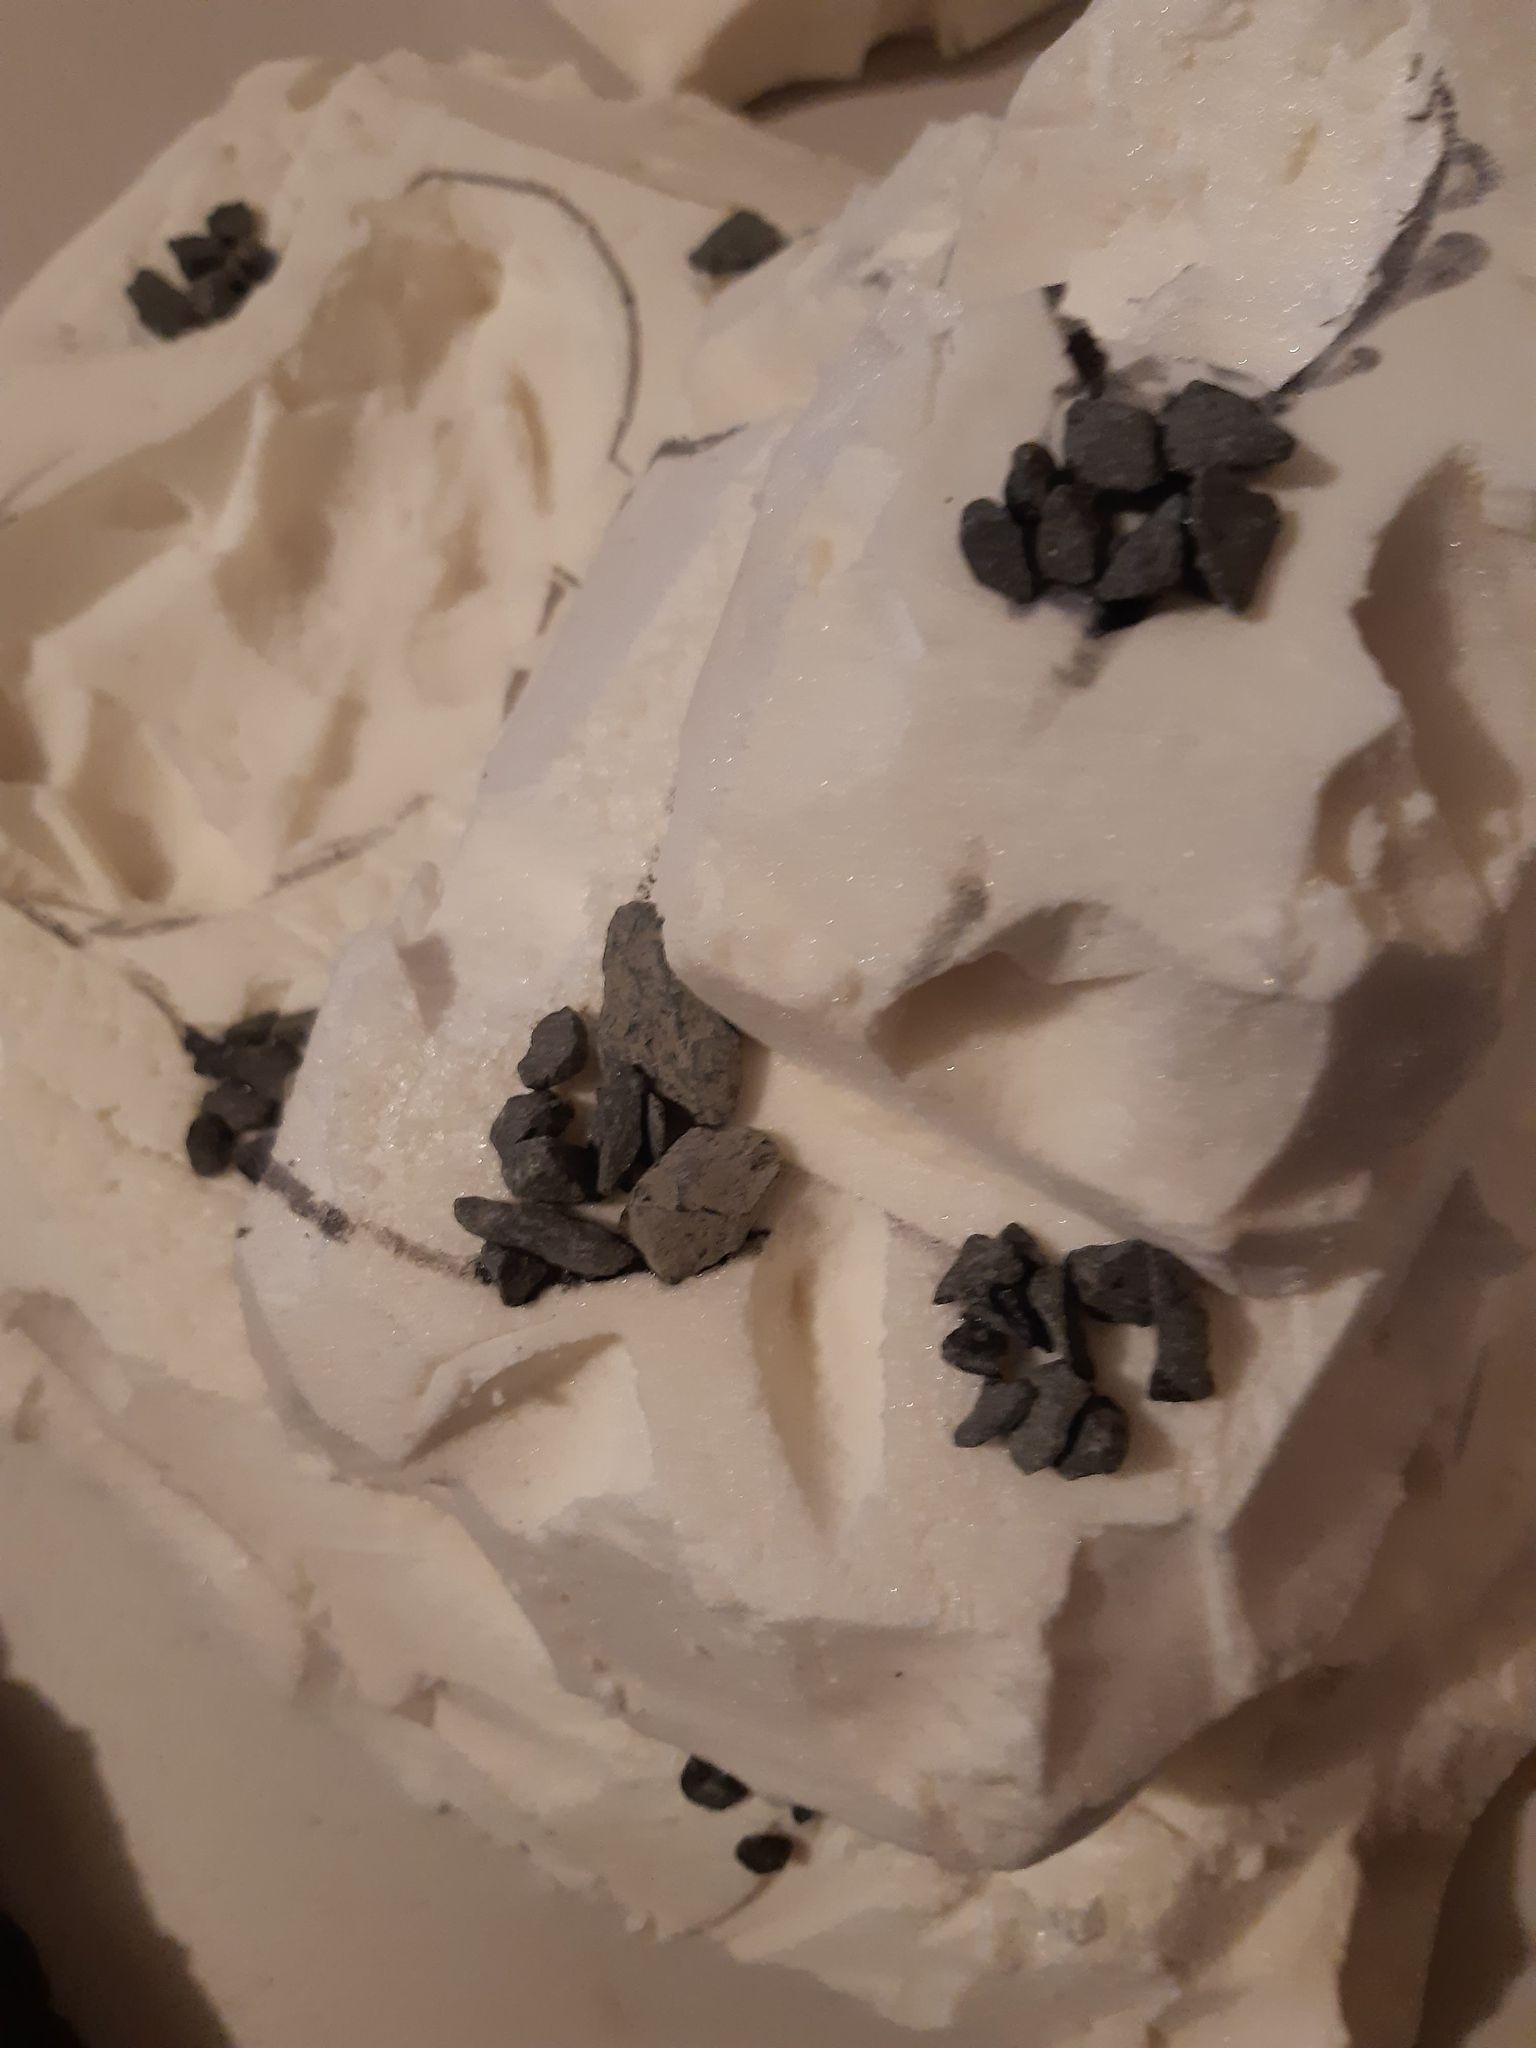
Allow to fully dry before applying rocks and stones, or these will stick in the filler.
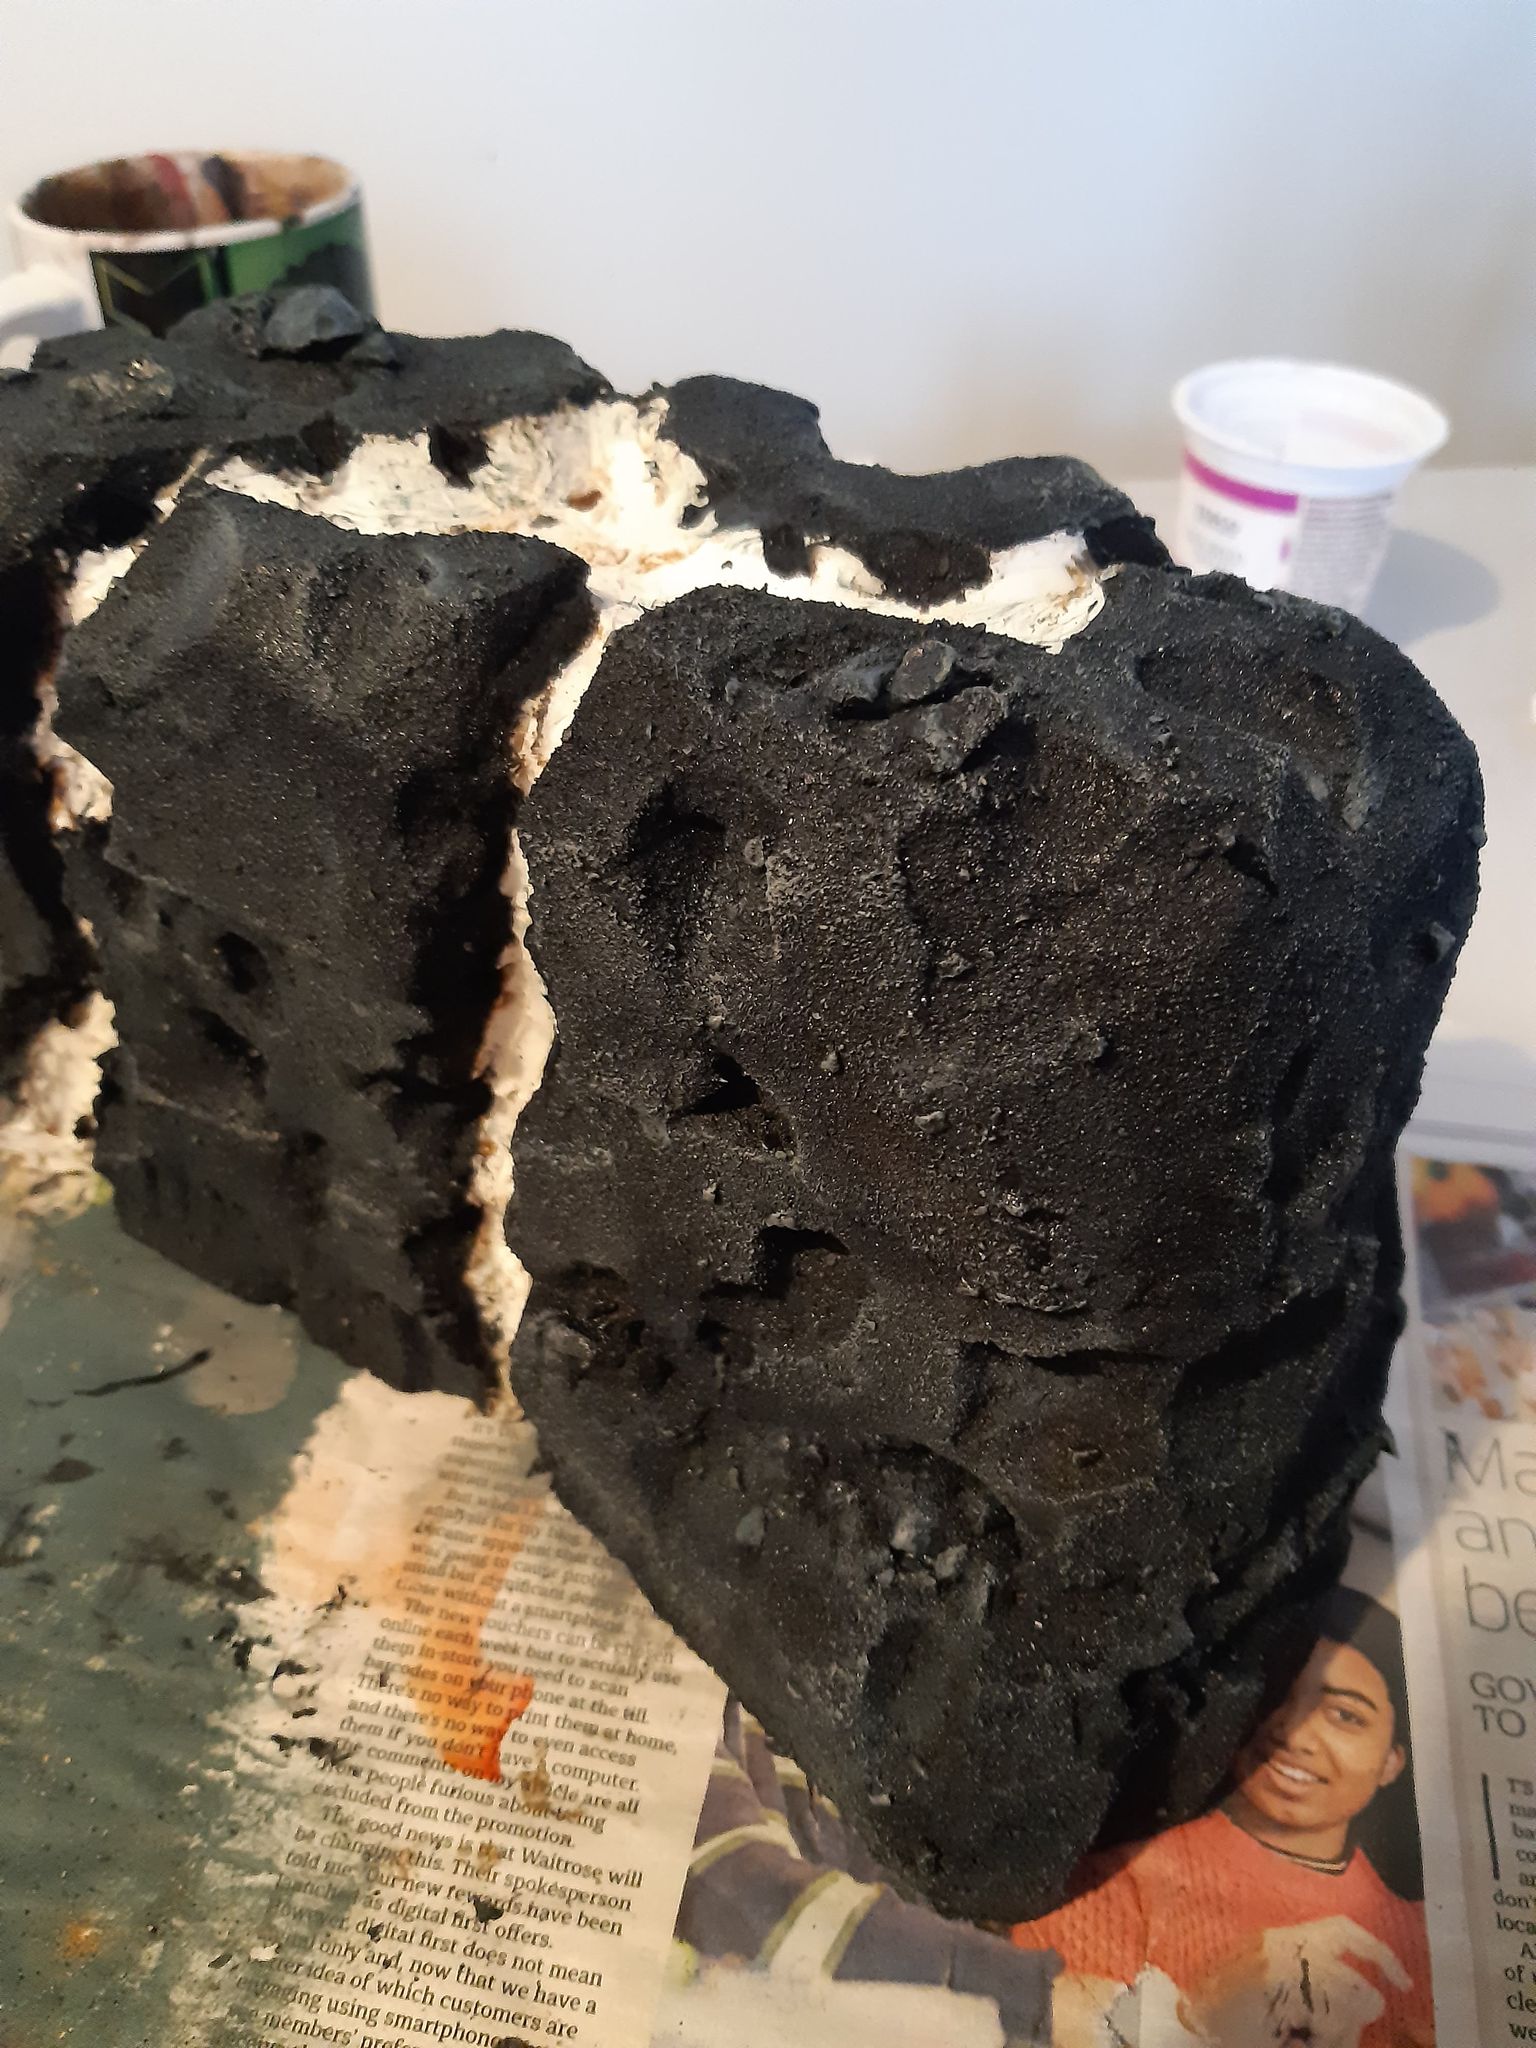
Step 6- Add some medium rocks or loose gravel to sections of the hills. Focus on the areas between the different polystyrene sections.

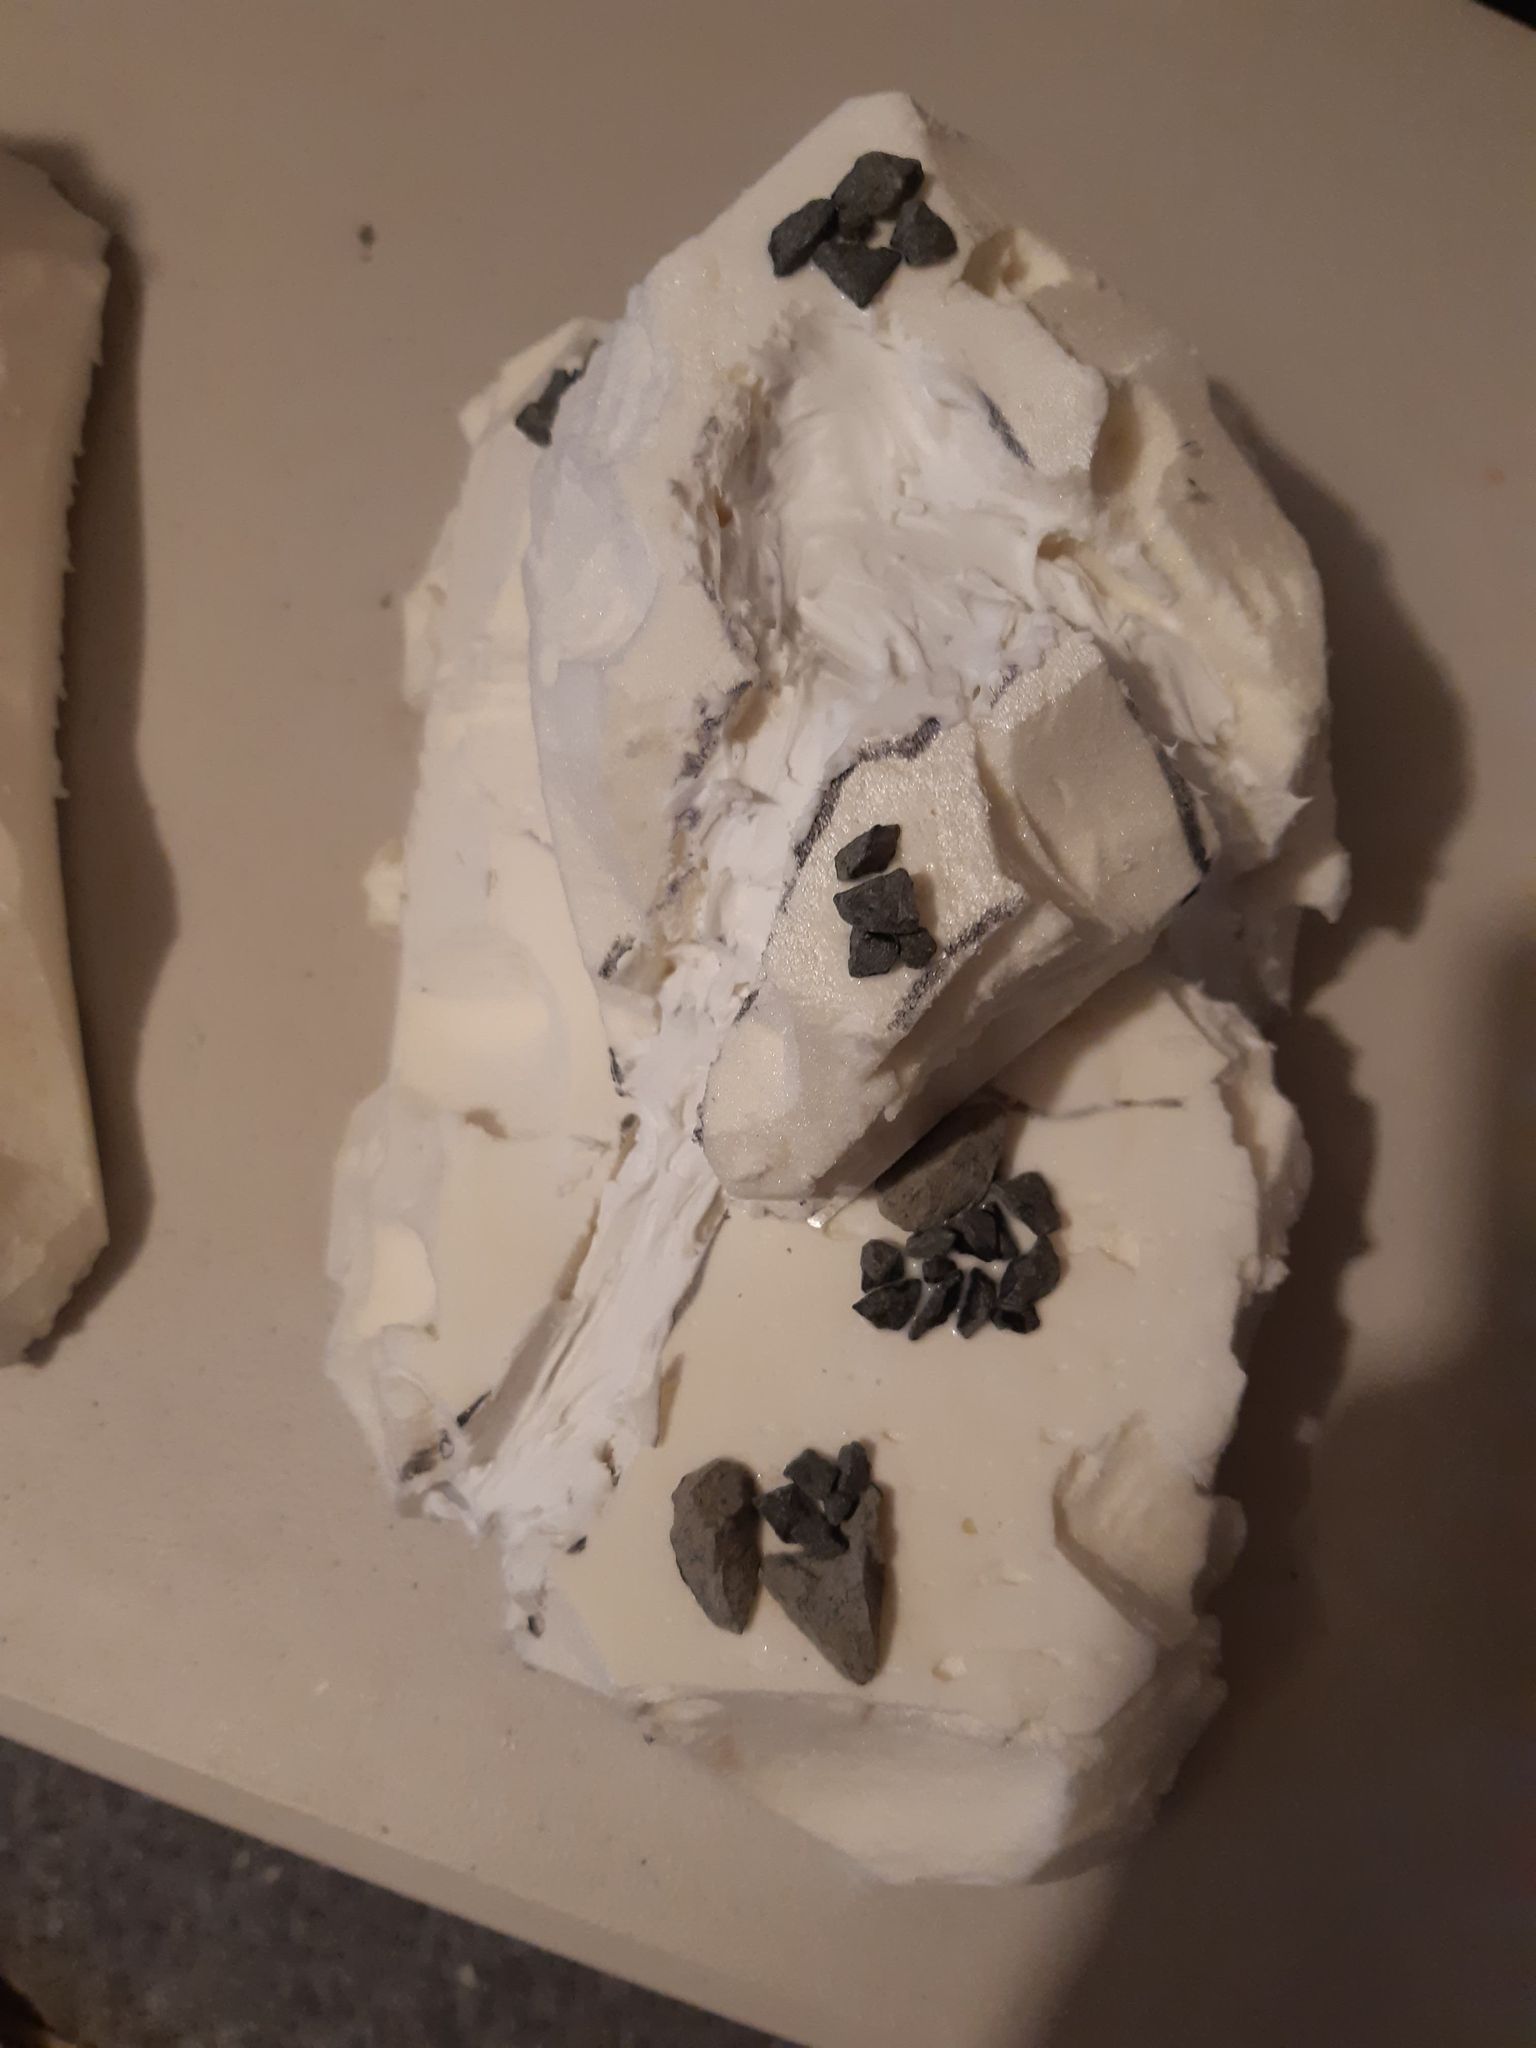
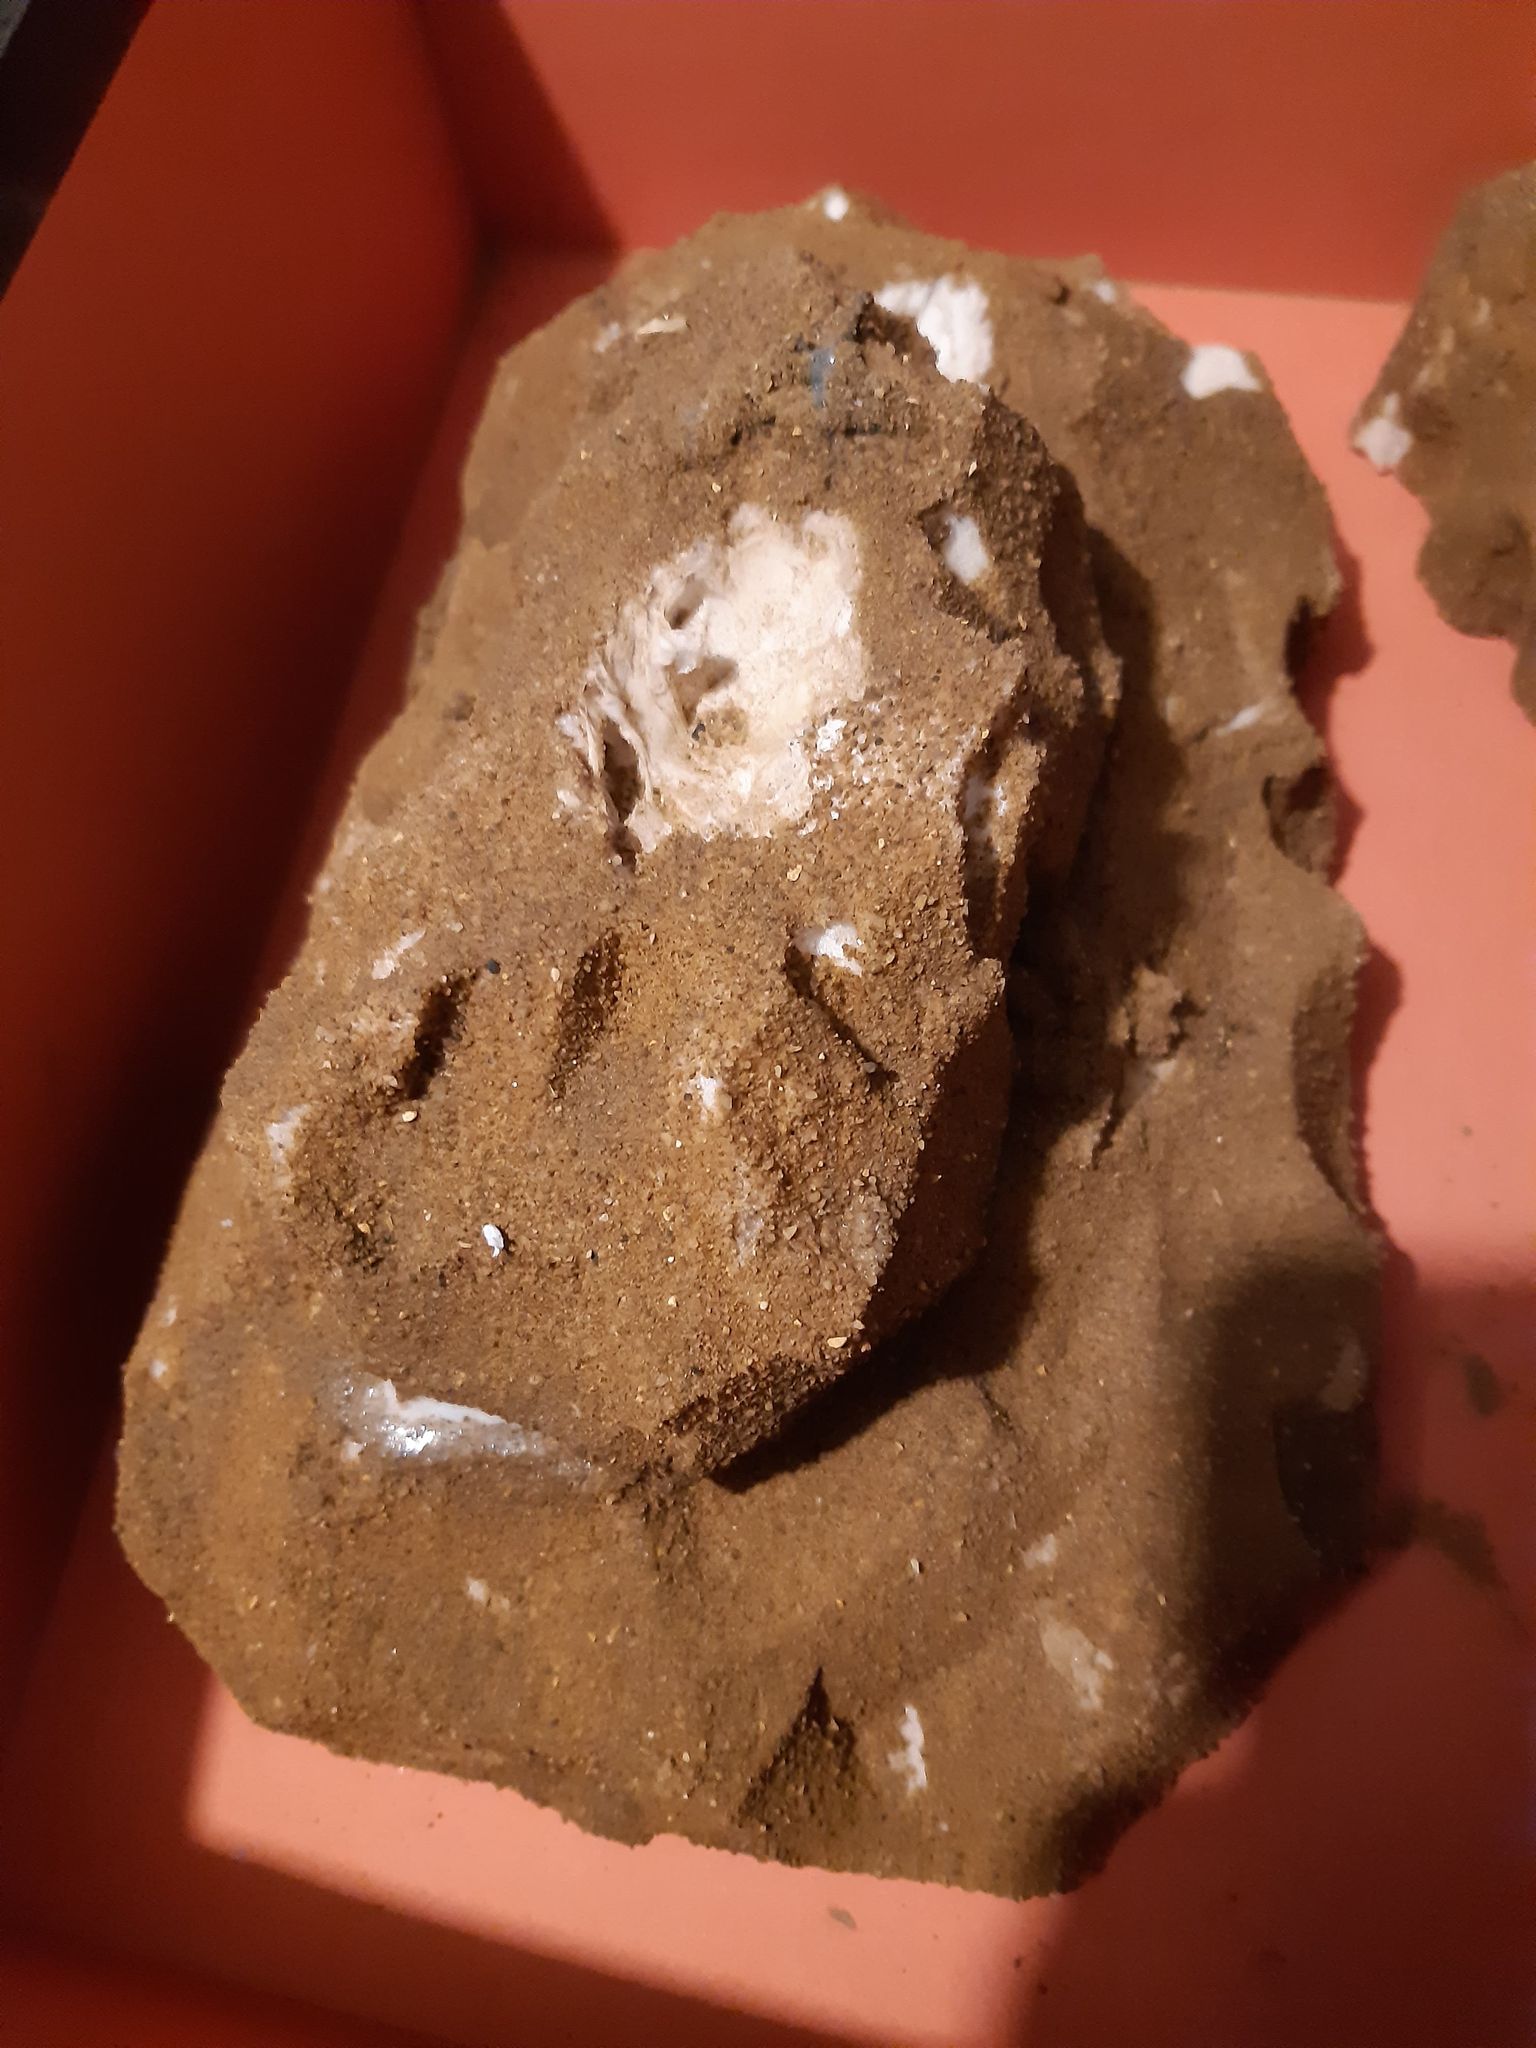
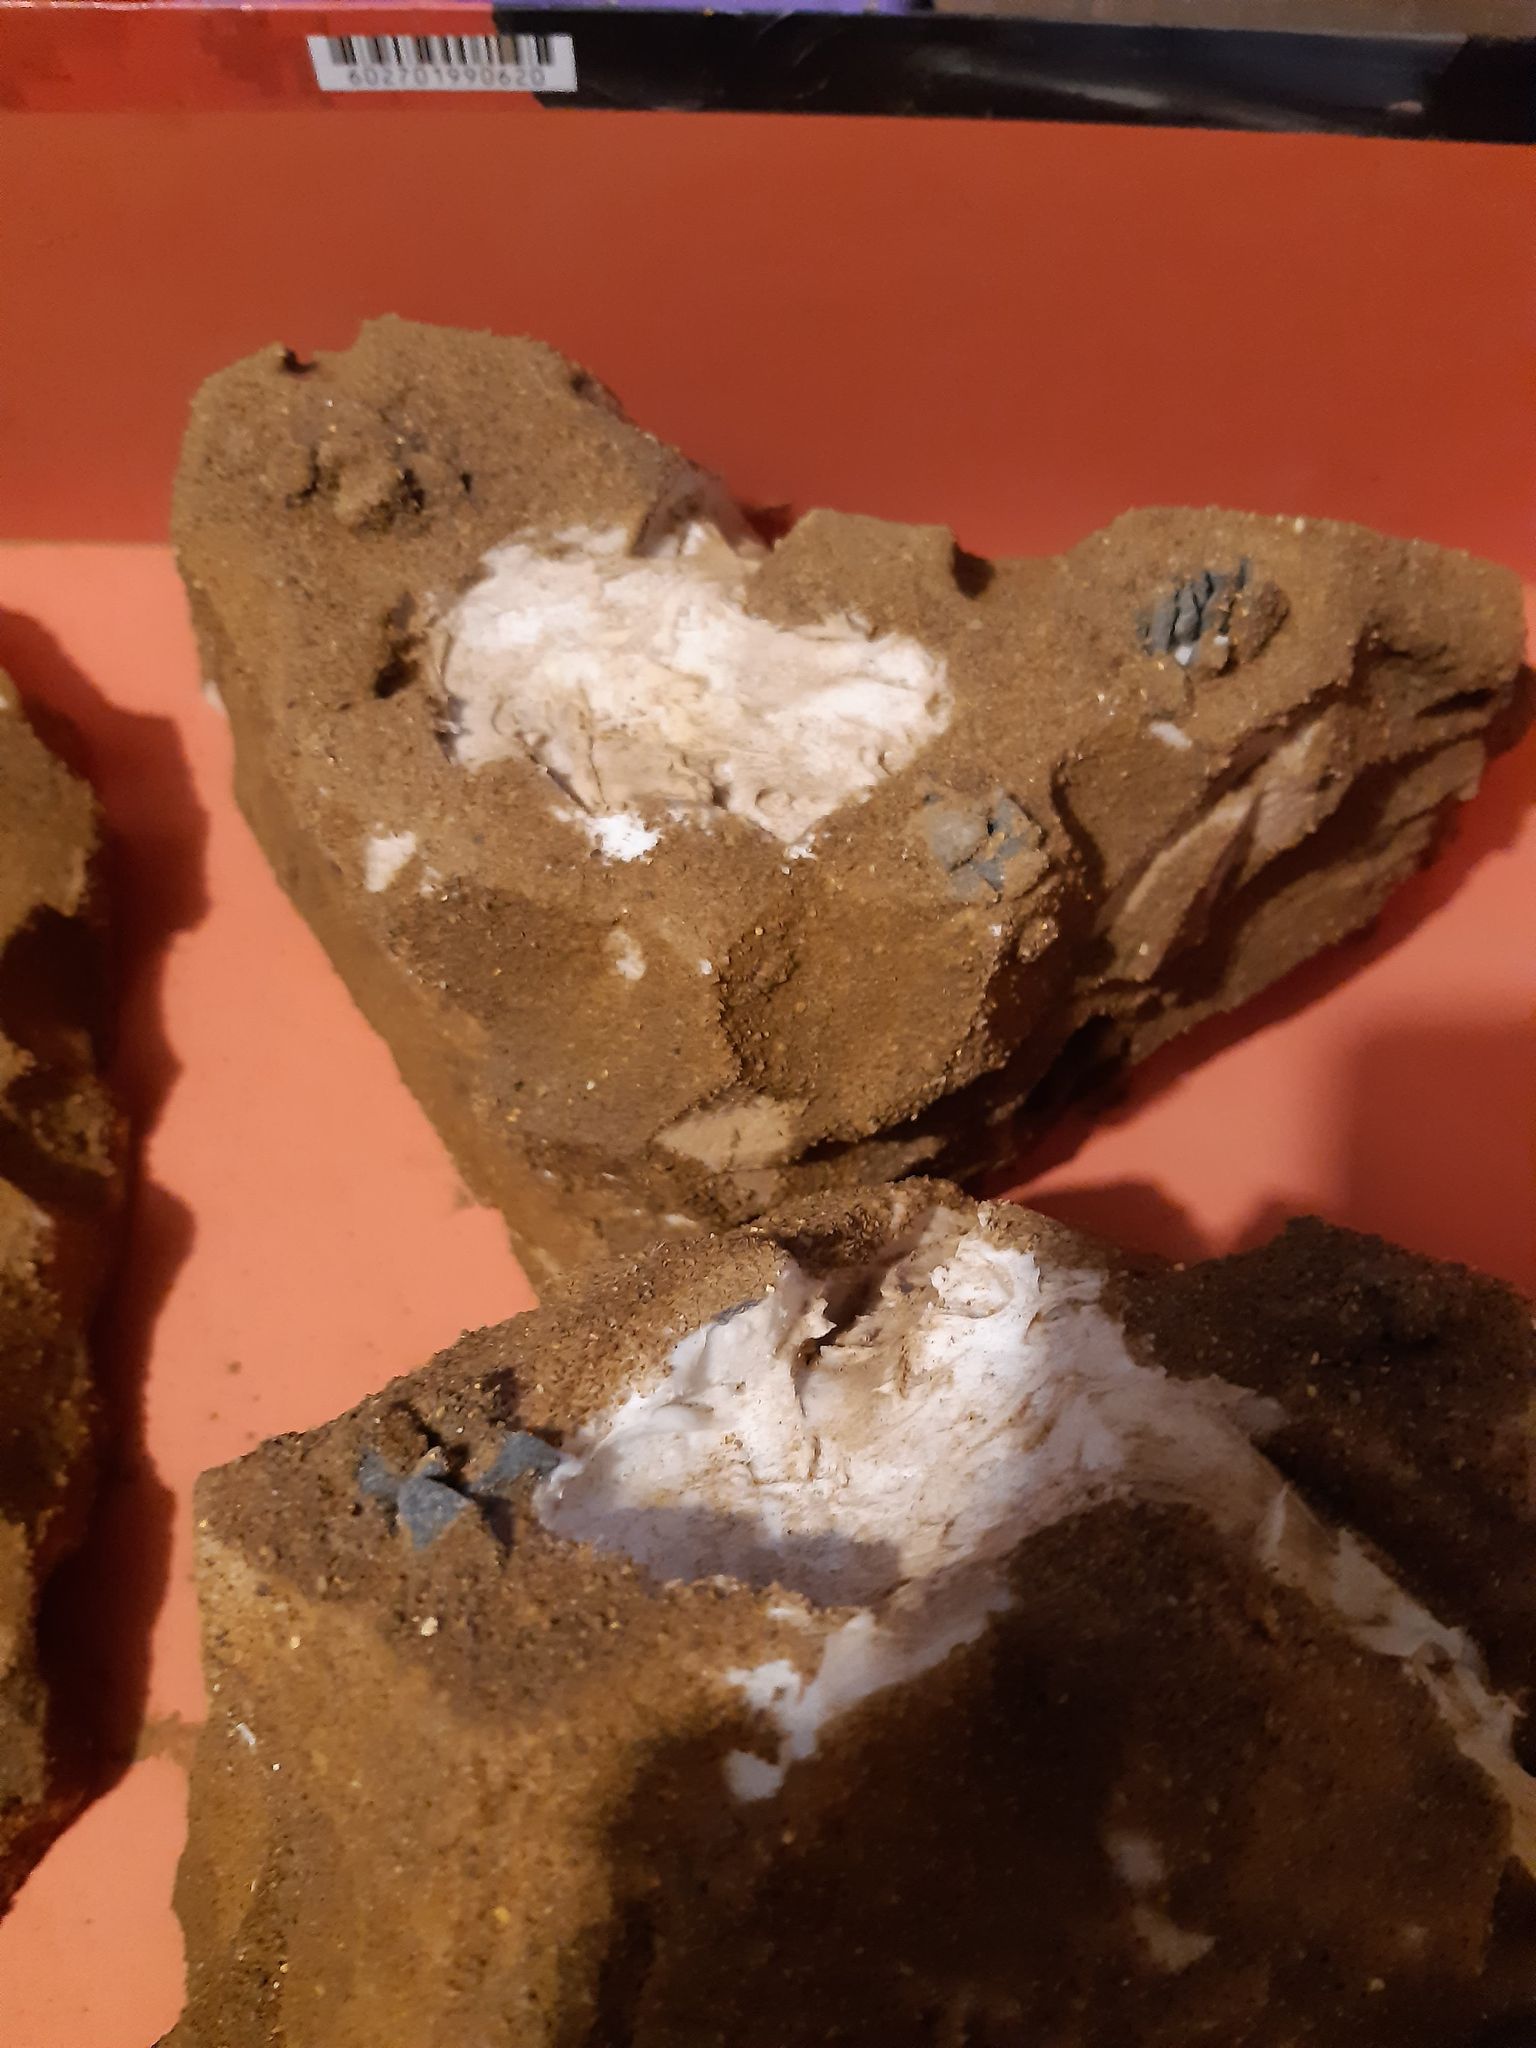
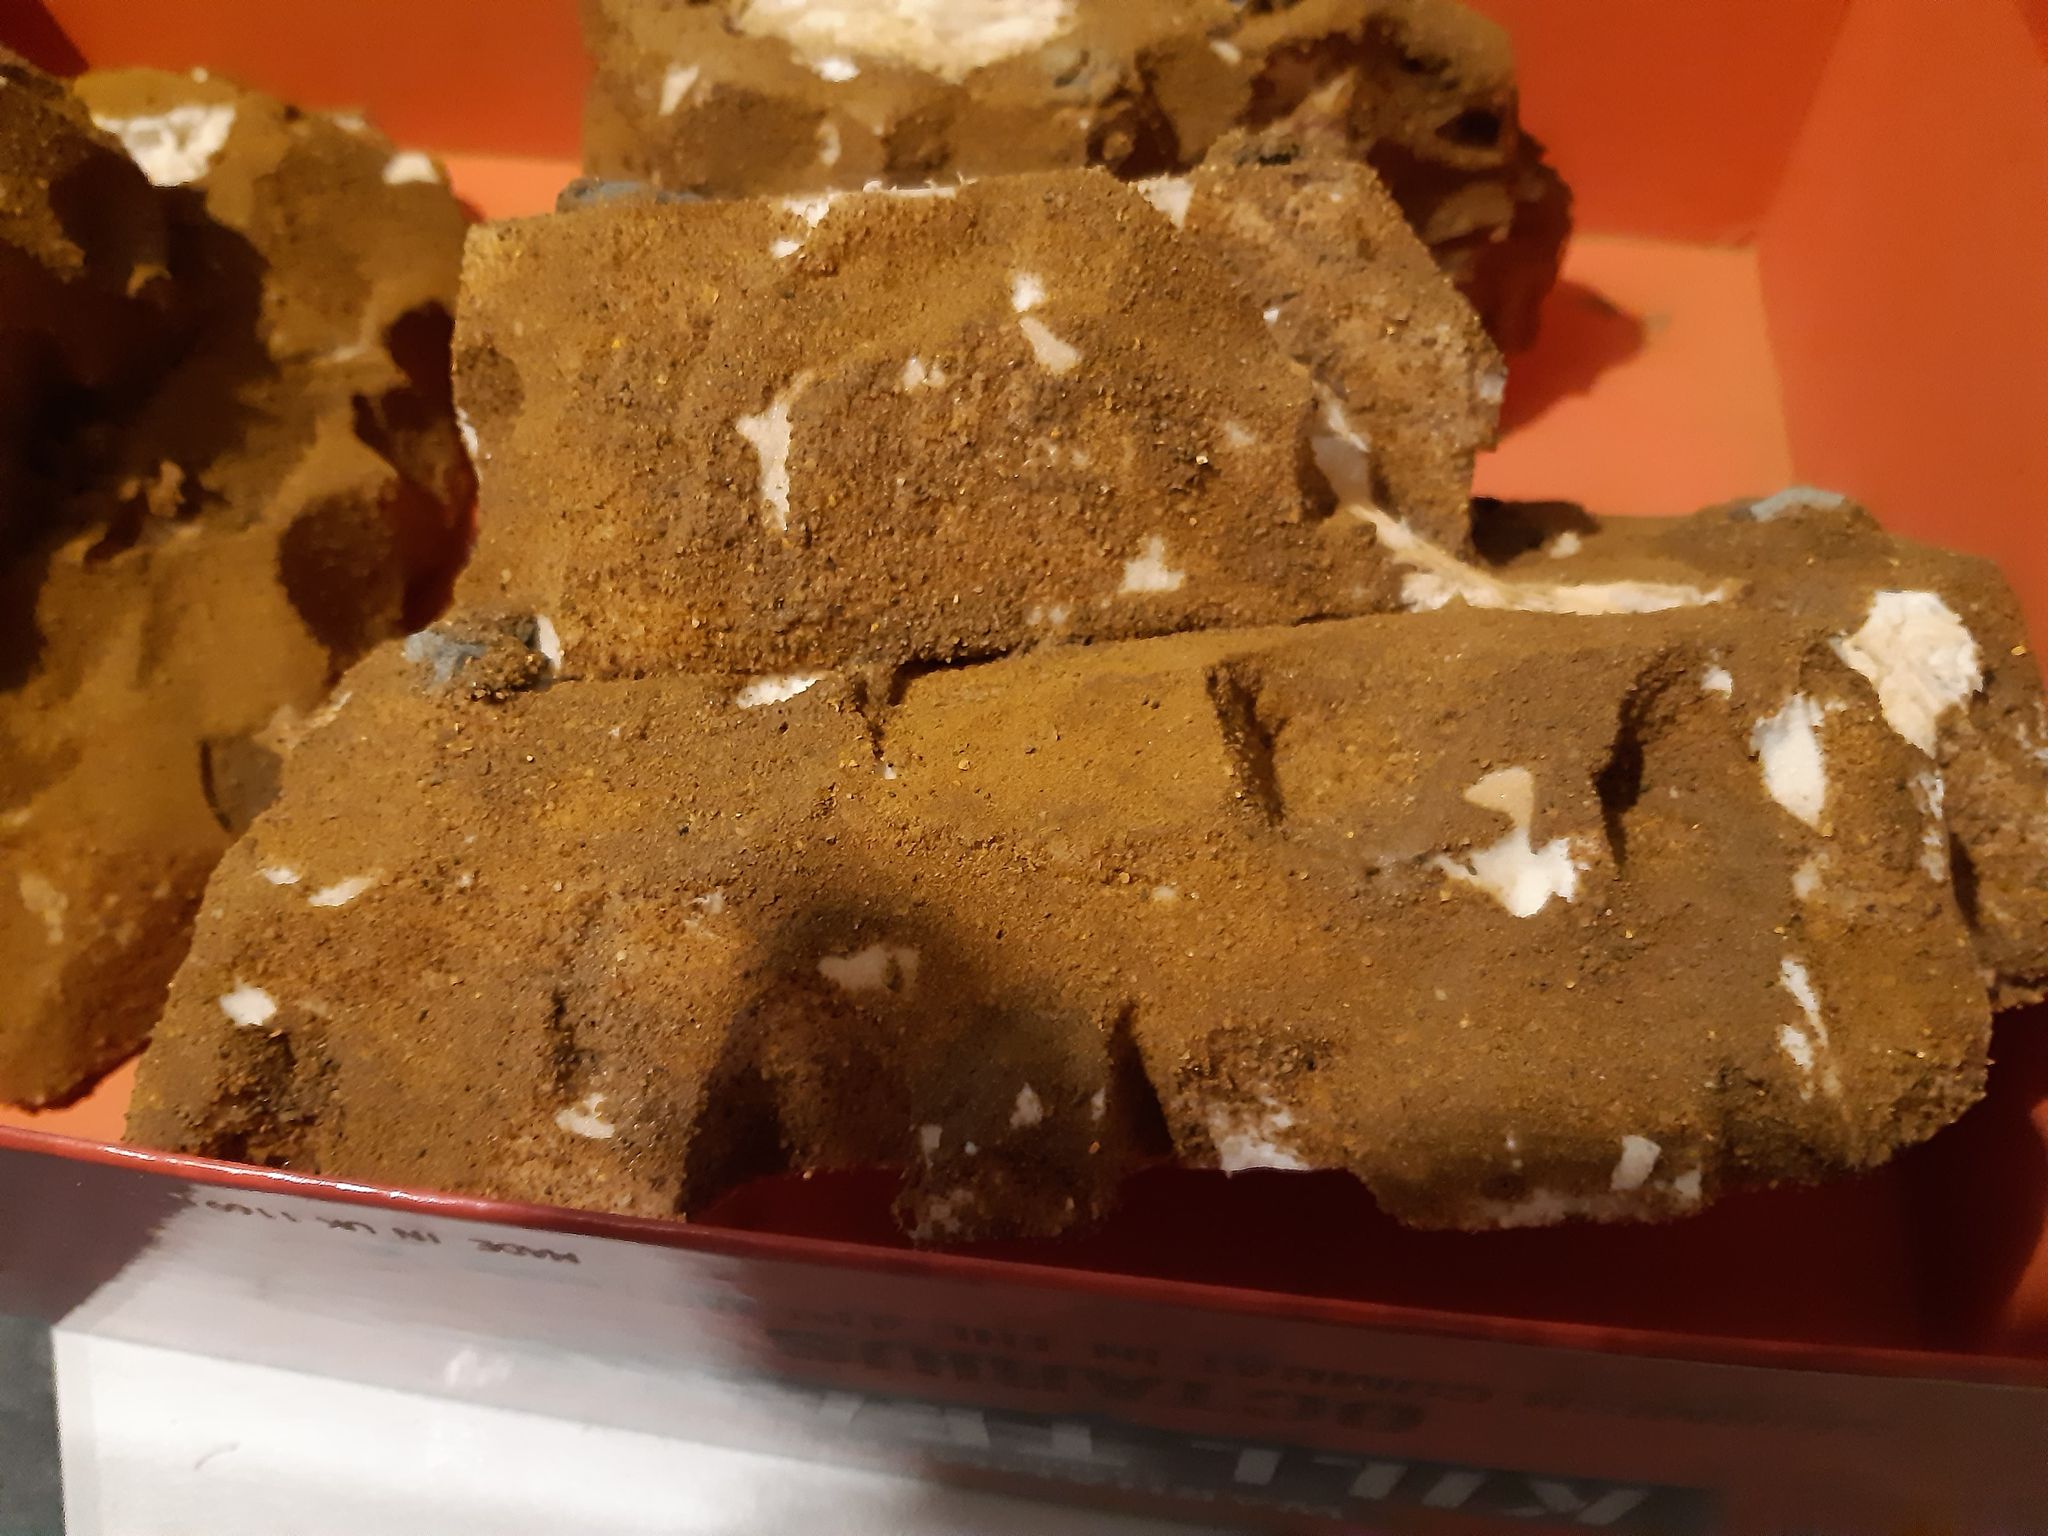
Step 7- Cover the hills in sand, using PVA glue. Be sure to keep the glue off the filler “lava” sections. Once the glue is dry, apply a layer of 1:1 PVA glue/water (with a little dish soap/washing up liquid). This creates a protective seal to stop the sand from flaking off.
Step 8- Paint the sand areas with black poster paint. This normally takes a couple of coats to get good coverage. Be careful if you are undercoating with aerosol sprays, as this can melt the foam.
Step 9- Give the rock areas a drybrush highlight with a light grey paint.
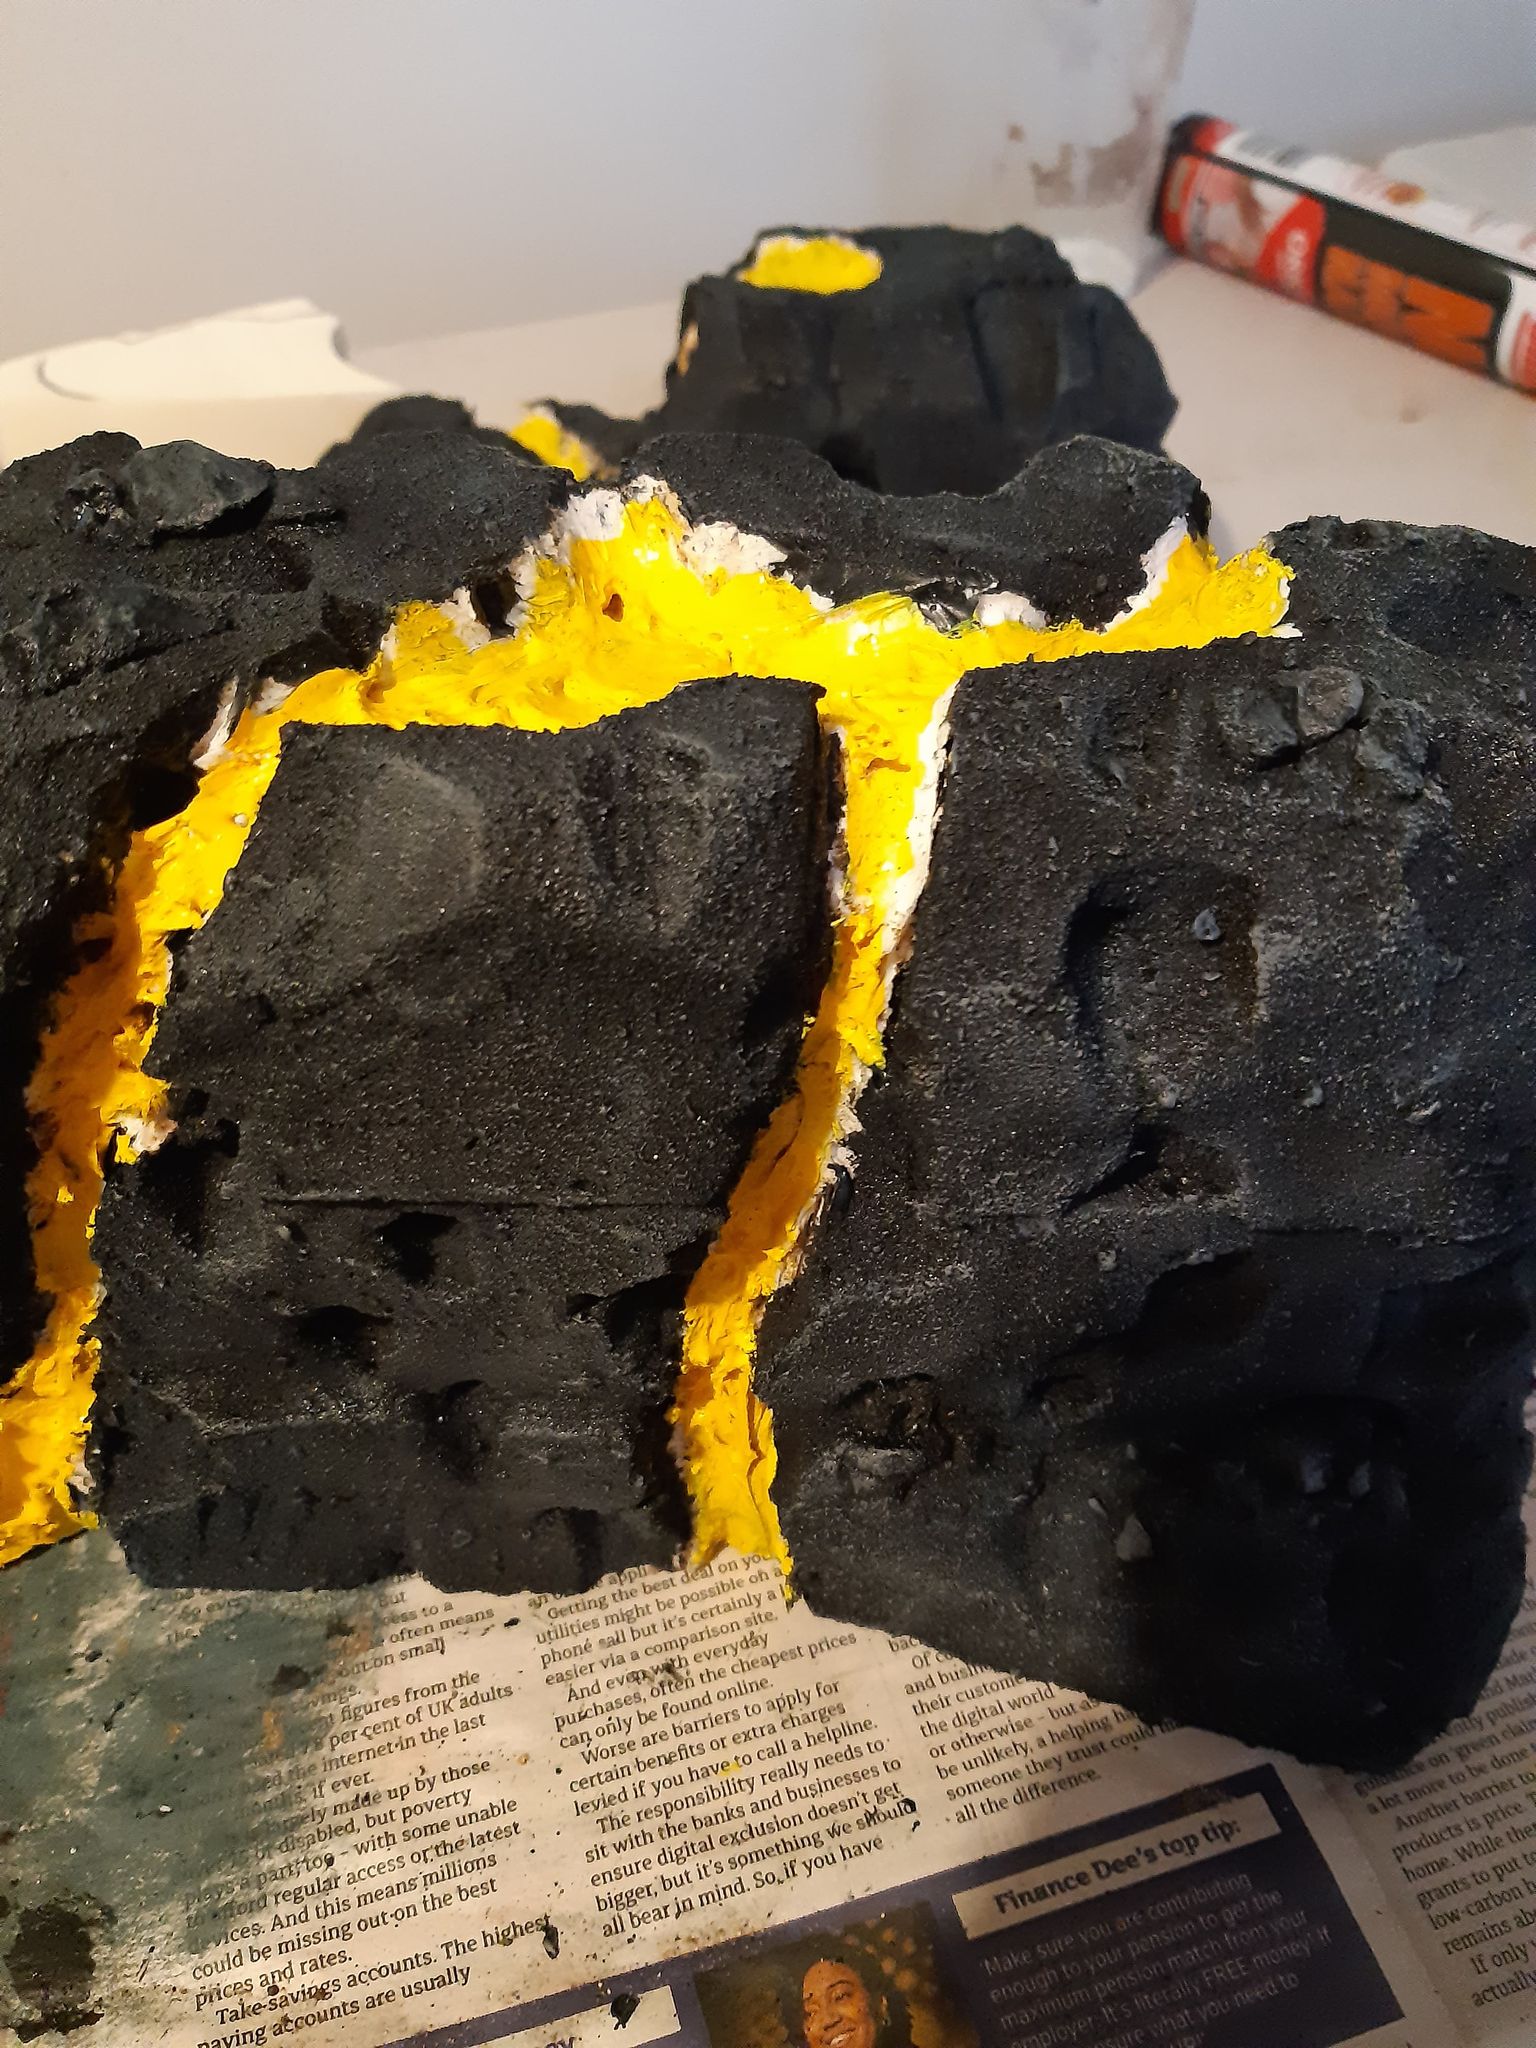
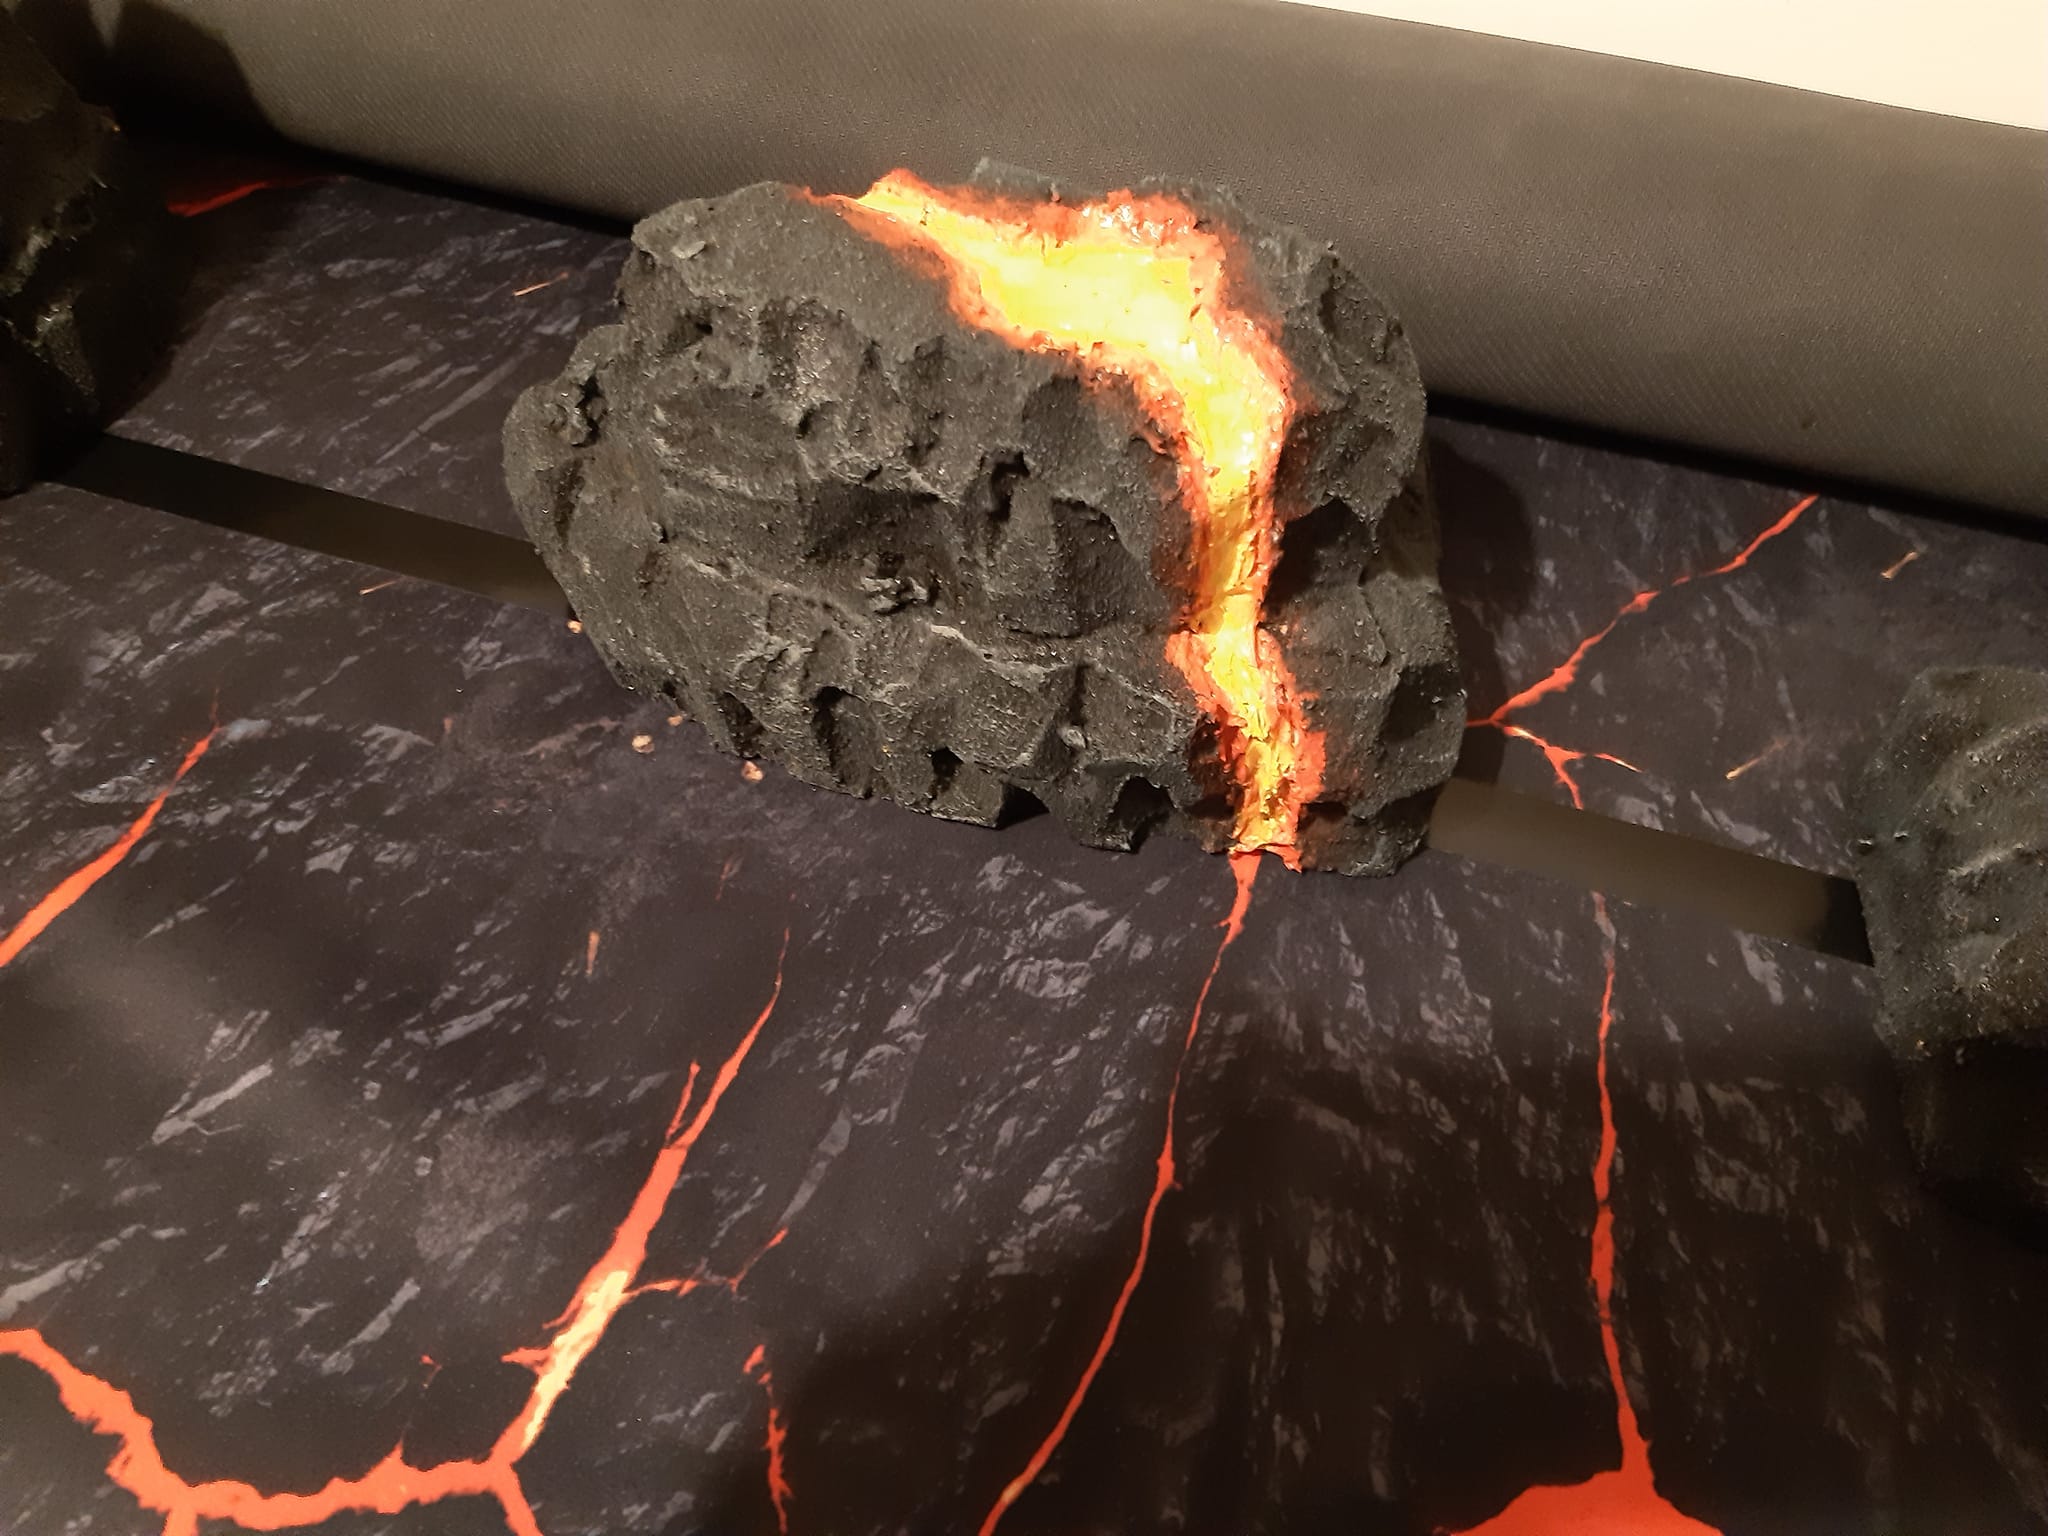
Step 10- Paint the lava. You could do the traditional lava colours, or any other colours to match your gaming mat. Do one piece at a time, as you want each paint layer to still be wet when adding the other colours, so they blend better.
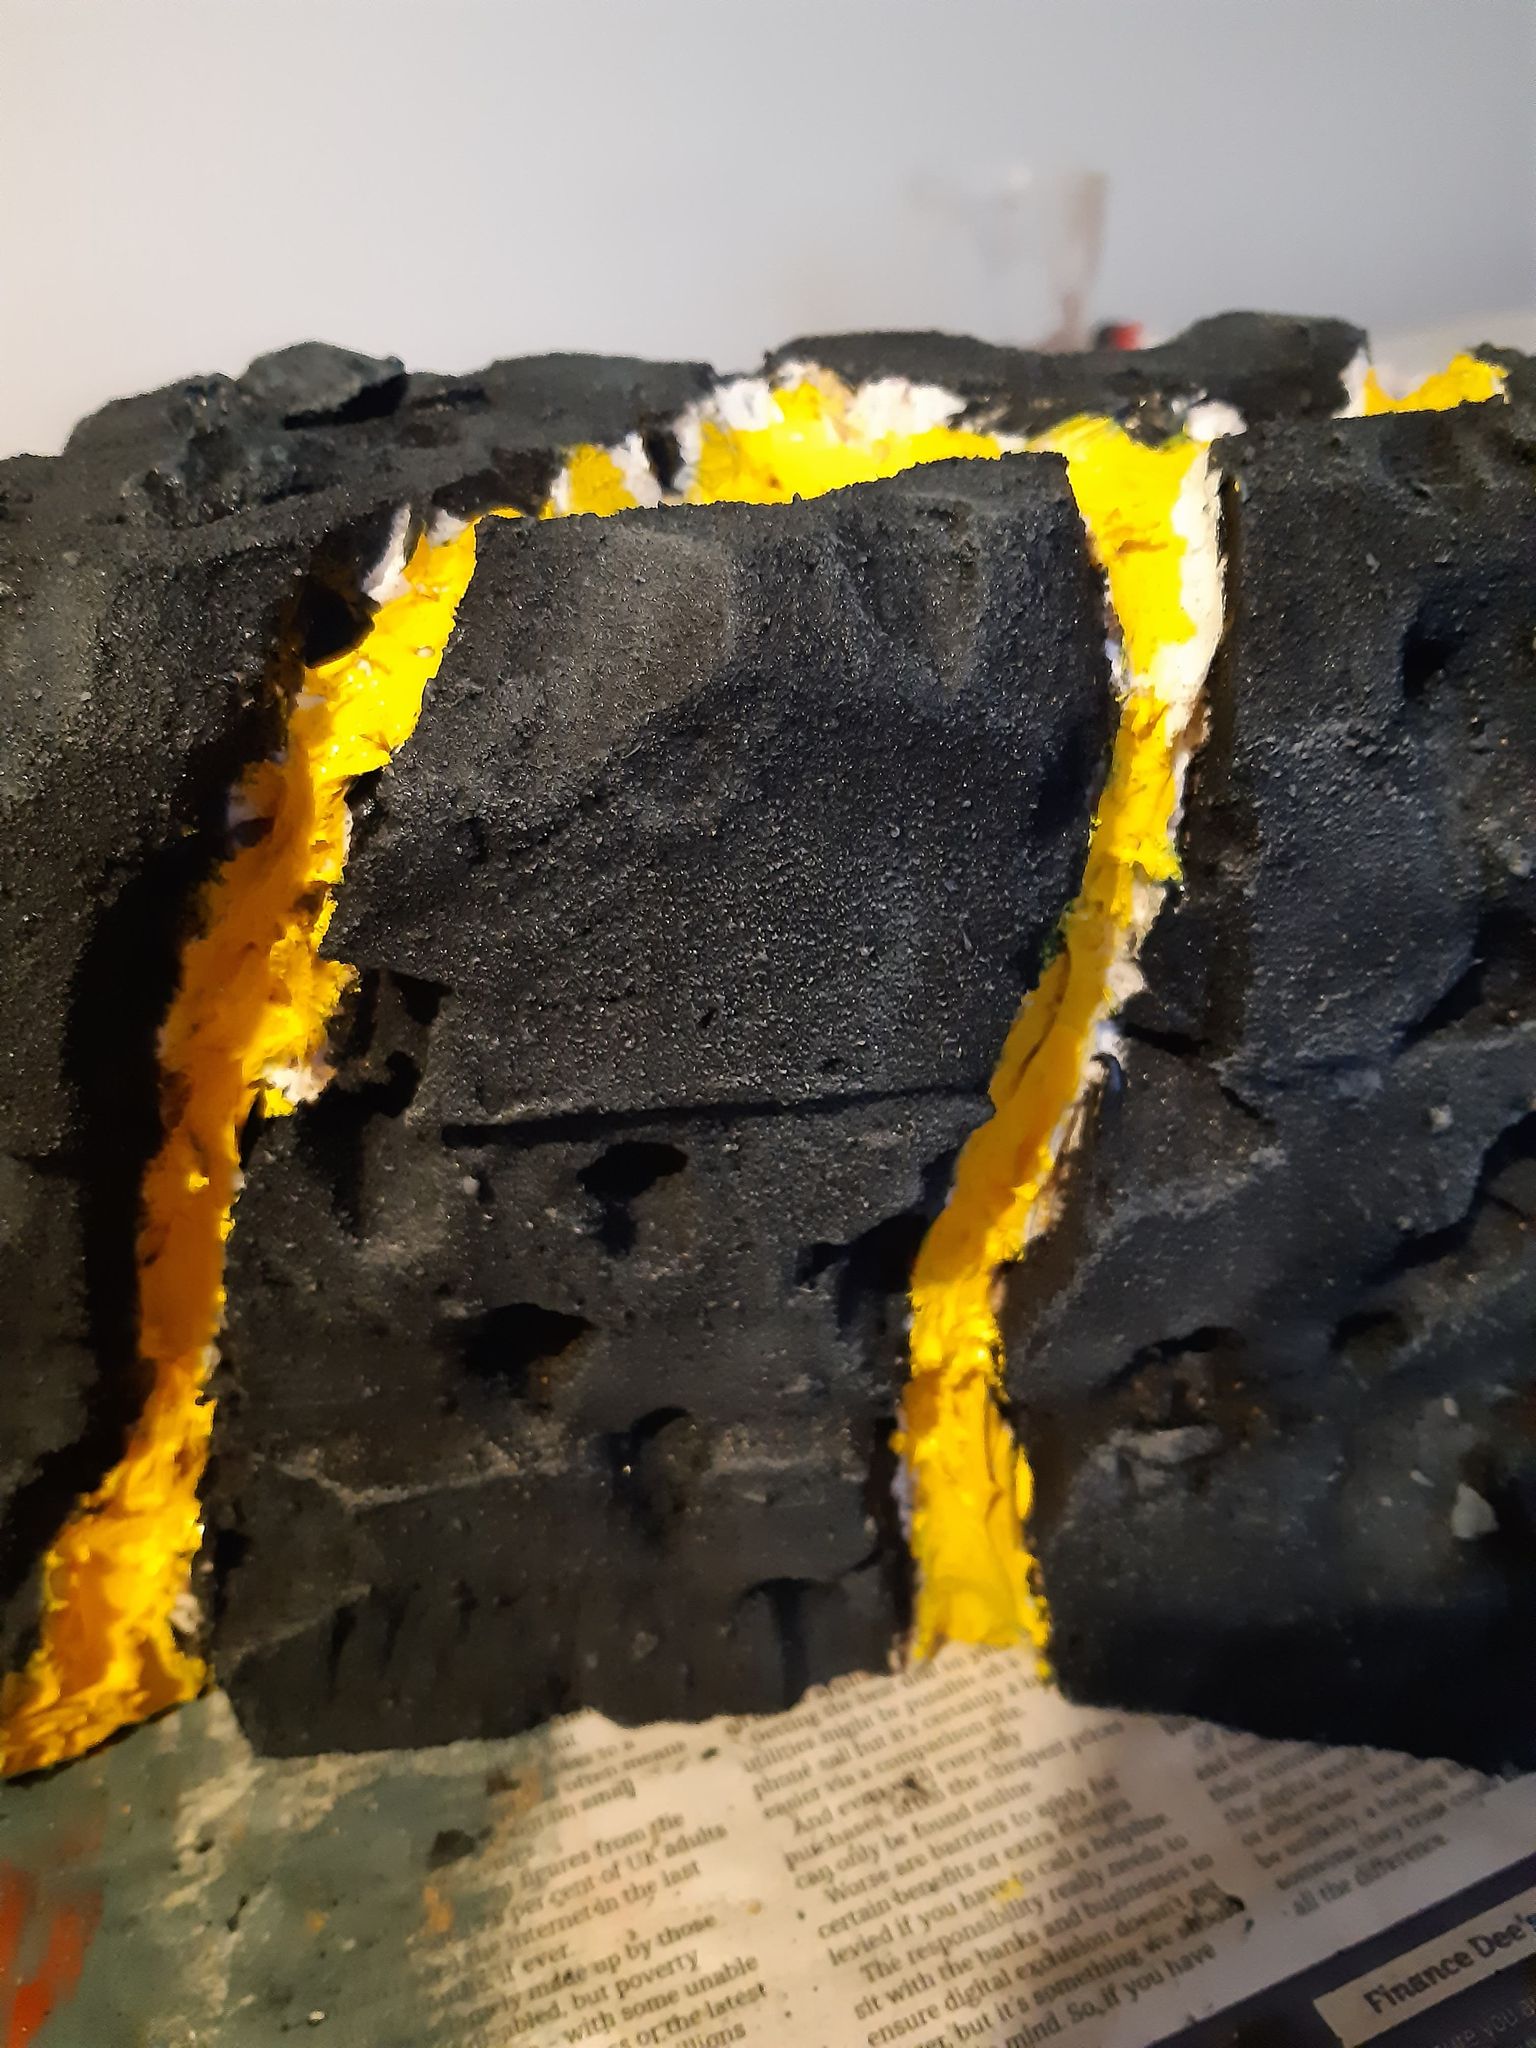
I paint the base in Flash Gitz Yellow. You don’t need to paint all the way to the rocks, as the darker colours will cover these areas.
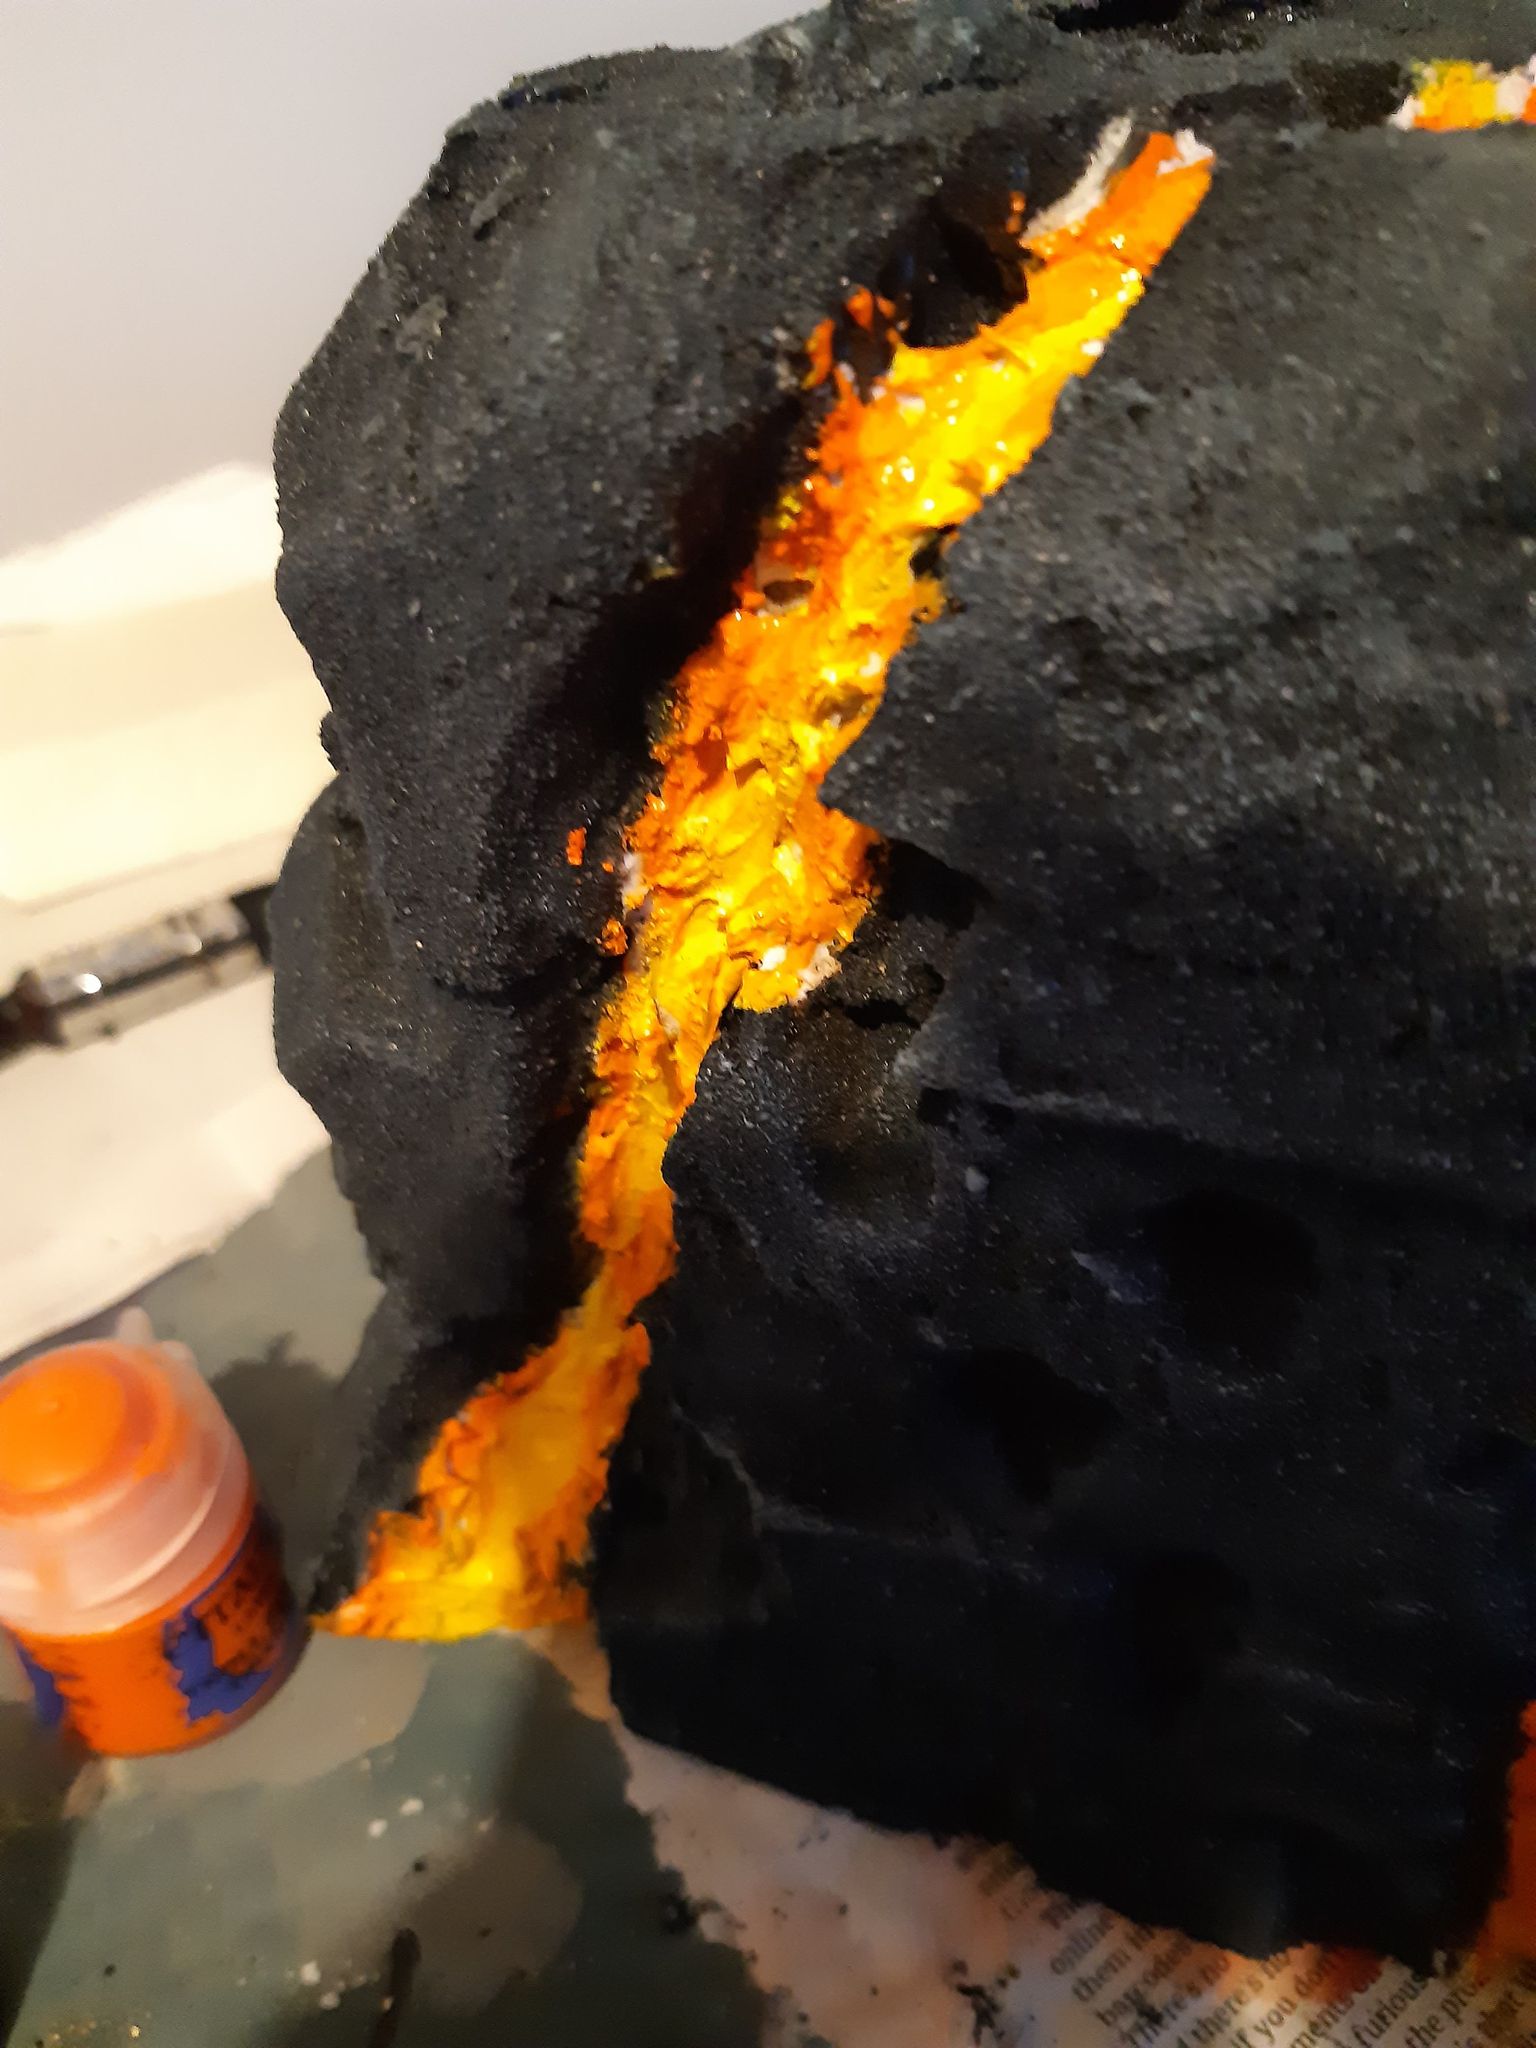
For the orange, I use Troll Slayer Orange. Paint the orange on the outer layer of the yellow, closer to the rocks, but leave the yellow showing in the centre. Use some water to blend the layers between the yellow and orange and make a smoother transition to the colour.

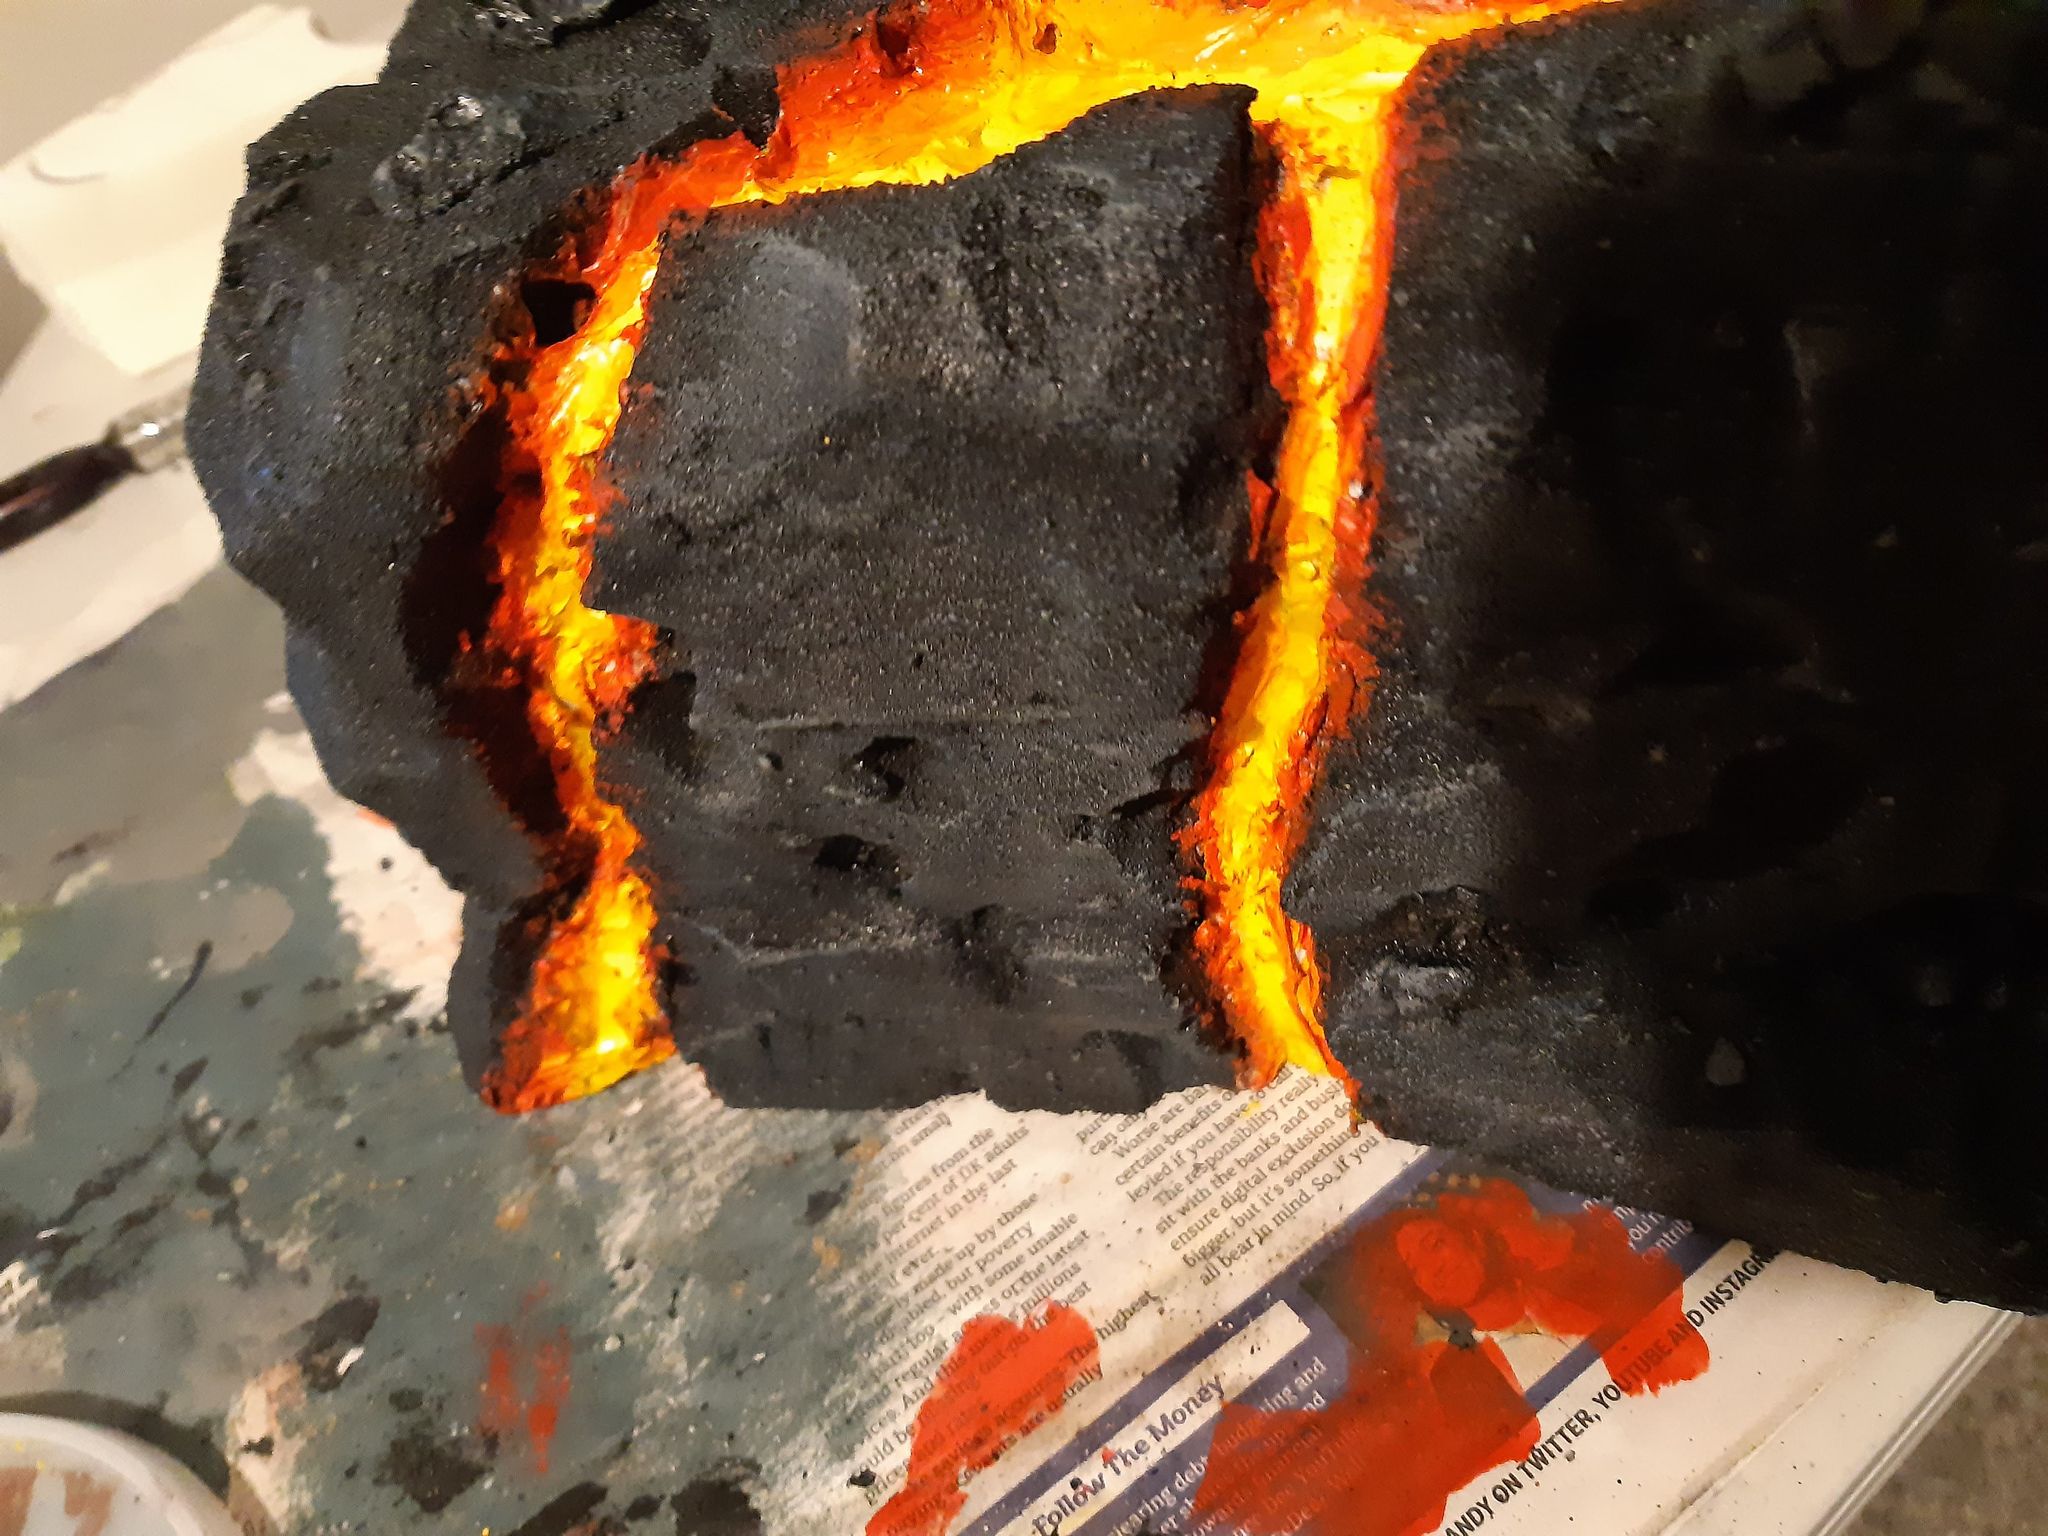
For the red, I use Evil Sunz Scarlet. Again, use some water to blend the red into the orange. Drybrush some red onto the rocks beside the lava, to represent glow from the lava on the hills.
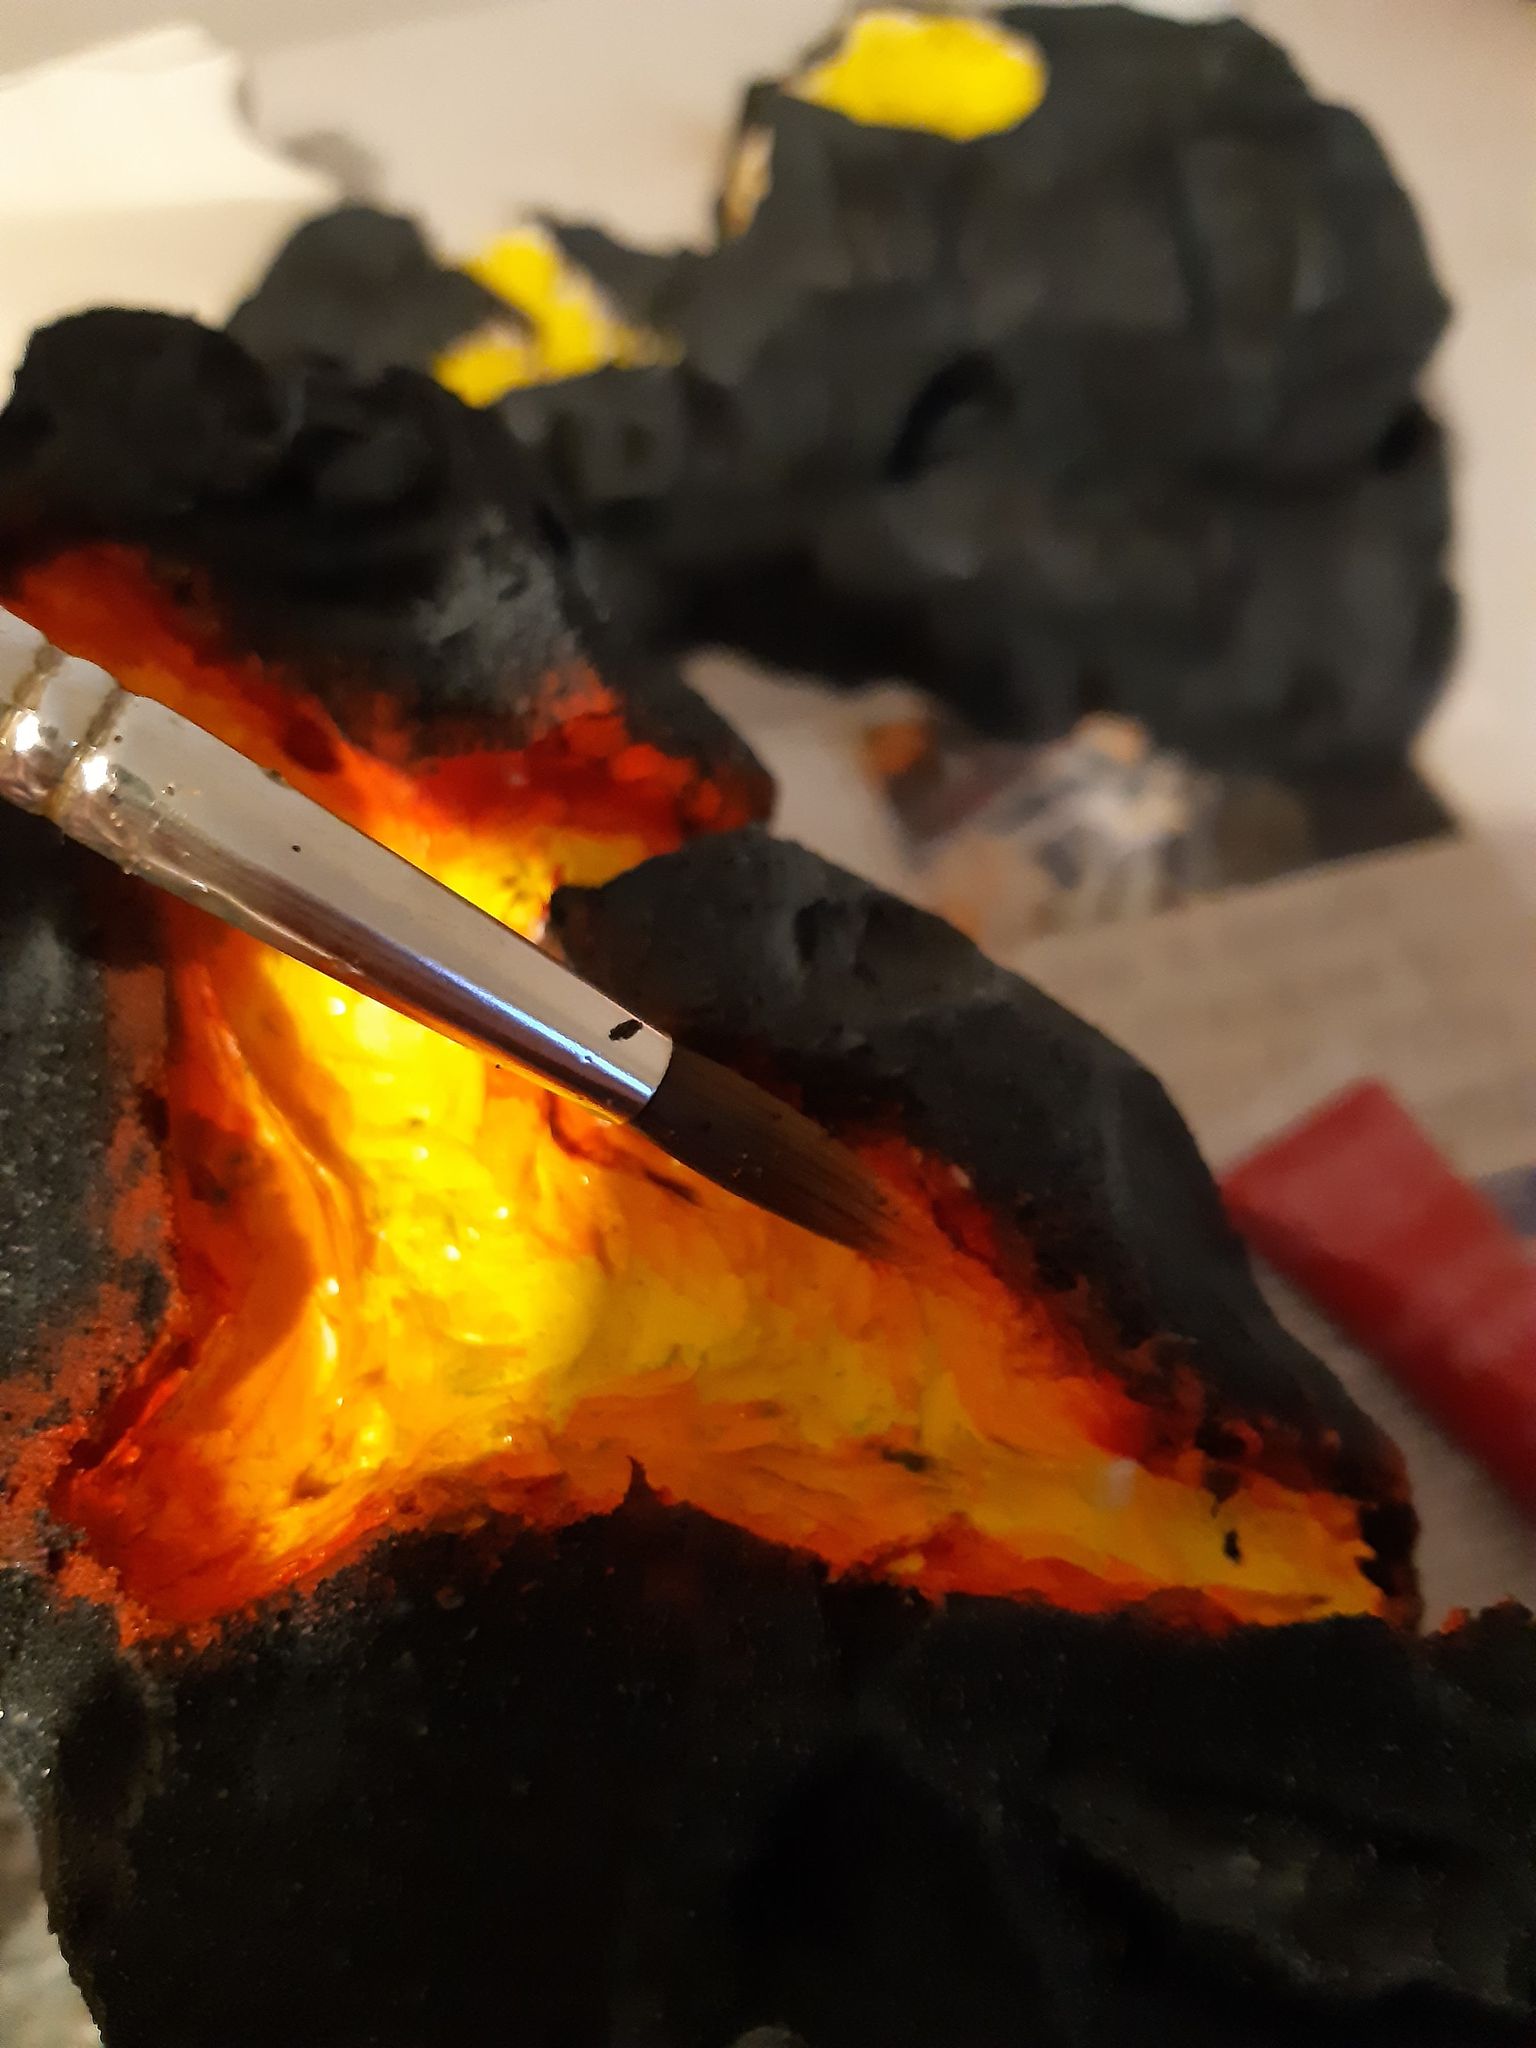
The hills are now complete! These will provide some nice line of sight blocking terrain for your battlefield.
And remember, Frontline Gaming sells gaming products at a discount, every day in their webcart!


