
Guest writer: John Paul
Hello, fellow hobby enthusiasts. Today, I’m tackling another important “fundamental” skill: gap-filling. Often times, as we assemble our models, we find that some of the pieces don’t quite meet perfectly.
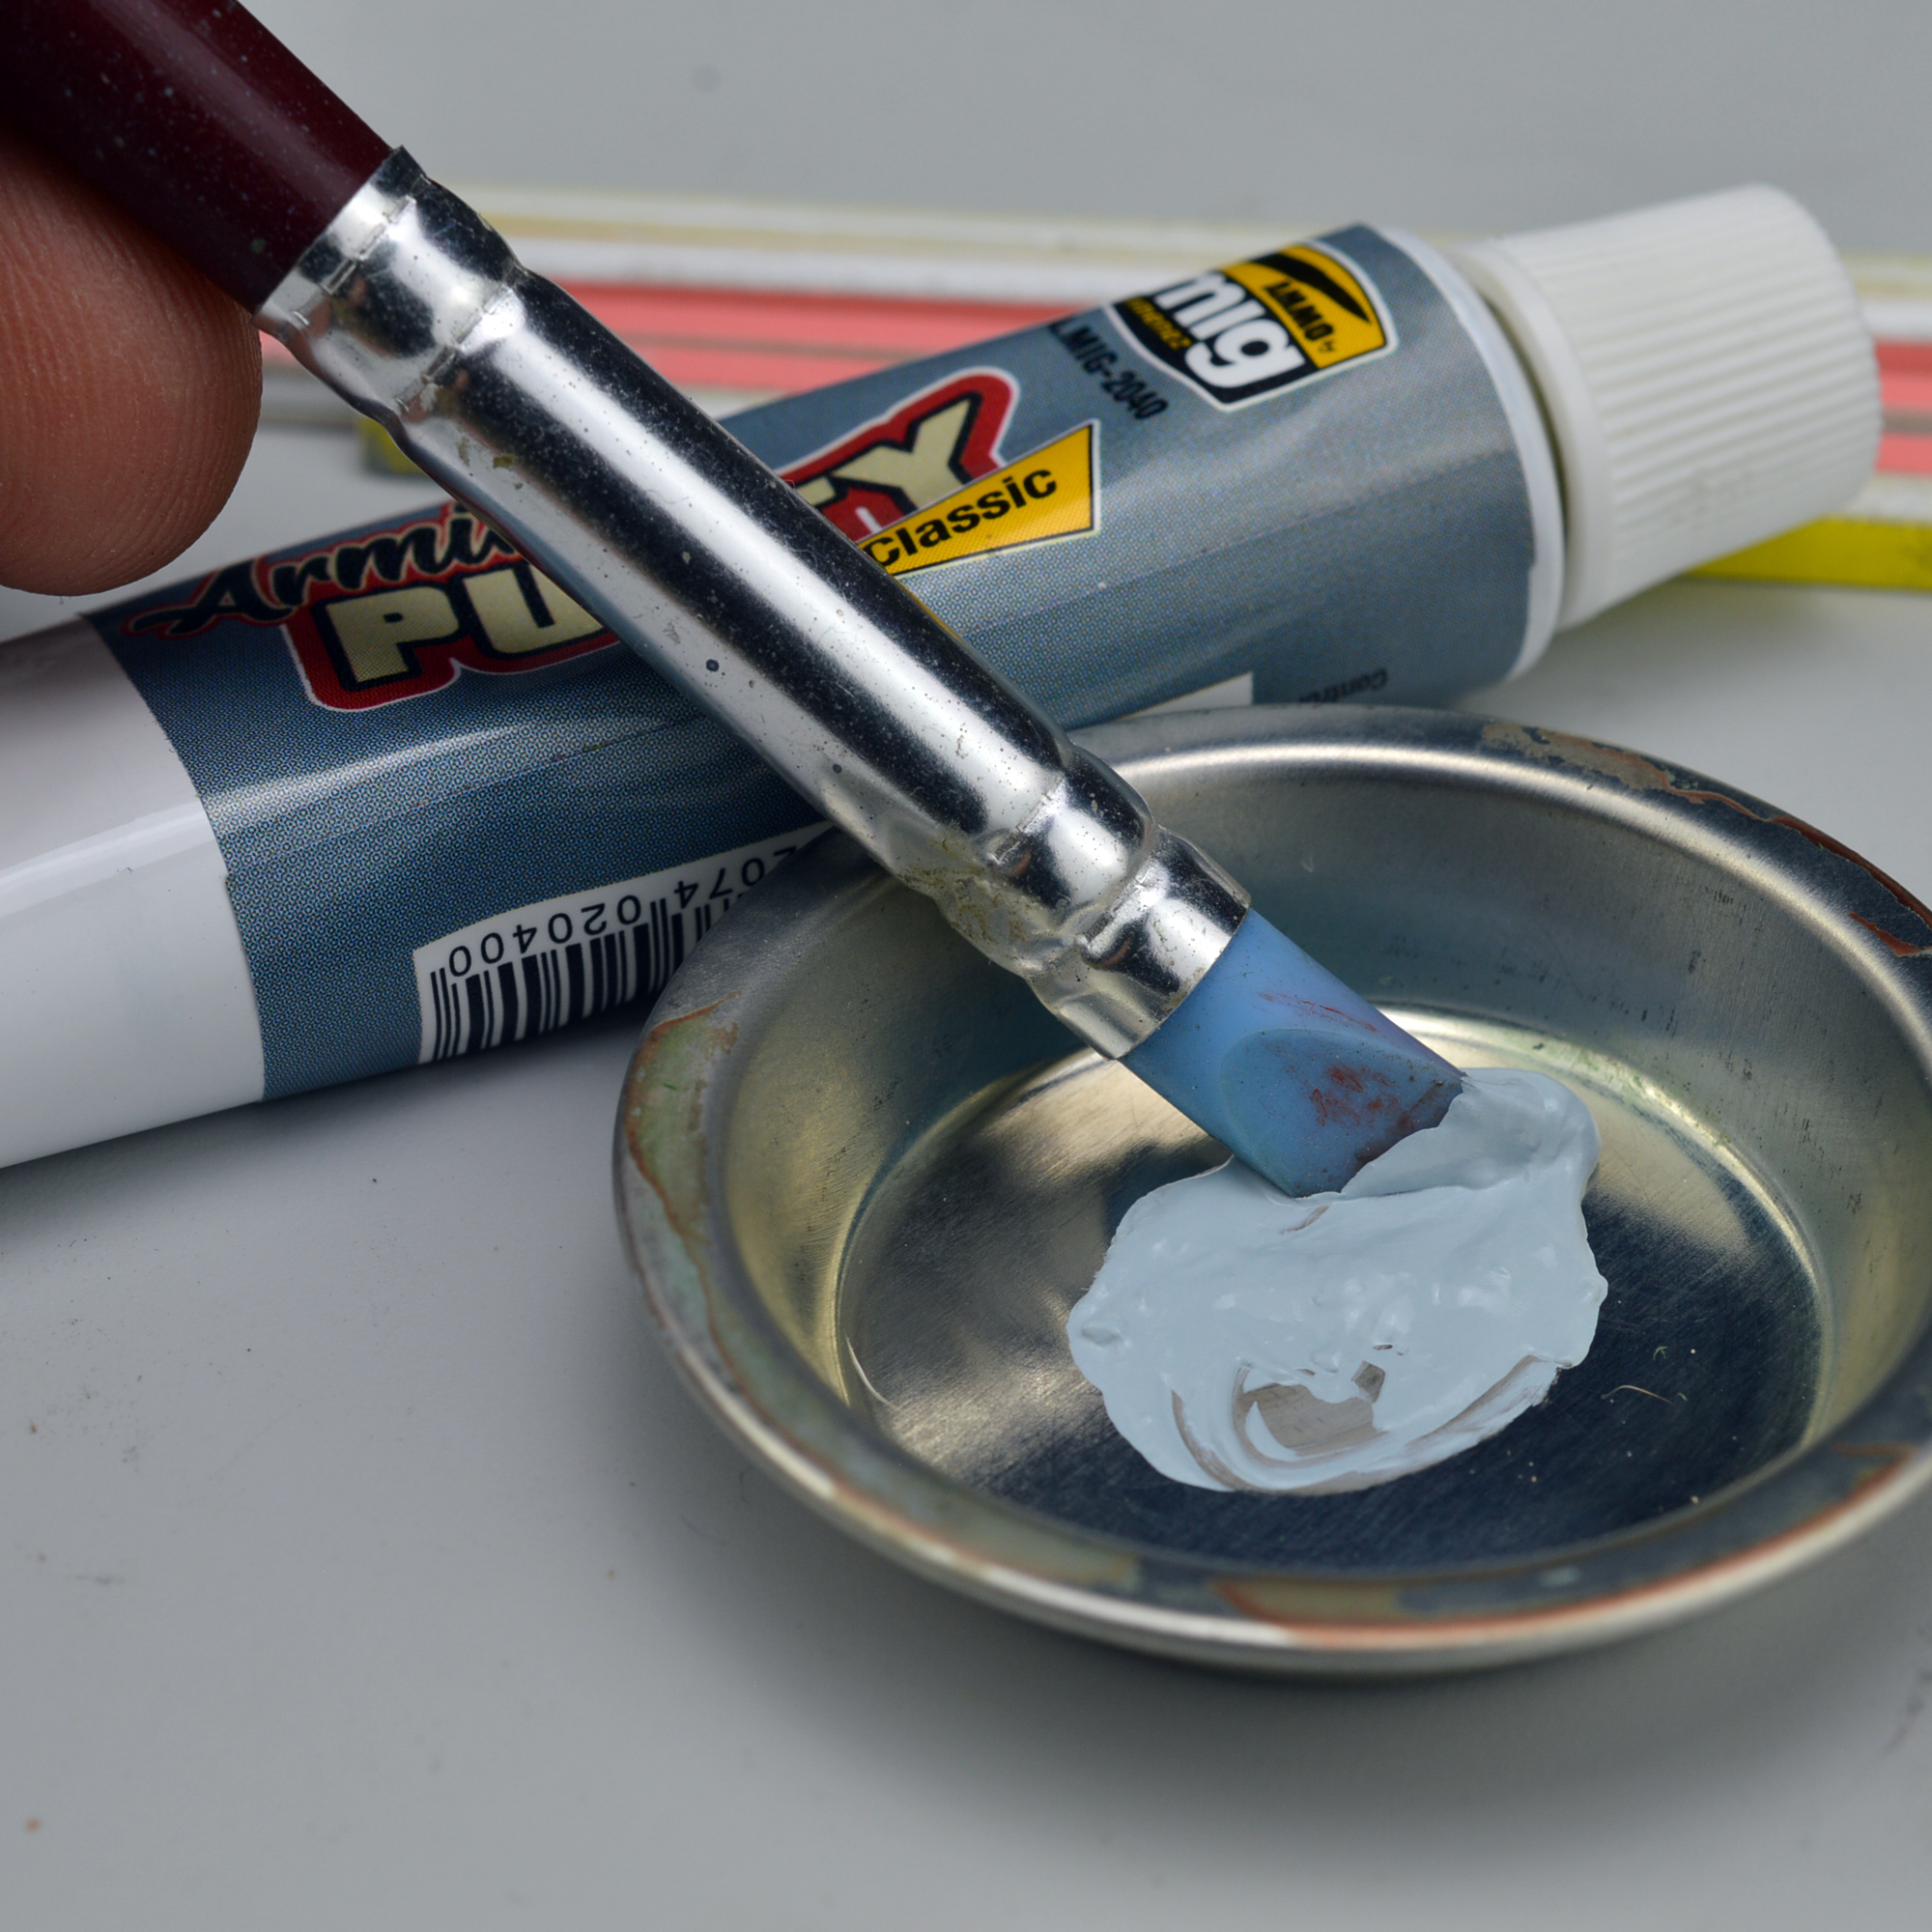
While modern technology and precision 3D modeling have made some kits stunningly advance in this area, there are still times were a small gap presents itself on the model, and we need to take steps to repair it. There are a ton of products out there that can be easily purchased, or hobbyists can consider some “home-grown” solutions such as CA glue or “sprue goo.” I prefer to use a basic modeling putty because it’s easier to work with and produces the most consistent results. A few other tools that help to have is a silicon brush for smoothing and spreading the putty, a file (in this case, I used abrasive swizzle sticks), and a simple palette.
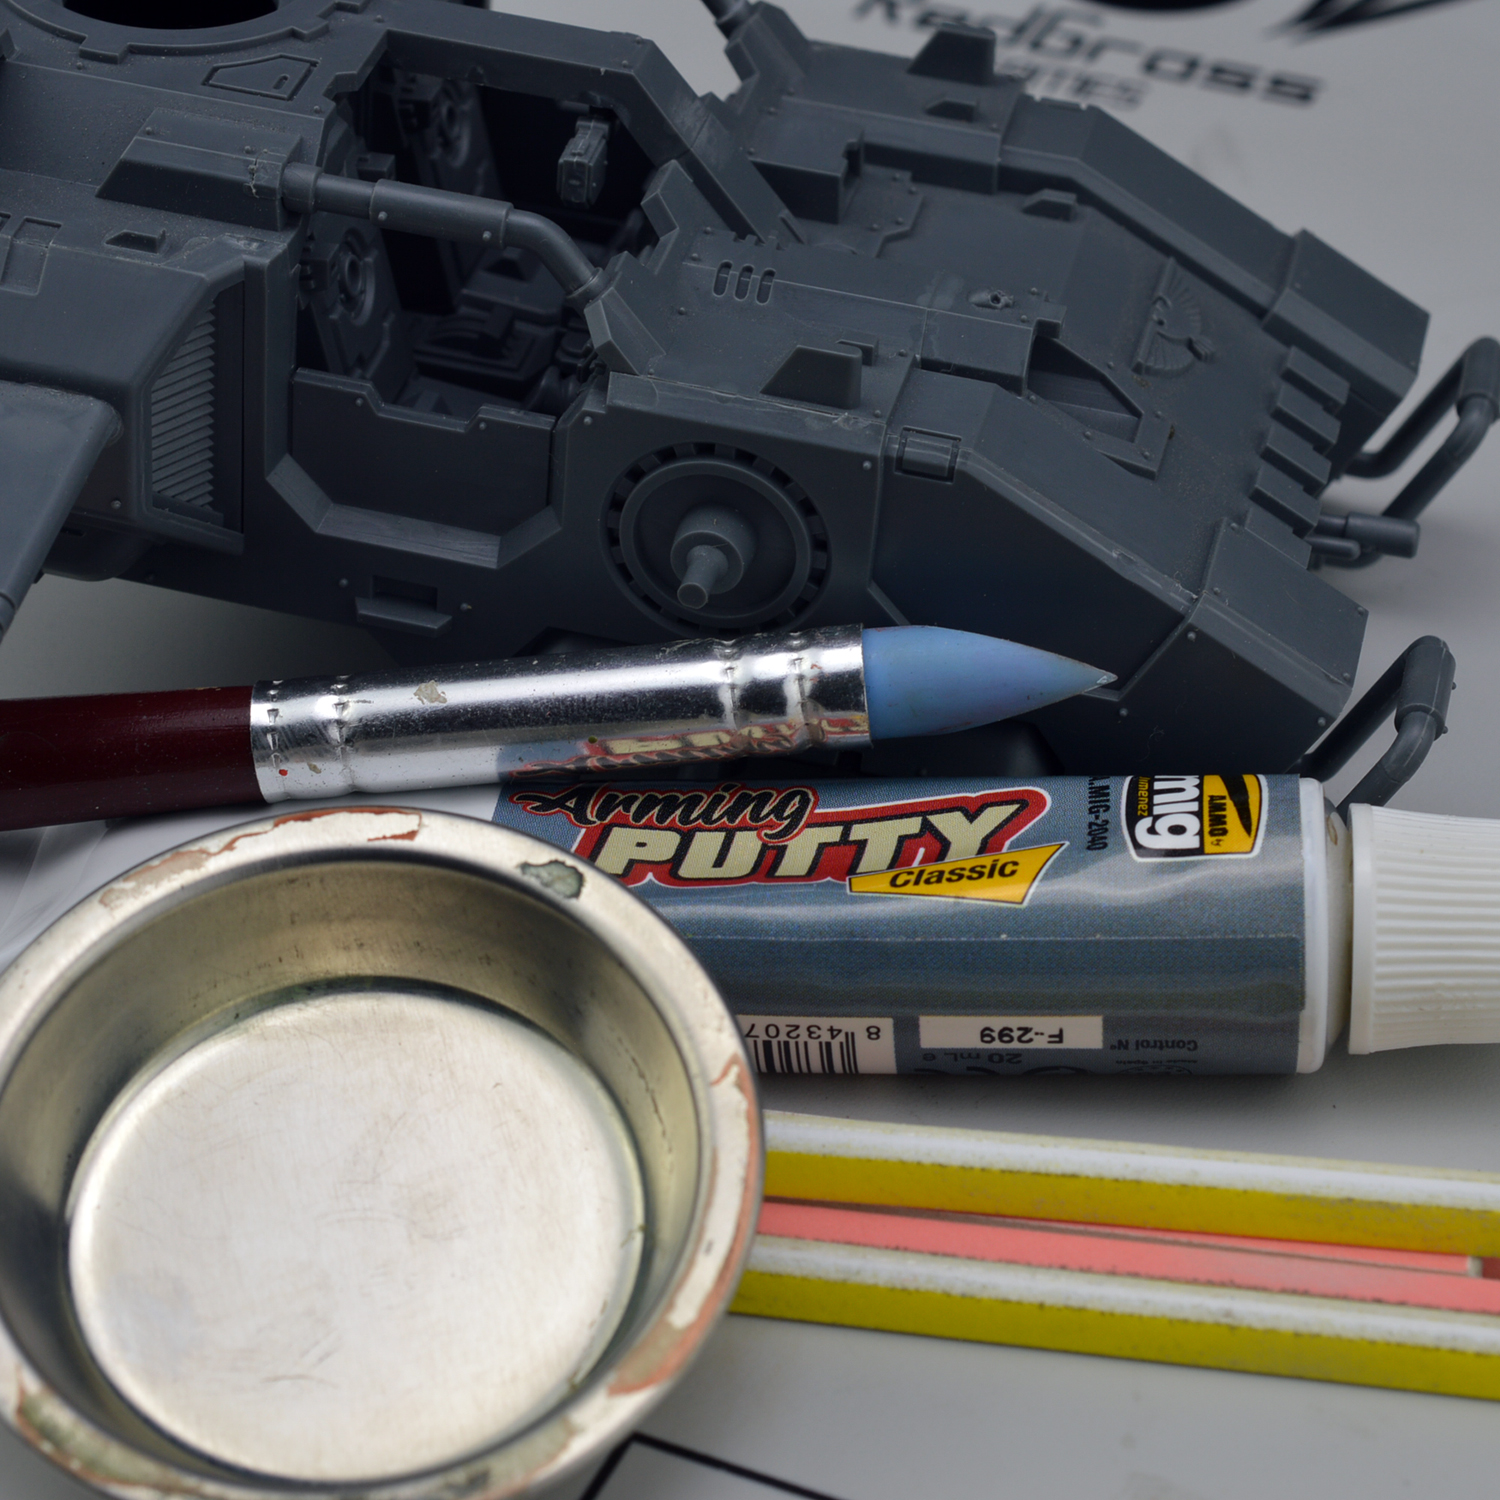
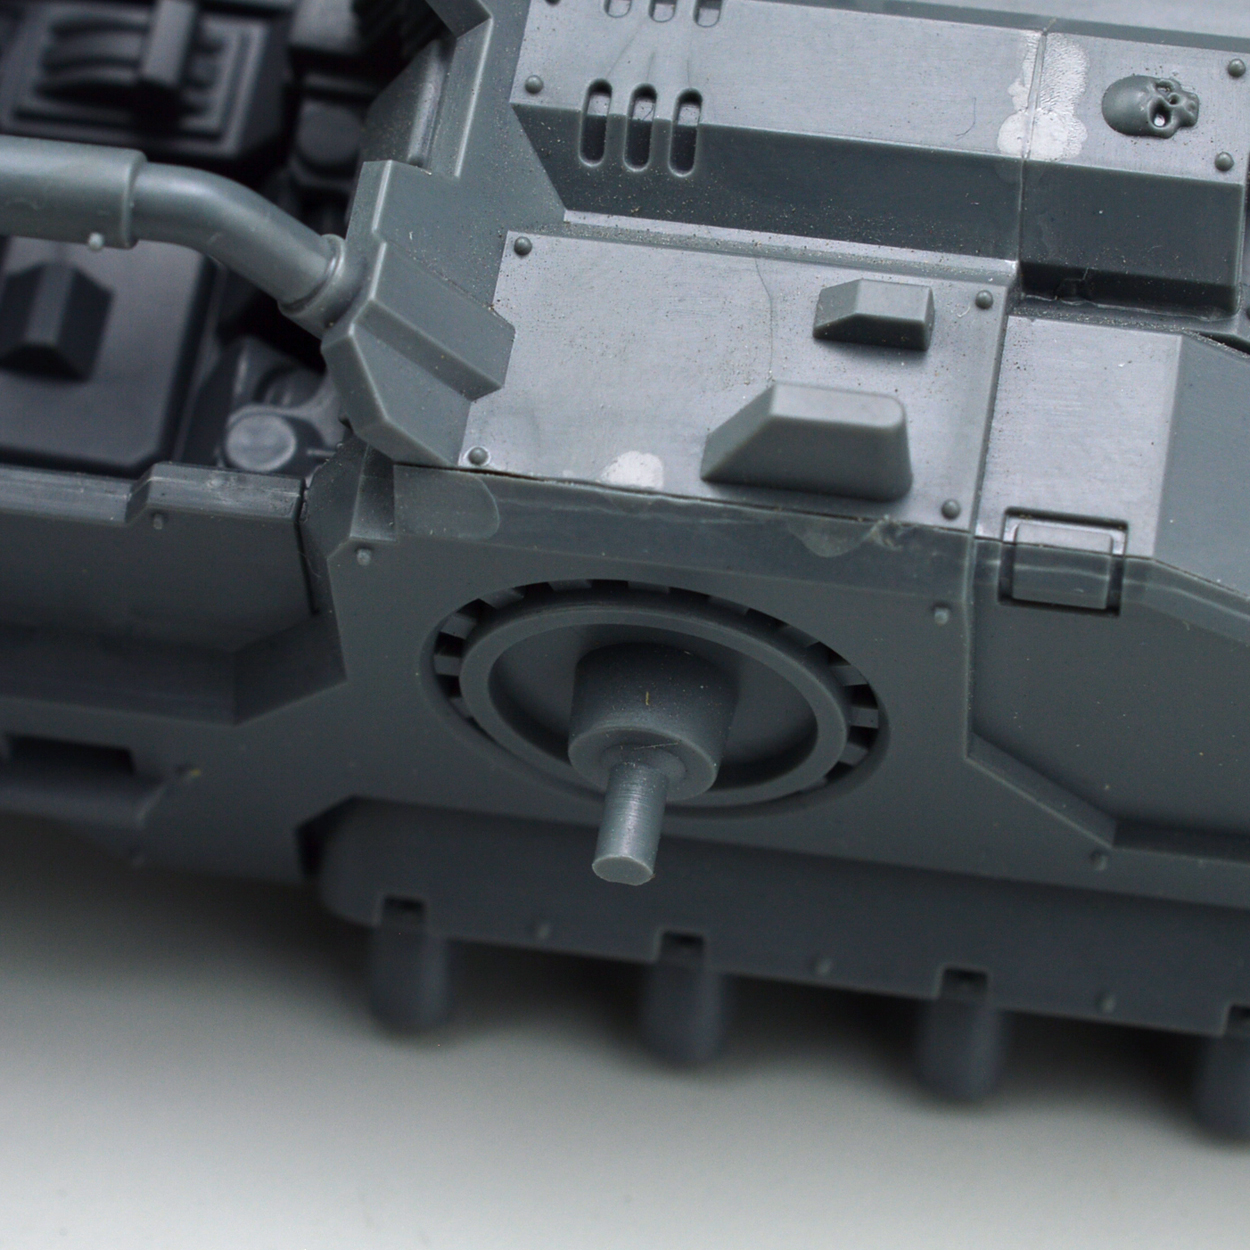
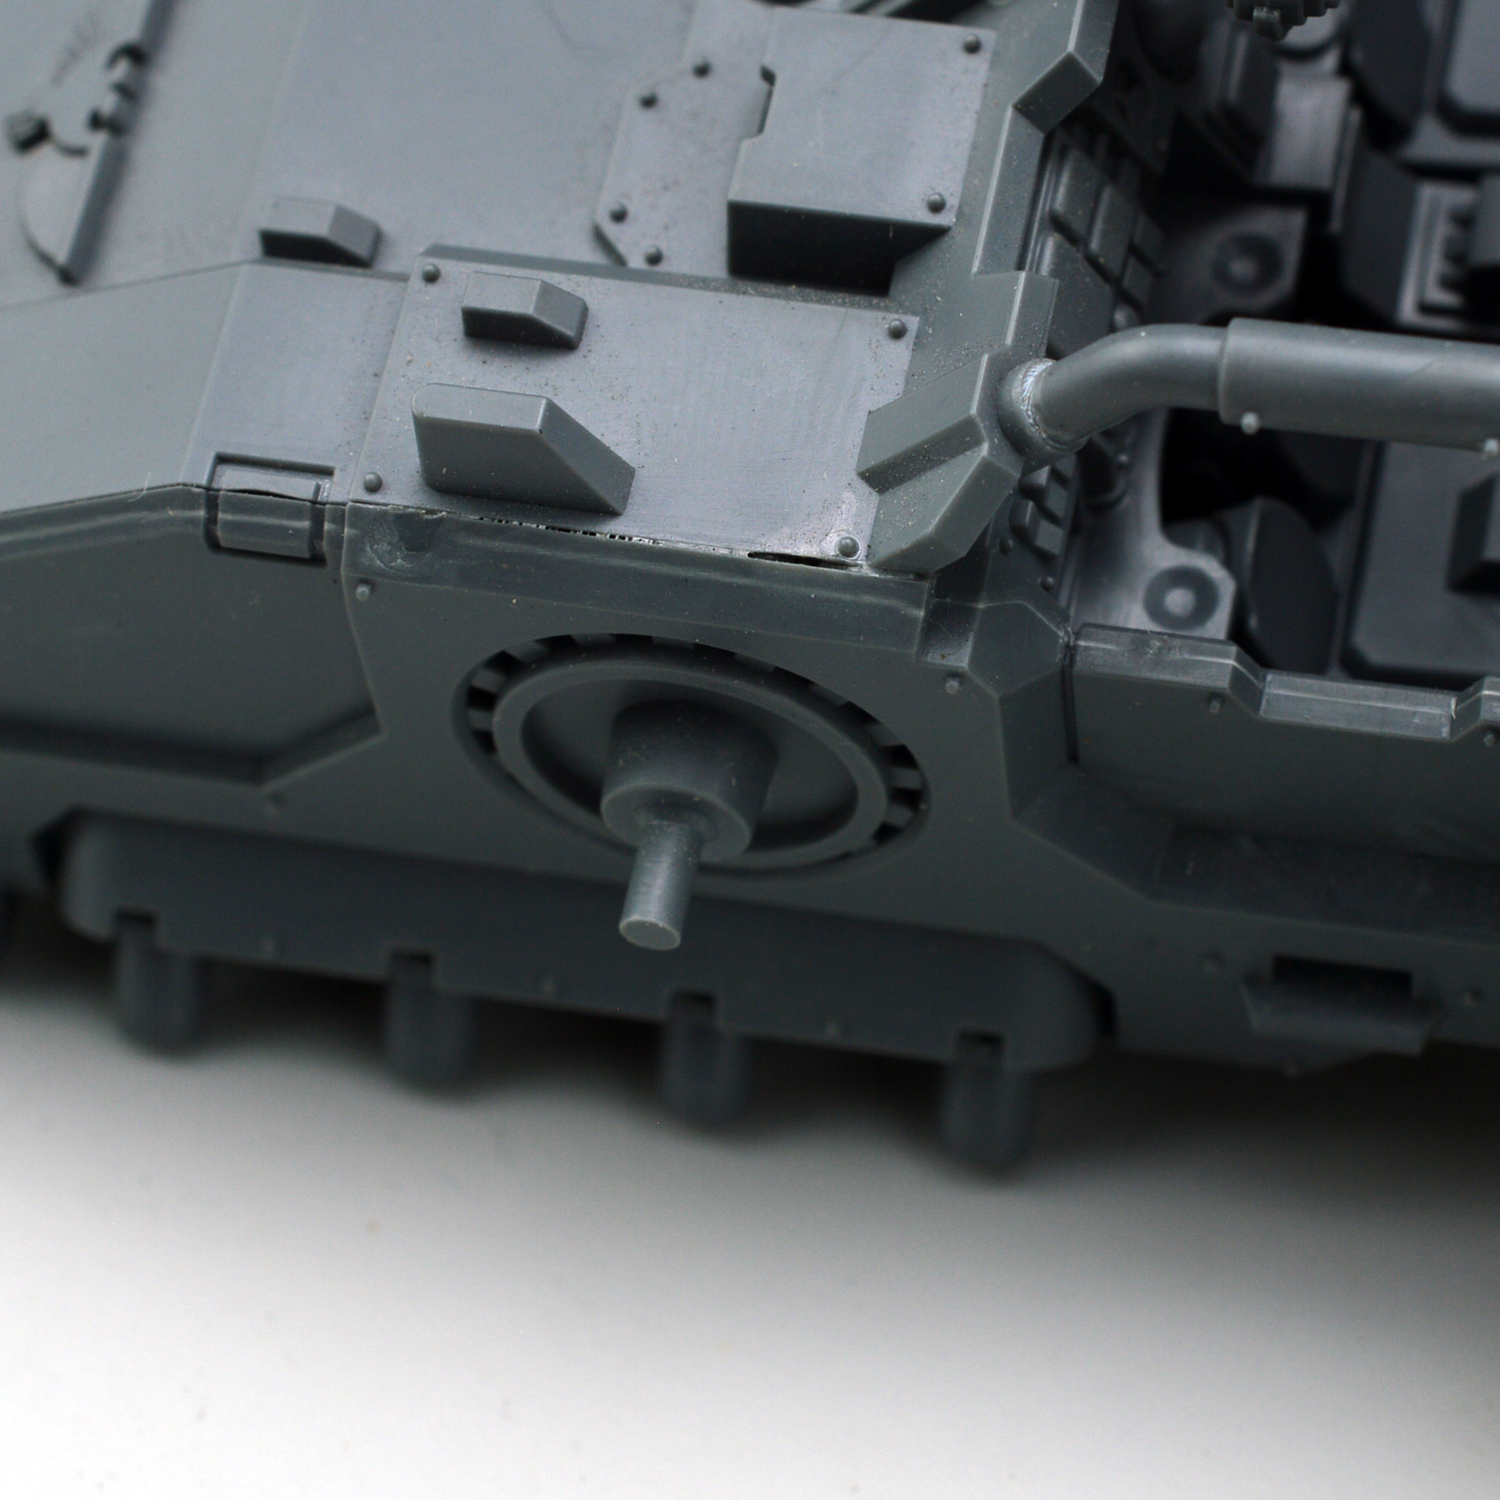
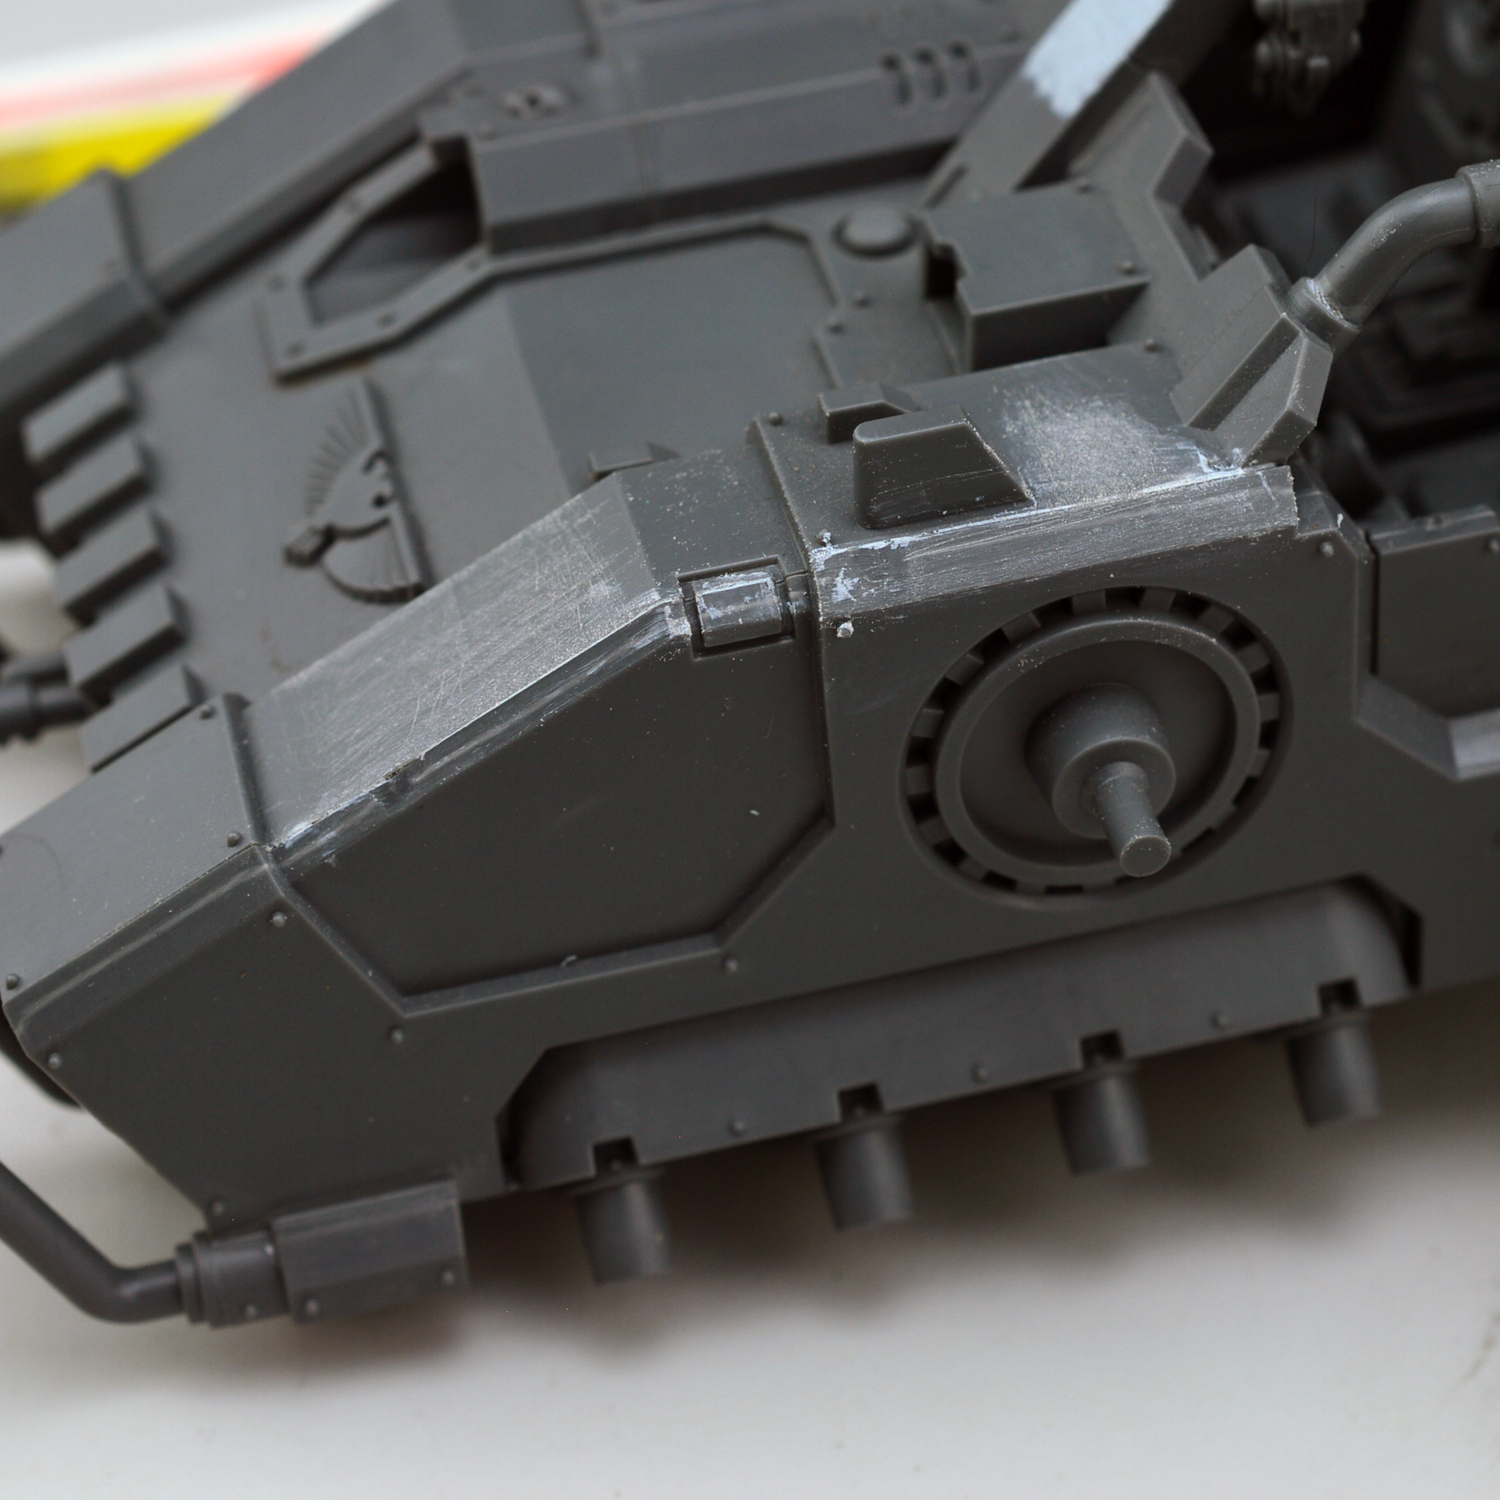
The kit I’m working on is a Primaris Hailstrike Stormspeeder. It’s an awesome and relatively new vehicle for my Salamanders army, but a few pieces of the hull failed to align properly. I’m going to walk you through how I will fix that.
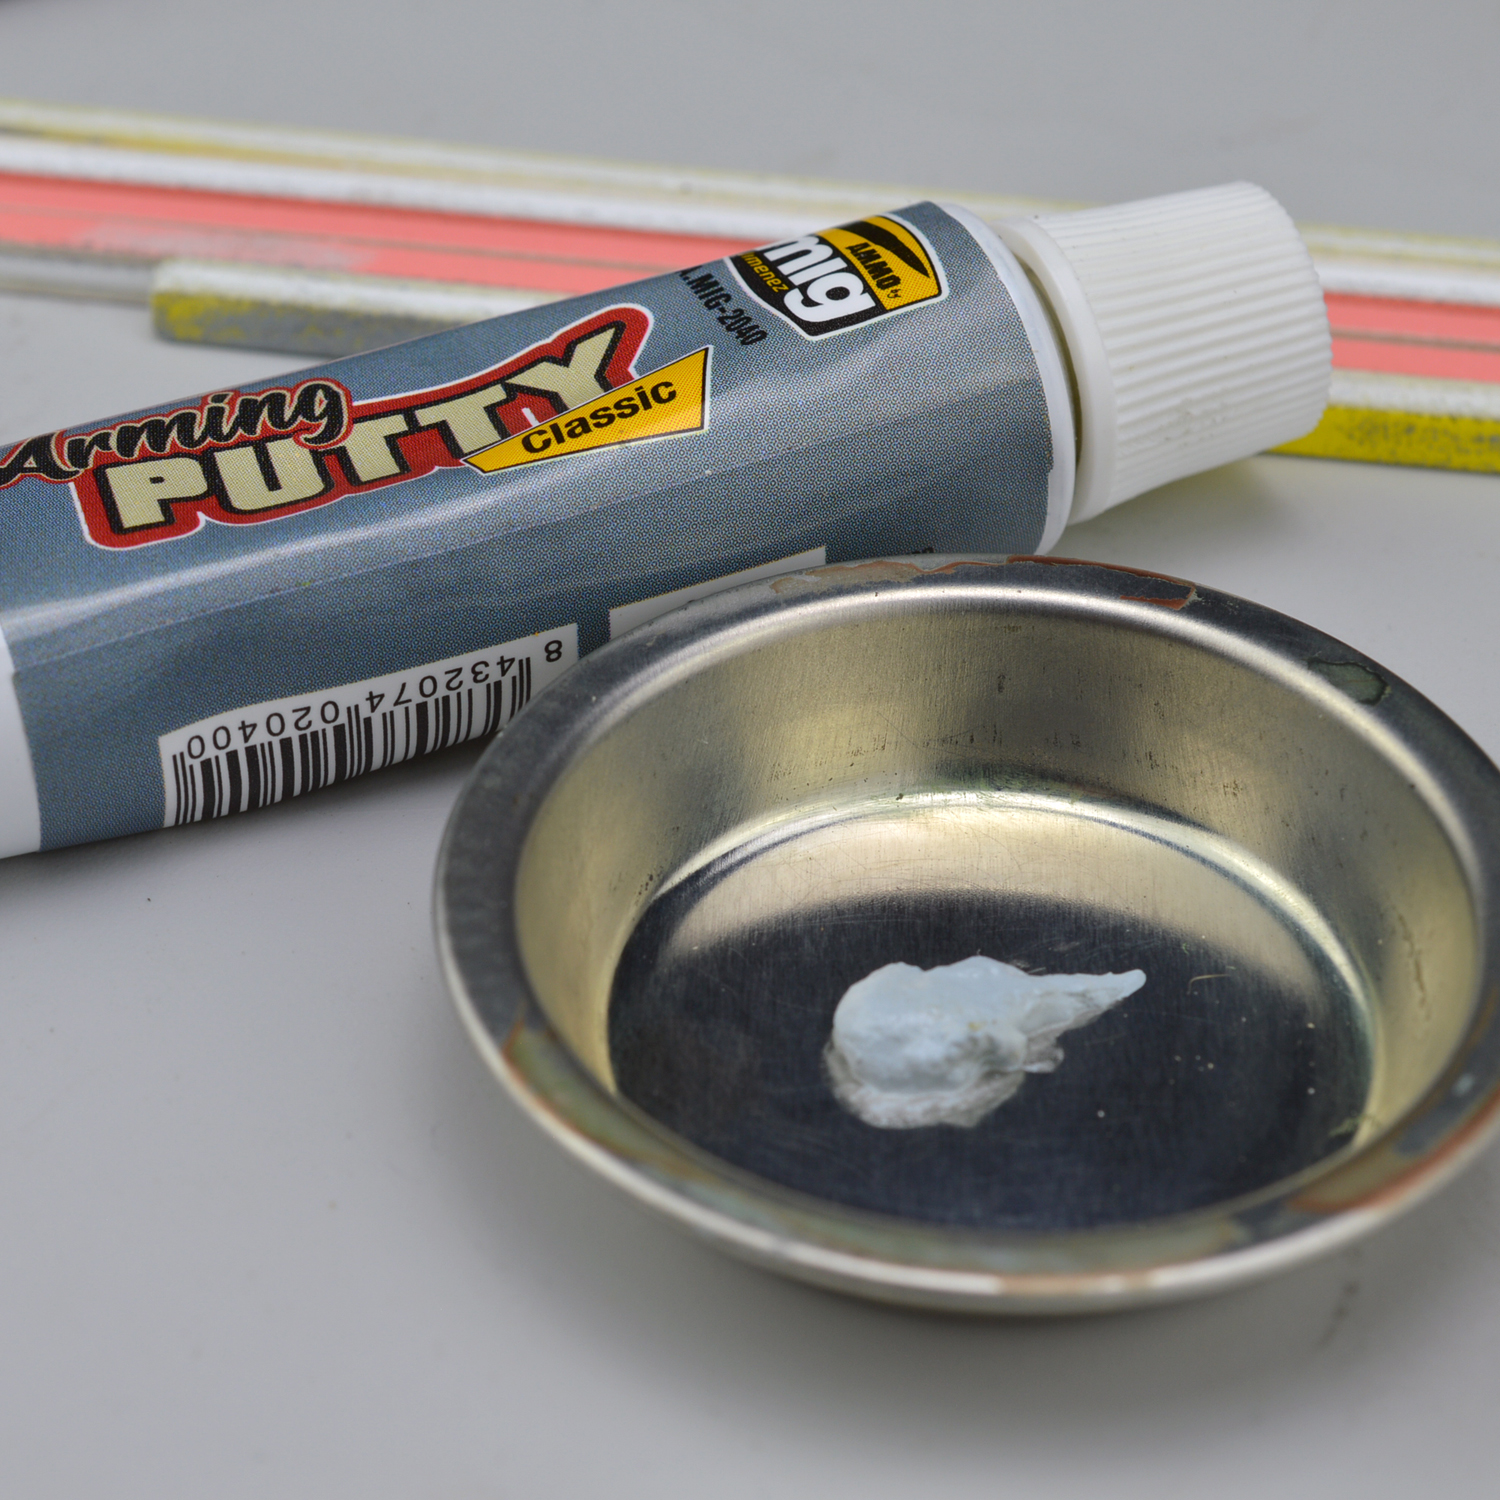
As I said above, there are a number of different products out there that can be used for this purpose, but the steps are pretty much the same no matter which one you choose. I’m using Ammo by Mig’s Arming Putty Classic, but this would work the same for greenstuff, other putties, etc. I squeeze a small dollop of modeling putty onto a metal well and made sure to stir it around. Sometimes, the binder and the oil sort of separate, so a good mix ensures it’s homogeneous and ready for application.
Applying it is very straightforward. I make sure to get enough on my silicon brush and then smear it onto the gap in question. Silicon brushes are great for this because they’re easier to clean, and the putty won’t ruin it in the way that it might a bristled brush. I work the putty into the gap by moving it in the same direction as the gap (down the road, not across it–if that makes sense).
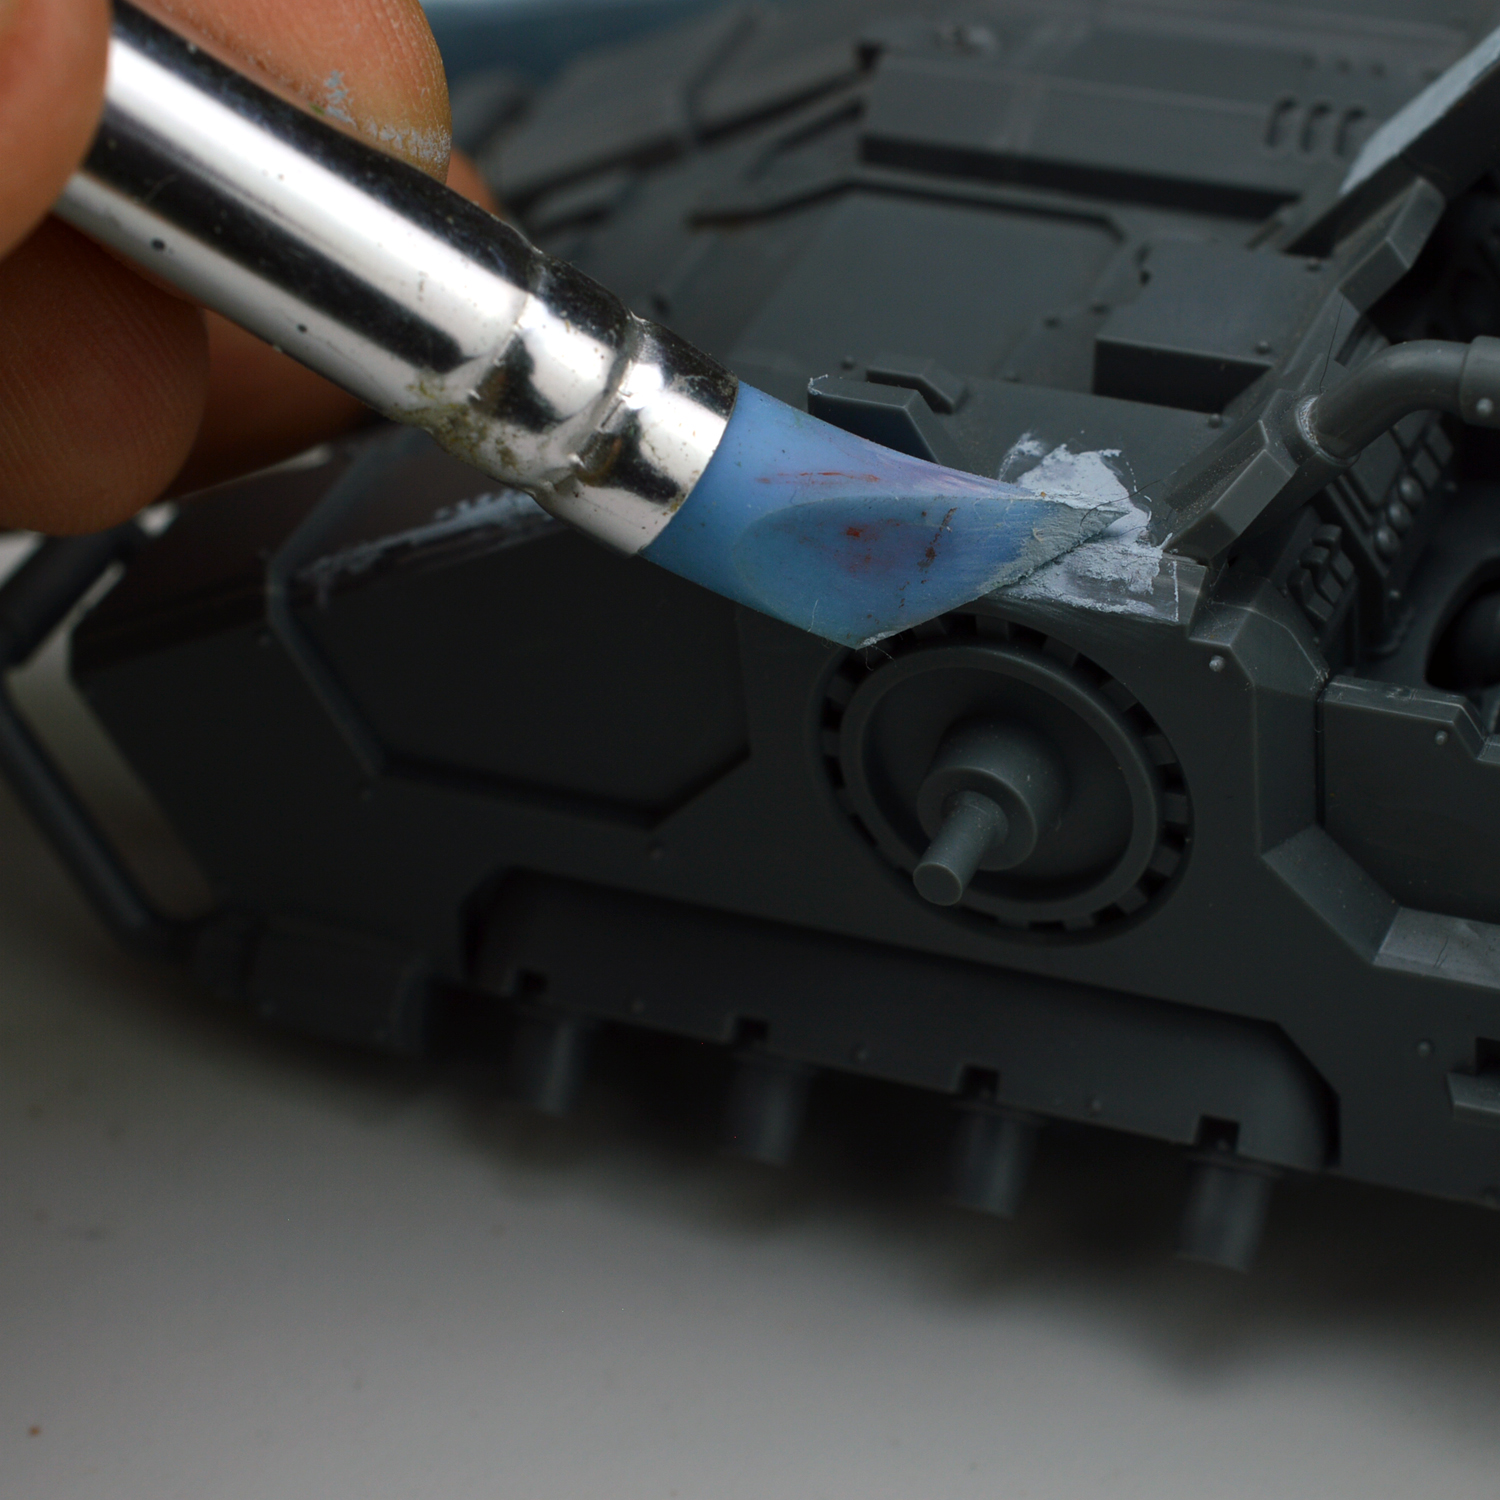
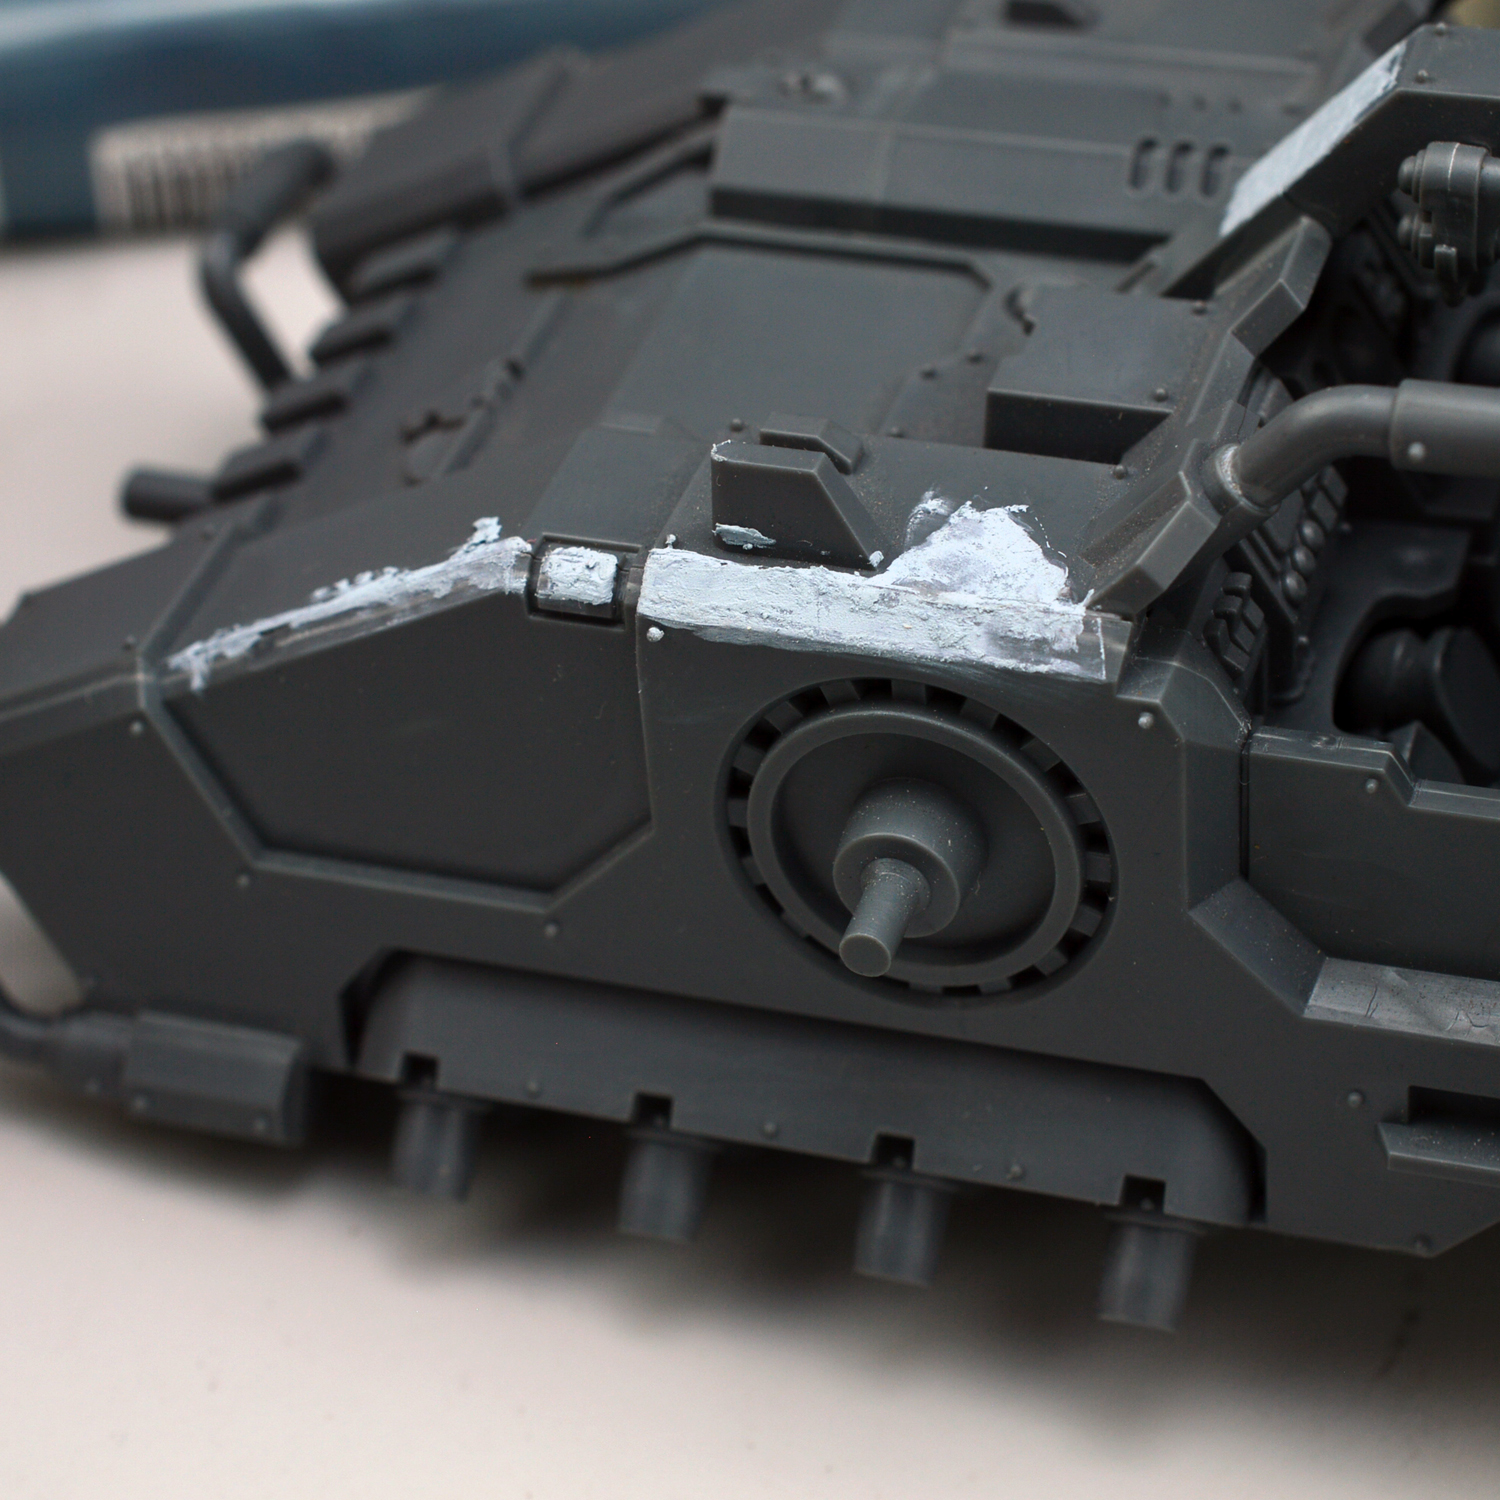
There is no need to get it perfect. In fact, I advise you to use a bit too much putty during application because we’ll have to sand the area regardless. Once I have an adequate quantity of putty applied, I make sure to let it properly cure. This is where things will differ depending on product, so make sure to read the label of whichever you choose in order to ensure adequate curing time.
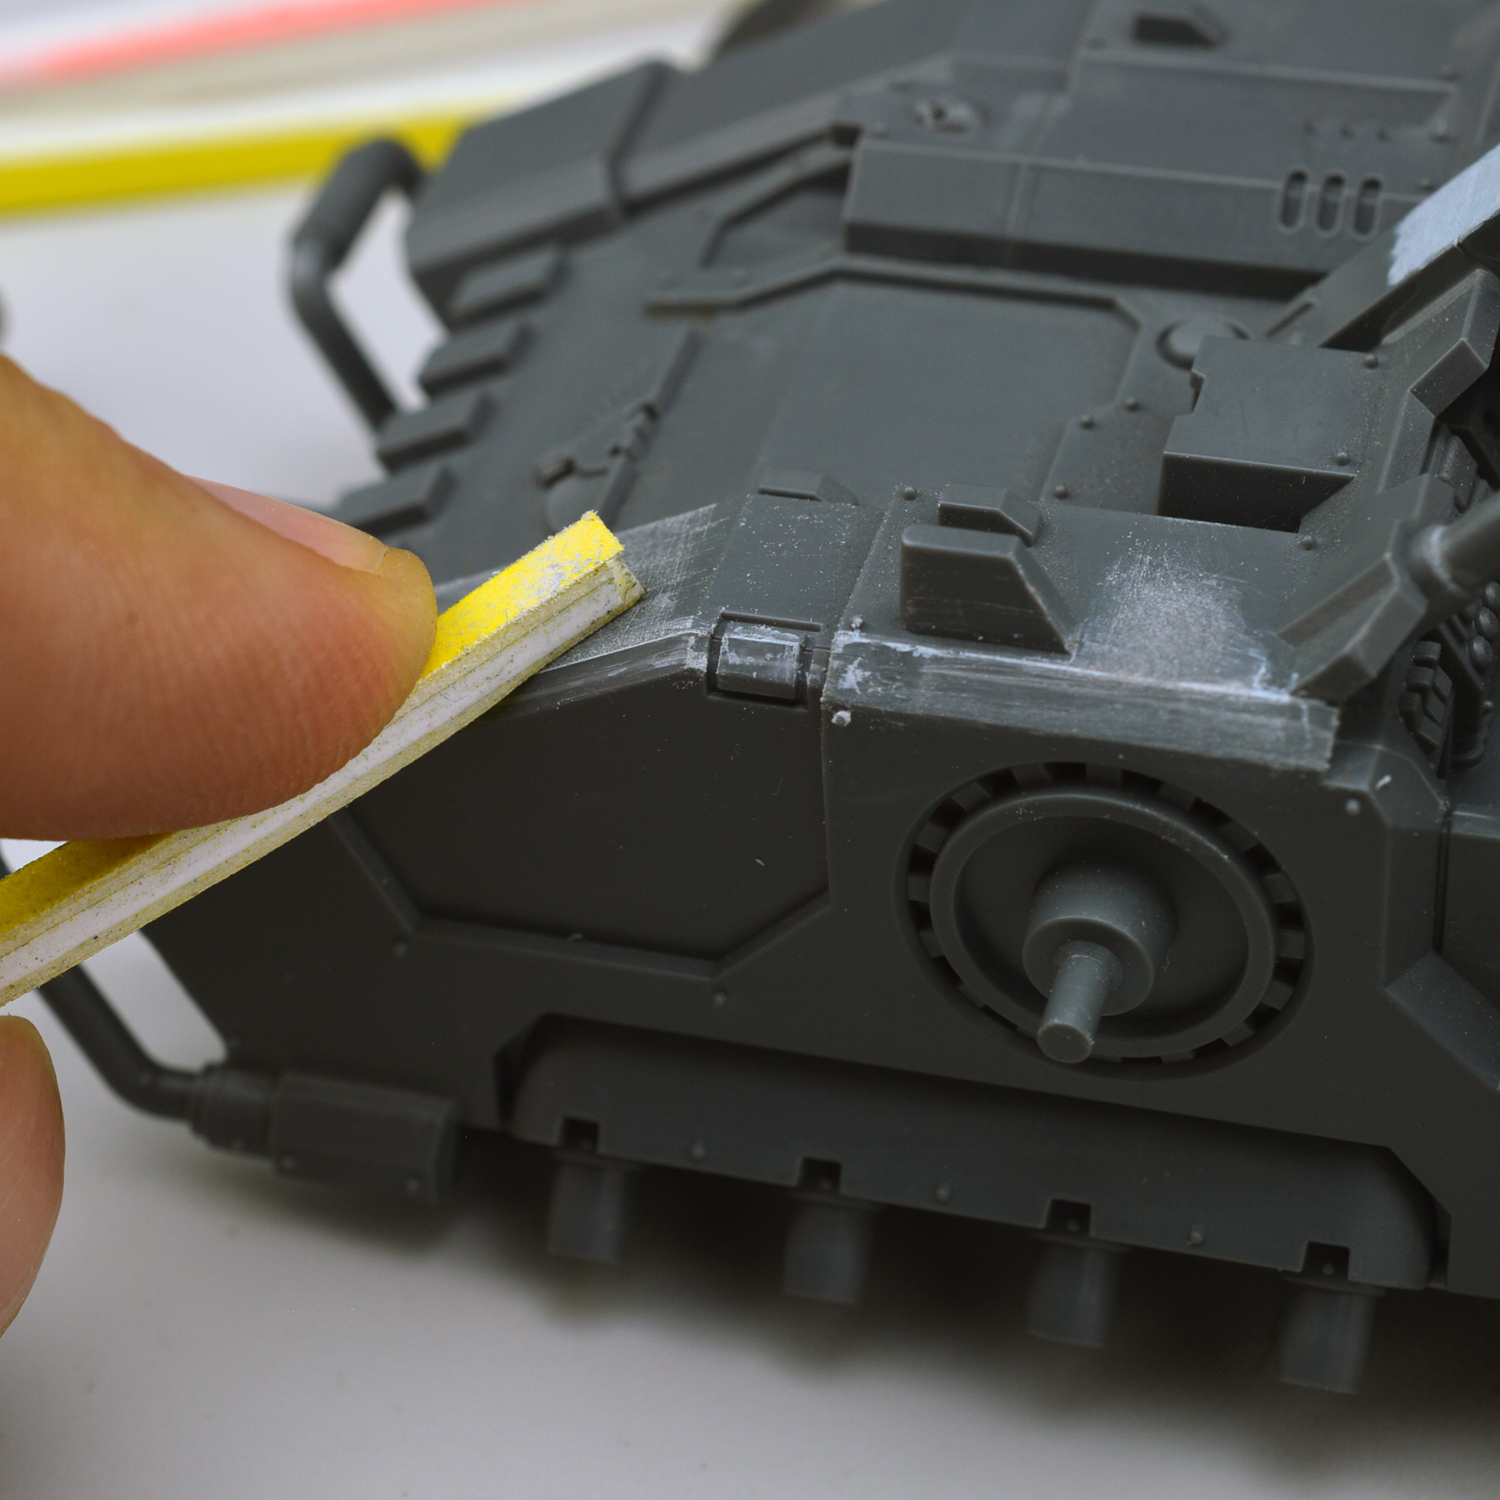
Once it’s sufficiently cured, it’s time to sand off any excess putty. I like using soft-backed files for this over metal ones. The putty is still fairly chalky and easily removed, and I find metal files to be overly aggressive on plastic parts. Swizzle sticks are nice because they contour to the shape that’s being sanded and come in different widths, allowing more precision.
Once sanded, the piece is ready for priming and painting, and none will be any the wiser to the fact that there was once a small gap or seam on the piece.
That’s all there is to it. Gaps used to seem very frustrating and pesky to me, but once I used putty a few times and got the hang of it, they’re no problem at all. I usually look for areas that are high visibility and worry about those rather than seeking to hit every single little gap on a model, especially if the piece is being obscured by other elements of the figure. Because I am mostly painting gaming pieces, I don’t have the expectation of perfection that a competition painted might. That said, the process for filling gaps is the same either way.
Thank you for taking the time to read this. As always, I hope you found it interesting and valuable. Tune in to future articles for more hobby goodness!
And remember, Frontline Gaming sells gaming products at a discount, every day in their webcart!

