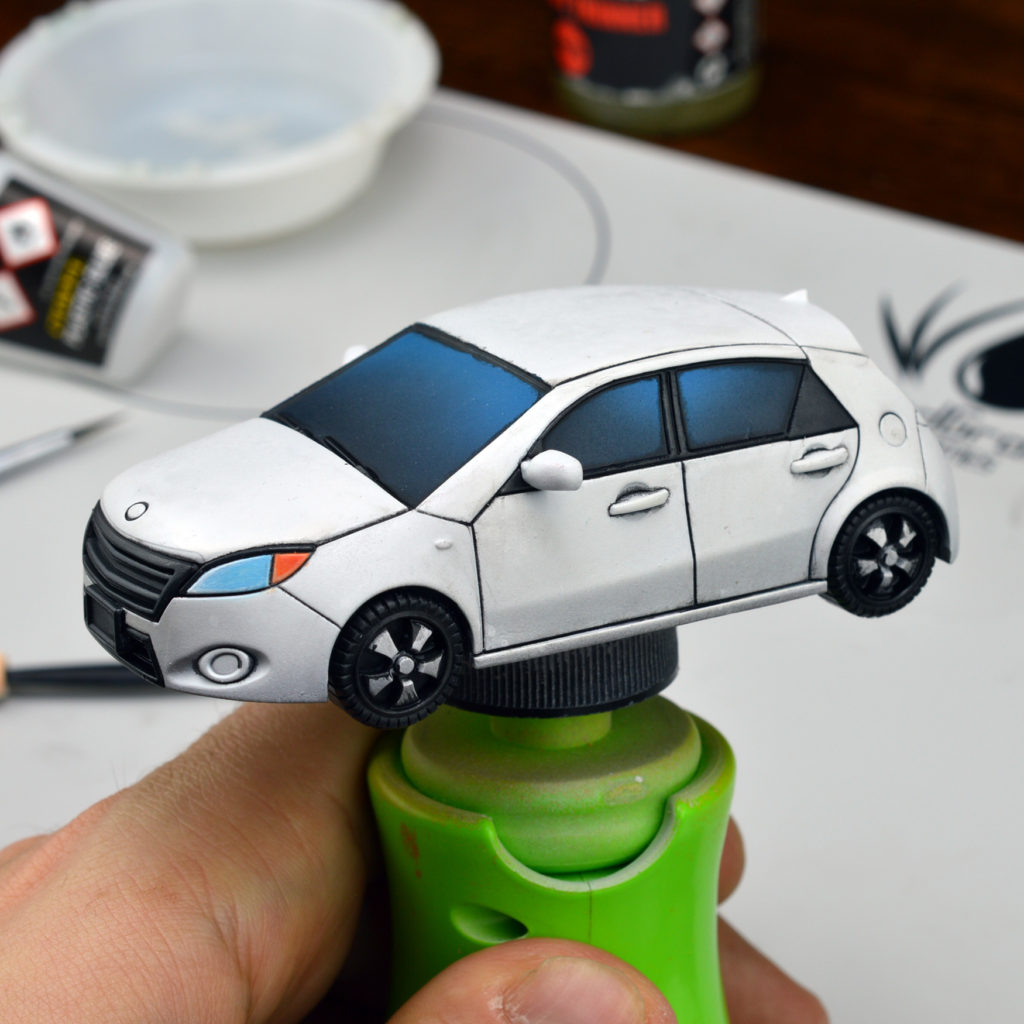
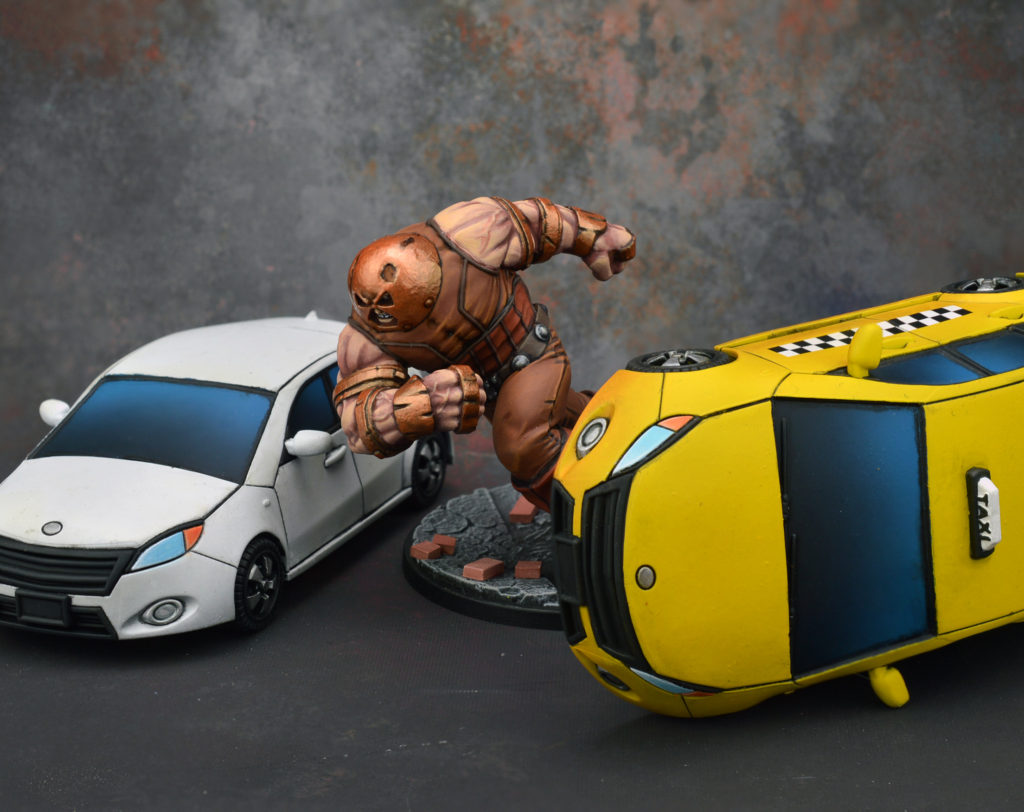
What’s up, fellow hobbyists? Today, I’m going to do a quick-hitter on panel lining, one of the better techniques for introducing oil paints to your arsenal!
Guest Writer: John Paul
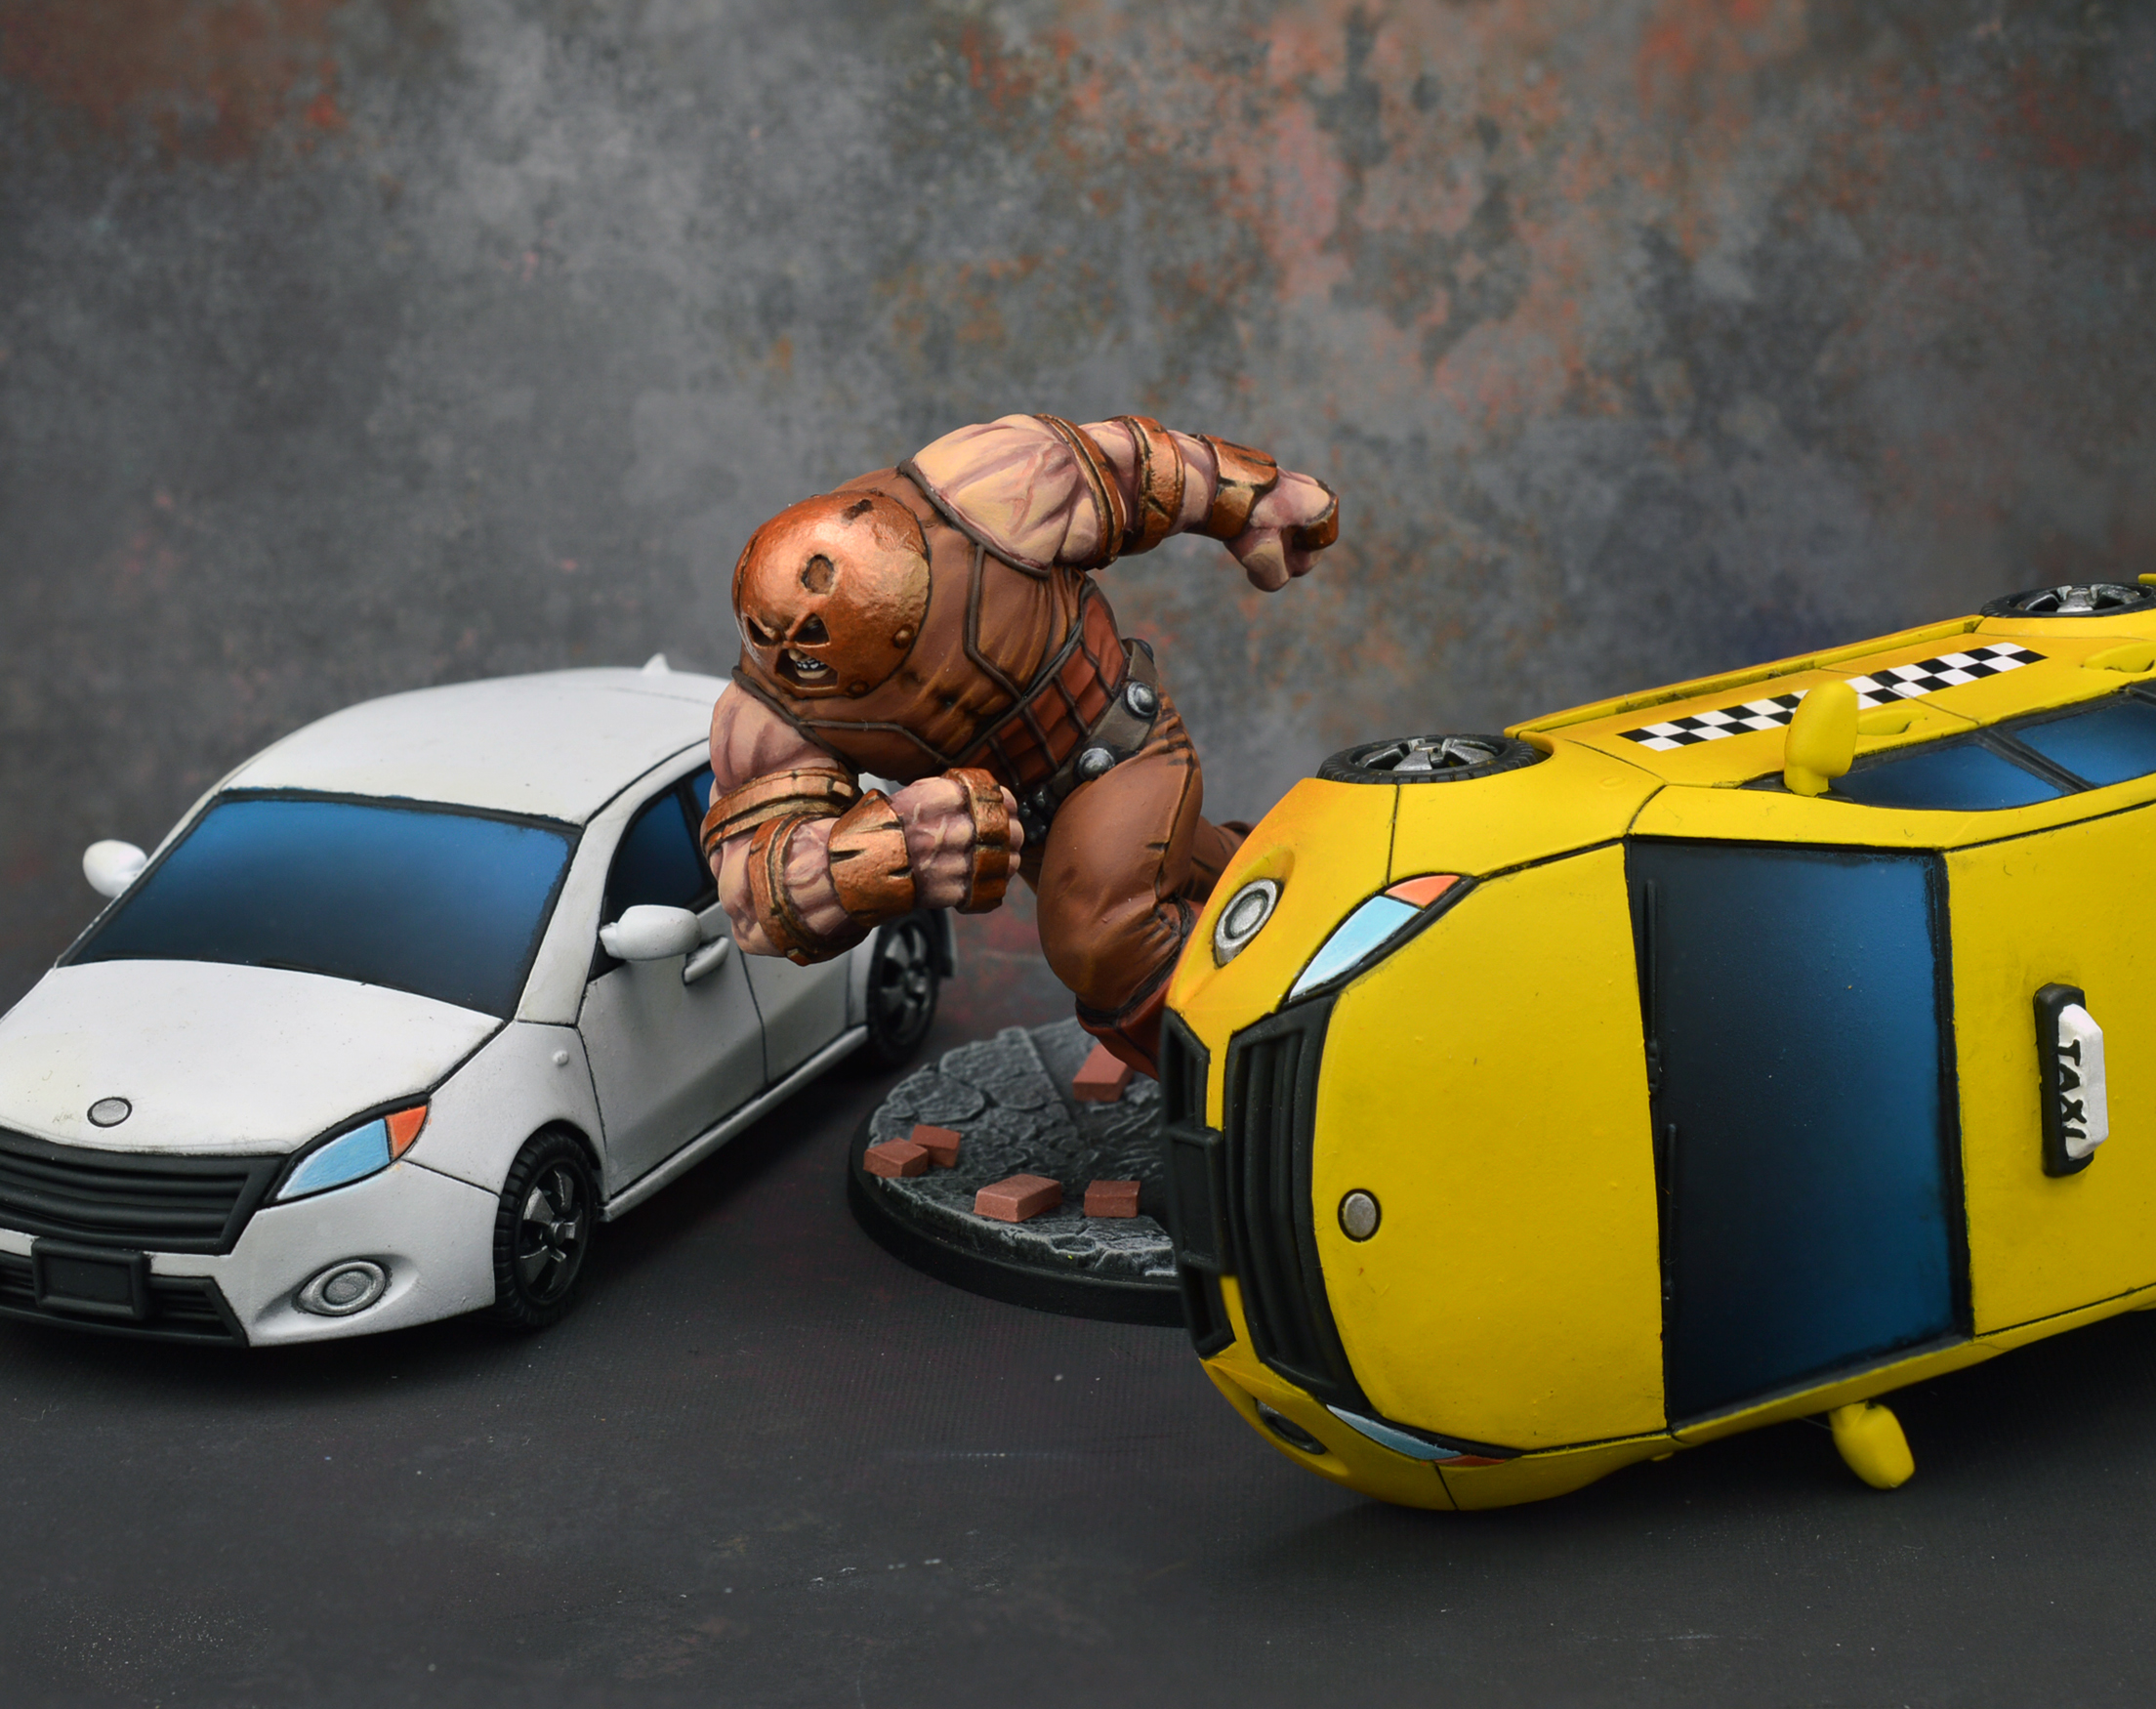
If you’re a fan of Games Workshop models, you’ve likely run into some panel-heavy miniatures and terrain (I’m looking at you, Tau!). But, panel-lining is a generally useful technique for any model that needs sharp, contrasting lines between… well… panels. Today, I’m going to showcase the technique on the cars that come with the Marvel Crisis Protocol Starter Box.
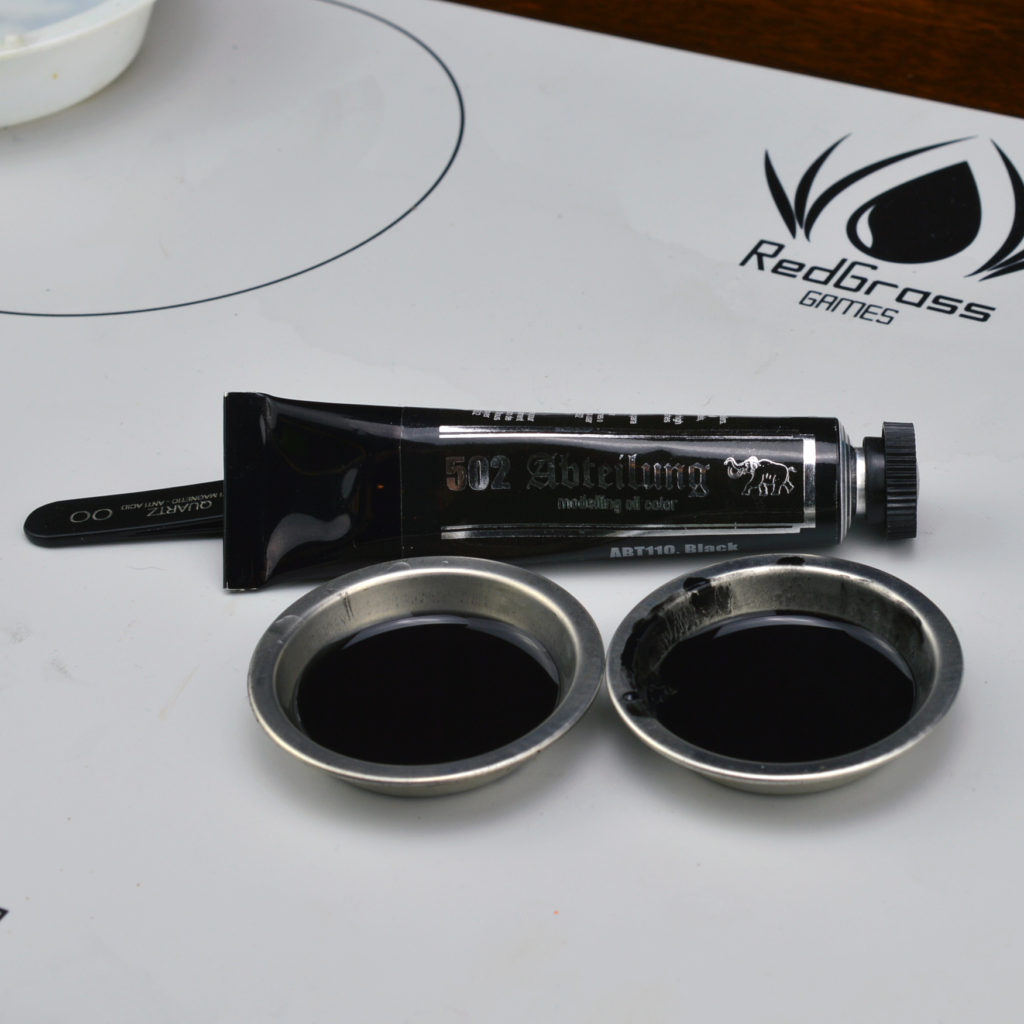
The trick to a good oil wash is mixing the oil paint with white spirits. In this case, I elected for a low odor spirit, but mineral spirits from your home store work just fine. A little oil goes a LONG way, so there’s no need to put much more in your well than a tiny dollop. What you’re looking for is a consistency roughly equivalent to milk. There are a variety of hobby companies that offer oil paints or even products specifically designed for panel lining (Ammo by Mig and Molotow, for instance, have lines of products specifically dedicated to this singular task). They are all fundamentally the same product: oil or enamel paints blended with mineral spirits. Any of them would work for this same tutorial.
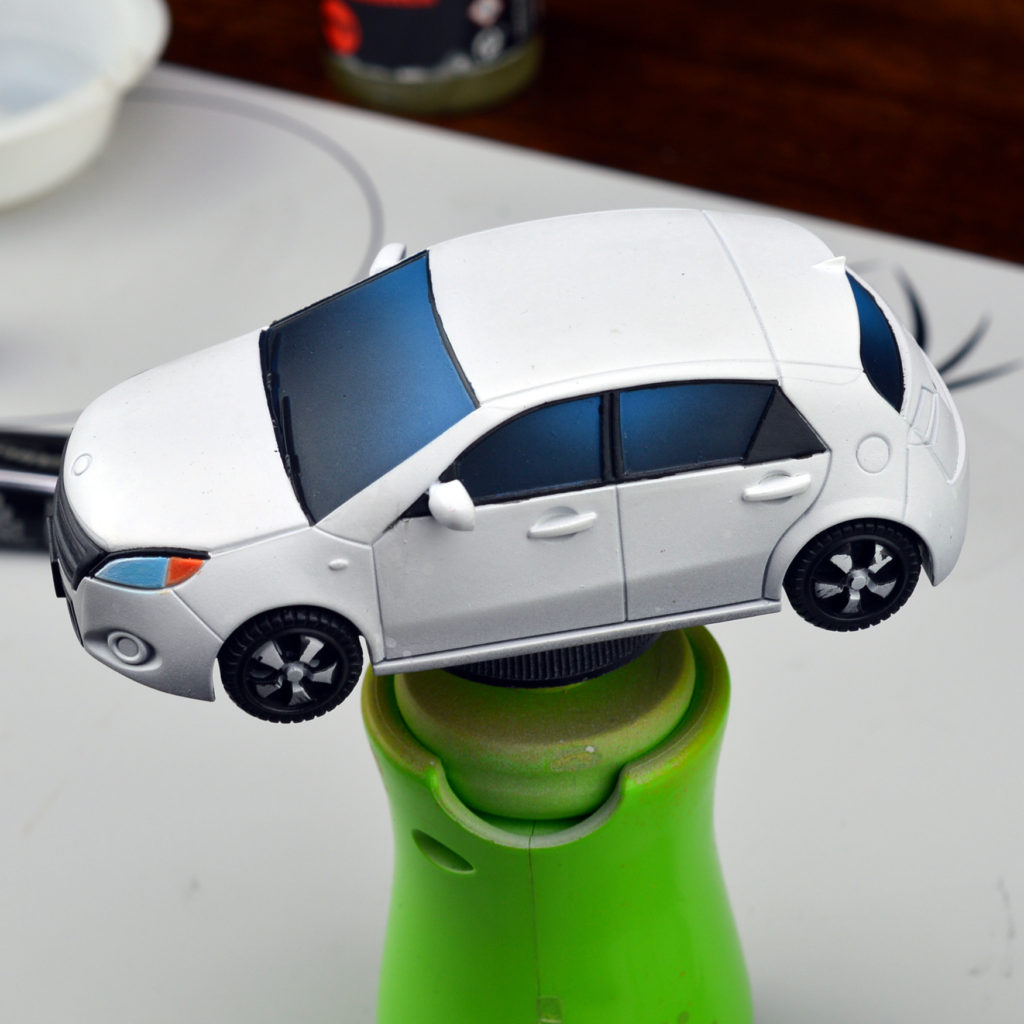
It’s hard to tell from this photo, but I did put a gloss varnish on this model prior to applying the panel-lining wash. This helps the oil wash go into the recesses and also protects the acrylic paints from the mineral spirits used more heavily down the line. It is a skippable step if your paints are thoroughly cured. I have quick and easy access to an airbrush, so I decided to go the extra mile.
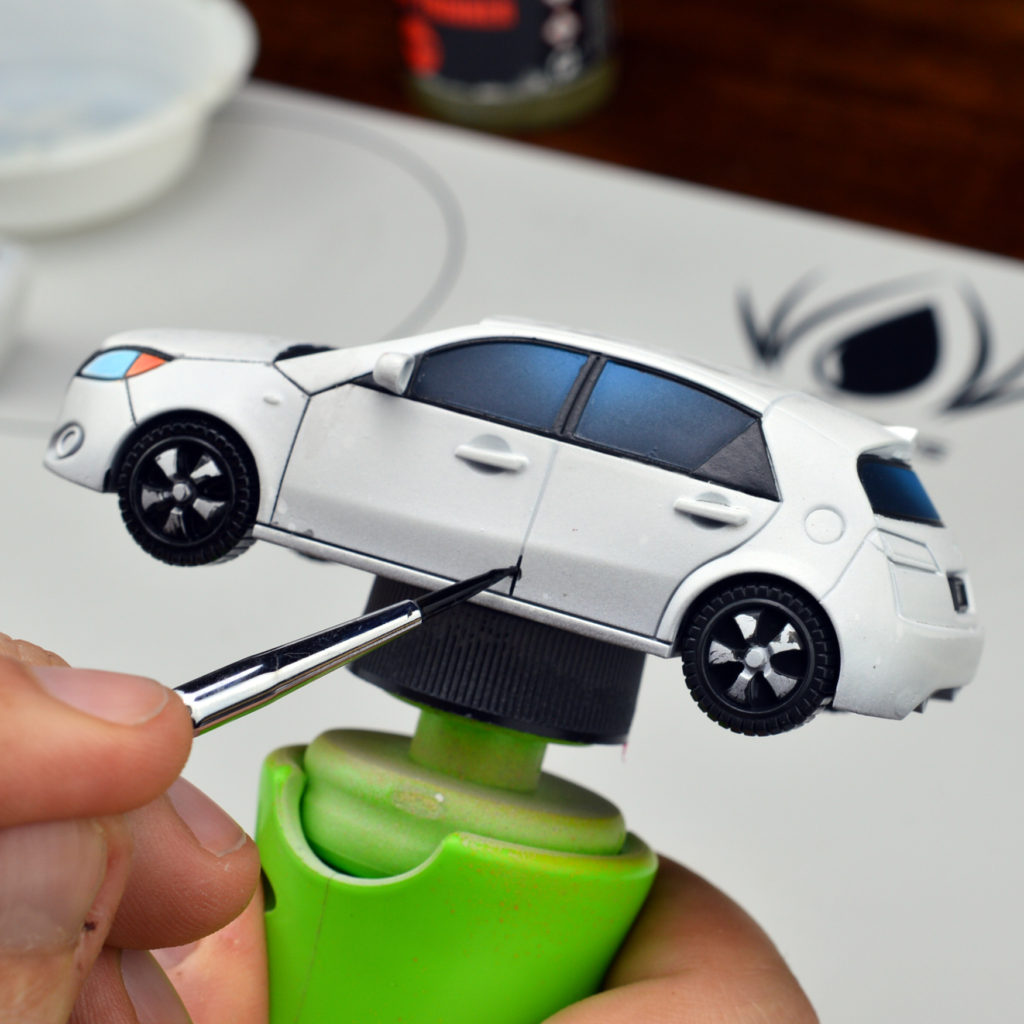
The process is simple. Load your brush (preferably a synthetic bristle with a decent tip) with a bit of the wash and kind of press it to one of the panels. Capillary action will wick the oil into the recess and almost “push” it down the line of the panel. I tend to pick areas that my brush can easily access without accidentally hitting other elements of the model.
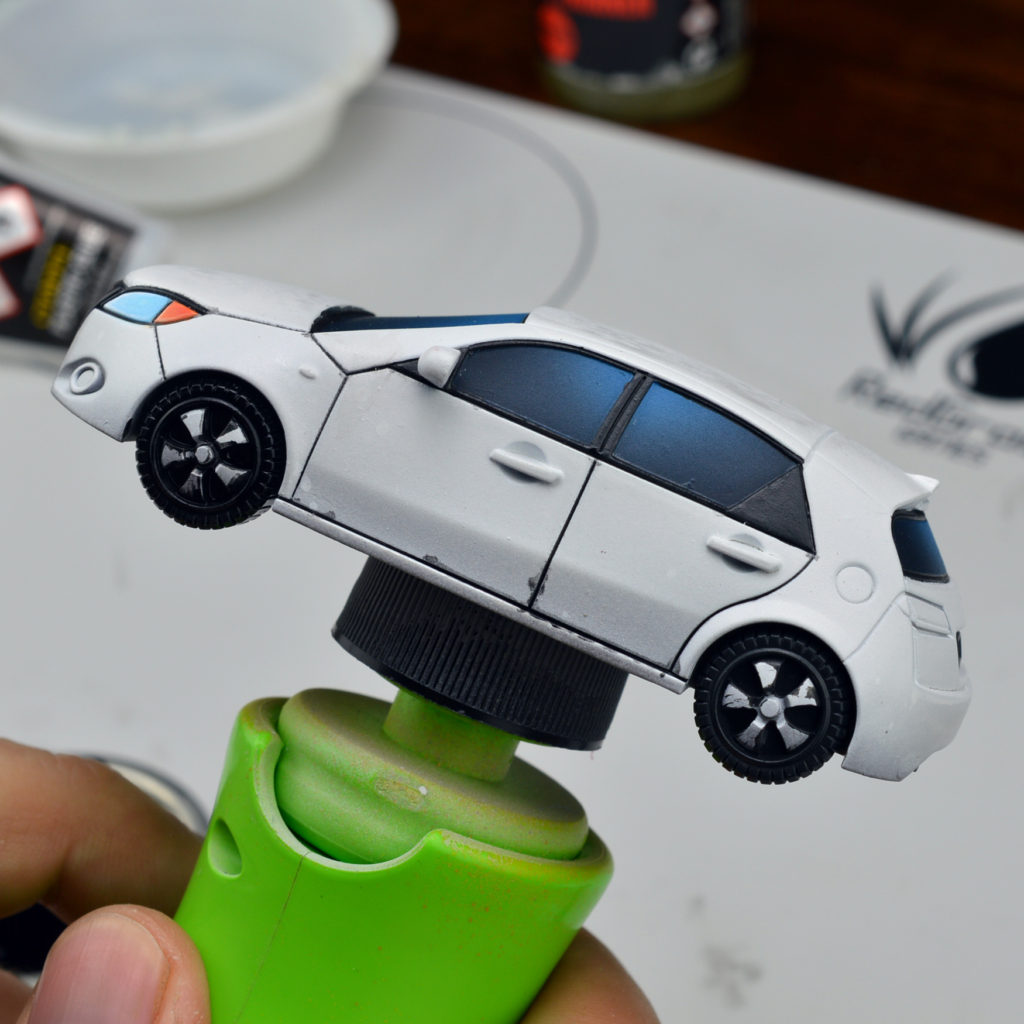
You’ll notice that I got a few splodges of the wash outside of the panels. That’s okay! The beauty of using enamel or oil-based products is that they cure VERY slowly, allowing you to manipulate them long after application.
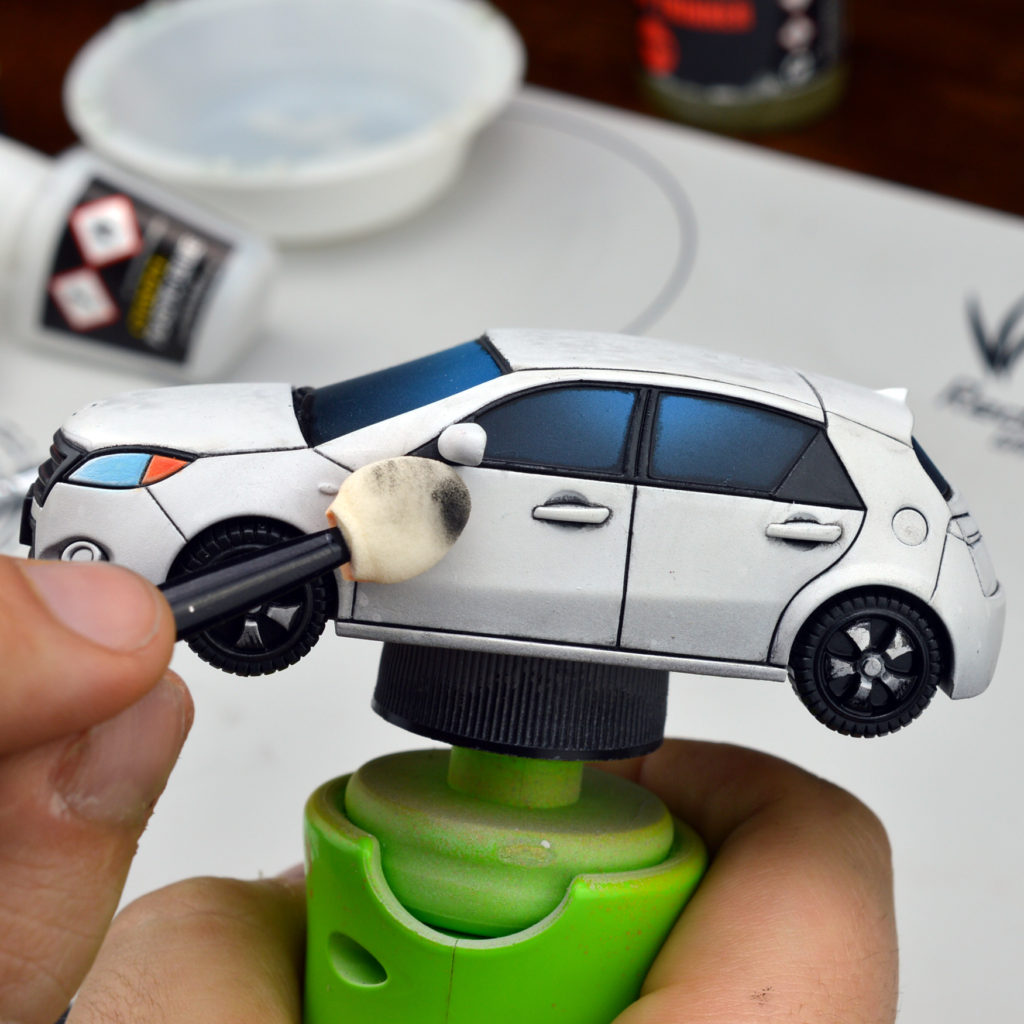
Once we’re satisfied that all of our panels are filled in, we’ll go ahead and clean up those minor mistakes. Give the oils some time to dry out (maybe a half hour or so) to get the best results. You can do clean up immediately, but it can get overly messy if the oils are still too wet from the added mineral spirits. All you need to do is take a cotton bud or a makeup pad and dampen it with just a hint of mineral spirits (I usually dab it in the spirits and then blot out any excess on a piece of paper towel). Using the dampened cotton bud/makeup pad, you wipe away the bits of oil wash that made it onto the actual panel. If you do this too early, the oil wash tends to pull out of the recesses and smear over the model. That’s why I advise allowing a bit of time for the wash to settle. By the way, I much prefer these makeup brushes because they won’t leave behind a pile of stray fibers like cotton buds tend to. You can get them cheap as dirt from Amazon or any pharmacy/department store.
Once you’re happy with the cleanup, you can let the oils fully cure! The end result, I think you’ll agree, looks really sharp and helps make the panels absolutely pop. Once the oils are cured entirely (I usually give em about 24 hours), I go back and hit the whole model with a matte or satin varnish to lock in the panel lining.
That’s it for this one! Panel lining is a quick and easy way to add some definition to models, especially ones with large, flat surfaces like vehicles or terrain. It’s a quick and relatively low effort technique. Thanks, as always, for reading! I’ll catch you in the next hobby hangout where we’ll cover another use for oil paints: dot weathering.
And remember, Frontline Gaming sells gaming products at a discount, every day in their webcart!

