
Hello and welcome to another edition of JP’s Hobby Hangout. This time around, I’m going to show you how I use liquid mask products to do multi-stage airbrushing.
Guest Writer: JP
Liquid mask is a general term for any liquid latex product on the market. Lots of different companies offer their own take on it. In this instance, I’m using VMS Liquid Mask, but Vallejo, Abteilung 502, AK Interactive, and many other companies offer products that, as far as I can tell, are basically identical–save for the color of the actual mask. Often times, I bust out my airbrush for vehicles and larger models. But, what do you do if you want to airbrush multiple elements on the models but don’t want to risk overspray? There are a number of solutions such as painter’s tape or poster tac, but liquid mask offers the most versatile option in terms of oddly contoured elements.
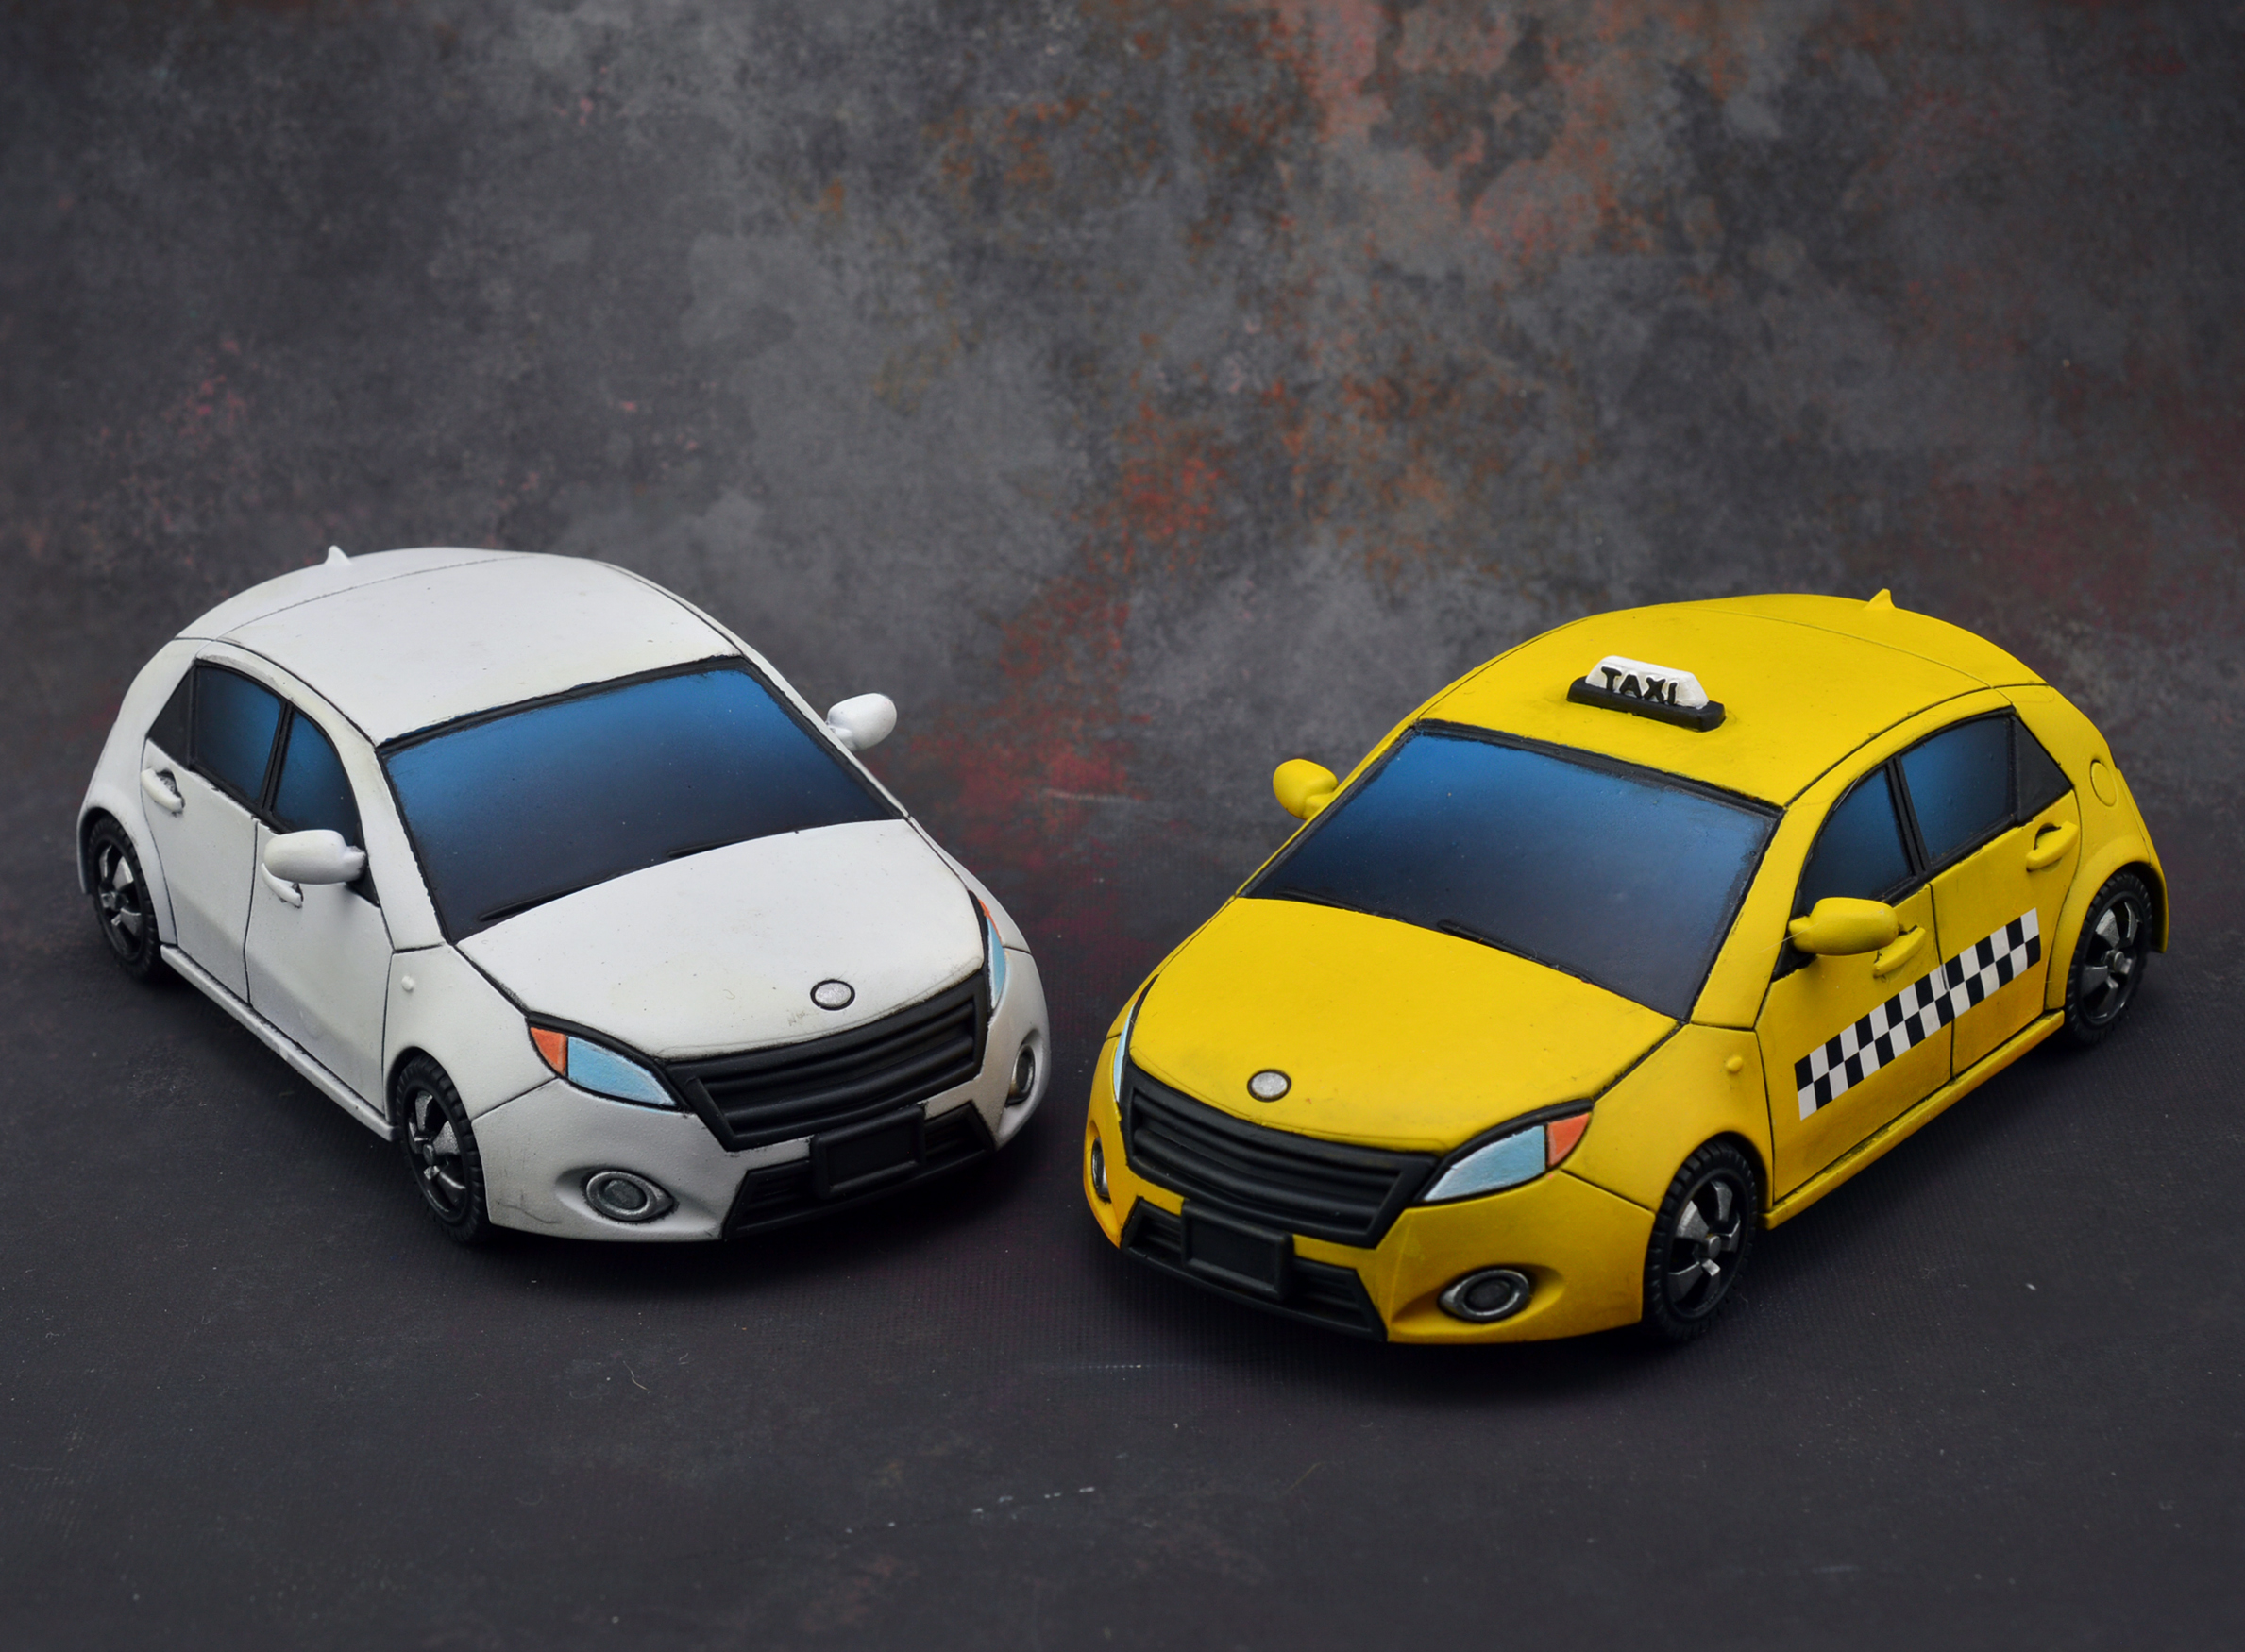
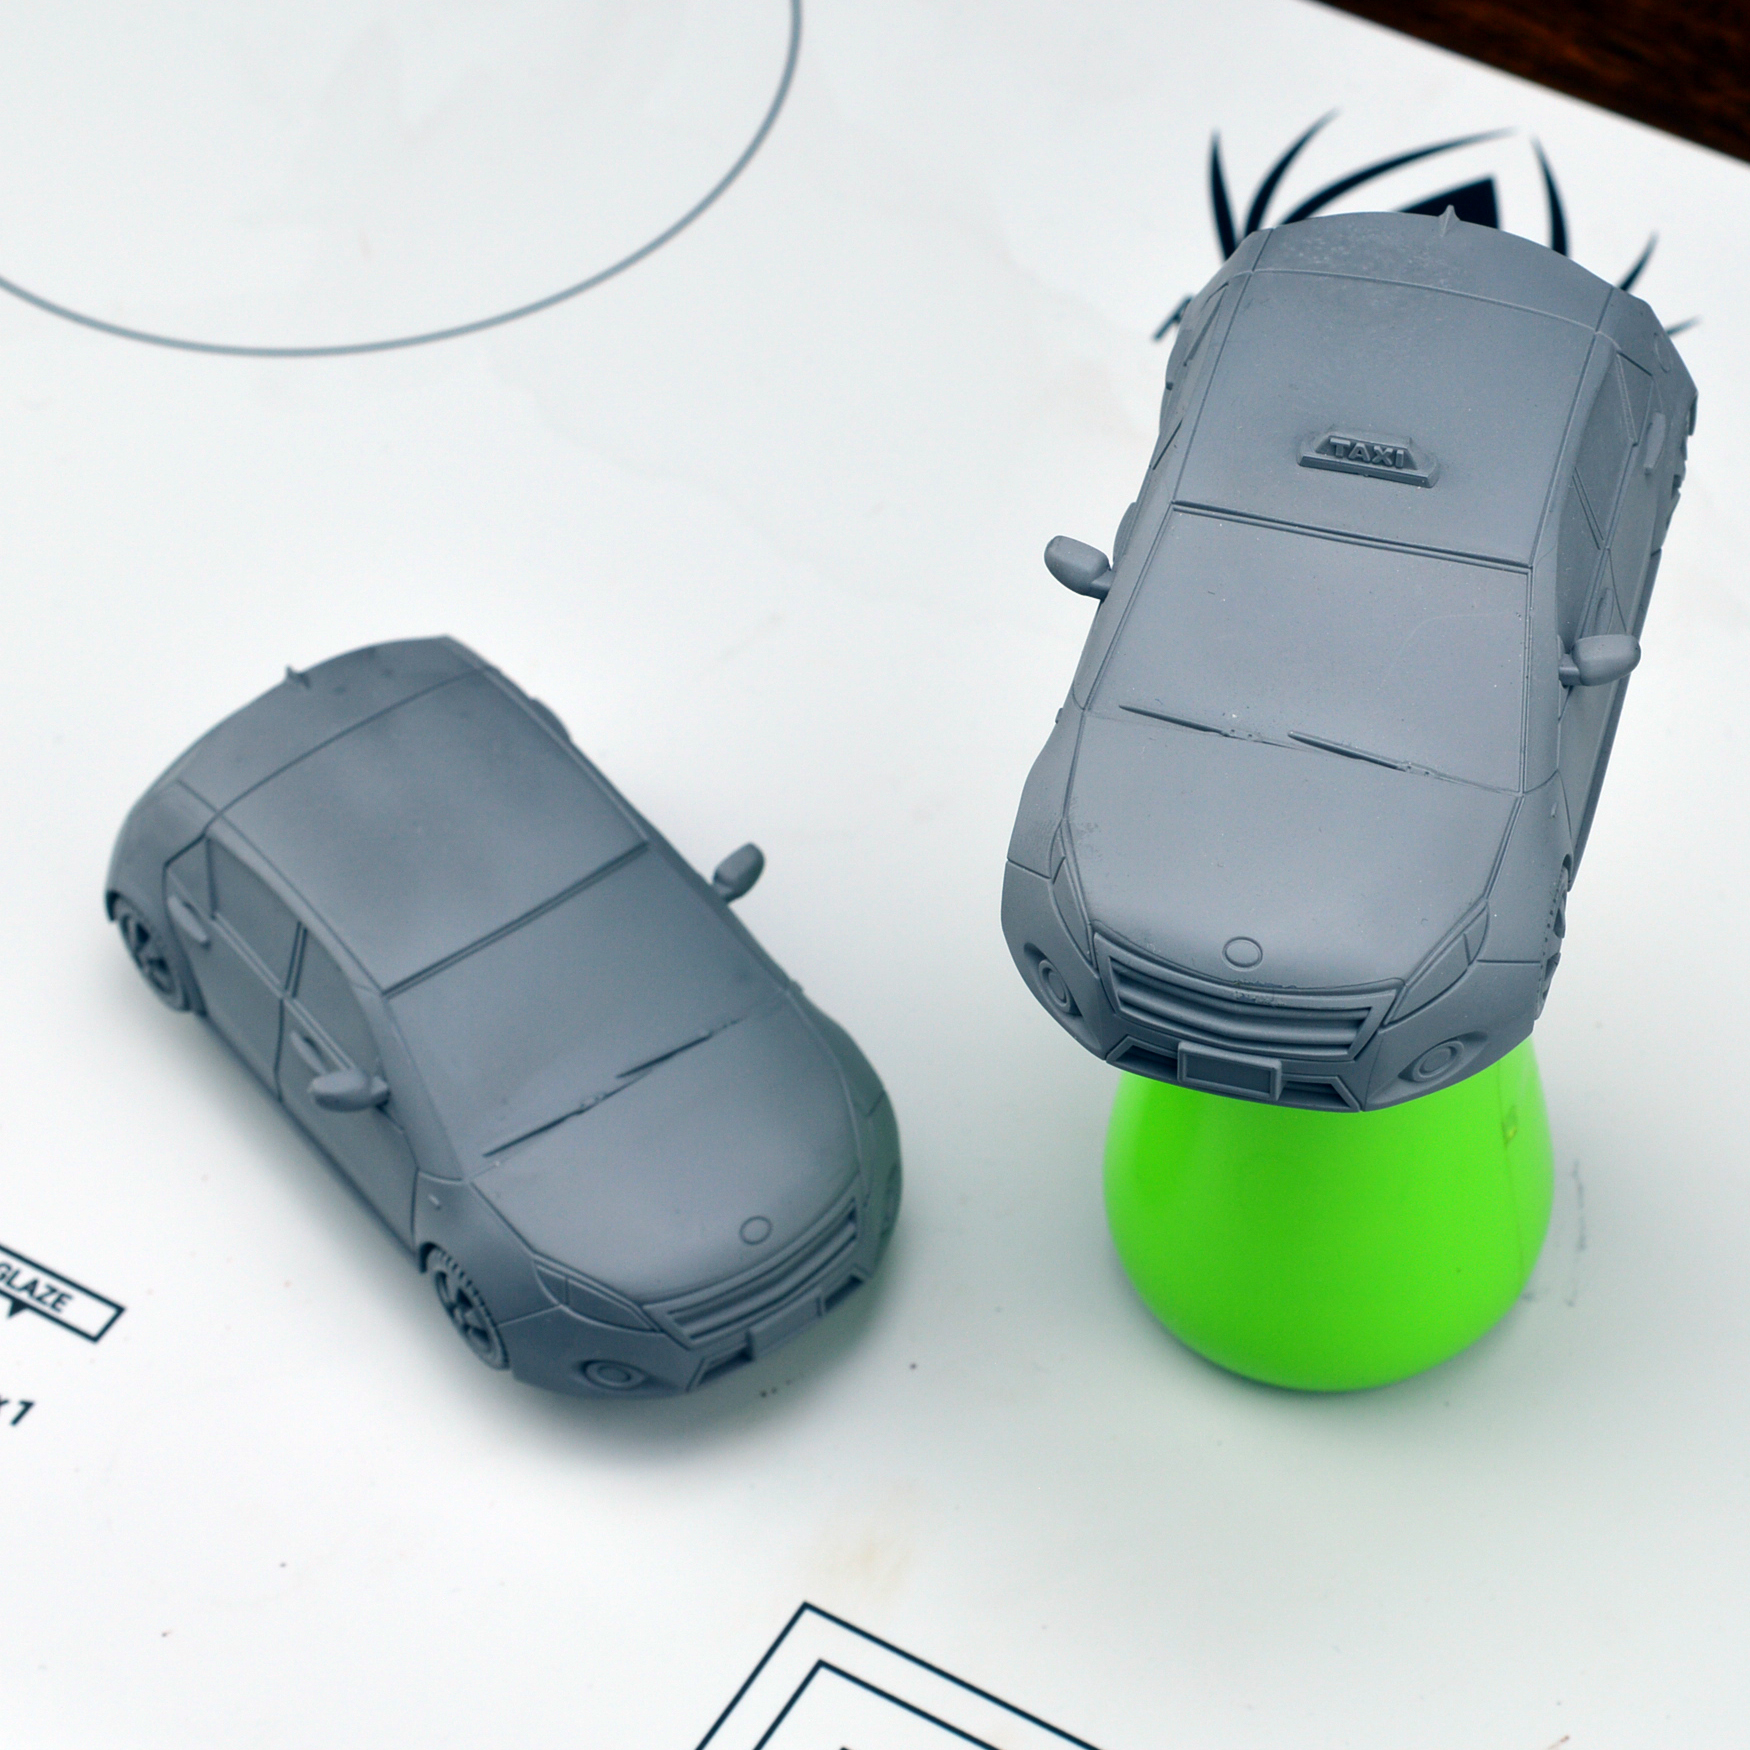
Today, I’m going to paint this taxi from the Marvel Crisis Protocol starter set. First, I’m going to prime it gray.
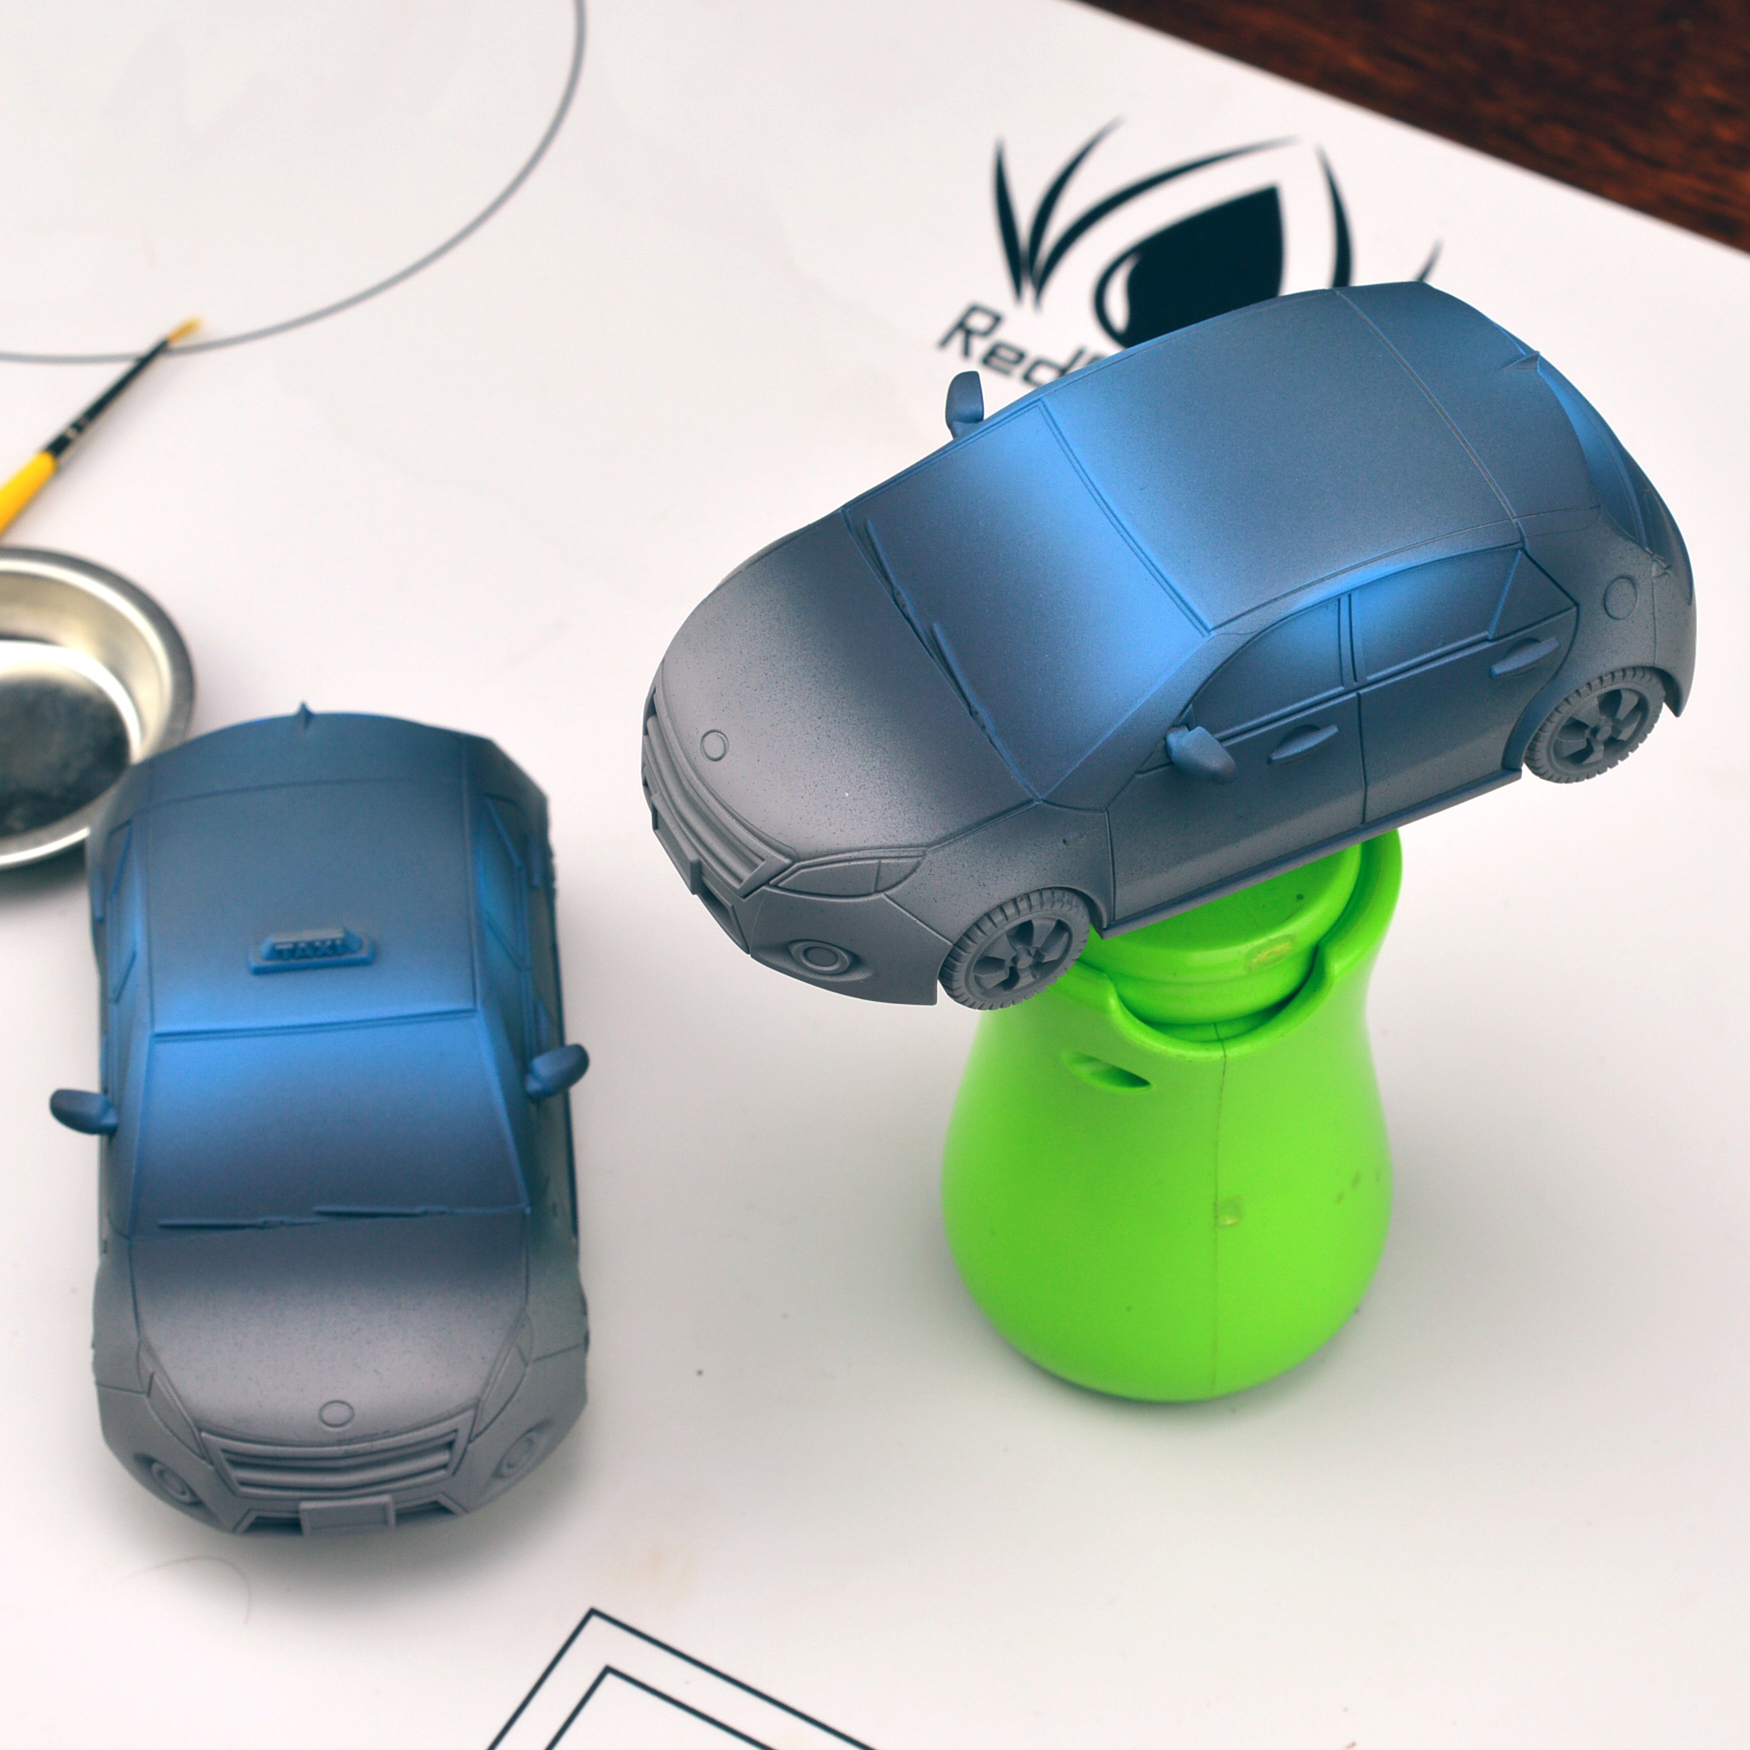
Next, I want to airbrush the first element I intend to paint: the windows. There is a simple rule when airbrushing that has served me well: work from the inside out. In this case, the windows are slightly recessed, so they’re on the “inside.” I’m starting there because it’s far more practical to mask them than it would be to mask the entire body of the vehicle. I airbrushed this with a pretty basic 3-step highlight starting with a very dark blue and ending with just a hint of sky blue.
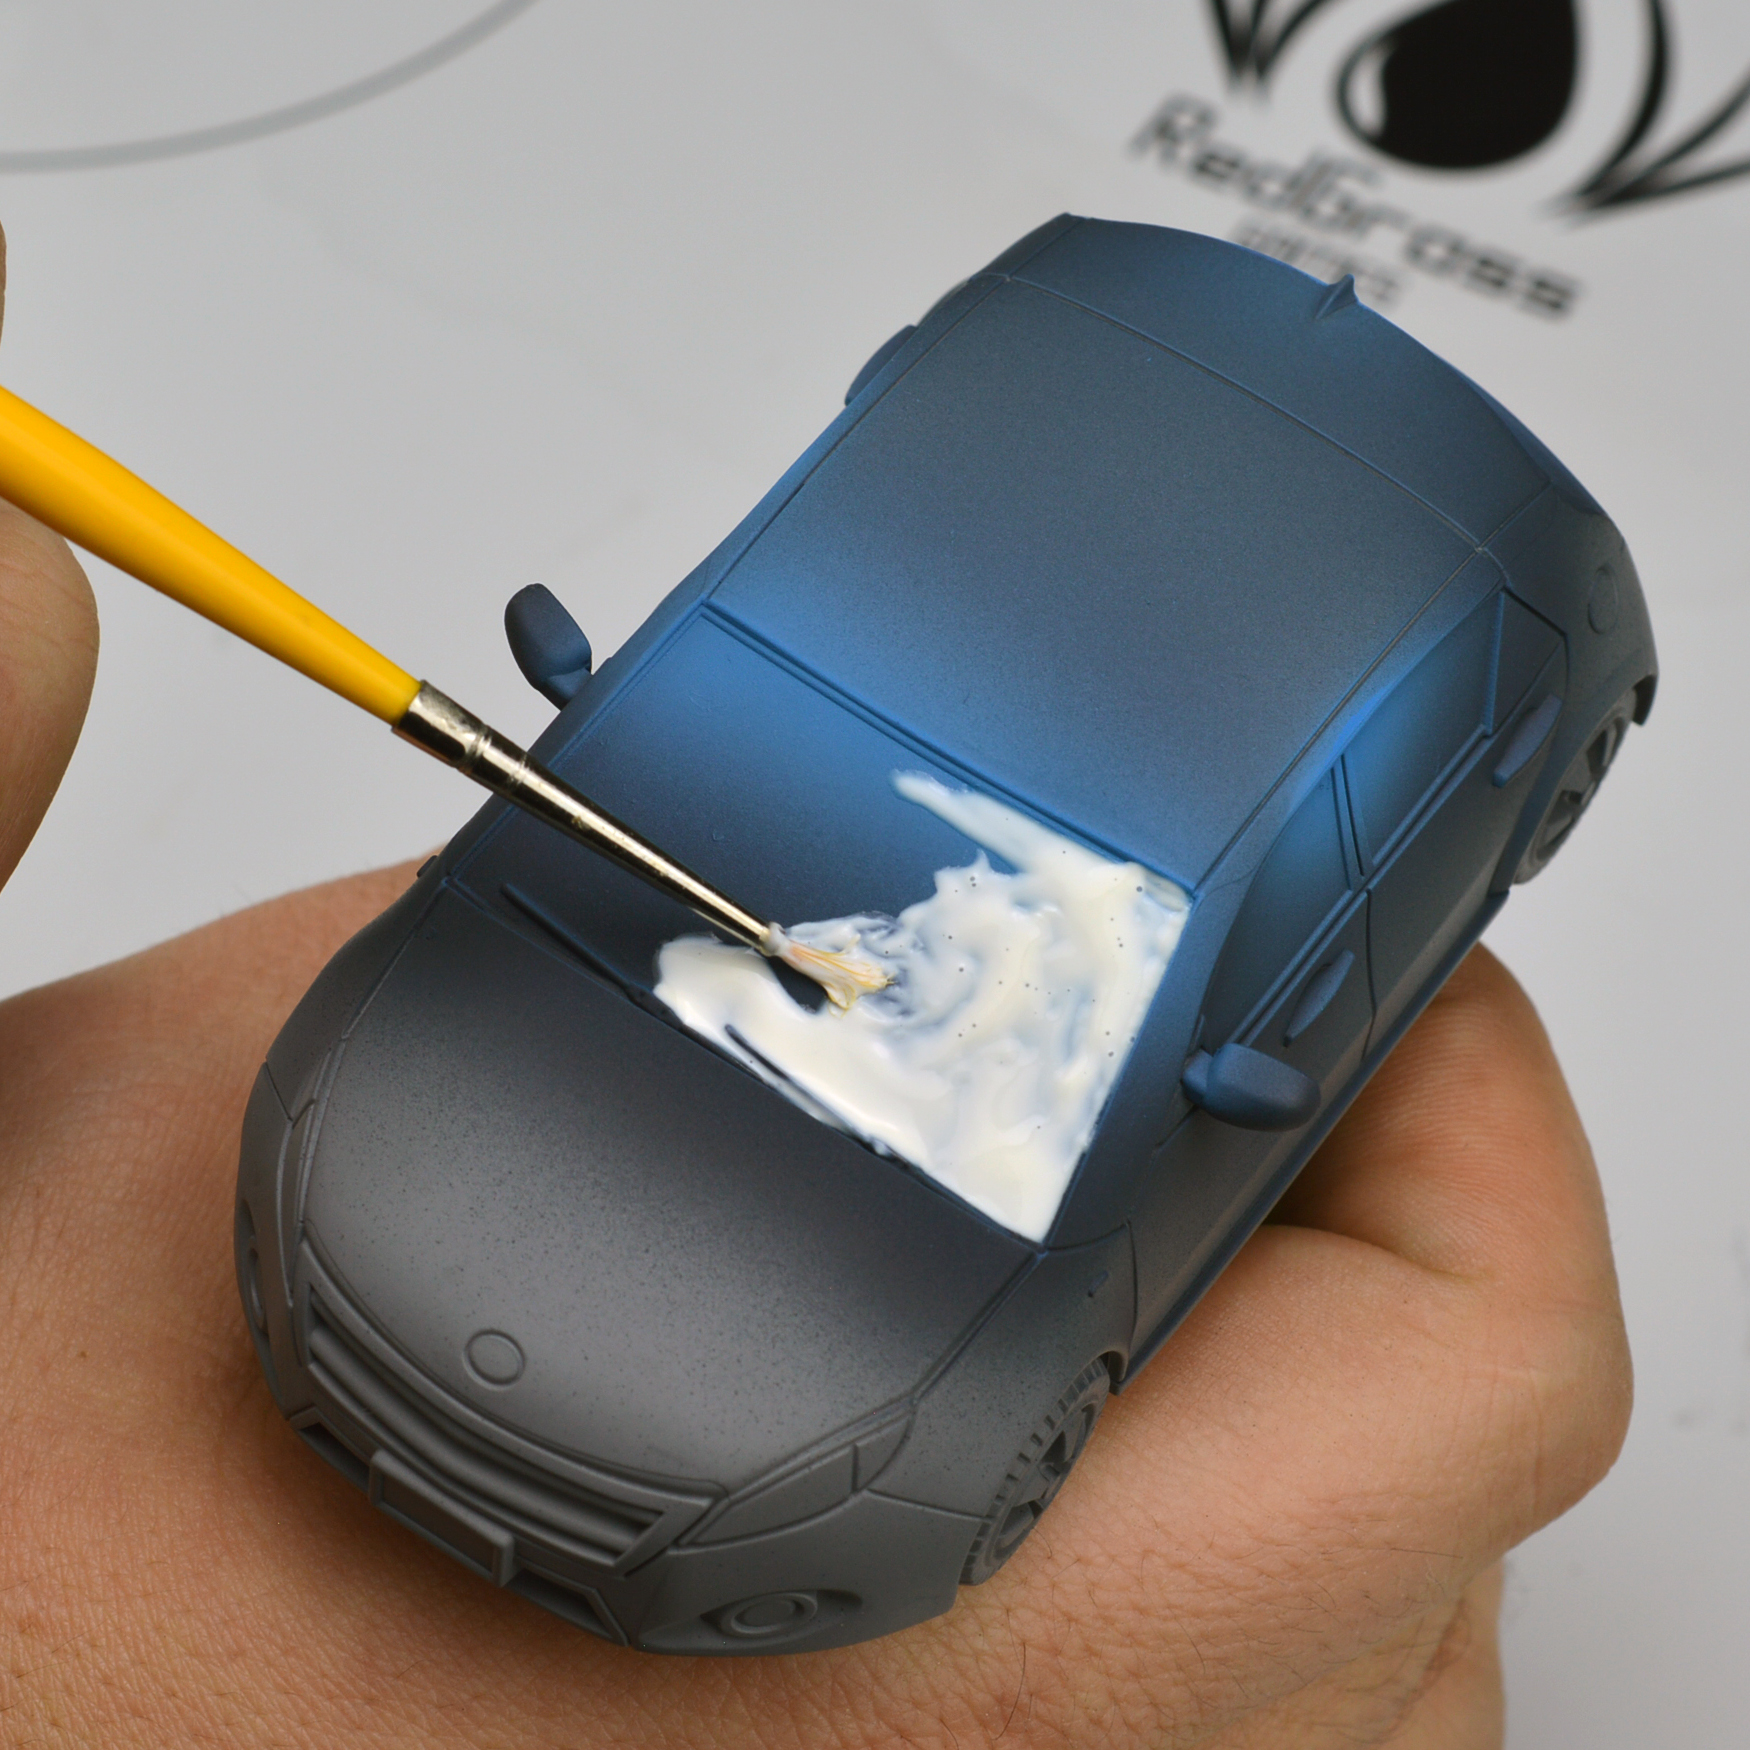
Now, it’s masking time. I like to use a metal cup for this because it makes cleanup a breeze later on. Also, you’re going to want to use a brush that you can afford to lose. This stuff will render the brush useless for painting, but you can recycle it for future liquid mask applications. Poor a decent helping of the stuff into your metal cup.
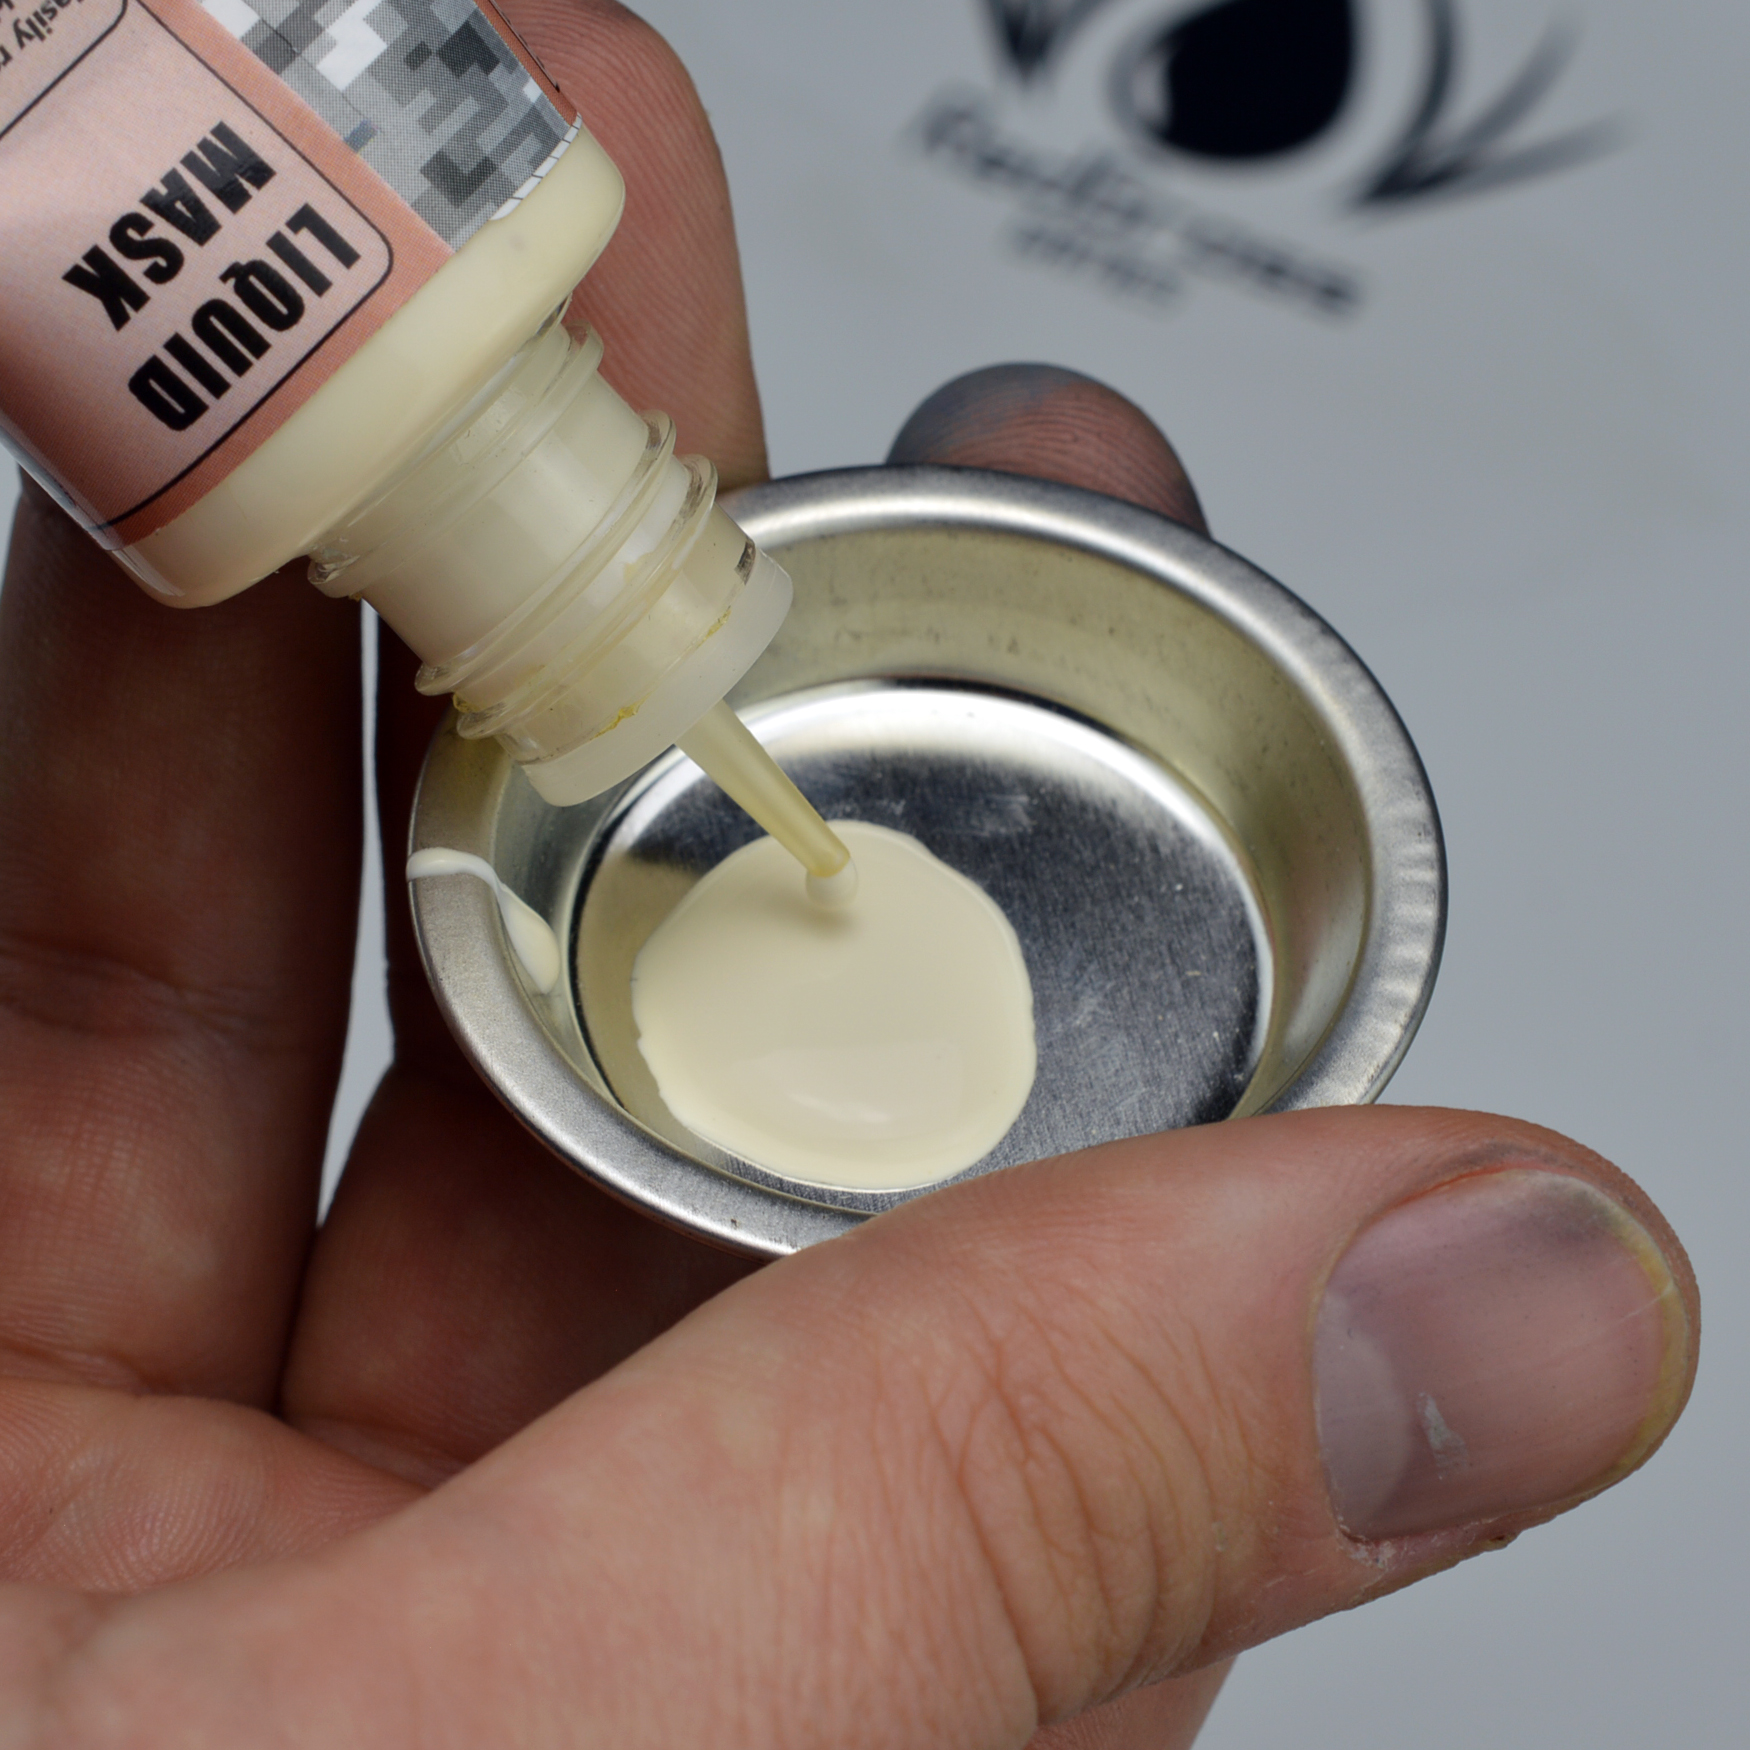
The next step is pretty simple: apply the mask. Take your time and lay it over the parts you wish to protect. When it goes on, it will have a distinct color, but it will dry to a see-through color. I generally apply it rather thick. If you noticed any large bubbles, make sure to pop them. I’ve experienced situations where the bubbles pop as it dries, leaving a gap in the mask (never fun to discover later on!).
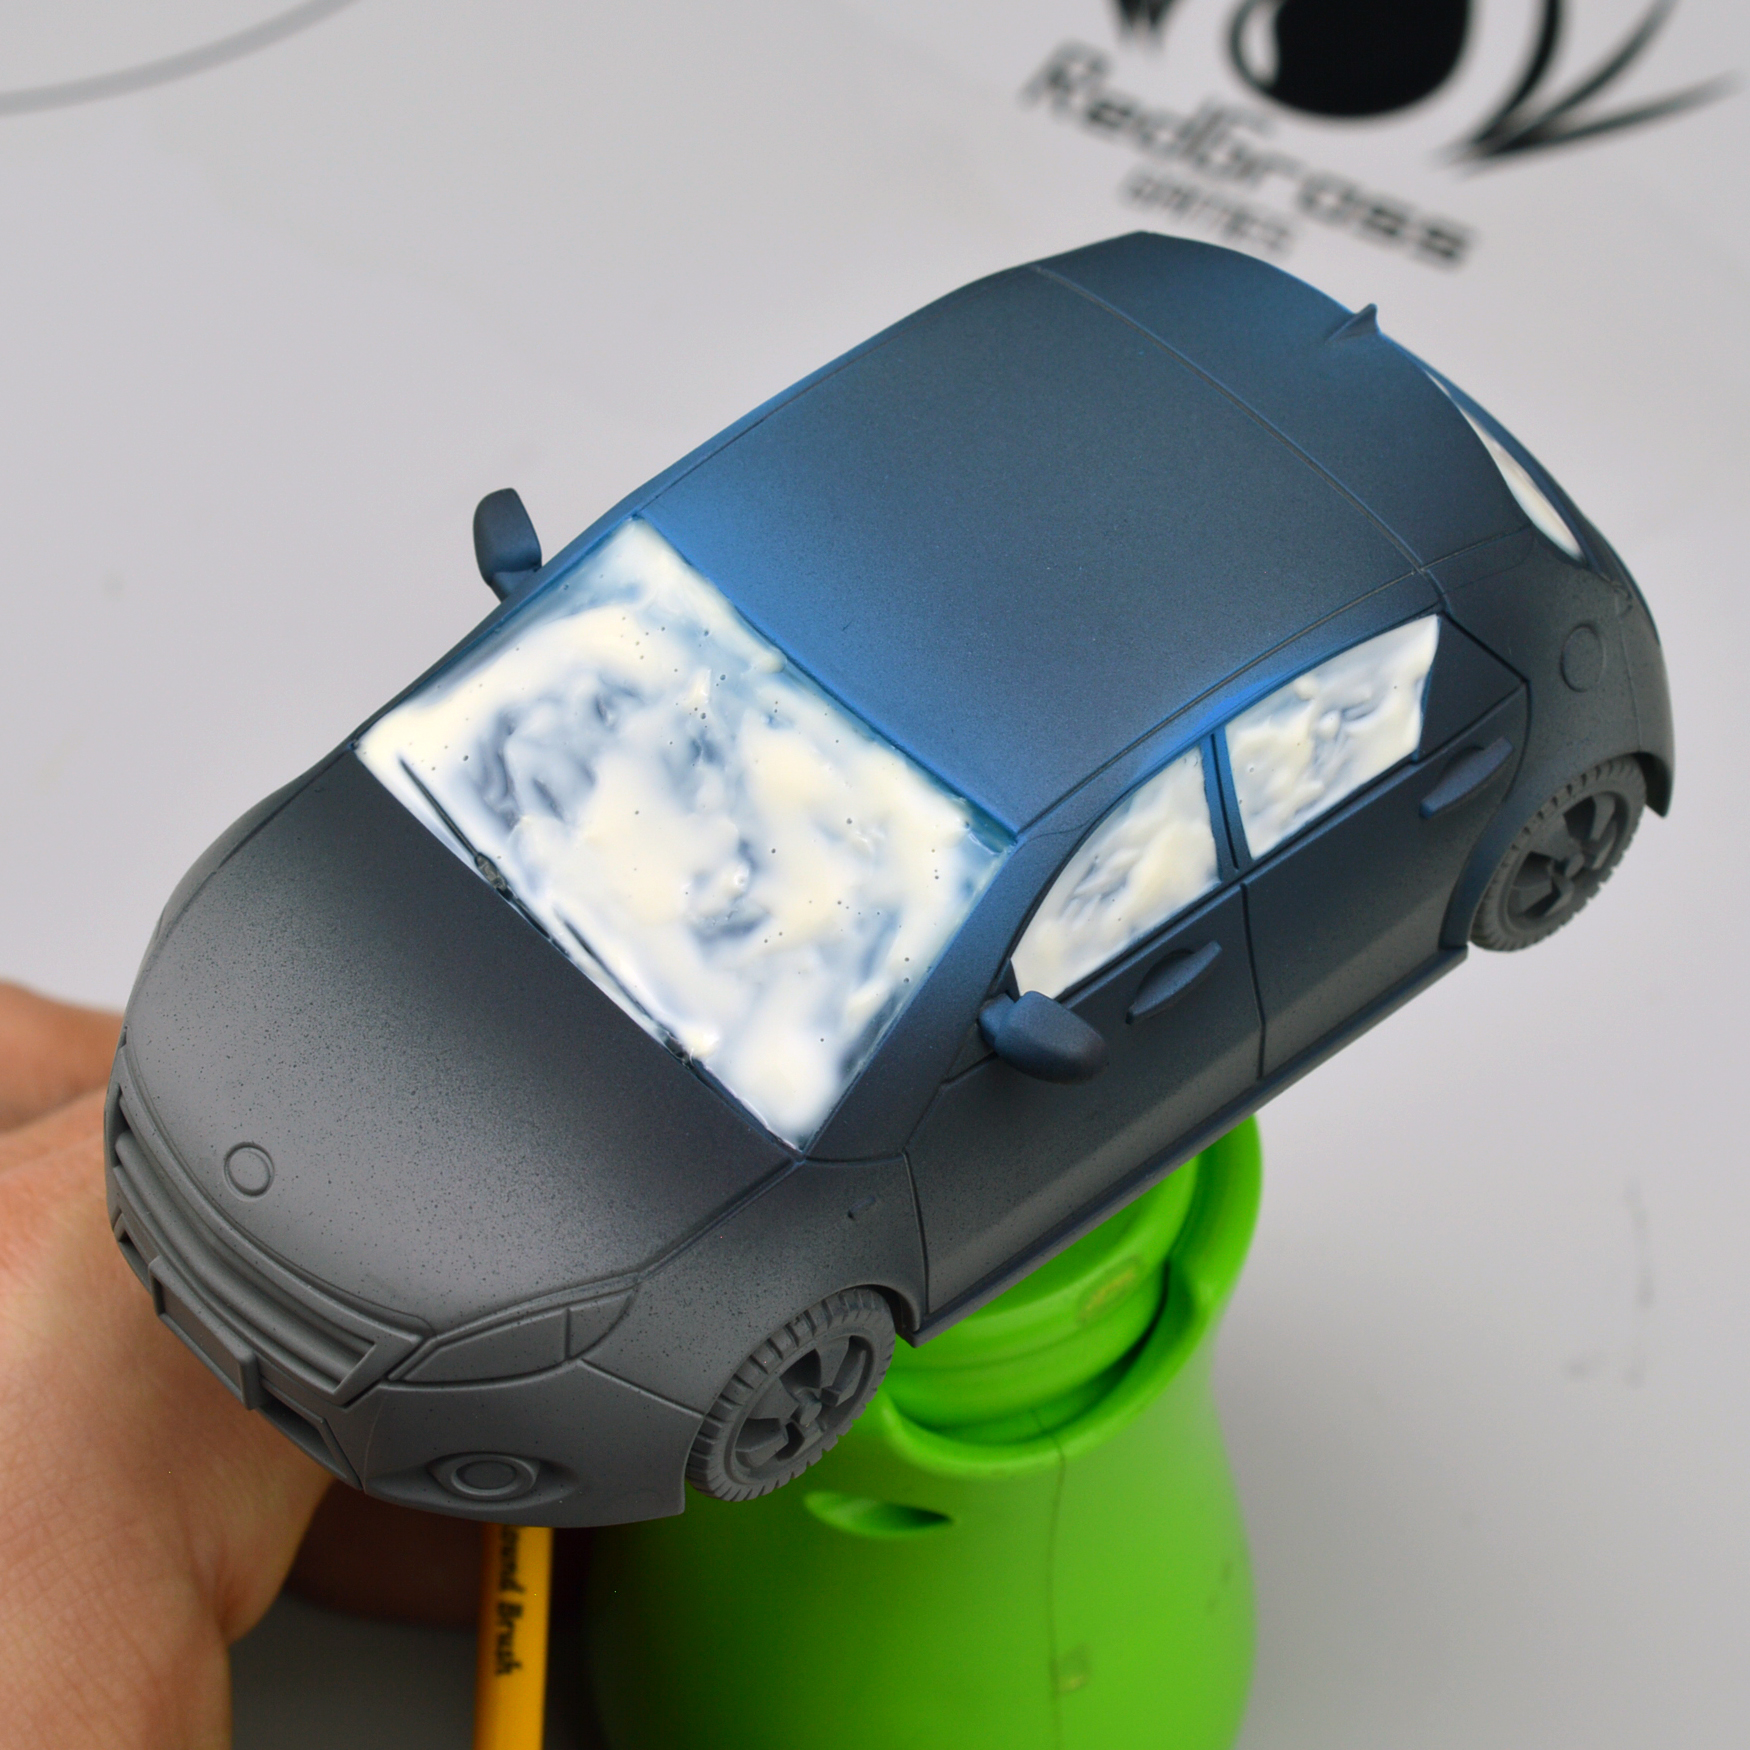
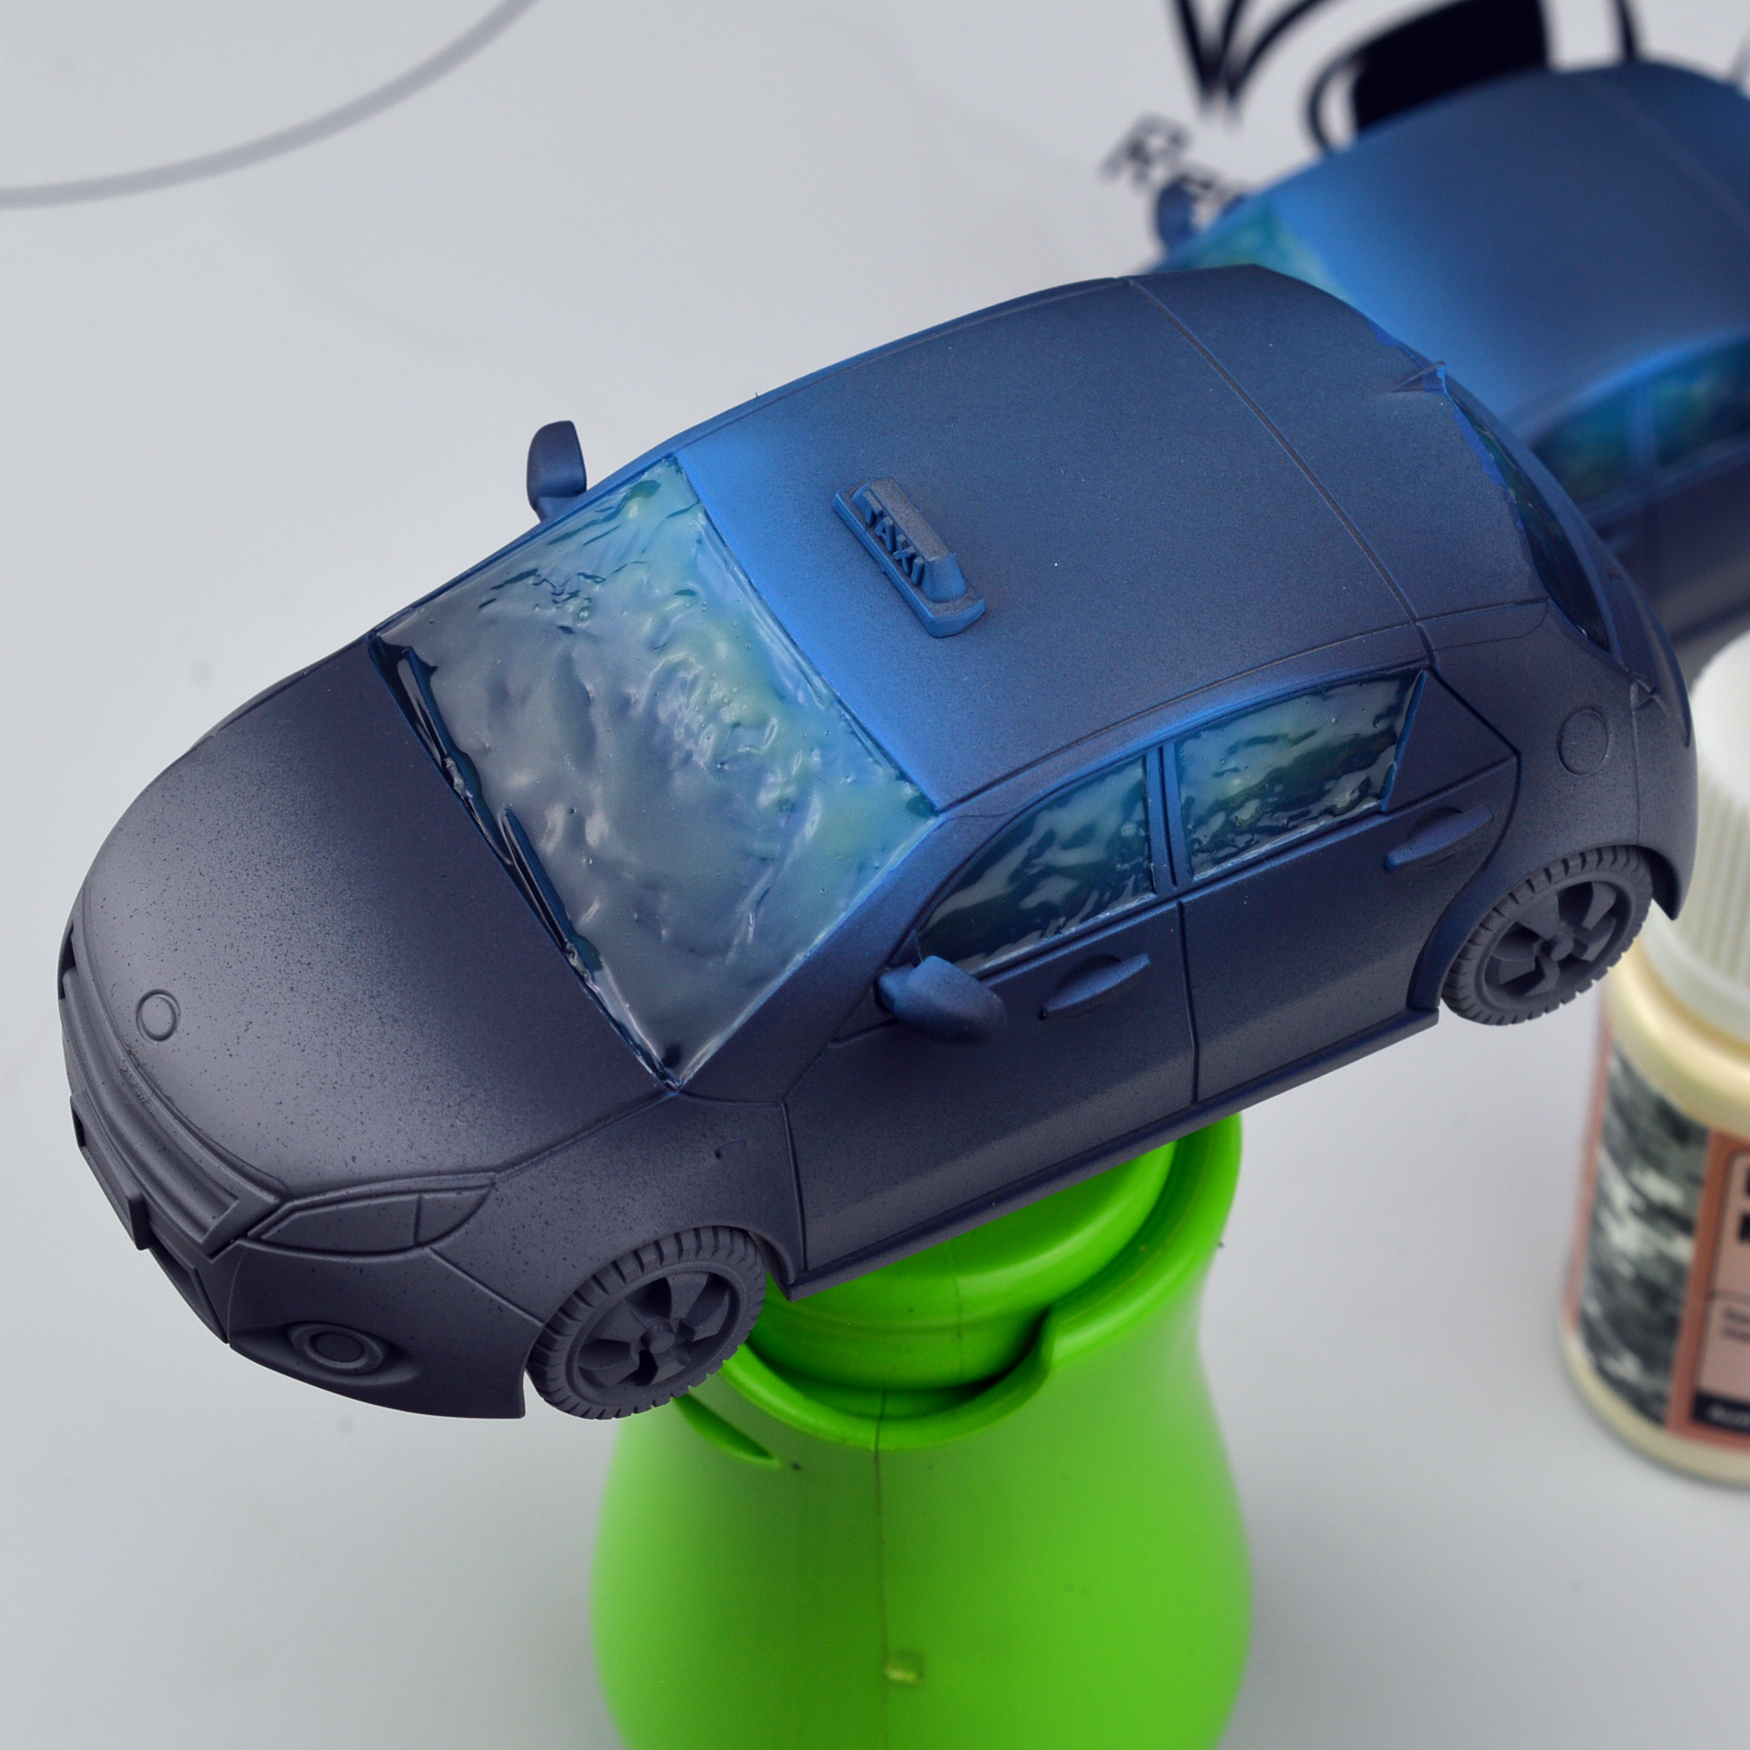
As I said earlier, it will eventually dry to a clear finish, letting you know that it’s okay to move onto the next stages of the paint job.
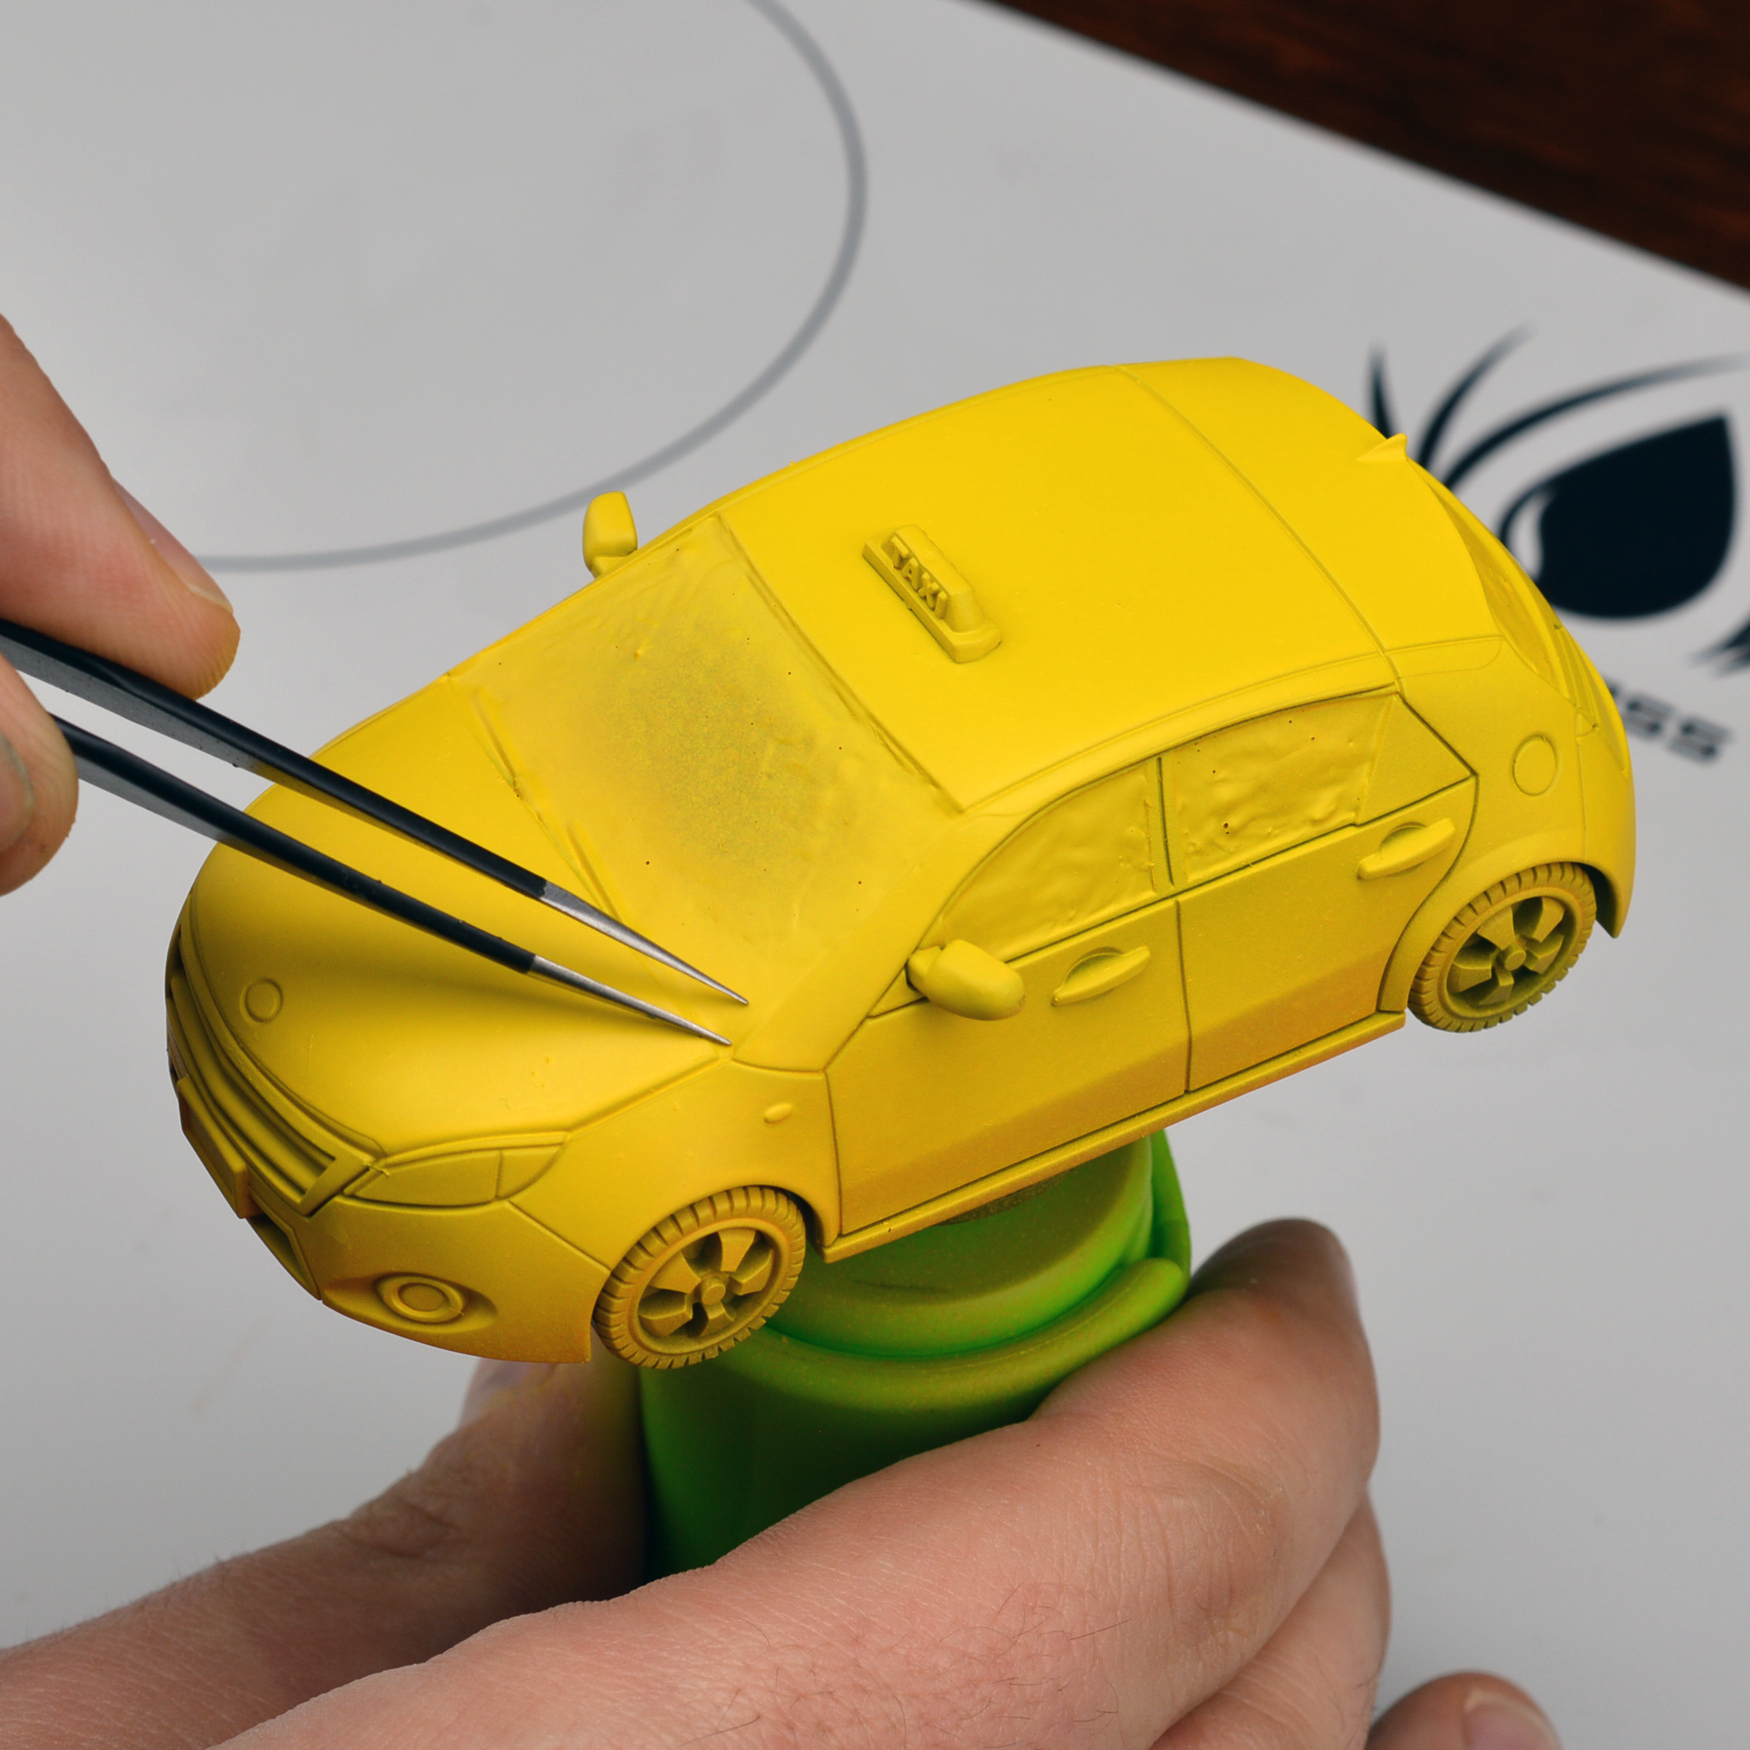
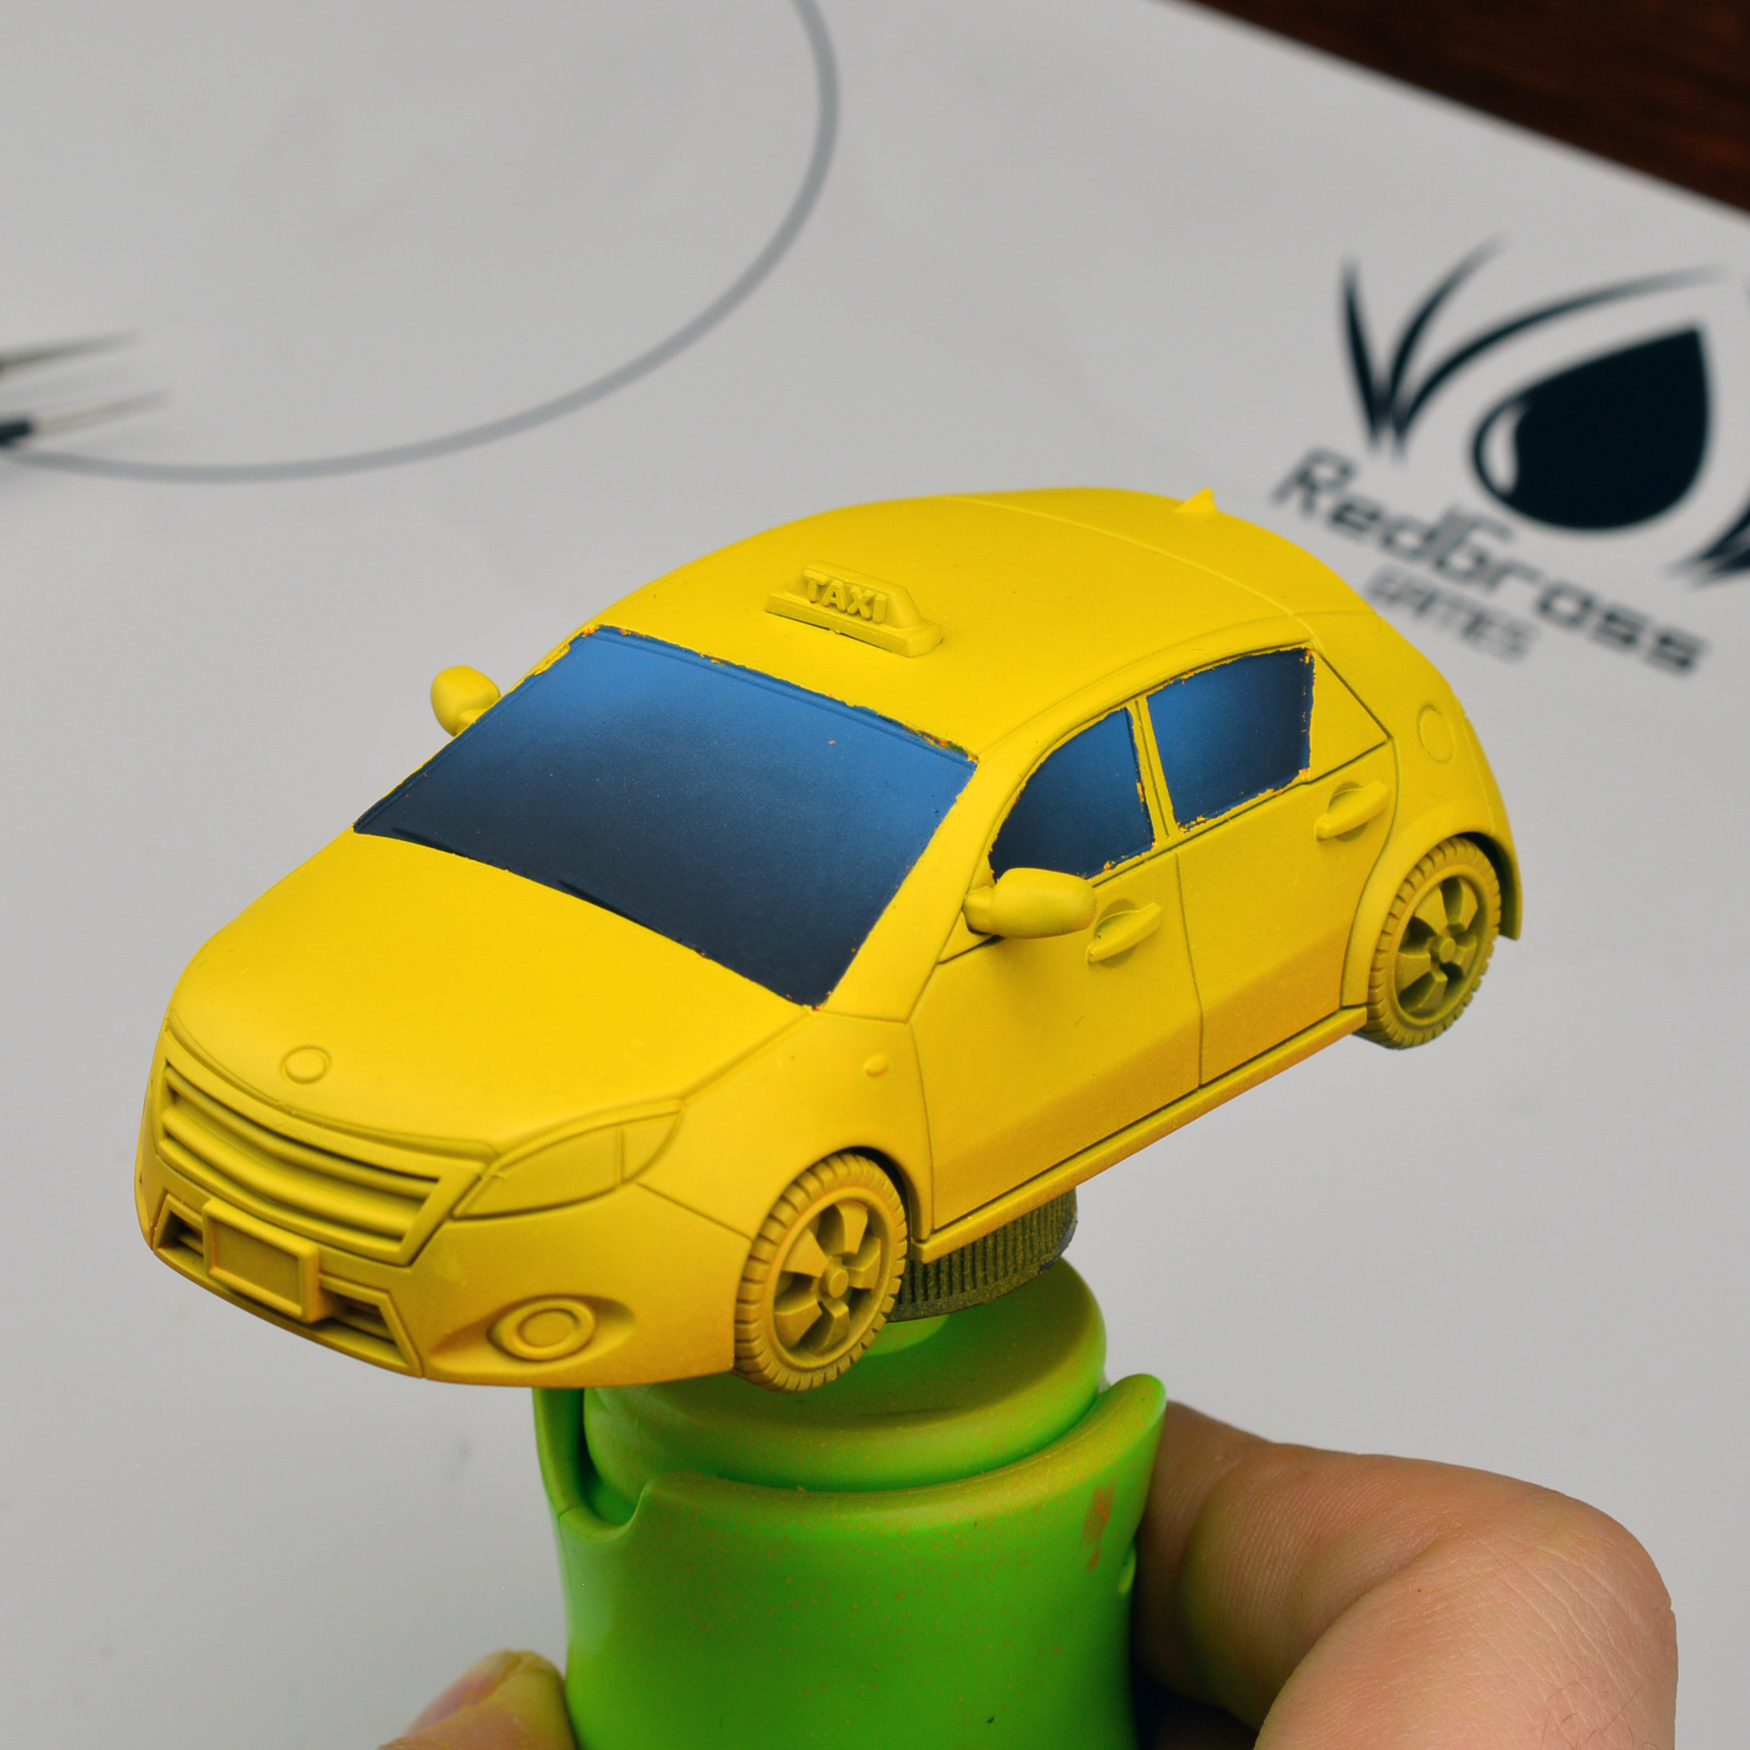
I wanted this taxi to look pretty “standard,” so I painted it with a vibrant yellow. I find that it’s easier to build yellow off of an orange or red base, so I started by airbrushing the car bright orange then build the yellow up in several passes.

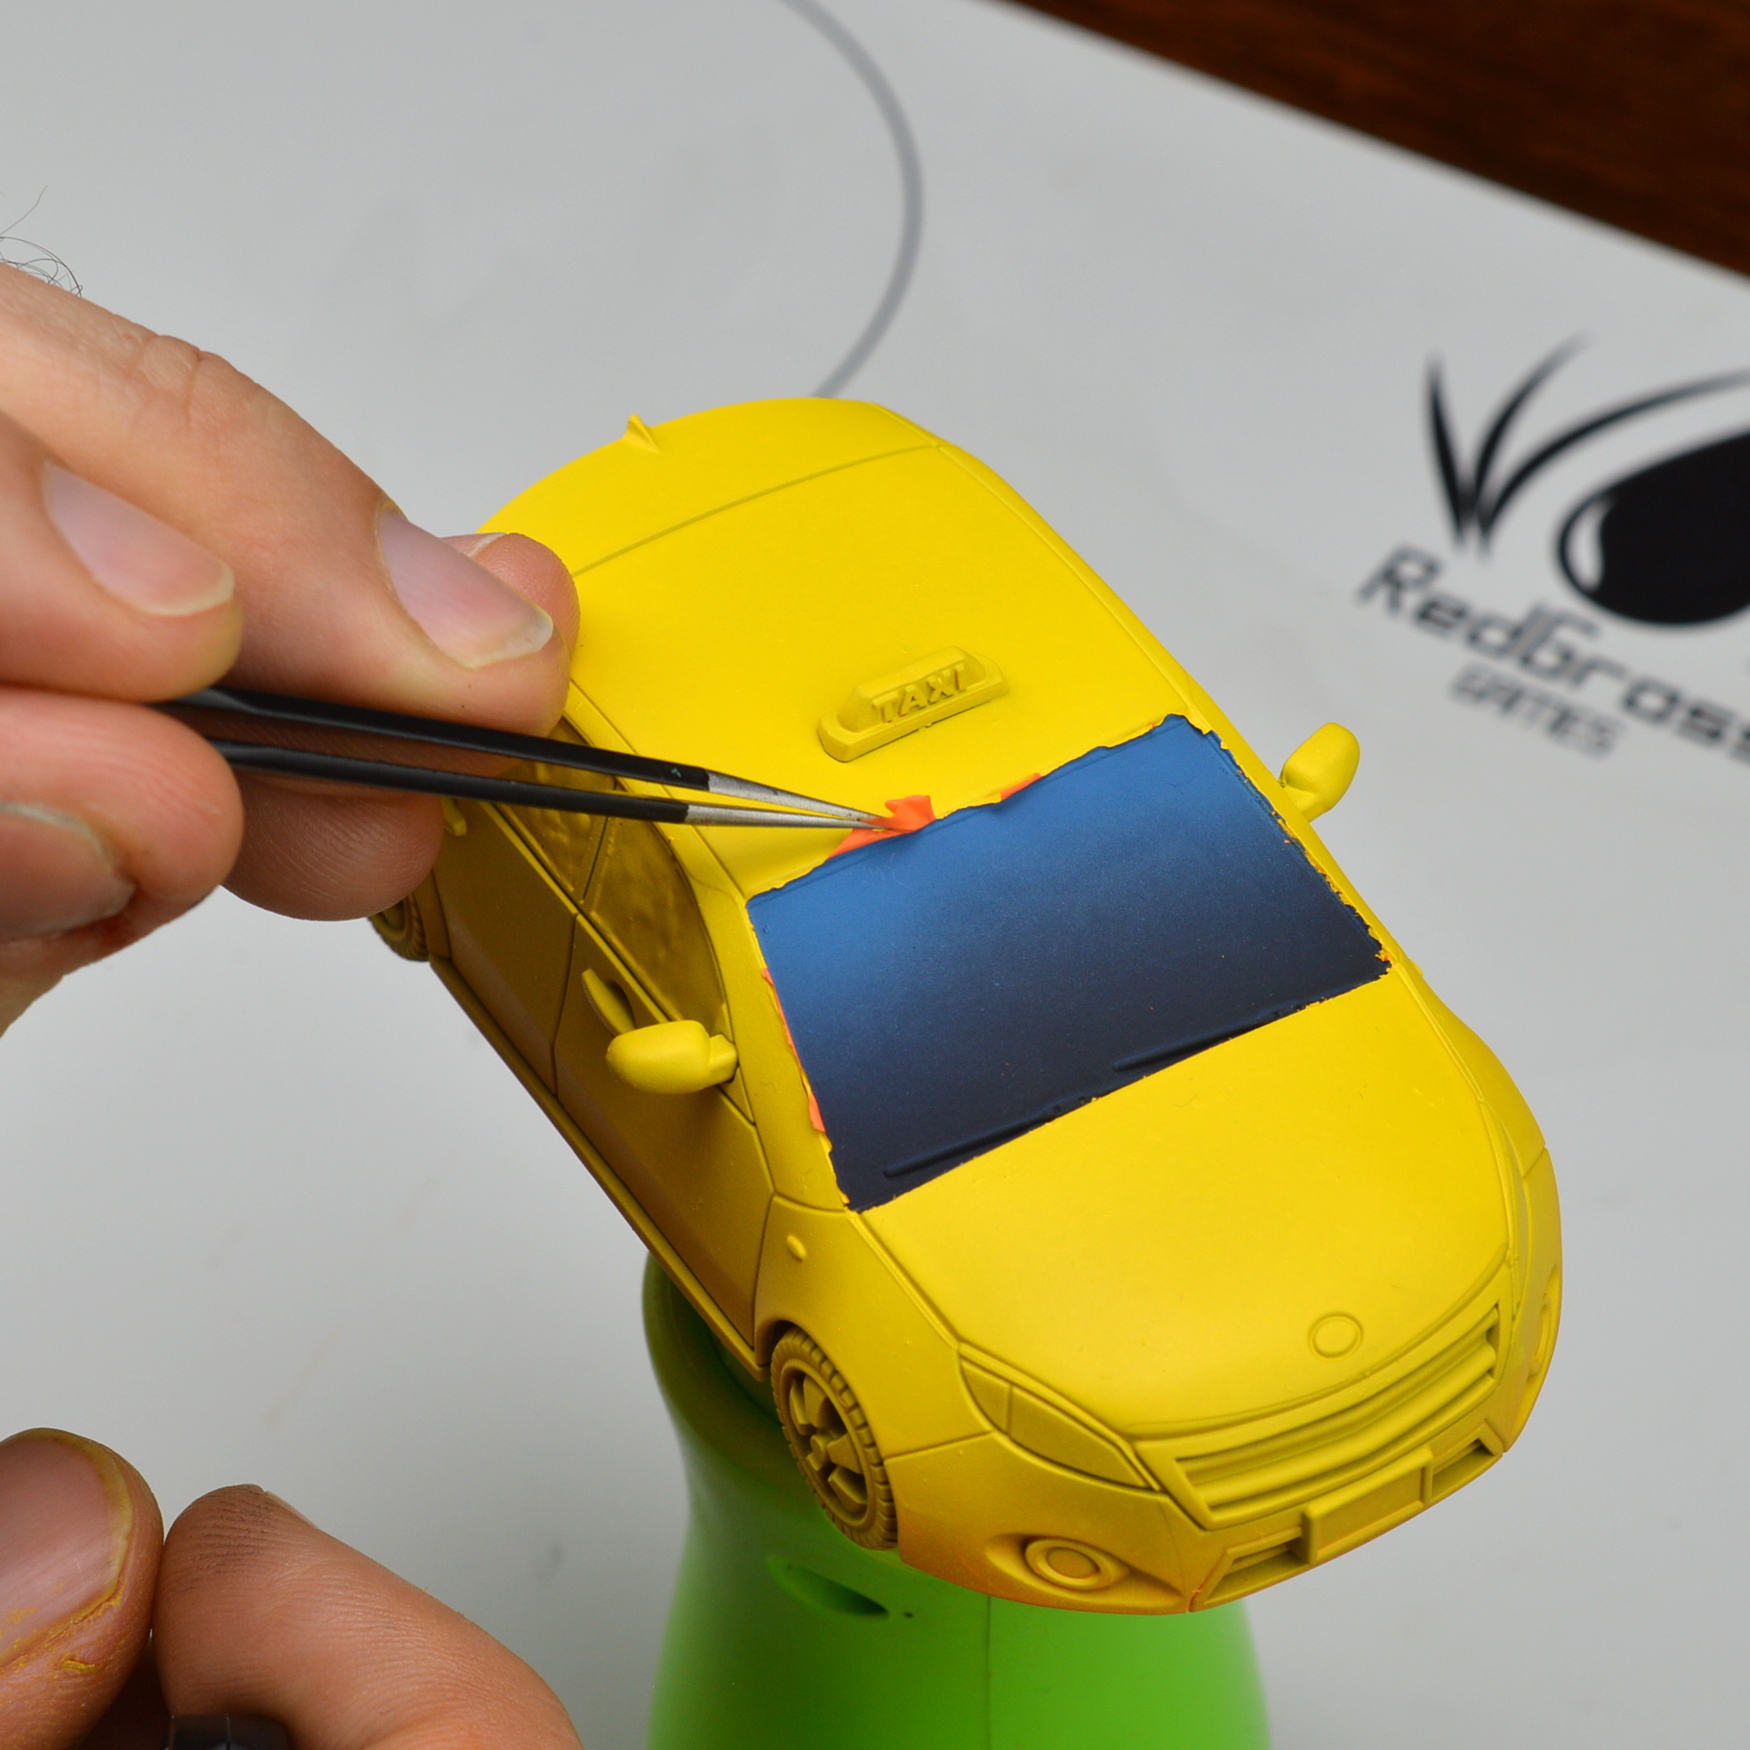
To remove the mask, I get a pair of sharp tweezers and begin to peel it up from the corners.

All you have to do next is peel the mask up. You’ll notice that, as I’m peeling, some of the paint continues to adhere to the model rather than coming up with the mask. There are a few reasons this can happen. The big one is that I let a lot of time pass between airbrushing the yellow coats and peeling off the mask. The sooner you can peel the mask, the better. Unfortunately, I got called away on a chore and forgot about it until the next day. Secondly, acrylic paints tend to bond to one another. If you use enamel paints such as Testors, Humbrol, Tamiya, etc., you’ll find that they’re far less likely to have this issue. Either way, it’s not a major problem! If you want a full-proof and clean solution, you can run a sharp hobby knife around the edges of the masking in order to “cut” the acrylic prior to peeling. Using the same tweezers, I’ll just grab the excess paint and peel off the lose chunks.
As you can see, the edges are still a bit gnarly, but that’s fine for a few reasons. Firstly, I’ll be painting all of the windshield edging a dark gray. Secondly, I’ll be doing a pin-wash (check out my next article) that will also cover all of this.
With a quick dose of gray, the gnarly edges look much better. Once I hit it with a pin-wash, it’ll be right as rain.

Tune into our next hobby hangout to watch this paintjob continue to develop. I’ll show you how to use oil paints to panel line, a great technique for making your armored panels pop! Thanks for hanging out! Catch you on the next one.
And remember, Frontline Gaming sells gaming products at a discount, every day in their webcart!


