
Hello everyone! With my second hobby hangout, I want to show you one of many ways to achieve realistic chipping on your models. I’m a huge fan of weathering as it helps to build immersion, especially in our wargames, where vehicles, terrain, and armor will see all kinds of abuse during battles on innumerable planets and battle spheres.
Luckily, there are myriad approaches for making realistic looking chips in our paintjobs to simulate battle damage and general wear. Today, I’m going to show you how to do the most “basic” version of chipping. I say this not because it requires the least skill or talent, but rather it is the most accessible in terms of needed materials. If you have access to hairspray and some salt (road salt is ideal, but table salt works… as you’ll see in a bit), you’ve got all the ingredients needed to achieve some cool chipping! So, let’s dive in.
Guest Writer: JP
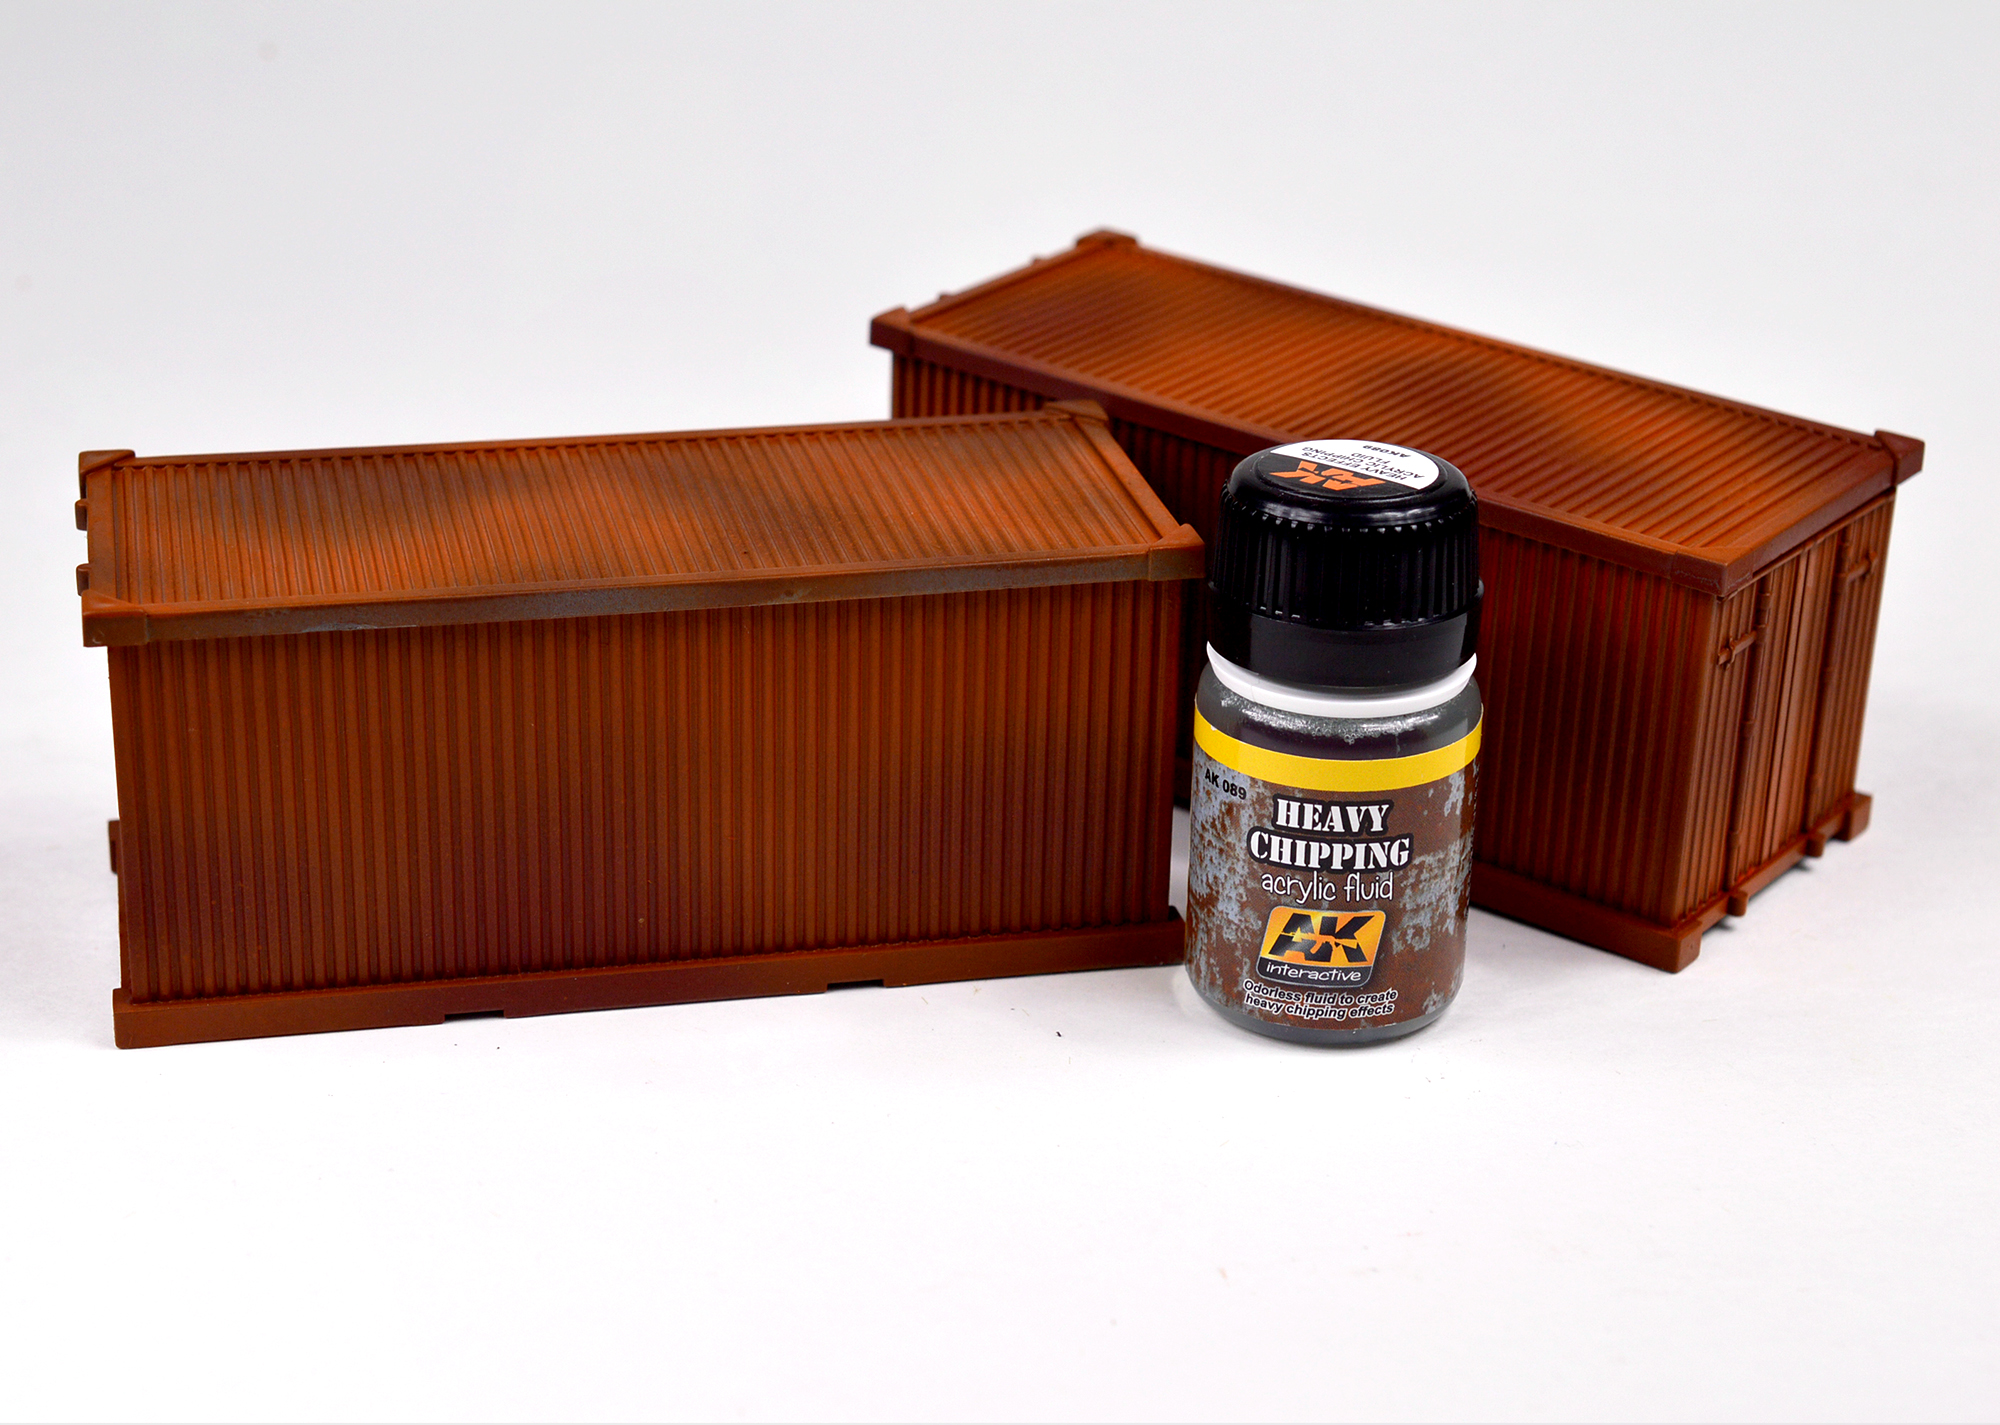
The first step is to paint the model that you’re going to be using this technique on in a rusty color. I usually find brick reds, rust oranges, and similar colors and try to apply them in a fairly random pattern using my airbrush. Ideally, you want a nice, matte paint for this stage. This is going to be our under layer, so pick something suitably rusty!
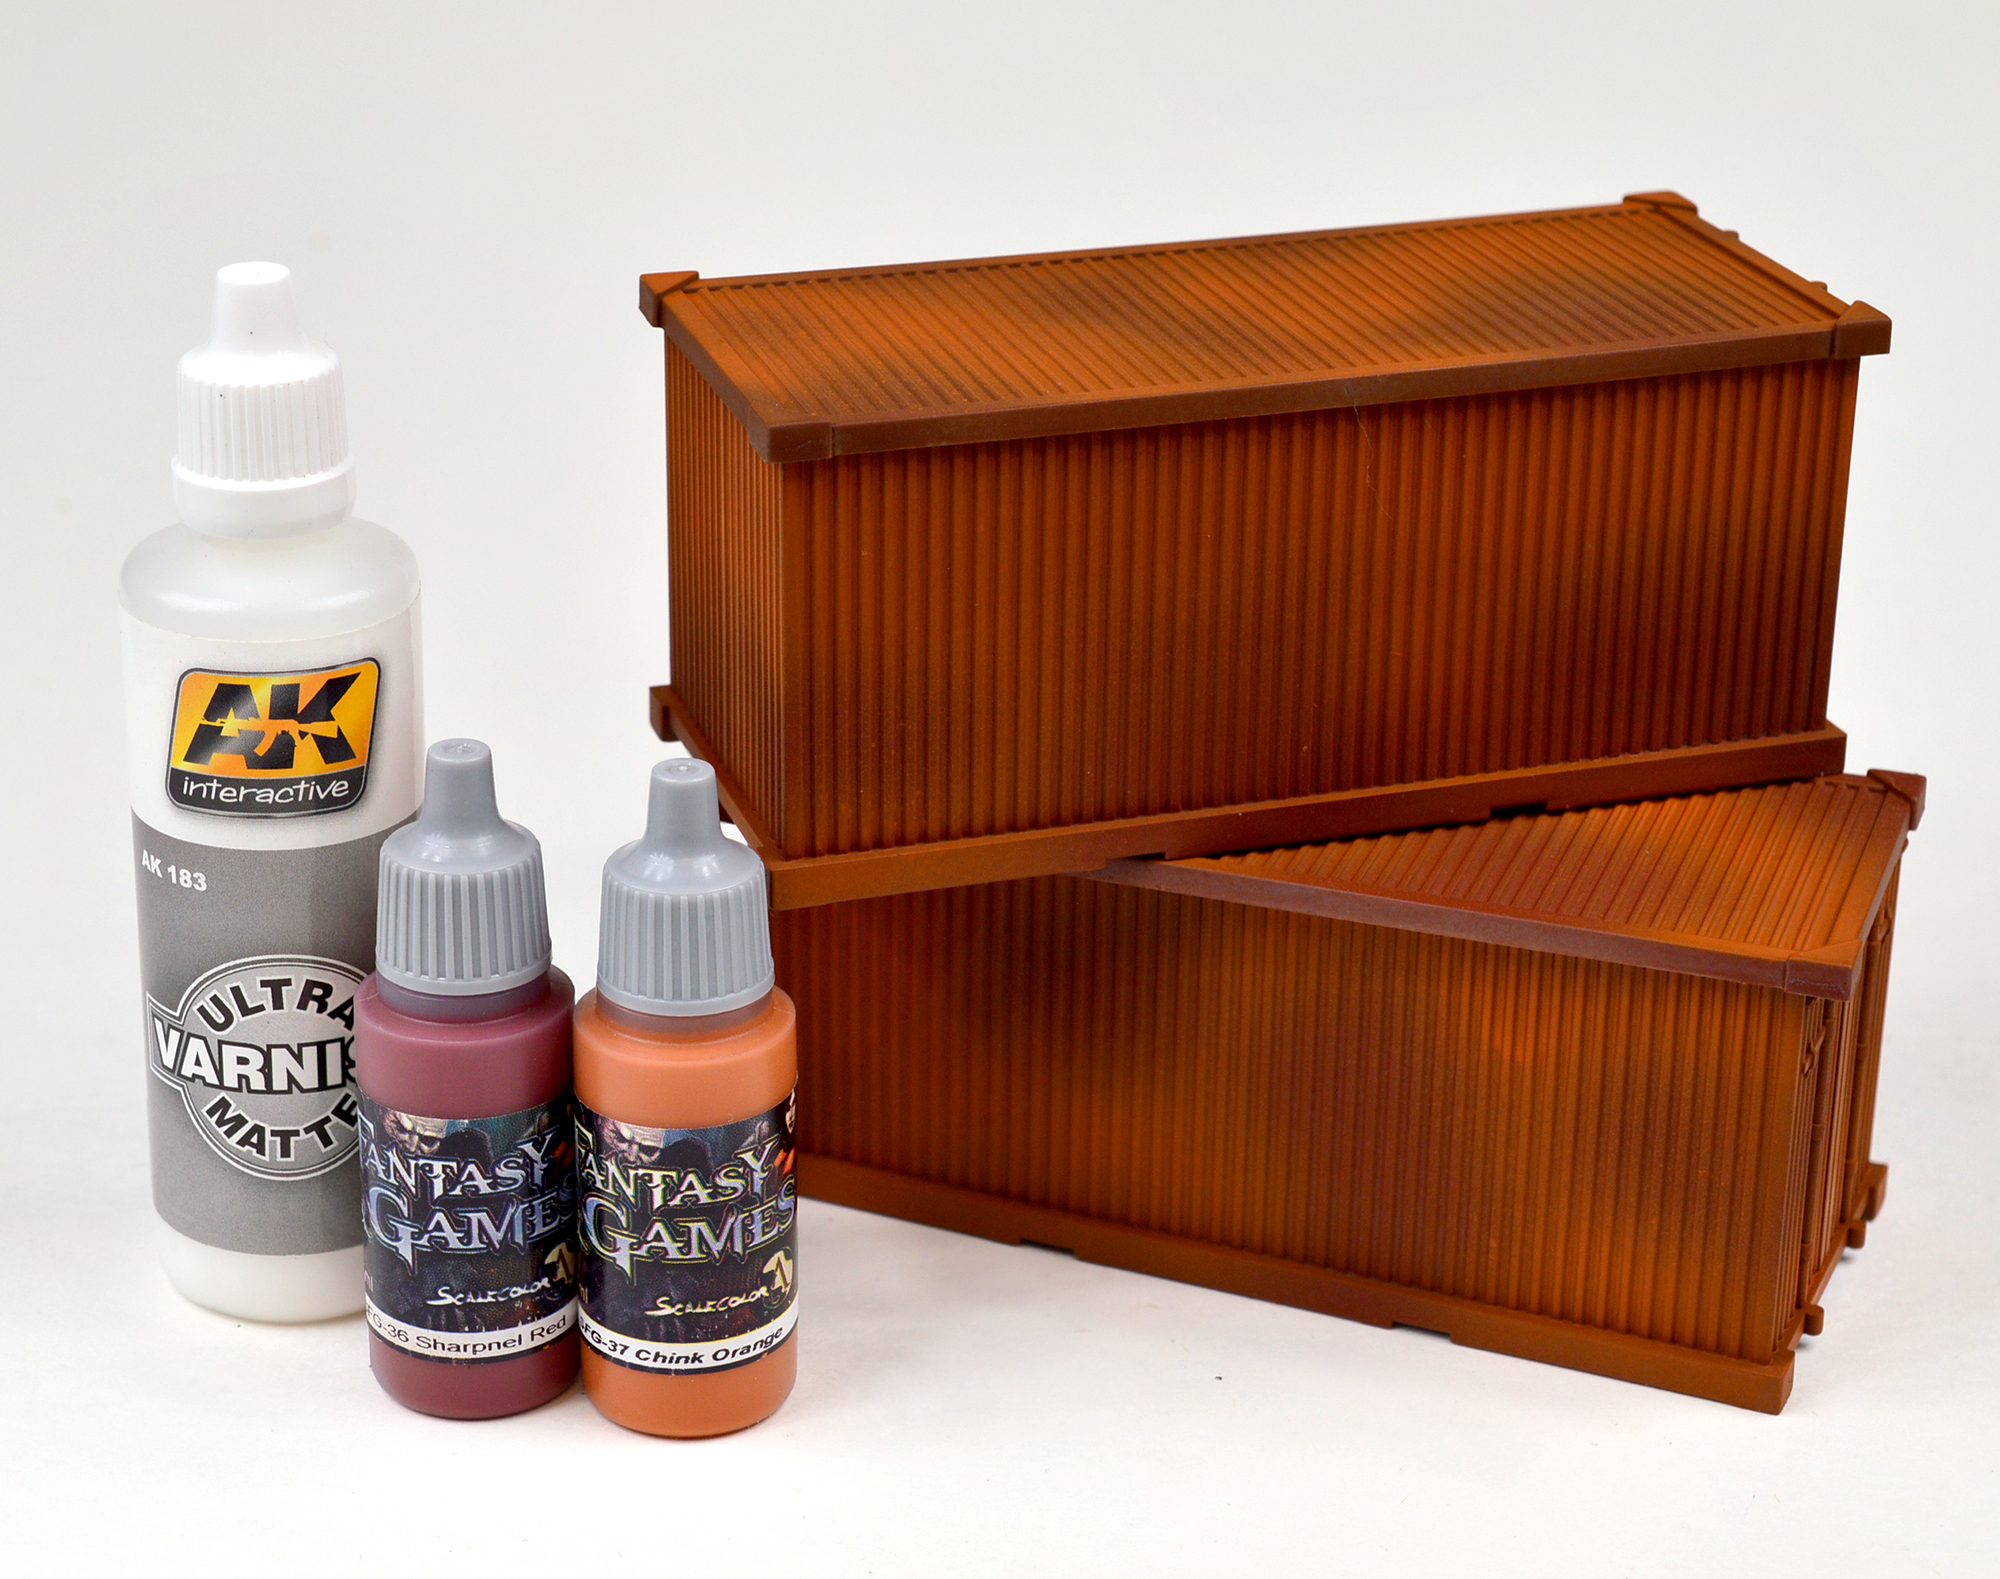
Next, we need to apply a layer of something that will essentially “save” this stage of the painting. Your basic hairspray will work great for this! In my case, I am using an actual chipping medium (my wife didn’t have any hairspray handy, unfortunately). There are a whole pile of companies (Vallejo, AK, Ammo, etc.) that make chipping mediums, and they all basically do the same thing. Spray an even layer of whatever medium you use and allow it to cure to a generally tacky appearance. Ideally, you want to move onto the next steps in the next hour or so. Don’t let these products or hairspray cure for days prior to moving on, or you will have issues getting the next layers of paint to actually peel up.
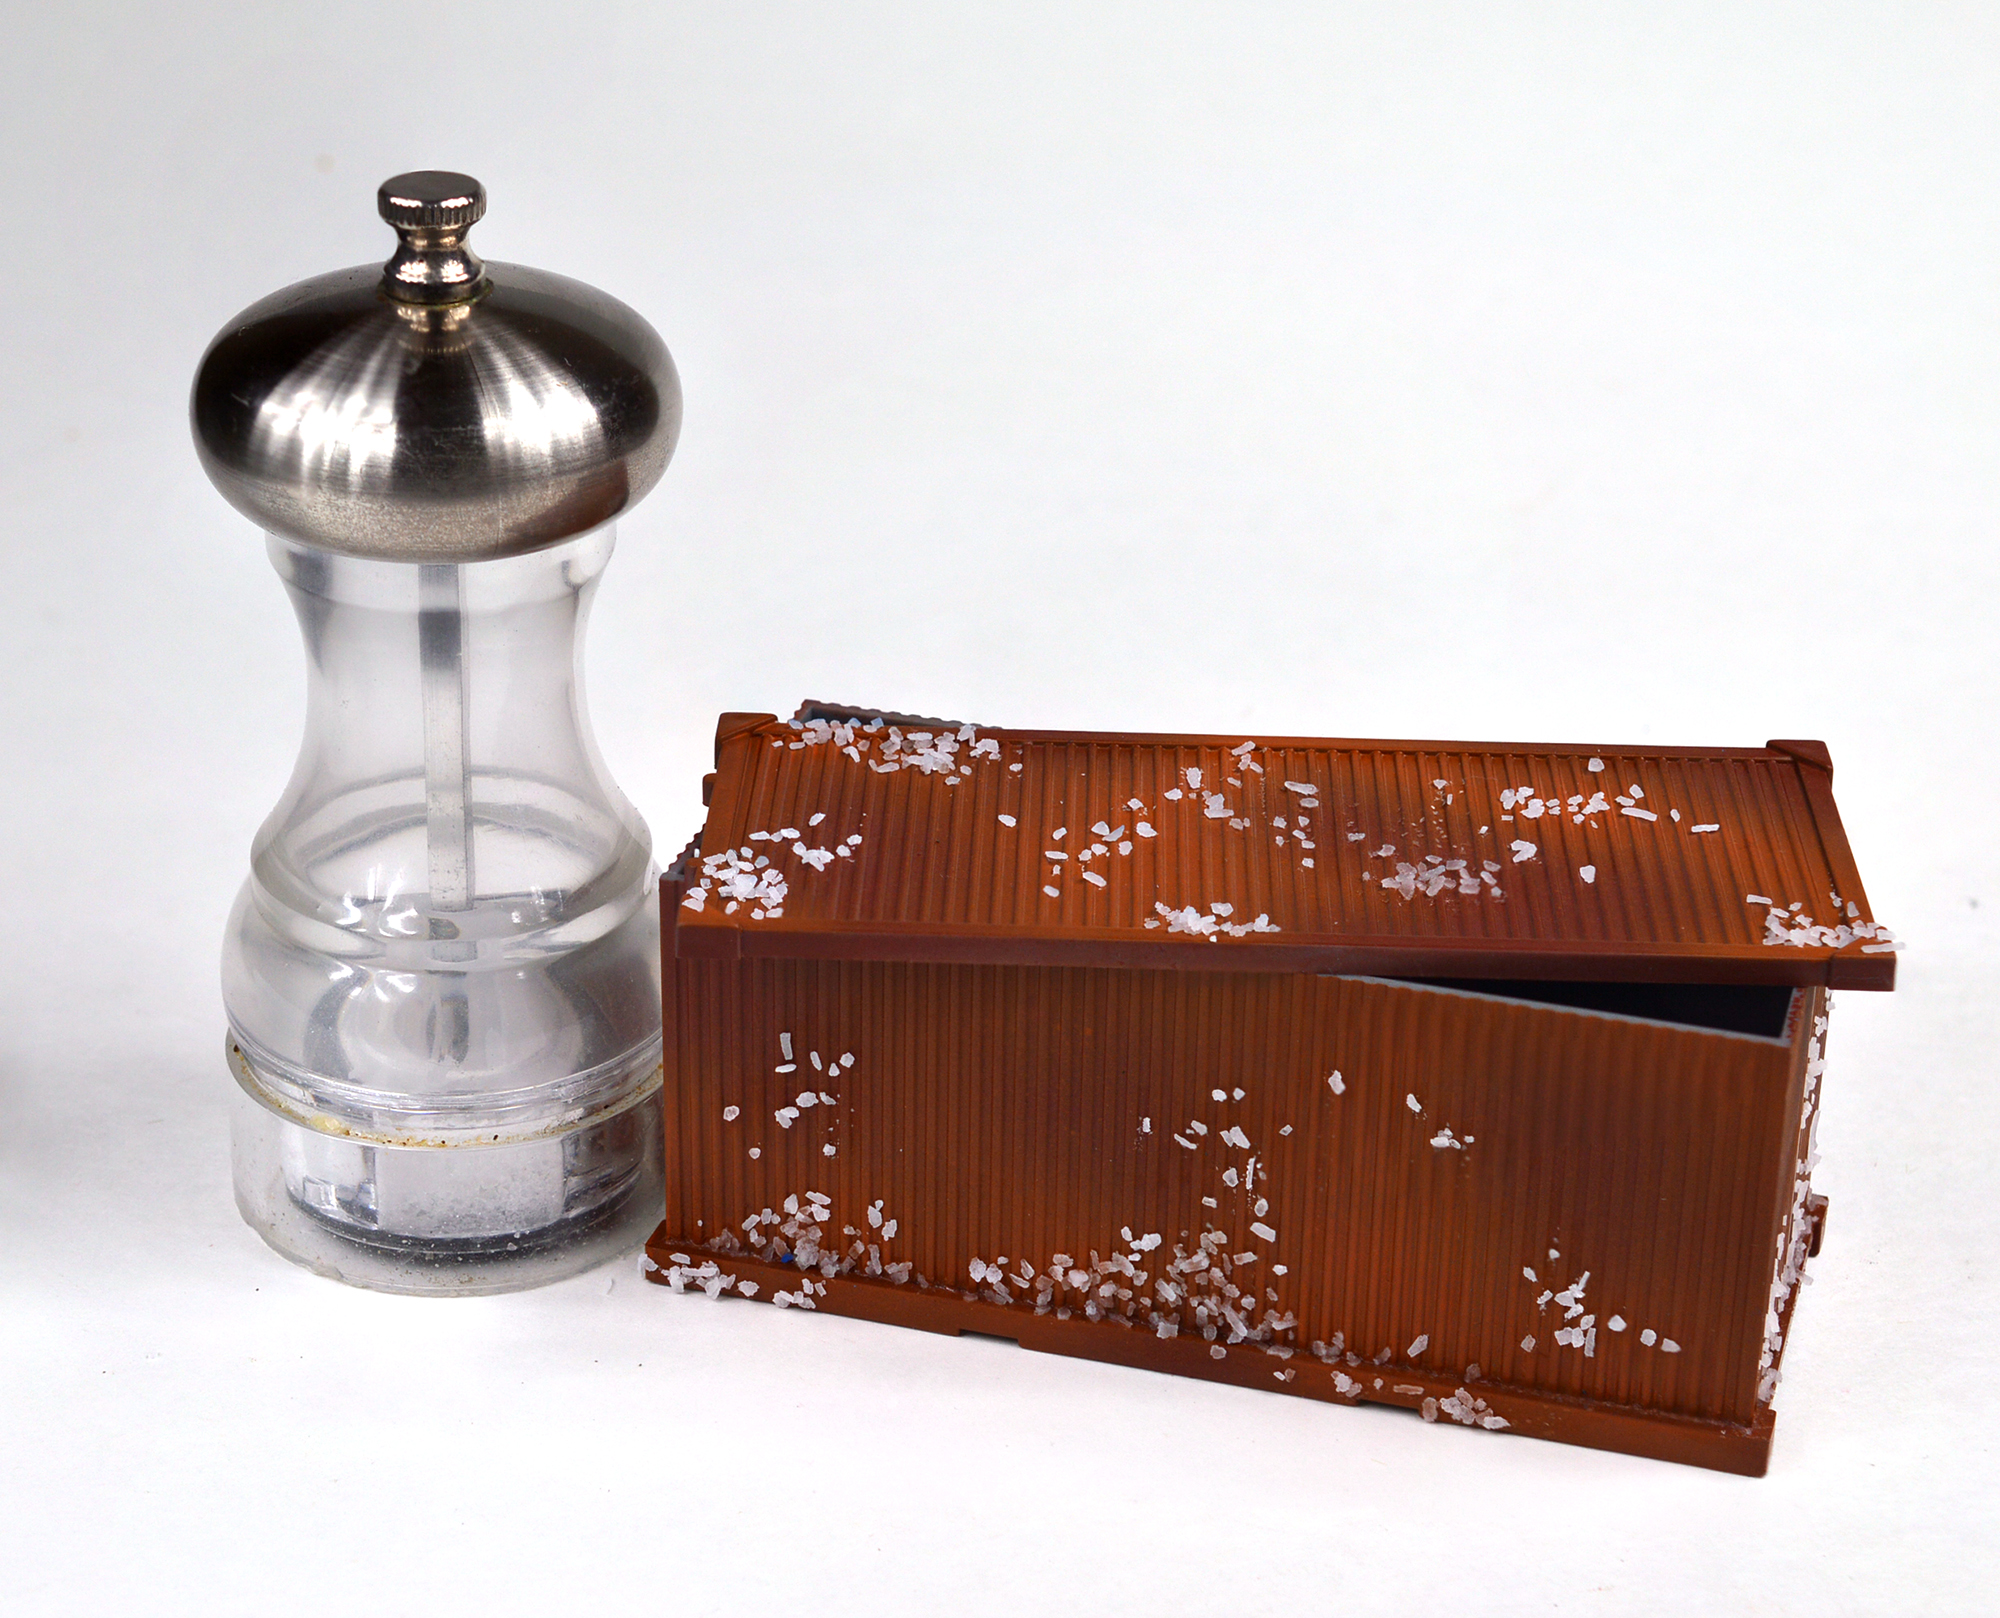
At this point, I took a brush that is slightly damp with water and apply it at random to the model. I then sprinkle salt onto these wet patches. Road salt that’s been bashed up with a hammer will give a more random appearance and won’t leave residue in the way that table salt might, but table salt can work all the same (as seen here).
Now, it’s time to paint the top layers of paint. Using an airbrush, I laid down a simple 3-step highlight. One lesson I learned is to apply the base layer gently so the air pressure doesn’t knock the salt from the model. The water you used to apply it should be enough, but a few flakes will inevitably pop off. Not a huge deal at all!
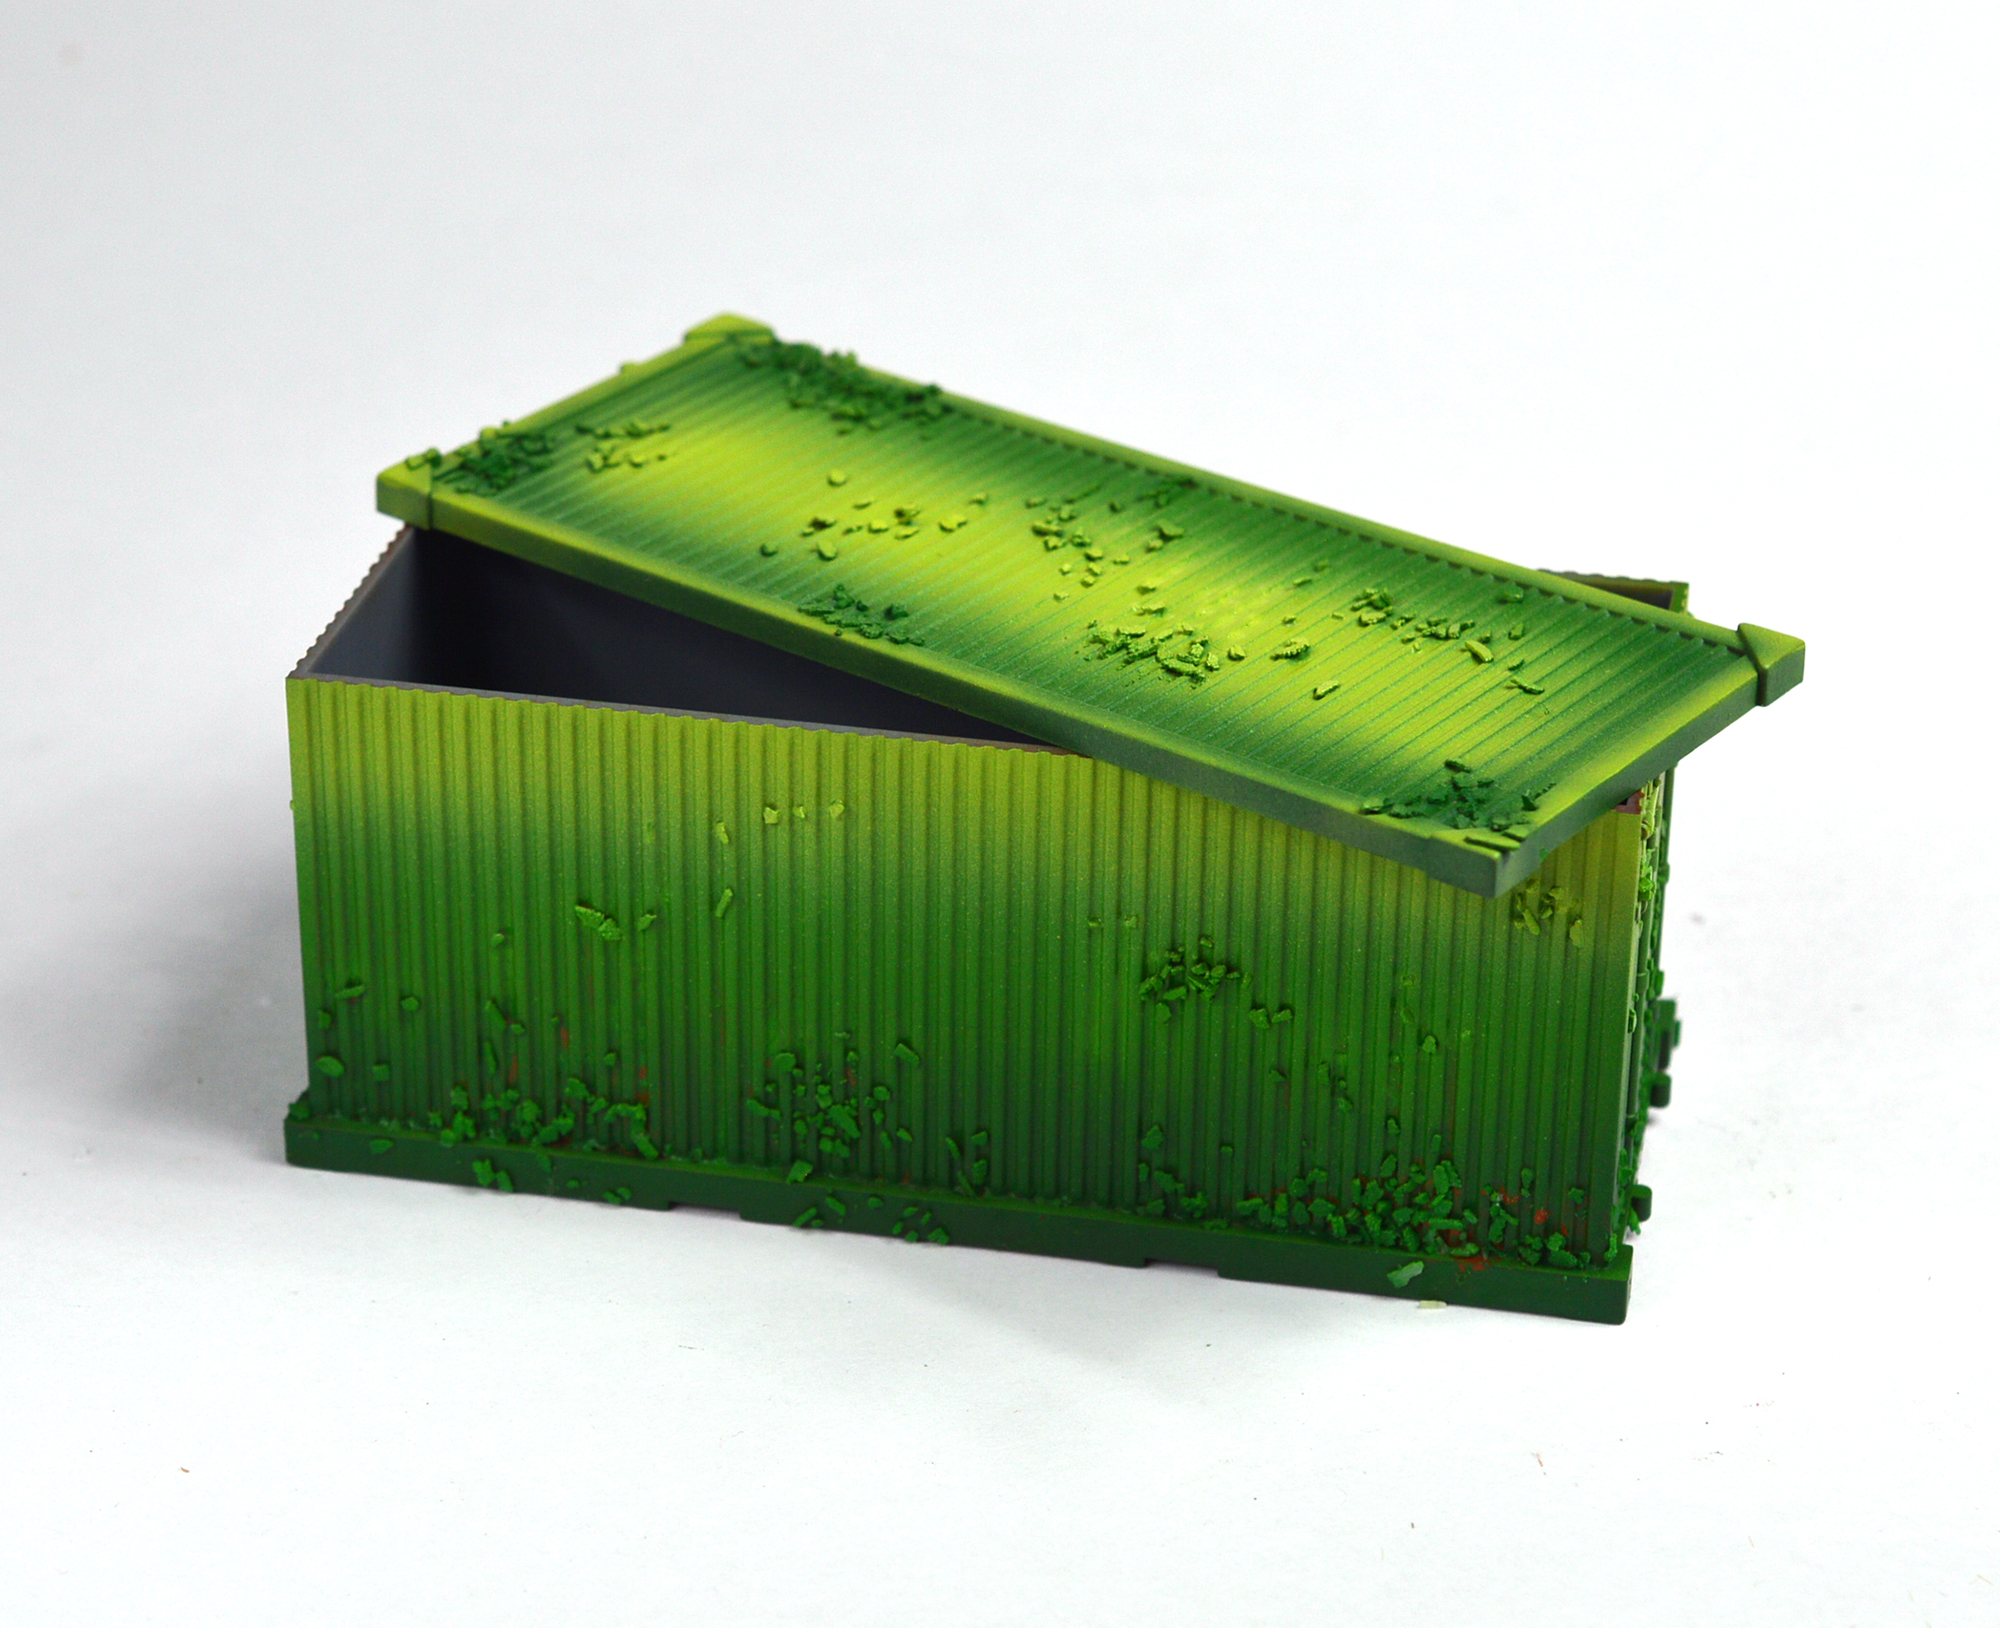
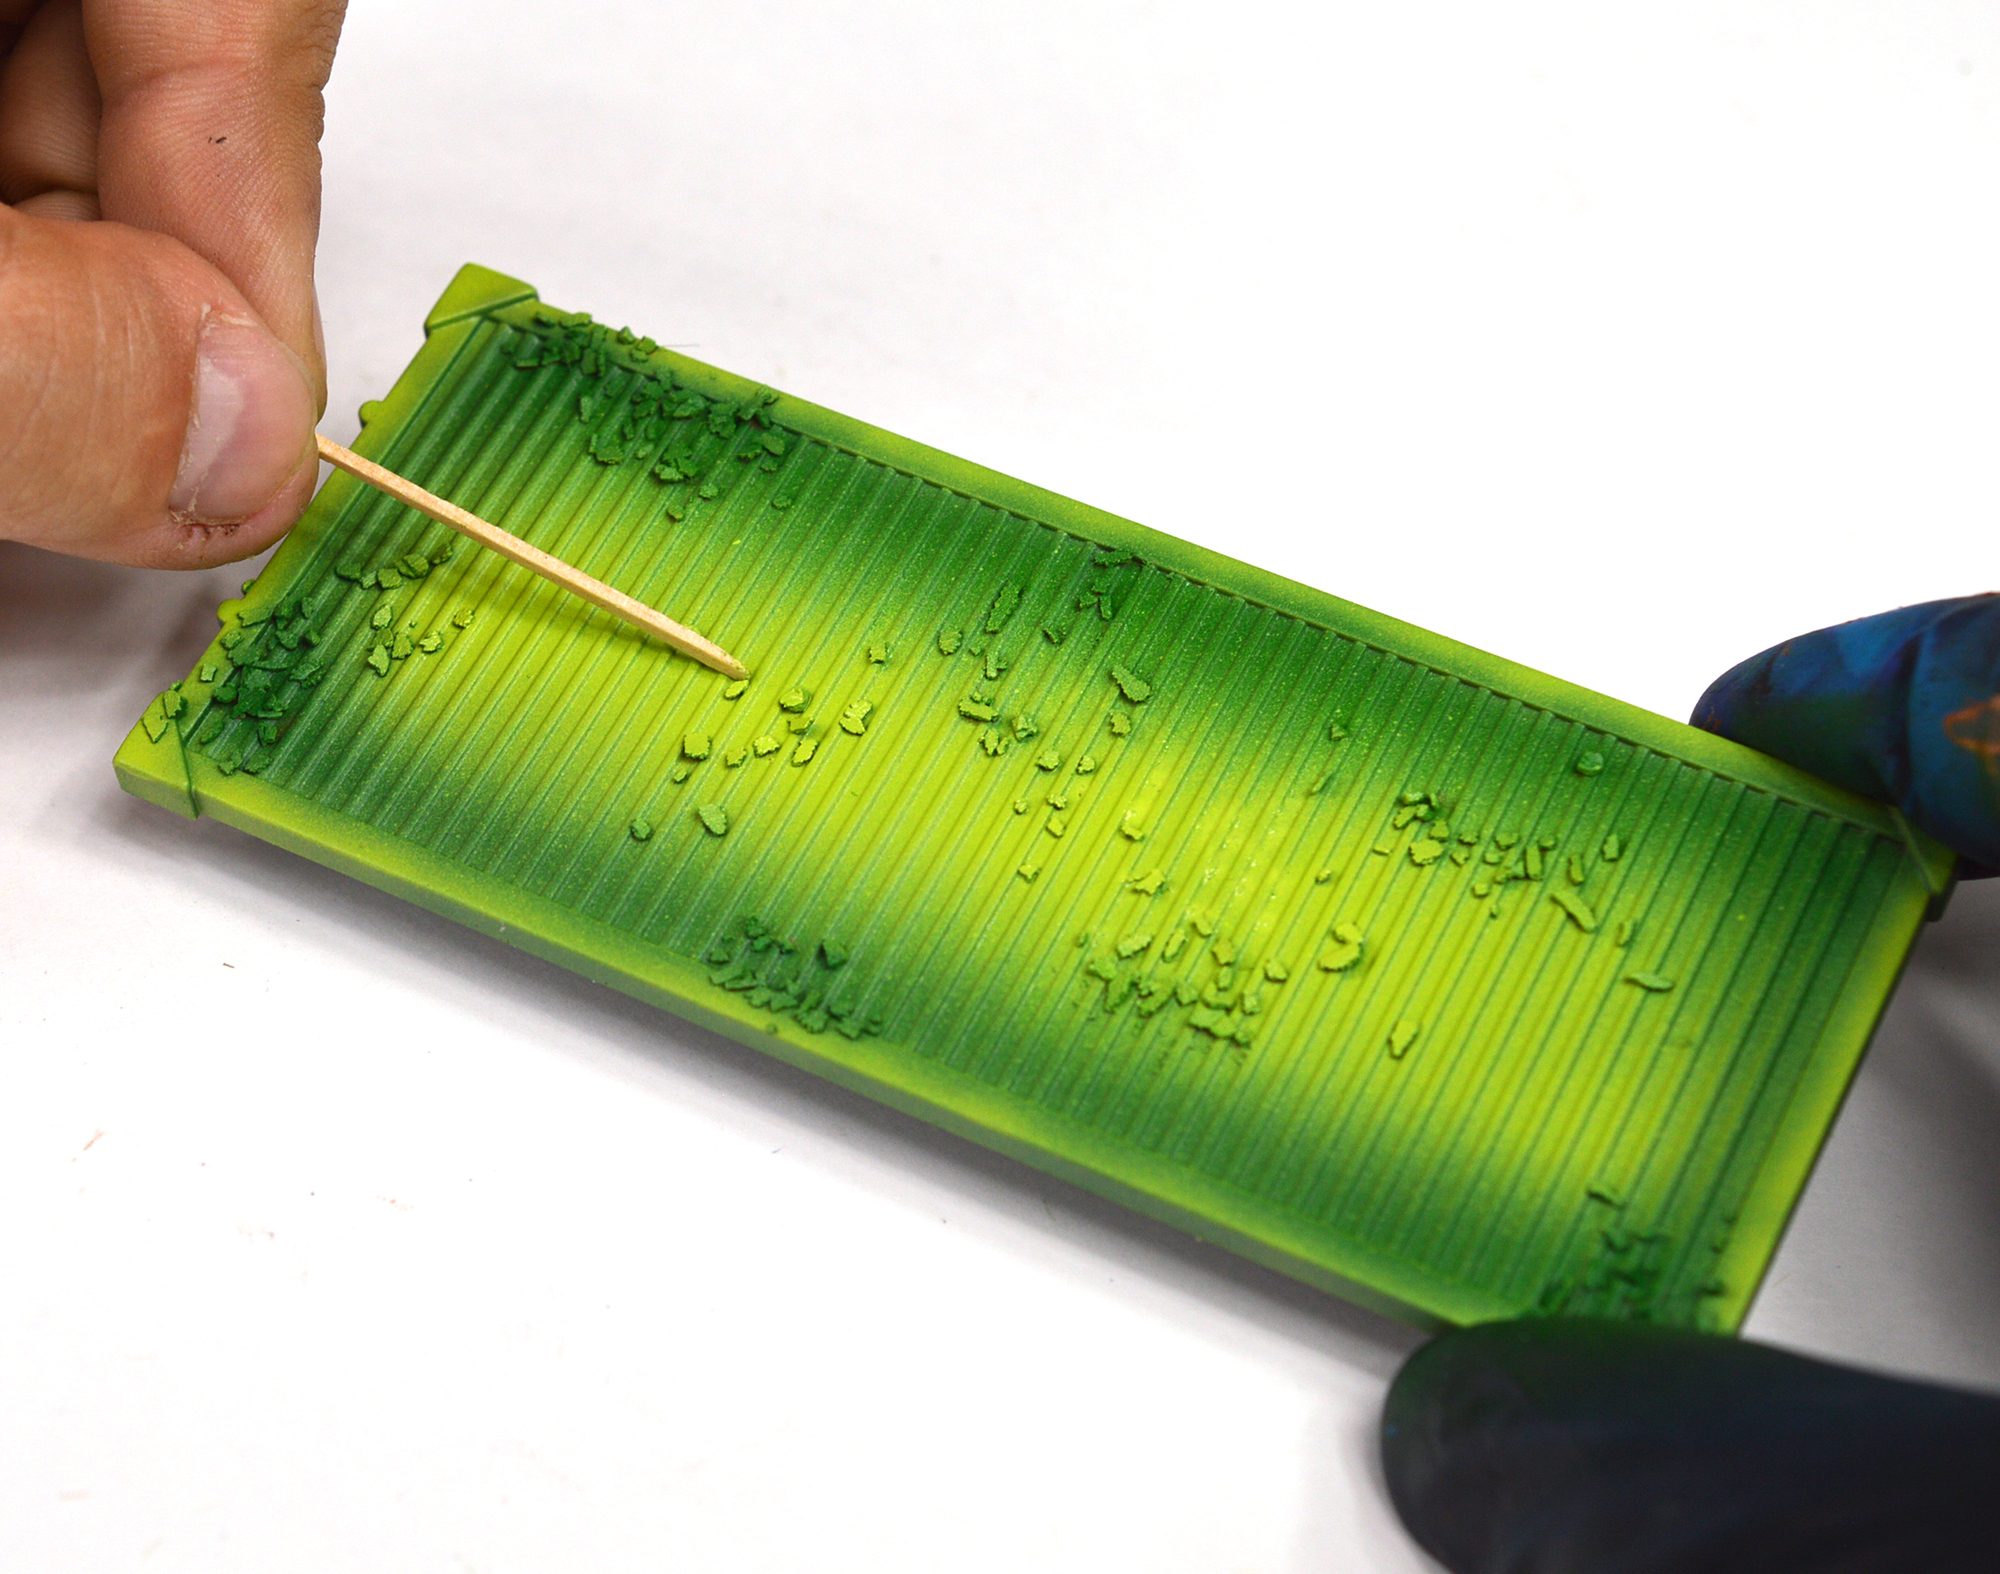
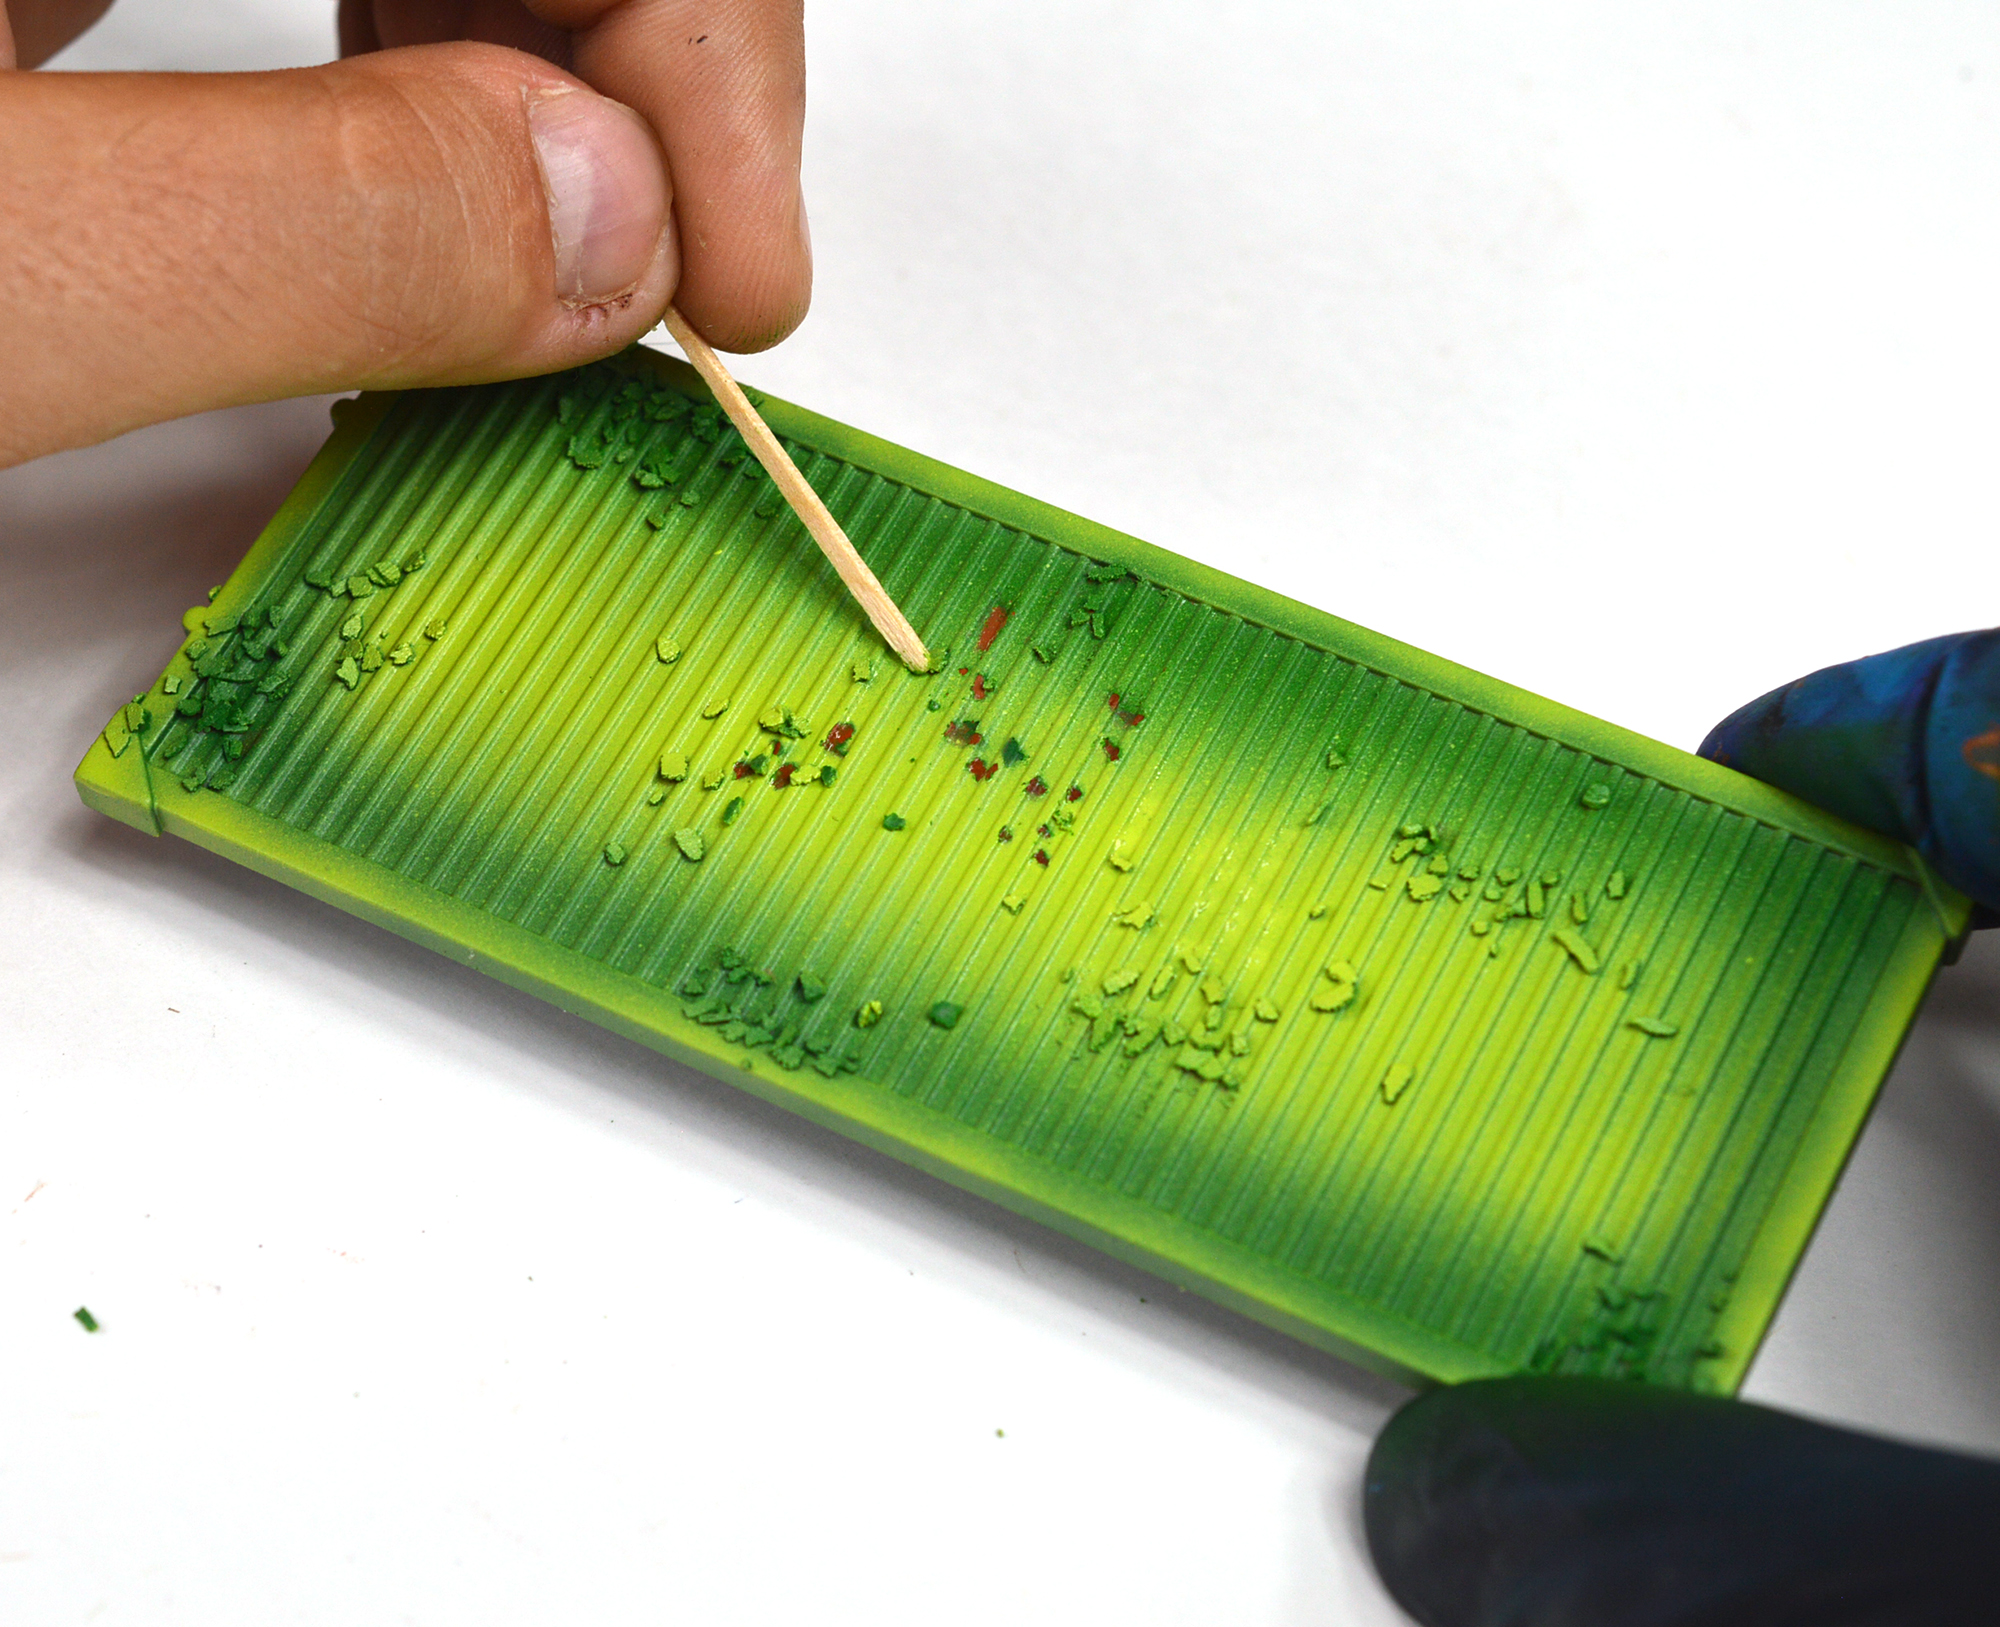
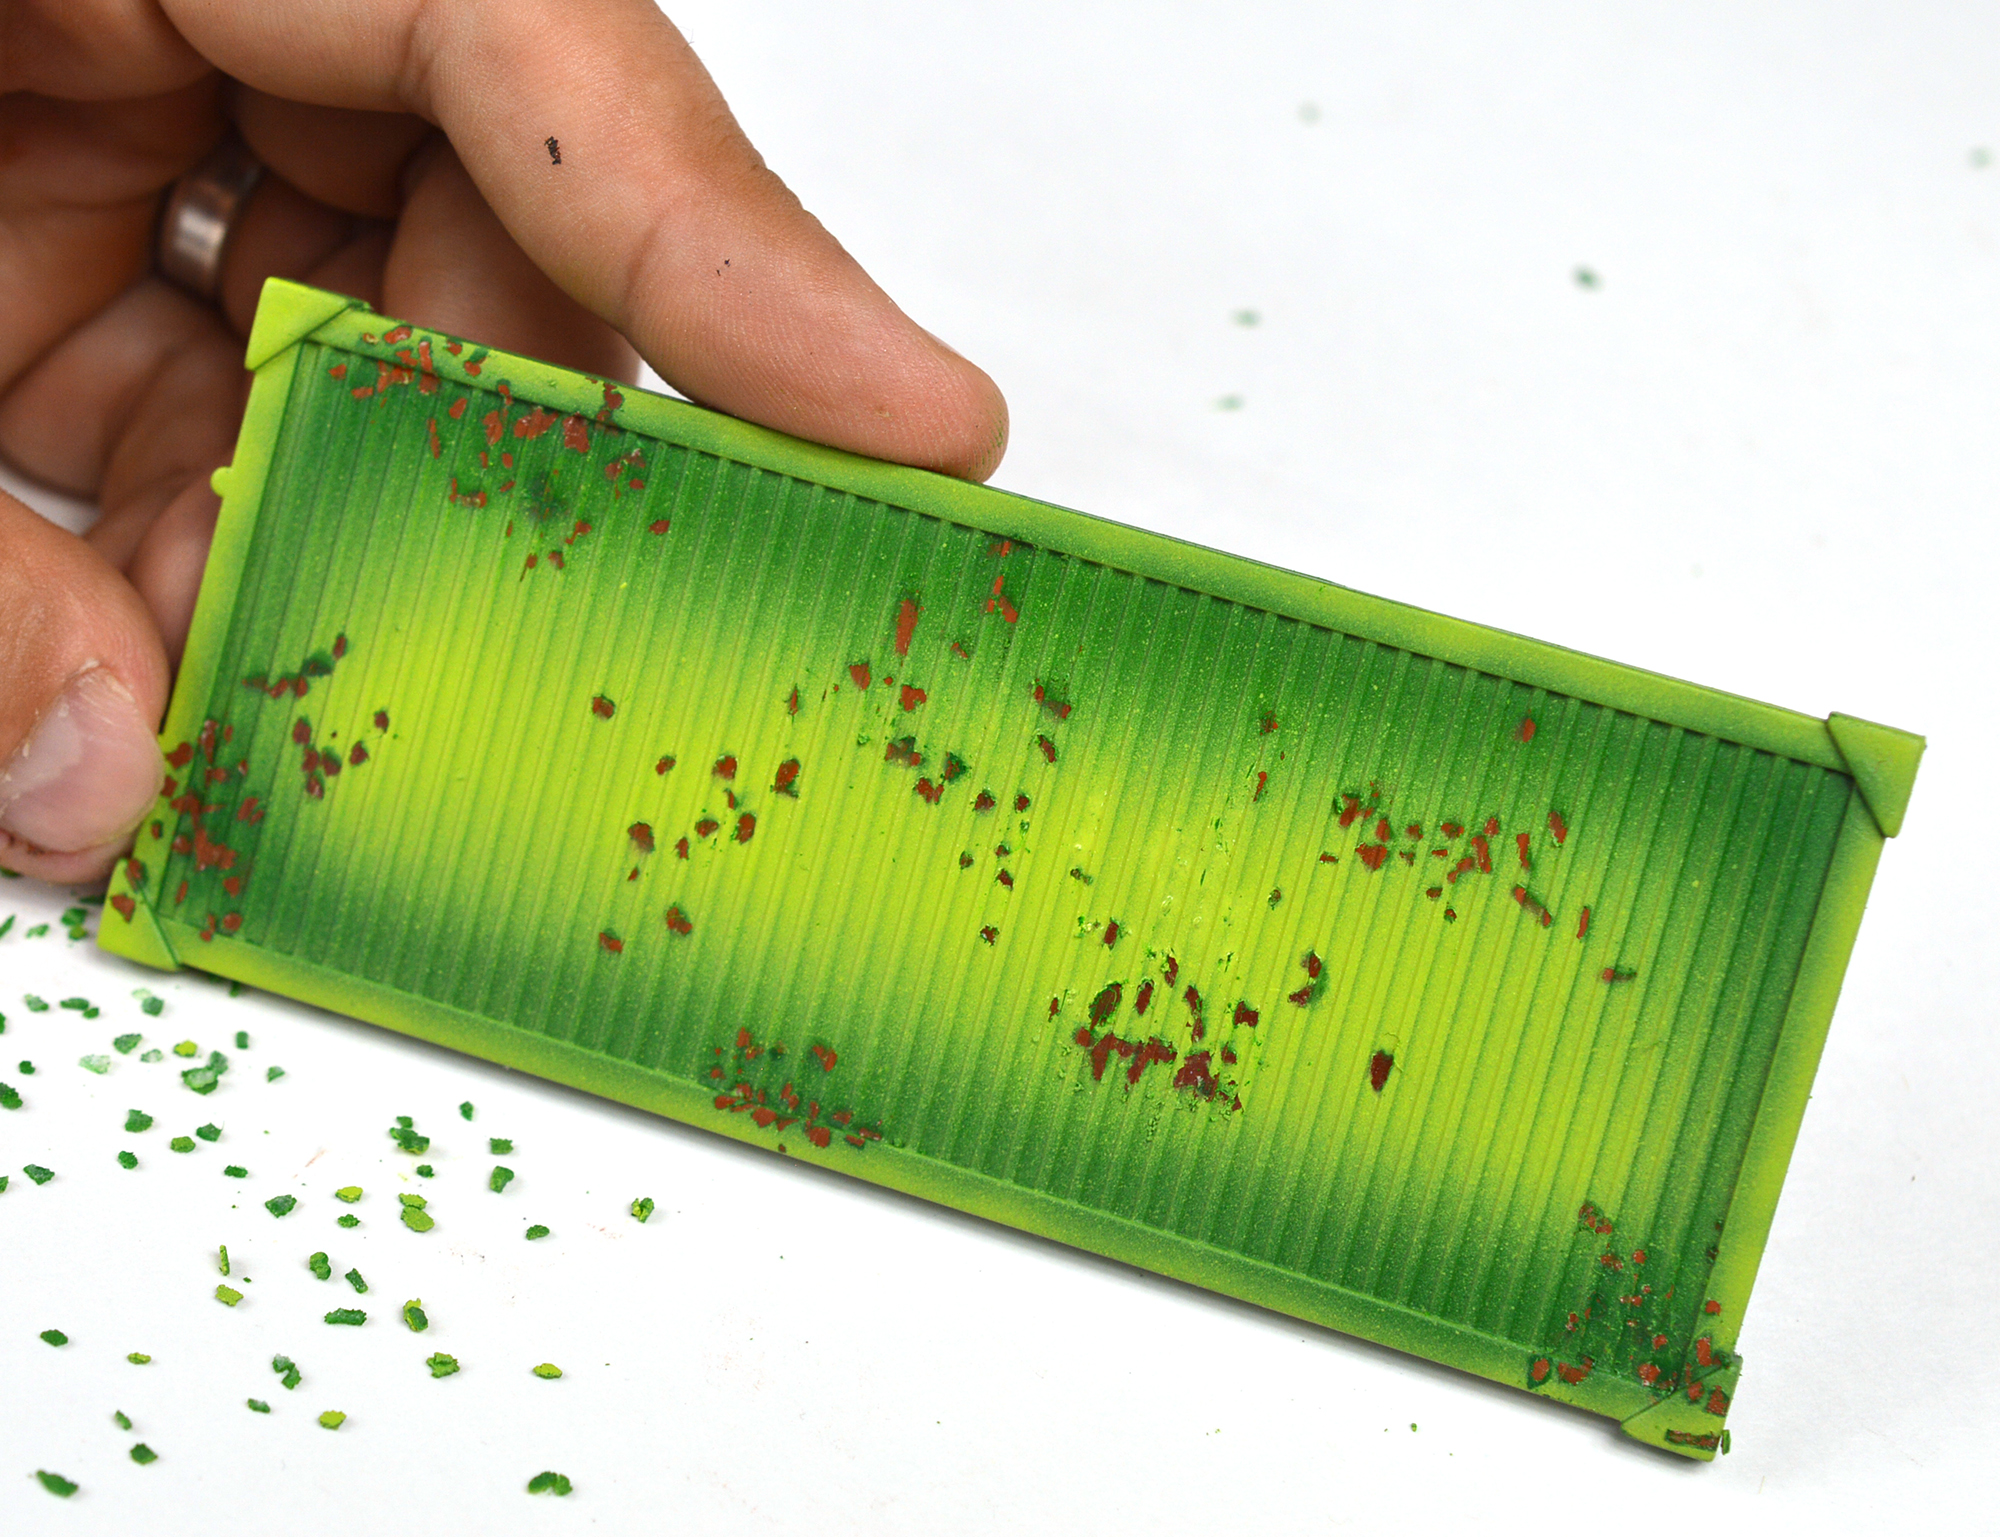
Once the paint has dried a bit, it’s just a matter of revealing the rust beneath by removing the flakes of salt. For this, I used a toothpick, but a stiff-bristled brush would work just as well. The original base layer will now show through, achieving an effective chipped appearance.
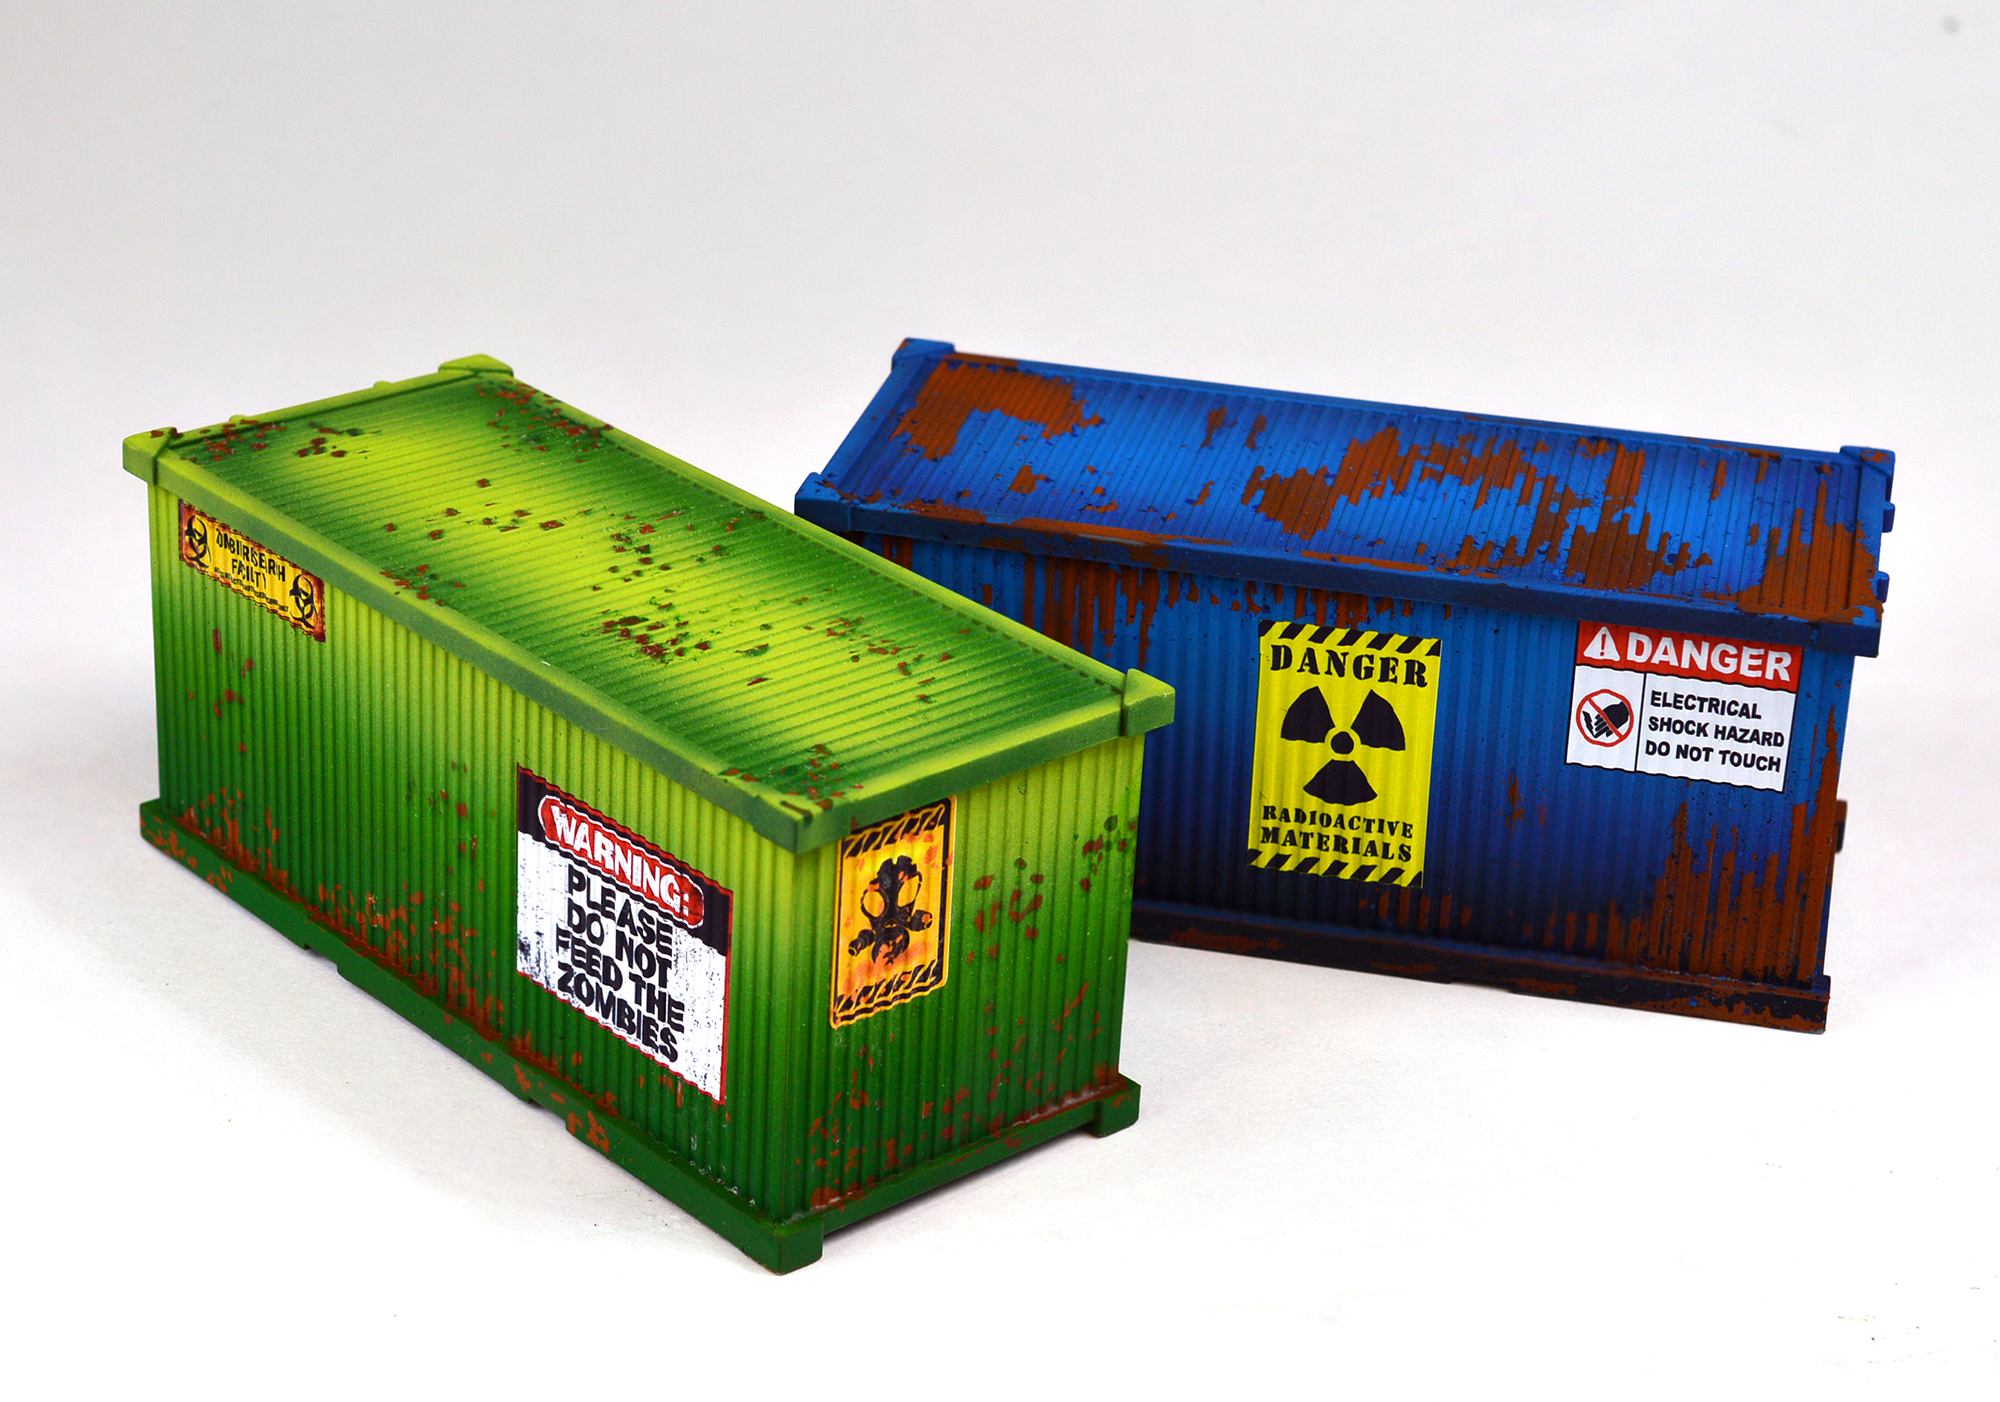
I decided to slap some decals (feel free to check out my first article if you want some info on how to do this effectively) on this bad boy and call it a day.
Like I said in the intro paragraph, salt chipping is one of the more accessible methods of simulating weathering. One of the major downsides is that it does largely rely on using an airbrush, a tool that may not be universally accessible to all painters. In future articles, I’ll explore a few other methods, some of which will be achievable with nothing more than brushes. Thanks for tuning in to this one!
And remember, Frontline Gaming sells gaming products at a discount, every day in their webcart!


