For my first ever Hobby Hangout article, I would like to tackle one of my favorite topics: decals! Decals, or waterslide transfers, are one of the best ways to add character and authenticity to wargaming pieces.
Guest Writer: John Paul
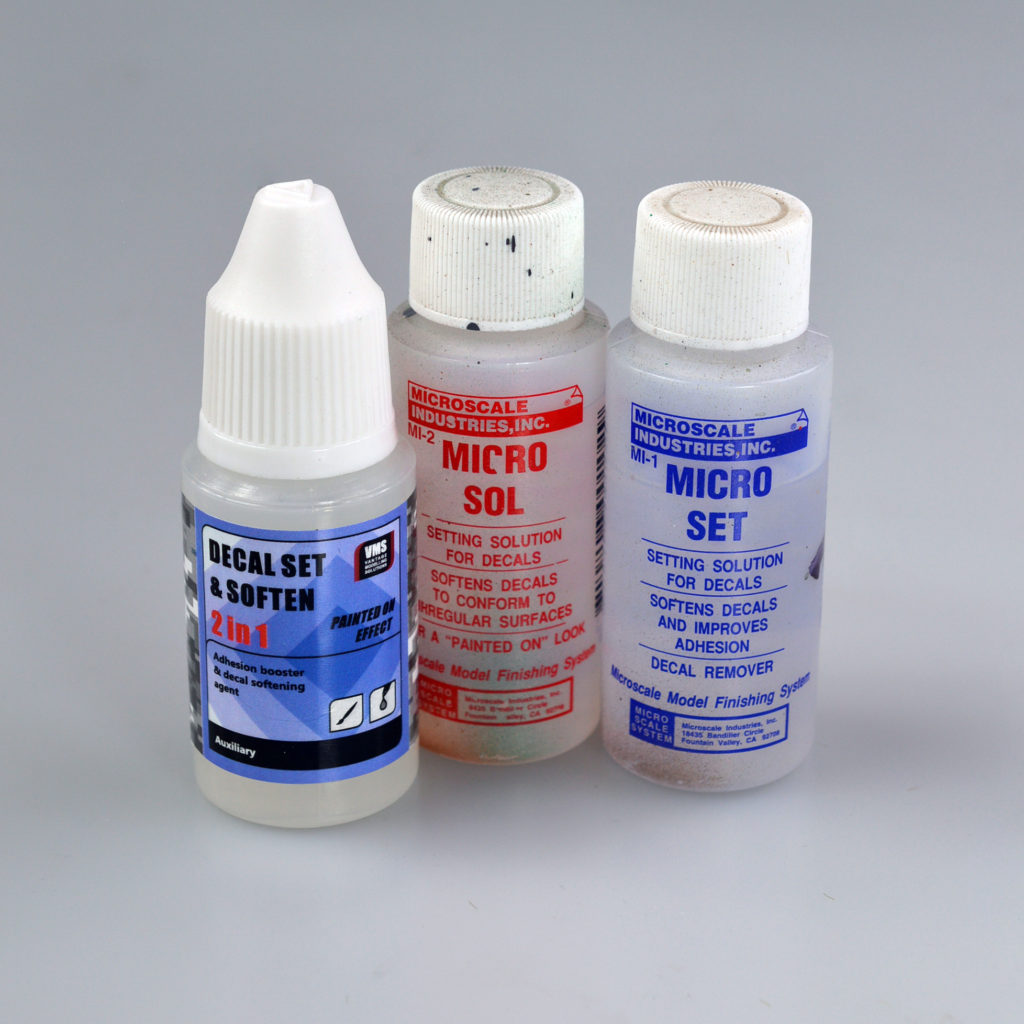
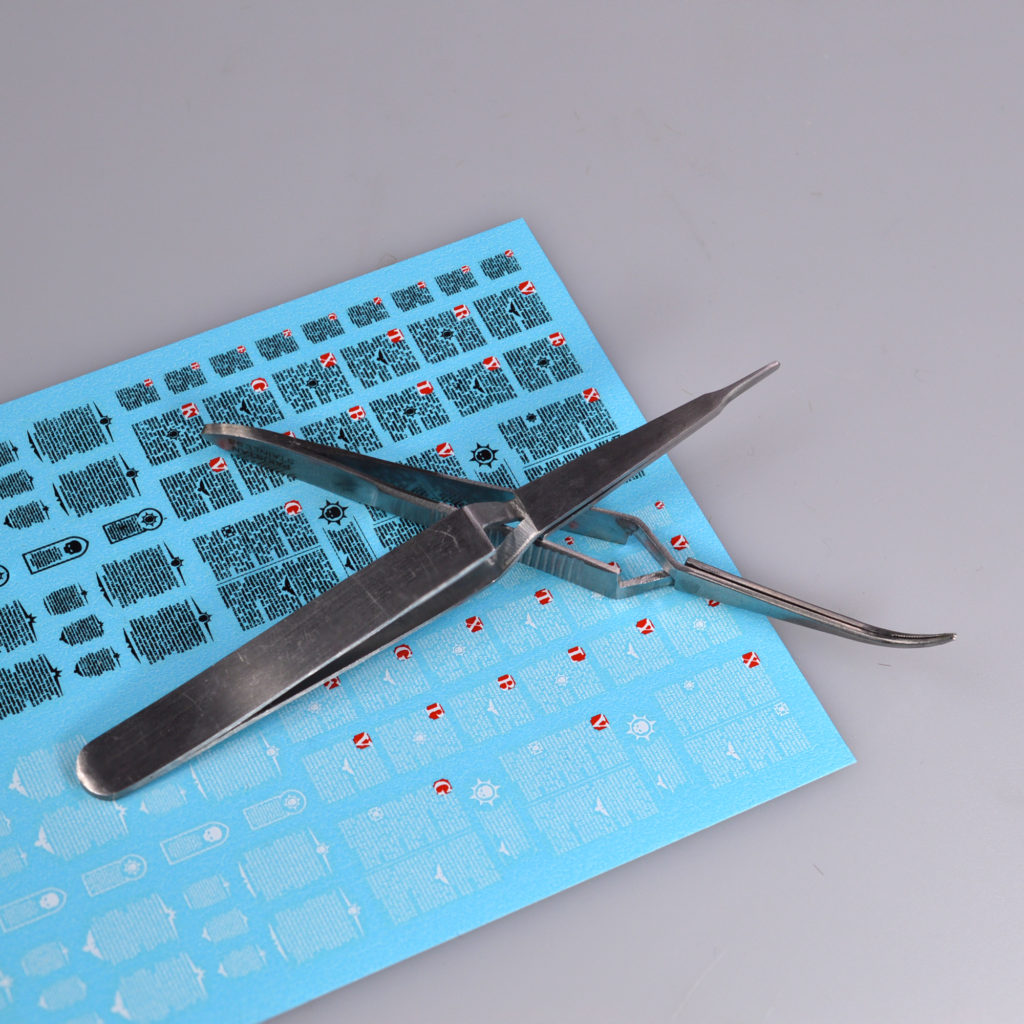
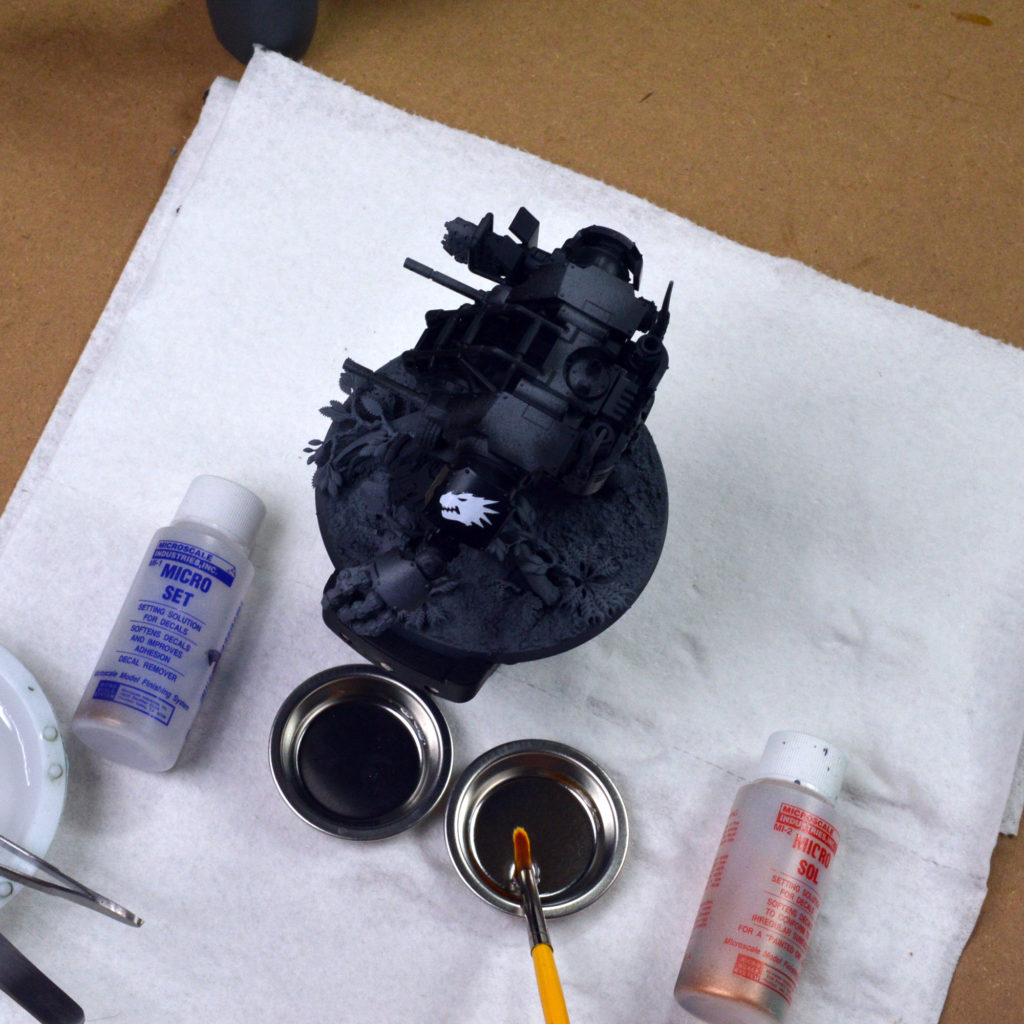
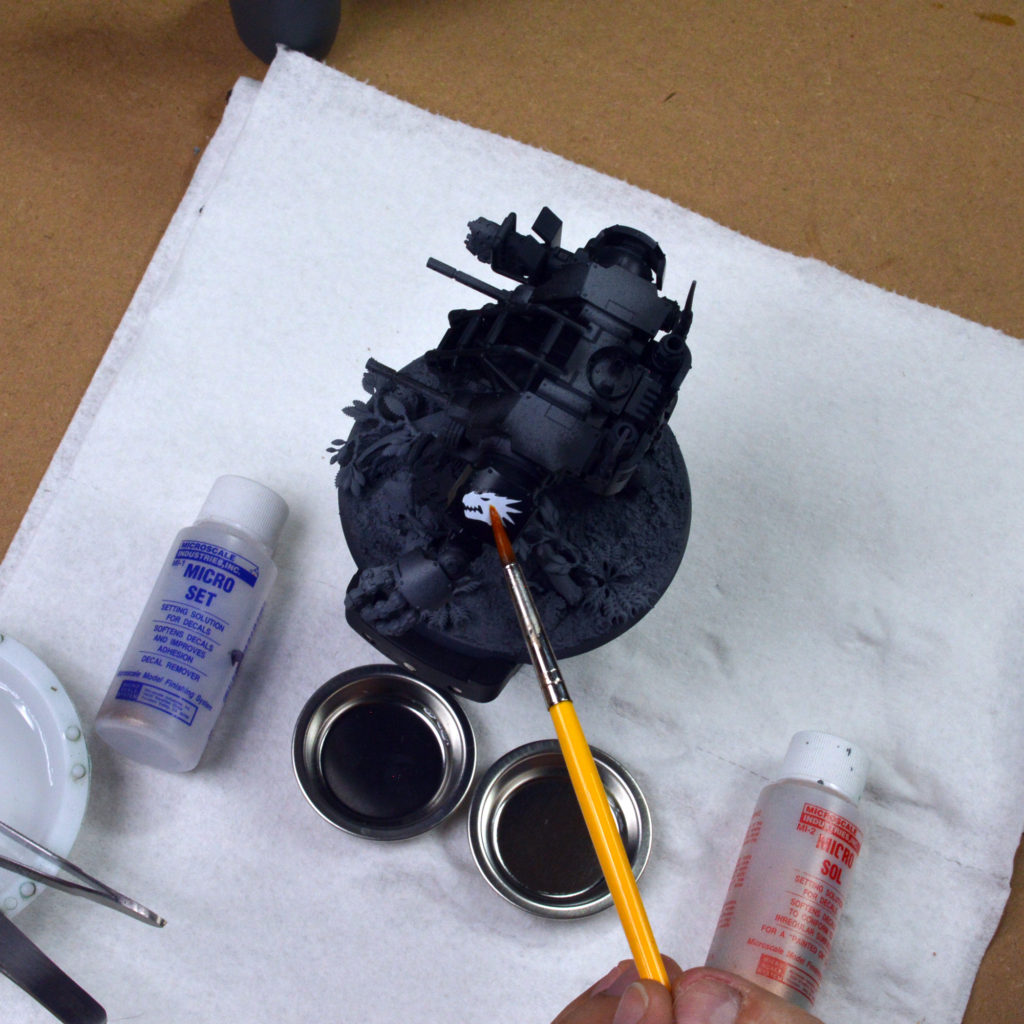
There are more and more third-party decal makers out there that offer some really cool options for customizing your army. Decals help with immersion and serve to make your models look and feel like part of a unified army. They can seem a bit intimidating, but with a few simple steps, they’re easily managed. There are a few things that make applying decals much easier: self-closing or cross-lock tweezers and decal softeners (there are plenty of brands, but I’ll be using Microset and Microsol for this article).
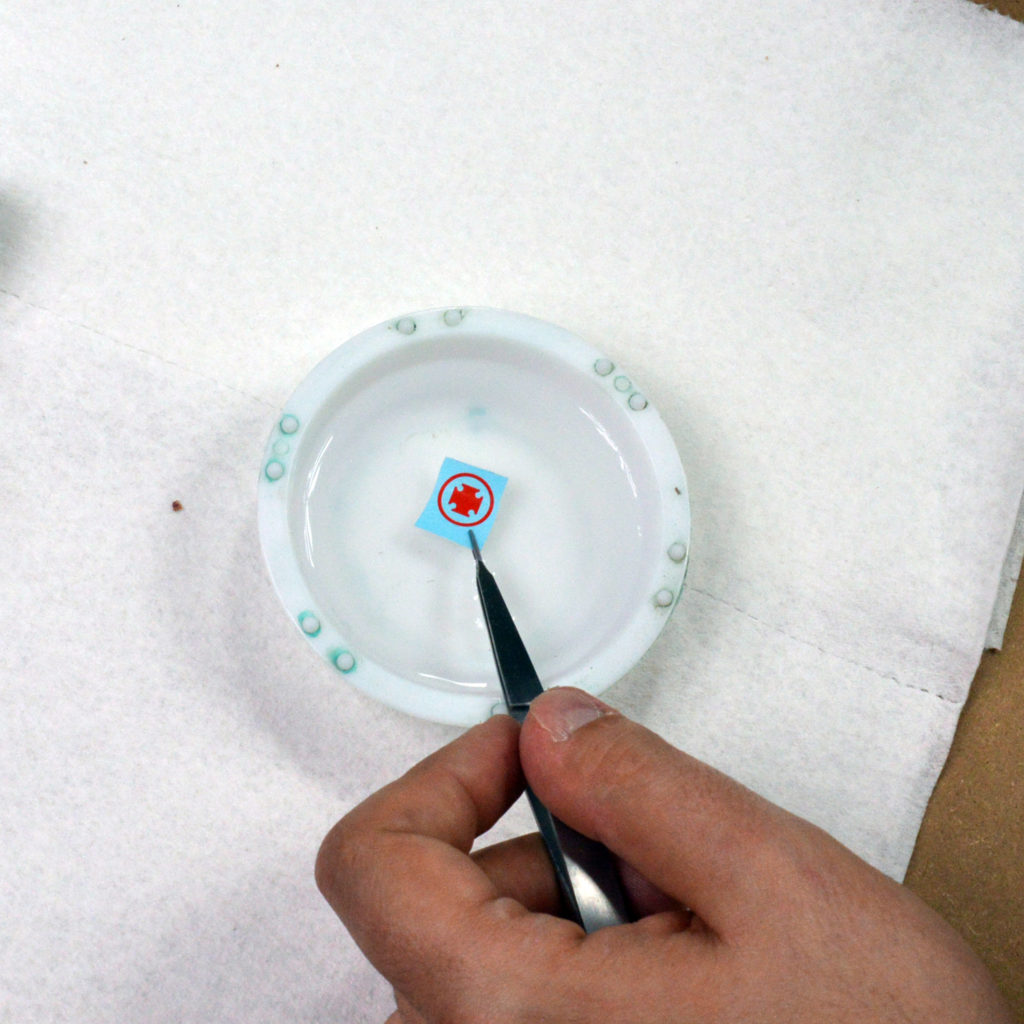
Firstly, cut out and soak the decal in some water. While it’s soaking, apply the decal solution to the model itself. This creates a film between the model and the decal that allows for repositioning. Without this, the decal has to be placed perfectly straight from the sheet, something I’m not so strong at.
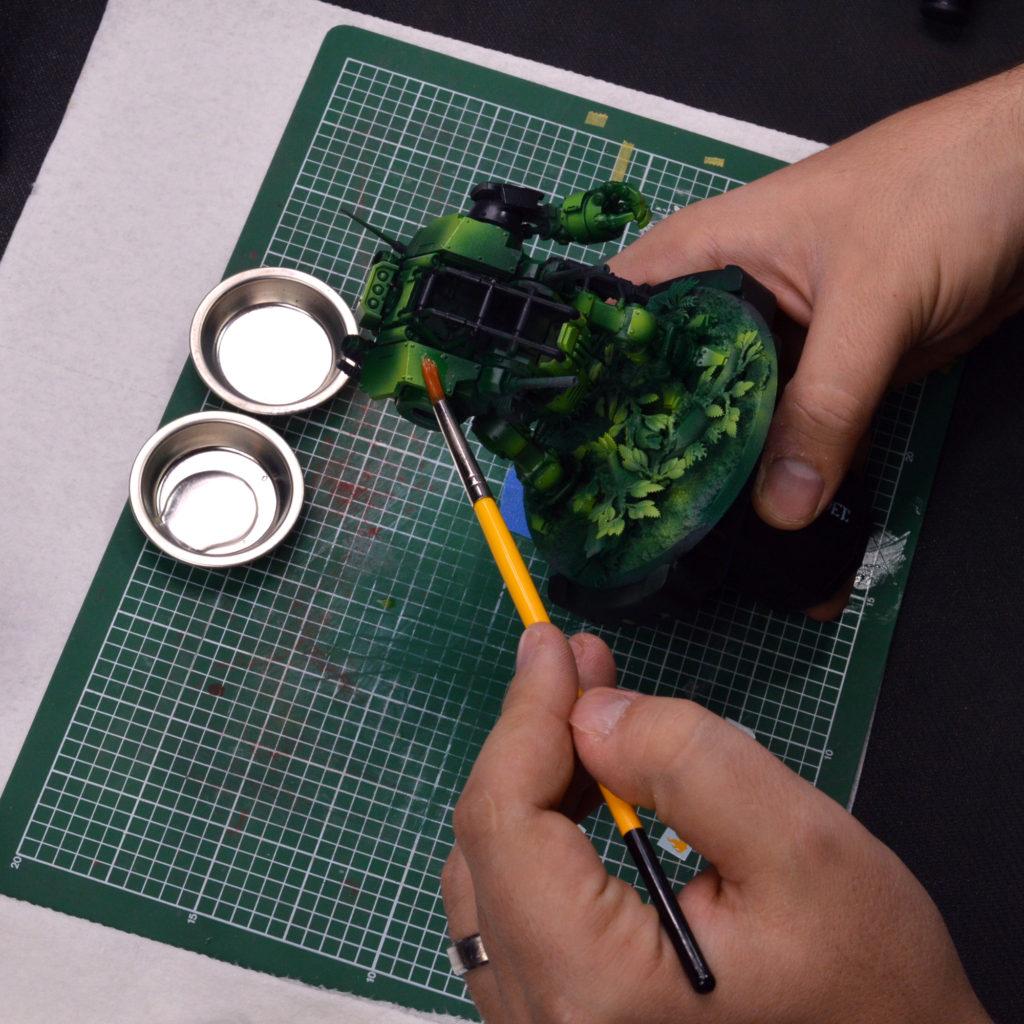
Once the decal is loose on the transfer paper, it’s time to apply it. I use a large, soft brush to coax it off of the paper and onto the model. Using that same brush, I’ll gently nudge it into place. This is sort of the “make or break” stage. Manipulating the decal too much can either bunch it up or even tear it. If it’s refusing to move, add more water to try and loosen the contact between the decal and the surface.
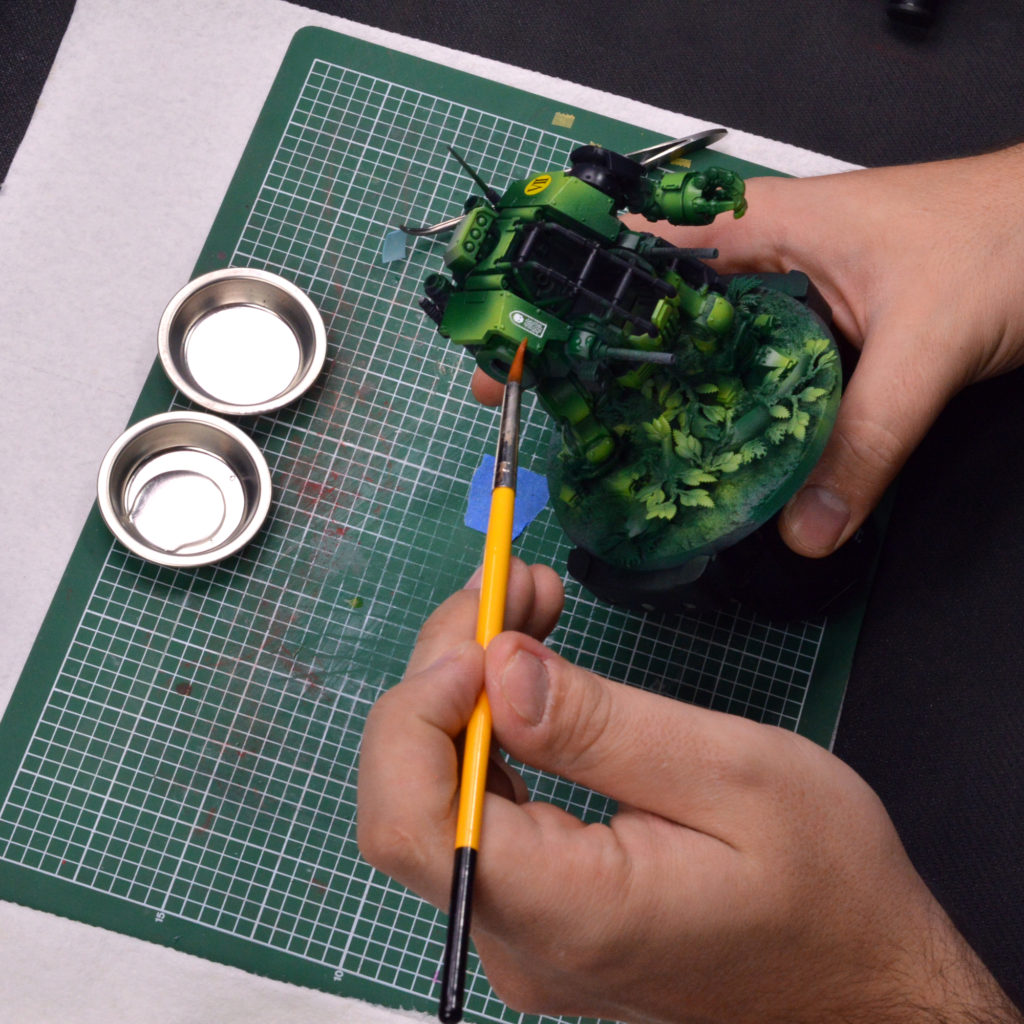
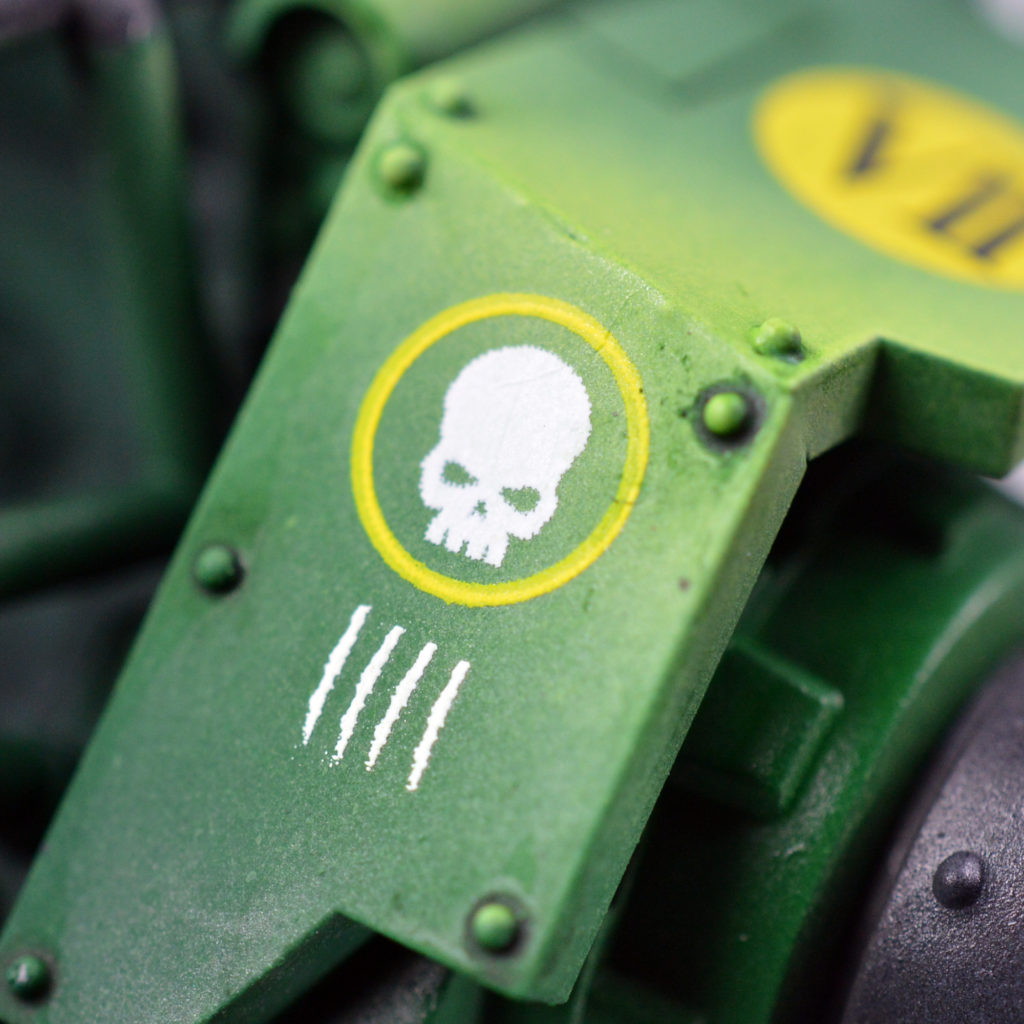
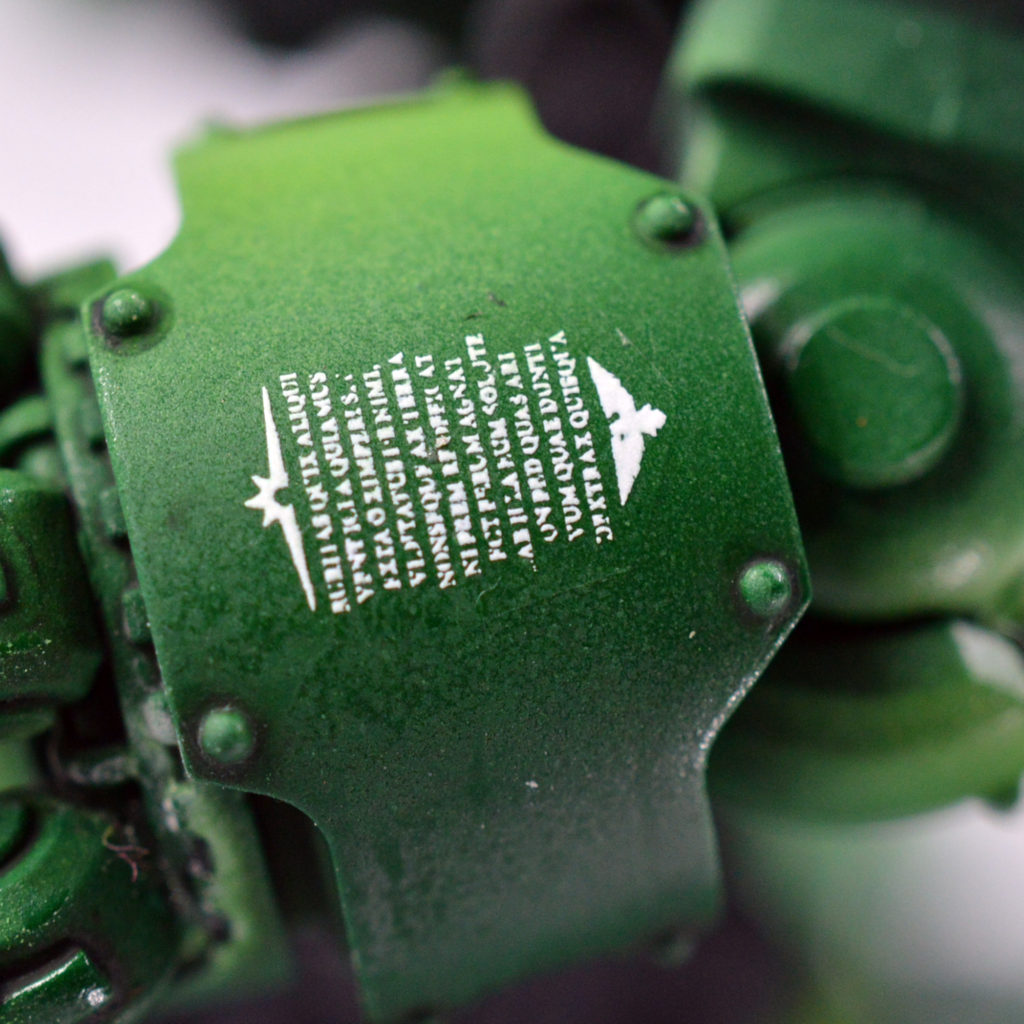
Allow the decal some time to settle and for the initial products to evaporate. Then, apply the Microsol or decal softener. This product dissolves the decal film, forcing the decal to shape itself to the surface. It’s the secret sauce that shapes decals to shape around contours, fit into cracks, and generally adhere to the surface regardless its texture. Dab this on gently and then leave it. Because it is essentially “melting” the decal, manipulating it now can do serious damage to the end result. Allow the solvent to work and come back in an hour or two, and the decal will look great.
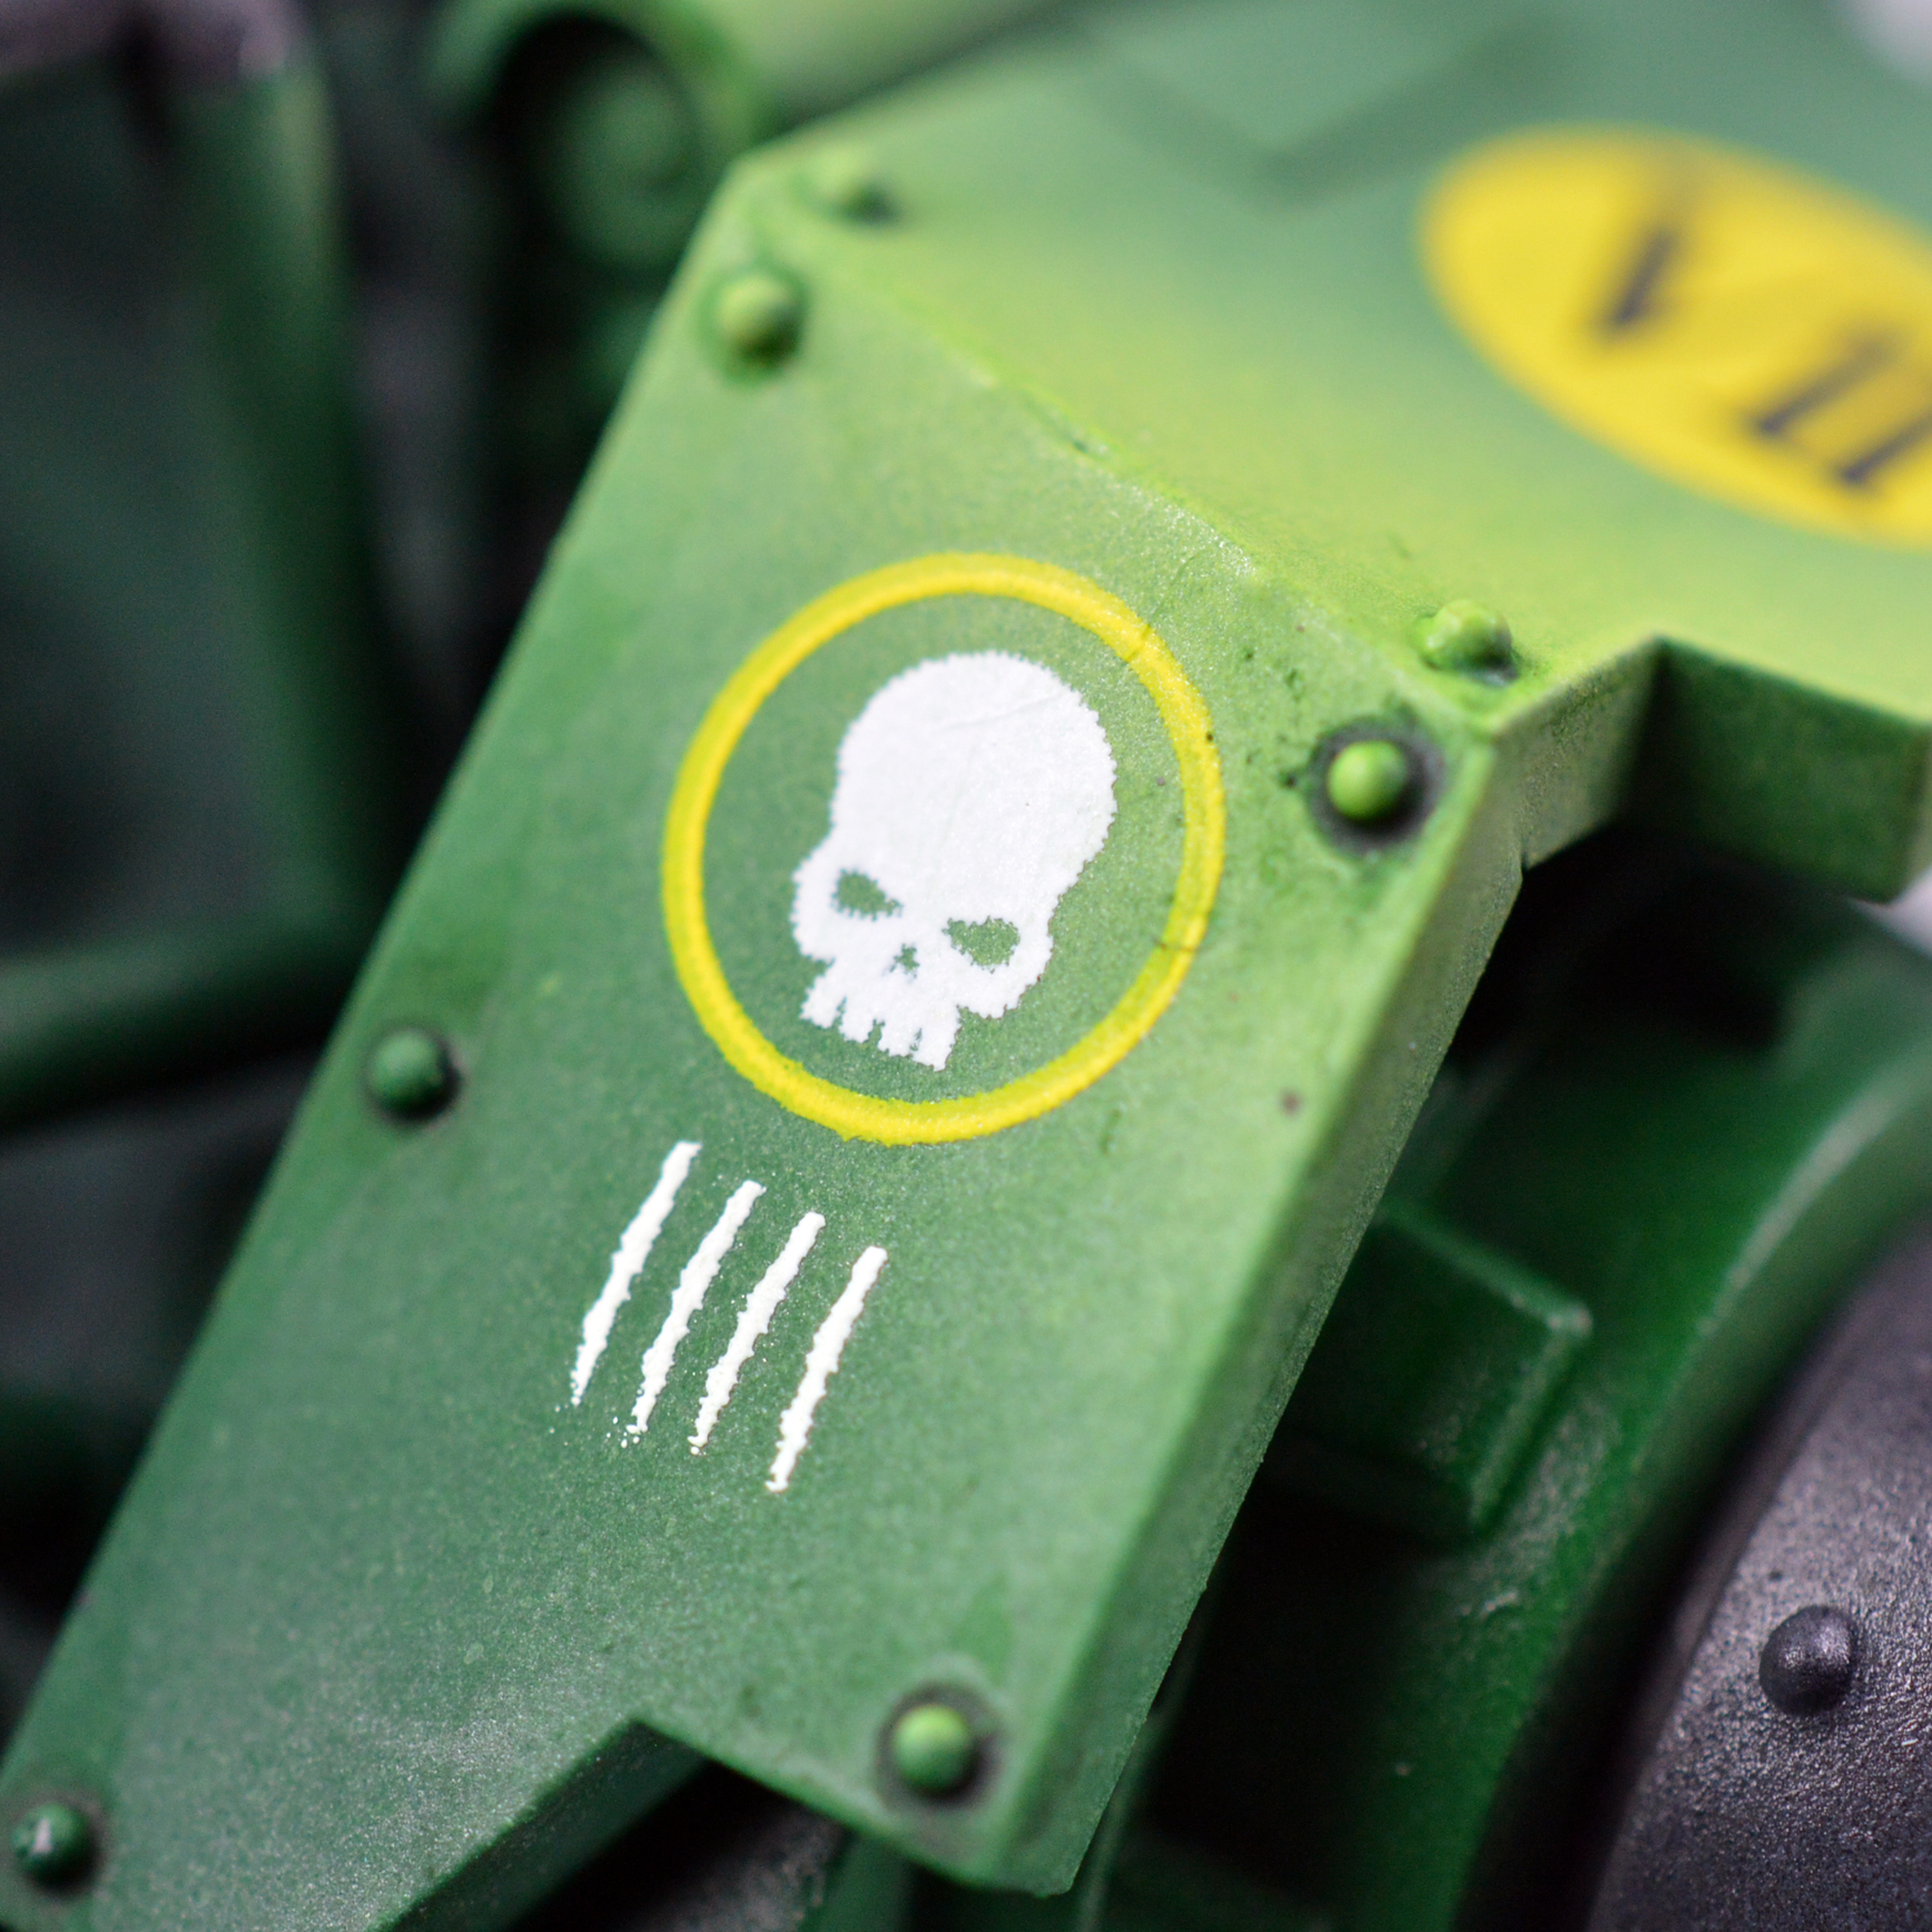
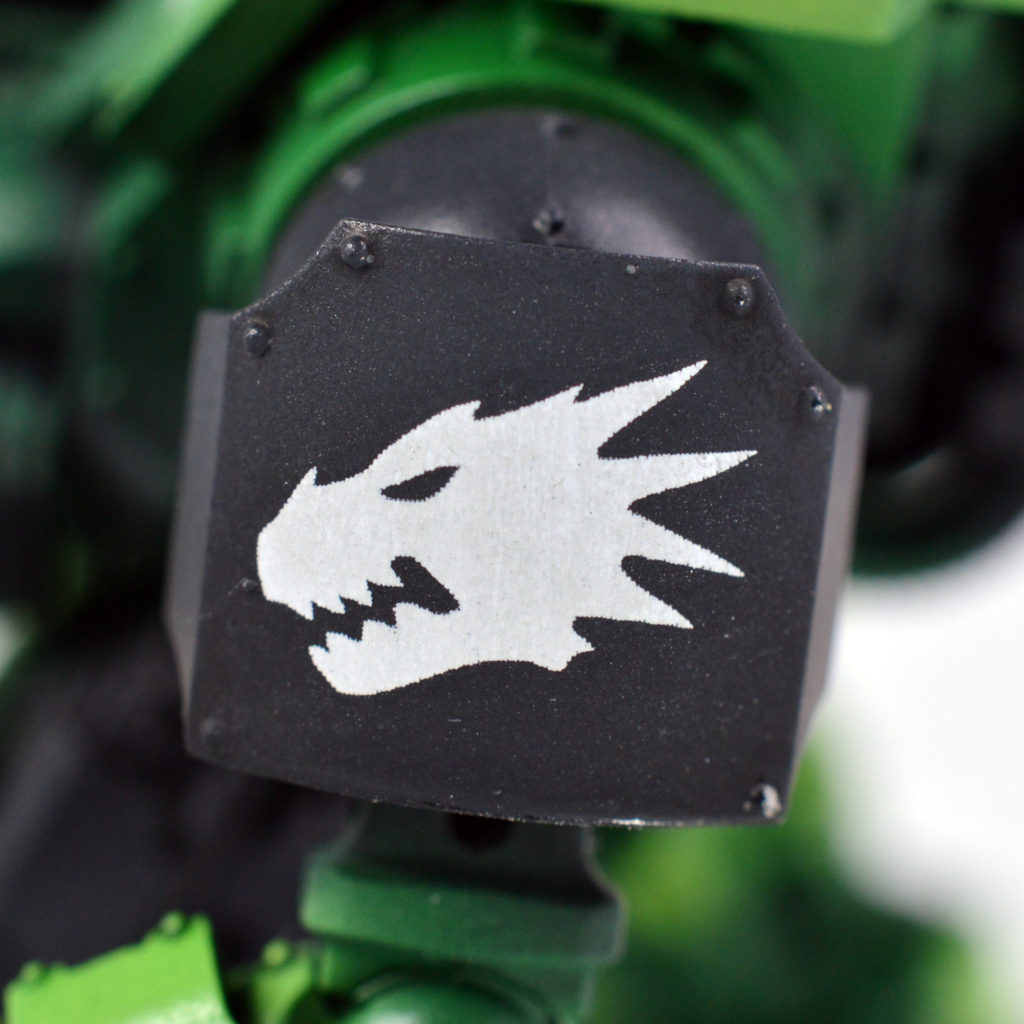
Lastly, to truly integrate the decal into the rest of the paint scheme, it’s advisable to apply a layer of finish. In this case, I used matt varnish because that’s what I used on the rest of the model. If you prefer satin or even gloss, use those. If you don’t have an airbrush, that’s fine. Apply a thin coat over the decal and the panel, armor, etc. that it’s resting on. GW’s Lahmian Medium works similarly as well. This will cut the glossy sheen and make it truly look like the decal is painted directly to the surface. And there you have it, a quick guide to achieving beautiful looking decals. Get out there and give it a whirl for yourself!
And remember, Frontline Gaming sells gaming products at a discount, every day in their webcart!

