

A game of cat-and-mouse, by way of Age of Sigmar, Forcing the Hand poses some interesting tactical dilemmas for players.
The very best competitive wargame scenarios find a way to really cleverly shake up the players’ approach to the game, while adding a bare minimum of book-keeping. The scenario should make the experience richer, not more convoluted. “Forcing the Hand” is one such scenario, and as an AoS fan, I am in love.
The Mission:
In “Forcing the Hand” players deploy 12” out from their opponent’s territory, with those territories taking the shape of two inverted, stumpy “L” Tetris pieces. In essence, it is the angular cousin of the “Vanguard” deployment many here are familiar with.


Players each possess three objectives, and all normal scoring applies with one very important twist. At the start of EACH player’s turn, the opposing player selects one of their own objectives to make a high value target. This turn, that objective is worth 3 VP instead of the 1 VP the others will be worth.
How to Win:
I adore this mission as it adds a whole layer to the experience of battle, without really demanding a tailored list. Most armies can do just fine in this scenario, it is simply that the application of your army, and maybe a bit of bluffing will go a long way.
Consider some of the applications of this scenario to a game…
You notice a less defended or immobile flank in your opponent’s deployment. By making this side your high value objective, you potentially pull their army out of position if they greedily readjust to pursue this side.
Or perhaps you see a single threat in their list that has the mobility to grab the high value target. If you use it as bait, a player may very well concede a critical tool in the long-run, to snatch those points in the short run. An out of position center-piece model may suddenly find itself removed by overwhelming numbers while its friends are out of place.
Basically, there are fewer tactics here that work 100% of the time, as it demands a lot of case by case consideration. As general tips go, however, remember to avoid bait, as that is the primarily tool this scenario brings to the table. Likewise, a more central deployment can mean that you still have flexibility in the mid-game, to respond to genuine openings.

Which Armies Does it Favor:
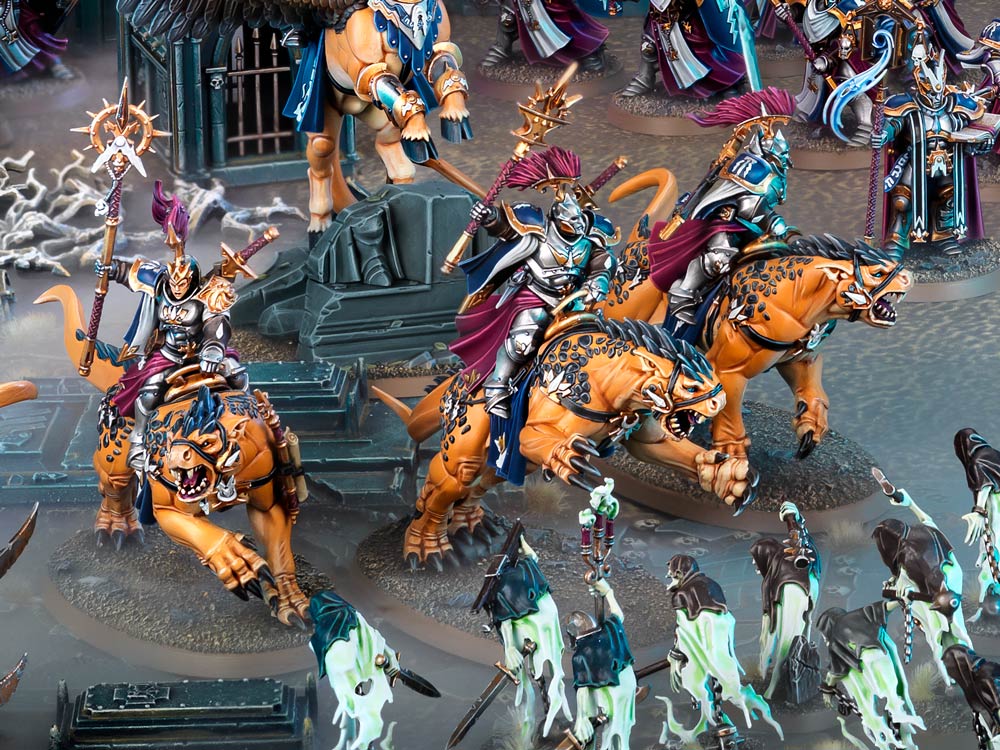
Strong cavalry forces can do really well here, but ideally shouldn’t be treated as outriders. Cavalry with punch will want to take the flanks, but stay close to the bulk of their advancing army. In the mid-game their bursts of speed, and hard hitting can threaten a flank (perhaps scaring the opponent into placing their 3VP objective elsewhere… but that you accounted for). Similarly it helps them stay relevant as the objective moves, as they will be likely quicker than much of your list.
Demigyph Knights, Evocators on Dracoline, and other Heavy-Cav are ideal, though of course teleportation and redeploys, as always, are even better.
And remember, Frontline Gaming sells gaming products at a discount, every day in their webcart!


