Greetings, folks.
Dolch back again, and this time I’m talking strategy with Blood Bowl. It has been said that Blood Bowl is a game for pessimists. While I can’t completely agree, any players should keep in mind that Nuffle Gives and Nuffle Takes away. Managing that risk is a skill that every Blood Bowl player needs to master as they get better at the game.
Since each of your turns are more likely to end on a bad dice roll than running out of actions, balancing risk and reward is key to playing well. Notice that I’m talking about a balance… or managing. You can’t completely avoid risk in this game, but you can balance that risk.
If you fail to plan, you plan to fail. In Blood Bowl, you can expect to fail at any time. You need to succeed in spite of the constant threat of failure. New coaches will often waste a reroll to avoid failing on a Block or Dodge that doesn’t really need to happen. This is where a careful balancing of risk and reward is the defining factor between a good coach and a great coach.
Play the odds
Blood Bowl is at its heart a dice game. We love the miniatures and the lore, but what adds the thrill is the roll of the dice. That being said, the best coaches avoid rolling dice as much as possible! A sure thing (especially at the beginning of your turn) is always better than a gamble. Understanding how big a gamble each action is is key to planning your turn.
Moving and rolling the dice
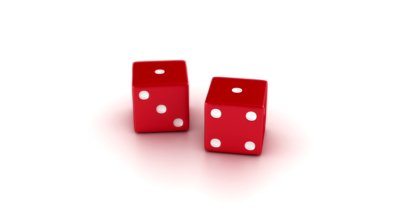
The most basic action is of course moving. As long as it doesn’t involve a Dodge roll or ‘going for it’, movement is risk-free. Use your movement to set up Blocks, build cages, assist with ball handling, or basing your opponent’s models. (Basing means putting your model in the tackle zone of your opponent. They will either need to Dodge out of your tackle zone or risk hitting your model on their next turn.)
Let’s talk about ‘going for it’. After any non-Block action, you can Go For It (GFI) to get additional movement. You’ll fail on a natural roll of a 1, so that means you’ll trip and Turn-Over the ball 1/6 times. Everyone can GFI up to two spaces (three if you have the Sprint skill), and so the chances of trouble multiply. In general, don’t GFI unless you need to. That being said, sometimes having your model in a specific place (even if Knocked Down) is more important than taking more actions.
Next, is Dodging out of a tackle zone. There are plenty of teams with agility 4 players. They Dodge out of a tackle zone on a 2+. Many of these players will have the Dodge Skill, and it reduces the risk even more. You get to reroll the first failed Dodge attempt each turn. This takes what is a 1/6 chance of failing down to a 1/36 chance. This is one of the safest actions you could take in the game. Of course, there is always the chance that you will reroll a 1 into a 1… natural 1’s always fail in BloodBowl.
If your players are only agility 3, then the picture isn’t quite as rosy. They will succeed dodging out on a 3+, and with a Dodge reroll the odds of failing go from 1/3 to 1/9. Still pretty great, and one of the reasons that Amazons are a very good team.
Dodging from one tackle zone into another is more risky, as you subtract 1 for each model that has a tackle zone on the square that you are going to. These actions… if they are truly necessary, need to be saved for after your other actions.
Blocking and modifying skills
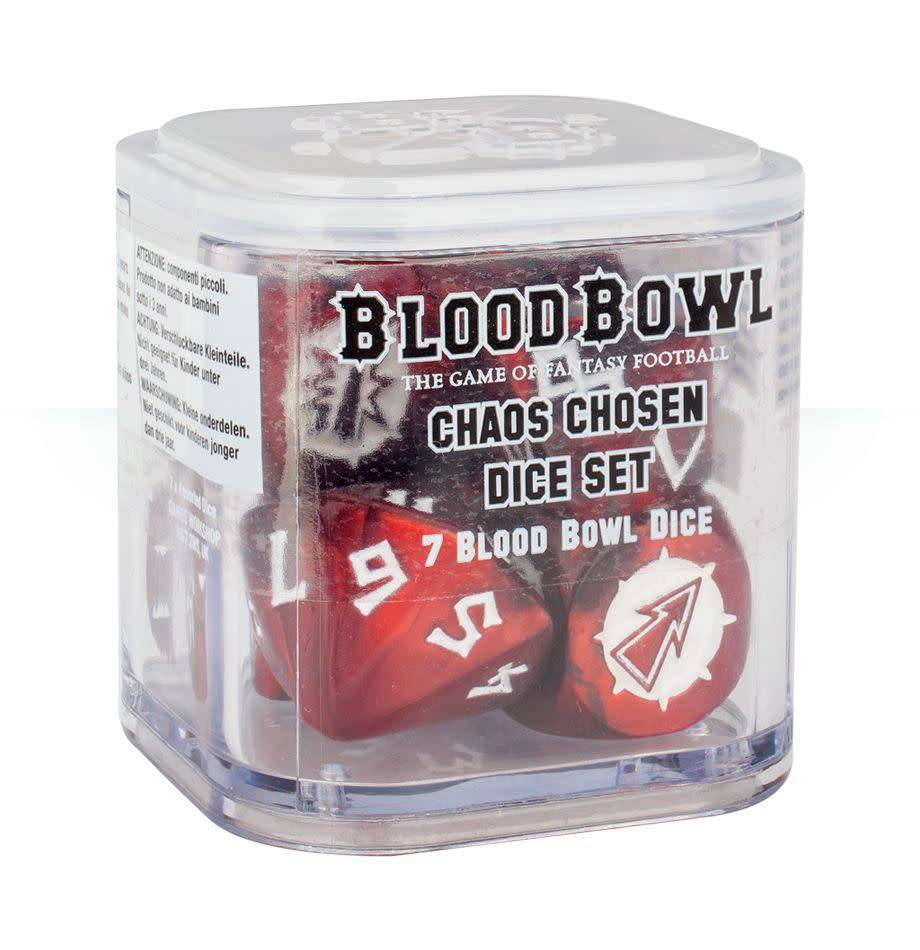
Blocking is the next most common action. Studying the Block dice, you’ll see that there isn’t an even distribution. As I’ll show you, you need to plan for the push.
- Skull – Attacker Down
- Half Skull/ Half Explosion – Both Down, unless one of the other of them has the Block Skill.
- Arrow – Push
- Arrow – Push
- Explosion with an exclamation mark inside – Defender down unless they have the Dodge skill, then it is a push. Called ‘Dodge Star’
- Explosion – Defender down or Star
So, independent of skills, 1/2 of the results will knock the defender over (Both Down, Dodge Star, and Star). Fully 4/6 of the results will end up with a push. So… expect the push. Plan for the push. (Anyone playing a team with Frenzy really needs to keep this in mind.)
Blocking is very skill dependent. Skills like Block, Dodge, Tackle, and Wrestle make a huge difference in the probabilities of success. Since I haven’t dug into these skills in detail yet, I thought I’d do so here.
Block is one of the most common skills, and you typically find it on Blitzers. This makes sense because it greatly reduces the chance that a Block will go badly. The Both Down result will no longer result in a Turn-Over… it may effectively turn into a Star if your opponent’s piece doesn’t have Block. If it does, then things get awkward and nobody does anything. In terms of the odds, Block will change a 1dB (1 dice Block) from having a 1/3 chance of being knocked down to a 1/6. This isn’t fantastic, and you still want to avoid 1dB’s but it helps when you need to do so. On a 2dB (2 dice Block) when you choose the result, you go from a 1/9 to a 1/36 chance, which suddenly becomes really reliable.
Dodge is another skill that changes the outcome of a Block but on the defensive side of things. It changes a Dodge Star into a push result… Suddenly, your opponent needs to roll either Stars or Both Down to knock your model down. Going from a 1/2 to a 1/3 doesn’t seem like a whole lot, but it does make a difference.
Tackle counters the effects of Dodge. Yeah! Dwarfs like Tackle because they don’t like Elves… who usually have Dodge.
Finally, we have Wrestle. Wrestle counteracts the effect of Block. It can be used either offensively or defensively since it doesn’t cause a Turn-over or an injury roll.
To summarize, having more strength (and thus more dice) and the Block skill will help make Blocking safer. Having teammates nearby to assist is also an important strategy for Bashy teams.
Passing, and Picking Up
Some teams rely on passing as a quick way to move the ball downfield (and they usually have pointy-ears). For other teams, a pass play is the last hope. And then there is then… well… Throw Teammate.
The best-case scenario for passing the ball is when you have agility 4 players with Pass and Catch. A quick pass (remember a natural roll of 1 will always fail) is a 2+ reroll and a 2+ reroll. This still has a 1 in 36 that the pass will fail, and a 1 in 36 that the catch will fail. Overall odds are 1 in 18 that it will fail the Pass and Catch will result in a Turn-Over. To put that into perspective, it is worse odds than failing a 2 dB with the Block Skill.
Once non-elven teams attempt to pass, the odds get worse. A pair of agility 3 players with Pass and Catch will each succeed with a quick pass on a 3+, and with the skill rerolls they have a 1/9 and 1/9 respectively. You can expect them to fail 2 out of 9 times (22%). Remember… this is the shortest kind of Pass!
Obviously, there are things that can rapidly increase the odds of failure in a pass. Increasing the distance or having opposing models with Tackle zones on either of the players makes these plays much riskier.
Handoffs are much safer, as you completely remove the passing roll from the mix, and it is equivalent to an accurate pass. Even agility 3 players take a handoff on a 2+ (with a reroll with Sure Hands) so you usually fail only 1/6 or 1/36 of the time.
Even picking up the ball can be a challenge for some teams.
How do low agility teams (agility 2) deal with handling the ball? Numbers. If you make a cage around the guy trying to pick up the ball or receiving a handoff, each bounce has a chance to be picked up by one of the players in the cage. Another option is to pick up the Sure Hands skill early on for a dedicated ball handler. Like with Passing and Catching, Sure Hands allows you to reroll that first failed pickup in the turn.

So, in review…
- Make a plan for your turn (during your opponent’s turn)
- Prioritize, taking your chances of success into account
- Do your plan… with an understanding that it can completely get out of hand at any moment.
Until next time,
Best Blitzes
Dolch
And remember, Frontline Gaming sells gaming products at a discount, every day in their webcart!


