
Let me begin this article by stating that I currently have one of the Frontline Gaming mats and I absolutely love it. However, since it is a more sci-fi mat, I was looking for something more rustic for my Age of Sigmar games. The following is my attempt to construct a simply 6×4 gaming board as cheaply as possible, but without sacrificing too much in the way of aesthetics. I should also emphasize while I have some talent as a hobbyist, I wouldn’t describe myself as anything above average so your mileage may vary depending on your skill level. I also deliberately chose a board size of 6’x4’ as I wanted to have backwards compatibility for my games. It’s not too difficult to cut down the foam boards if you would like a smaller field.
Step 1: Acquiring the panels
The first step in this project was purchasing six 2×2 foam insulation panels. These can be found online or at several big box hardware stores. One thing to note about these panels is that they can be a little warped and have uneven surfaces, but we can address this later. Once I had the panels I laid them out and arranged them in a way so as to make them as flat as possible (note: my attic floor isn’t fully flat which results in the panels not sticking together perfectly) I also recommend marking the outside edge of the panels at this point as it will be easier to position them in the future once they are painted.
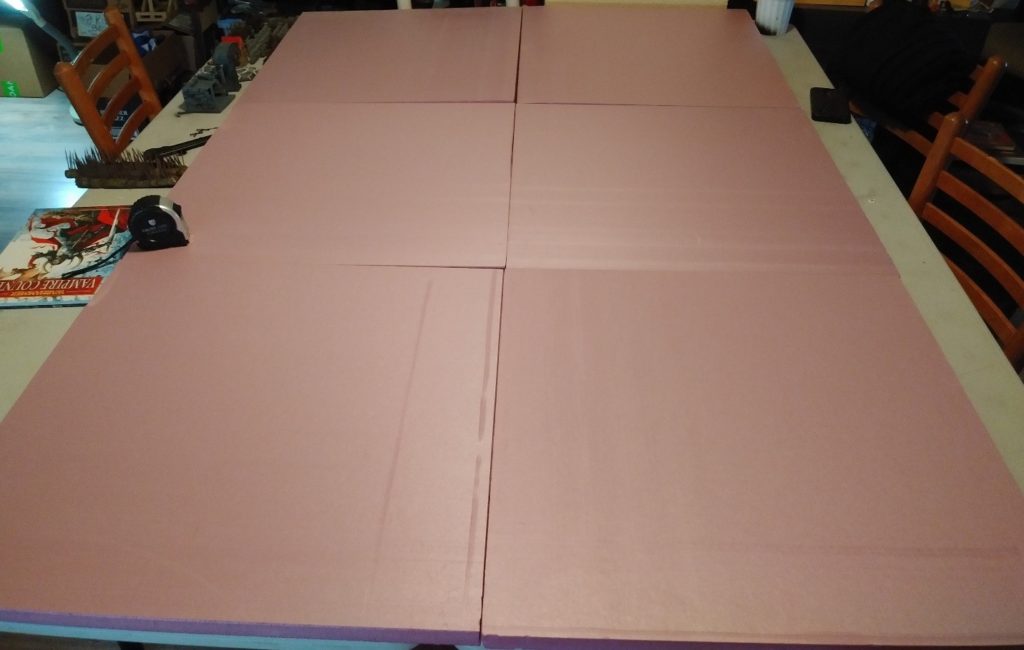
Step 2: Applying texture (Optional)
This step is optional depending on how you want to paint your board. In my experience this kind of foam can be eroded by spray paint and adding a texture can help protect it. In addition, a textured paint can help fill in the gaps and divots in the foam. Finally, the texture can help break up the monotony of large stretches of smooth ground.


Step Three: Painting the first layer
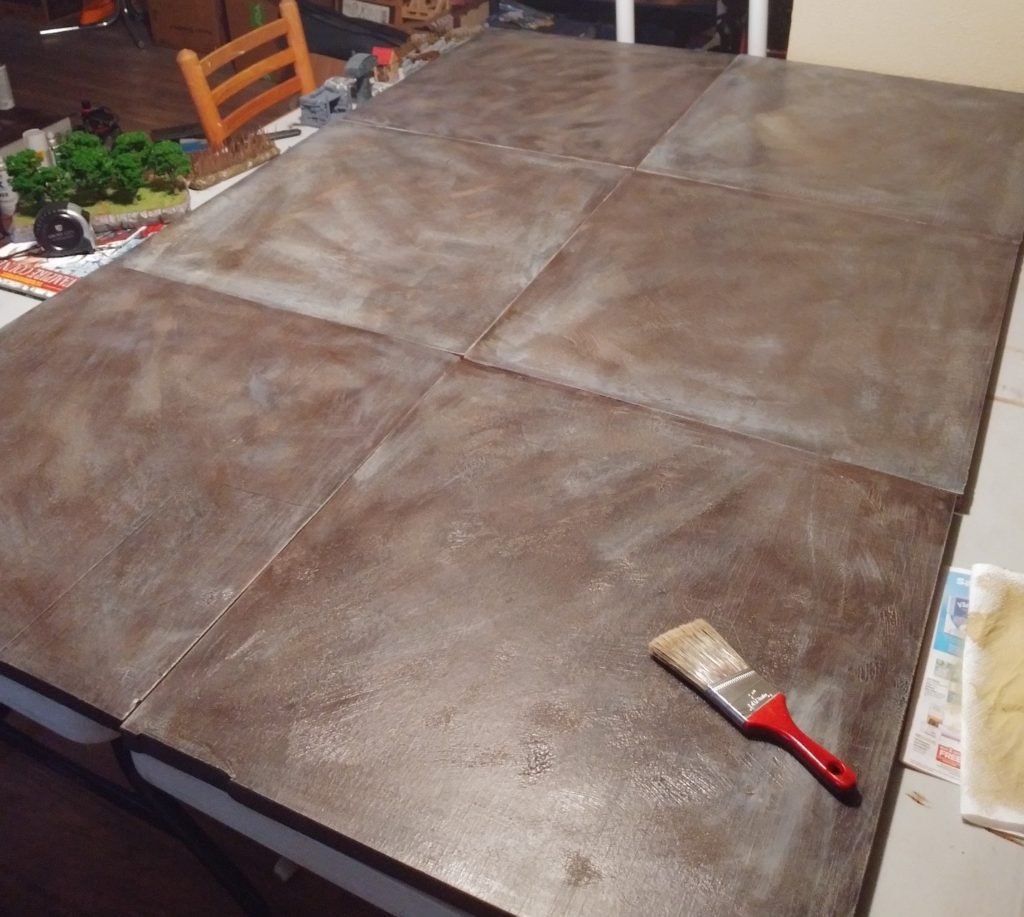
As I wanted a dirt and grass look, I decided to spray my boards a dark brown color. I used a standard can of brown spray paint though a primer may have worked better (The paint can come off looking a little glossy). To help save on paint I tried to focus on only spraying the board sides that were going to be on the outside (hence why we marked them earlier). If you like you can also make a (somewhat) cheap wash by combining 1 part black liquid shoe polish and 1 part brown liquid shoe polish.

Step 4: Finishing Touches
I felt this was one of the steps that best illustrates my limitations as a hobbyist as I am a very impatient dry-brusher. I always tend to put too much paint on my brush hence the blotches, but this was resolved in some ways by adding a second coat to even it out. In the end though you can always cover up any “happy little accidents” with static grass. I intentionally kept my grass a little patchy so the board texture shows through, but if you really wanted to you could just grass over the whole board (especially if you want to avoid dry brushing)
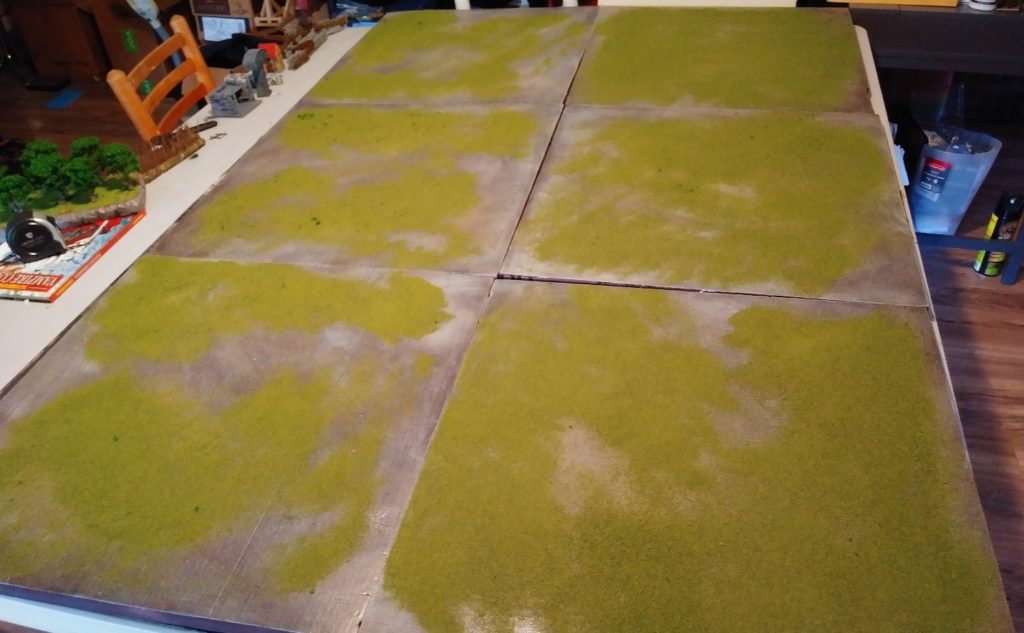
Optional Extras and closing thoughts:
As you can see from the finished project one downside to these boards is that they don’t stick together very well. I found one way to solve this is to insert three double sided toothpicks into the connecting pace of the board to hold them together.

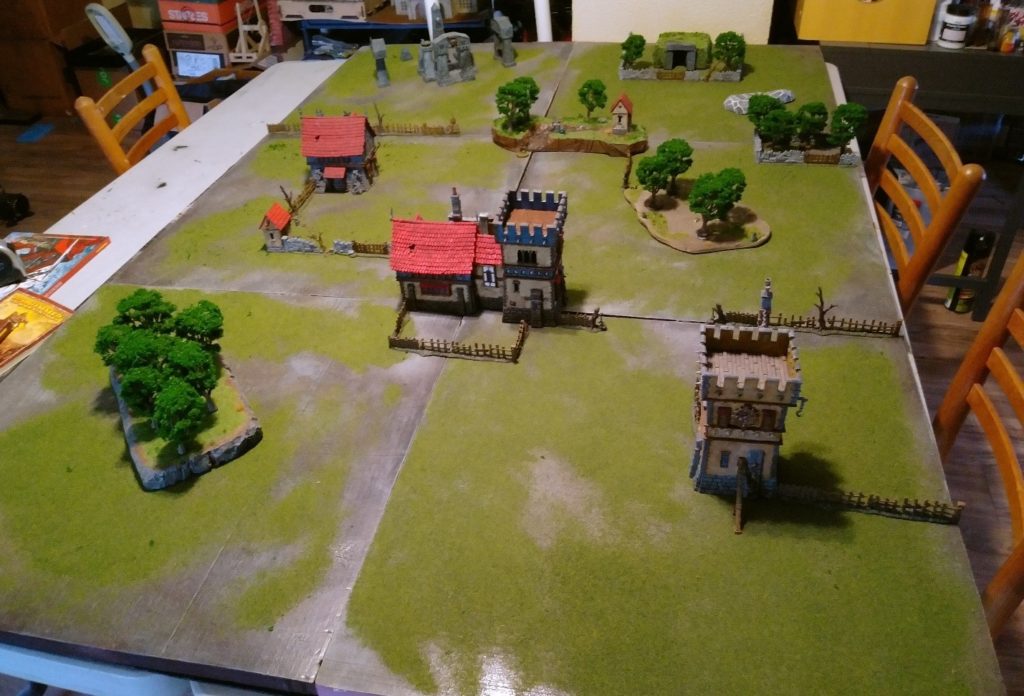
All told here were my expenses for the project:
Foam: $36
Spray Paint: $4
Static Grass: $4
Total: $44
So, I succeeded in coming under budget though this should also be noted that a number of items I used were ones I already possessed (spray adhesive, white stucco textured paint, terrain dry-brush, etc.) so these costs can add up quickly. As I stated, I am an average hobbiest and so I don’t think the end results look nearly as good as a FLG mat, but they will be easy to store and use going forward. I hope to add on to this board in the future and I learned a lot about working with foam over the course of this short assignment so keep an eye out for more articles!
And remember, Frontline Gaming sells gaming products at a discount, every day in their webcart!



Very fun tutorial! Reminds me of the old school boards I played on when I first got into the hobby.