


Hey all, Danny from TFG Radio here, and today, I want to expand upon my last article that was looking at skew lists in the digital tabletop age, and I wanted to see how folks have experienced using some relatively odd or unloved units/combinations now that you can do so with minimal investment. As always, if you want to learn more tricks and tips while in lock down, be sure to head over to the Tactics Corner!


Tyranids have a pretty robust codex with a whole lot of entries, but hey, they can’t all be winners. Really, there are some definite turkeys in there, but if you are playing 40K through the various digital means to do it, then maybe you have the time and opportunity to test some different combinations. Now, I’ll say it loud and clear: I don’t know if any of these are actually good in the sense that they will see play in high-level tournaments, but they might be at least useful in some games. This is mostly theory-hammer, so buyer beware.

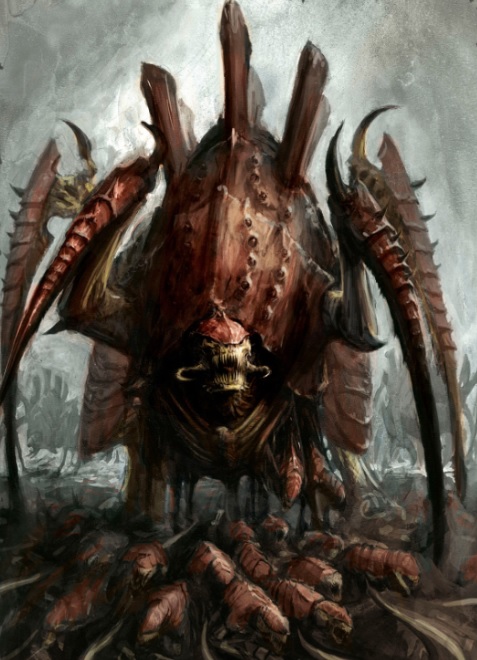
The Pyrovore Blitz:
Now, the Biovore is a tried and true unit, but what about the little flamers that could? They were laughable in 7th edition, and well, they are mostly forgotten in 8th, but they do offer something rarefied, and that’s always worth considering. With a 10″ S5 AP-1 D1 flamer, they can pop up from reserve and still get the flamer hit off, and only a charge of 10.01″ and more will avoid the flamer hits. Plus, they can do decent damage in melee, especially when they die.
So how to deliver them? Well, the easiest answer is Jormungandr. For 3 CP (pricey), you can load 3 squads of 3 into the tunnels and any Raveners, Mawlocs, or Trygons can give them a ride. Raveners provide the cheapest ride, but you could also go for a 1-2 punch of a big unit of Raveners with Devourers/Deathspitters to pump out some quality shots a bit down the line and the Pyrovores to flame another target. For me, the value is in that a Pyrovore is only 25 points, so 3×3 Pyrovores and 3×3 Raveners is only 387 points. Throw in 2 cheap HQs and you get yourself 2 easy detachments to perhaps supplement a larger, more focused Brigade. Even just slotted into a Jormungandr battalion, that’s not a lot for 6 units that are all multi-wound models and can do surprising damage for their point cost. For an MSU style list, this can be a great out of reserve annoyance that if ignored could be quite troublesome.

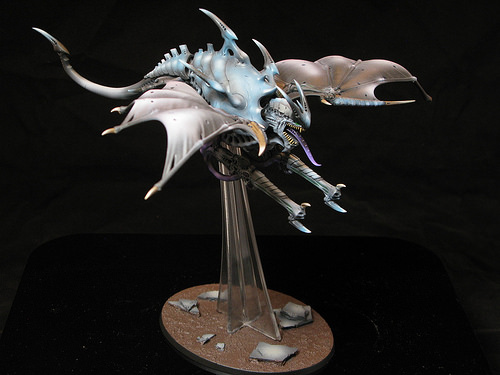
The Harpy Slingshot:
This is an odd one I touched upon in my review of Blood of Baal, but I could see it as a way to add even more turn 1 pressure and redundancy to a Kraken rocket list. Take a Harpy and give it Synaptic Enhancement for Synapse. With its 30″ move, you can easily get a first turn charge on its own. Pop Hive Instinct, and now any HIVE FLEET unit charging what the Harpy hit gets to roll an extra d6 and drop the lowest for charges against it. You can multi-charge too so long as the first model in the charging unit goes towards the unit engaged by the Harpy. To add extra fun, if the target unit contains multiple models, the Harpy can try to pick one off with its double Stranglethorn cannons, and now you can pop Hunter’s Drive as well so one unit gets a d6, drop the lowest to its charge. All told, you can get a unit of Genestealers to charge 4d6, drop the 2 lowest or get 2 units to get 3d6, drop the 1 lowest on 2 different targets.

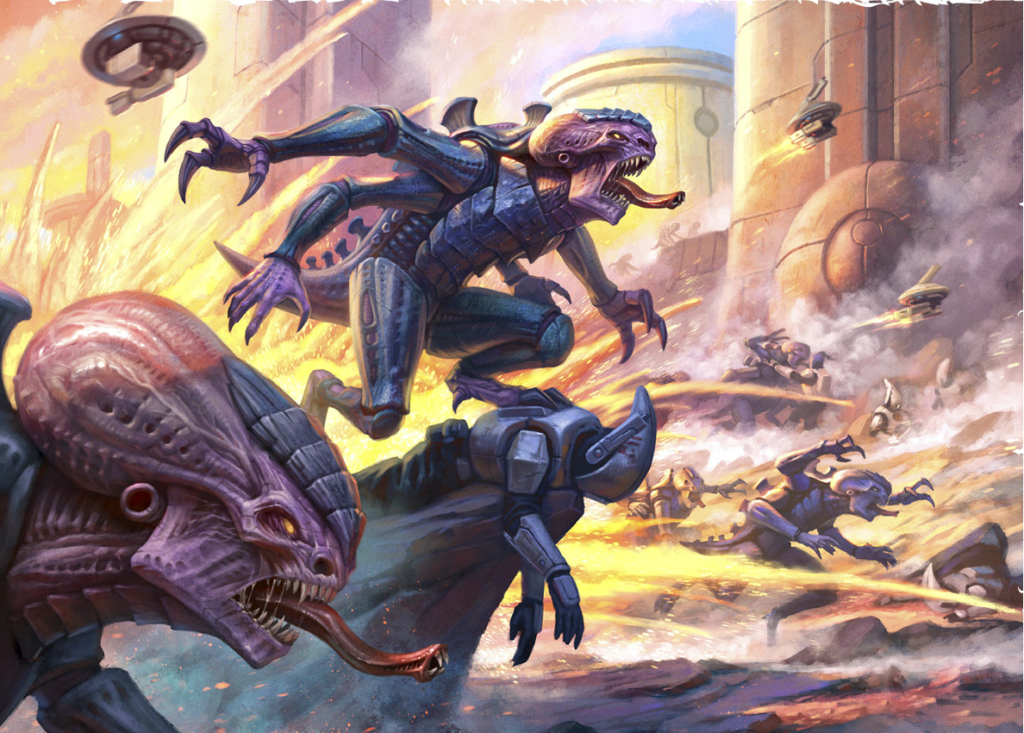
If you have Kraken Genestealers, they already move about 12 in the movement phase, but if you throw in Opportunistic Advance and/or Swarmlord, you can easily get 2 big units of Genestealers into the fight on turn 1. You can also switch it up by using units with a built-in large move like Dimacherons, Shrikes, or Raveners as well. You can also go oddball and go for the Onslaught on a big monster like a Haruspex or Toxicrene, getting them to advance and still charge. Especially for a Toxicrene, getting it into your enemy on Turn 1 and popping off Grasping Tendrils can just ruin someone’s day. All in all, this adds a certain level of redundancy as if your opponents are killing the Harpy, they aren’t shooting your Genestealers or Swarmlord, and if they are shooting your Swarmlord, then your Harpy may yet survive to do what it does.

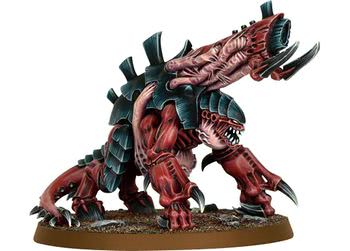
The Gant Beachead:
This is one that I’ve written about several times, and in test games before the whole pandemic, it tended to work in surprising ways. The idea is to essentially open up a new flank in the game on Turn 3 with a Tervigon in a Tyrannocyte backed by 30 Devourer Gants coming up with a Trygon. This is 634 points, so it is a good chunk of your army, but it poses several key threats.
First, none of the real lynchpin pieces can be targeted by out of activation shooting as you have to hit the Tyrannocyte or the Trygon first by the FAQs, and really, the Tyrannocyte is there to give the Tervi a ride and then maybe saunter towards a far flung objective or get you Line Breaker, and the Trygon is just for threat overload as one Trygon getting into a sensitive area can cause real pain. The real punch though is the 90 (or 180) S4 shots that reroll 1s to hit and 1s to wound, and with the pre-lockdown meta shifting a bit towards horde, this can clear a lot of space. Plus, those 30 Gants are fearless and if the Tervi isn’t dead next turn, 10 will return to the unit. Oh, those Gants are also OpSec, so they can start to threaten objectives pretty well.

You also have some play here as you can go Kraken for the -1 to hit relic on the Tervigon as well as Dermic Symbiosis for a 5++, making the Tervigon pretty resilient all told. You can also try to boost the Gants by giving them a flat 6++ with a custom fleet, but in any case, this is a very self-contained force that either be solid Battalion with 2 rippers and a Prime or just a Patrol if need be. I would rather pay the extra for a bit more CP, but that’s me.
Of course, the weakness here is that you are saving a big chunk of points that will not turn up until Turn 2 or 3, and since they are coming in from Reserve, there are plenty of tricks that your opponent can use to make them relatively useless when they land. While this Beachhead works and does put a lot of pressure on a poorly defended part of the board, finding the right component to it can be tougher. My best performing pairing was a Kronos Battalion with more Gants, Hive Guard, and Biovores to force my opponent to come to me, leaving vectors open for the big drop.
There are of course many more combos and tricks to explore, so while many of us may not get the chance to get a lot table time, that doesn’t mean you can’t keep theorizing and even testing, to a limited extent. I hope everyone is well, and I shall hopefully chat with you all next week.
And remember, Frontline Gaming sells gaming products at a discount, every day in their webcart!


