

This is part two of the ultimate list of hobby tools that get the job done. Read part one here. In this second part, it is time to explore the far more niche items. These may not get used every time you start to assemble a model, but they are the secret weapons that can get you a beautifully polished look to any model you assemble.

Mirco Sol and Set have already been written about and they definitely deserve a spot on your work space’s shelf. These help decals seamlessly blend into the paint job of a model and smooth out wrinkles or bubbles that may form on the decal. You really are going to want to have a bottle of both Micro Sol and Micro Set and use them to apply decals/transfers each time in tandem. They take up so little space and last forever, so there really is no reason not to buy both of these. There are a bunch of videos on how to use these, but here is my favorite.
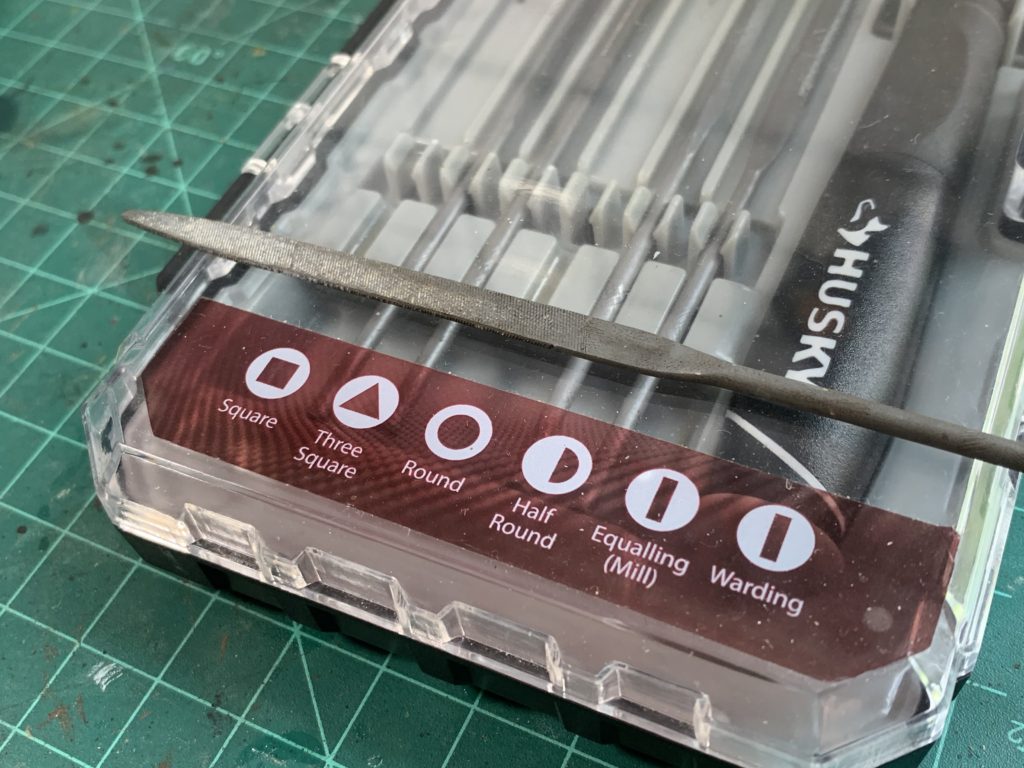
Old school metal files are pretty handy things to keep around. There are many times when you need to quickly grind down a clipped sprue nub on a model, deal with a severe mold line, or smooth out the transition between two bits that were glued together. Files come in all sorts of shapes to fit in the little nooks and crannies of a plastic model, but a standard old flat file is what I find works best 90% of the time. I use one to flatten out a rough cutting job when I am quickly clipping pieces from a spruce or after chopping a portion off of a larger bit for a conversion.
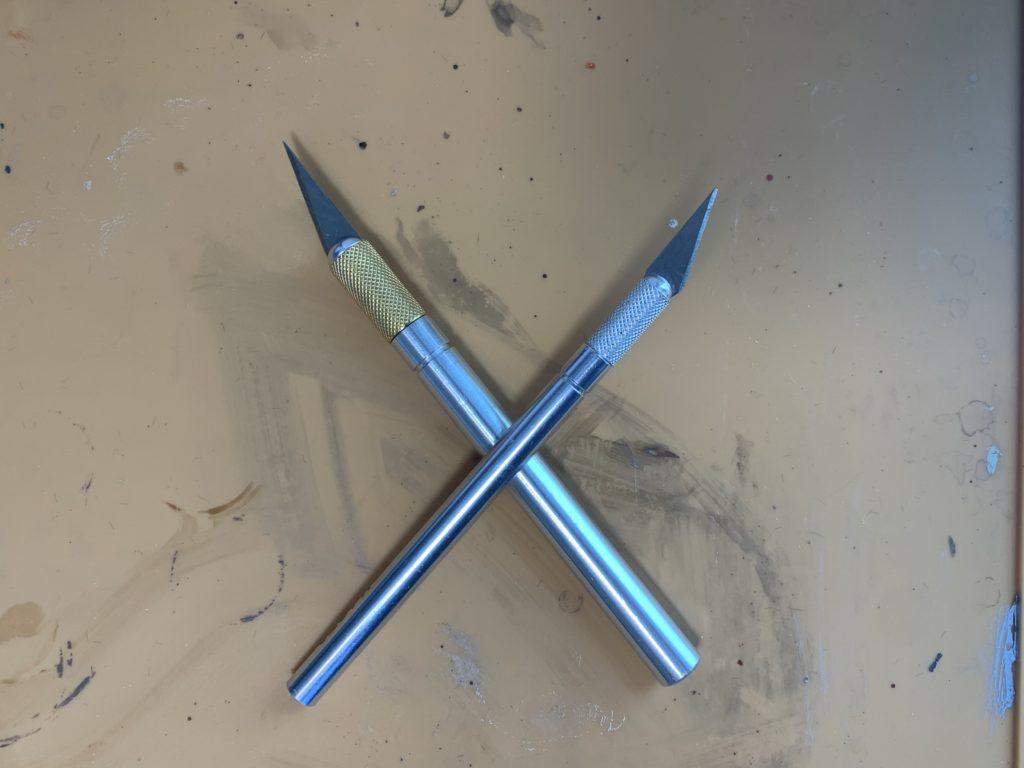
Fine grit sand paper has its place too. While the files mentioned above are great for grinding down larger sections or rougher edges, a sheet of super fine grit sand paper is just want you need when you are touching up a delicate area or really want a seamlessly smooth finish. For example, whenever removing those over used double-eagle-head Aquillas from Imperium models or skulls from Chaos model. To do this, I first use a sharp hobby knife to trim off the bulk of the icon. I then follow up with the sand paper to blend in the whole area moving slowly as to not over sand the area or accidentally remove details I want to keep. The big advantages of sand paper over a metal file is that you can work with the curves of the model and the result looks far less corse than what is typically gotten from using a metal file. You can get all sorts of fine grit sand paper (often made by 3M) at hardware stores for pretty cheap.
Sticky Tak, Fun Tac, Poster Putty, Mounting Putty, etc etc …Basically they are all the same under different names. The blue colored Loctite product is my favorite and you can get it precut into little pieces. This is perfect for kit bashing and conversions or any complicated project where you want to assemble a model before you start using permanent glue. The blue Loctite putty in particular does a great job holding bits in place so well, that I can even play-test a model for an entire game if I want to before actually glueing it together. Another great use for this stuff is for holding together two bits that are being sub assembled before being attached to the main body of the model. For example, when you are gluing a weapon to a limb, before attaching that whole limb to the rest of the mini. I also use putty to hold more delicate or awkward pieces in place so they don’t move while the glue dries.

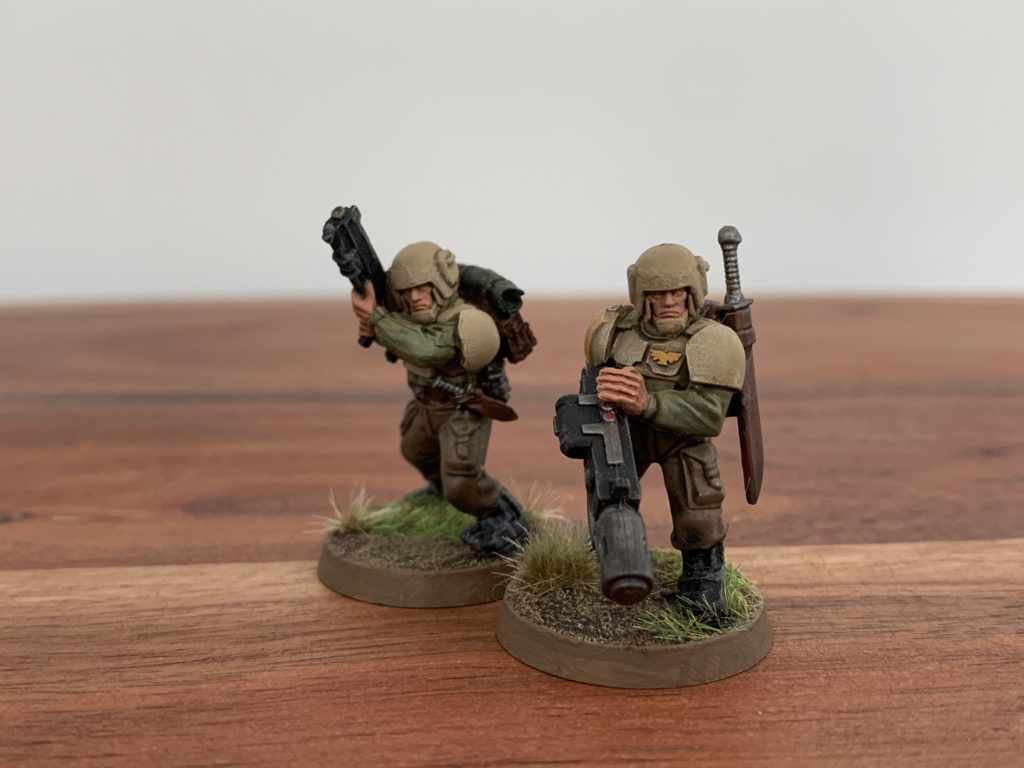
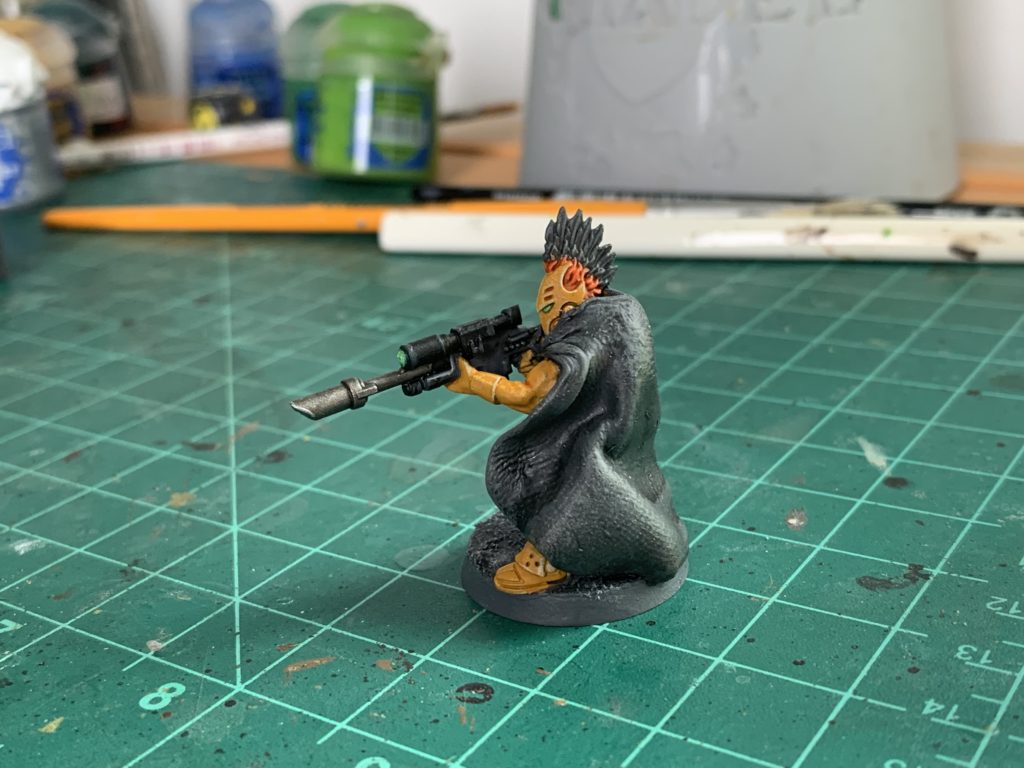
Green stuff. You know it and love it despite it being crazy over costed and taking a while to “figure out.” This sculpting putty is pretty damn cool and once you find the right mix of yellow part to blue part, that works for you, then suddenly the conversion possibilities are unlimited. Green stuff is particularly useful for filling in gaps and creating a foundation to build upon for almost any head swap. It is also great for making little details like shoulder straps for weapons or major accessories like camo cloaks.
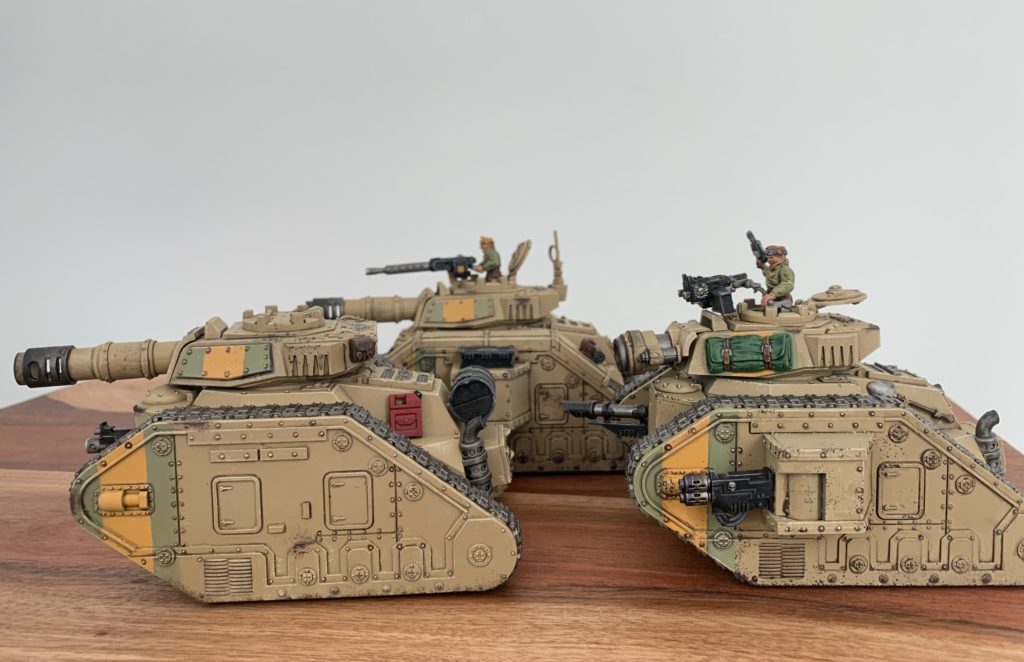
Multi surface painter tape (specifically the FrogTape brand) and narrow artist tape are amazingly useful for quickly adding crisp straight lines and speeding up the base-coat process when used in combination with colored spray primers. First lay down a coat of your accent color, then covering it with a some tape. Make sure to press firmly on the tape and check for any wrinkles, before layering on your primary color(by either spray or hand brushing). If you repeat this step with another color or two, you can quickly get a model to a three color minimum. More importantly, you can use the straight edge of tape paired with an airbrush or spray-on primer, to really give you that perfectly clean stripe of paint that is nearly impossible to do with a brush.

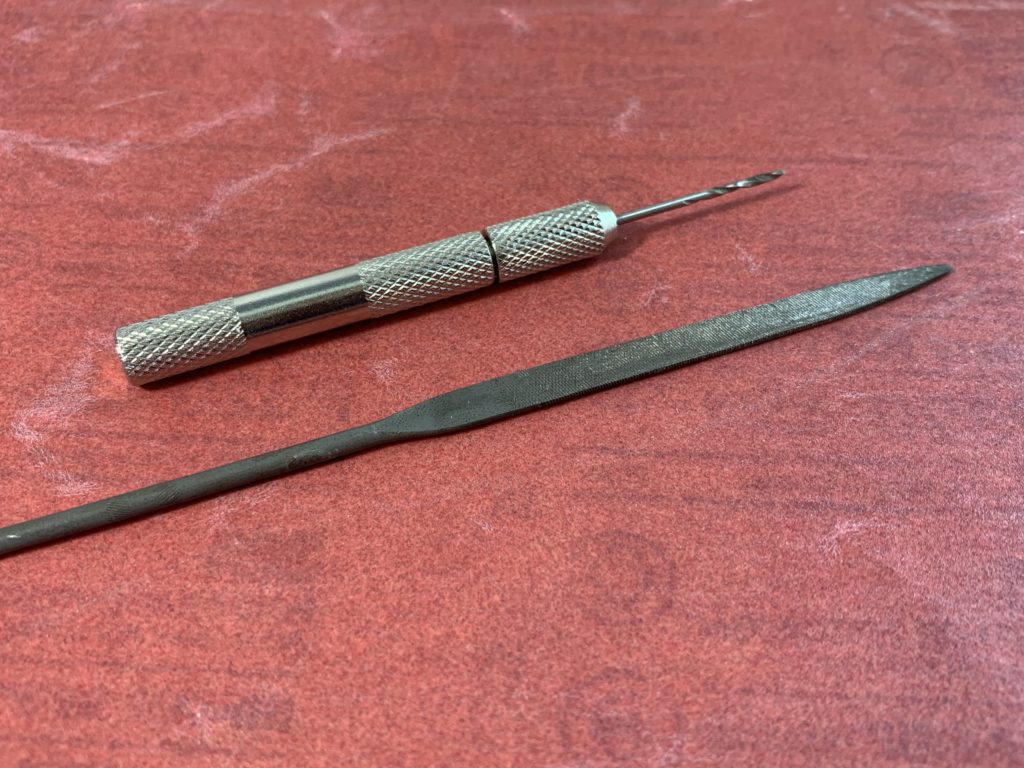
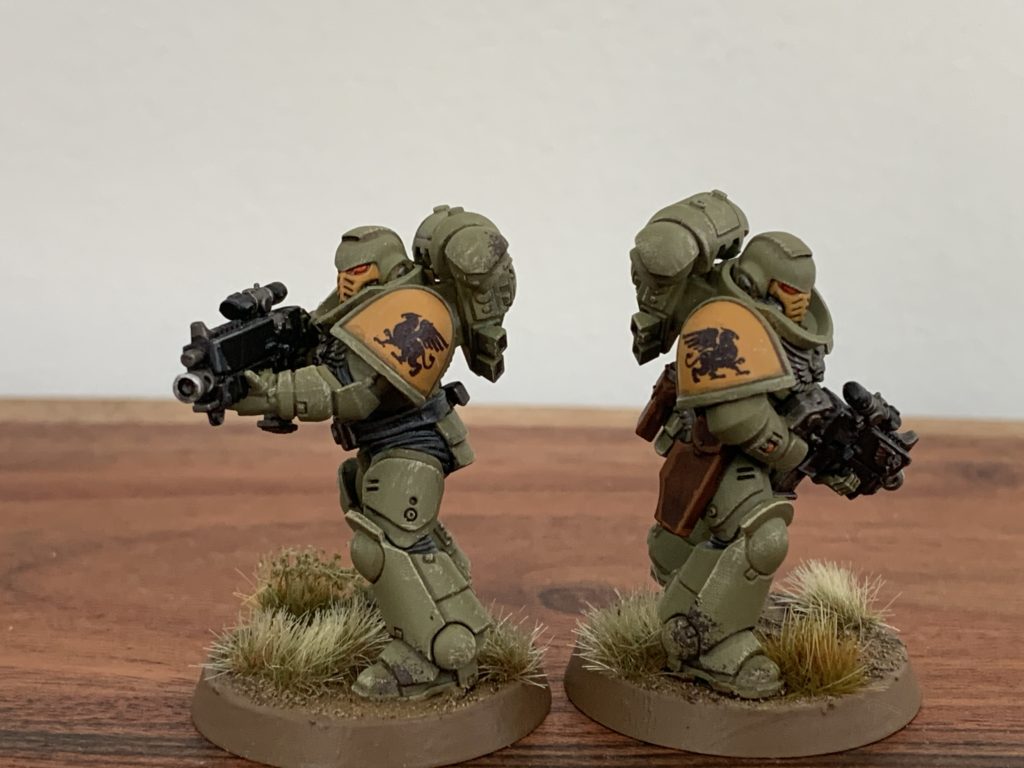
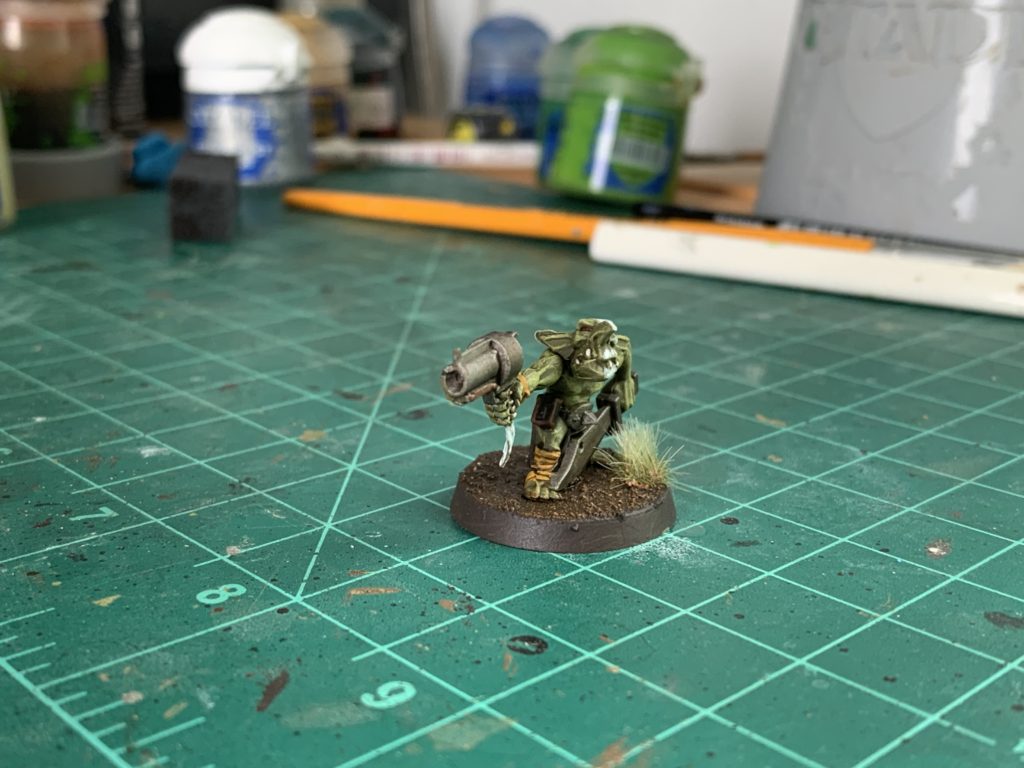
A small hand drill is how you get those bored-out barrels that giving each and every ranged weapon that oh-so-sexy finished look. From Ork Boys with shootas to Intercessors with their bolt rifles, they all look way better when the guns have their barrels end with hole rather than an unrealistic solid face. Get a hand drill with 2 or three or even more different drill bits sizes so that you can easily bore the barrels of a grot’s blaster to a heavy bolter. There are some overpriced drills, but here it is perfectly ok to just get something cheap.
Tools others swear by but I have yet to be convinced: Wet Pallet, Assembly/Paint Handle, Blue Stuff. Everyone has their secret weapons when tackling on hobby projects! What are yours?
And remember, Frontline Gaming sells gaming products at a discount, every day in their webcart!


