Even if you can paint like Picasso, decals still deserve a place in your armory. It took me years to understand this. I had a routine that I followed to get models to the tabletop , and that certainly did not involve decals. Decals were trash to me and I just tossed out the damn things whenever they were included in a box of minis.
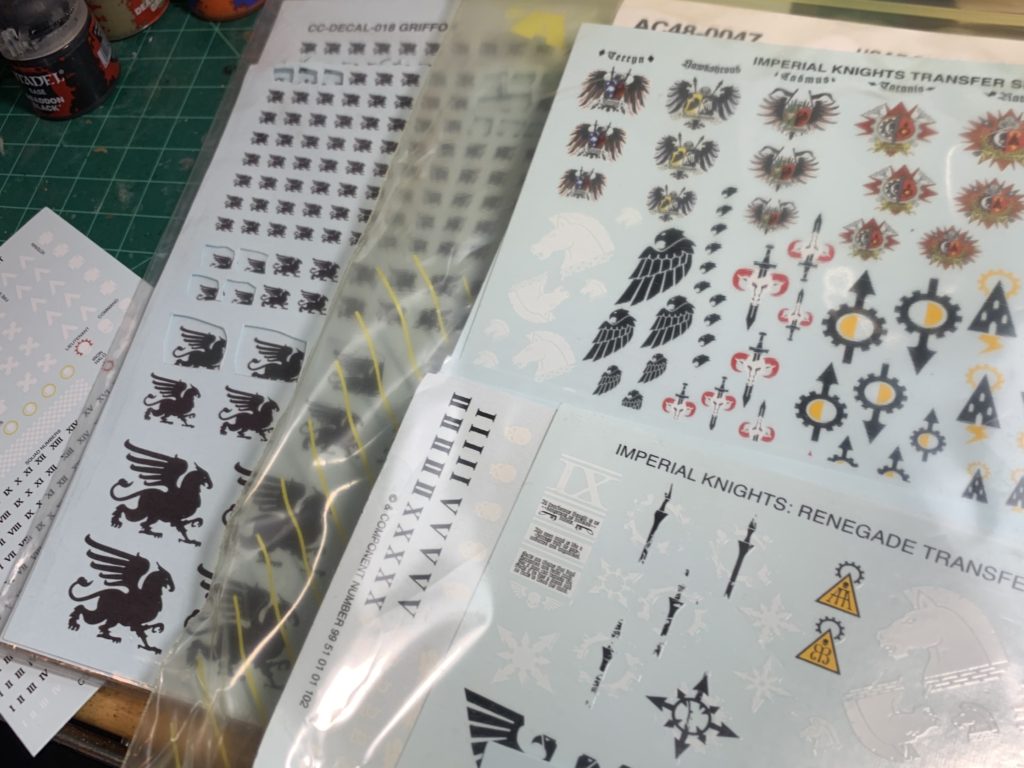
There were several reasons I was a decal hater for the longest time. The first, and most important reason, was that I figured a well painted model looks pretty damn good without some stupid “sticker” plastered to the side of it. I was adamant that a printed out decal would stand out like a sore thumb on my lovely hand painted minis. Adding decals also meant adding time to my army building process. Each minute required to apply a decal was just another drain on my ever diminishing hobby-time as my life gets more and more complicated with real world crap. I also refused to consider that decals served any sort of functional purpose other than making your Space Marine Chapters clearly identifiable …but even this reason seemed weak. A base coat of paint does the same thing: blue for Ultramarines , yellow for Imperial Fists, etc. and unlike decals, painting IS a requirement.
Oh how wrong I was.
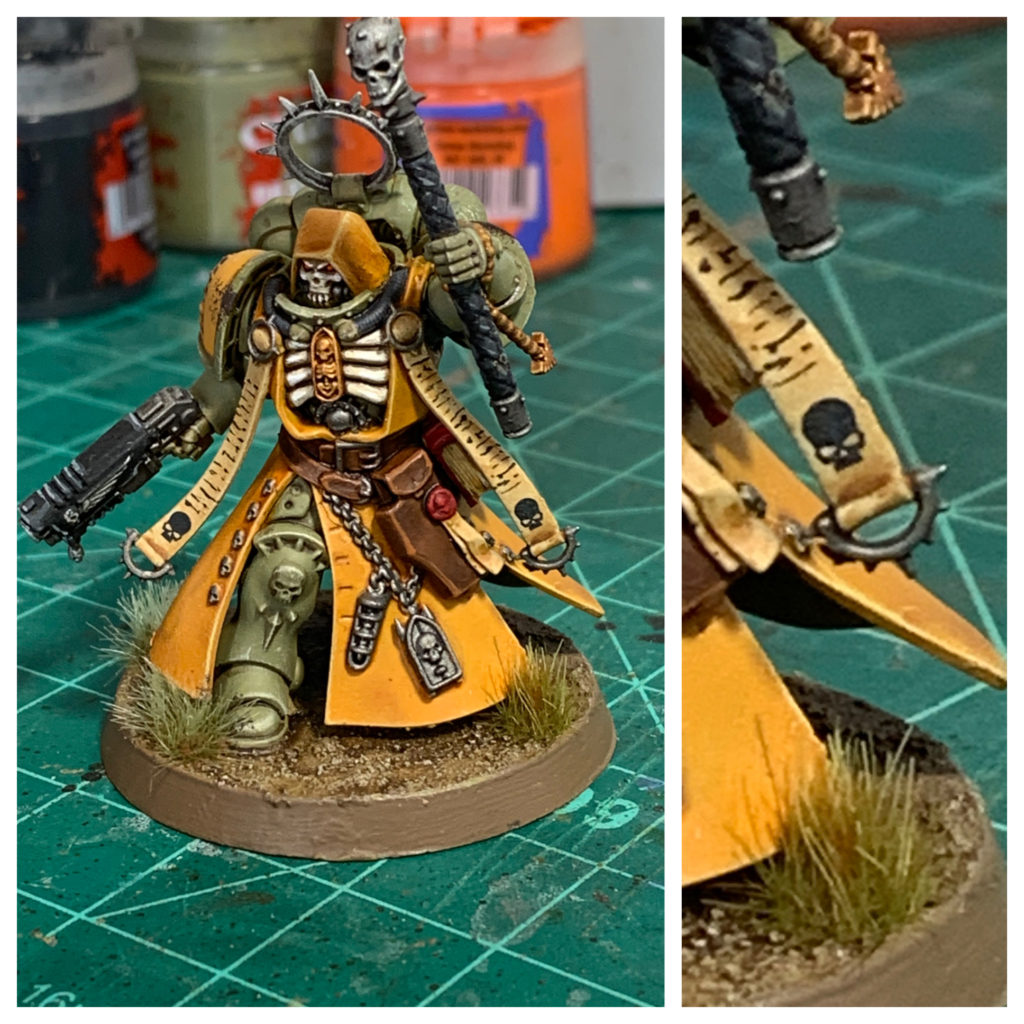
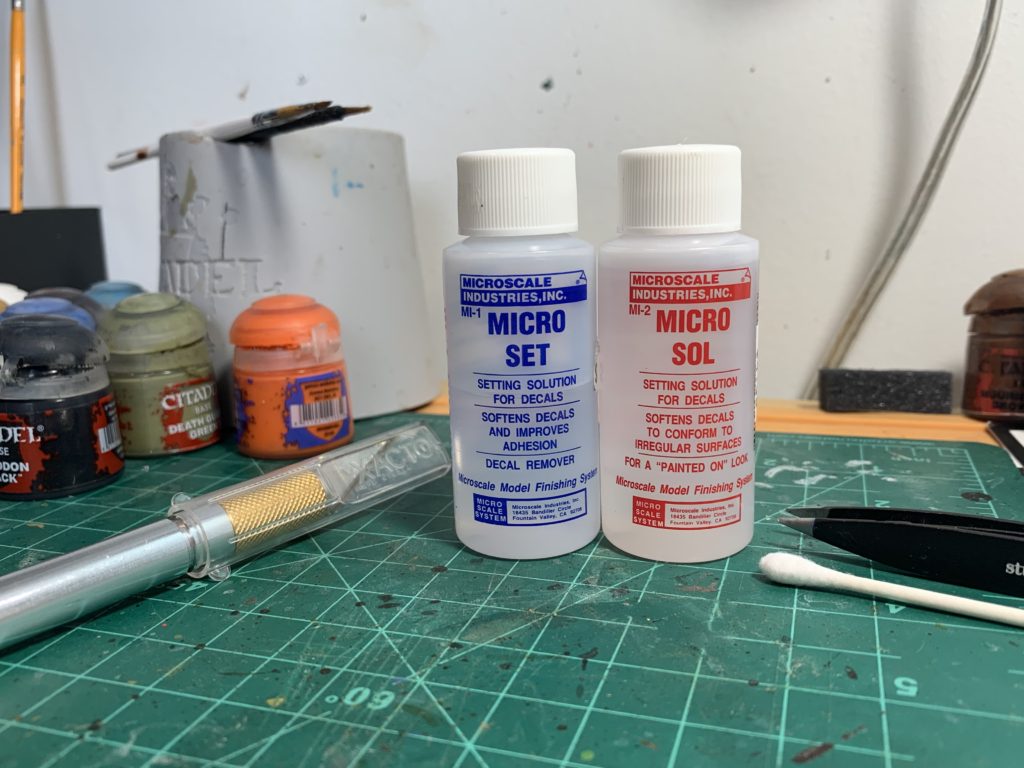
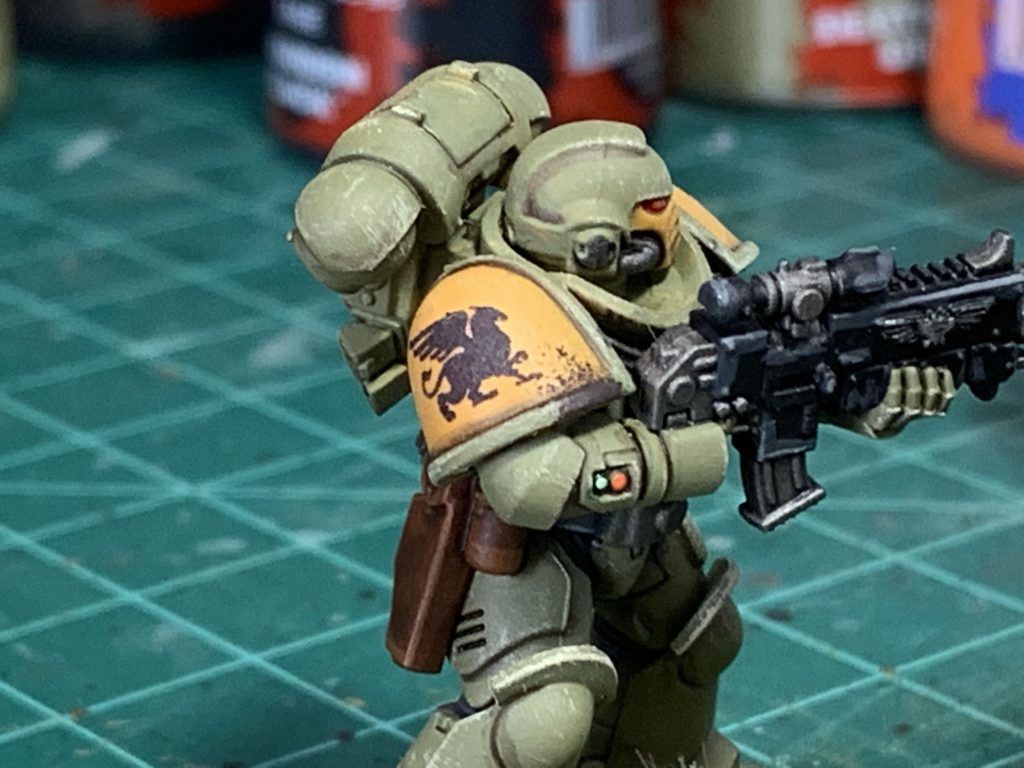
First, decals don’t have to look terrible and distract from the model itself. There are several formulas to applying decals in such a way that they legitimately look like they are hand painted on or at least appear to blend in with the paint job. I have found that Micro Sol and Micro Set is pretty awesome here as they basically melt the decal and smooth out any of the edges to fade into the model. You can Google around and find an application technique that works best for you, but this video was the most helpful that I have found.
Once the decal is firmly set in place and topped with a clear coat of Lahmian Medium to remove any unwanted gloss (and help seal in the decal), there are a few little tricks that make the decal feel even more authentic and natural. 1: Go back in with the same wash used on the model and hit the areas of the decal that need to be shaded in the same manner as the rest of the model. 2: Very lightly dry brush over the decal to make it look painted on and break up the perfect nature of the image. Of course this has to make sense with the rest of your paint scheme, so skip this if you are going for an ultra-clean look and want the decal to be sharp. 3: I like to add weathering or battle damage to the whole model AFTER decals are applied so that they too can be affected by the randomly applied weathering. This can include sponged on battle damage, carefully painted armor chipping, application of weathering powers, or even dust effects.
Adding decals does not have to be super time consuming either. The above steps take a minute or two per model. One of the longest steps is just cutting the decal out of the sheet, which does take a bit of patience. But you can industrial-line your decal application process to speed things up. Anthony Bourdain once said: Mise en place is the religion of all good line cooks. We are not making some fancy pants risotto, but we are doing some delicate work and want the processed to be as easy and efficient as possible. I will paint up the entire squad (minus the final weathering), then cut out all the decals, and set them aside. I line up my Micro Set and Micro Sol, a little cup of water, cotton swabs, paper towel, some tweezers and brushes all in and organized row next to my work surface. Once the process is streamlined, adding decals takes less time than it does basing!
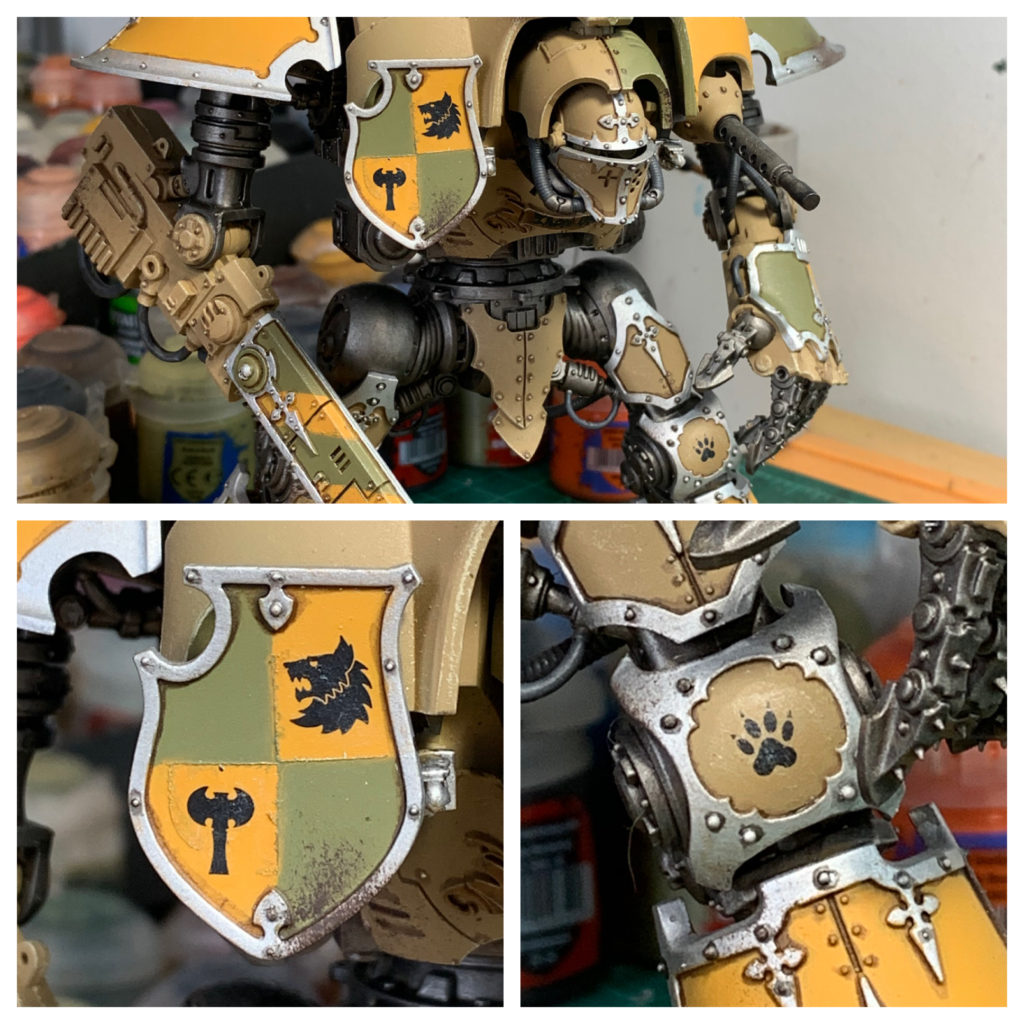
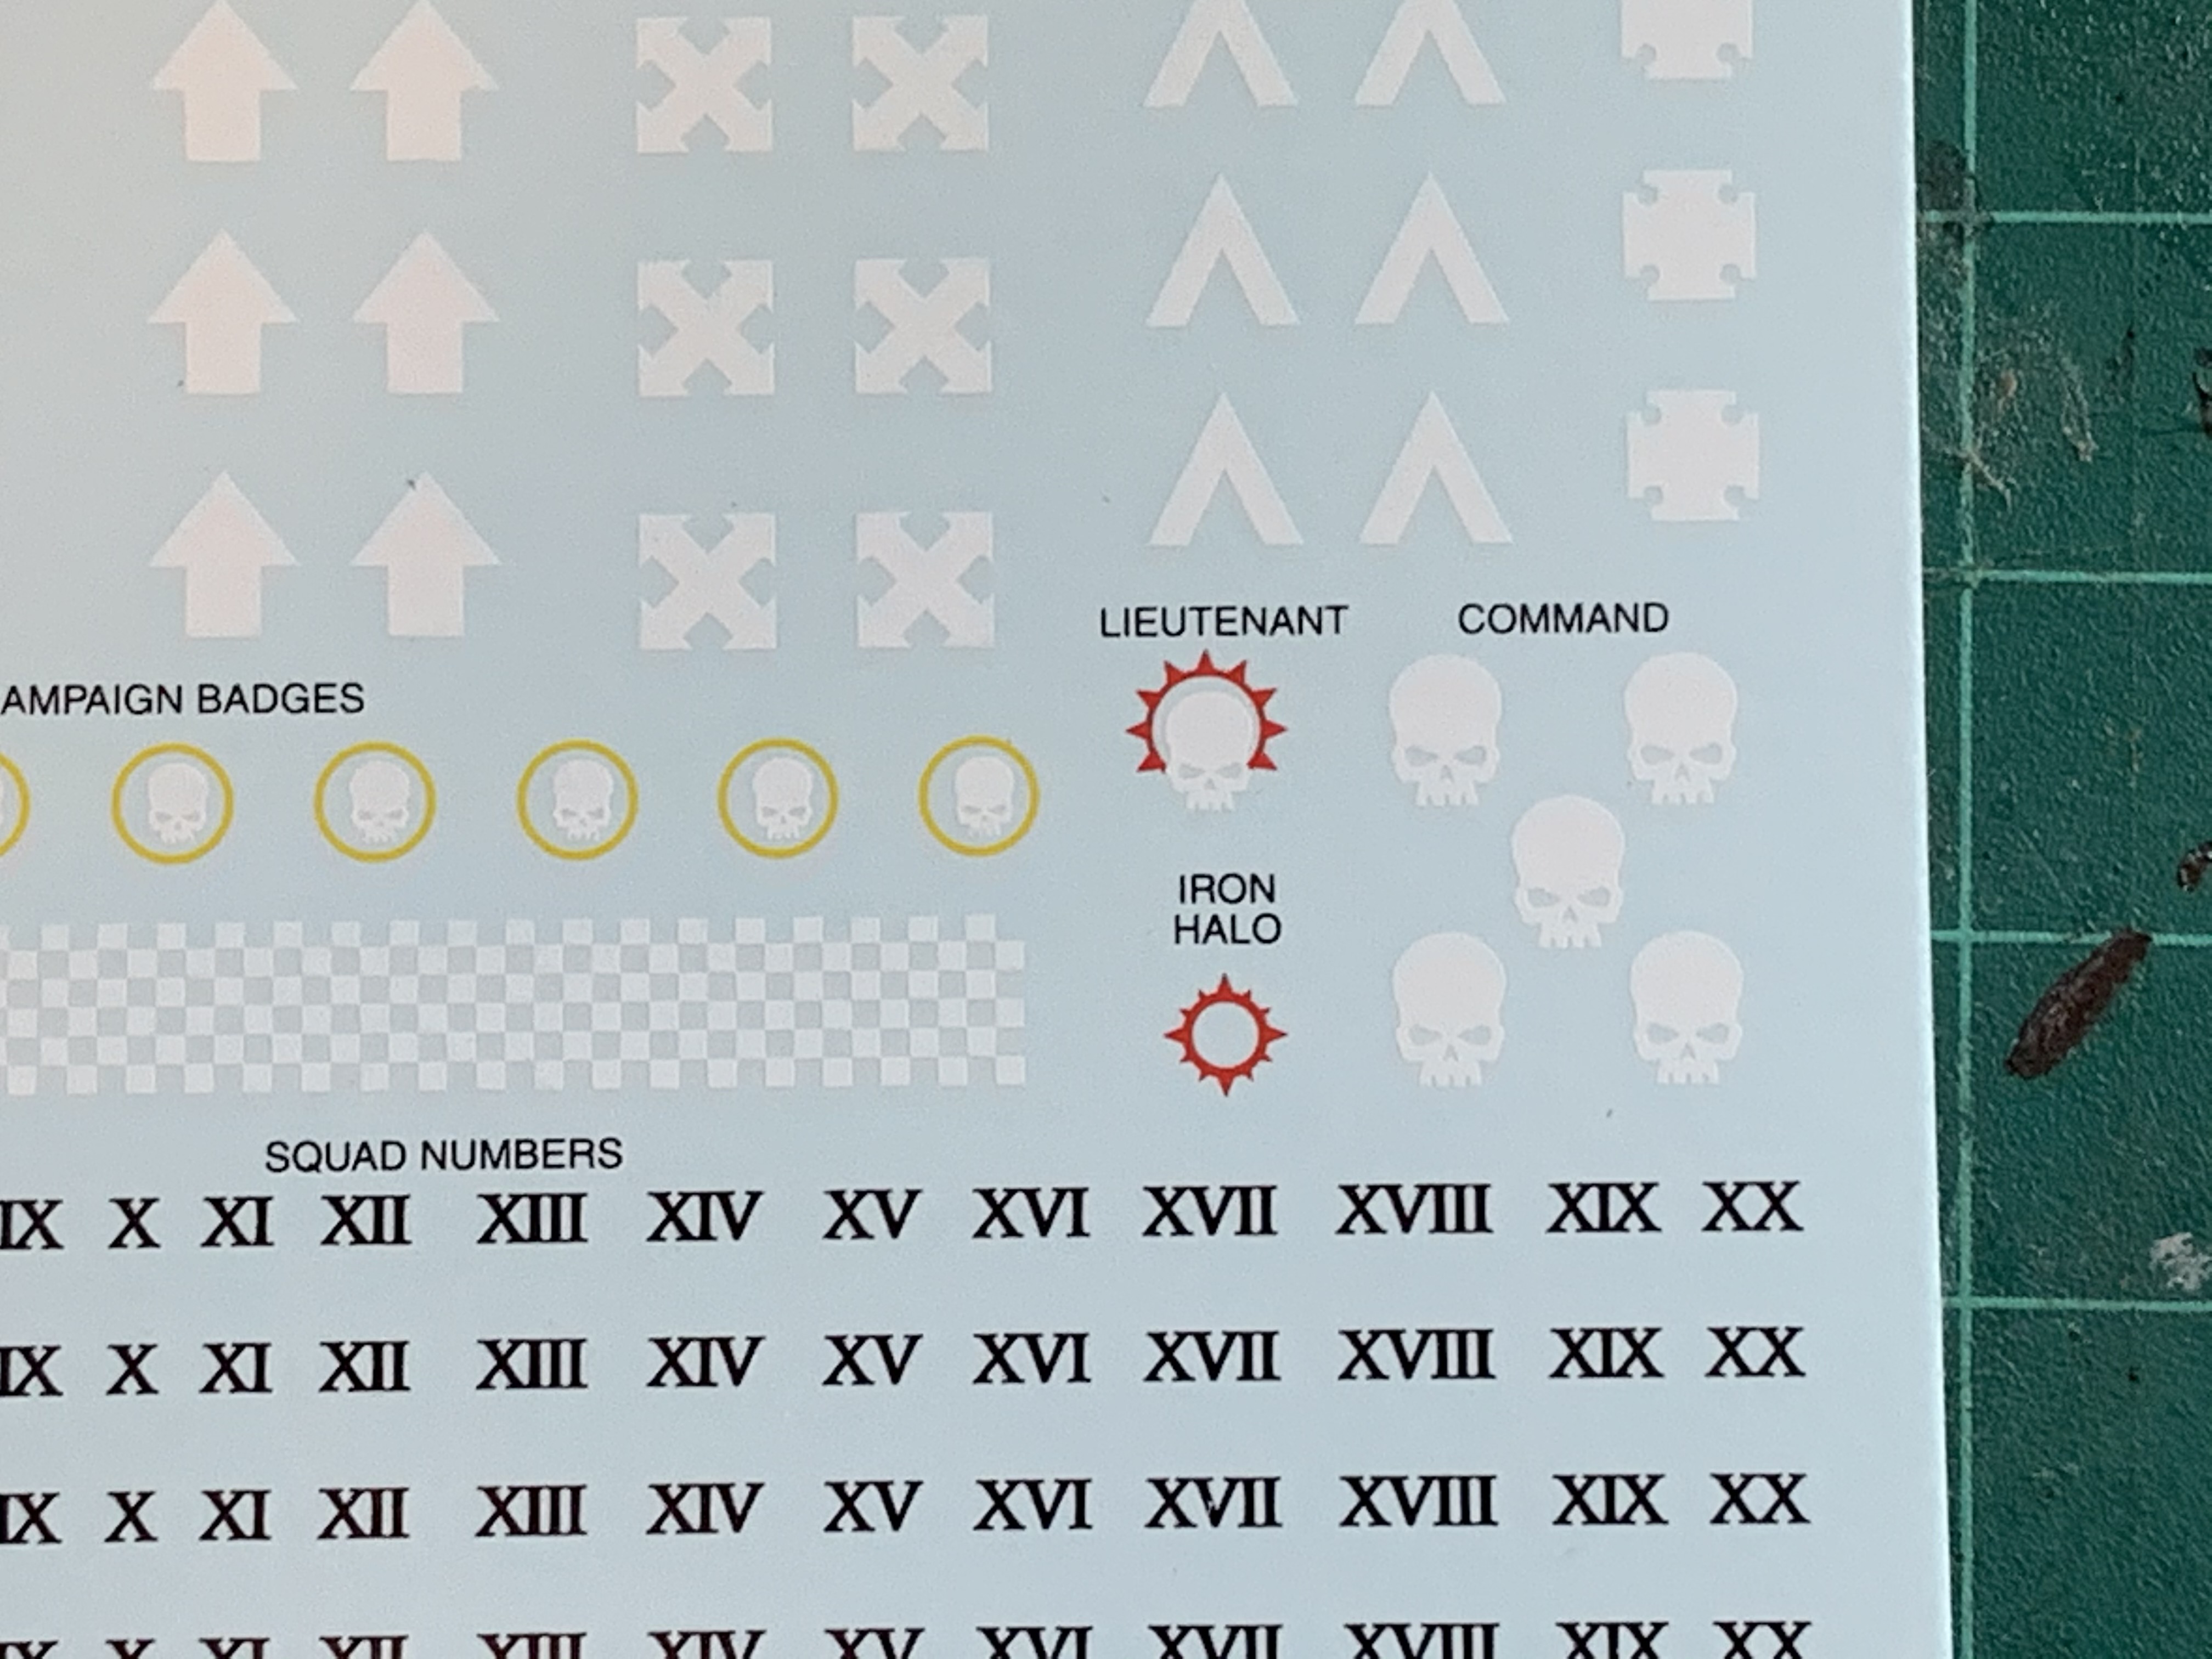
So while decals can look awesome if applied correctly, I have found that they serve a functional purpose too. Decals can make squad leaders stand out. Each Space Marine decal/transfer sheet includes useful little HQ icons that fit perfectly on knee and shoulder pads. Decals can also help distinguish otherwise identical vehicles and knights. There are many people out there running three identically kitted-out knights. Having unique decals helps keep track of who is getting targeted or which model has a buff or specific warlord trait. And with all the updated rules books and opportunities to have individual detachments running their own set of hand-picked traits/doctrines/septs/etc , decals can help each detachment celery be identified so you know who has “Salamander rerolls ” and who has “Stealthy.”
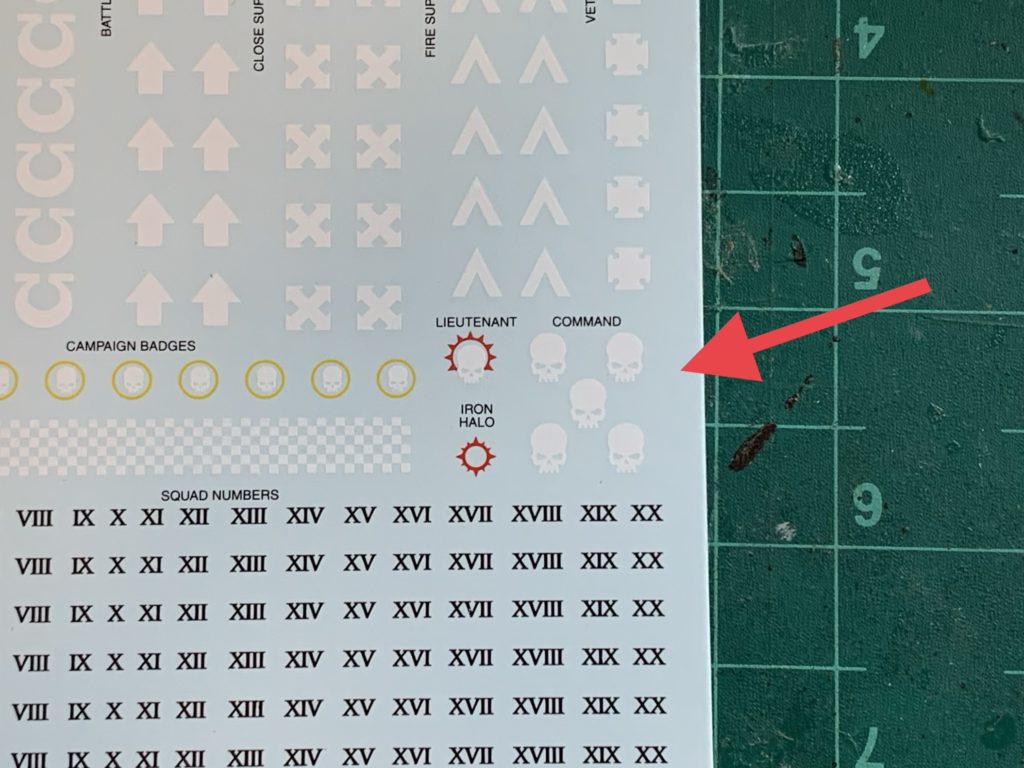
So take a few minutes and apply a decal or two. It may be a bit finicky at first, but the learning curve is steep snd you will get the hang of it! Hopefully you now will embrace decals and start using them too their full potential!
And remember, Frontline Gaming sells gaming products at a discount, every day in their webcart!


The new Stormshield matte varnish is even better than lahmian, having used both.
Also worth mention that microset/sol can dissolve citadel shades, so be careful to keep them separate or be ready to reshade after.
Hey Phyaran! Nice! Thank you! I have not tired the new Stormshield varnish yet!
And I had not idea that Microsol/set can do that! I do tend to go back and shade after use though, just to really help the decal fit in with the rest of the atheistic.
I totally agree. Its really easy to apply transfers and if you use any transfers that were printer 2013+ they look phenomenal, the clear transfer rim around the transfers is super tiny now and easily painted over. GW’s stormshield mat varnish takes away the shine too.
But functionally they are very useful. With my Eldar I’ll use specific transfers to identify what units are in what transports, which aspect unit has which “aspect shrine” upgrades etc. Its just a real easy visual indicator to you and your opponent what is what, if you develop a system of marking, or just use the one that GW has set-up throughout the various codices
Awesome stuff Cavalier! Glad to hear there are other decal fans out there too! And YES! GW has done a great job developing all those markings and unit identifiers through the years.