

Last time we spoke about using a little math, and the power of positioning to ensure you fight battles on your terms. This time we continue with tips on how to make maximum use of your Movement phase, in order to set you up for success.
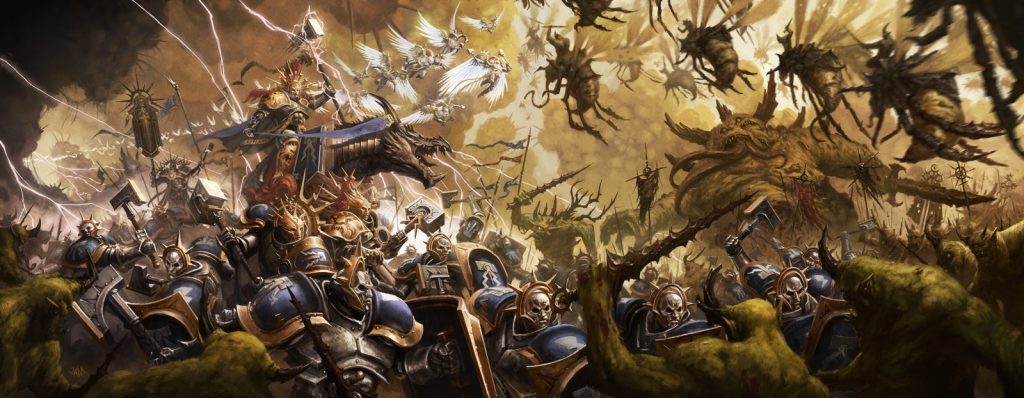
In some tabletop games more than others, movement and positioning are where you actually win games. Evocative of conventional, historical warfare, a battlefield leader’s choice of where his troops fight, can easily be as important as how they fight. Age of Sigmar is very much one such game. Let’s continue our exploration of how movement and positioning finesse can elevate good players to great ones.
Previously we talked about choosing your battles, and helping control or manipulate where battles are broadly fought, but what about the minutia, such as using pile-in, and coherency to further advantage.
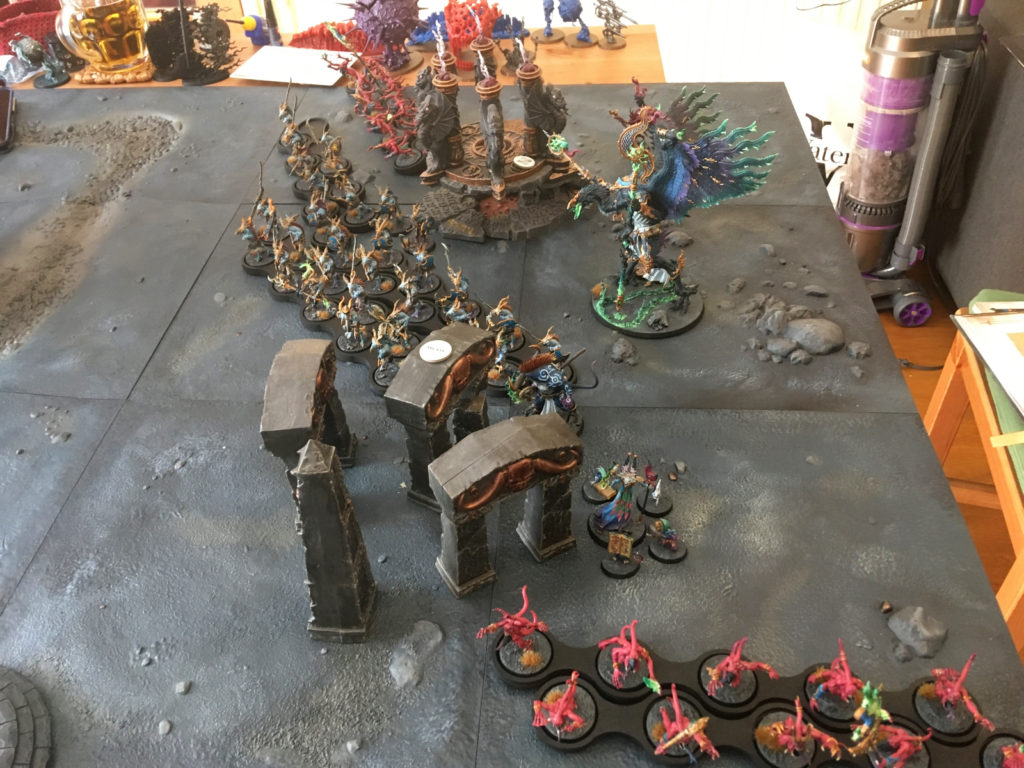
To put it lightly, coherency is incredibly punishing in AoS. Rather than simply requiring out-of-coherency models make every effort to immediately return to it, in AoS casualties are inflicted until said unit is back to legal coherency. In essence, a string of models is functionally a death-trap and a giant positioning no-no. It is also something easily exploited. Frequently player unfamiliar with some nuance of AoS will instinctively go with the idea of screening units stretched wide to ensure coverage. What this actually means is that if the unit is tagged by attacking units at each extreme, even by models with no chance of eliminating it, they cannot pile-in effectively without risking losing as many as half of their models.
The option this presents to an opponent is that they either fight several deeply inefficient combats (also potentially blocking movement of other units), commit additional resources to ending those combats, or retreat, functionally taking a unit out of the equation altogether. What they are NOT doing, in these scenarios, is controlling the board, which is ultimately essential to winning games.
Remember, piling-in, in AoS also expressly required models move toward the nearest enemy model, not necessarily one they are in combat with. Again, wider units can be manipulated so that a pittance of models are in-range to actually contribute. In short, an often weak, low value, low-threat unit of your own, through smart-charge placement, can render significantly stronger units moot. Again, removing enemy models is fun, and for some armies the sole avenue to success, but control and scoring means a smart General expends the fewest resources possible to eliminate the biggest threats.

The counterpart to that logic is in knowing the table-control responsibilities of your own units. If one of your own, highly durable units, exists specifically to deny your opponent access to a part of the table, consider how widely you want them positioned. Choosing not to pile-in is an option, and if you like where you are, your opponent’s own trickery at pulling you out of position may be irrelevant if you simply ignore it.
Another point I want to raise is rarely mentioned, but subtly important. Holding objectives, of course, is how you win games, but how you hold said objective can have more nuance than many players notice.
More often than not, number of bodies dictates which player possesses an objective. As such, most will just pile bodies into range without considering what your placement suggests to your opponent.
Creating a semi-circle of bodies in front of an objective (IE screening the objective from the opponents models) implies that you expect to be able to hold that position. What it unfortunately also does in AoS is place you closer to your enemy, enabling charges sooner. Charges in AoS are very much a second Movement phase when you urgently need it to be, and a lot of “free” movement is there to be had if you believe the fight at hand is at least a neutral proposition. As such, this manner of screening is actually pretty ineffective.
Instead, consider putting several bodies from your unit within range of the objective, but “behind” it. Depending on table-state this might appear weaker in terms of board control, but in actuality you are making harder or impossible charges that otherwise would have you fighting over an objective a turn earlier, versus simply holding it.

Combined with the previous article, I hope you can see a bit more of how surprisingly delicate the movement dance of AoS really is. I think it isn’t as overtly fun, or sexy, to focus on positioning, when everyone would rather skip to hucking dice (I get it, and agree!), but it is definitely the number one thing which I see differentiate tournament players, and more casual play.
All I can add is that it takes time to master, even once you are aware of many of these tips. If it were super finite, and objective, it would be one thing, but it really gets interesting when you add that human element of reading your opponent, and the mind-games which follow. Knowing how to bait is fine, but an opponent may not take it, and therein is the heart of AoS movement.
And remember, Frontline Gaming sells gaming products at a discount, every day in their webcart!


