

Continuing on from Part one, Nate and I rallied ourselves and prepared to push on strong. Our dual Iron Hands opponents from the previous game were going up against a fairly nasty list as well, and the hope was if they lost there we might have a chance still… but we had to win big on this game first. Read on for game two!

While I will not go as detailed into the lists Nate and I ran, I will summarize them again here.
Mine was the Nevermore (Whirlwind of Rage and Master Artisans)
Battalion
- Jump Chapter Master with Thunder hammer and storm shield, Warlord with Sword of the Imperium trait and the Master of Ambush trait.
- Phobos Captain with Marksmans Honors Trait and Korvidari Bolts.
- Primaris Lieutenant with Ex Tenenbris Relic.
- 3 units of 5 Intercessors, each with a Thunderhammer on the Sargent.
- A 5 man unit of Aggressors.
- An Impulsor with Storm bolters and the Shield dome.
Nate brought a Red Corsairs Battalion and a Word Bearers Deamonhost specialist Vanguard detachment
Battalion
Chaos Lord with Jump Pack, Mark of Khorne, Z’aall
- Sorcerer with the Mark of Slaanesh. Psychic powers were Prescience and Warptime.
- Three units of Chaos Marines, two units had auto cannons and one unit a heavy bolter, all units had Mark of Slaanesh.
Vanguard
- Dark Apostle, Apostle of the Dark Council, Benediction of Darkness, Blissful Devotion, Mark of Khorne, Shepherd of the True Faith, Soultearer Portent. He also had dark disciples accompany him for the 2+ to get prayers off
- Mater of Possession, Warlord Trait: Master of the Union, Psychic powers of Cursed Earth and Mutated Invigoration, infernal power, and the Malefic Tome Relic.
- Greater Possessed
- Hellbrute, fist and dual lascannon
- 15 Possessed with Mark of Khorne and Icon of Wrath
This time we were facing off versus another Imperium/Chaos unlikely duo. Iron Warriors / Black Legion allied with Deathwatch / Ad-mech.
Deathwatch Battalion
- Chaplin Dread with dual claws and Storm Bolters
- Primaris Libby with Might of Heroes and Null Zone
- Watch Master, Warlord: The Watch Eternal (anytime a model within 6″ would lose it’s last wound, on a 6 it stays alive with one wound), Tome of Ectoclades Relic
- 3 Squads of Intercessors with an Aggressor and Chainsword on the Sergeant
Ad-Mech Battalion (Rusty 17)
- 2 Tech-Priest Enginseer
- 3 squads of Rangers
Iron Warriors Battalion (All with Mark of Slaanesh)
- Dark Apostle, Warpsight Plea prayer (+1 to hit on ranged). Accompanied by Dark Disciples.
- Master of Executioners
- Two units of 5 Chaos Space Marines
- 11 cultists
Black Legion Spearhead (All able to took Mark of Slaanesh)
- Abaddon
- Defiler with twin flamer and twin lascannon
- A unit of 2 Obliterators
- A unit of 1 Obliterator
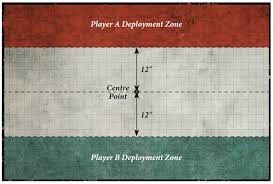
We rolled up Deployment zone 2, Dawn of War , and would be playing Mission 2: Cut to the Heart.


Pre game Set up and Thoughts
Looking over their lists, we felt a lot more confident we could handle this. The rough idea we had was to try for the bonus point as soon as possible. Able to hold threats back a little to challenge the center board, should they push for it, while holding it ourselves with my Phobos Captain and Impulosr. Meanwhile, we would dedicate the Aggressors, smash capt, and the Possessed bomb to clear their objective castle and claim it for us.
We took Head Hunter, Butchers Bill, and Old School as our secondaries, while our opponents also selected Head Hunter, Engineers and Old school. Two units of their rangers were Engineers.
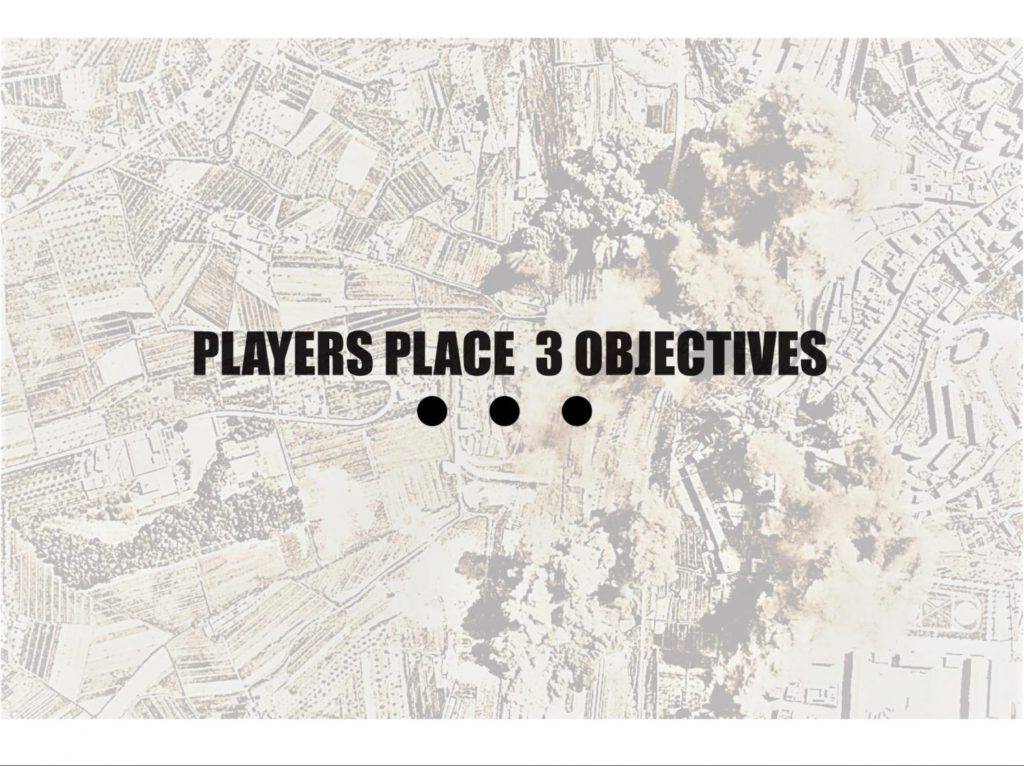
We ‘lost’ the roll for choosing deployment sides, which meant we got to set up and go first barring a seize. We placed our objective in the bottom left, while our opponents did theirs in the top right.

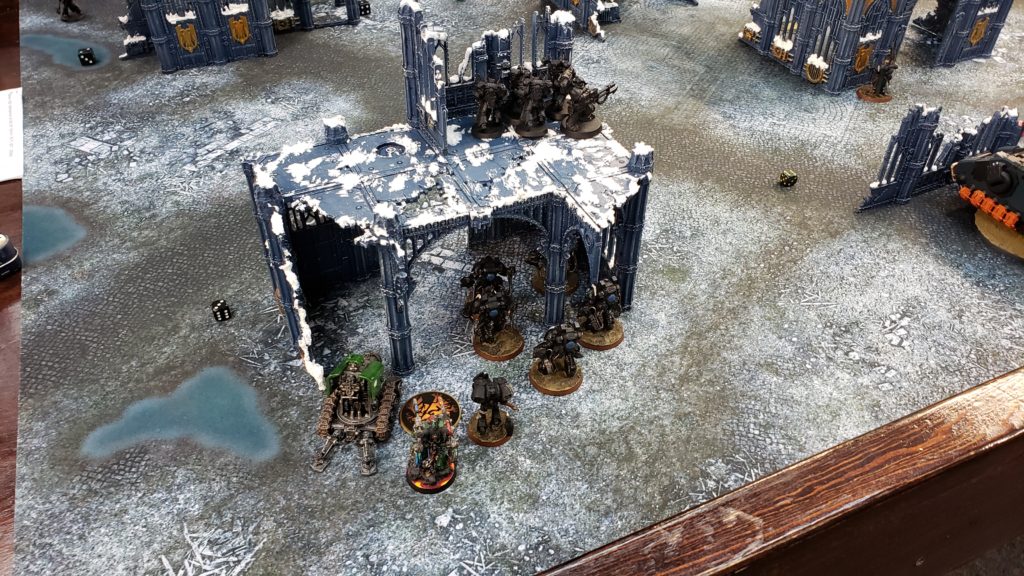
Not pictured: Our opponents deployment zone! Opposite my TFC, they put the majority of the Chaos forces. The two units of Marines, the Cultists, the Defiler, and the Dark Apostle. They put the Obliterators and Abbadon in deepstrike. Opposite our right side, they had a matching ruin piece of terrain. Their two units of Engineer rangers were 3″ back from the front of it, and on their objective. One ranger unit went up top. The three units of Primaris Deathwatch were 4″ back from the objective with all the Ad-Mech and Death watch characters in a line in between the rangers and Intercessors, along with the Master of Executioners.
They were going to elect to not try to seize, but I told them they did not want me having first turn. Found out neither opponent knew what Raven Guard do…. Ouch. Had a quick chat to explain the pre-game moves and what the obvious play was. They tried to seize and failed. First turn to us!
Turn 1
The Aggressors pre game to bounce 9″ away from their deployment zone with the Smash Capt right behind it. All the prayers for both sides were successful.
The Agressors moved up, to just outside the wall and the Capt moved to touching the wall. Other side of the rangers. The possesed rushed forward and warptimed to halfway to our opponents line. The TFC picked up the back of the two Engineer ranger squads, leaving the front one for an easy 4″ charge for me. The Impulsor moved up to the center objective, and deposited the LT who shot at a Deathwatch Intercessor. Managed to kill one with a second surviving on one wound due to their Warlord Trait. The lone Aggressor that could see added it’s fire power to the Chaos Auto cannons and the Impulsor’s shots to pick up the ranger squad on the top of their ruins. The Phobos Captain targeted their Librarian to have him fail his armor save but pass his 6+ to survive with a wound.
Charges saw the Smash Captain declare on the Rangers, the Enginseer, Librarian, Master of Executioners, and the Watch Captain. He made it to contact with the Rangers, libby, and Enginseer. The Aggressors also charged through the wall to the libby, Master of Executioners, and Rangers. Rangers got picked up, as well as the Master of Executoners and the Enginseer. In return the Libby killed a single Aggressor. The Aggressors surrounded the Libby to wrap him, and the Smash Capt got in that as well to survive any retaliation shooting.
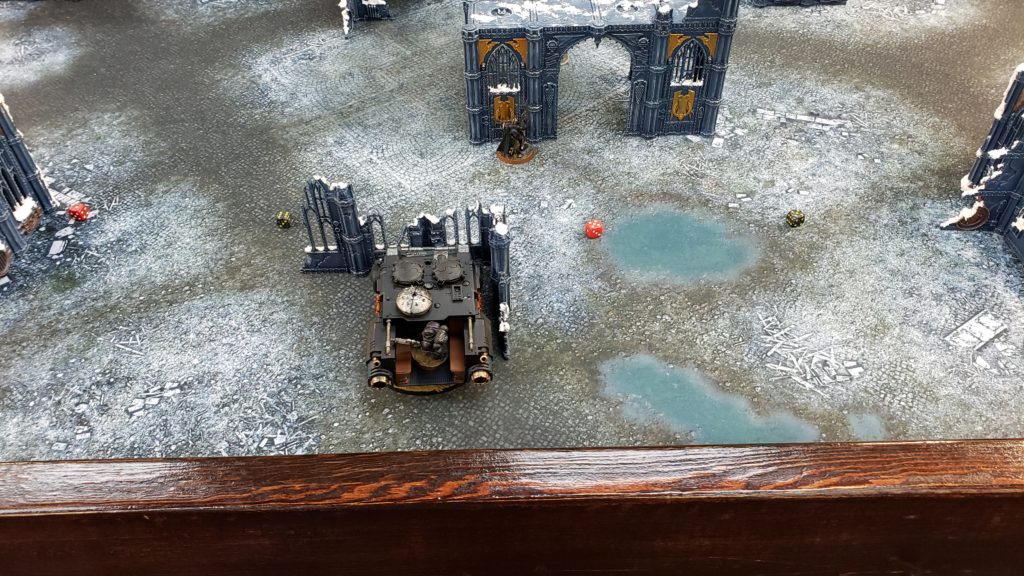
On their turn, The Defiler pushed up from behind it’s cover to see a few targets on their left flank. The cultists ran forward through cover and the Chaos Marines prepared to move through next turn. Over by the melee, two of their units of Intercessors and the Watch Captain moved back from the fighting, while one moved up to go after the Smash Captain. Their shooting saw two Chaos Marines drop near our objective while the Impulsor took 2 damage from the defiler.
They charged the Smash Captain and killed him, but he swung back in death to remove that unit from the objective. Their Libby picked up another Aggressor, and the Aggressors failed to kill him in return. (Note: this was due to a rule mi-understanding that all damage was negated on a roll of a 6 for their warlord trait. The Libby should have gotten dropped, but with how big a first turn we just had, I wasn’t going to challenge it. Found out a little latter this player was very new to the army and the game in general).
We got Kill, Kill more, Hold, Hold more, Bonus, 2 Head hunter, Butcher’s Bill, and an Old School. They got Kill, Headhunter, and two Old School points
Score: 9 to 4 us.
Turn 2
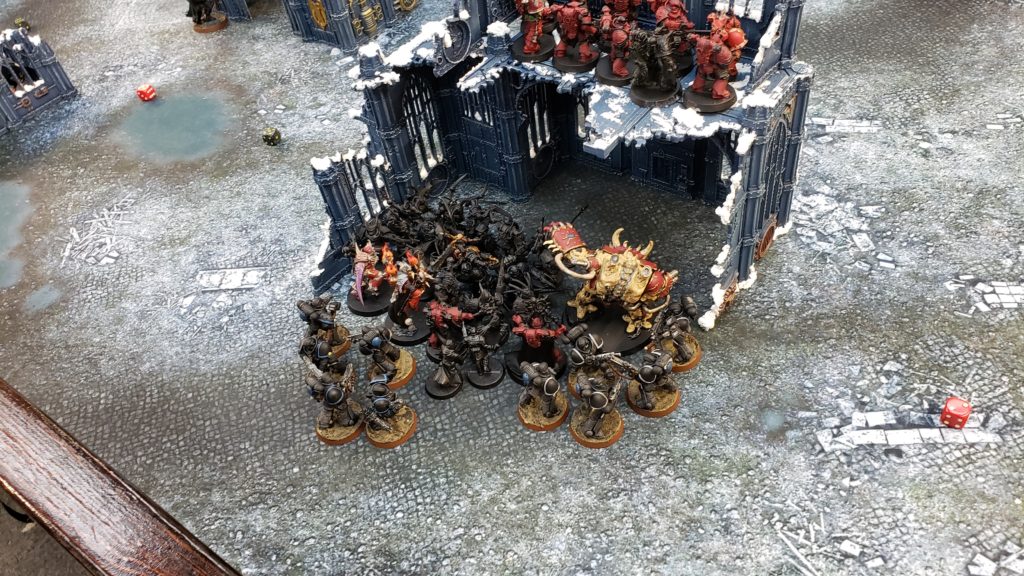
The Impulsor moved up to the outside of their ruins the Chaos Forces were hiding in, getting out of LoS of the Defiler and preparing to let it’s cargo out next turn to charge though. One Squad of Intercessors moved up on the right flank, while another spread out center to screen out deep strikes. The Possessed double moved up to help my dwindling Aggressors deal with the Deathwatch Forces. Shooting saw me put 4 damage on the Watch Captain, while the TFC and Chaos Marines killed 9 of the 11 Cultists.
The possessed charged into All the Deathwatch forces, the libby, watch master, and two squads of Intercessors. The majority of the attacks went into the Watch Master and one Intercessor squad, with enough going at the libby to kill it, freeing my Intercessors. The Watch Master also dropped, and all but the Aggressor in one squad. My Aggressor were freed up to then pile in and engage the other intercessor squad, removing all but their Aggressor.
In retaliation, they managed to kill two Possessed on overwatch and another two in combat.
Their turn, they moved the Defiler up to get more of a bead on my center Intercessors, while the Chaos Marines stayed put. The Cultists (after having spent 2 cp to not run), used their Tide of Traitors strat to come back in at full strength and further down the board. The Obliterators and Abbadon deepstruck on the left side, drawing a bead on my Impulsor and TFC. The TFC got picked up easily, while the Impuslor took another 3 damage. Still in it’s top tier. Their Chaplian Dread deep struck in our back lines as well, and was able to line up a charge on the techmarine to easily pick it up. We then had the Possessed interrupt combat to remove all the Deathwatch Aggressors left.
We scored Kill, Kill more, Hold, Hold more, Bonus, 2 Head Hunter, Old School, and a Butcher’s. They got Head hunter, and a Kill.
Score: 18 to 6 us
Turn 3
At this point, there was 20 minutes left in the game. This was due to one opponent being much newer and needing to look up a lot of things. We elected to rush and not move unnecessary units etc. My Intercessors in the Impulsor got out and lined up a charge through the wall into both of their units of Marines. In the shooting, my Phobos Captain Shot at Abbadon,(Should have targeted the Dark Apostle -but I forgot it was there in the rush). The Intcessors successfully charged both squads of marines and I put all my attacks into one squad, I failed to kill the last model, and it passed morale, while in return I was left with only the Sargent and one intercessor on a wound! (My dice betrayed me on saves).
Our Deamon Prince Deepstruck in to attack the Chaplin Dread, leaving it on one wound left! It struck back, leaving the Prince on one wound!
Their turn three saw the Obliterators move up and charge the prince to finish it off, with the Defiler having doubled back to try and charge my intercessors and failing it’s charge. In the ongoing combat, they attacked first with the full squad, but my dice redeemed themselves and my Sargent was left standing. I swung back at the lone Chaos Marine and picked it up.
Final points: We got Kill, Hold, Hold More, Bonus, 2 Old School. They got Kill, Hold, Head Hunter, and 2 Old School
Final Score: 24 to 10
Post Game Thoughts


That was a much different game than our first one. While we were not able to play it to conclusion, I do not believe it would have changed the outcome. We would have castled to the center, and forced them to come to striking range of us. Their Defiler made certain to always stay out of range of the Hell brute and they were very much on the back foot in terms of mobility. We had given up our objective, but it was going to be difficult for them to shift us off the center, especially with the slower movement of their big units. If the third unit of Ad-Mech rangers had been used as a screen to speed bump my Aggressors and Captain, it may have been a different game.
With a Solid but not amazing victory in terms of points, we knew that if we wanted a shot at the top place, we needed a high scoring result game three.
Thanks for reading, and happy Wargaming!
And remember, Frontline Gaming sells gaming products at a discount, every day in their webcart!


