


Hey everybody, Danny from TFG Radio here, and today, I am going to go through some lists that I’ve built that heavily utilize some aspect of all the new rules out of Psychic Awakening III: Blood of Baal. I like to call this set my Big Bug Ballyhoos. If you want more insights and tricks, you should totally check out Frontline’s awesome Tactics Corner for more!


There are so many new ways to build Tyranids thanks to a plethora of new rules that is hard to narrow down your focus. For today, I have three lists that all share one common attribute: sweet, sweet Nidzilla. Each offers different tactics and styles, and I tried to create lists that utilize different models to show the range of builds possible. Let’s get into it! As always, with lists, please note that these are written to be easier to read online and not in proper format.

Build-A-Bug Brigade: Cranial Channeling and Hypermetabolic Acceleration
3x Neurothropes (1 is WL with Resonance Barb)
6×3 Rippers
2x Lictor
1x Maleceptor
1×4 Meitoic Spores
2×1 Mucolid Spres
3×1 Biovores
Build-A-Bug Spearhead: Prey Sight and Bestial Nature
Malanthrope
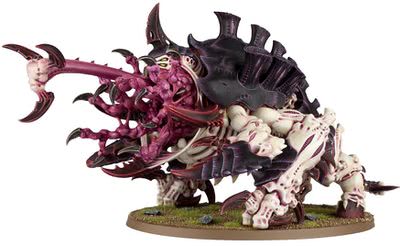
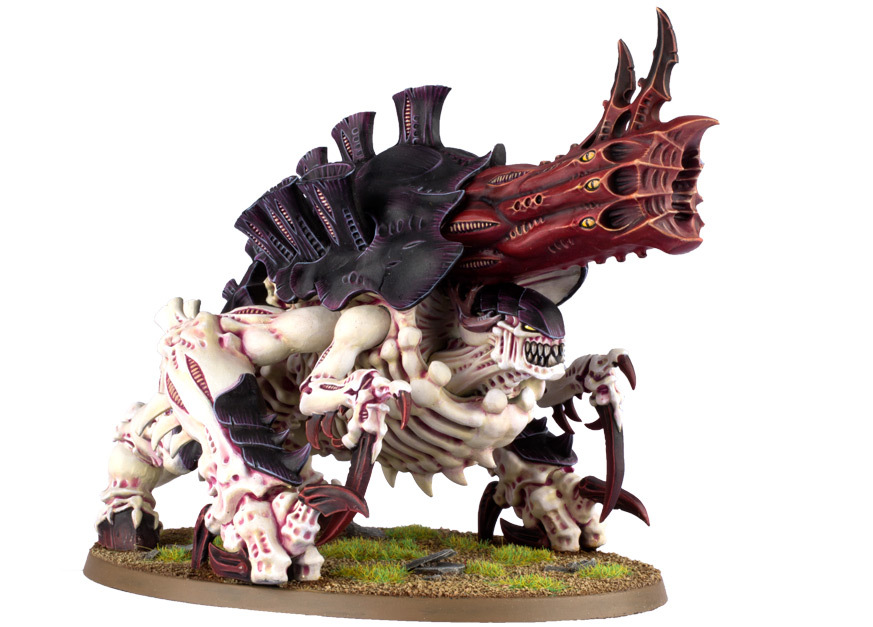
3x Toxicrene
Build-A-Bug Vanguard: Prey Sight and Bestial Nature
Malanthrope
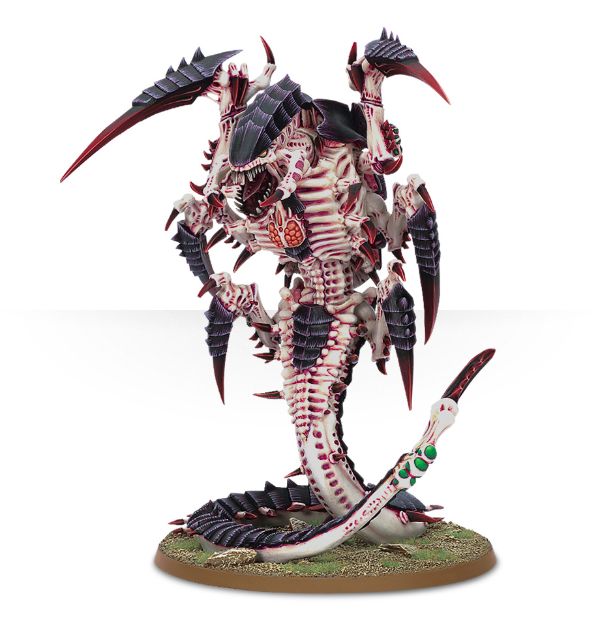
3x Haruspex
This list is relatively simple in design: Throw six mean, mean melee bugs down your opponent’s throat while also having a lot of CPs for various tricks and a lot of small units to help stay afloat in the objective game. The main threat of the list is the 3 Haruspexes and 3 Toxicrenes as each one is capable of doing big damage, and between the Malanthrope and the Maleceptor aura, they are not all that easy to take down at range. To help compliment the melee threat, you also have 4 sources of smite, two with a +1, so with that and Psychic Scream, that’s really 5 sources of psychic mortal wounds who also get to reroll one test per phase. The Biovores also give just a bit of threat, but even their missed shots can be useful in terms of blocking movement or absorbing smites.
The Meiotic Spores are also clutch for the fact that they can do decent damage to most units, but they also deploy like Scouts/Nurglings, so you have a way to help screen out Raven Guard Centurions and the like. All of the models in the Brigade also heal 1 wound per turn, and seeing as how they are all multi-wound, this can pay off in the long run as Ripper squads camping objectives start to heal.

With 17 CP, you also have all the resources needed to use our many stratagems like locking something down with a Toxicrene, getting the Haruspex to reroll, or turning off Overwatch with the Lictors. The critical thing here is you have enough CP to make sure Encephalic Diffusion is up for at least 3 turns, assuming the Maleceptor lives that long. You can also choose to give 2 of the Haruspexes a 5++ for extra defense against a heavy shooting army or give 2 of the Toxicrenes Murderous Size to up their damage potential against a Knight match up.
This list does not really play the shooting game, and massed flyers (or just a ton of magic boxes/multi-story ruins) will be problematic, but against most lists, it asks a hard question: namely can you kill all 6 of the beasties and still have time to clear off all the smaller units from the objectives?

Jormungandr Battalion:
Neuro
Old One Eye
2×3 Rippers
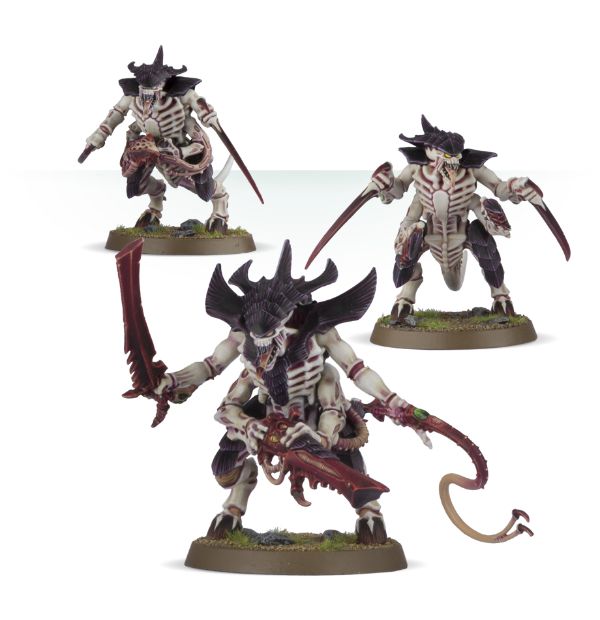
1×4 Warriors with 2x scything talons
3×2 Carnifexes with 2x Double Devs, enhanced senses, spore cysts.
Behemoth Battalion:
Neuro
Reaper Tyrant (Reaper of Obliterax, Toxin Sacs, Adrenal Glands, Double-Devourers, Murderous Size). WL.
3×3 Rippers
2x Trygons with Adrenal
1x Trygon Prime with Adrenal
So this list is about maximizing beta-strike potential while still using mostly big bad bugs. You have essentially two main blocks of threats: the Jormungandr Dakka-Fexes that each pump out 24 S6 shots at BS 3+ with OOE waiting around to charge anything that gets too close, and then you have the Trygons/Prime and a Reaper Tyrant for cracking armor. I’d also likely Murderous Size the Trygon Prime who will have the Arachnocyte Gland for relatively reliable charge out of reserve, and it can help proc Hive Instinct to get another units into the fight if need be. The Reaper Tyrant has one set of Double-Devourers as you can use them to pick off a model in a unit and then trigger Hunter’s Drive to get a longer charge off and maybe slingshot yourself into a hard target or character.
The Rippers do what Rippers do, and the 4 warriors are just cheap, relatively resilient unit that can help chew on forward chaff with 16 attacks at WS 3+, rerolling 1s. They also can go inside buildings, which can be clutch. You still also have a nice sprinkling of smites here too to help do a bit more damage.
This list operates on the idea that it can more or less survive Turn 1. With Jormungandr, you have Carnifexes in cover, who are small for monsters, so easier to hide behind terrain and such, and they are -1 to hit at range, so they aren’t that easy to kill (definitely killable, but nowhere near as easy as your opponent might imagine), and the Carnifexes just help clear screens or models zoning out your big punches. You can also change this list up by going BS 4+ with the Carnifexes and giving them Monstrous Acid Maw for some decent melee threat, especially with Old One Eye to buff them up to WS 3+ when charged or WS 2+ when charging.
The Trygons and Reaper Tyrant are there to kill hard targets, and especially a Muderous Size Prime has good odds to cripple just about anything. You also have a touch of psychic here with 3 sources of smite and of course, access to the sweet, sweet Behemoth psychic power. Once you’ve killed the hardest targets, there will likely not be much that is going to threaten your big bugs.
The downside is that fast assault elements can wrap the Carnifexes and turn off your shooting, and without a dedicated chaff wall of your own, this can be hard to mitigate. It is also relatively short ranged as the Devourers are only range 18. Relying on charges out of reserve can also lead to heartbreak as you will fail some, so that’s something to keep in mind. Flyer spam is never Tyranids’ best matchup, but you do have some plays against it, and of course, since you have melee monsters, you have to be wary of Ruins and such as units can definitely just hide.

Build-A-Bug Battalion: Synaptic Augmentation and Morphic Sinews
3x Hive Tyrant Heavy Venom Cannon, Double-Devourer. One is WL. One has Venomthorn Parasite
1×3 Rippers
1×25 Termagants
1×24 Termagants
1×3 Carnifexes Heavy Venom Cannon, Double Devourers, Enhanced Senses
2×1 Exocrine
Build-A-Bug Battalion: Synaptic Augmentation and Morphic Sinews
2x Malanthrope
3×3 Rippers
Maleceptor
1×1 Carnifex: Heavy Venom Cannon, Double Devourers, Enhanced Senses
This is an odd list designed around running and gunning with Walking Tyrants and Carnifexes putting out d3 S9 shots and 12 S6 shots each, and thanks to Synaptic Augmentation, you get a free reroll on one those HVC shots. With Morphic Sinews, you can move and fire heavy weapons without penalty (in case both Exocrines need to reposition) and you can advance and fire assault without penalty, so the Carnifexes are essentially moving 7+d6 each turn and the Tyrants 9+d6. This lets you maximize terrain and shield your shooters from incoming fire.
In terms of fire power, you have 7d3 S9 AP-2 D3 shots, 82 S6 shots, and up to 24 S7 AP-3 D2 shots, and well, just about any of your shooting platforms can also boost for +1 damage in the shooting phase, one Exocrine gets to move and count as stationary, and well, you have 4 sources of smite to round it all out. That is a decent amount of heat that has a good mix of High S and sheer volume of fire. Again, you get 1 free reroll per monster as long as they are near a synapse creature, so that should help those Venom Cannons
You also have a lot of first turn protection in that you have 2 Malanthropes to throw out the -1 to hit aura and a Maleceptor, so you can turtle up a bit, pop Prepared Positions for Cover for everything, and then pop Encephalic Diffusion for -1 Strength, and you have a pretty damn resilient castle that is not going to go down easy, especially since 4 of your monsters rock a 4++ and you can easily give the 2 Exocrines a 5++, and between a 2+ save on the beasties, -1 to hit, and -1 Strength, it is not going to be easy to shift you at all at range. If going against a list that doesn’t have overwhelming shooting threat, you can also give both Exocrines Voracious Ammunition for extra mortal wounds on larger units.

You also have 49 Termagants to create a chaff wall to help keep assault elements off you for a turn or 2 as well as zone out reserves. As this list has no real melee power, you definitely need some bodies to buy you time for your shooting to do work. This is a list that really functions more off of its surprising mobility, all on monster chassis that can do some real damage at range.
It lacks any real melee threat and it has no out of LoS shooting, so magic boxes can be a real pain. It also only has 49 little bugs, so dedicated small arms can easily clear your screen away in a single turn, leaving your shooting threats vulnerable. That said, there is a lot of high powered shooting here, so this is definitely a list designed to do one thing.
Well, that’s it for now, and I have dozens of other Monster-Mash style lists, but these are some of my favorites in terms of the different styles that they embody. Next time, we’ll look at the opposite direction and see how players with strong backs and plenty of movement trays can do work with a horde of little ones. Until then, I hope the holidays were kind, and be sure to get all your beasties painted for LVO. See you all there, and as always, thanks for reading.
And remember, Frontline Gaming sells gaming products at a discount, every day in their webcart!


