
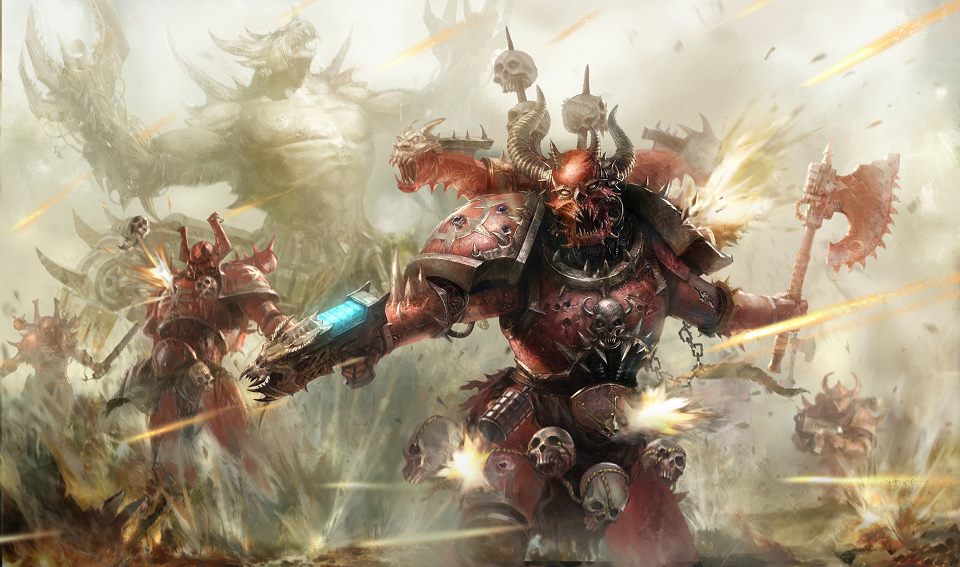
Hey everyone, Danny from TFG Radio here, and this time, we are looking at the awesome and just about all around useful stratagems from Psychic Awakening II: Faith and Fury. If you like your Butchers Red and your Frenzy Apoplectic, then you need to read on. Don’t be shy about checking out the other cool tricks to learn from Frontline’s ever expanding Tactics Corner!


Stratagems
These make the world go round, and World Eaters got lucky in that most of these new stratagems from Psychic Awakening II have some real, legitimate uses. I am not going to rank them as they all depend in general on how you are going to build your list and how you want your army to play. Only a few are just always awesome in isolation, but thankfully, all of them will see play to some extent.

Scorn of Sorcery: Use in opponent’s psychic phase when a psyker manifests a power within 24” of a World Eaters unit. roll a D6; on a 4+, the power has no effect. 1 CP
This is the reason that the late, great Geoff Robinson splashed in a World Eater’s Master of Executions in his lists: being able to turn off 1 psychic power can be game changing as plenty of armies rely on specific powers to execute a game plan like Warp Time or Quicken. This is an essential stratagem to keep in mind, and I always factor in that it costs 2 CP as I like to save a CP for the reroll.
You do need to position for this, so being able to get a unit quickly to the center of the board to spread that aura is critical if you want to shut down Turn 1 shenanigans. This is the one downside to the power, but once the fight has started in earnest, this is a great way to ensure that one part of your opponent’s plan is not going to work (well, 75% of the time anyway).
Apoplectic Frenzy: Use during deployment when you set up a World Eaters INFANTRY unit from your army. At the start of the first battle round but before the first turn begins, move that unit up to 9”. It cannot end within 9” of enemy models. 1 CP
This is a stratagem where you can easily use most of your CP before the game even starts, and really, you should always be prepared to use this both for the offensive and defensive avenues it opens.
This is essential for doing a foot-slogging melee horde as being able to get multiple units up the board is critical. If you running huge packs of cultists, Berserkers, and even chainsword CSM squads, this is how you get to the mid-table and get within striking distance on the first turn. Spending 3 CP to get 30 Beserkers to threaten the mid-table is a small price to pay. While it may be tempting to do such, foot-slogging Berserkers are still not that fast, and in a world of Thunderfire Cannons, it is not a reliable build. Even with the full 9″ move, in most deployments with 24″ of no-man’s land, it is still a 9″ charge for a Berserker squad to make it into enemies that deployed right on the line. Instead, also think about jump infantry like Warp Talons or Raptors. With their 12″ move, they can easily start to threaten enemy deployments on the top of 1. Warp Talons are better to come out of reserve though thanks to turning off Overwatch.
That said, being able to get Smashcaps up the field into magic boxes near the center of the board can really help you get an alpha-strike off with a character or provide a zone of “don’t land here” for flyers who don’t want to take a Thunderhammer to the face next turn. If you want some shooting, this can be great for Obliterators as you can deploy aggressively for the first turn and if you don’t get it, you can shuffle them back into hiding. Hell, if you want to try some jank, you can use this on Mutilators to try and get them up the board.
There are also a lot of defensive options here like being able to reposition a unit or just take a tasty piece of terrain just outside of your deployment zone can save you from an alpha strike. On some table setups, there is a good, safe place to hunker down, but just outside your deployment, and being able to get a unit or two into it before the fight begins can be absolutely critical for success.

Skulls for the Skull Throne: Use in the fight phase after a World Eater Character kills an enemy character. Gain D3 command points. 1 CP.
CP regen of any kind is excellent, especially CP regen that isn’t limited to 1 per game turn. If you do manage to kill a character with one of yours, be sure to pop this as 67% of the time, you are getting value, and well, if you roll a 1, it was a free roll essentially. As World Eaters are very, very CP hungry, any amount more is total value for you.
If you running a decent amount of characters, this is important to keep in mind. If you can line up a kill on a character with one of your own, even if there is another play open, you need to factor in if 1 or 2 more CPs is going to be more advantageous. Especially in the late game where most players are low or out of CP, being able to get 1 or 2 more back can be the difference between victory and defeat. Try to always keep 1 CP open if you have any characters left as at worst, you get nothing and still have 1 CP, but you could end up back at 3 CP, which is Fighting Again if need be. Don’t forget that this triggers in any Fight phase, so you could theoretically gain 4 net CP over the course of a game turn.
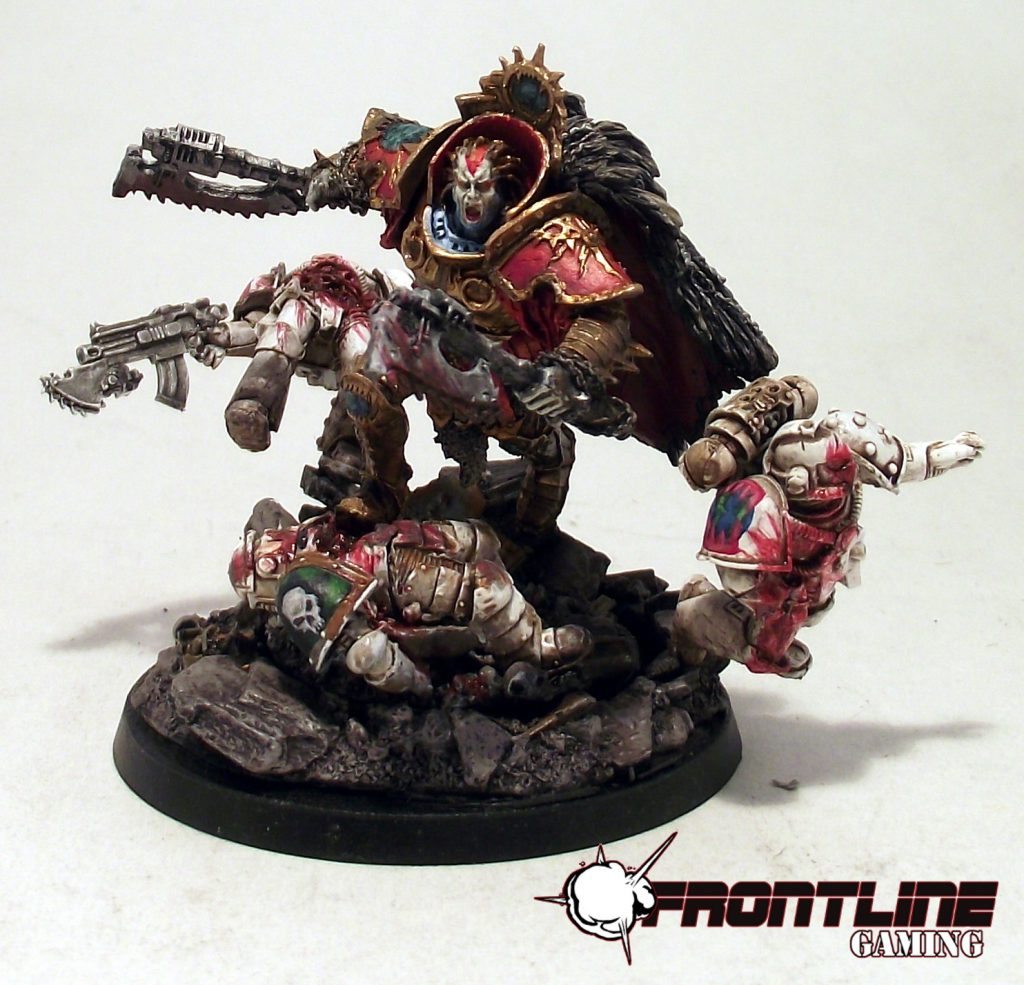
Red Butchers: Use before the battle (so in list building stage). Select one unit of World Eaters Terminators. Add 1 to the Strength of that unit and they also gain the Blood for the Blood God rule (fight twice). One use only. 2 CP.
You can build an army around this stratagem, especially since it can’t be Vect’d, and well, if you have 10 Red Butchers like me, this should make you happy dance. You essentially have Terminator Berserkers, all of the kill, more customization, and a lot more defense. For 300 points, you get 20 wounds at 2+/5++ that each make 4 S6 AP-1 D1 attacks, then an additional 3 attacks on the charge. Don’t forget that Veterans of the Long War exists, so now you are +1 to wound, and a full unit of Red Butchers starts to threaten just about anything else out there. This is also on top of the fact that you also get up to 40 combi-bolter shots when they drop out of reserve, and that can help clear chaff away or just put a bit of extra heat on a really hard unit (just don’t shoot yourself out of charge range). While much more expensive, 10 Lightning Claw Red Butchers can also do work as S5 rerolling to wound with 5 (so 9) attacks each is also brutal, all at AP-2. You can also go crazy and have a wide variety of weapon types to suit your needs, but in general, combined with Violent Urgency Warlord Trait, this is going to be a World Eater archetype that you will see. Just always bring that Icon of Wrath.
You can also combo this with Apoplectic Fury to have the Terminators start on the board as a bully unit, rushing forward to take the mid-table ala Bullgryn. If there is good LoS blocking terrain or a ruin 9″ outside of your deployment zone towards the center, this can be more advantageous than deep striking as you are dictating the early movement phase. If your opponent is too eager, they can get charged bottom of 1 by Red Butchers or if they are too timid, not commit enough to hold the center and thus be at a disadvantage in the objective game. If you start stacking on other buffs as well as such a Dark Apostle or if you don’t mind breaking fluff, Prescience or Warp Time, you get a surprising amount of heat on Turn 1.


Kill Maim Burn: Use in the Fight phase before you consolidate with a World Eaters unit. They consolidate 6” instead of 3” for the phase. 1CP.
This is my pick for the best stratagem that World Eaters get. It lacks the raw power of others, but being able to suddenly move 6” when you consolidate really increases the likelihood of a tri-point, and that is absolutely essential to keeping units alive. If you manage to get off a charge, being able to lock a unit into place can save you from devastation. While expensive, this can literally be the difference between your opponent losing 1 or 2 units to Red Butchers/Berserker squad and losing 4 or 5. It is best on a unit that fights twice as that is a lot more movement, so you can charge one unit, blitz through them, and then move forward to lock another in combat. All told, after charge moves, a unit of Berserkers or Red Butchers piles-in 3”, then consolidates 6”, then fights again for another 3” and then another 6”. That’s a whole lot of movement that can let you catch some crazy angles to lock units in place or even just force non-FLY vehicles to fall back. It does take careful planning to do this well though, so be sure to really sit and think how you are going to take advantage.
While more CP intensive, this also is not bad with Warp Talons. Since Warp Talons fly, they have even more movement tricks available to them, and they cannot be Overwatched when they arrive from reserve, so you can use even a small squad to hit the enemy lines, kill a small chaff unit (or not even), and then consolidate them 6″ to tag more units or lock something in place, Fight Again for another 9″ of total potential movement. Especially against T’au, being able to trigger Kill Maim Burn and Fight Again means you can move around the drones and tri-point a buff character, giving your real hitters time to get into the fight. Again, careful positioning is key here, so take your time to map out how you are going to move, and watch your model placement.
Wild Fury: Use in Fight Phase when selecting a World Eaters unit to fight. Until the end of the fight phase, improve the unit’s AP by 1. 1 CP.
It is hard to ask for more for 1 CP. Getting Chainaxes to AP-2 can be horrific for your opponent as suddenly a 3+ goes to a 5+, and those are harder to skew. Even on a huge unit of cultists or standard CSM, getting some AP can really tip the math into your favor, and this is a surprising boost of power that you should not forget.
Just some examples here, using max models in the squads and assuming all second attack activation are against the same unit:
Red Butchers with Chain Axes against 10 Primaris Intercessors = 24 wounds (12 dead Primaris)
Red Butchers with Chain Axes and Wild Fury = 32 wounds (16 dead Primaris)
Berserkers with Chain Axes against a Knight = 12 wounds.
Berserkers with Chain Axes and Wild Fury = 16 wounds.
Berserkers with Chain Axes/Wild Fury/VotLW = 24 wounds
So from the math, you can see how much you increase the damage output against anything you wound on 4s or better with the quick application of Wild Fury. Red Butchers don’t need much help to take on other infantry, but with Wild Fury, if going against a horde of Primaris bodies, one squad of Red Butchers can eat 16 Primaris in a combat phase, not bad at all. Both Berserkers and Red Butchers can kill even a Knight if you start stacking buffs. This is a lot of value for 1 or 2 CP.

Blood for the Blood God: Use when you destroy an enemy unit in the fight phase. Until the start of your next turn, World Eaters units auto pass all morale checks. 2 CP.
This is not so great unless you are running a dedicated horde with a mix of Berserkers, CSM, and Cultists. If so, this can save you a lot of models and a lot of CP as you want to send out a first-strike unit like a Smashcap to murder a small squad like Scouts and then trigger this so you don’t lose any models to morale in your opponent’s turn. Again, if you really want to run just bodies on bodies, this can be a clutch stratagem on turn 1 if you have the models to go out there and murder something, which is match up dependent.
An Apoplectic Fury moved Smashcap can definitely get a first turn charge as can a unit of Raptors/Warp Talons. If you plan on using this stratagem with any efficiency, you need to have something in your army that can go kill something on Turn 1 in melee, which isn’t easy to do as while World Eaters got much faster, we still don’t have the sheer speed to first turn charge if your opponent deploys well. Scout squads, Rippers, Nurglings, etc are all good marks for this, but that of course assumes your opponent has them. This is definitely the weakest stratagem, but it does have some angle-shoots in the right situations.
Stoke the Nails: Use when an INFANTRY or BIKER unit fights (except Cultists). Death to the False Emperor triggers against any target for the phase, and triggers on a 5+ against IMPERIUM units. 1 CP.
This is another stratagem that can really help bolster the World Eater horde style list where your standard CSM units or Berserkers are suddenly popping off an insane amount of hits. Even with Red Butchers, this is not a bad stratagem to pop to maximize their attacks against the hardest targets like Bullgryn, Knights, Centurions, etc. Just be sure to not use this against anything with a negative modifier as that will turn off the Death to the False Emperor.
When you combo Stoke the Nails with Wild Fury, just about any unit (except for Cultists) becomes substantially more threatening. Even Raptors become a usable threat vector as they will do enough to clear a screen on the first turn, especially if they received the extra 9″ move before the game started. Still, this is a bit skewy, but for 1 CP, you can add a decent amount of extra heat from a surprising angle. Of course, by spending 3 CP for Stoke the Nails, Wild Fury, and Veterans, you can turn just about any unit into a murder machine, which gives you some rather tasty angles.

As you can see, the World Eaters got a lot of workable stratagems that open up a lot of new plays. The only problem with so many good stratagems is the CP cost associated, so make sure to build lists with at least double Battalion if you want to actually use these stratagems. If you don’t mind mixing and matching, a minimum Red Corsair Battalion (the Spikey 17) can get you a “free” Red Butchers squad and 1 Apoplectic Fury move.
Thanks for reading, and next time, I am going to go over a few lists that I designed with all of these in mind to give you an idea of the different ways that I’ve been playing with World Eaters. I hope your boys in red (or classic blue and white) are ready for the table top.
And remember, Frontline Gaming sells gaming products at a discount, every day in their webcart!


