
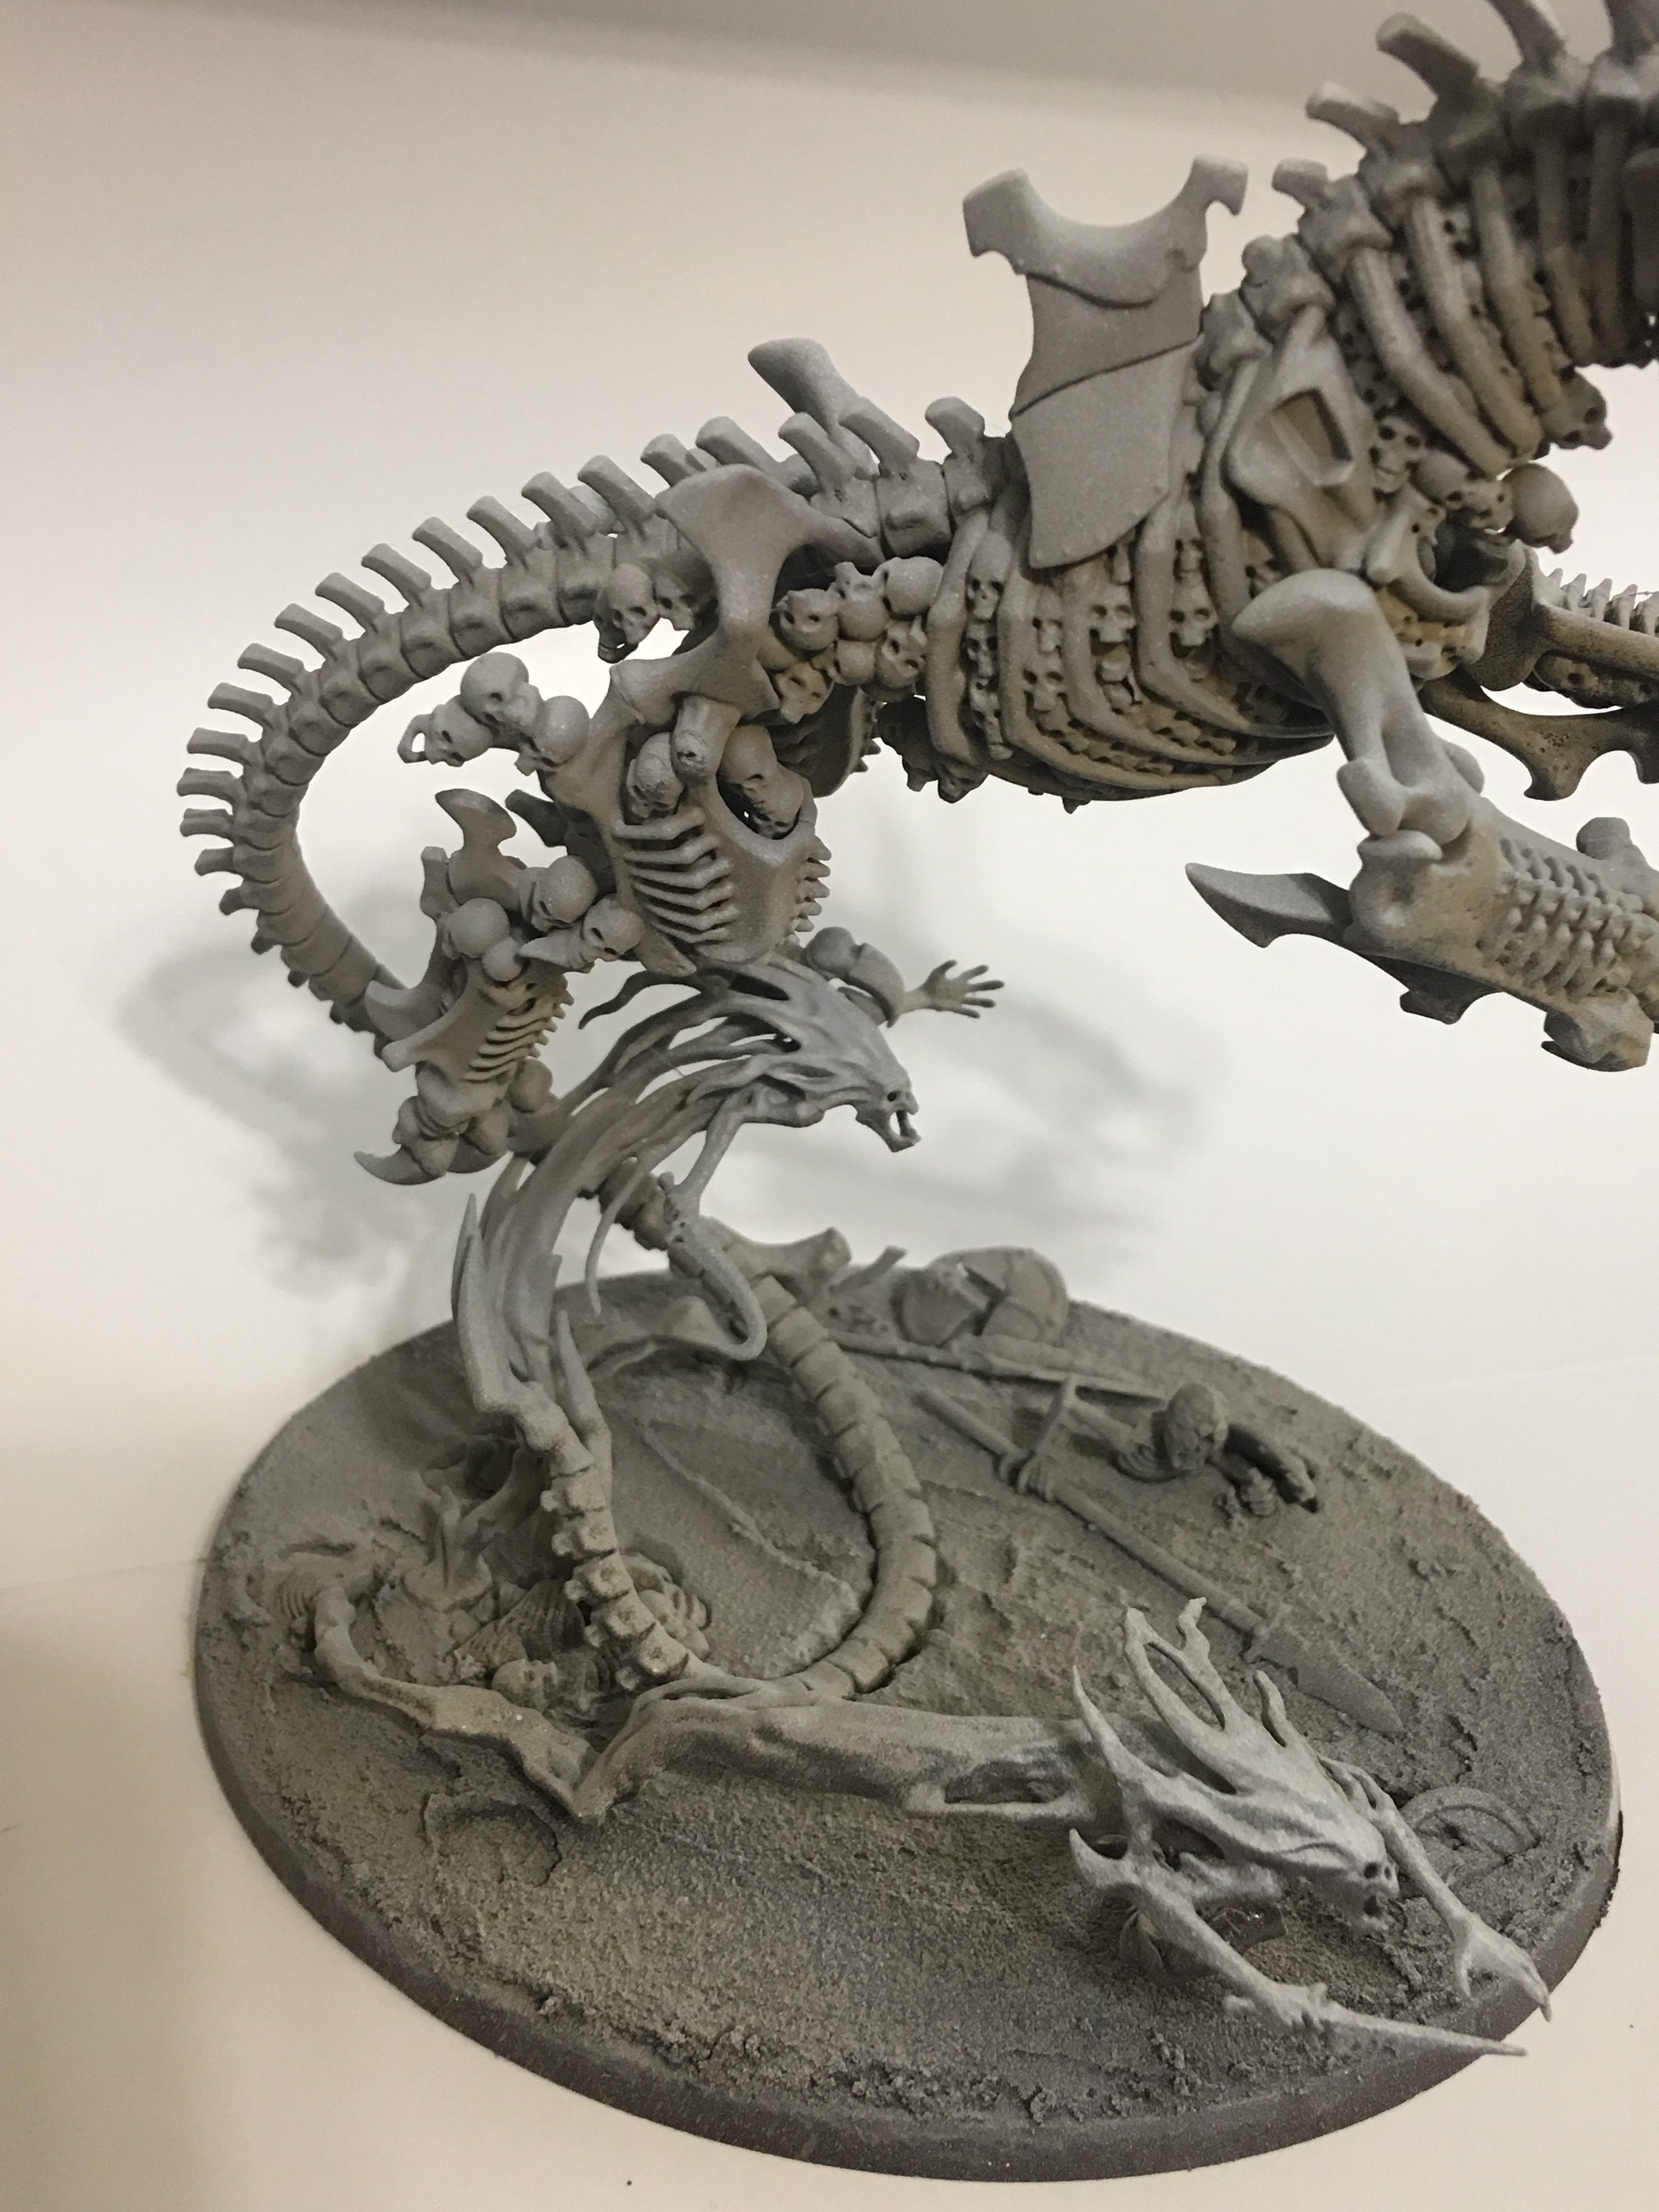
Welcome back wargamers! With the Age of Sigmar release of Ossiarch Bonereapers looming, I thought I would take time to address a quick, fun and effective way of doing bone that looks stellar on the battlefield without costing you days of line highlighting each bone.
So before we get into the actual painting part, you’re going to want to decide the load-out of your forces, and get them assembled. Now here, I would recommend you taking the extra time to remove the mold lines and any excess plastic that is left on your miniature from its manufacture. The more time you spend here, the better your final product will look. Once you have got your posing done, and your miniatures are fully assembled, I’d recommend doing your basing, and sinking your miniatures into your basing material. In the game world these guys have weight, and would leave foot prints in loose soil, or sink in muddy ground. It just adds to the level of realism.

Moving on to priming and base coating, I did these with rattle can primers and colors, and the exact colors do not really need to match. If you have an airbrush, feel free to use that as well. You can do this by hand, but is will take a little bit longer, especially on the larger miniatures. As always, you want to apply thin controlled layers, so that we don’t obscure any detail. The first layer is a dark red-brown (I happened to use Krylon’s Espresso for this as I happened to have it laying around, but any dark warm brown will work). This is layer is really going to give us 90% of our shadow, and every other layer will work off of this. Apply this layer all over your model. Be neat, but don’t be extremely worried if you missed a tiny area.
Once your brown has completely dried, the next color you want to lay down is a yellow or warm ivory sand color (again, I happened to have Army Painter’s Desert Yellow spray on hand from an earlier project), the exact tone doesn’t matter a lot, but you want something that is going to help you sell the bone color, so ivory, sand, bone from your line of choice is fine. This time, we’re going to spray it perpendicular to the model, not going below about 90 degrees. We are doing this to ensure that our shadow color remains intake, but any over spray only tints the shadow. Once this has dried, we can move on to the last two steps of our ground work. With a light or neutral grey tone and a white we are going to emphasize the high lights a little bit more. Using the grey, keep your spray can at around 45 degrees from the top and spray in an orbiting motion around your model. This will keep your transitions a little softer, and tends to keep you from over spraying in one area. You can immediately follow this up with the white and keep it directly overhead, again in a soft orbiting motion.
Now at this stage we are going to base-coat anything else on the model that we want to be something other than bone (weapons, shields, cloth and the basing material, etc) and at the same time add any extra highlights to the bone that you think you will need. Again, we planned to do these models quick and effective, and not labor too much time on them. Pick out your weapons, cloth and armor in the colors you desire, and then add a level of highlight to them. At this point the highlight can be a drastic change and look kind of out of place, but we are really going to tie them all together in our next step. Now we are going to do a controlled wash across the ENTIRE model. By controlled I mean, we aren’t going to wash it and leave it to dry in pools and puddles, we are going to give everything a layer, as if we were back base coating everything. Keep it tidy, but make sure that you have everything covered. The exact paints used, and the percentages aren’t really important, and if you’re going to do a large number of models at once, you will need to mix up quite a lot of it. The important parts, and the value you are looking for are as follows: You DO want a warm mostly brown wash (again, I used Army Painter’s soft tone, but Games Workshop’s Seraphim Sepia would also be perfect), and to this you want to add a bit of deeper brown and a little green (I used Vallejo Model Color(VMC) Smoke and a drop of Vallejo Game Color(VGC) Green ink. Alternatively, Games Workshop’s Reikland Fleshshade with a little Biel-Tan or Athonian Camoshade would work). What this will do is help darken the shade down, without going into black, while also moving the red tones more neutral and soft thanks to the green, and give us a very worn and aged look to our bones.


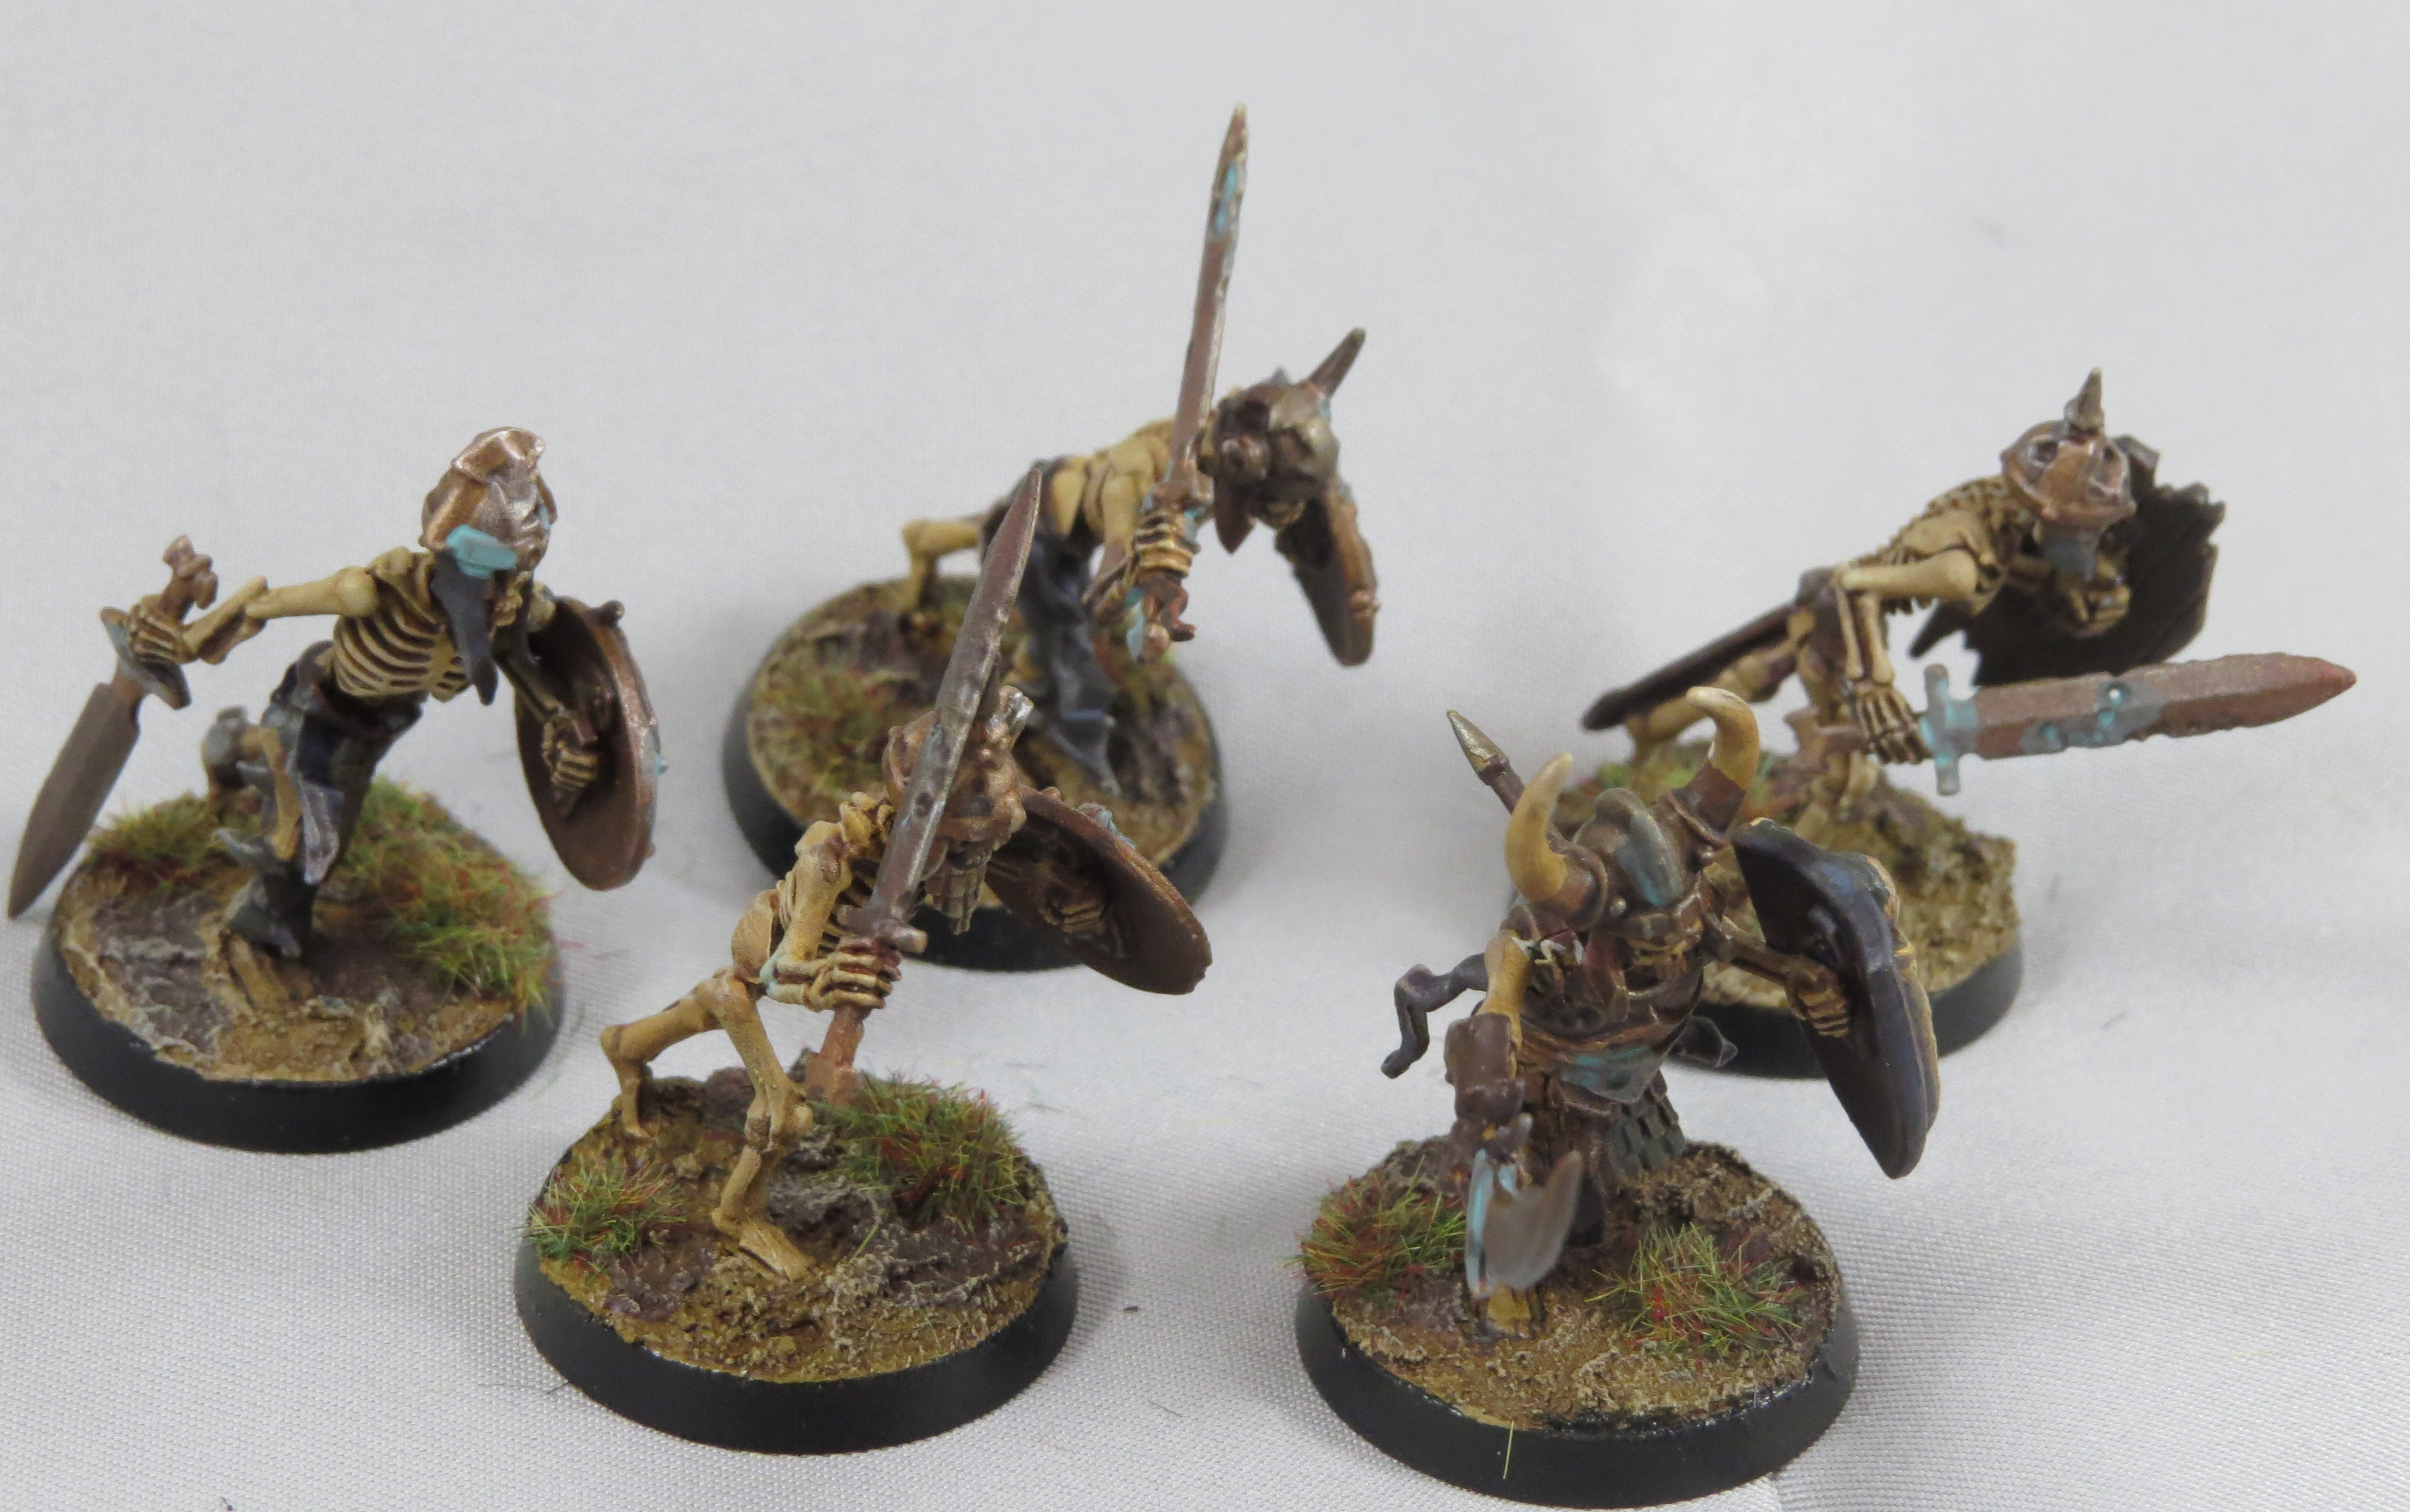
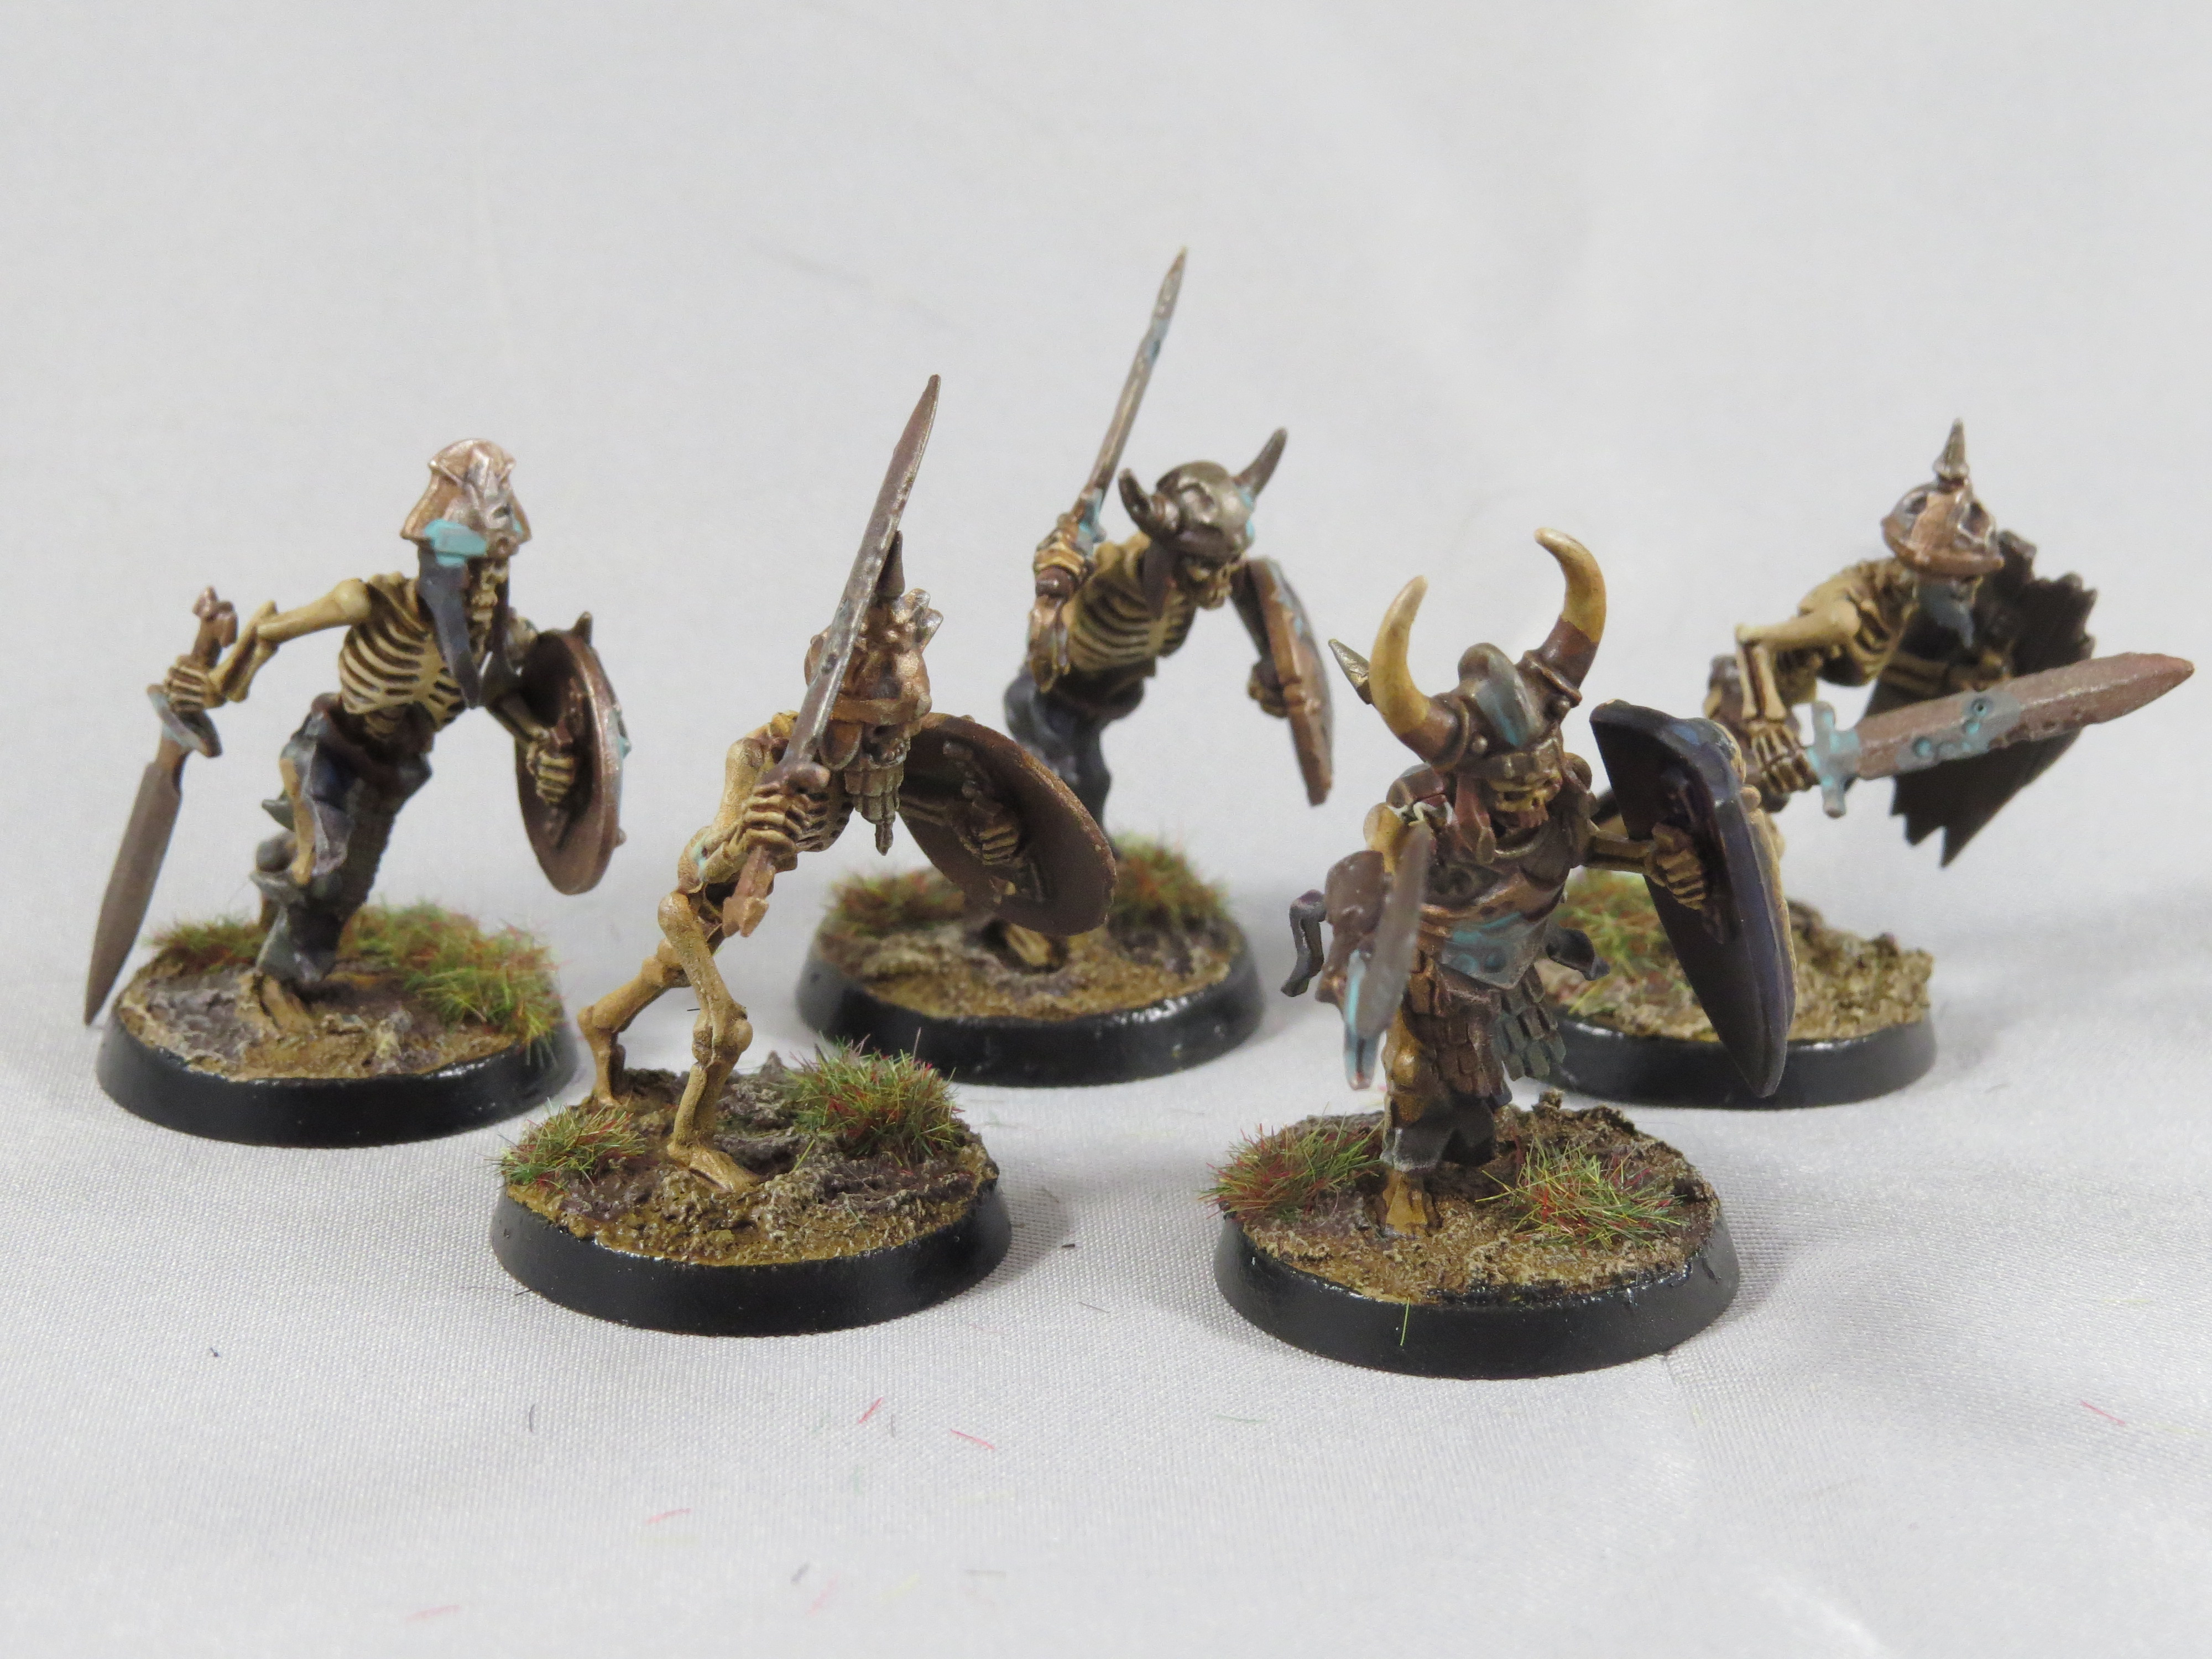
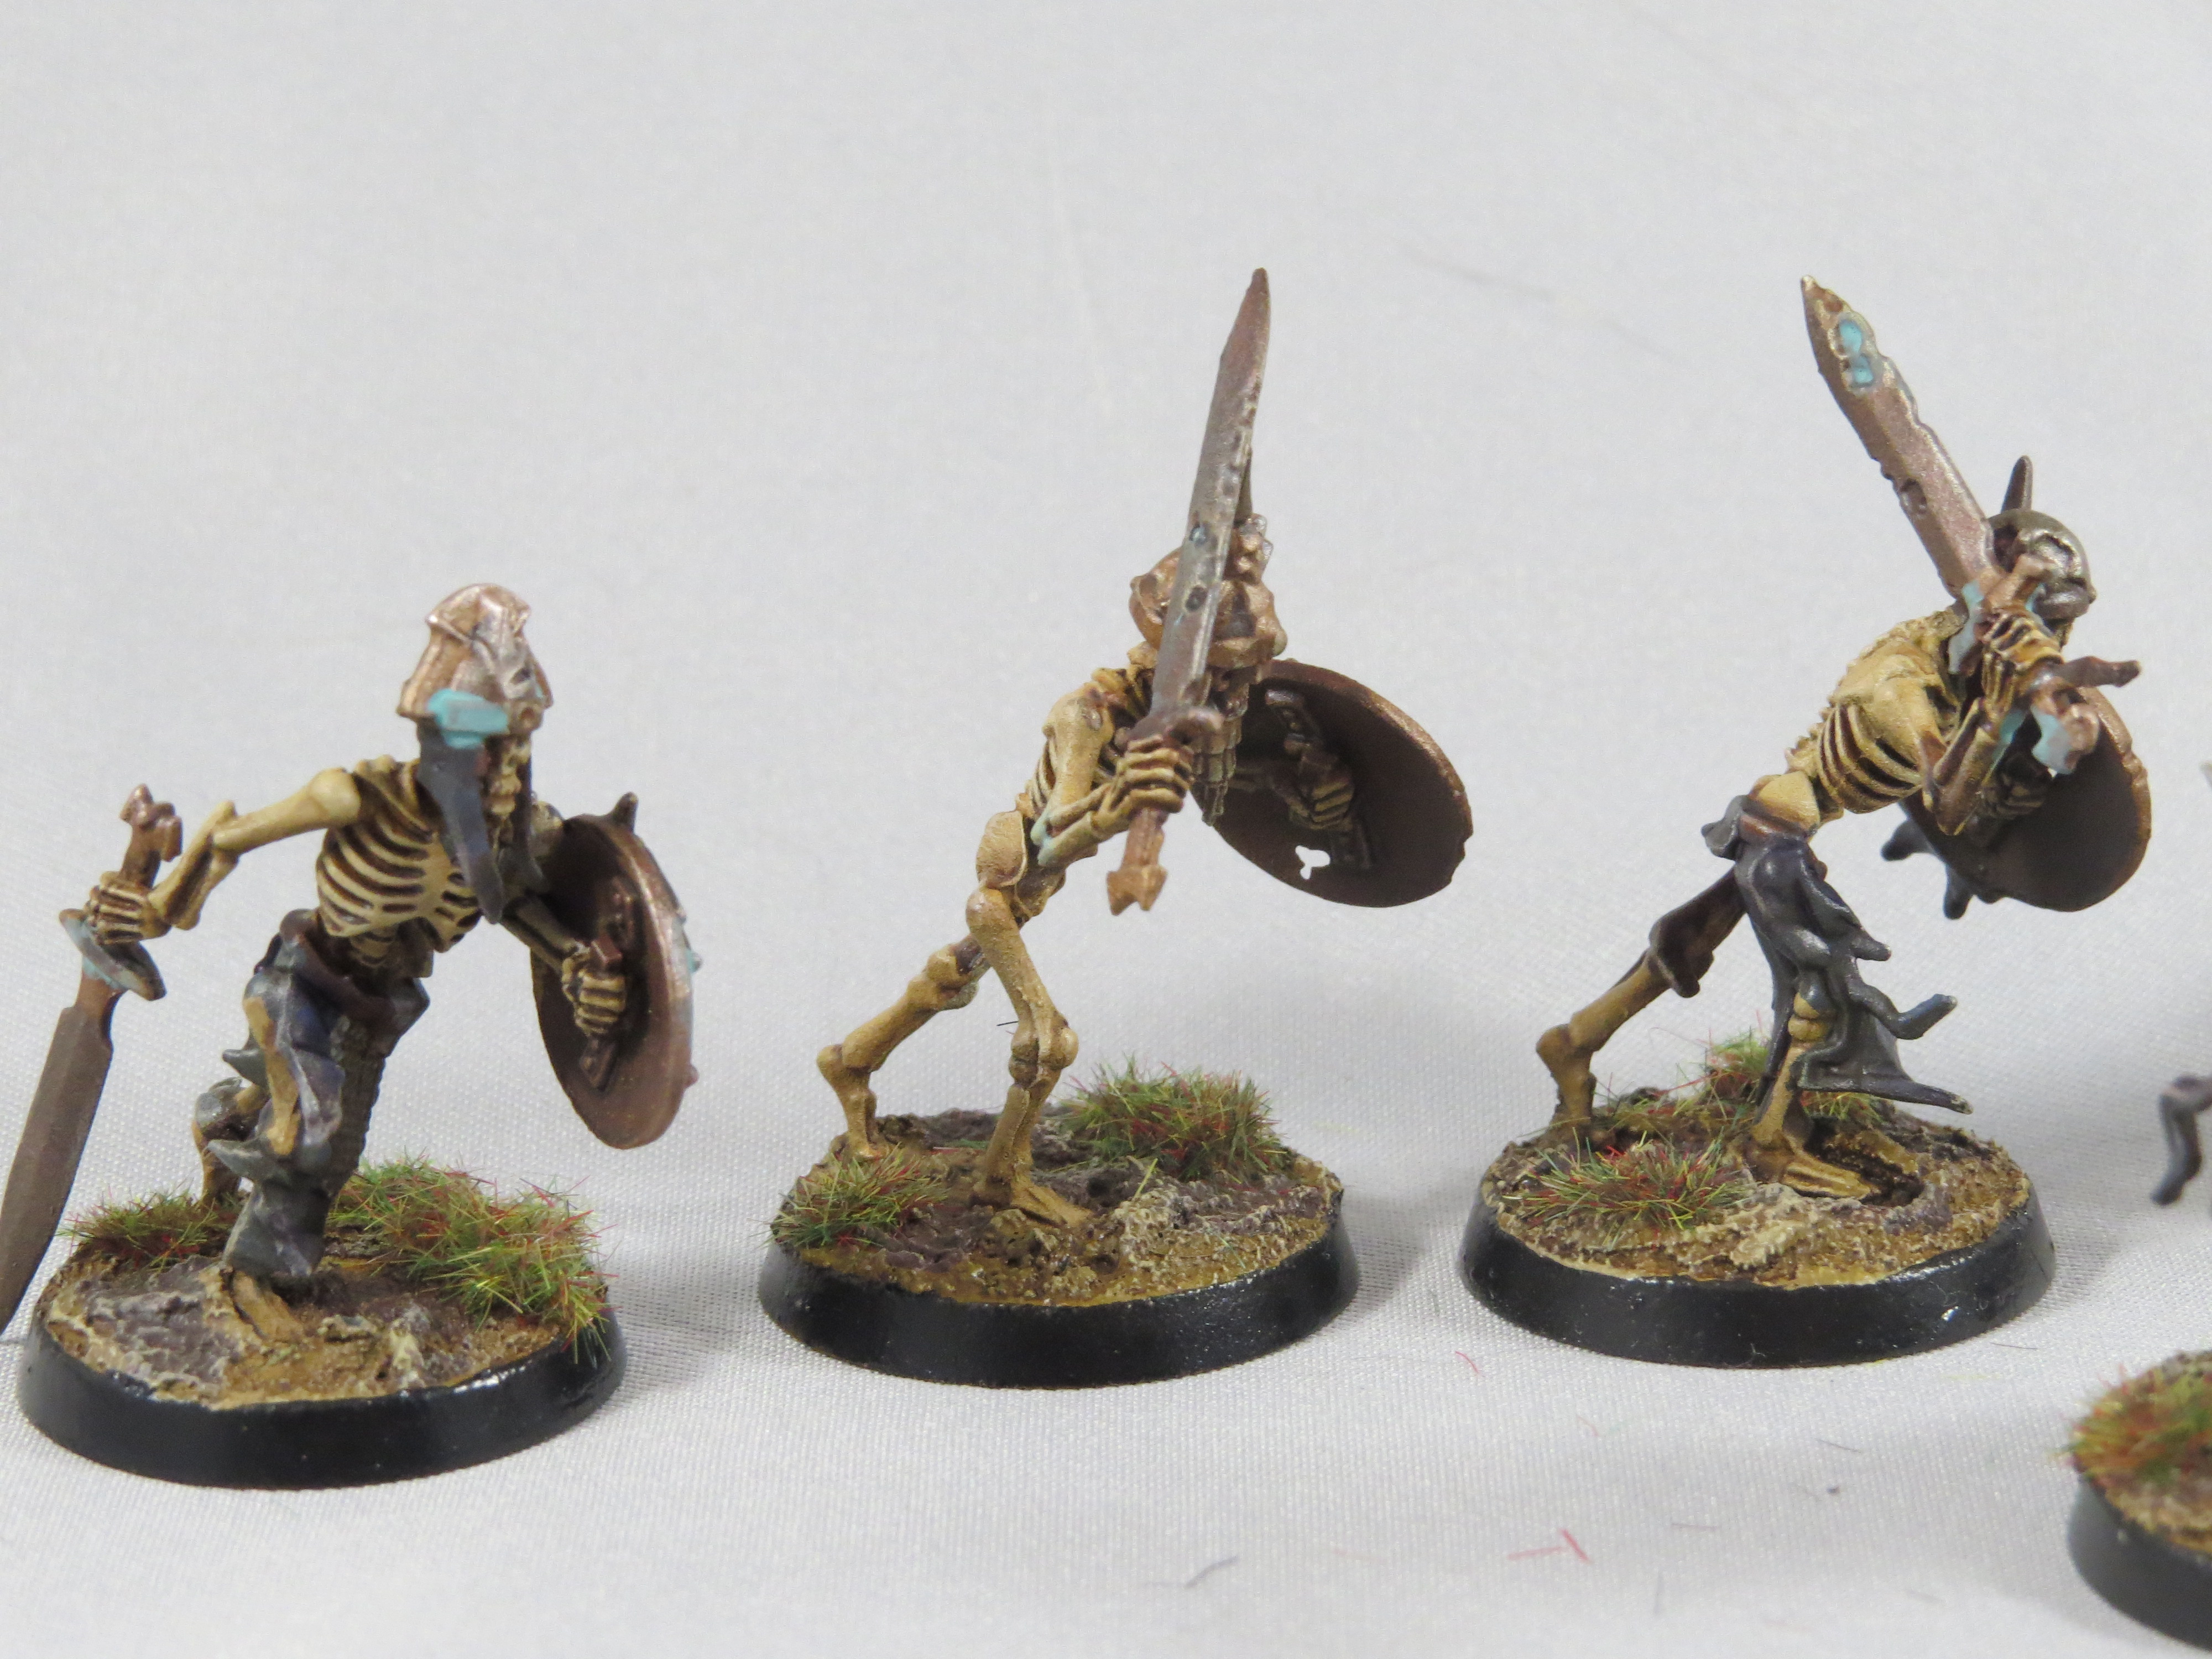
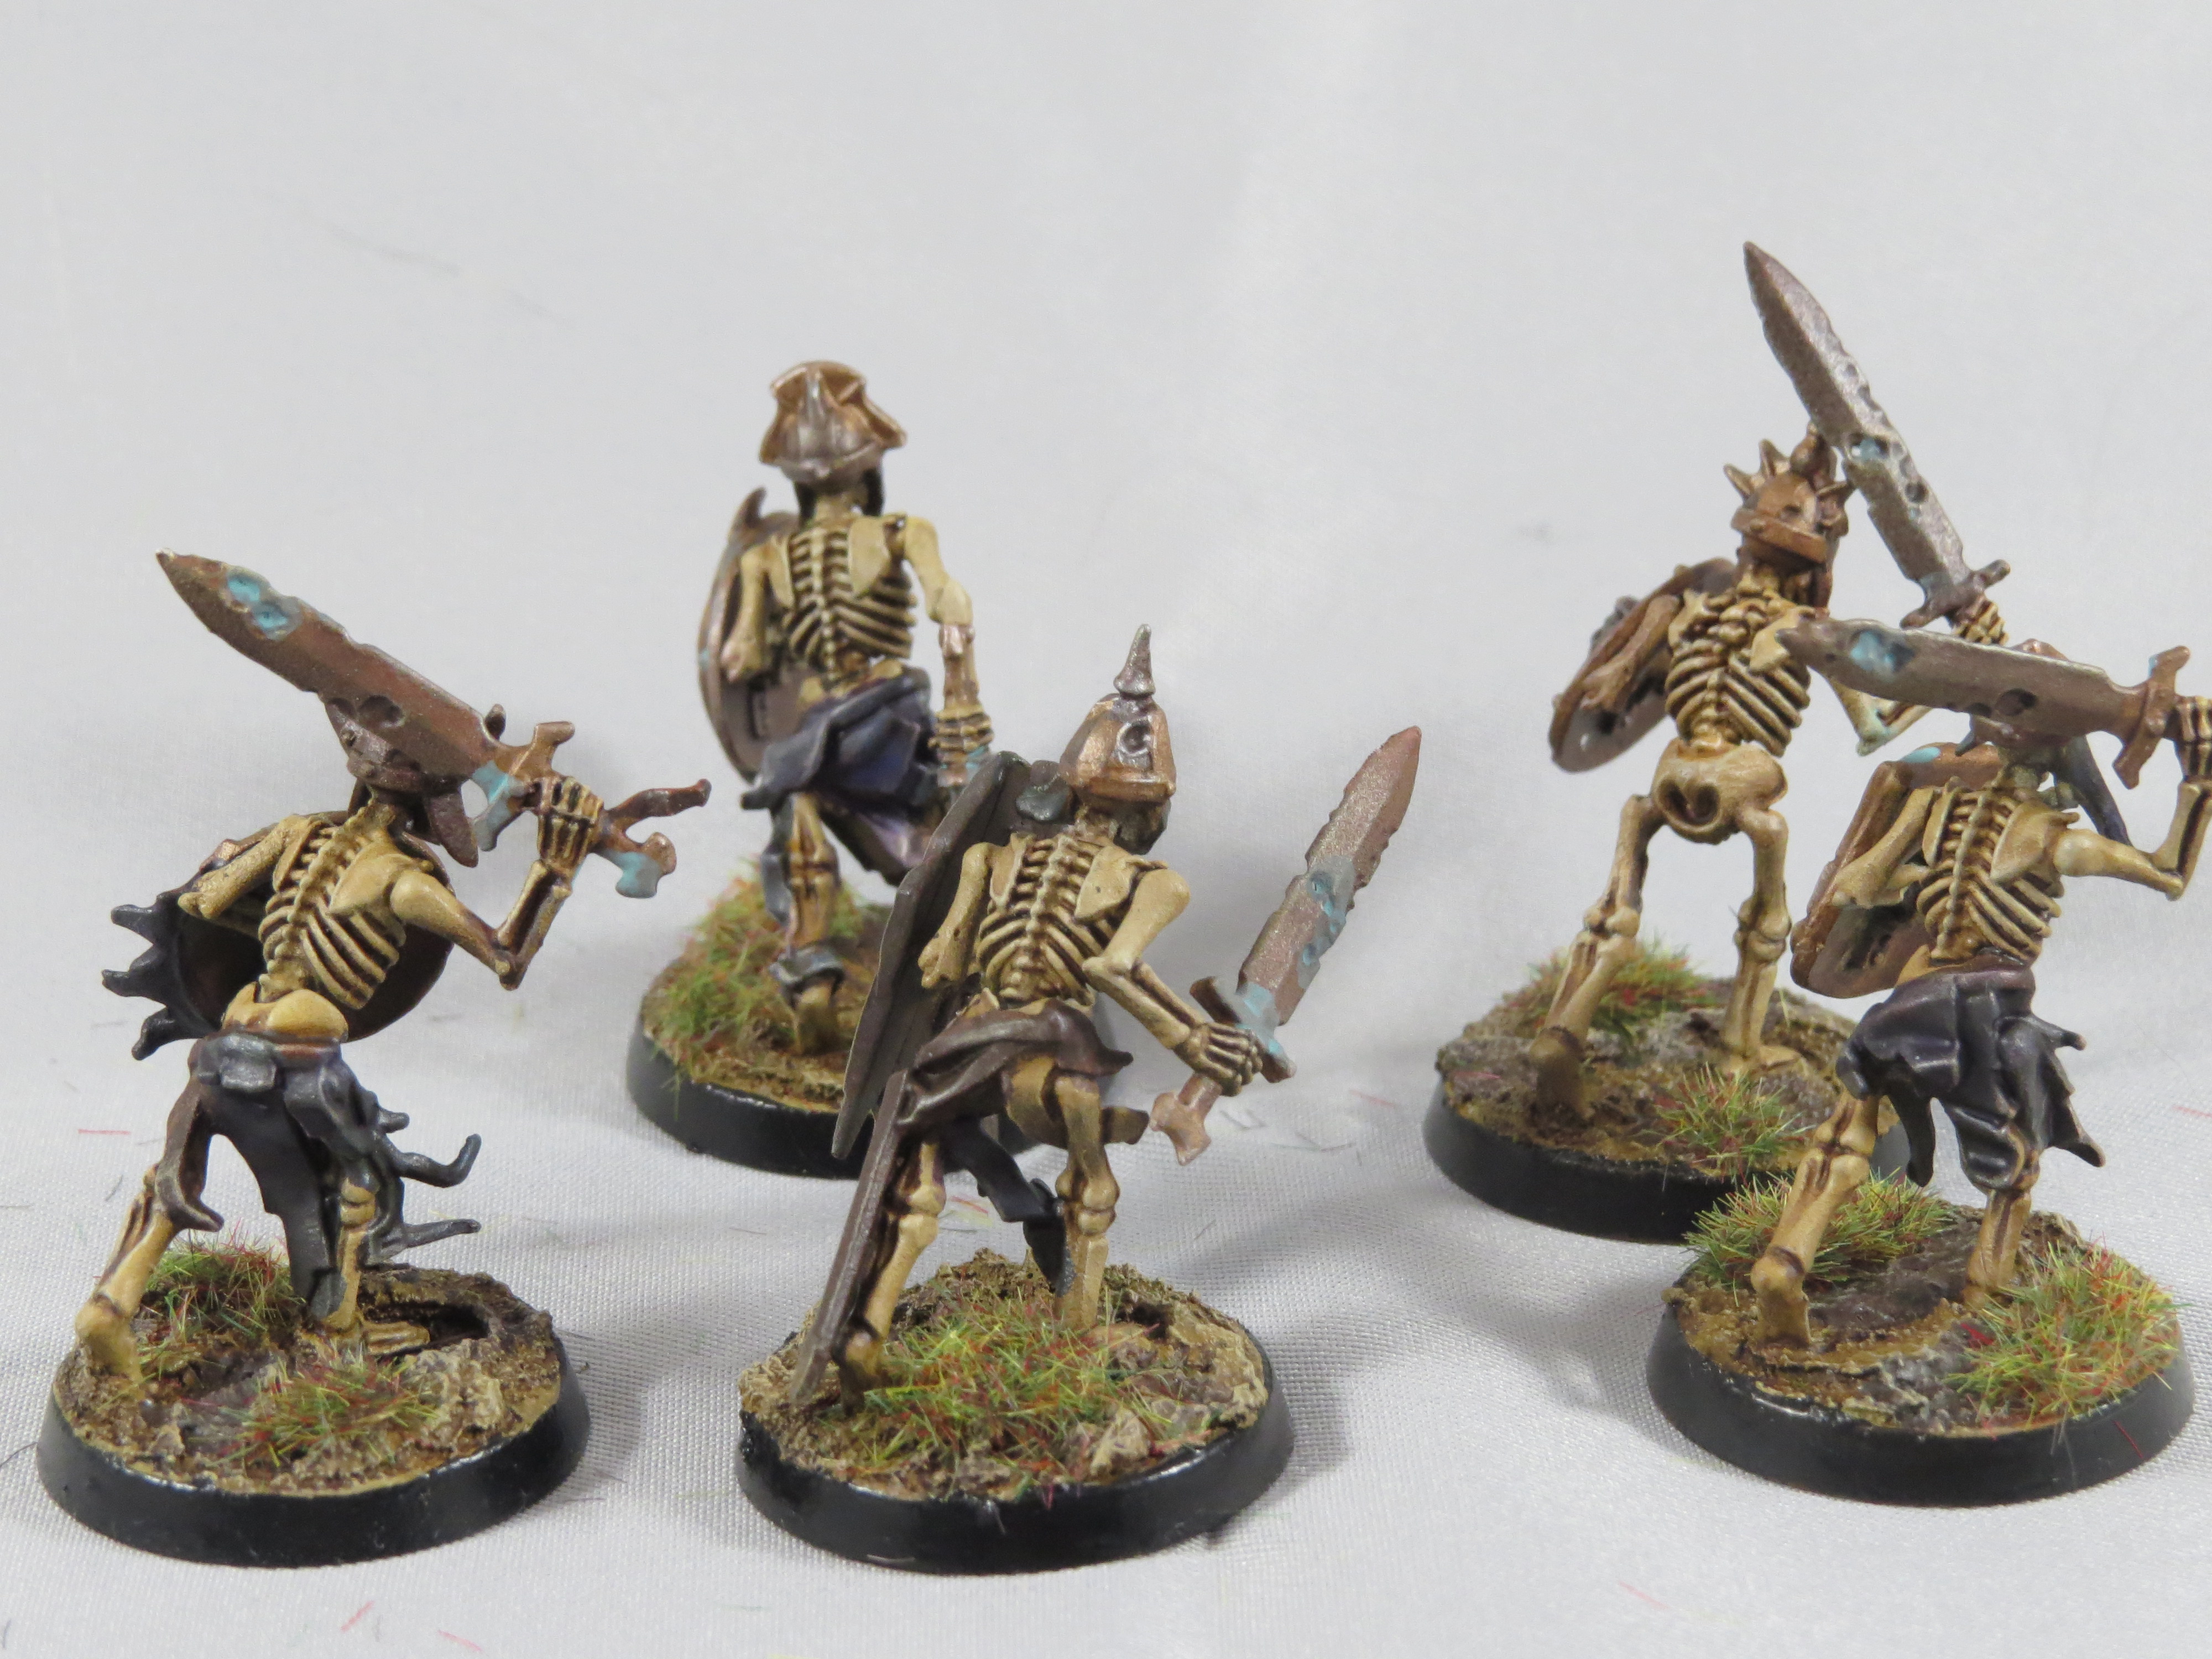
Once your wash is completely dry (remember, don’t let it pool), you have two main options here: 1) Call your models good enough and move on to your next project. Or, alternatively 2)You can tidy up any colors that you feel you want to stand out (maybe the wash moved your purple banner too far for your liking) and emphasize any effects that were dulled down. In my case, I chose to go back and add a little more metal scraping effects to the rusted blades, and added a little bit of verdigris to the bronze areas. I also took the time to go back and punch up the contrast on the high parts of my skeletons by doing a VERY light dry brush of VMC Ivory. This I carried over onto the wood shields and very lightly on the base to bring a little bit of highlight to the now very dark ground. I also added subtle tints of the green that I am using in the force to suggest that these are animated by magic. To do this, I glazed a little bit of fluorescent green on the sides of the knees, arms, and hands and added a very little to the eyes. I wanted this to be a very soft effect, but if you wanted to call attention to it, you could highlight the area first in a pale grey or off white, and then glaze over it to make it much more noticeable.
In all, counting drying time, I spent maybe three hours from priming to finish, working in batches of ten human sized miniatures. Once they’re all lined up on the battlefield, the unifying colors and effects will tie them into a cohesive looking force, and because we were very broad with how we applied the color, no model looks exactly the same as it’s neighbor giving everyone their own personality. I hope you enjoyed following along on this, and I sincerely hope that you try this at home, and keep it as a tool in your ever expanding hobby toolbox. Until next time keep those dice rolling, and those paints flowing.


-Skethelx
And remember, Frontline Gaming sells gaming products at a discount, every day in their webcart!


