

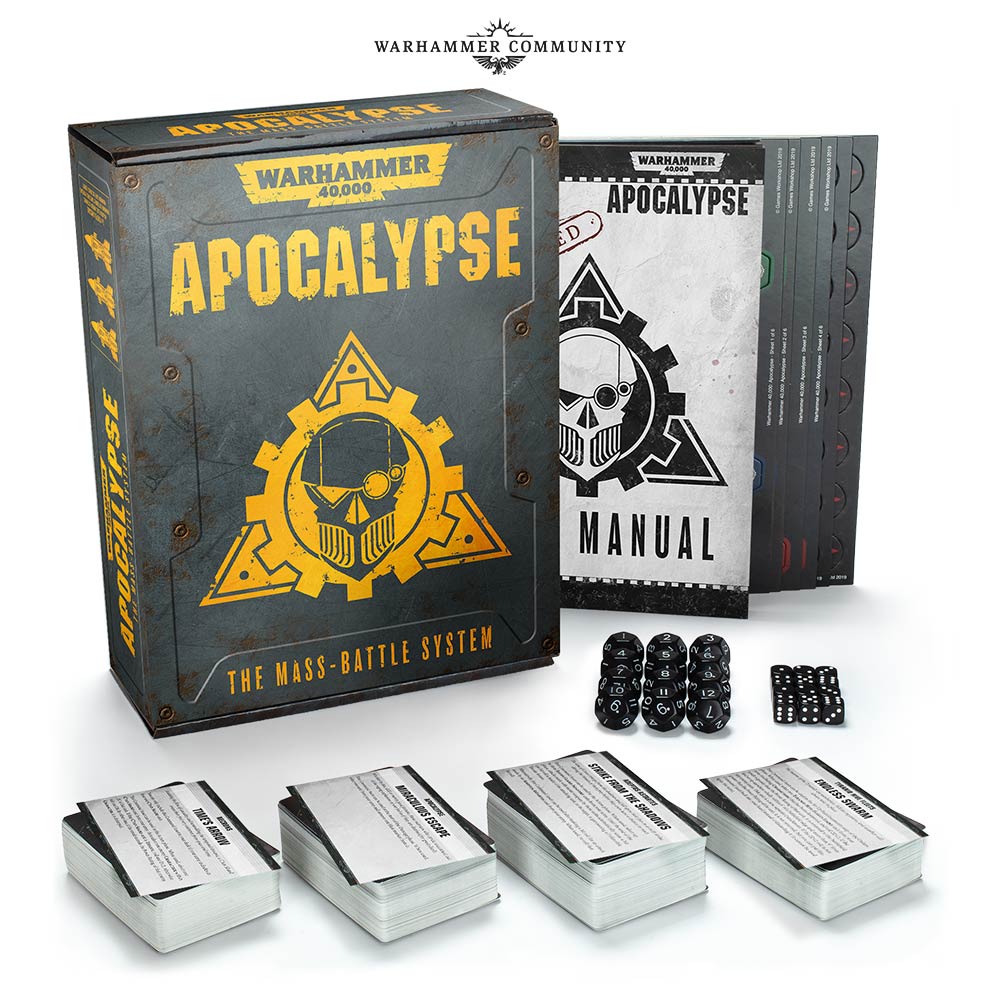

Apocalypse is coming, and massive battles in the 41st Millennium will never be the same again!
This article was originally published on the Warhammer-community site.
Yesterday, we began preparations for the new game with an article introducing the basics. Today, we’re going to take a look at more of the top-level concepts, including building an army, phases and Datasheets.
Building an Army
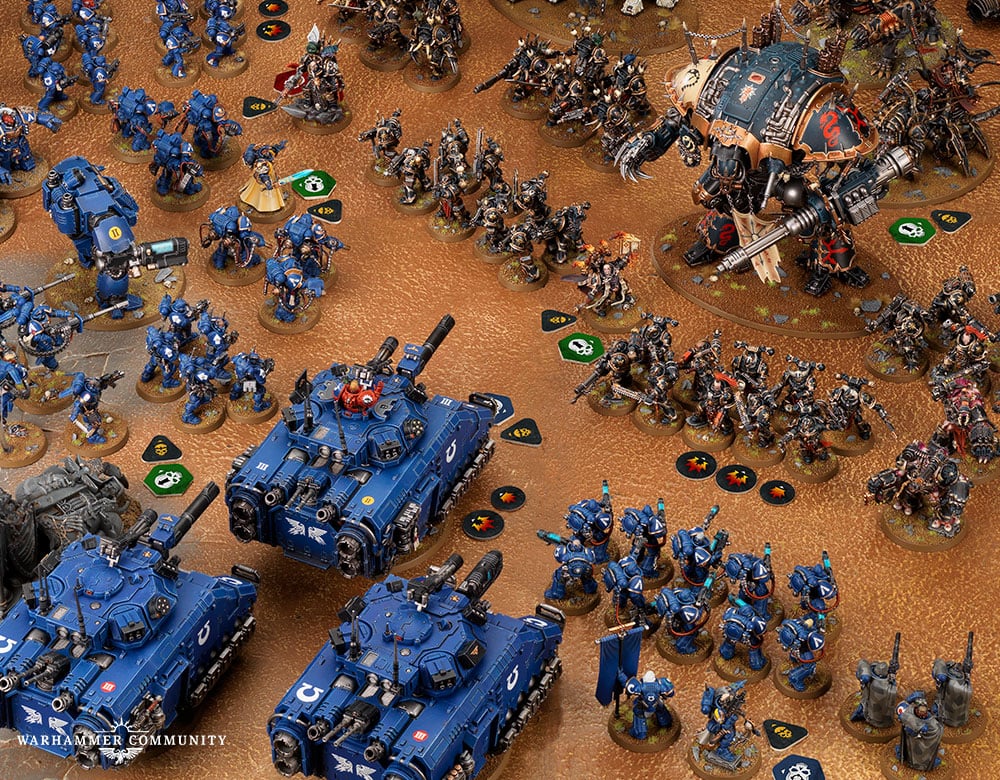
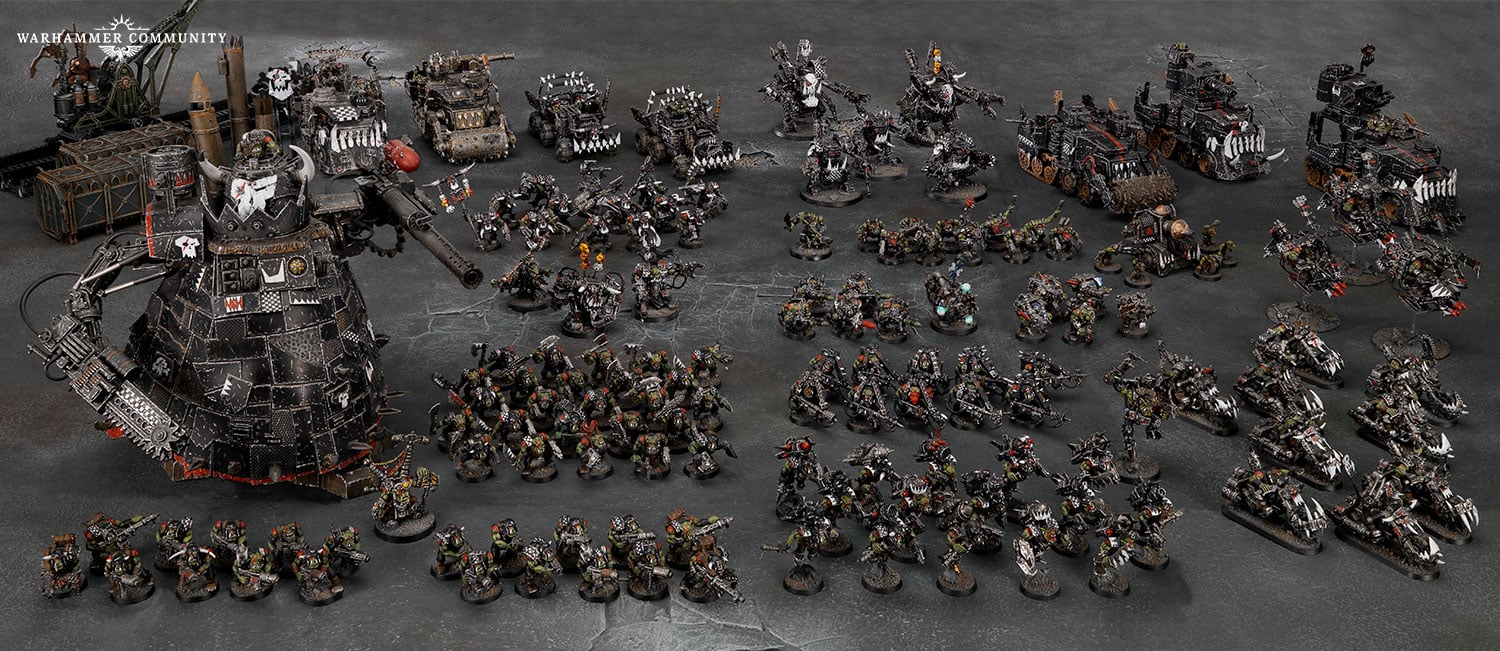
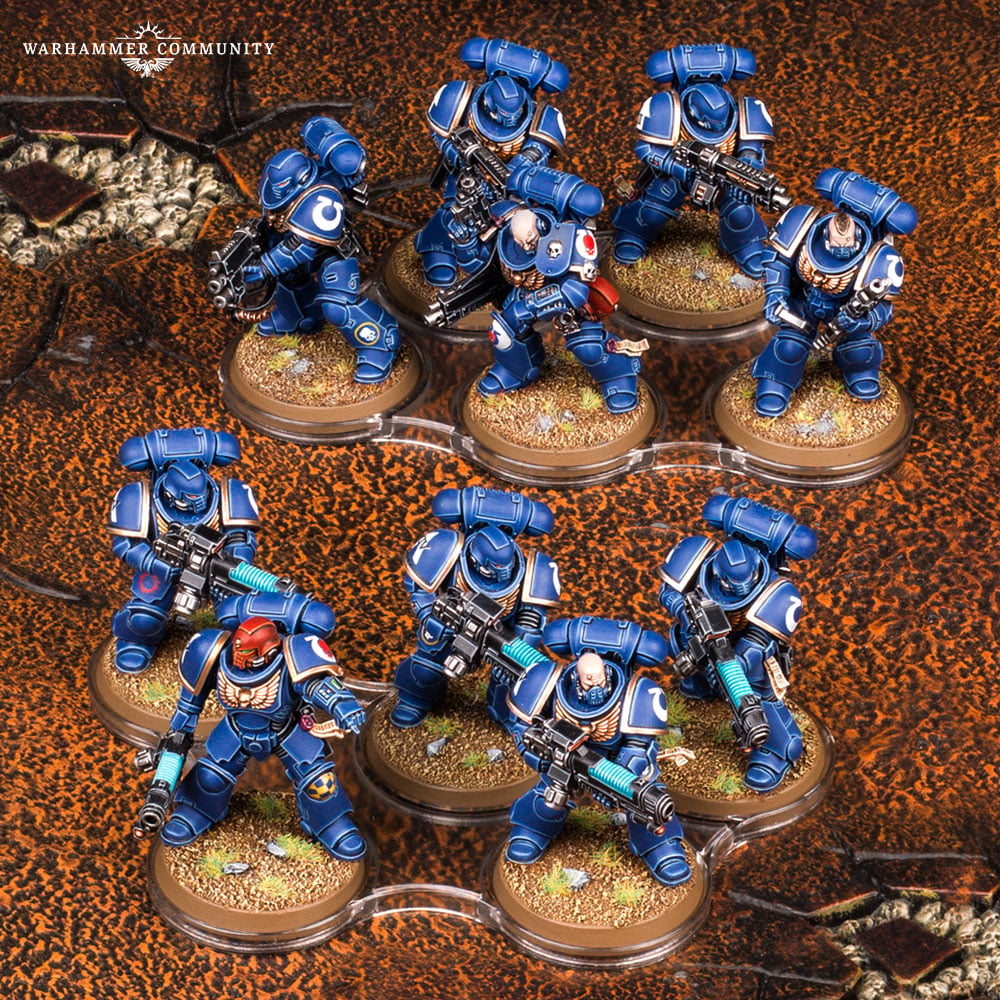
Before you start a game of Apocalypse, you’re going to need an army – a huge, impressive army with which to battle your enemies. The building blocks for each army are Detachments, and while in Apocalypse these are subtly different to their Warhammer 40,000 versions, their titles and purposes remain very similar. Prefer a lightning-fast war with lots of Fast Attack options? Then you’ll want to include some Outrider Detachments. Prefer Troops? How about more Troops? If you still want to add in some extra Troops, then the Battalion Detachment is for you!
You activate all of the units in a Detachment at the same time – this means that they all move, shoot and fight together. The key to each Detachment is its Commander – these are mighty heroes who lead the Detachment into battle – and any units that are too far away from their Commander are at risk of routing and being removed from play! A Commander is the unit in the Detachment with the highest Leadership value and, if it also has the Character keyword, then it becomes a Warlord. Each Warlord in your army generates extra Command Assets, powerful abilities that can sway the course of a battle.

With you Commanders chosen and Detachments built, your Apocalypse army is now ready to take to the battlefield.
Phases
Now we’re going to have a look at the different phases that make up a turn of Apocalypse. These are very different to those found in Warhammer 40,000, and each turn of Apocalypse is made up of four distinct phases.

The key thing here is that the Damage phase comes after the Action phase. This means that each of your units will still get to be activated even if they have taken damage that may take them out of action! No longer will your favourite Character perish or that newly painted unit be wiped out before they actually get to do something.
When you move a unit, all of the models must finish their move within ½” of another model in the unit. This is because there will be so many units on the battlefield that you’ll need the space. To this end, Apocalypse movement trays will prove incredibly useful for moving your large infantry units and ensuring that all your models remain in coherency.
After you have activated a Detachment in the Action phase, your opponent then gets to activate one of theirs. This means that you’ll never be waiting around for someone to move an entire army, so no matter how massive the battle, you’re never out of the action for long!
Datasheets
Let’s delve into Apocalypse datasheets – these give you the profiles for your units in games of Apocalypse but they are different from the datasheets in Warhammer 40,000. While you might still be using a squad of Intercessors or a mighty Baneblade, they behave differently in massed battles.
As you can see, some of the characteristics are the same as in Warhammer 40,000 – an Intercessor still hits on 3+ in both shooting and assault, but they no longer have the iconic 3+ save of Space Marines. This is due to the way that damage works in Apocalypse.
Speaking of damage, that brings us onto the next big difference on the datasheets – the weapons.
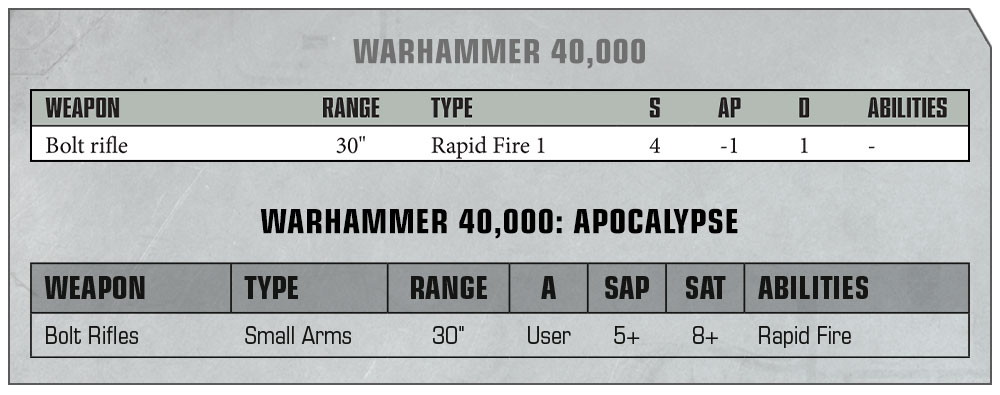
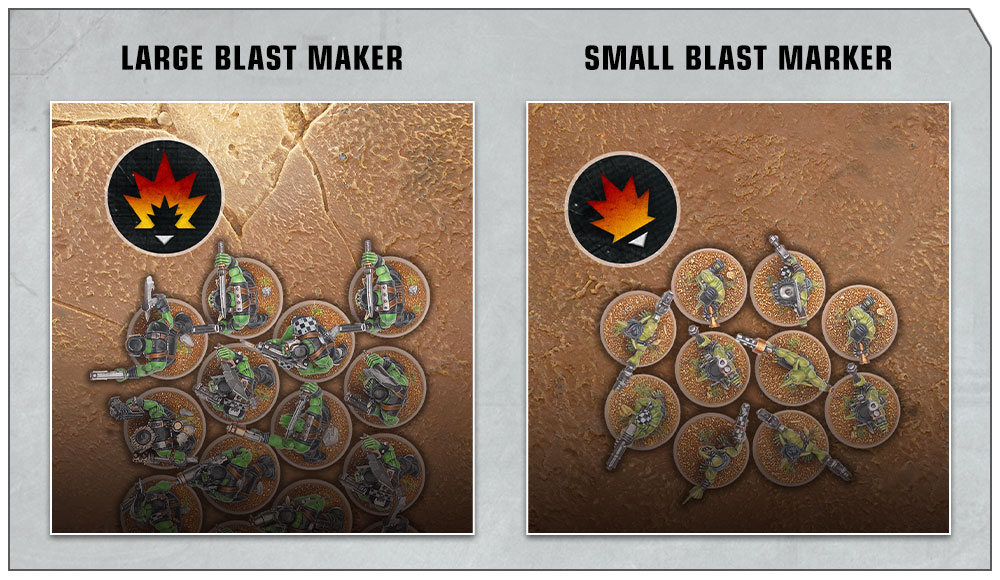
All weapons now have two stats: SAP (Strength Against Personnel) and SAT (Strength Against Tanks). Of course, any weapon can damage anything but, as you might expect, you’re more likely to damage a tank with a multi-melta than a lasgun! If you hit with the weapon, this shows the number you need to roll on a D12 to assign a small blast marker to the target unit. So, unsurprisingly, bolt rifles are far more effective against infantry than they are against tanks.
But where can you check out the strengths and abilities of your units? Well, all of the new Apocalypse datasheets will be available as free downloads very soon.
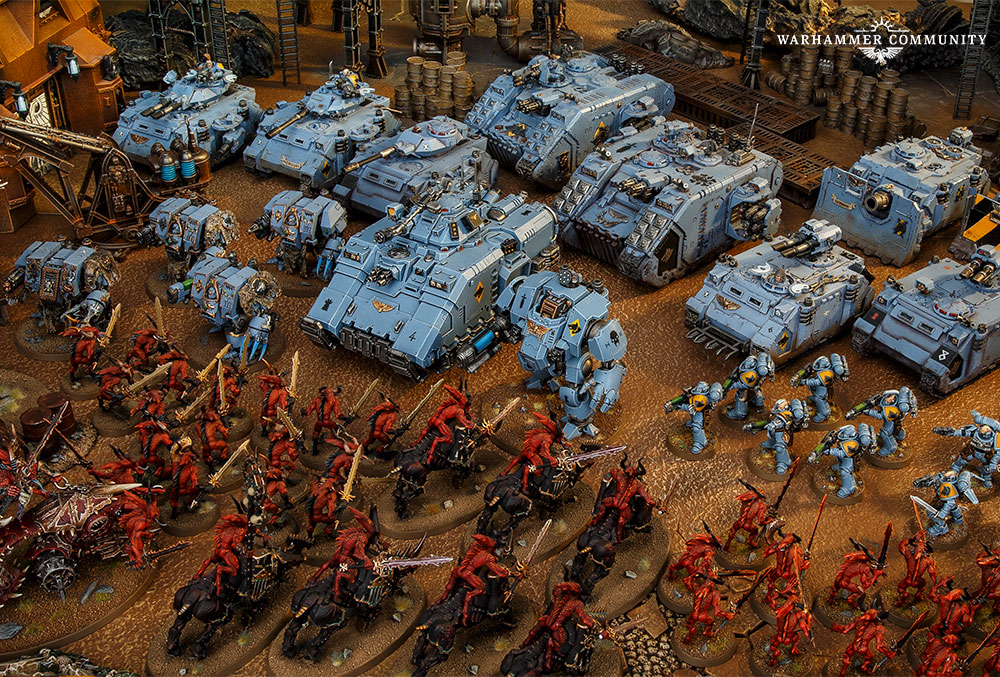
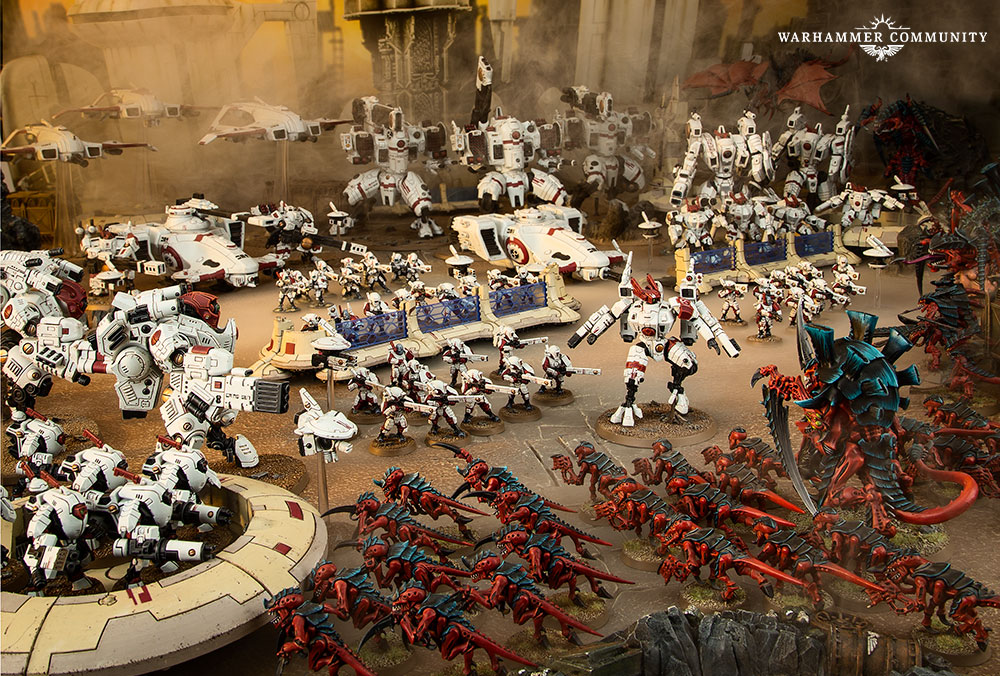
That’s just a glimpse at some of the big changes that are coming to Apocalypse – it really is a very different game to Warhammer 40,000 and has been specifically designed for huge games with masses of models. Make sure you come back throughout the week as we’ll be digging deeper into Apocalypse, and pick up your own Lords of War to get ready for these mammoth battles.
Prepare for the Apocalypse – Part 3

In our latest peek at Apocalypse, we’re exploring how your massed ranks of warriors cause damage to anyone foolish enough to oppose them and we’re taking a closer look at how Command Assets can make your army more flexible and deadly.

Damage
As you’d expect when massive armies and deadly war machines clash, devastation is the outcome. The scale of such destruction can’t be represented by six-sided dice alone and so Apocalypse uses twelve-sided dice too. Of course, this can just mean that there are even more sides that ignore the whispered prayer, “anything but a 1”!

When attacking, you use a D6 to see if you’ve hit the target, just as you would in Warhammer 40,000. However, to represent the larger scale of Apocalypse battles and the masses of deadly weapons, you use a D12 to see if you’ve caused a wound. If you roll above the SAP or SAT for the weapon that you’re using, then the target unit gets a small blast marker (we looked at SAP and SAT in our last preview – catch up now if you missed it). If a unit already has a small blast marker at this point, it is removed and replaced with a large blast marker.
At the end of each turn, in the Damage phase, you then take a saving throw for each blast marker that a unit has but you roll a D12 for each small blast marker and a D6 for each large blast marker! For each failed saving throw the unit gets a damage marker, and when the number of damage markers equals the unit’s Wounds characteristic the unit is destroyed.
So, let’s say that Guilliman is fighting a Khorne Lord of Skulls, and the Lord of Skulls attacks with its great cleaver of Khorne. If it gets four hits, then you’d roll four D12s and compare the scores to the SAT of the weapon (the Primarch of the Ultramarines is so large that he counts as a tank).

Now let’s say that you roll 3, 8, 10 and 11 – that’s three successes, so you’d normally put three small blast markers next to Guilliman. However, since the weapon has the Destroyer trait, the number of blast markers is doubled! Also, since you place the markers one at a time, this would mean that Guilliman would get three LARGE blast markers instead.
Assuming that he takes no further damage in the Action phase, this means that Guilliman needs to take three saves in the Damage phase, each with a D6.

If he rolls 2, 3 and 5, then he would get a single damage marker and so he lives to fight for another turn!
In general, the more blast markers that you can assign to an enemy unit the better!
Command Assets

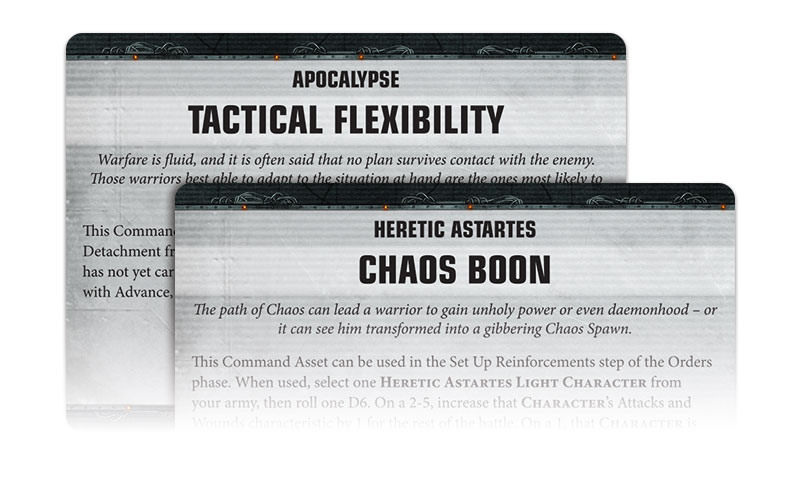
Command Assets are cards that can have a massive impact on your games of Apocalypse and we’ve already taken a look at a few of them in our Apocalypse Faction Focus previews. They represent you being in control of the battlefield, issuing extra instructions to your troops and using esoteric weaponry to defeat your foes!
There are two kinds of Command Asset – universal (which say “Apocalypse” on them and can be used by anyone) and Faction specific (which will have the name of the Faction they are for).
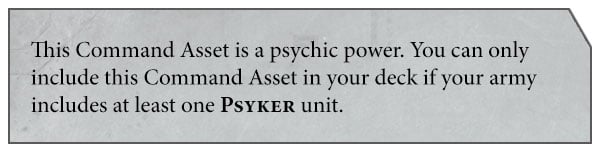
There are also some Command Assets, such as the psychic powers, that can only be used if your army contains certain units – if you don’t have any Psykers, you’re not going to be firing any mental bullets at the enemy.
How They Work
Before the game starts, you construct a deck of 30 Command Asset cards that are available to your army and shuffle them. Then, in the Orders phase, draw one card plus one additional card for each Warlord in your army, up to a maximum of 10. The text on each card tells you the effect of the card and when it can be played.
Awesome Assets
With 400 Command Assets to choose from, there are bound to be some that you want to include in your decks. Some are very straightforward and do things such as increase the survivability of a unit.
Some Command Assets let your units take a free action. For example, Honour the Chapter allows a unit to Fight when you play it, meaning that they could Fight after making a Shoot action (which is normally only allowed for Super-heavy units) or letting them Fight twice!

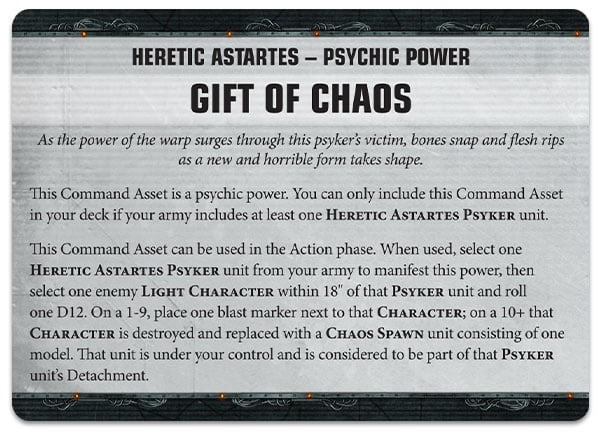
Psychic powers can be particularly gruesome for your opponent. Even if you roll badly with Gift of Chaos, for example, you’ll put a blast marker next to an enemy Character, meaning that they could take damage in the Damage phase, but if you roll well, you’ll replace them with a Chaos Spawn!
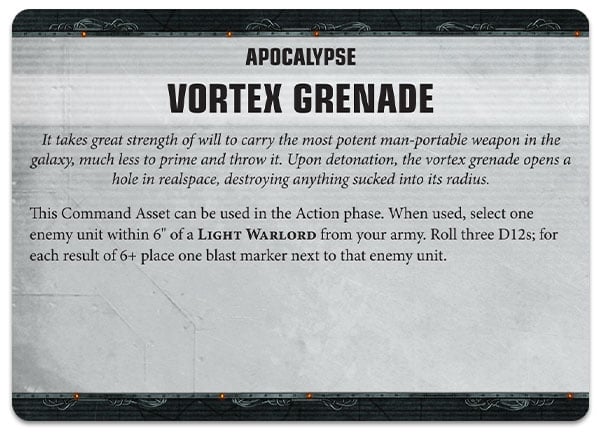
Of course, we weren’t going to miss the opportunity to bring back some old favourites such as the vortex grenade.
These are just a small selection of the Command Assets available. You can really build a deck that helps to emphasise the strengths of your army (or the weaknesses of your opponent’s) and playing the right card at the right time can change the game.
Join us again tomorrow as we bombard you with even more Apocalypse content. With all of those blast markers flying around, you’re going to need plenty of units to soak them up – we recommend Start Collecting!boxes as the perfect place to find new recruits for your Apocalypse army.
And remember, Frontline Gaming sells gaming products at a discount, every day in their webcart!


