
Hey guys Cavalier, commission painter for Frontline Gaming and co-host of Splintermind the Dark Eldar Podcast, back with another painting tutorial, this time on my approach to painted the Aeldari Webway Gate
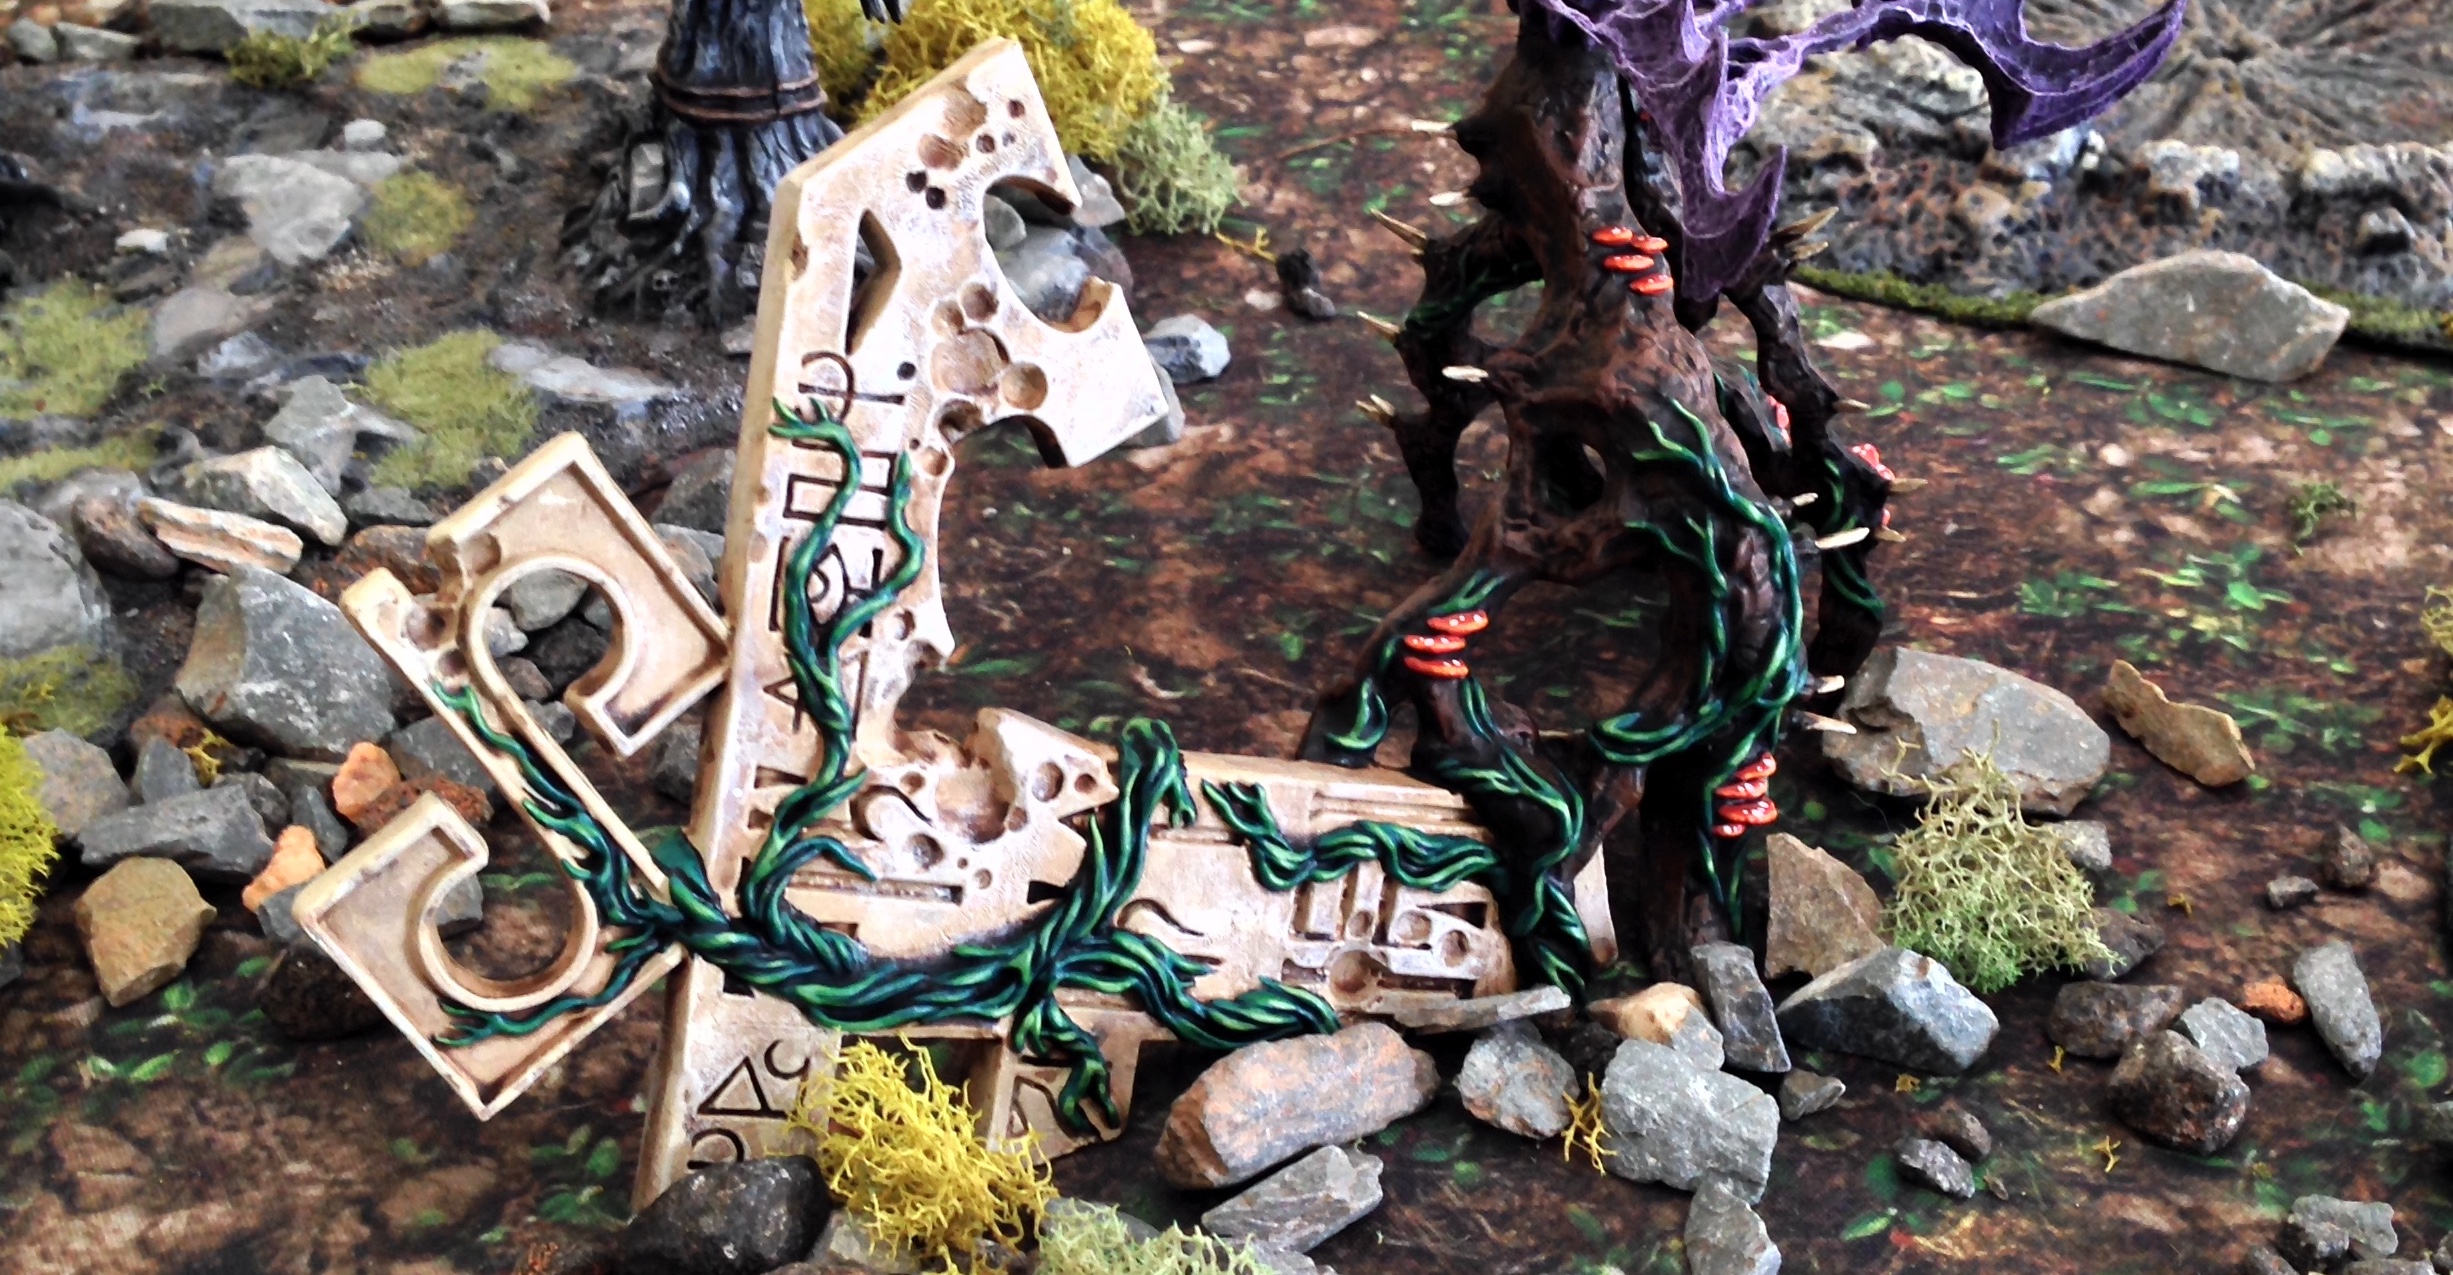
Eldar players have been dying for some terrain themed to their armies. Their prayers were answered in the form of the Webway Gate. While the Webway Gate is really in a rough spot as a fortification in terms of actual games, as a piece of decorative scenery to bring to life an Eldar themed board its a great pick up. My goal with this piece is to get a nice finish on it quickly. You could spend forever painting this thing if you wanted and get some really nice effects, but I want a more simple look to it to blend in with the terrain I’ve already painted. Keeping an even standard across your terrain is really important and so for this we gonna keep things fairly minimal with a few nice details sprinkled in.
Step 1
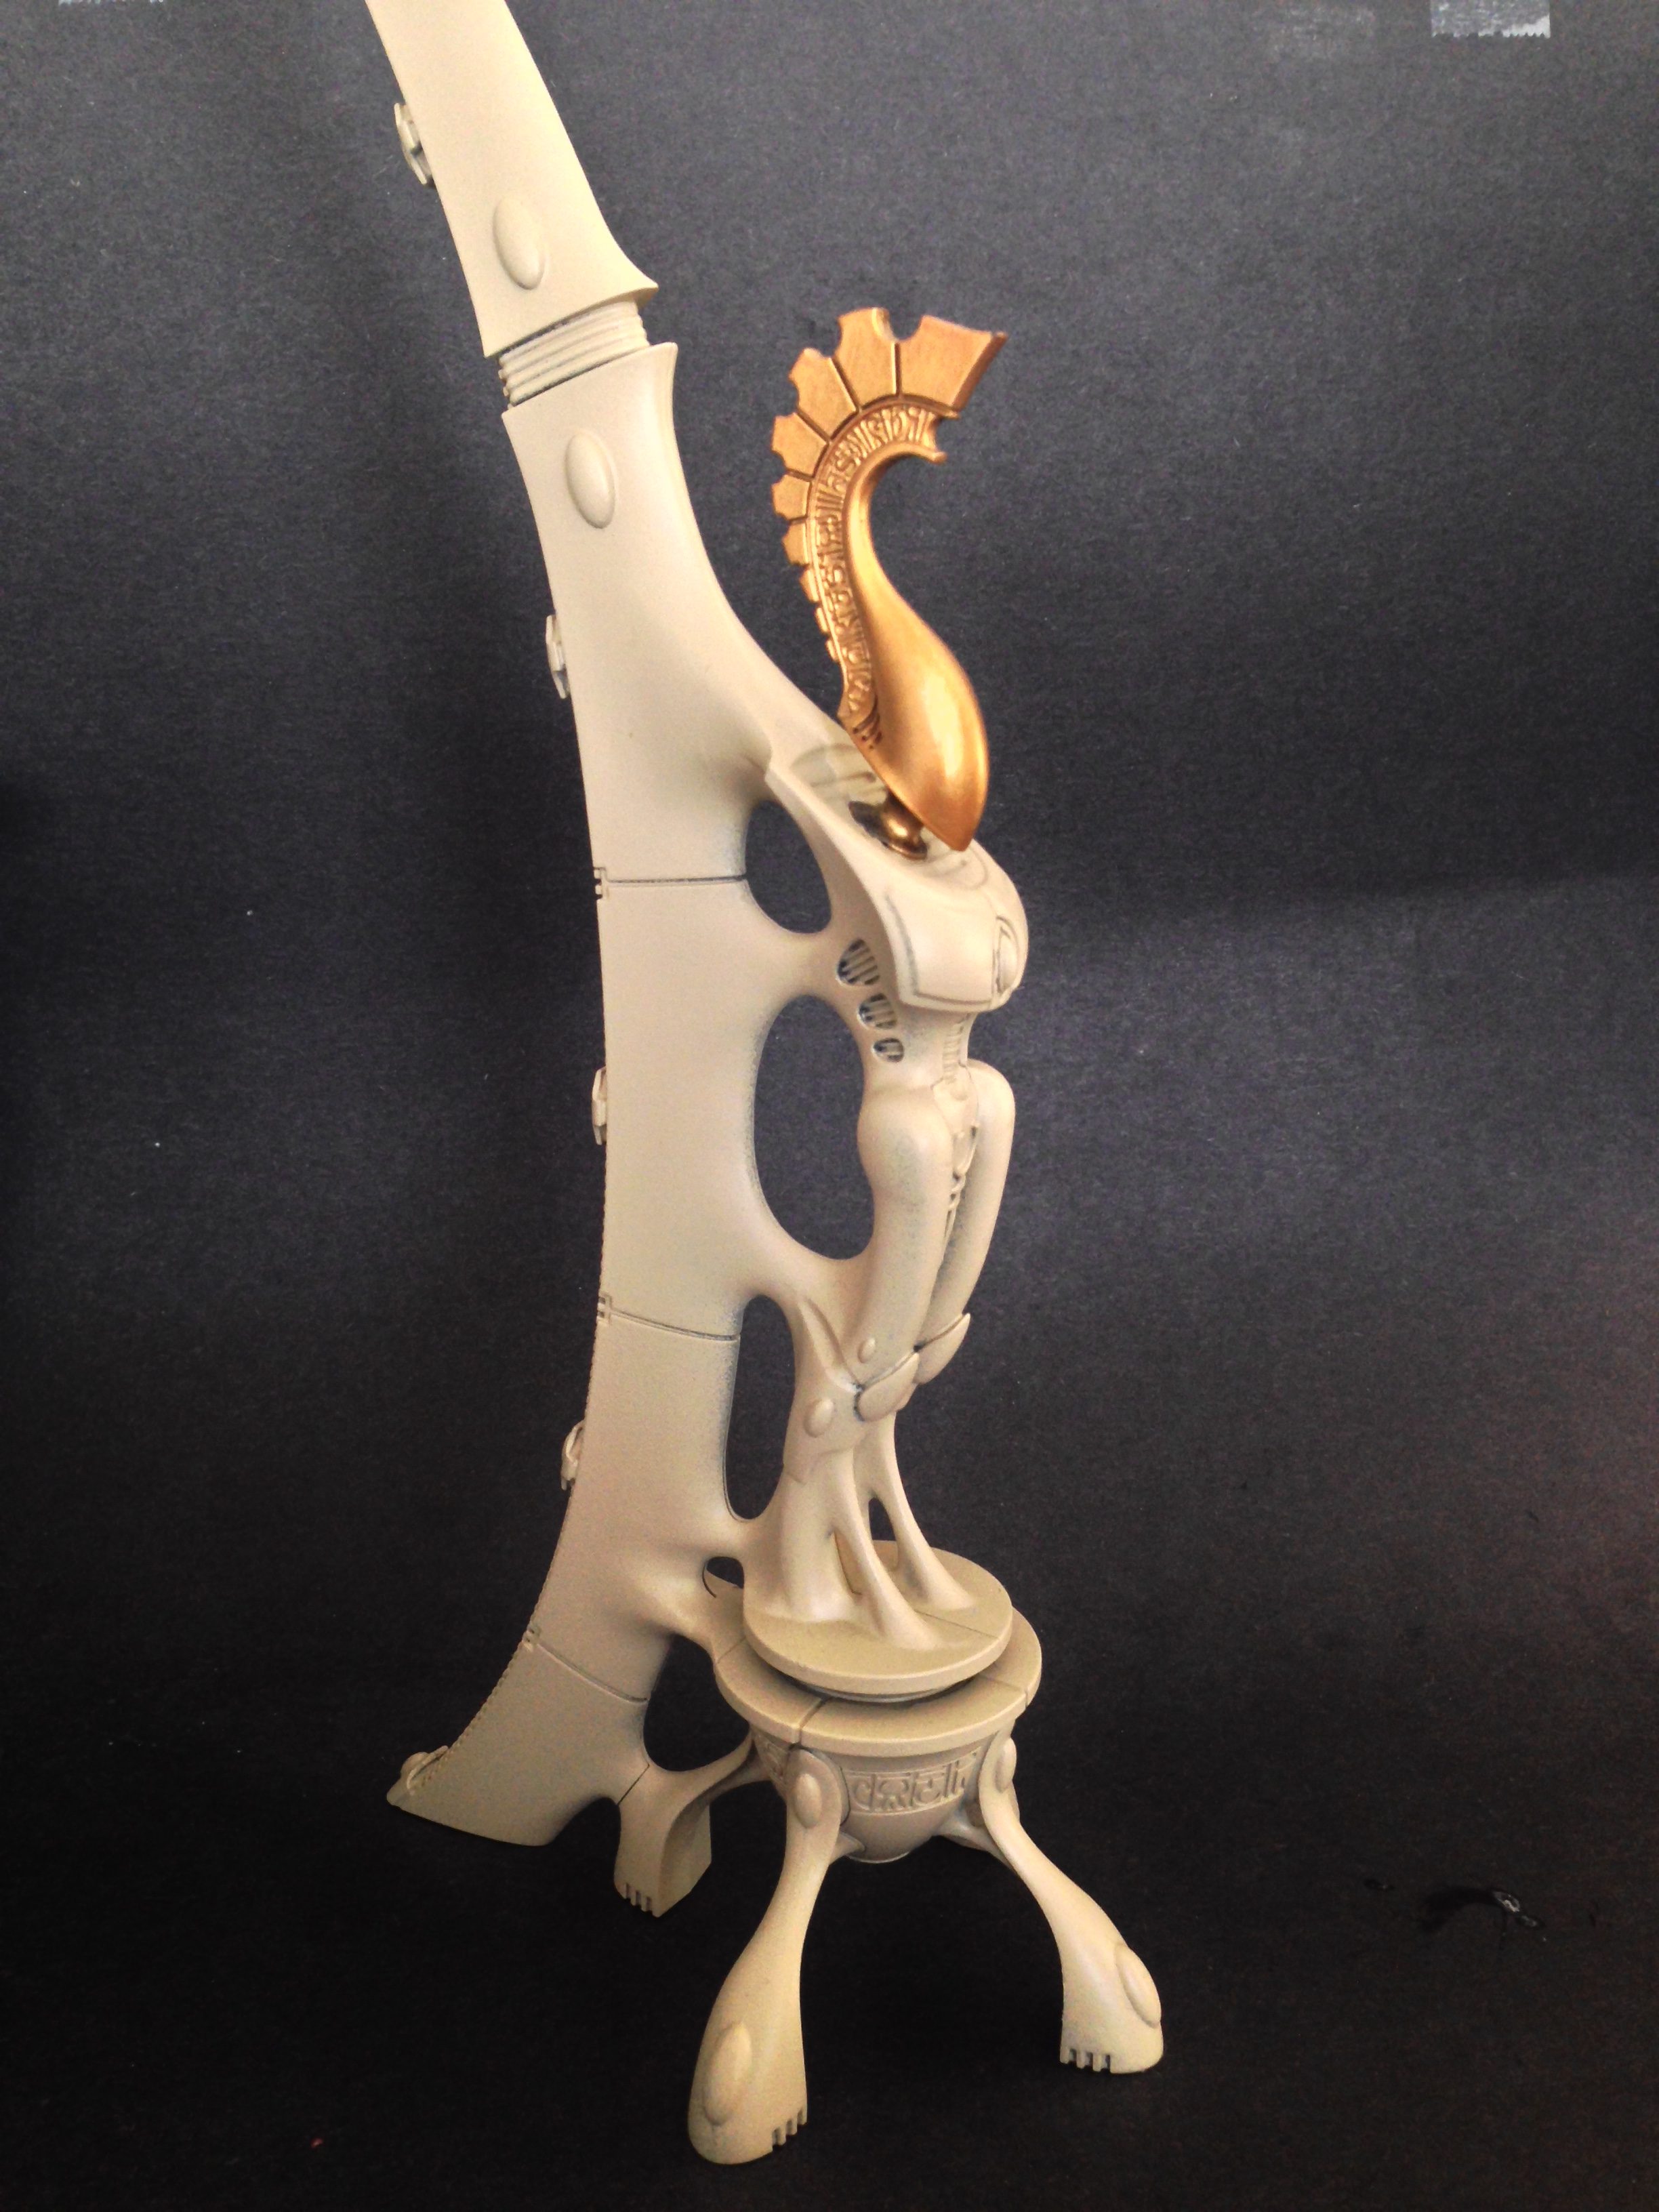
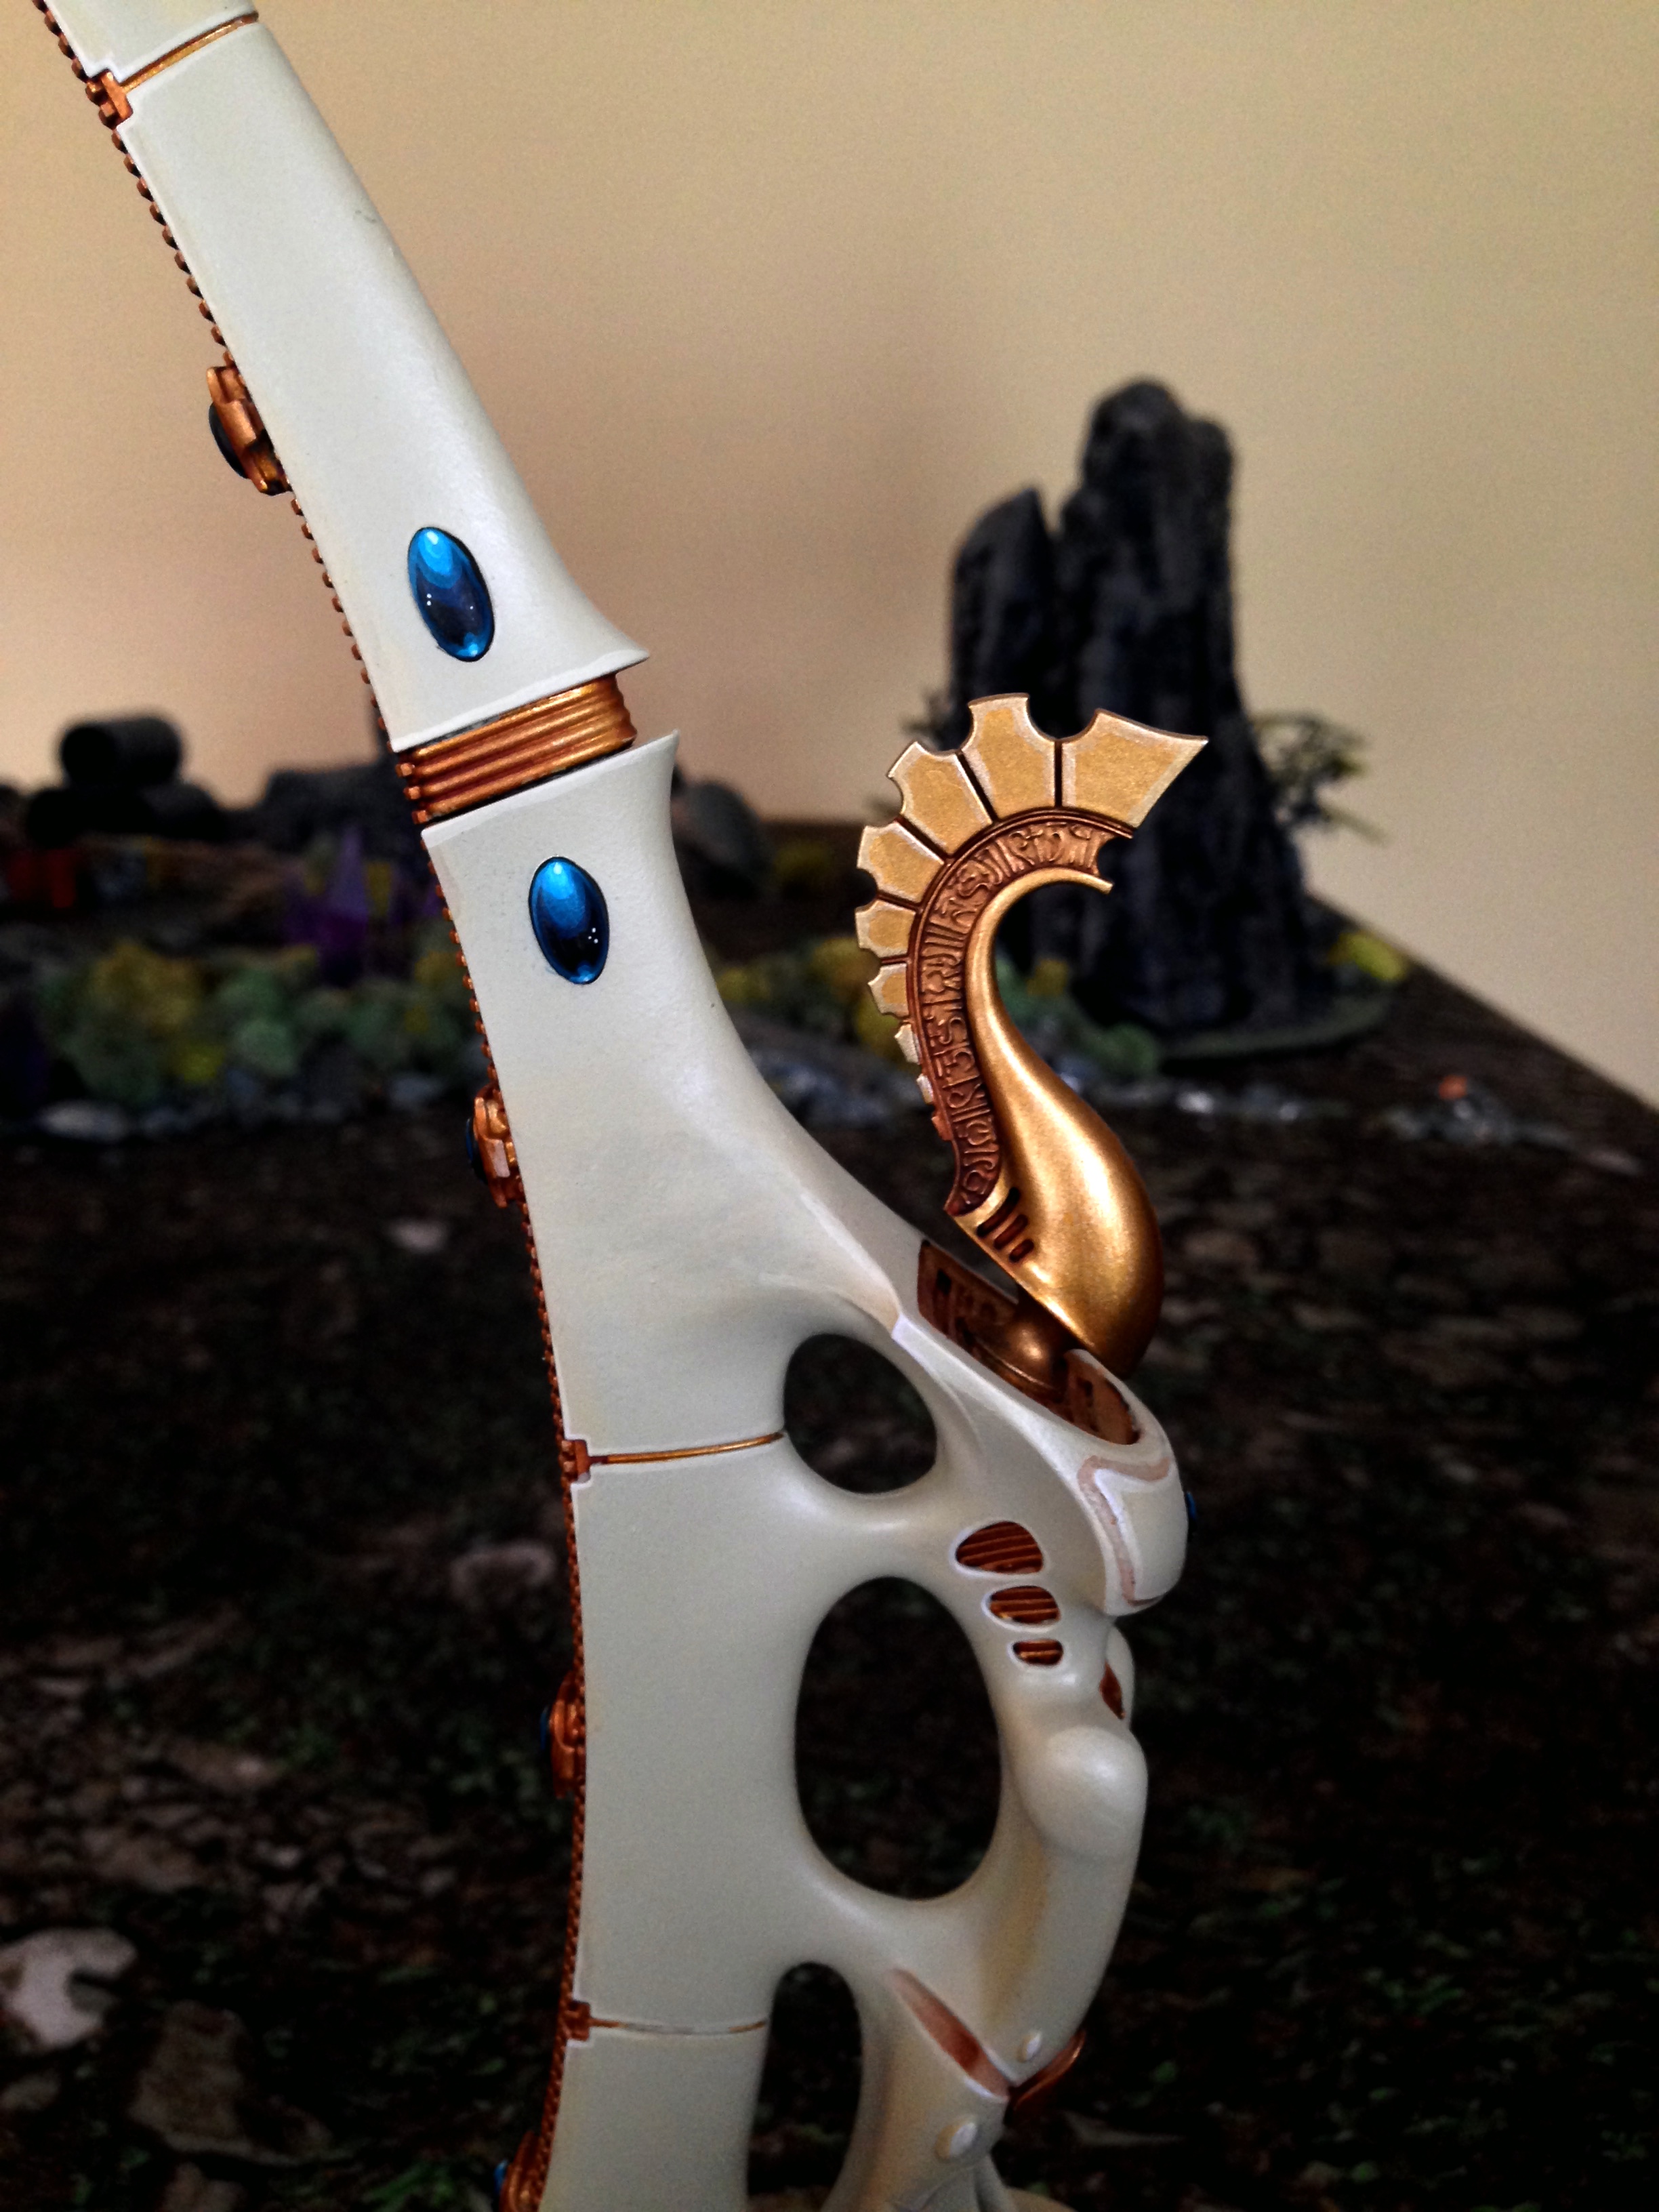
So first things first. Hit this thing with with Army Painter Skeleton Bone. This is a dead match for Ushabti Bone and a great can of primer to have knocking around in your collection. Then spray the Wraithlord head with Retributor Gold.
Step 2
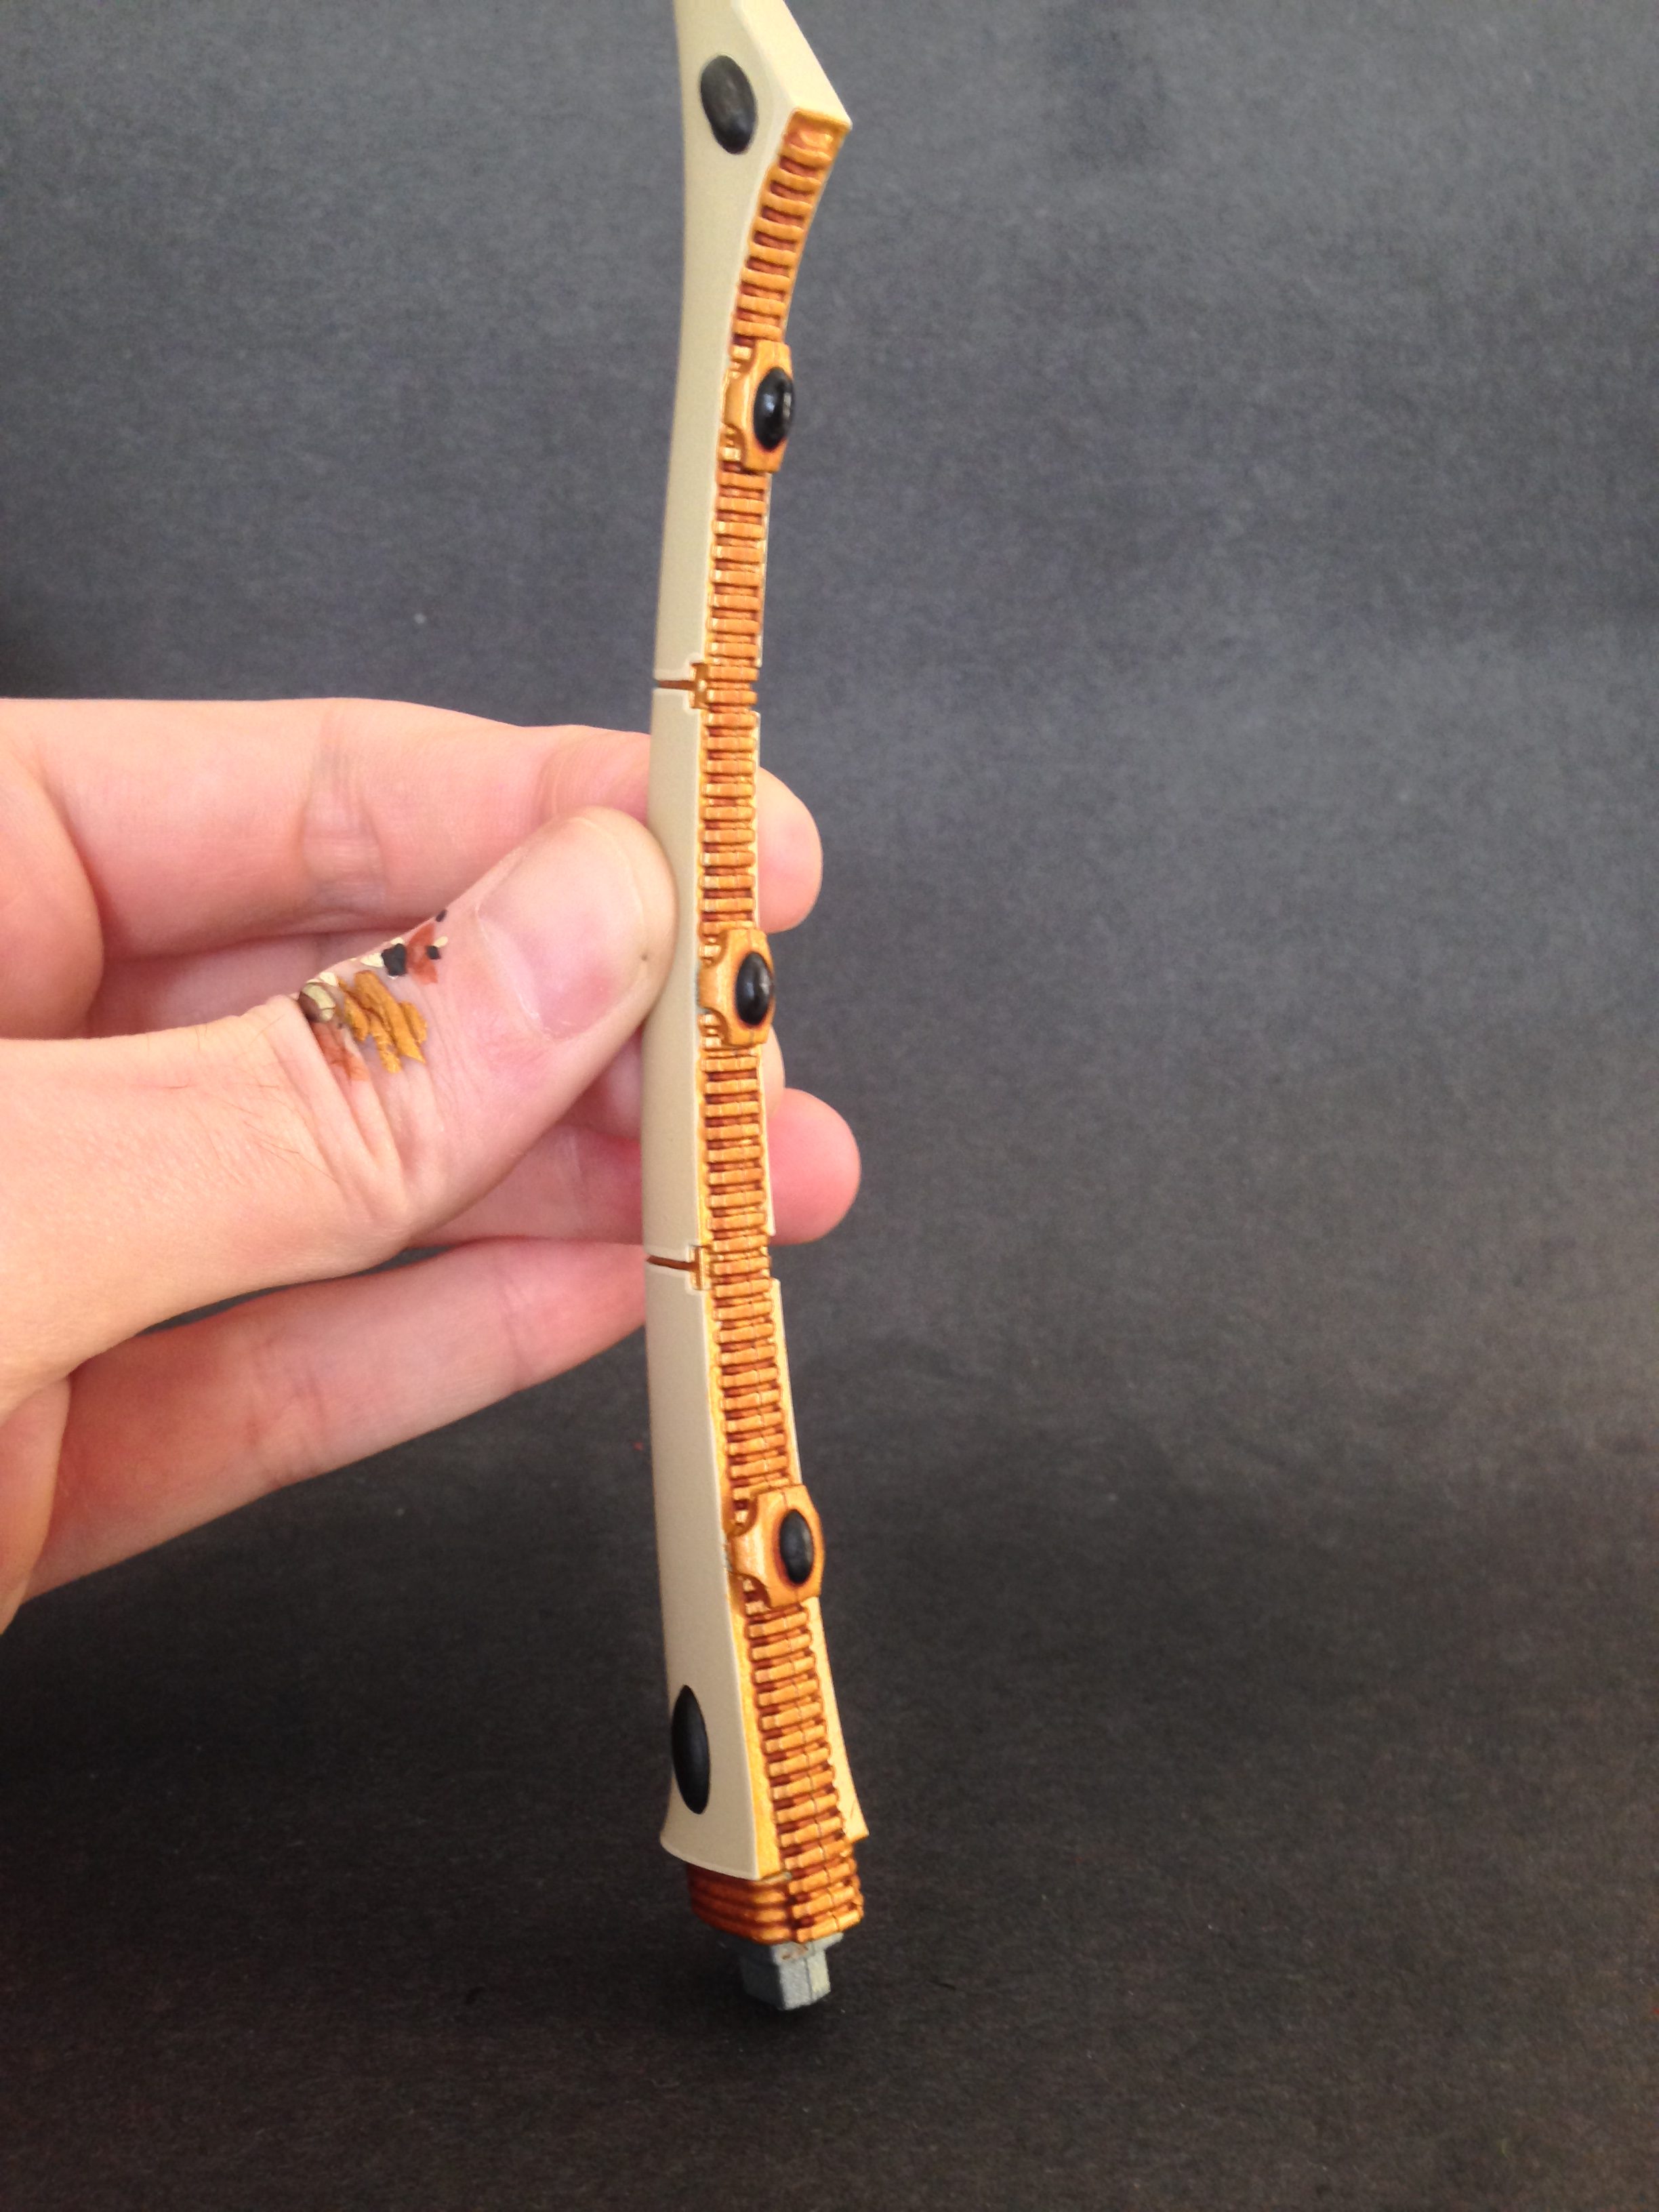
Get out your brushes and hit the interior rim of the the gate with Retributor Gold. Get the little vent type things as well and the veins between the segments on the gate. Once its dried use your Reikland Flesh Wash on the recesses of the gold and the wraithbone bits as well. I did not go crazy here as I wanted it to look stark, clean and not too weathered as this thing is a functioning part of the Webway and only making occasional appearances in Realspace.

Step 3
Black out those gems. As you can see I kept the top part of the pylon unglued because this thing is a bit unwieldly to manage. Same with the Wraithlord head. You can just plug them in when necessary.
Step 4
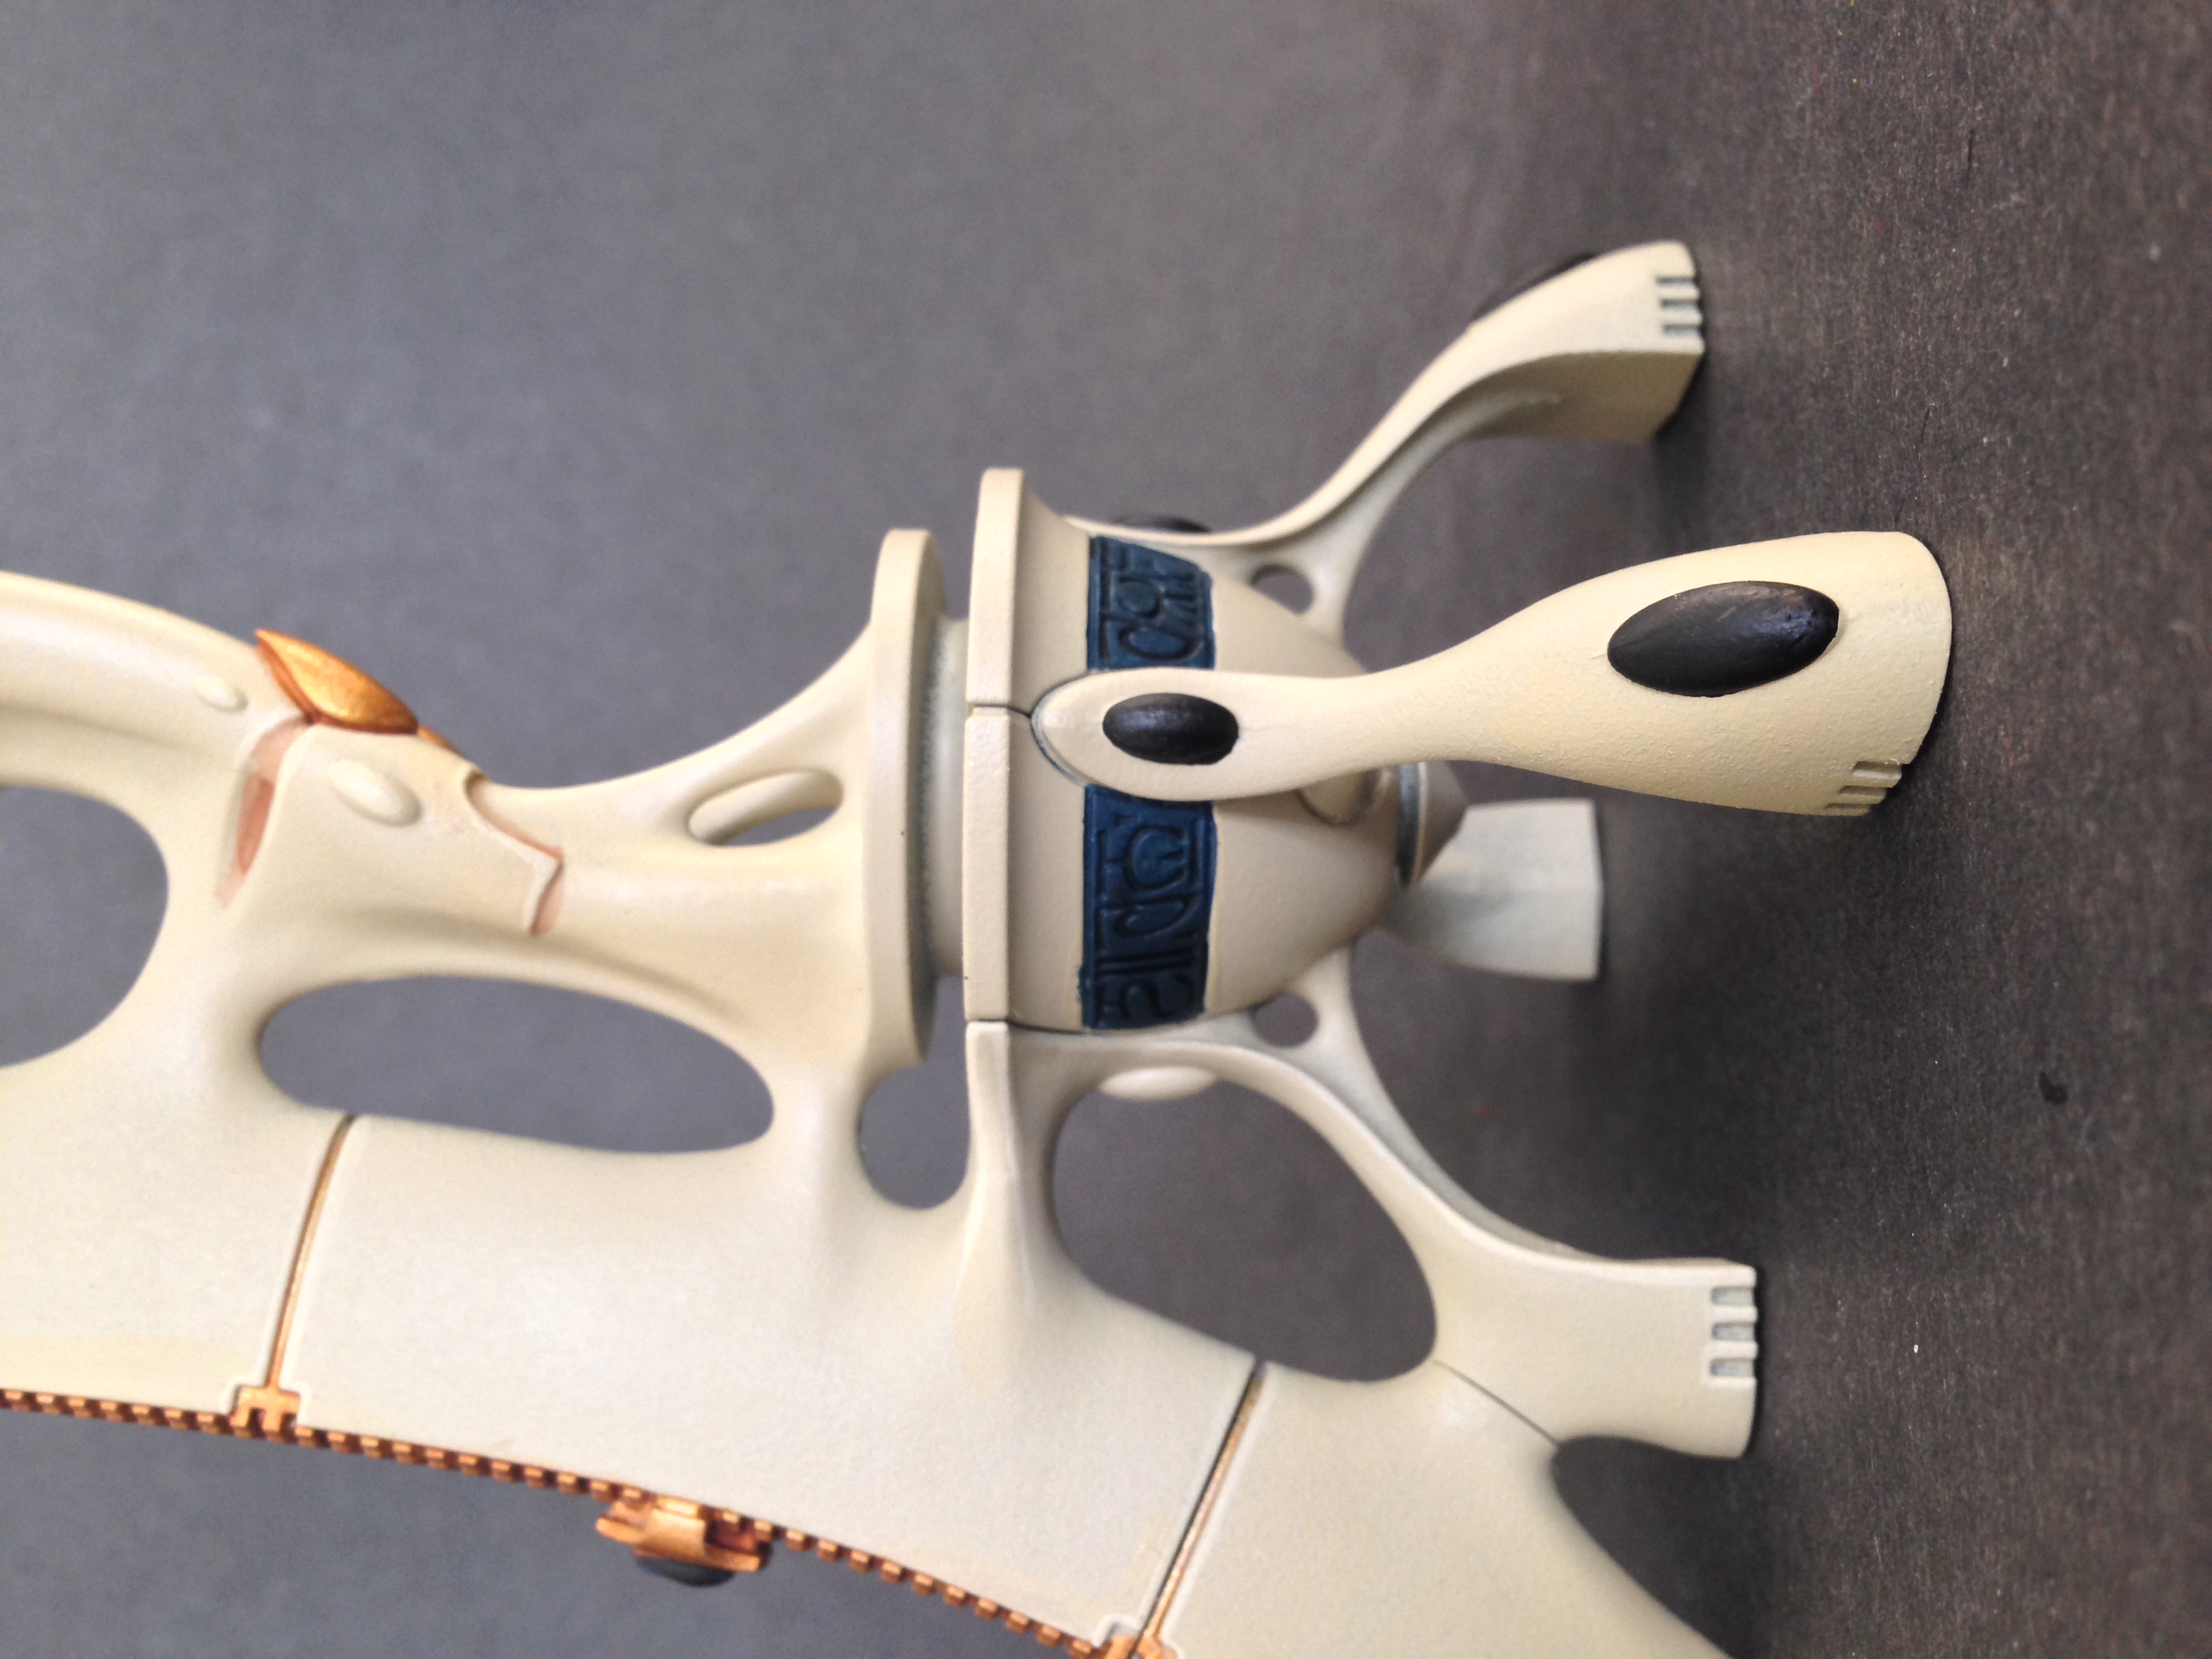
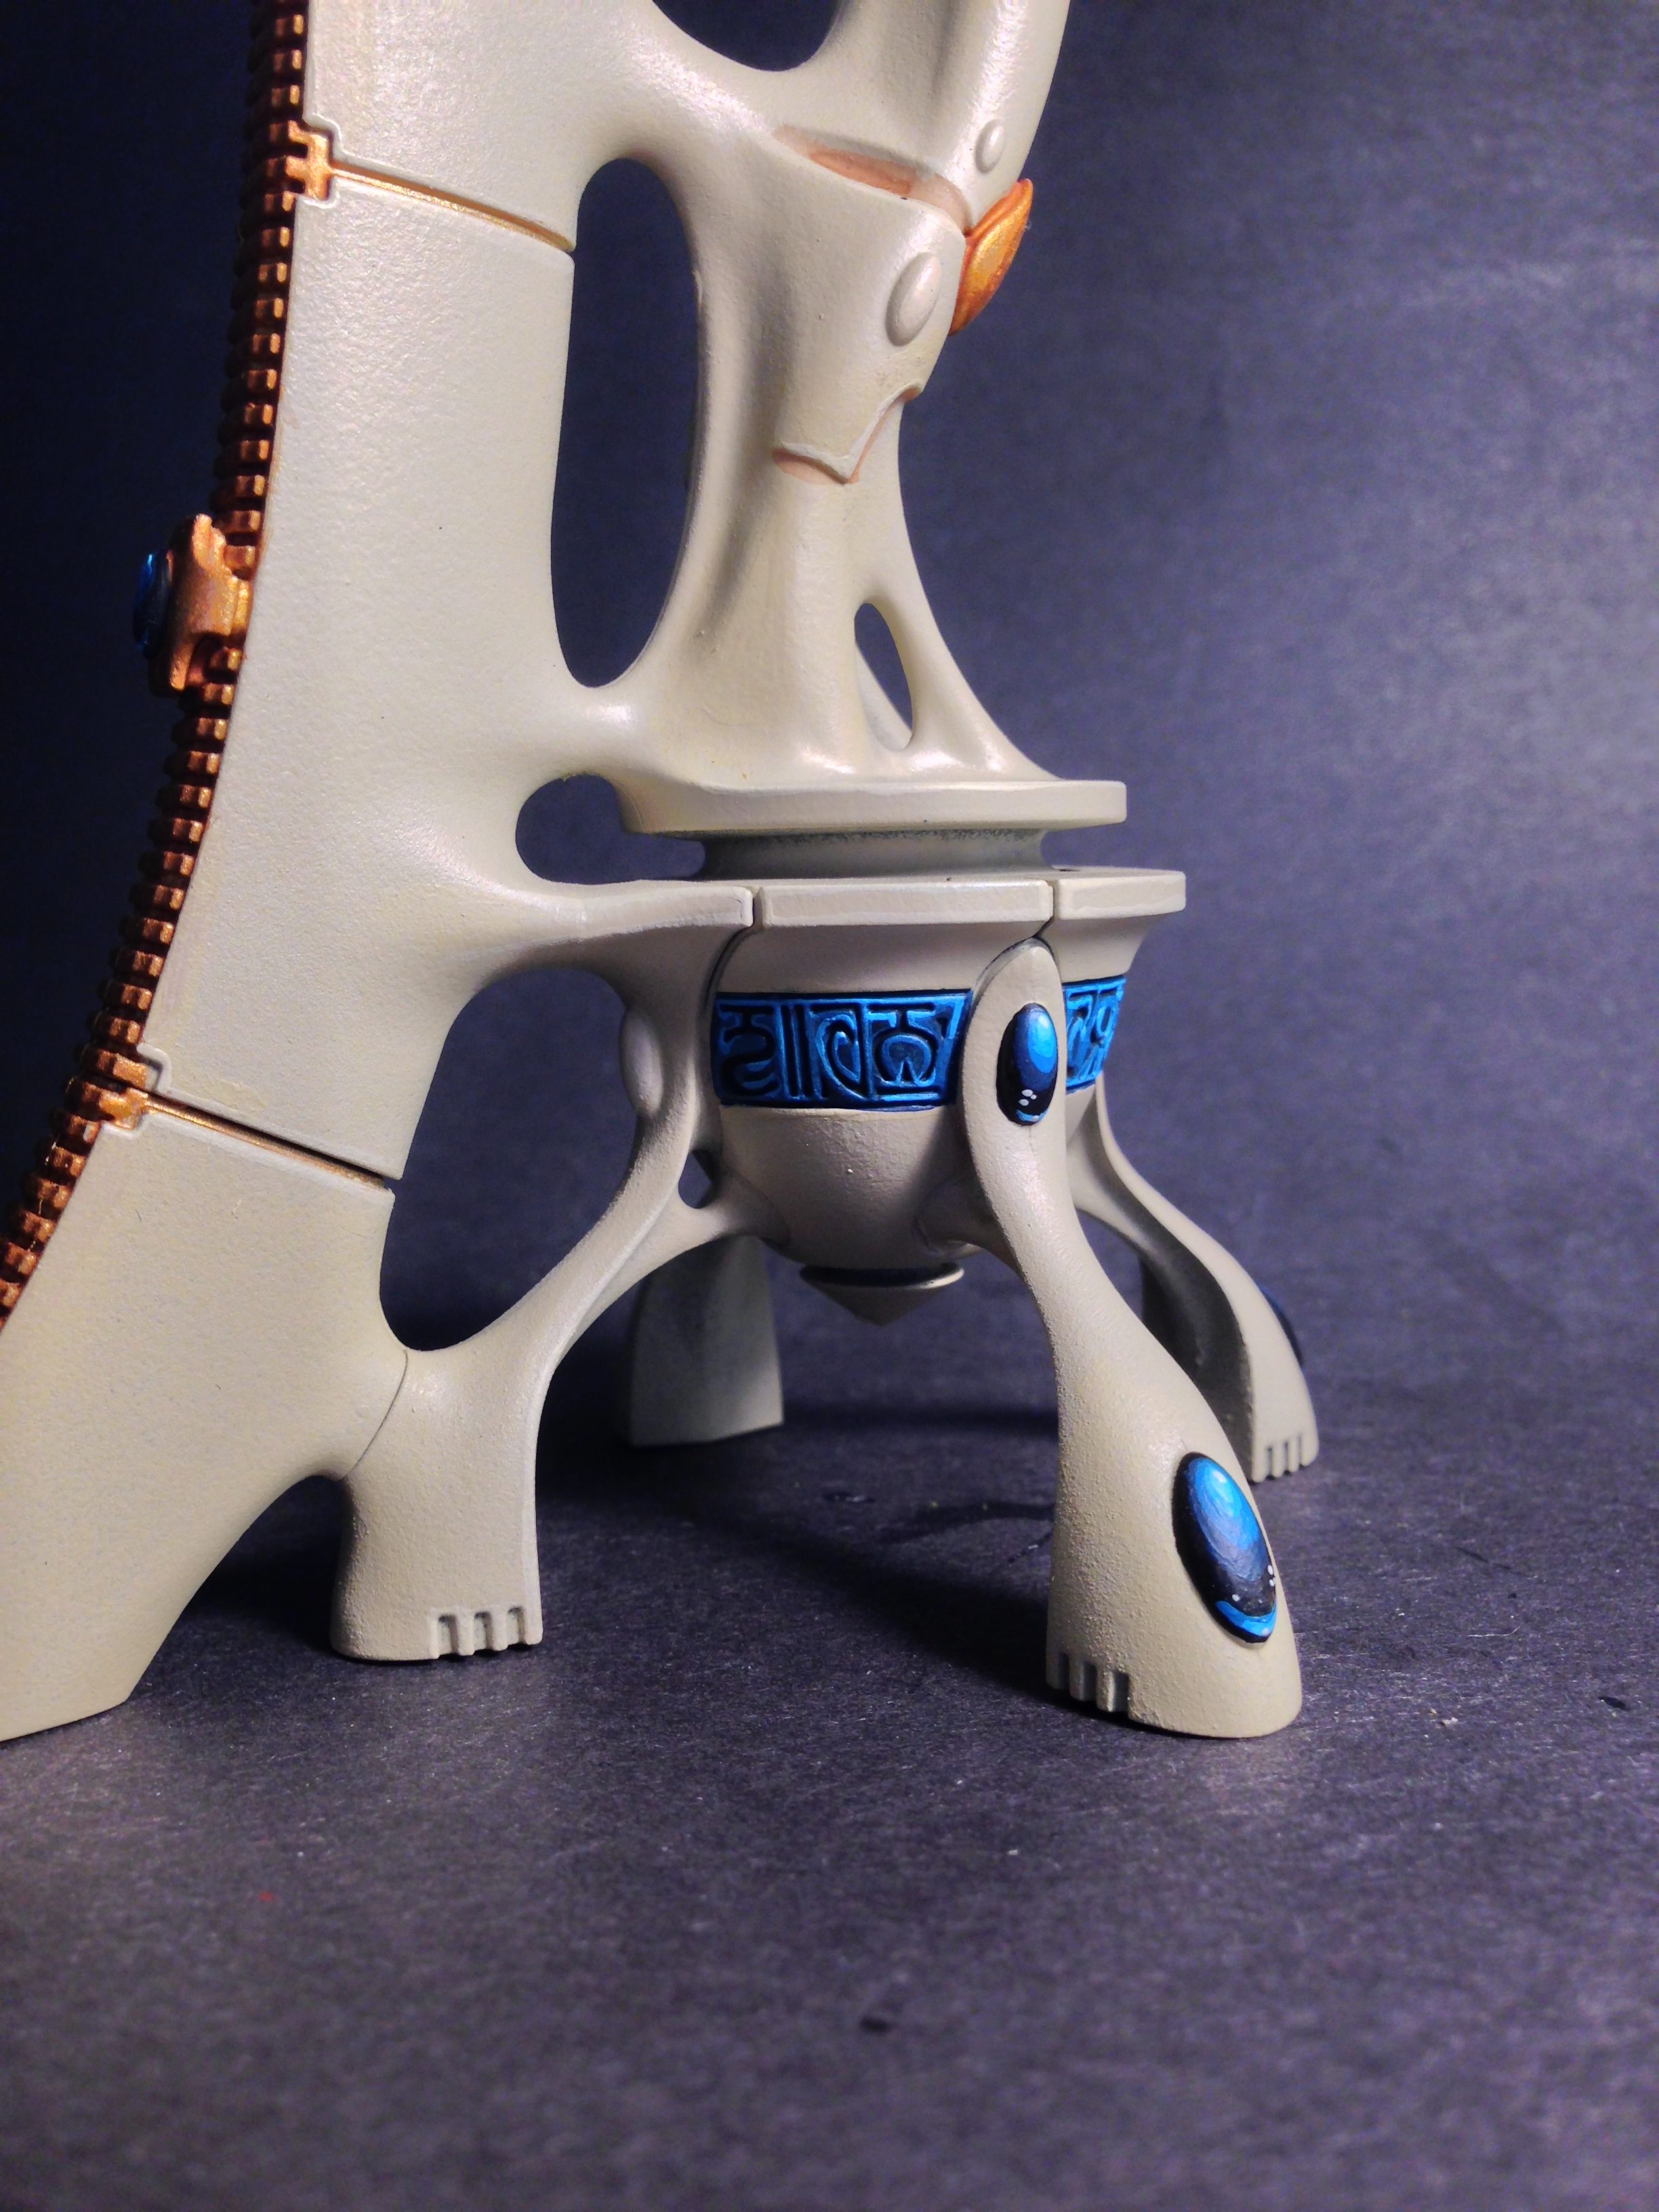
Use Stegadon Scale and block out the runic script at the base of the pylon. Then run Nuln Oil over it. Just make sure the Nuln Oil is nice and tidy. I left the Nuln Oil stains on the Stegadon as I liked the variation in colors.
Step 5
Paint those gems and paint the runic script on the base of the pylons. For details on how I paint my gems check out this tutorial here. For the runic script I did a similar approach highlighting the script with Sotek and Temple Guard and leaving it at that. Yet the Stegadon with the slight variation from the Nuln Oil and those two highlights look really good for a quick paint job.

Just hit the wraithbone with some simple line highlights. I hit all the plating on the Wraithlord bits, the edges of the “veins” between the segments of the pylon and the tips of the pylon with Screaming Skull and Pallid Wych flesh. I also hit the less pronounced curves with a 50/50 mix of Screaming Skull and Ushabti Bone. I may in the future go in again with my airbrush and do a bit more, but in terms of just getting this thing on to the tabletop and having it blend it with your other pieces of scenery this has a very nice finish to it.
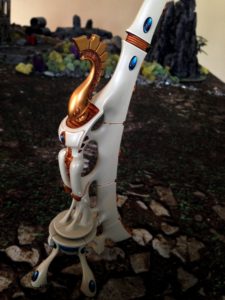

Hit the gold with just a bit of Liberator on the edges and you are good to go!
Conclusion
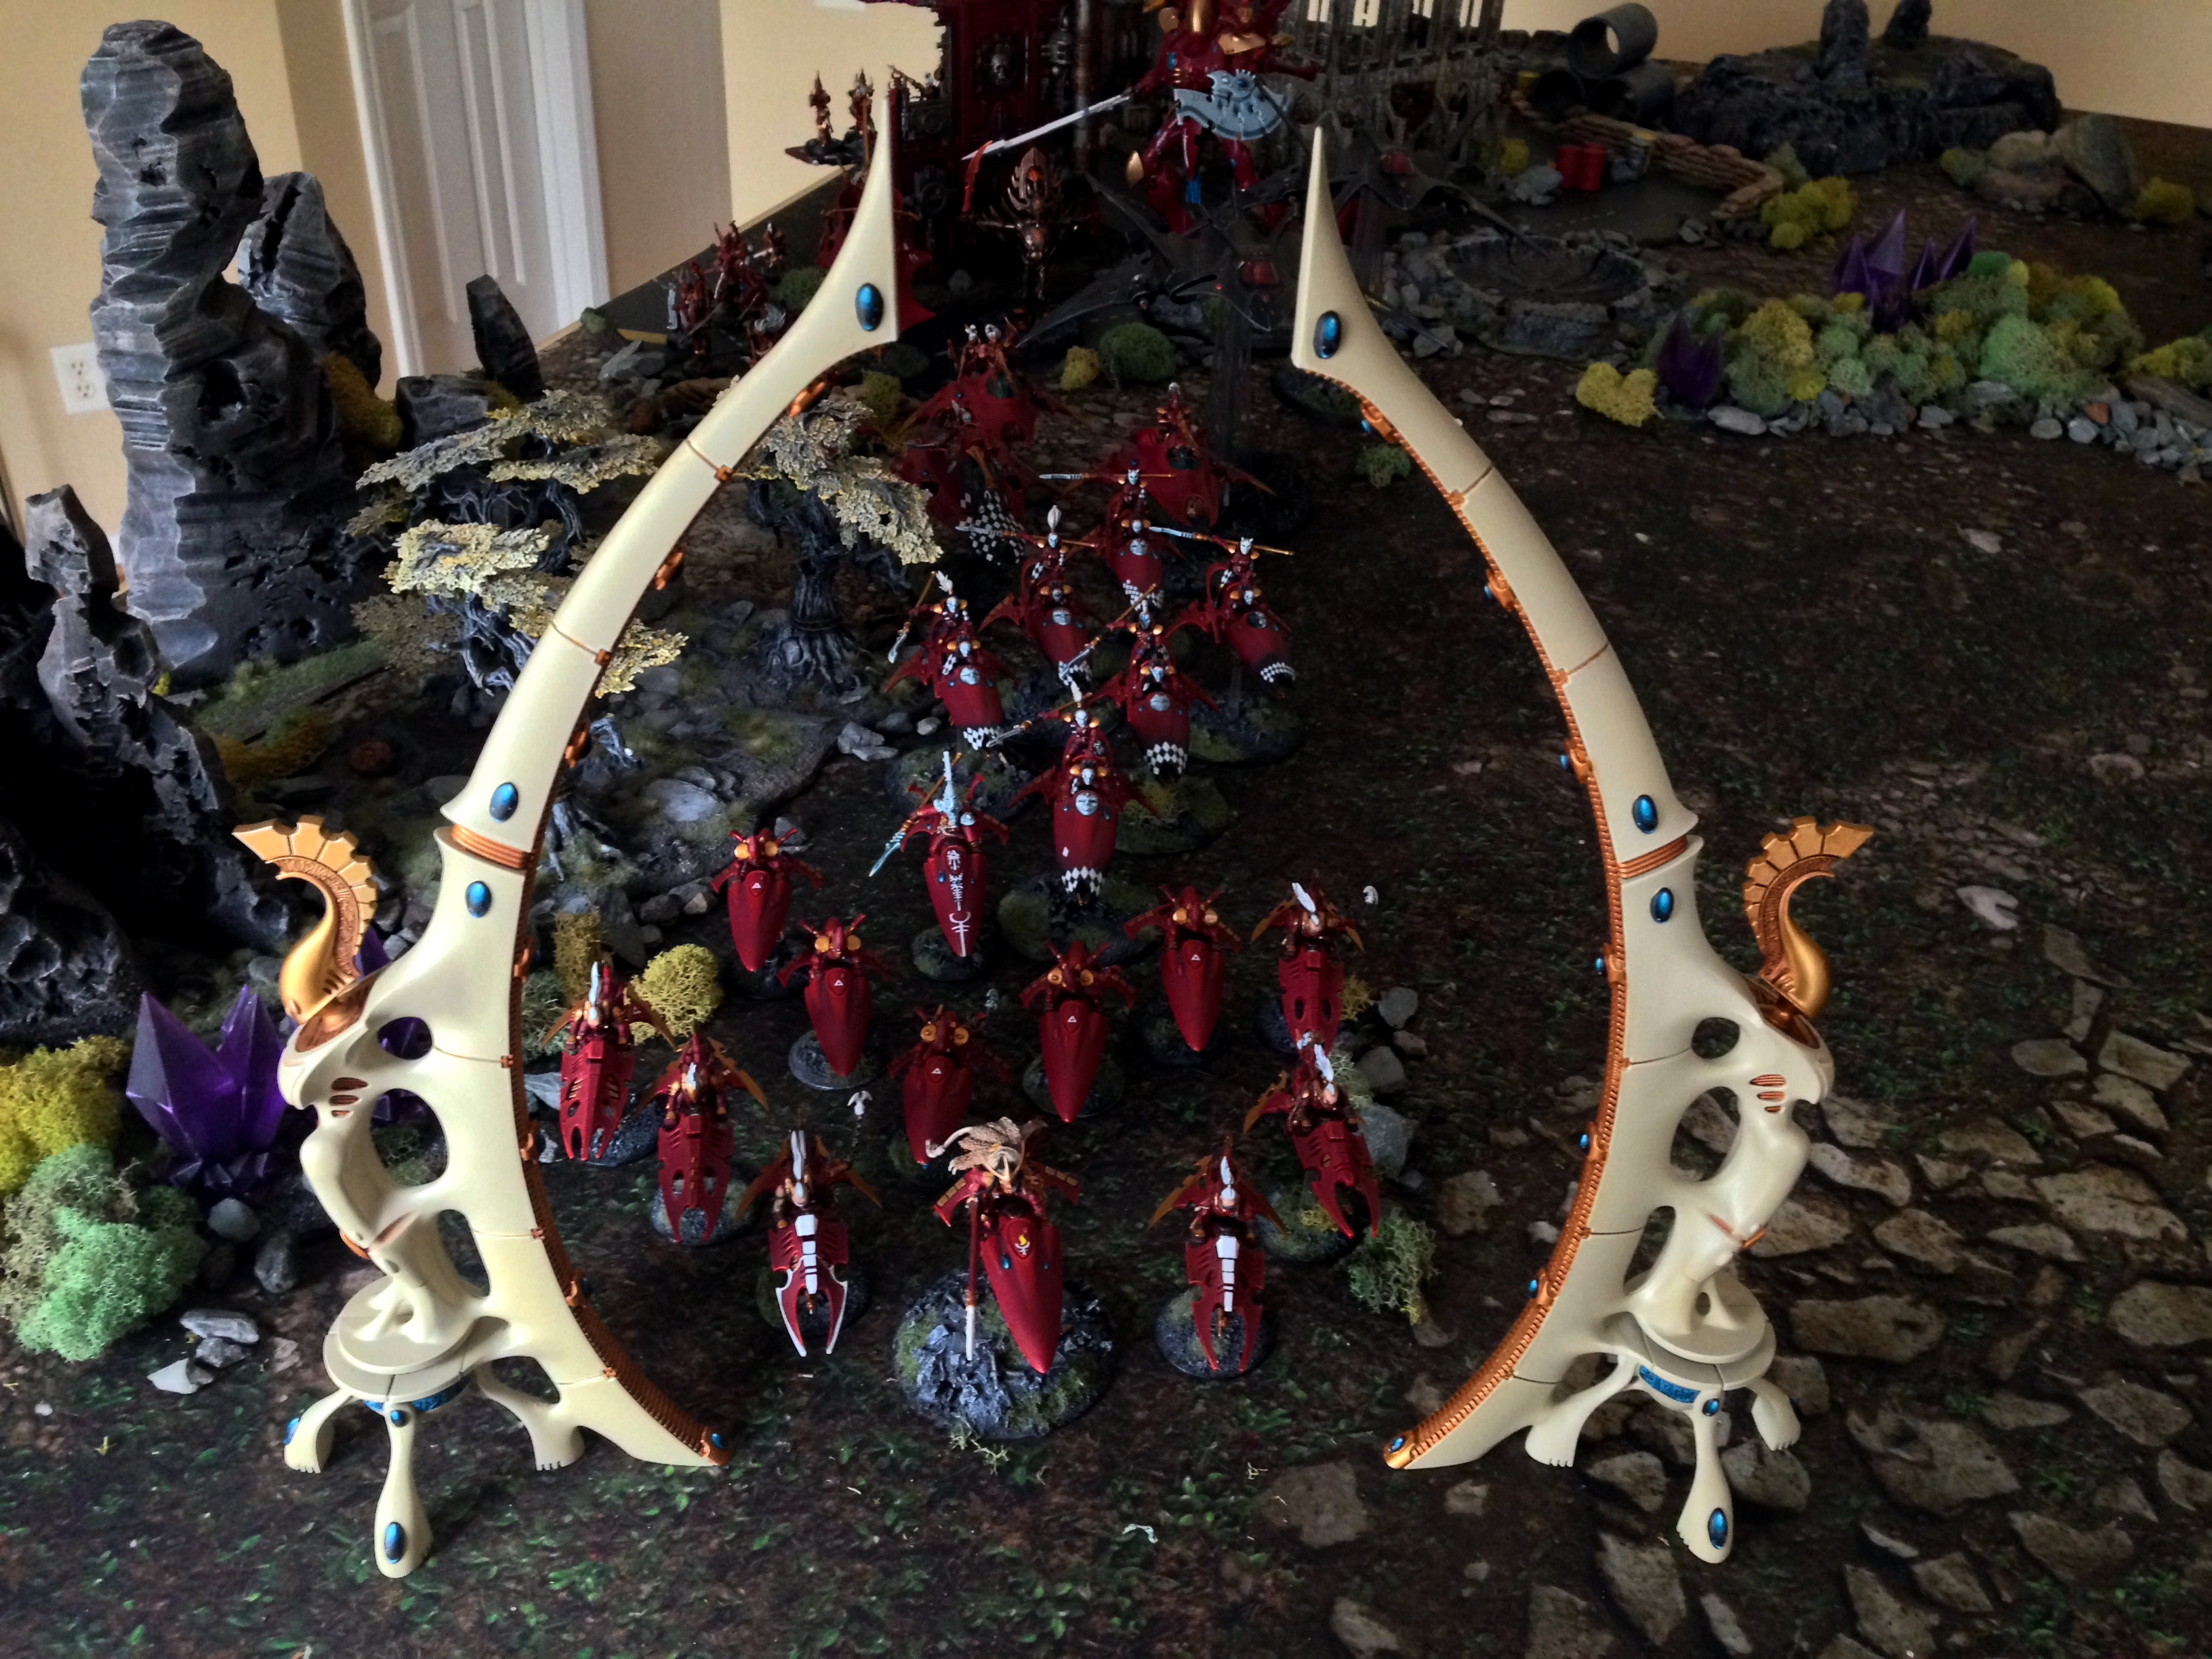
So there you go! If you are looking to knock this sucker out and get a nice Eldar vibe going this is a quick and easy approach that shouldn’t take too long. There are just enough details on there to make it interesting, but its not so busy that its distracting from the other terrain or your army. Hope you enjoyed the article! If you have any other tips and tricks share them in the comments section below.
If you are interested in Aeldari discussion check out our podcast: Splintermind for exclusive Drukharii and all things Aeldari news and discussion. If you are interested in following my painting exploits check me out on Instagram! Thanks for reading and stay tuned!
And remember, Frontline Gaming sells gaming products at a discount, every day in their webcart!


