
Hey guys Cavalier, commission painter for Frontline Gaming and co-host of Splintermind the Dark Eldar Podcast, back with another painting tutorial, this time on my approach to painted the enchanted looking armor on Stormcast Hallowed Knights
Silver armor is typically thought of as easy to paint. While that may be true for gunmetal or “bolt gun” style dark silver, when you take it brighter into the Ironbreaker or Stormhost shades of silver it gets a bit more tricky. This is a very bright paint scheme, that almost reads like white, so any messiness or mistakes can be kind of glaring. So today I’ll share my approach to getting a nice clean enchanted “mithril” style armor on your models.
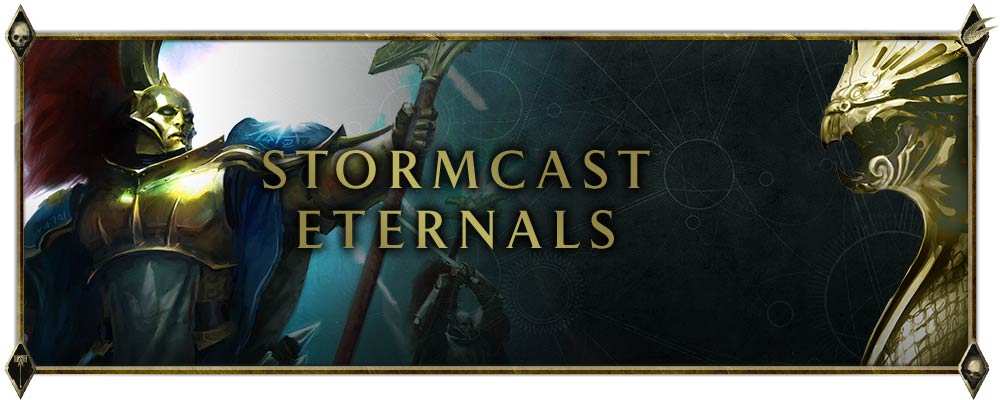
Step 1
Straight undercoat of Leadbelcher right out of the can. Normally I’d undercoat the models black, then hit them with Leadbelcher, but I think the Leadblecher right onto the plastic is the best way to go. The black makes it too dark, the white makes it too bright, so just go with pure Leadbelcher.
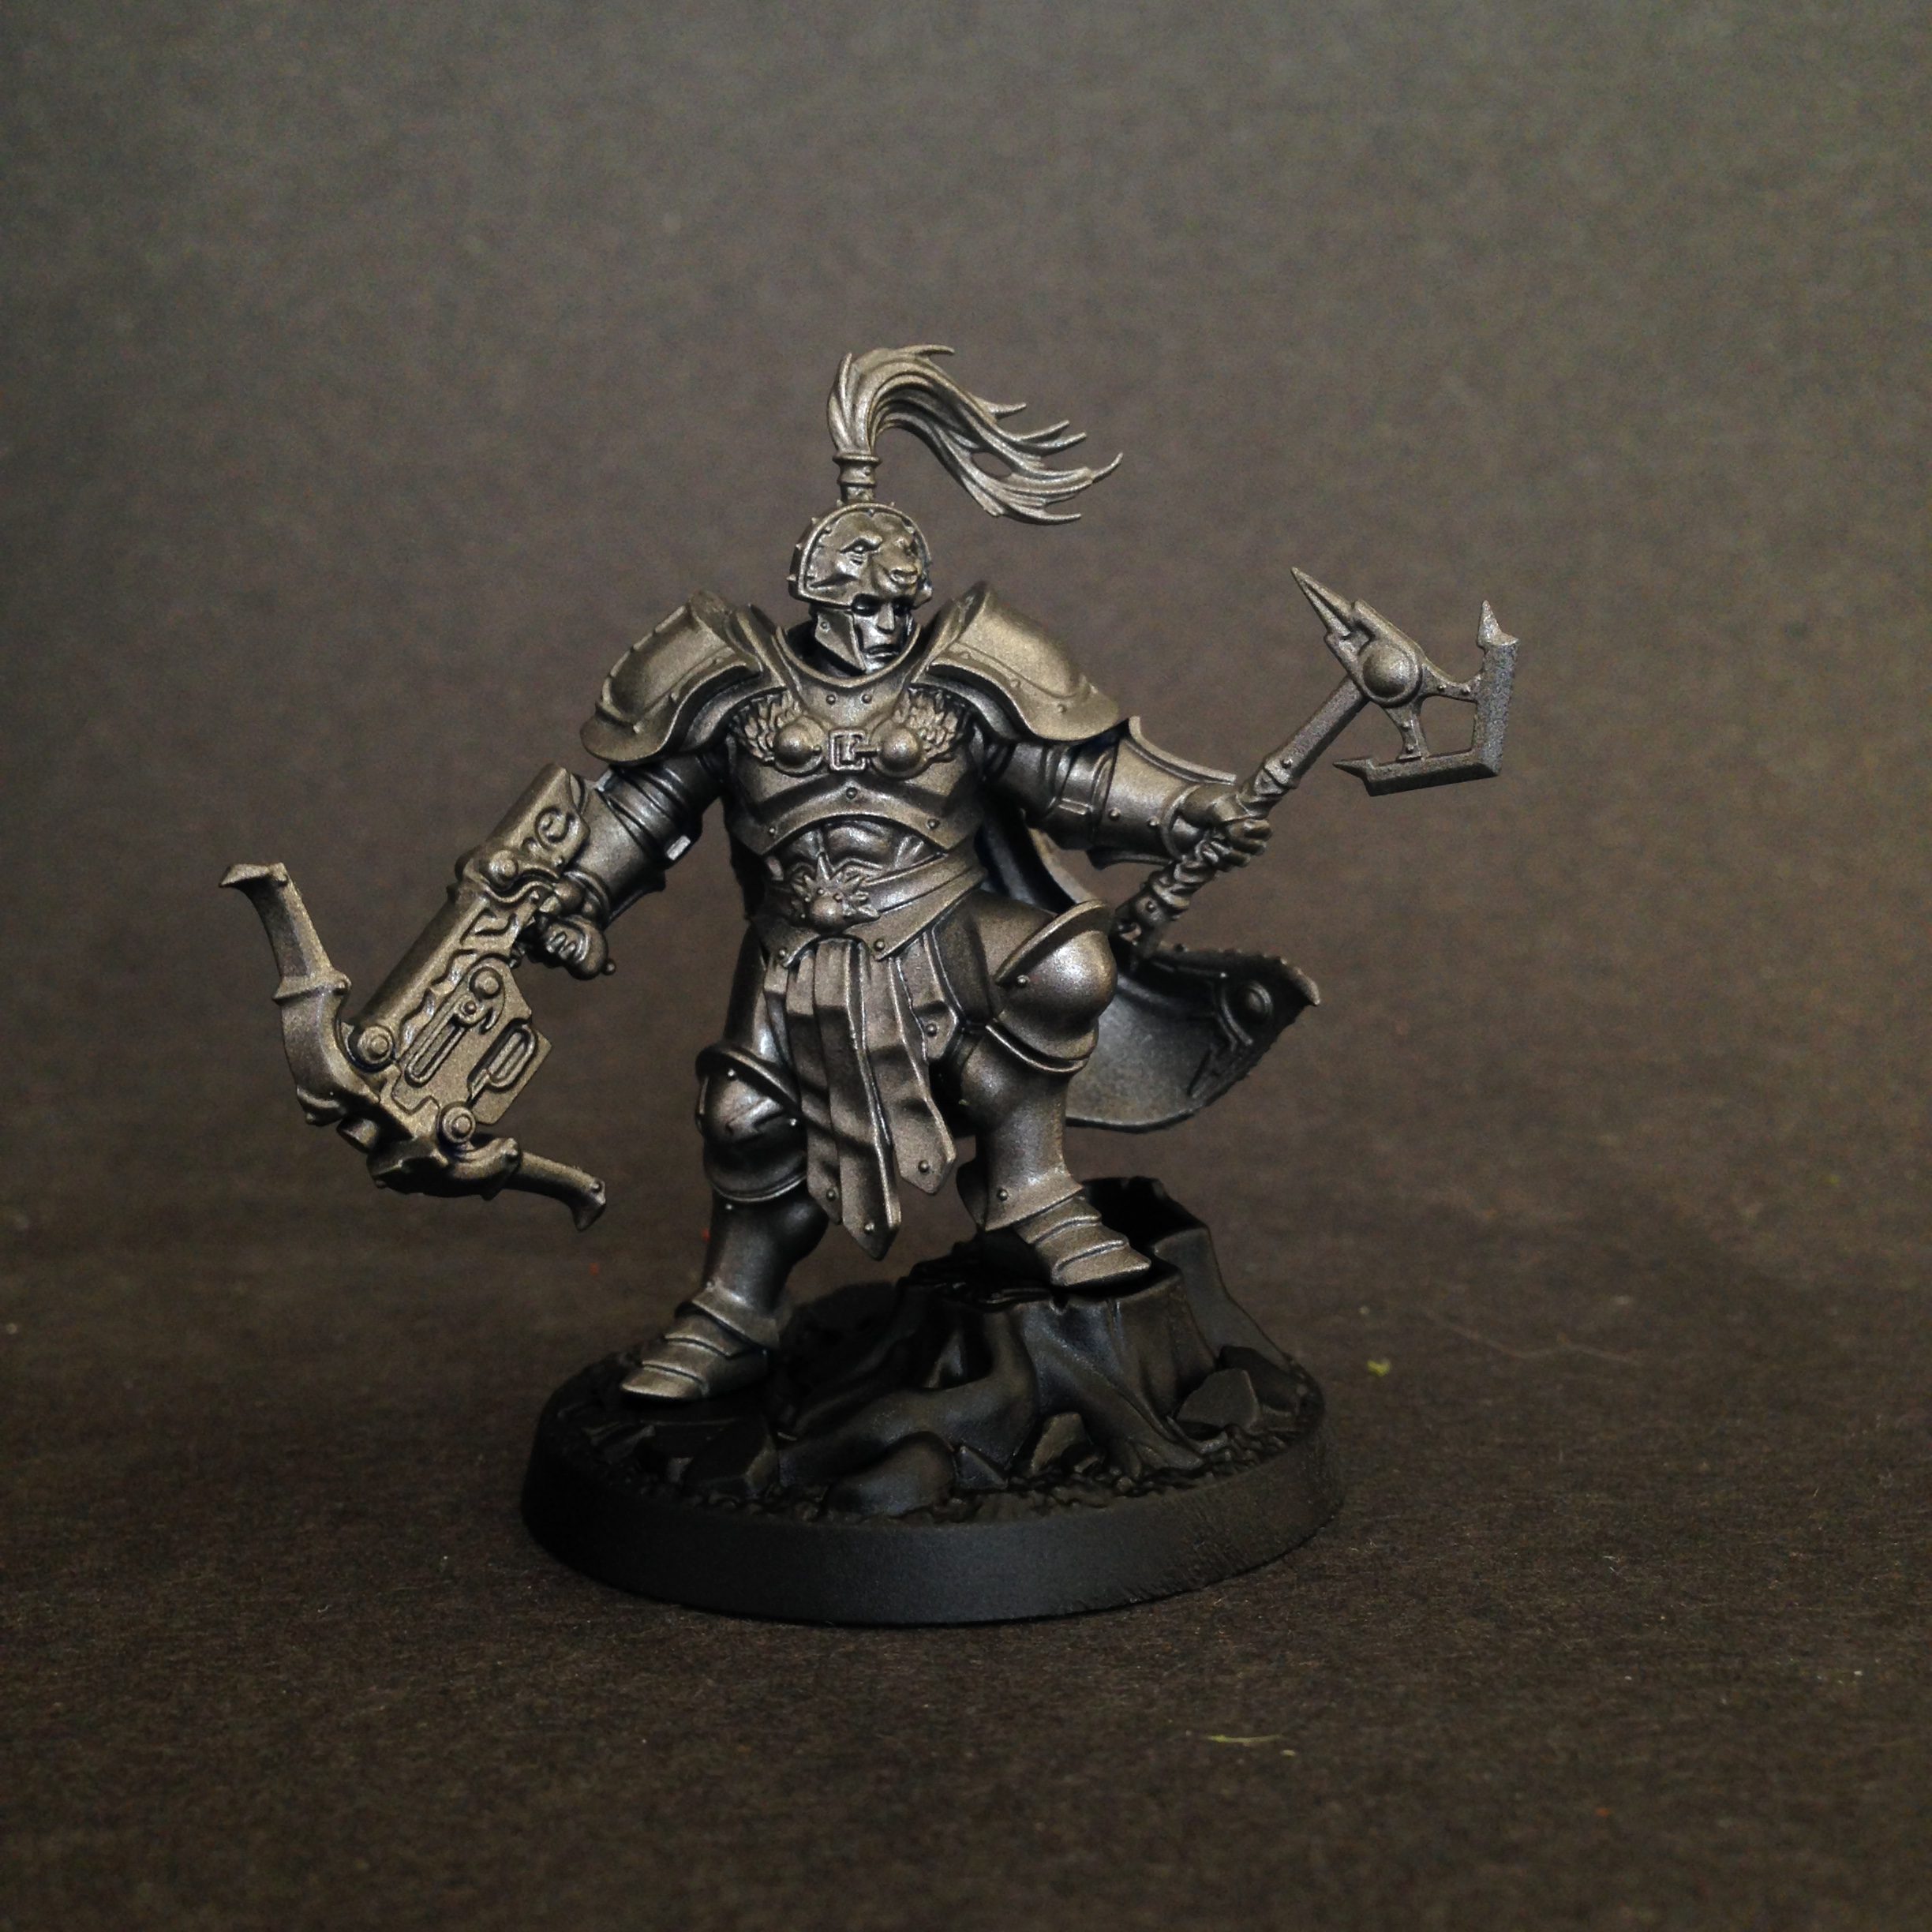
Step 2
Now bust out of my new favorite paintes. Nighthaunt Gloom. Its a technical paint and is like a heavy wash. Now you could get away with just Guilliman or Drakkenhoff Nigthshade, but Nighthaunt Gloom is better IMO. The reason being is that its a nice grey/blue so its a lot less stark and blends in with the greyish metallic tones of the model. Also its more opaque than wash and gives for a more even look.

Step 3
Now go in for some precision shading with Guilliman Blue Glaze in the deepest recesses of the model or in areas of interest like them helm or those glorious metallic abs. There is a bit of gloss in this paint and so it really gives a magical vibe to the armor. However by putting it over the the dull Nighthaunt Gloom its not totally overwhelming, making it look like you did ink wash. Plus the deeper blue adds some gradient to the model .
Step 4
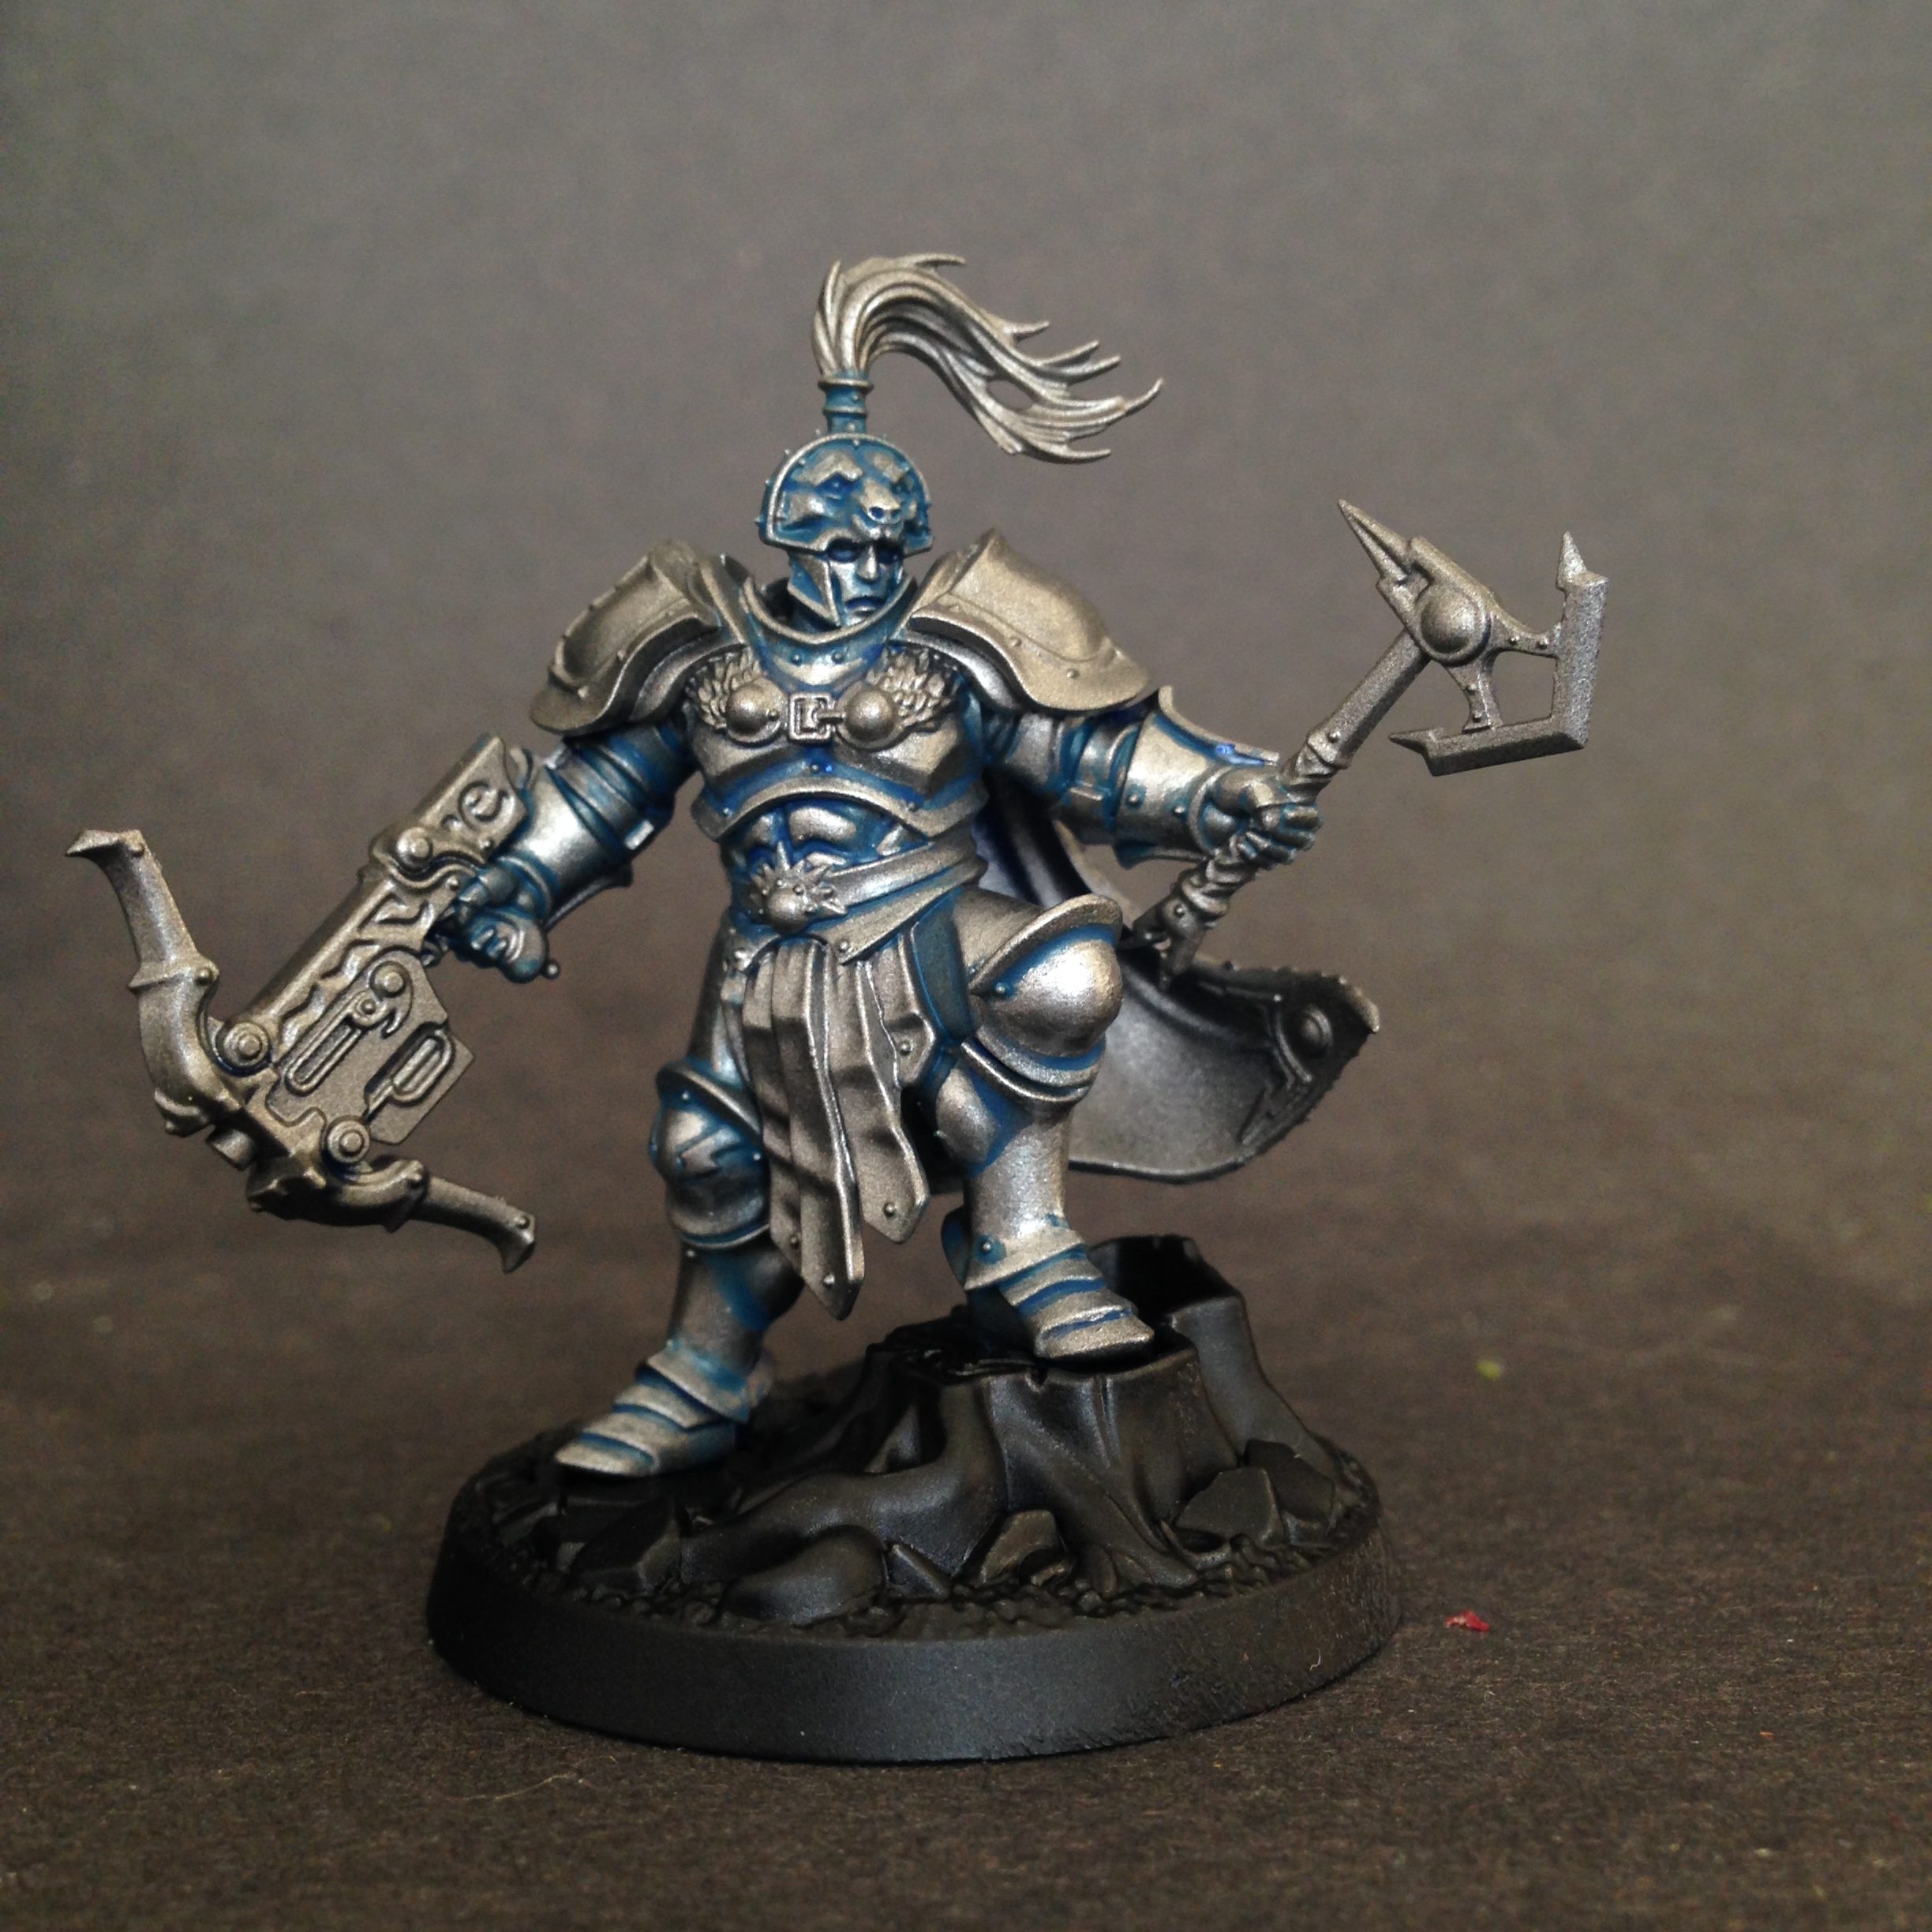
Reapply Leadblecher to all the non-recessed parts of the armor. Its amazing how bright Leadbelcher looks after you do the shading. It can really trick the eye and keeps it from being too gaudy/cartoony. Dont skip this step as jumping straight to Runefang Steel will really make for an uneven look.
Step 5
Now get in there and highlight with Runefang Steel. I do the pecs on the breastplate straight Runefang Steel, as well as the abs. I do edge highlighting on things like the foot plates, the rim of the knee pad or the armor on the plates. Do a bit of blending of 50/50 leadbelcher and runefang on things like the knee pads and big exposed plated like on the underside of the forearm and thigh. This really makes the model look a lot brighter but still retains a nice gradient from Guilliman Blue, to Nighthaunt, to Leadbelcher and finally to Runefang. You can take it a step further and do Stormhost or Mithril (like I did for this model) but in all honesty it disappears against the bright Runefang. Also worth noting is I think GW improved their Runefang which used to be a nightmare to work with. This stuff goes on really well. Not Retributor dreamworld status but close.
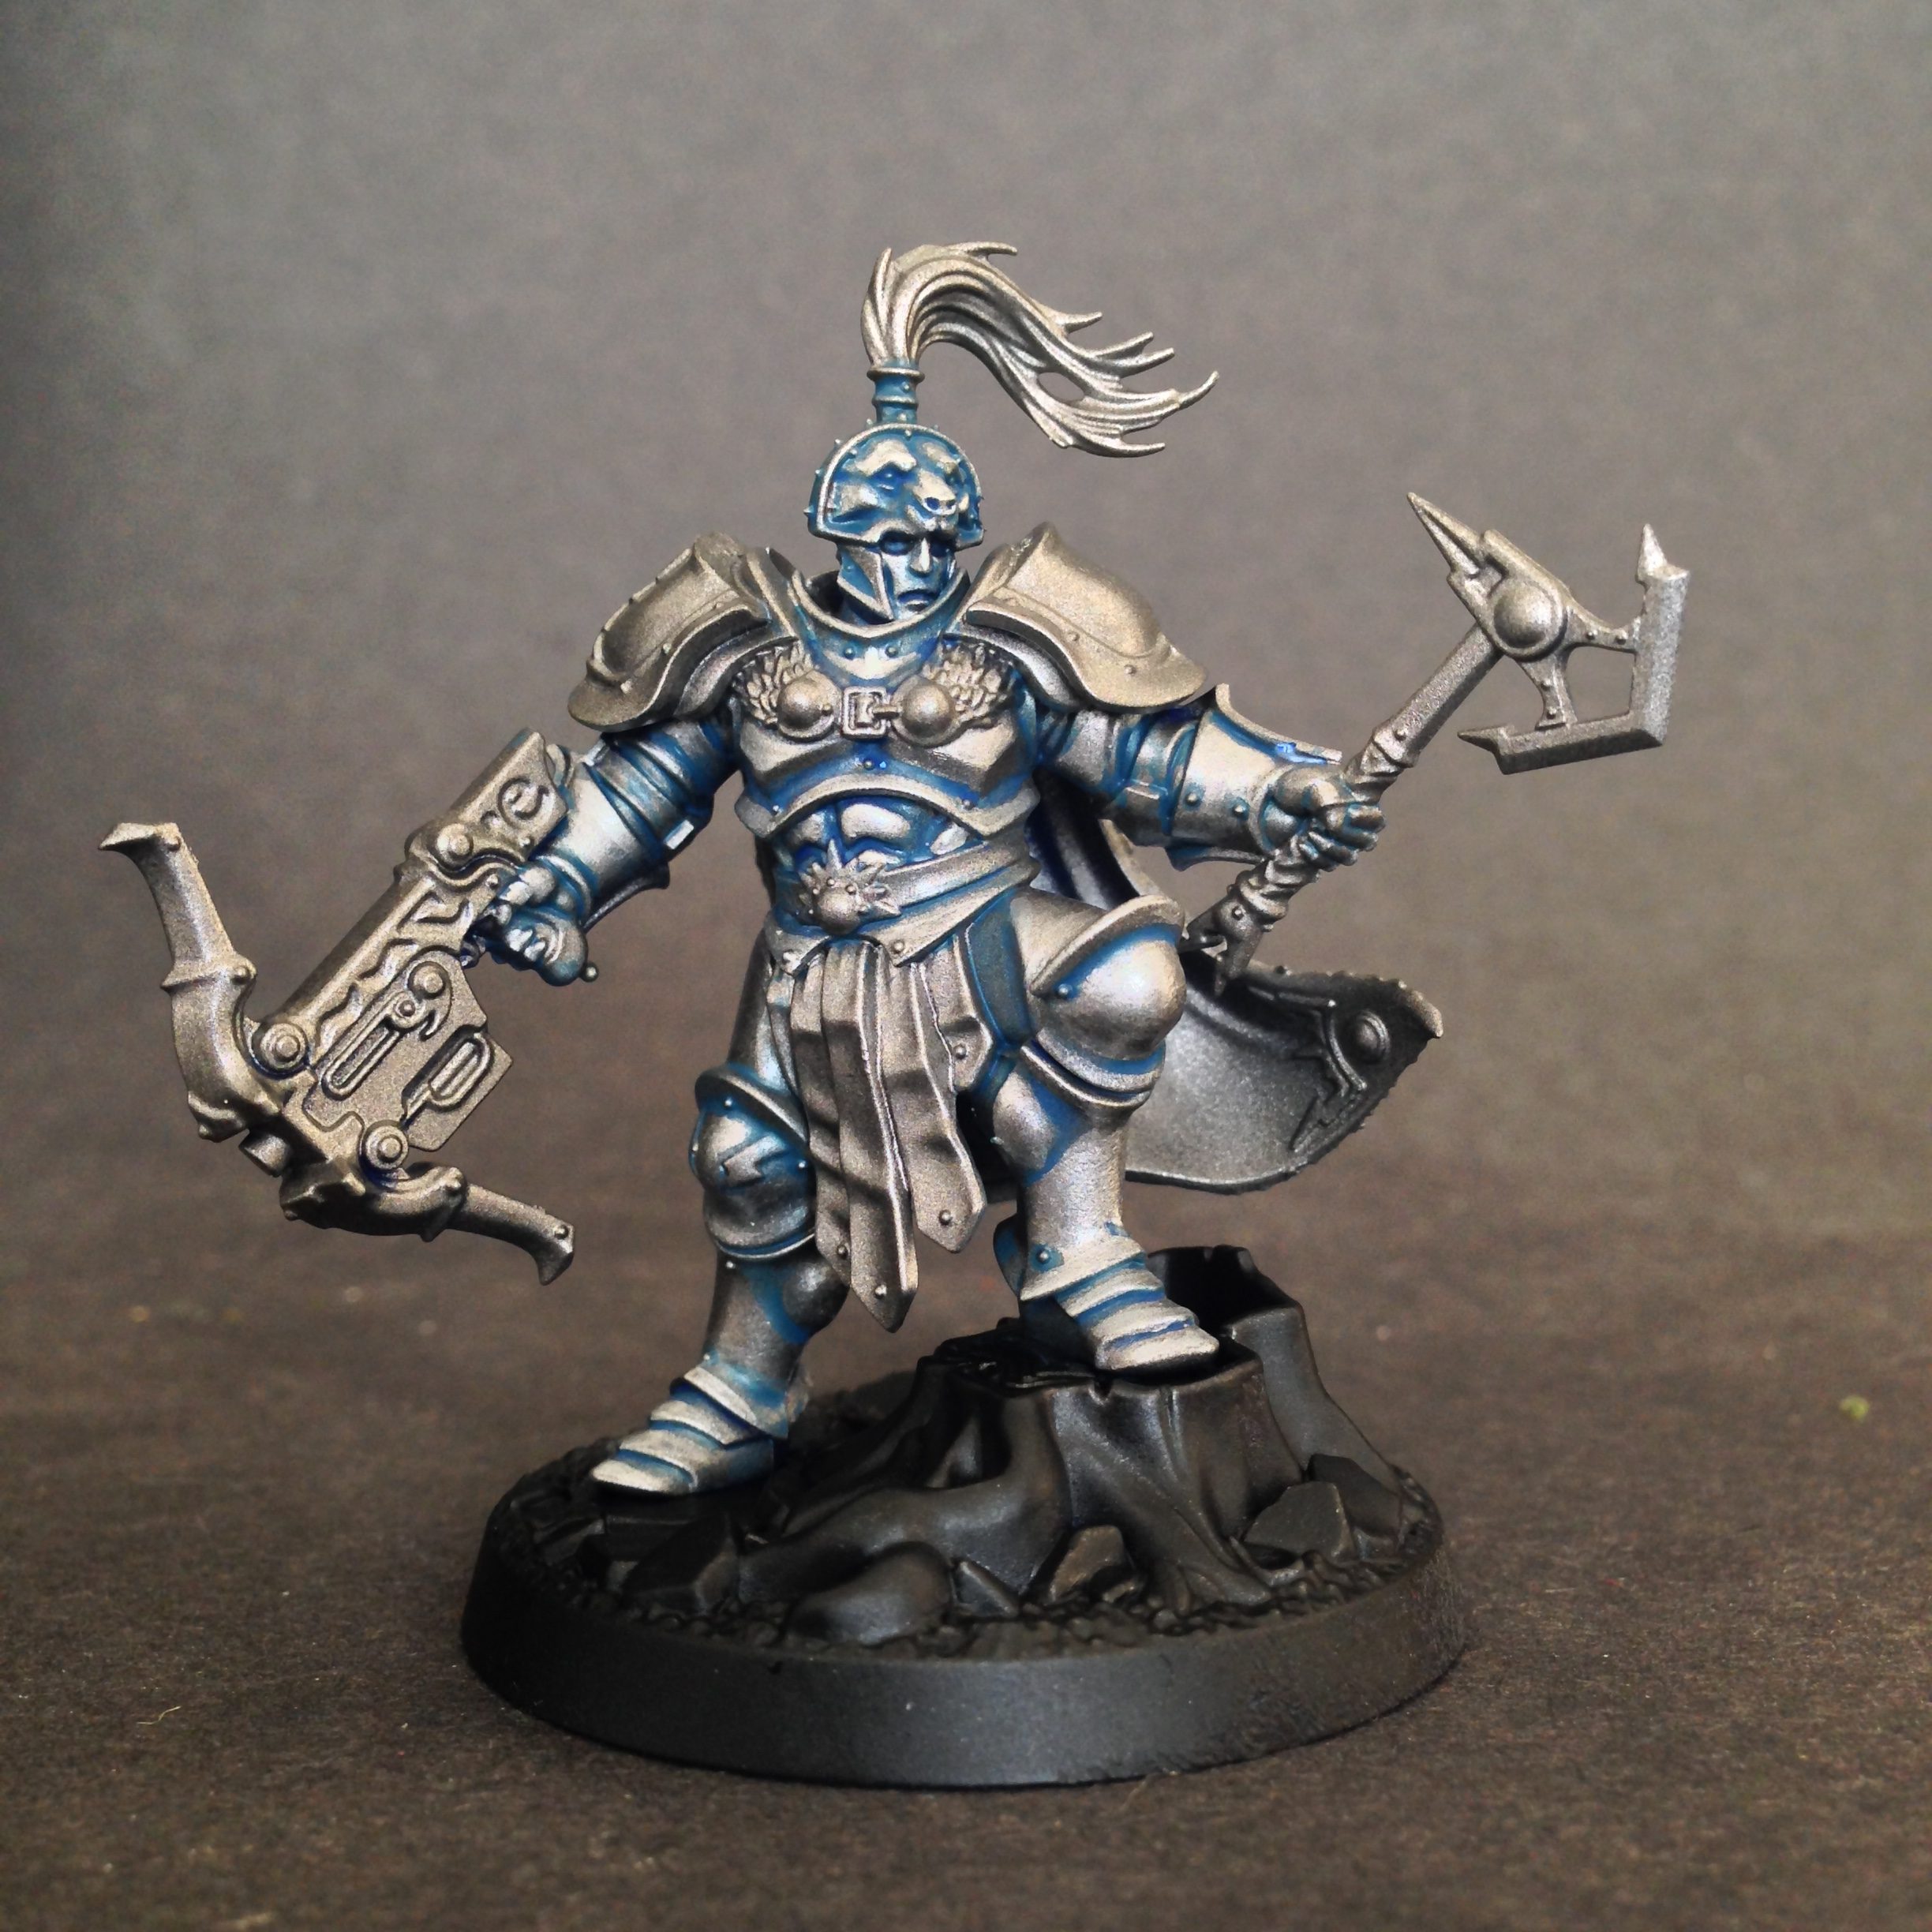
Finished Example
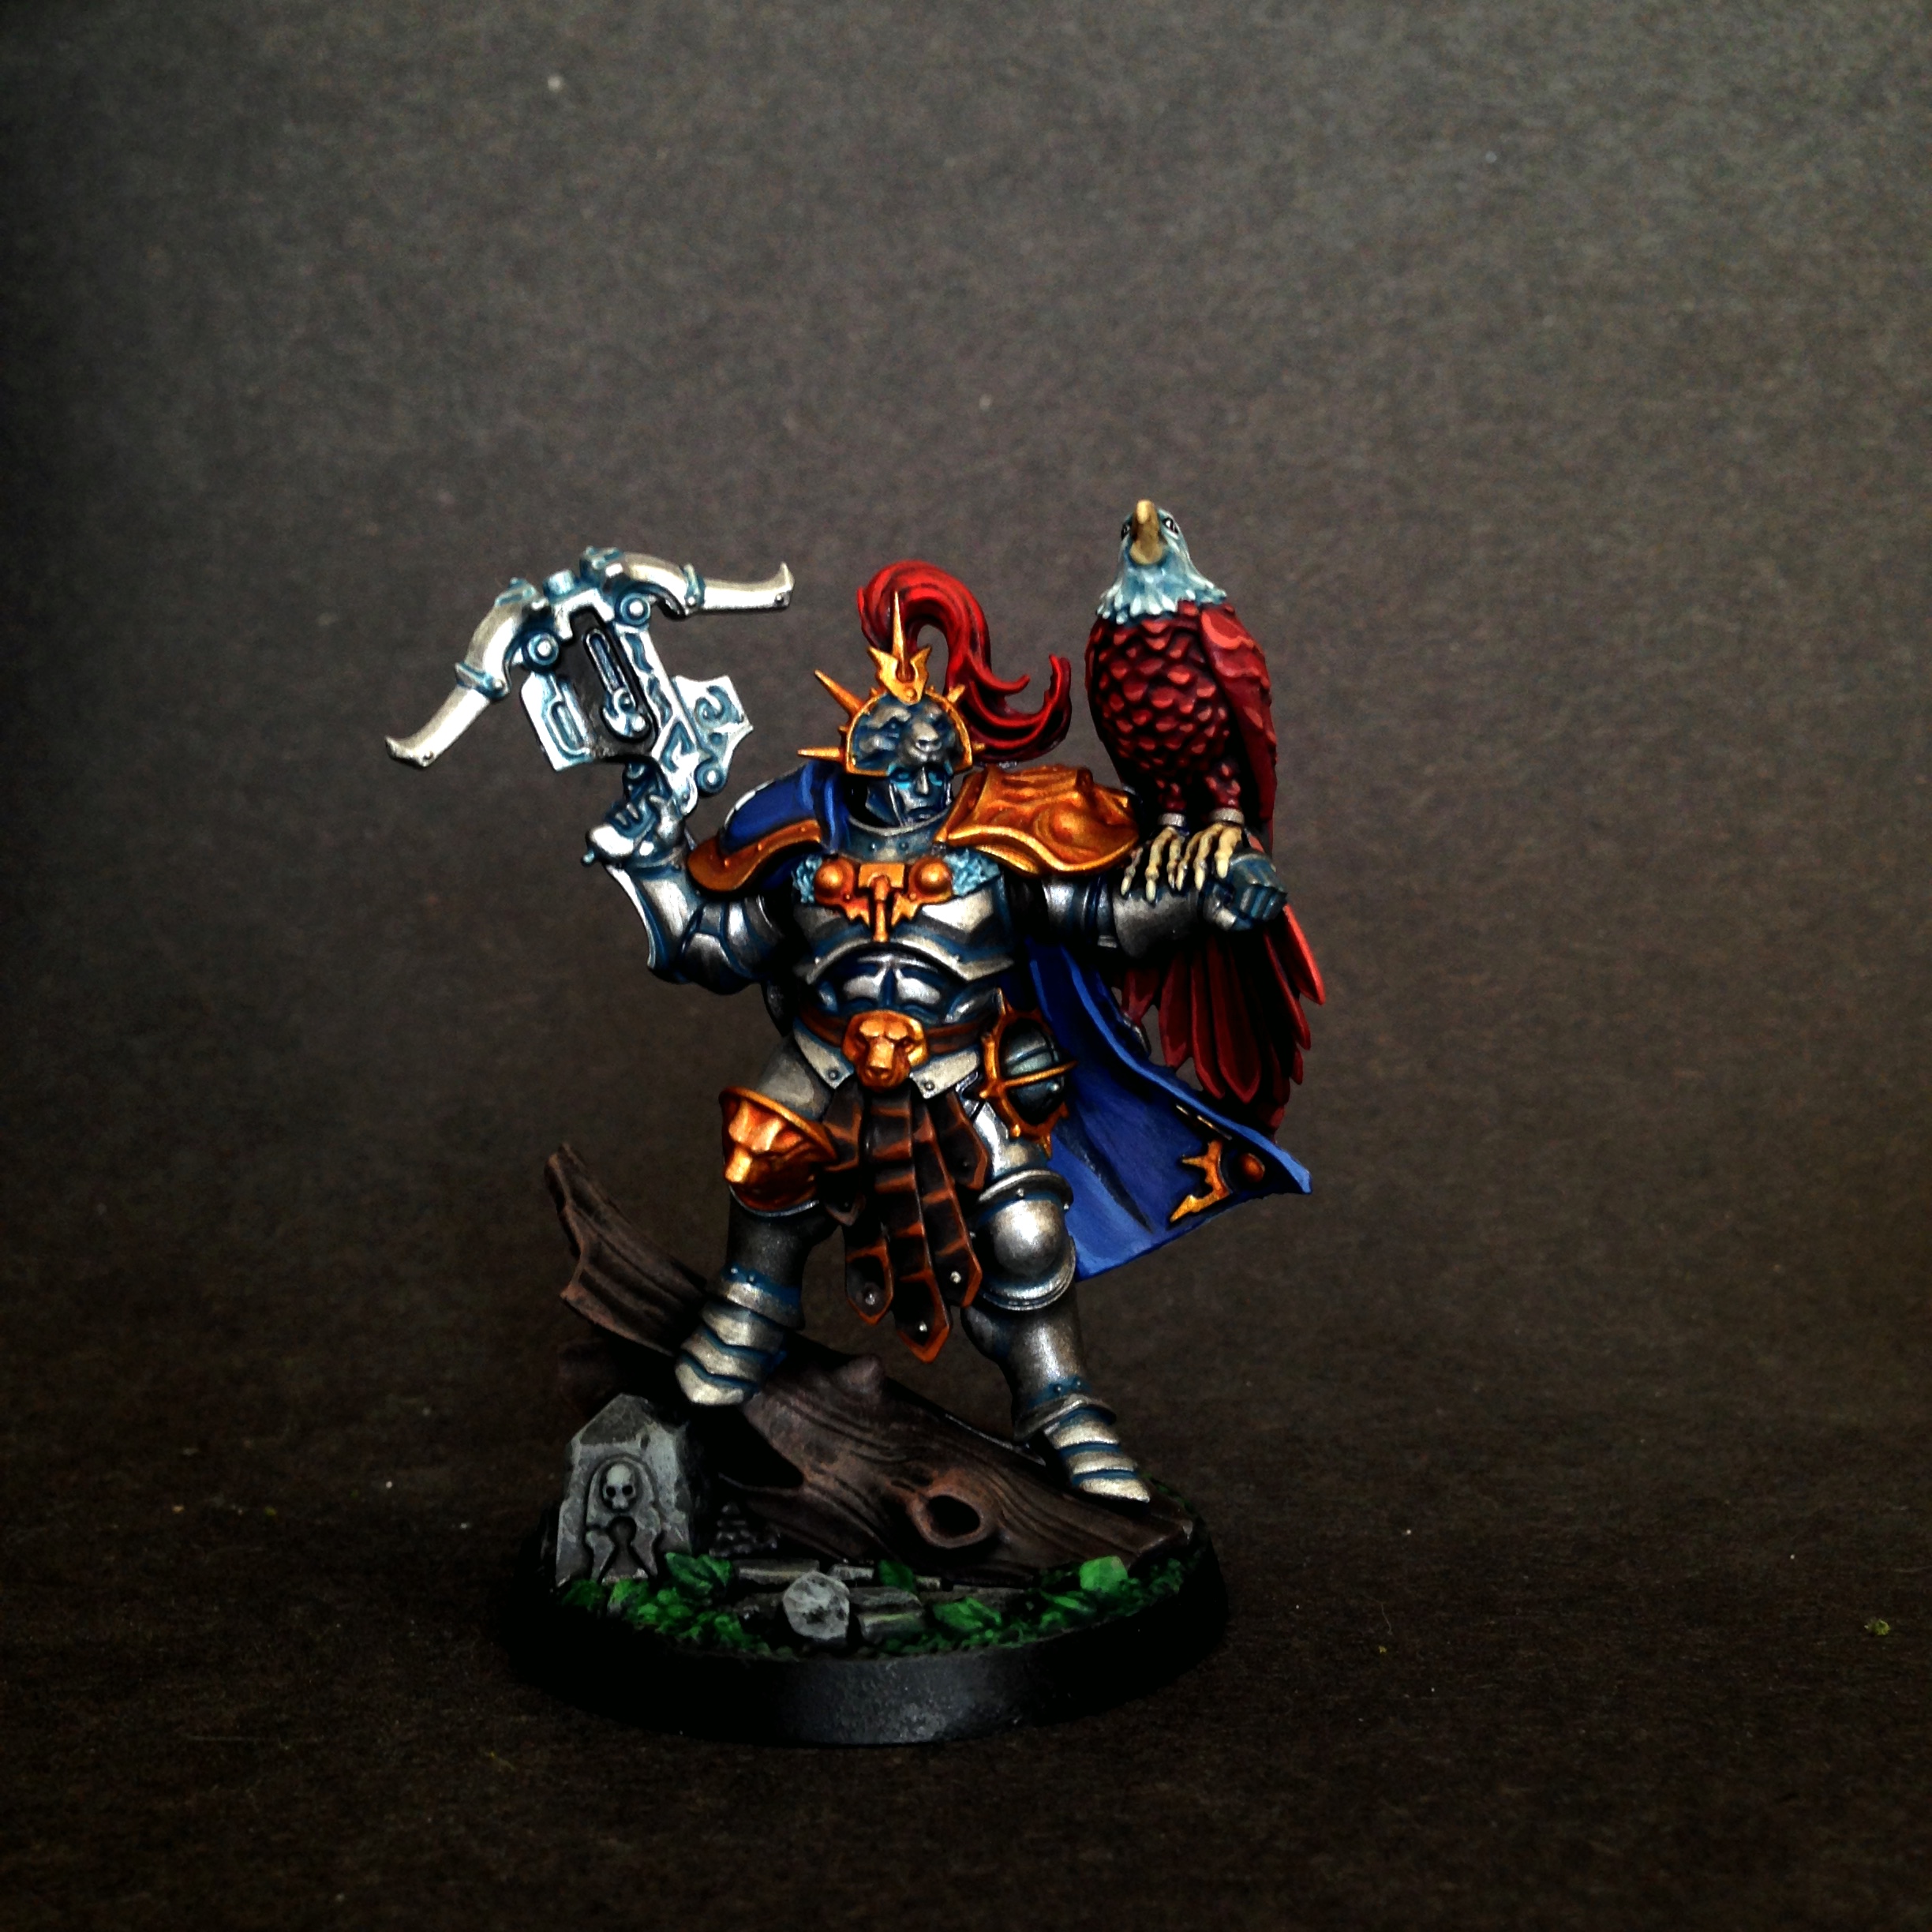
This is what that approach looks like on the finished product. This approach would be very solid on Drukhari Ironthorns, Grey Knights, Silver Skulls or even some eldritch looking Necrons.Anyway hope you guys found this painting tutorial useful. Have any more tips or tricks? Share them in the comments section below.
If you are interested in Aeldari discussion check out our podcast: Splintermind for exclusive Drukharii and all things Aeldari news and discussion. If you are interested in following my painting exploits check me out on Instagram! Thanks for reading and stay tuned!
And remember, Frontline Gaming sells gaming products at a discount, every day in their webcart!


