

Hey everyone, Reecius here with a hobby blog for you on how to get some Orc ITC Terrain made quick and painlessly!
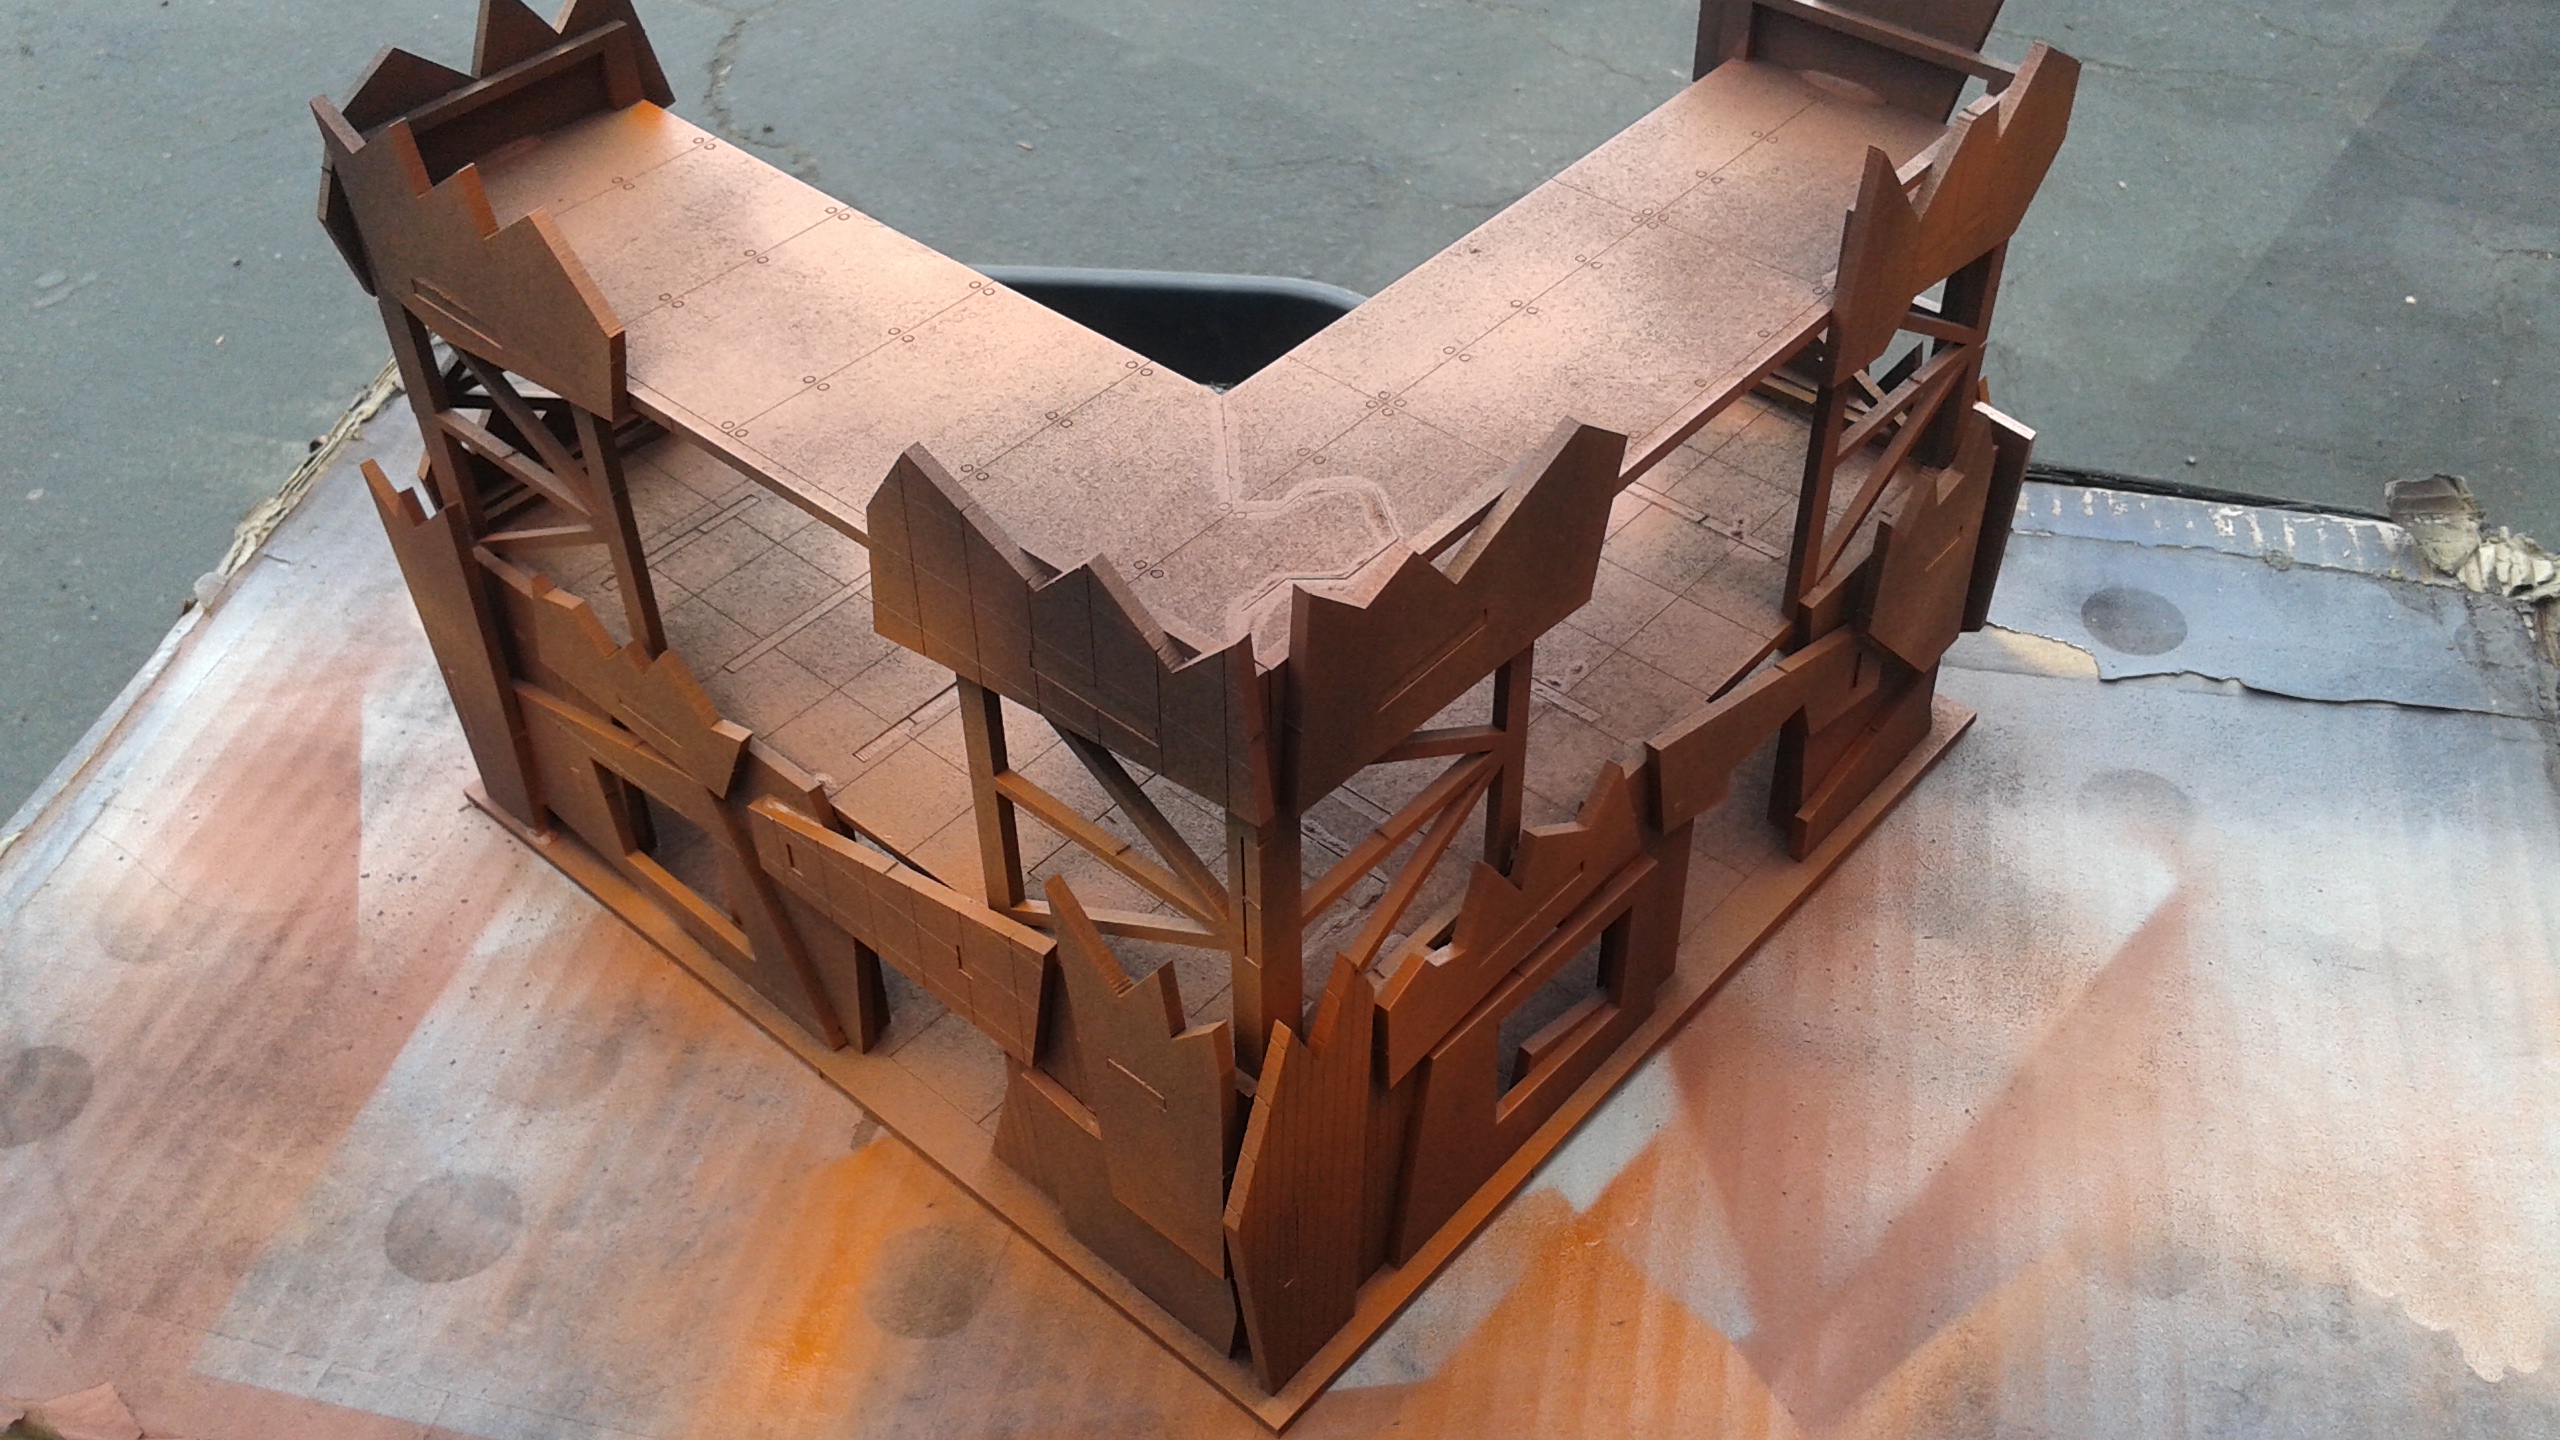
The Orc ITC Terrain set is one of my favorites that we make but it can be a bit intimating to get painted if you go all out on it.


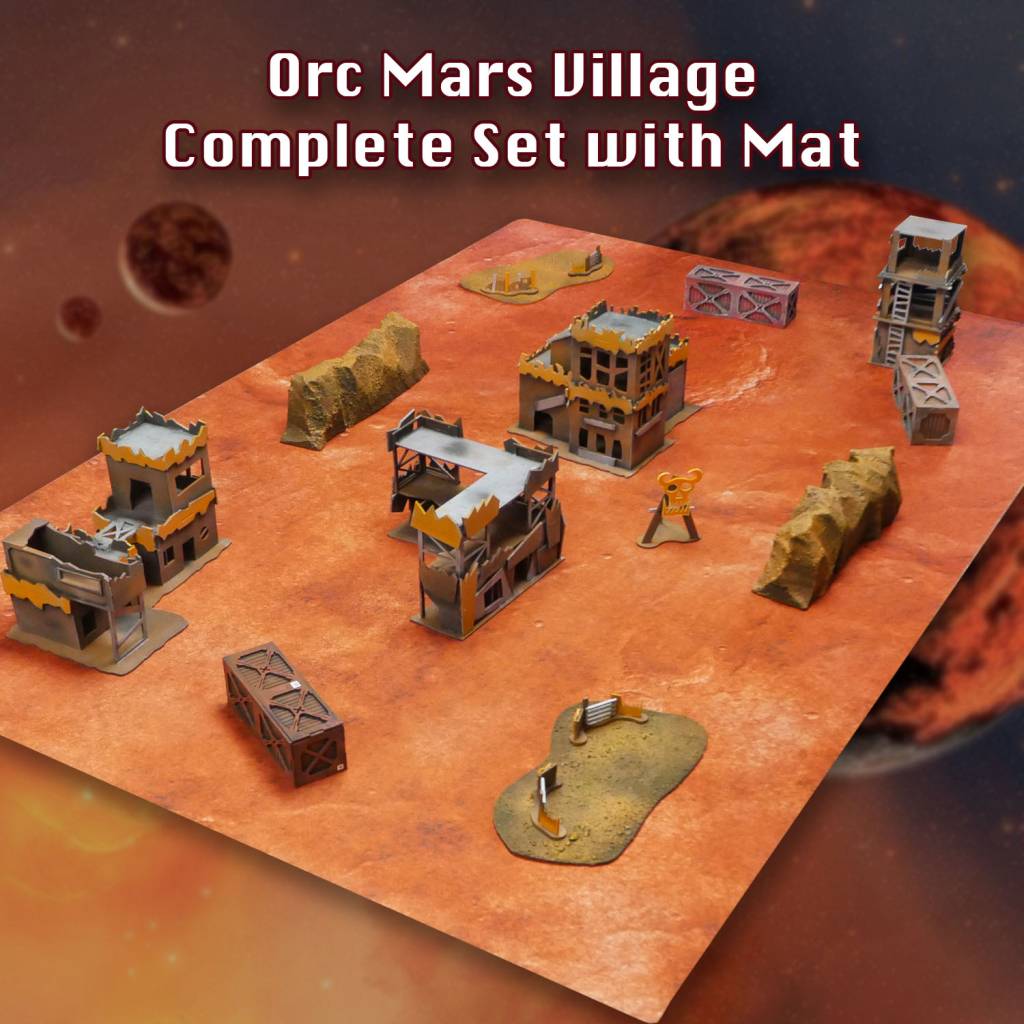
That’s an example of a really choice set of ITC Orc Terrain but it took a while to do. When you’re plowing through some terrain for your home table and not overly concerned with making it look amazing or you need to get through a lot of it for an event, the tutorial below will help you to get it done quickly and easily!
Materials:
- Orc ITC Terrain
- Super Glue to assemble the terrain
- Mars FLG Mat (although you can use these techniques with different colors to match pretty much any FLG Mat! I went with Mars for a Mad Max look).
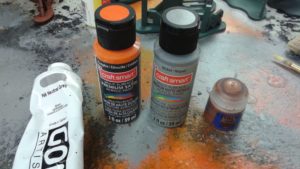
- Metallic acrylic paint (I use the very cheap acrylic paint you can find at Michael’s, typically under a buck a bottle)
- Orange acrylic paint
- Grey acrylic paint
- Bronze/copper acrylic paint (optional)
- To see how to make the hills pictured in the images, read this tutorial!

- Black ink (I grab bottles of it at the art supply store to save money)

- Airbrush and compressor
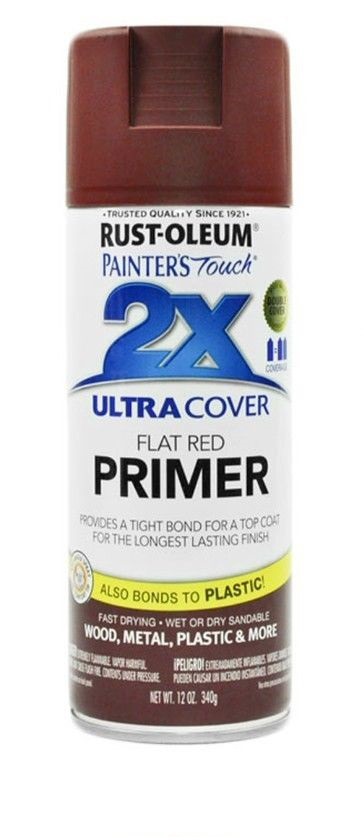
- Dark red spray paint (I prefer Rust-Oleum Flat Red)

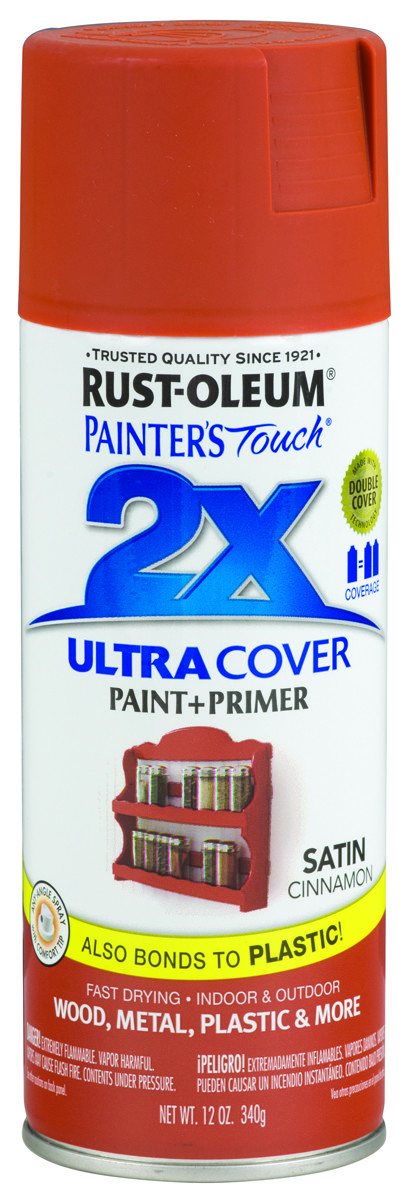
- Red/orange spray paint (I prefer Rust-Oleum Cinnamon)

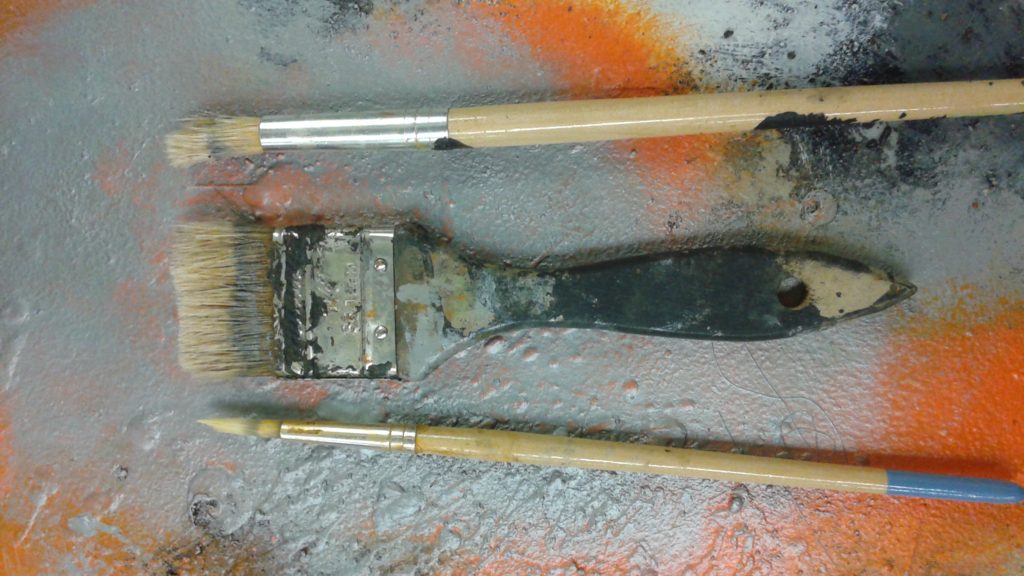
- A large dry-brush
- A medium dry-brush
- A large detail brush

Let’s get started!
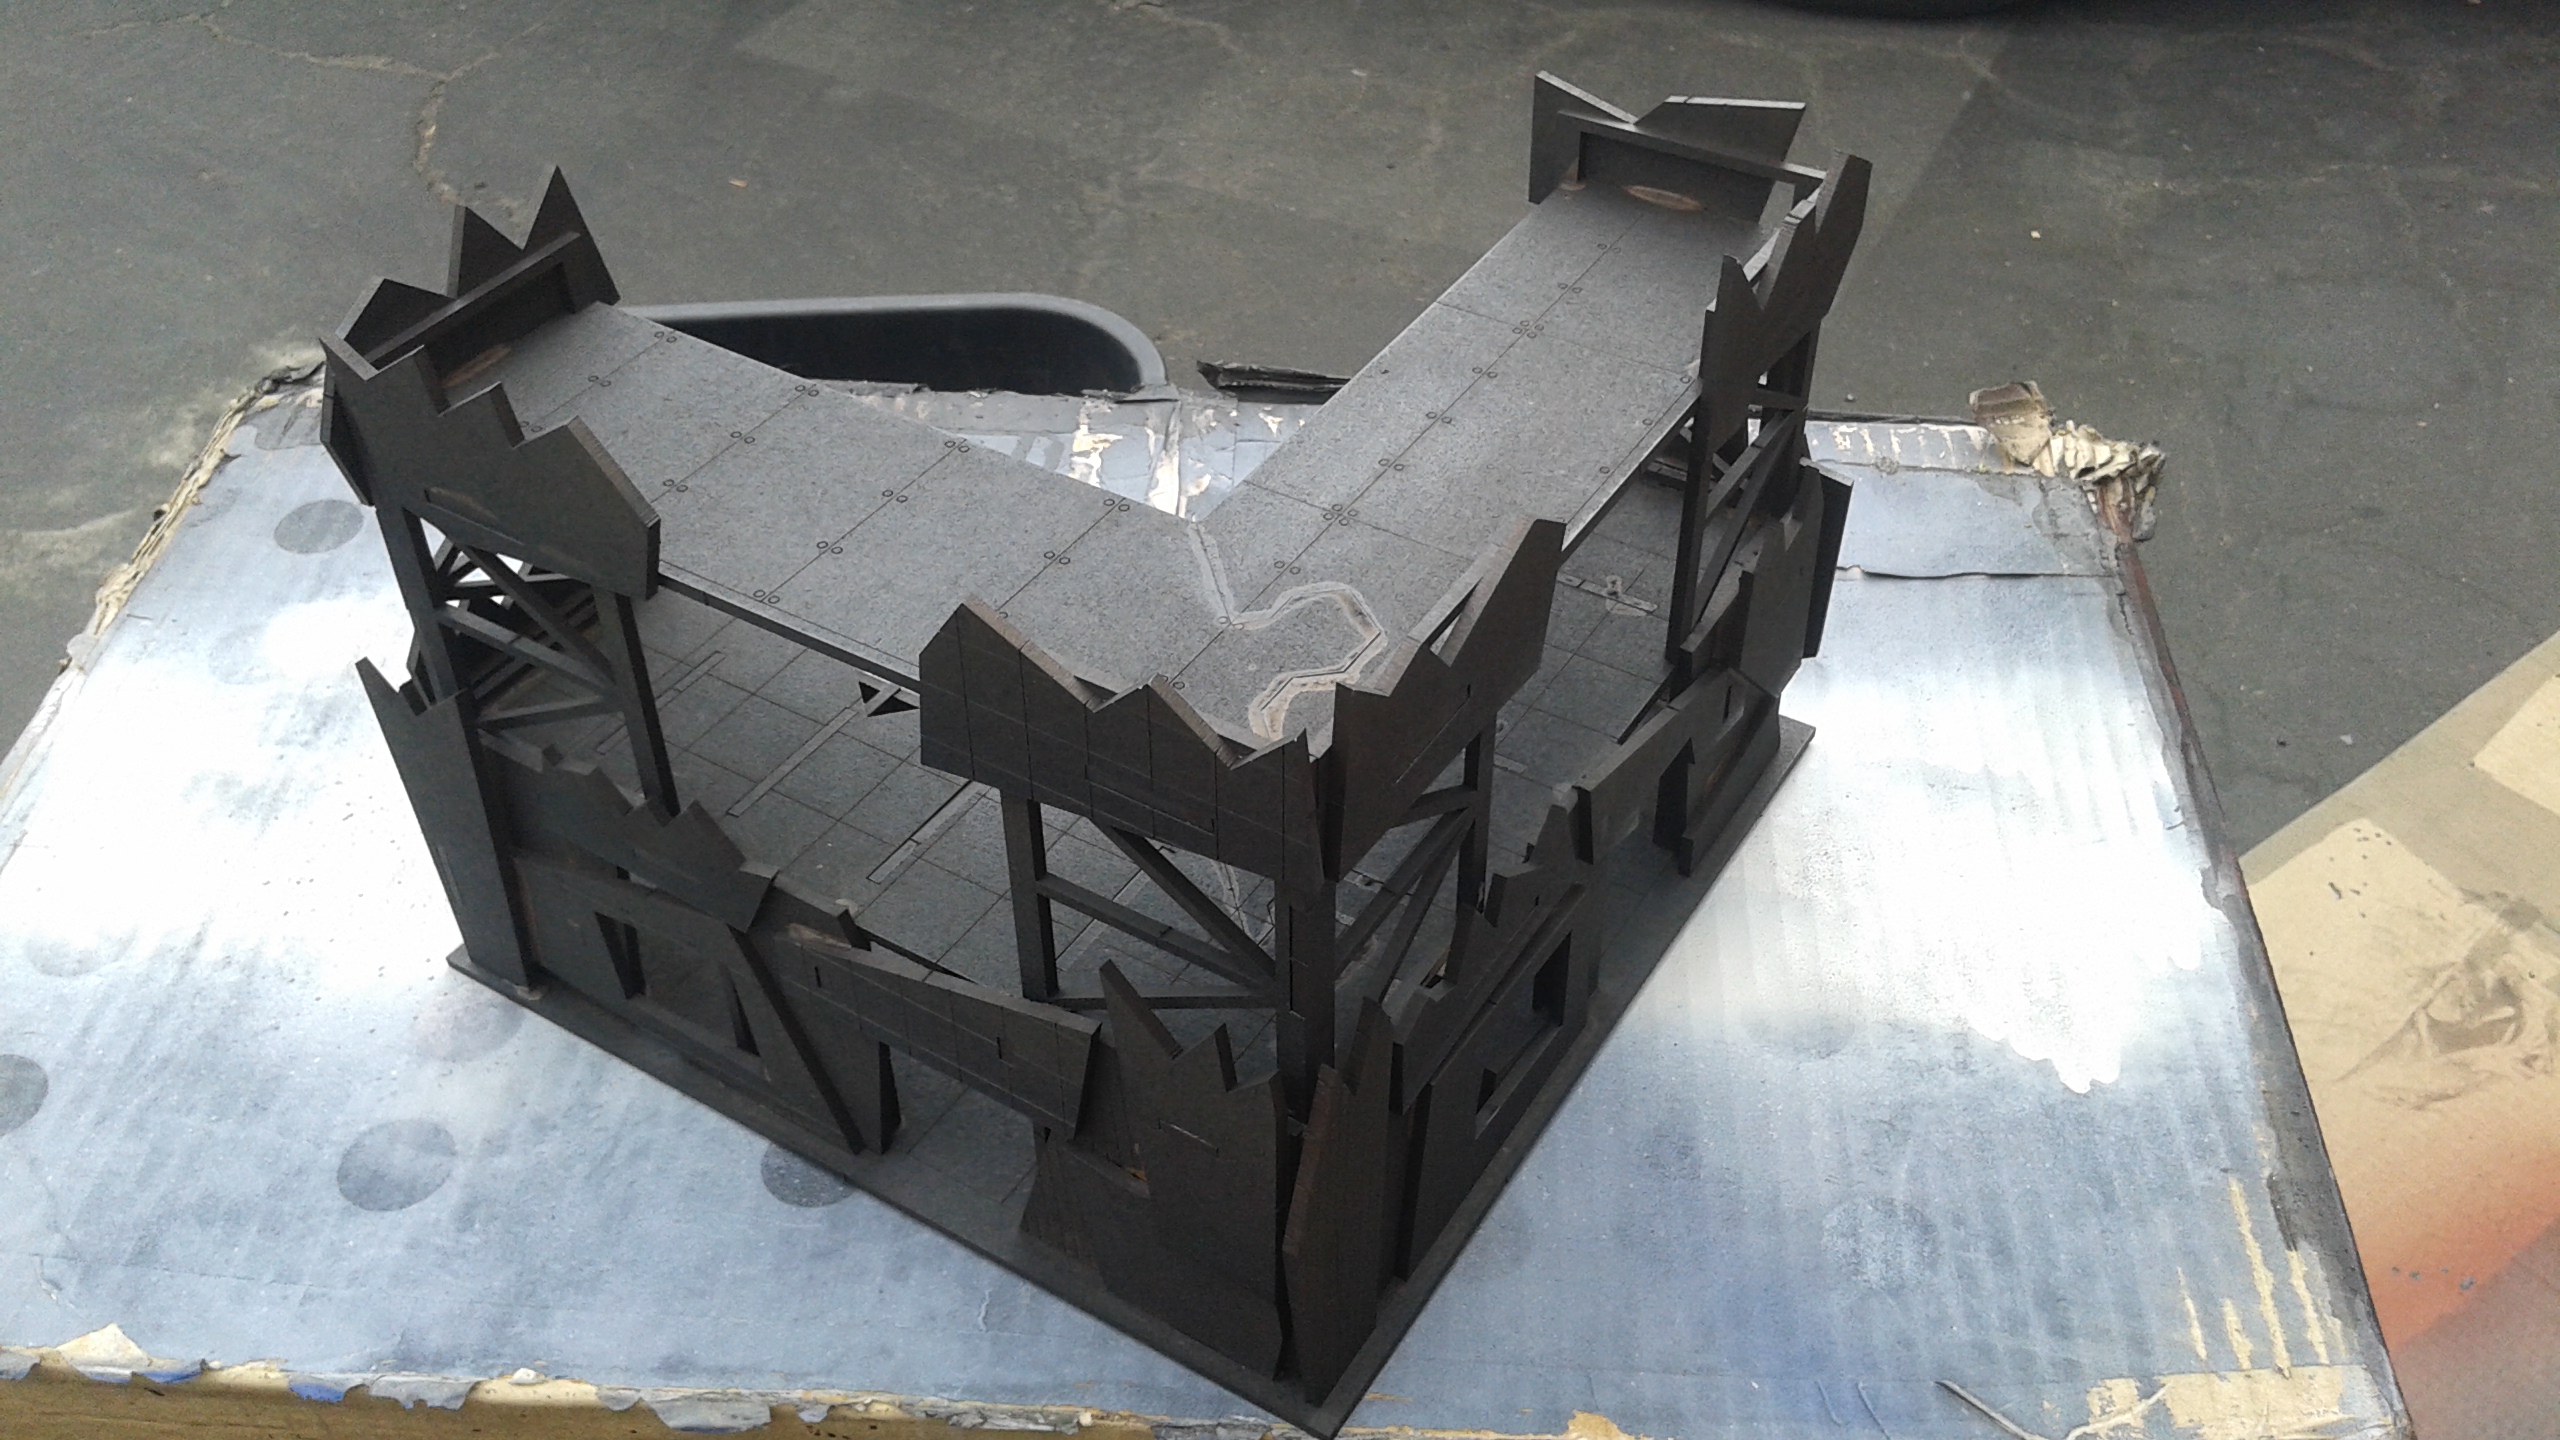

After assembling the buildings, prime them black. We use the mega cheap black primer you find at the hardware store. I buy boxes of them at a time, and they come in under a buck a can of primer. The cheap stuff works great for terrain. I actually use it on my own models, too as it puts out a very thin, smooth coat of black primer.
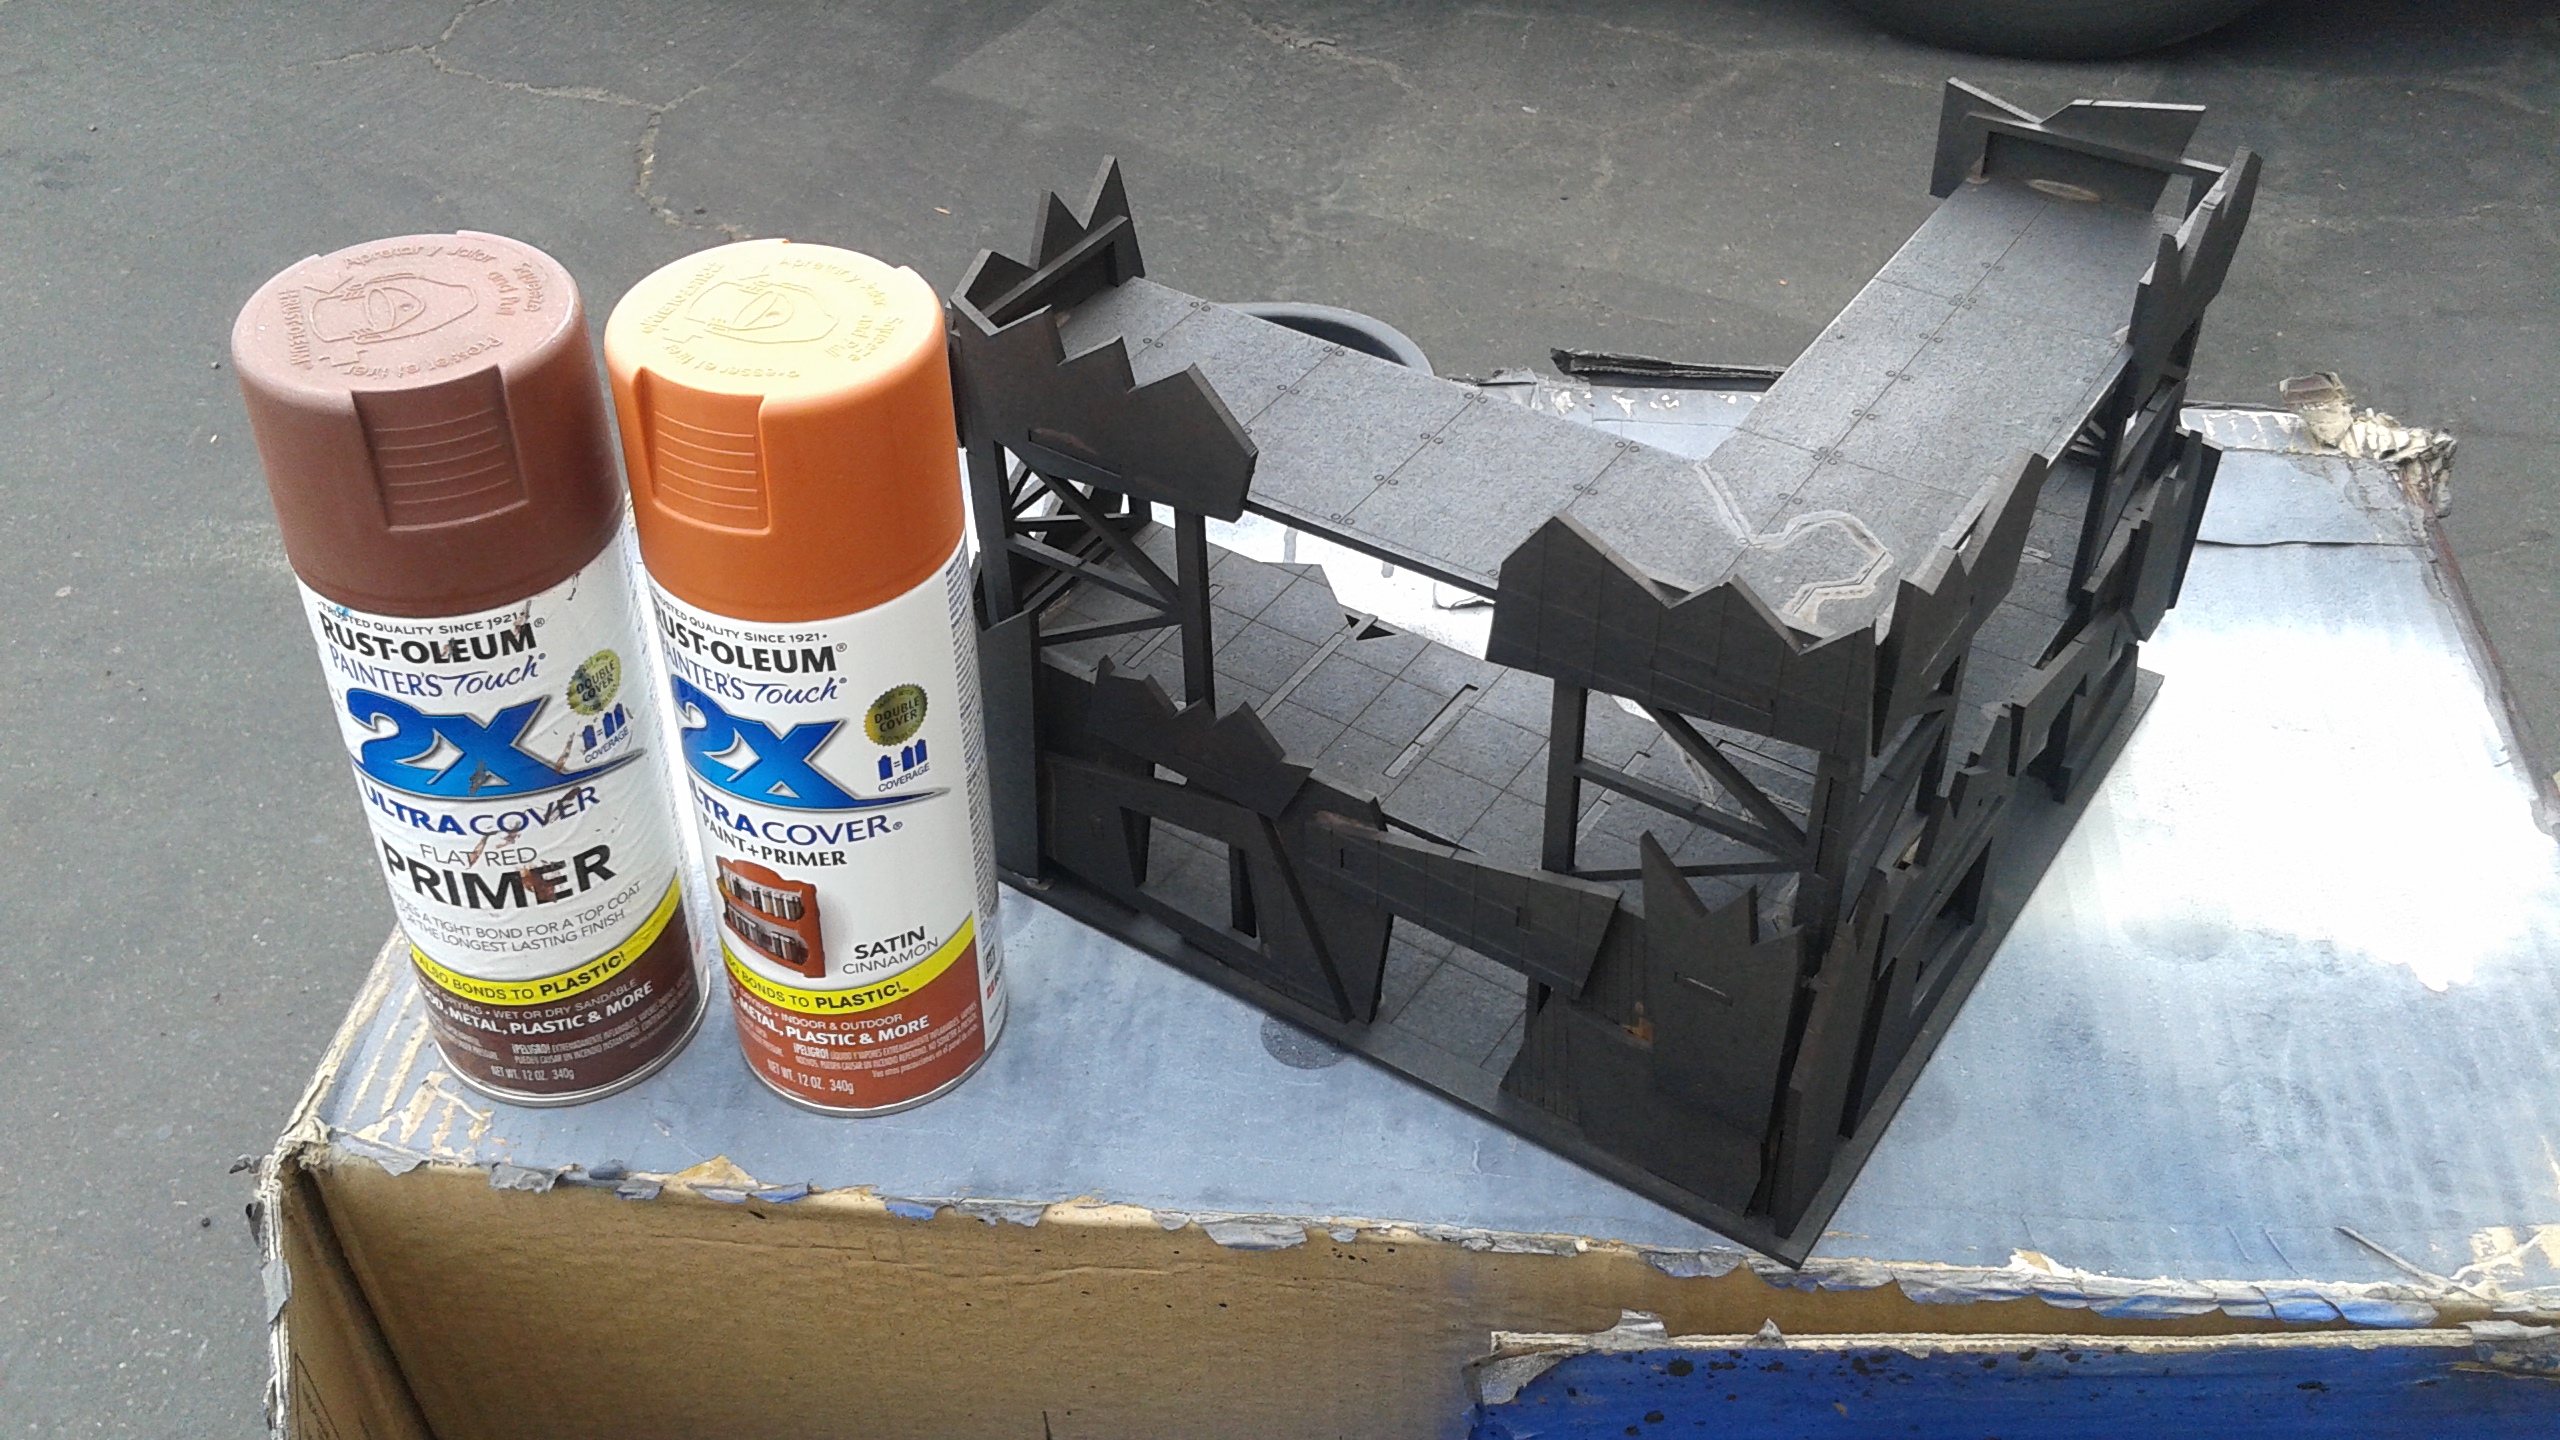
Next, you want to give the model some color. The key here is not to spray the entire model. You want to leave some of the color underneath to show to give it texture. I find if you make quick, sweeping shots in short bursts with the spray can, you get the desired effect. Go with the darker color first in a more thorough coat of paint followed by the lighter color with even less coverage.
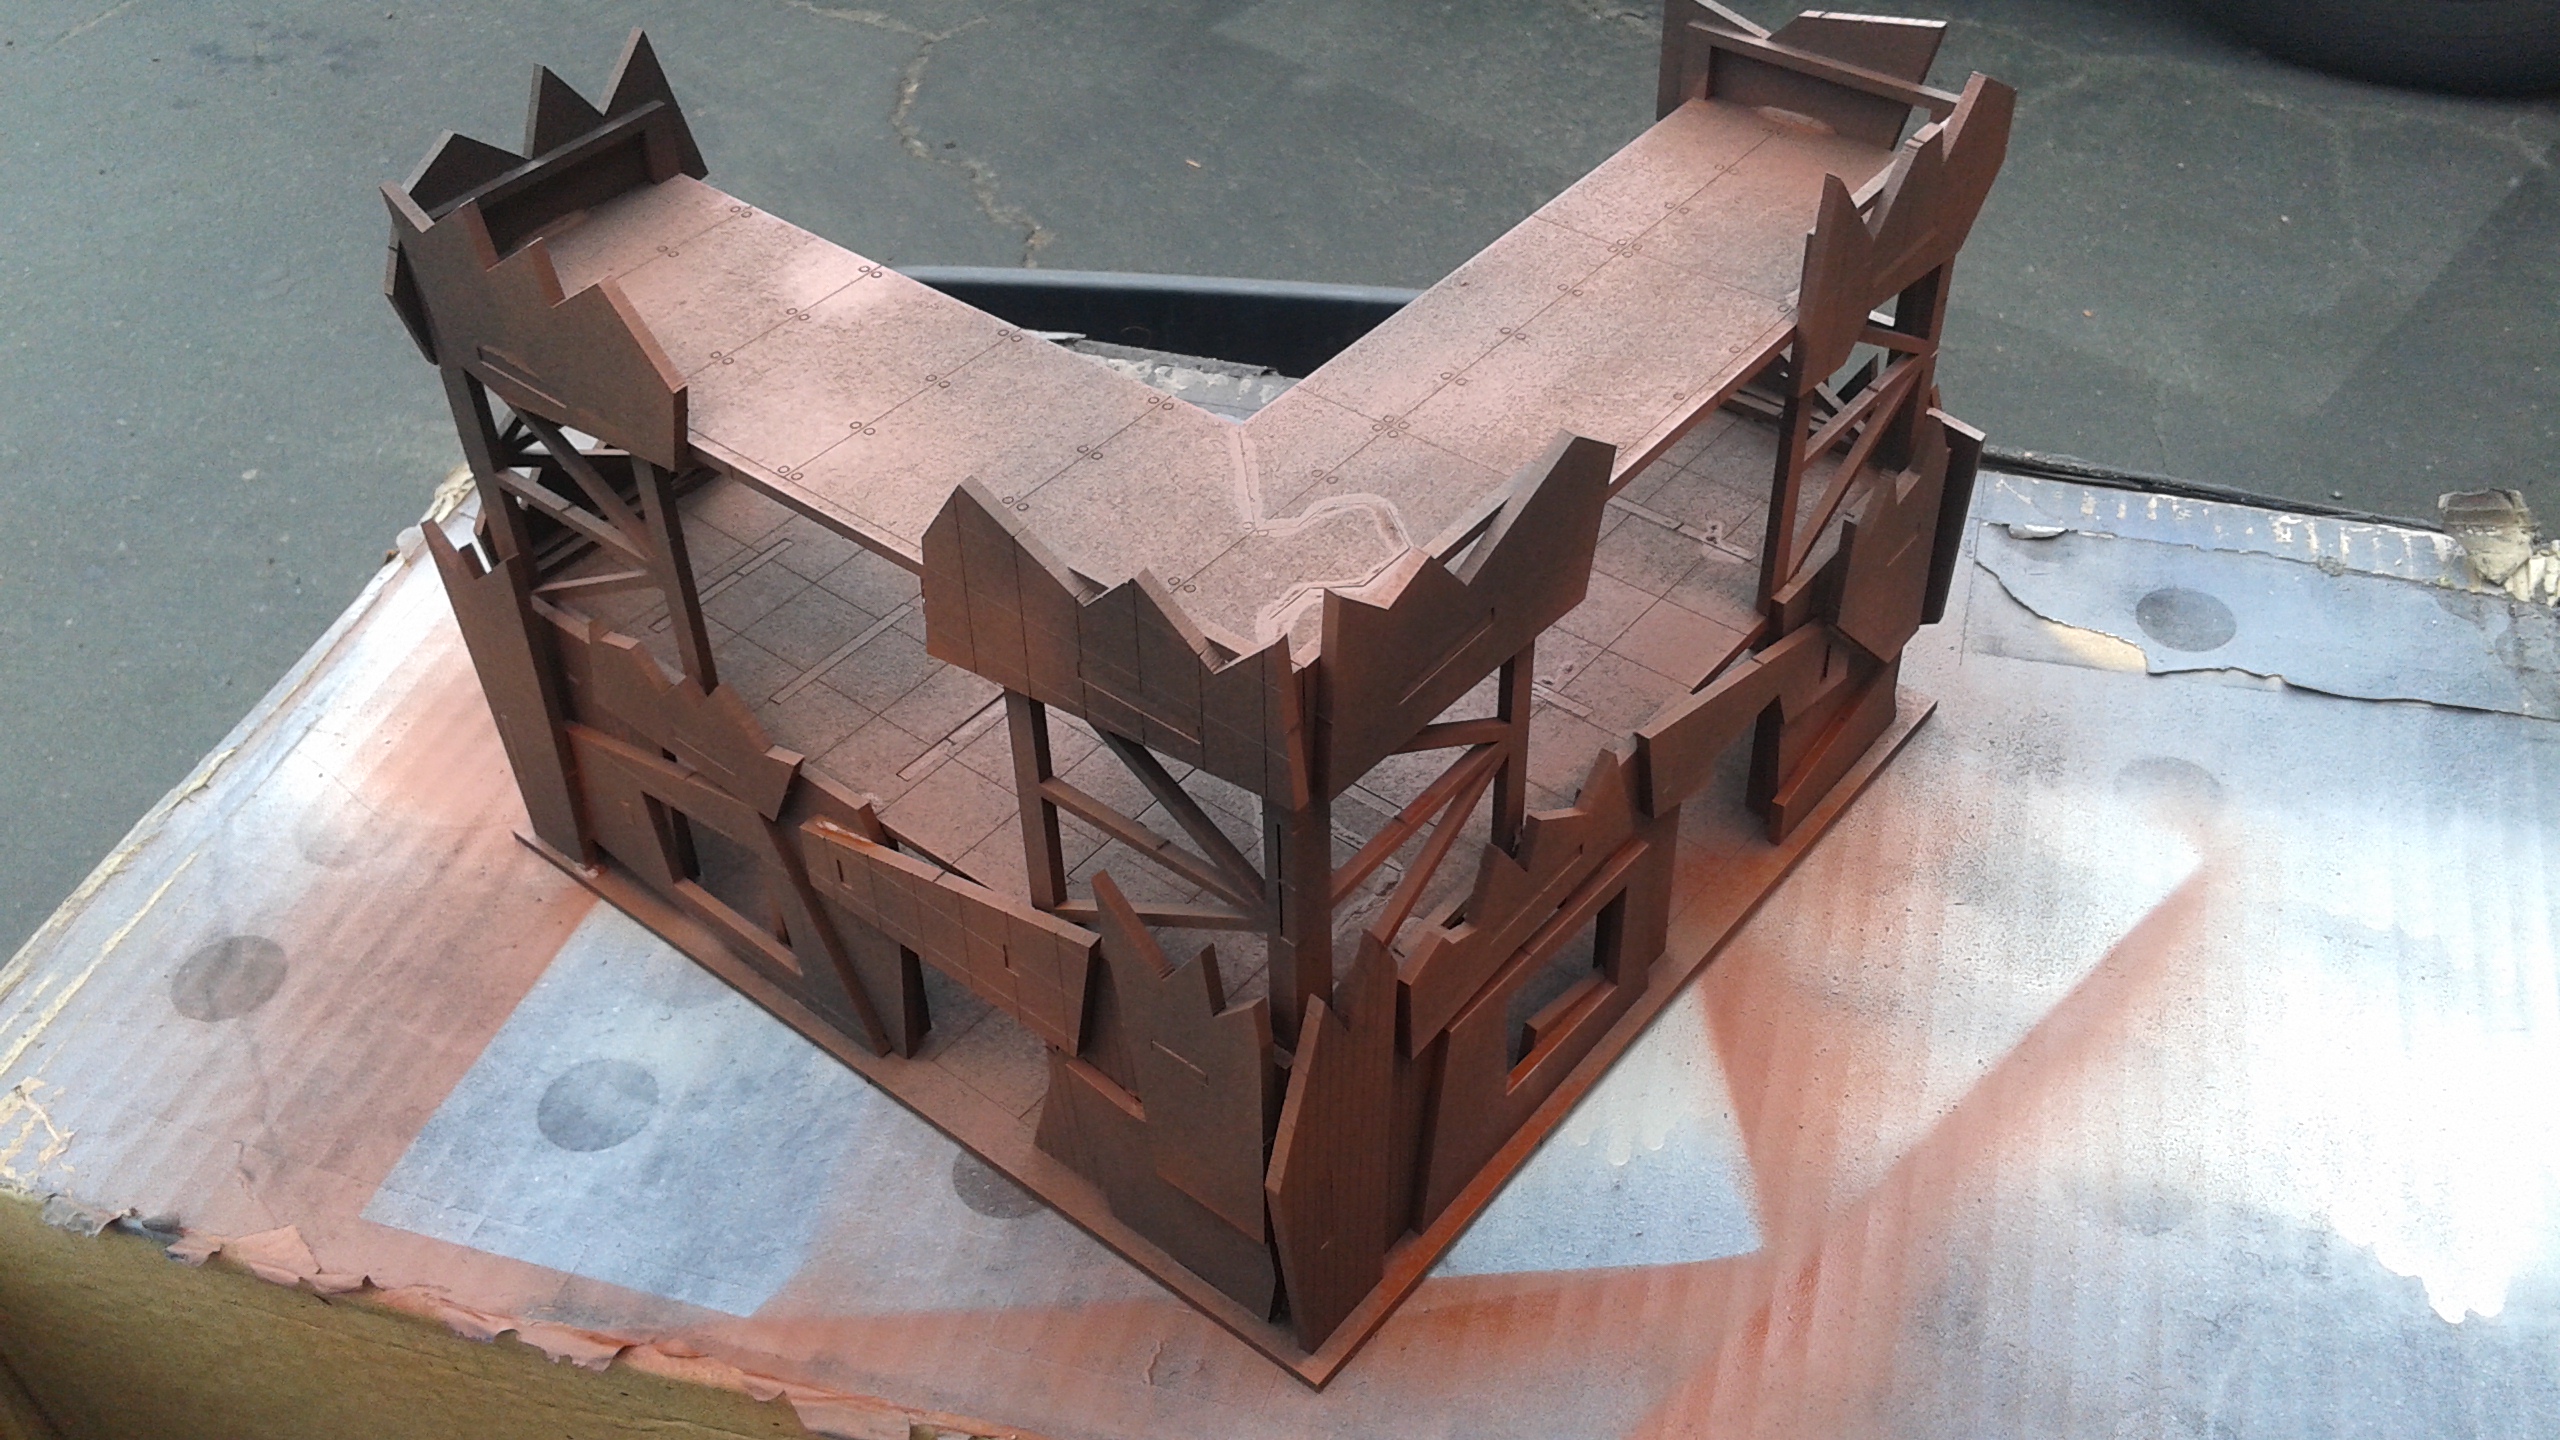
After the first darker color. Notice, the black is still visible in places.
After the second, lighter color. You can still see the darker color and the black primer. This gives the building texture.
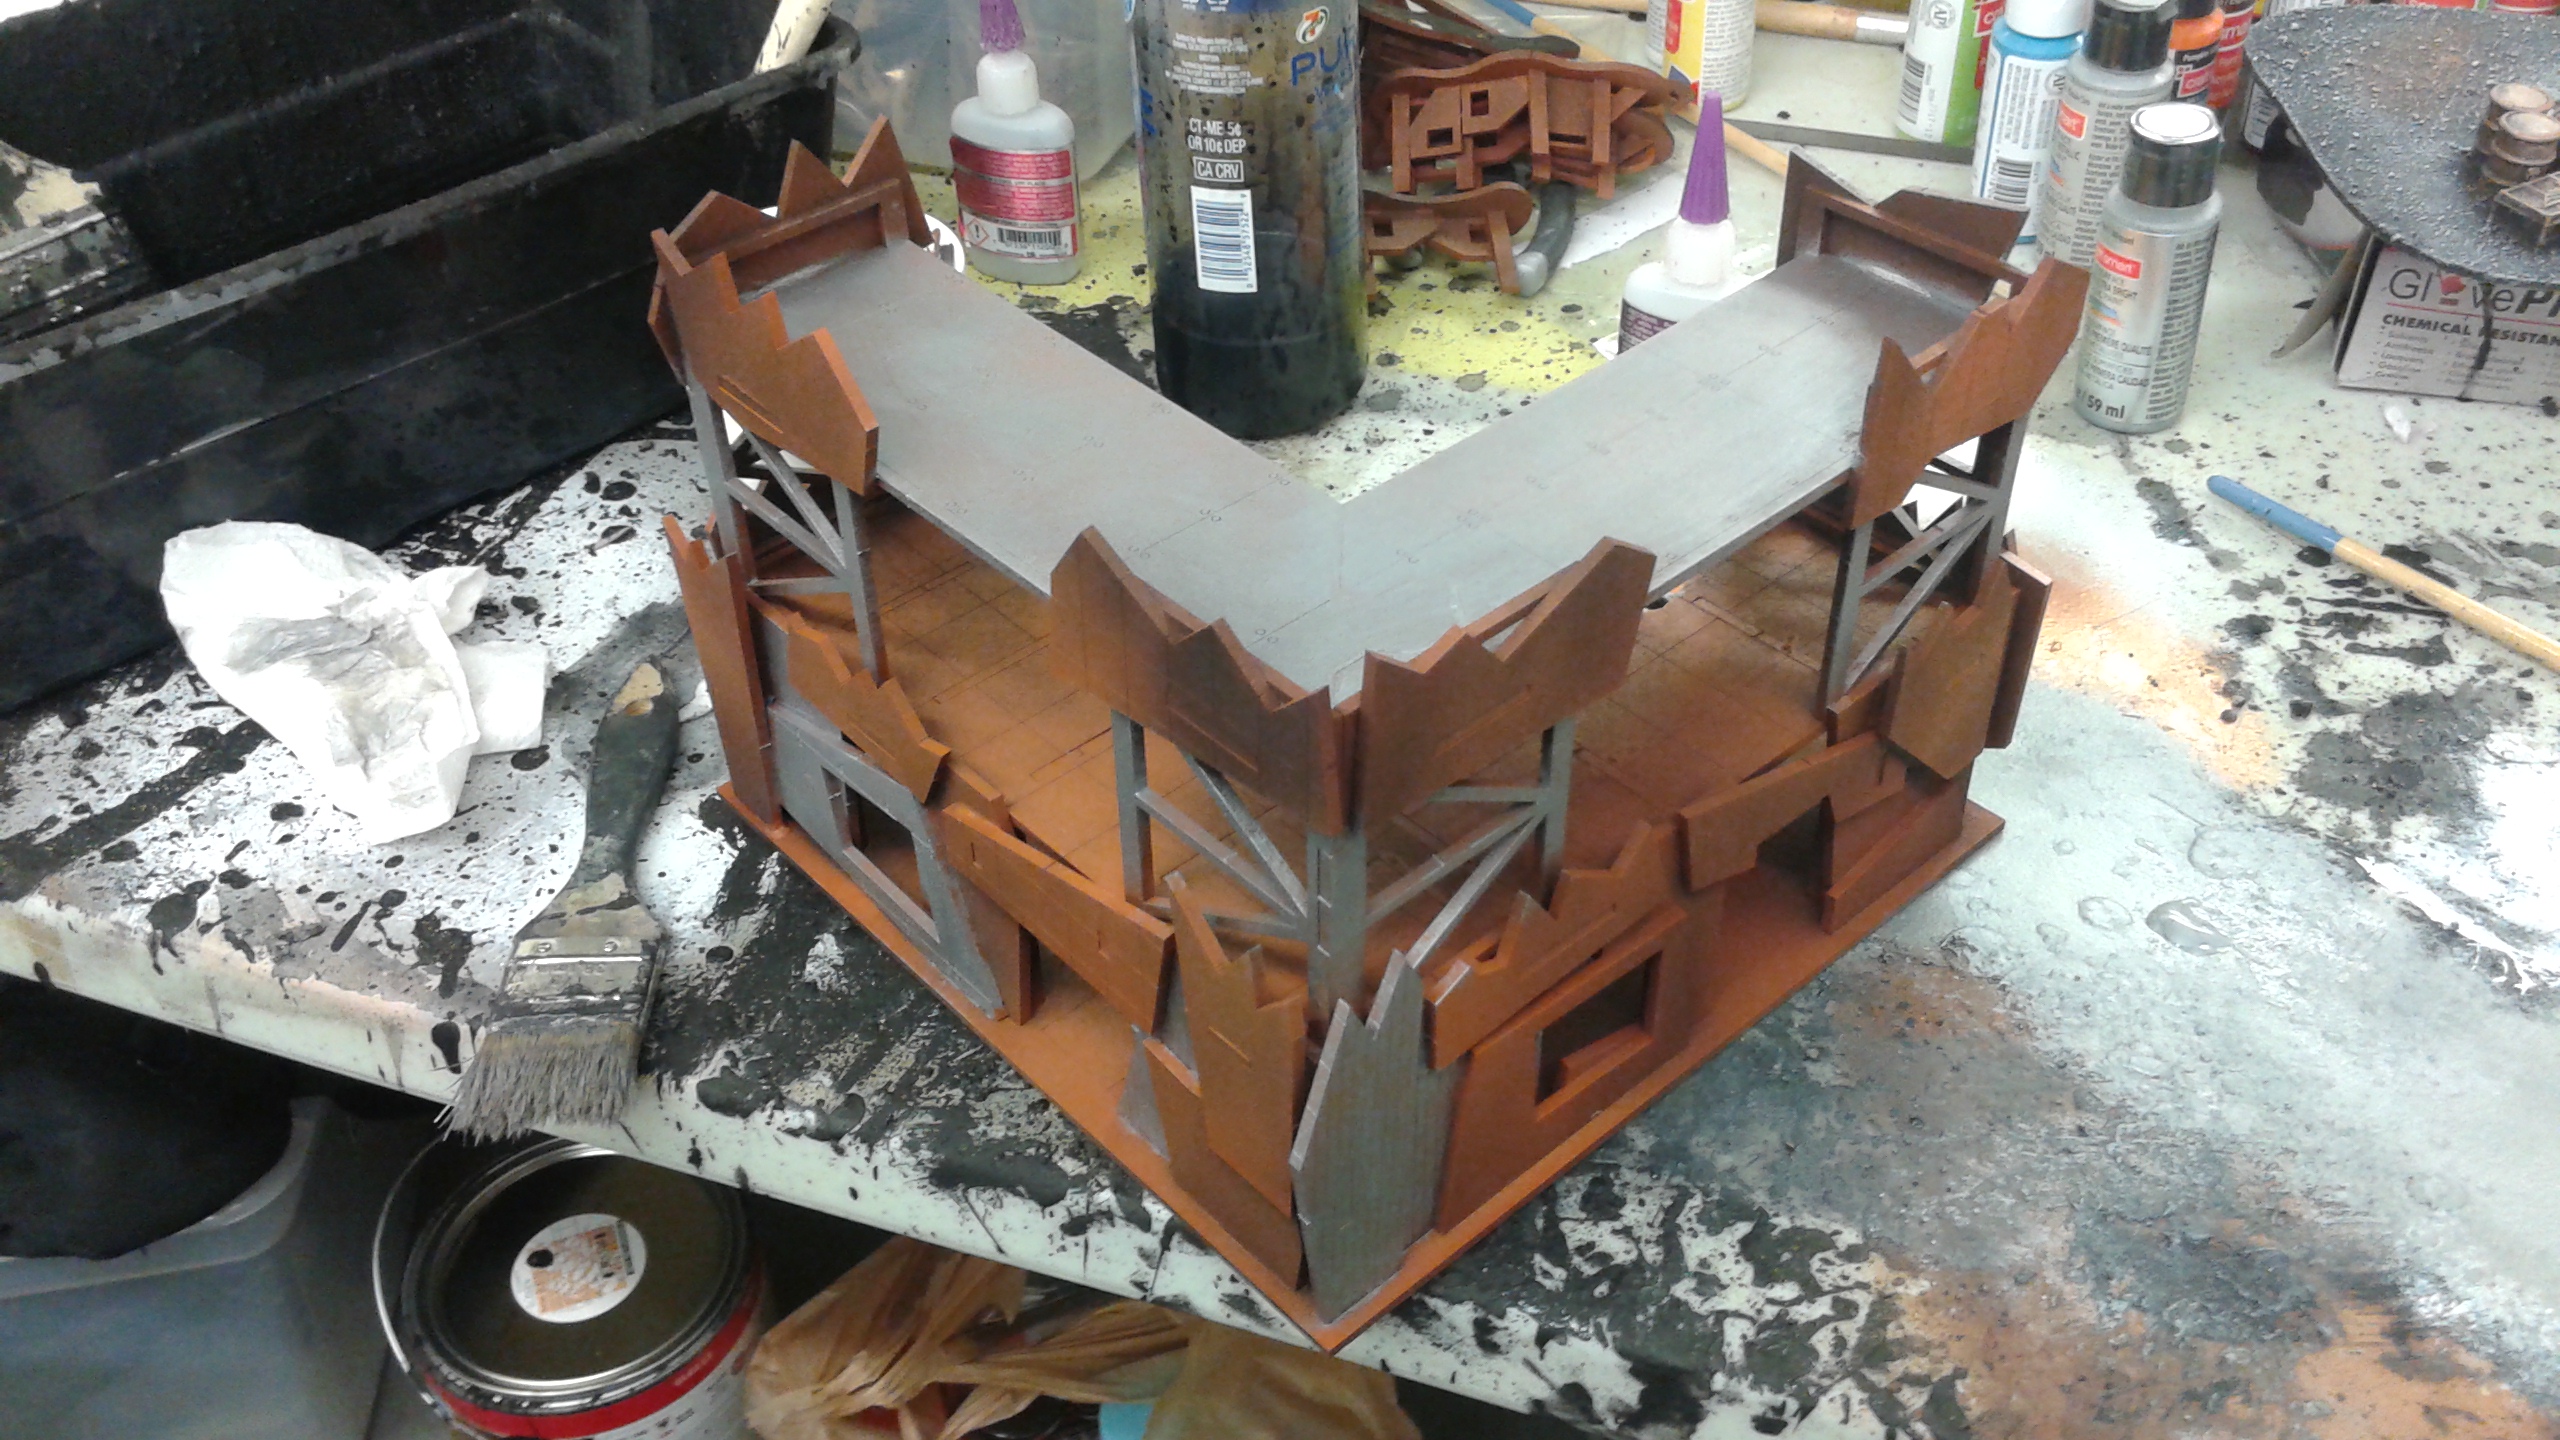
Next I painted parts of the model that looked metallic. The key here again, is not to actually go in and fully paint each piece. I used a large drubrush to quickly get the silver on the big areas and then went in with the smaller brush only when I had to. This speeds things up and again, you don’t have to be perfect with terrain. People aren’t really scrutinizing it. And this is Orc terrain anyway, keep it a little messy!
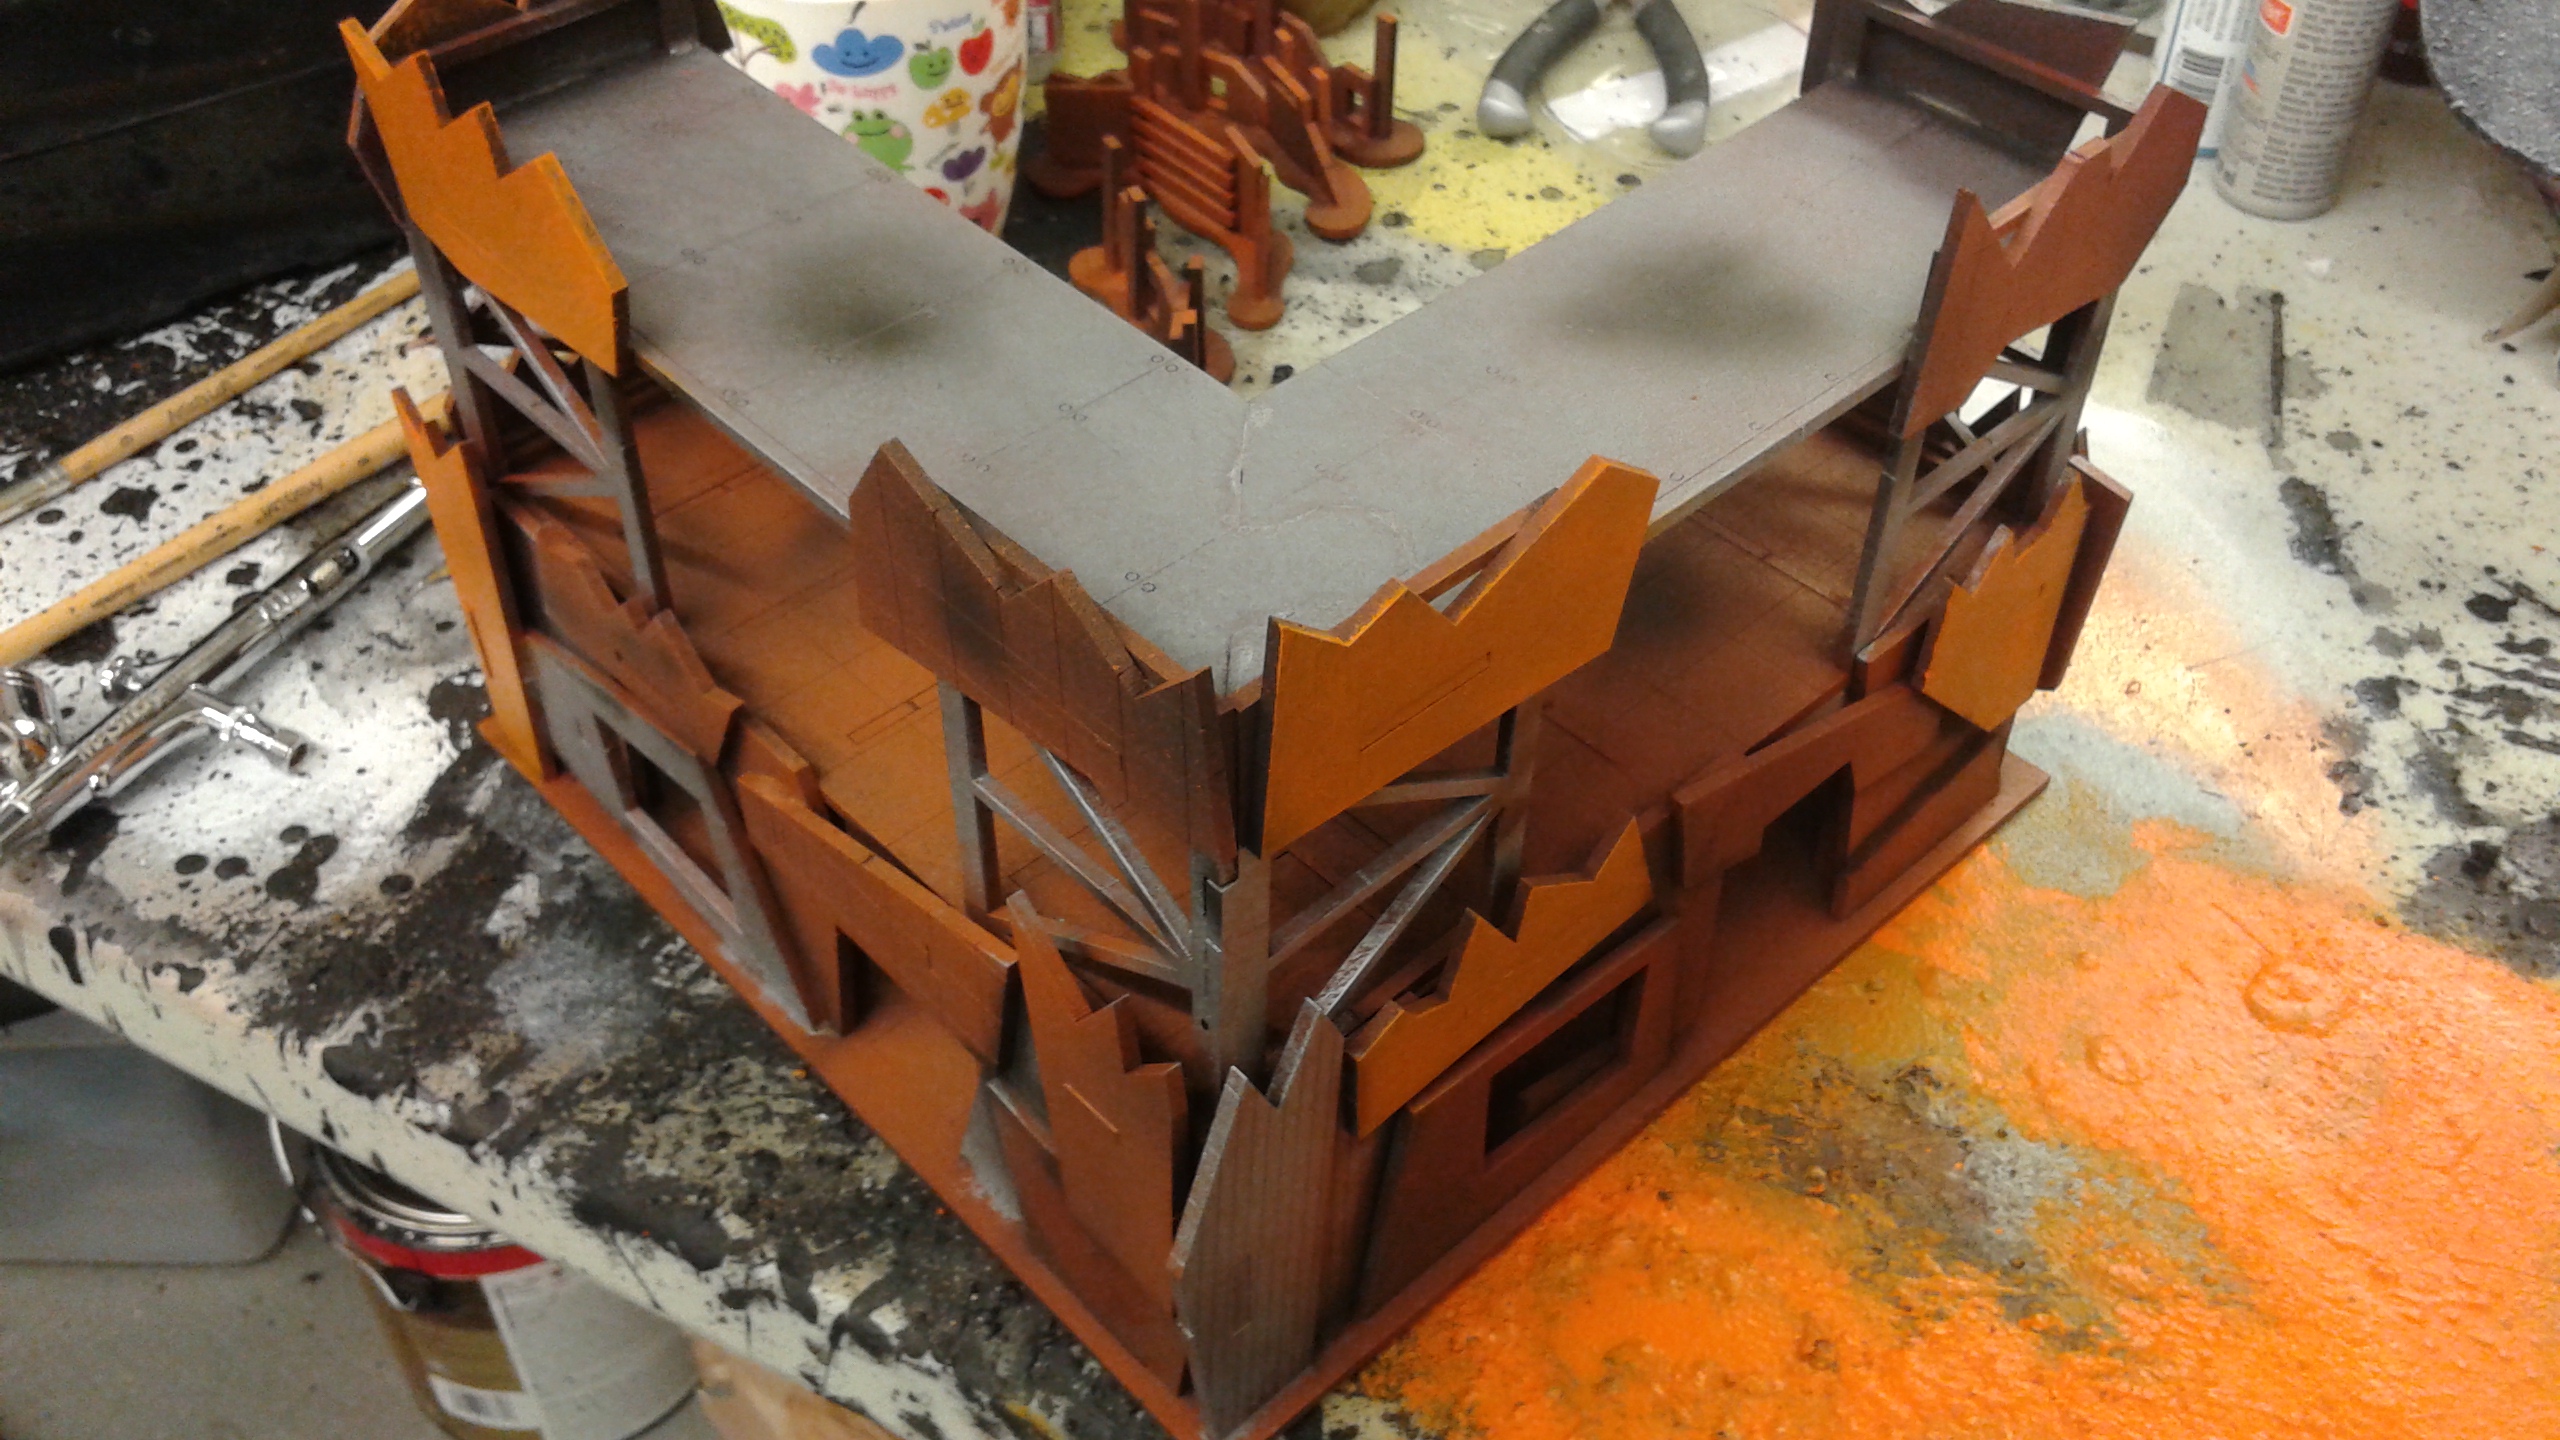
Next up, pick out some panels here and there in the orange paint. Orange isn’t super pigmented so you will probably have to do two coats. But again, don’t worry about it being perfect.
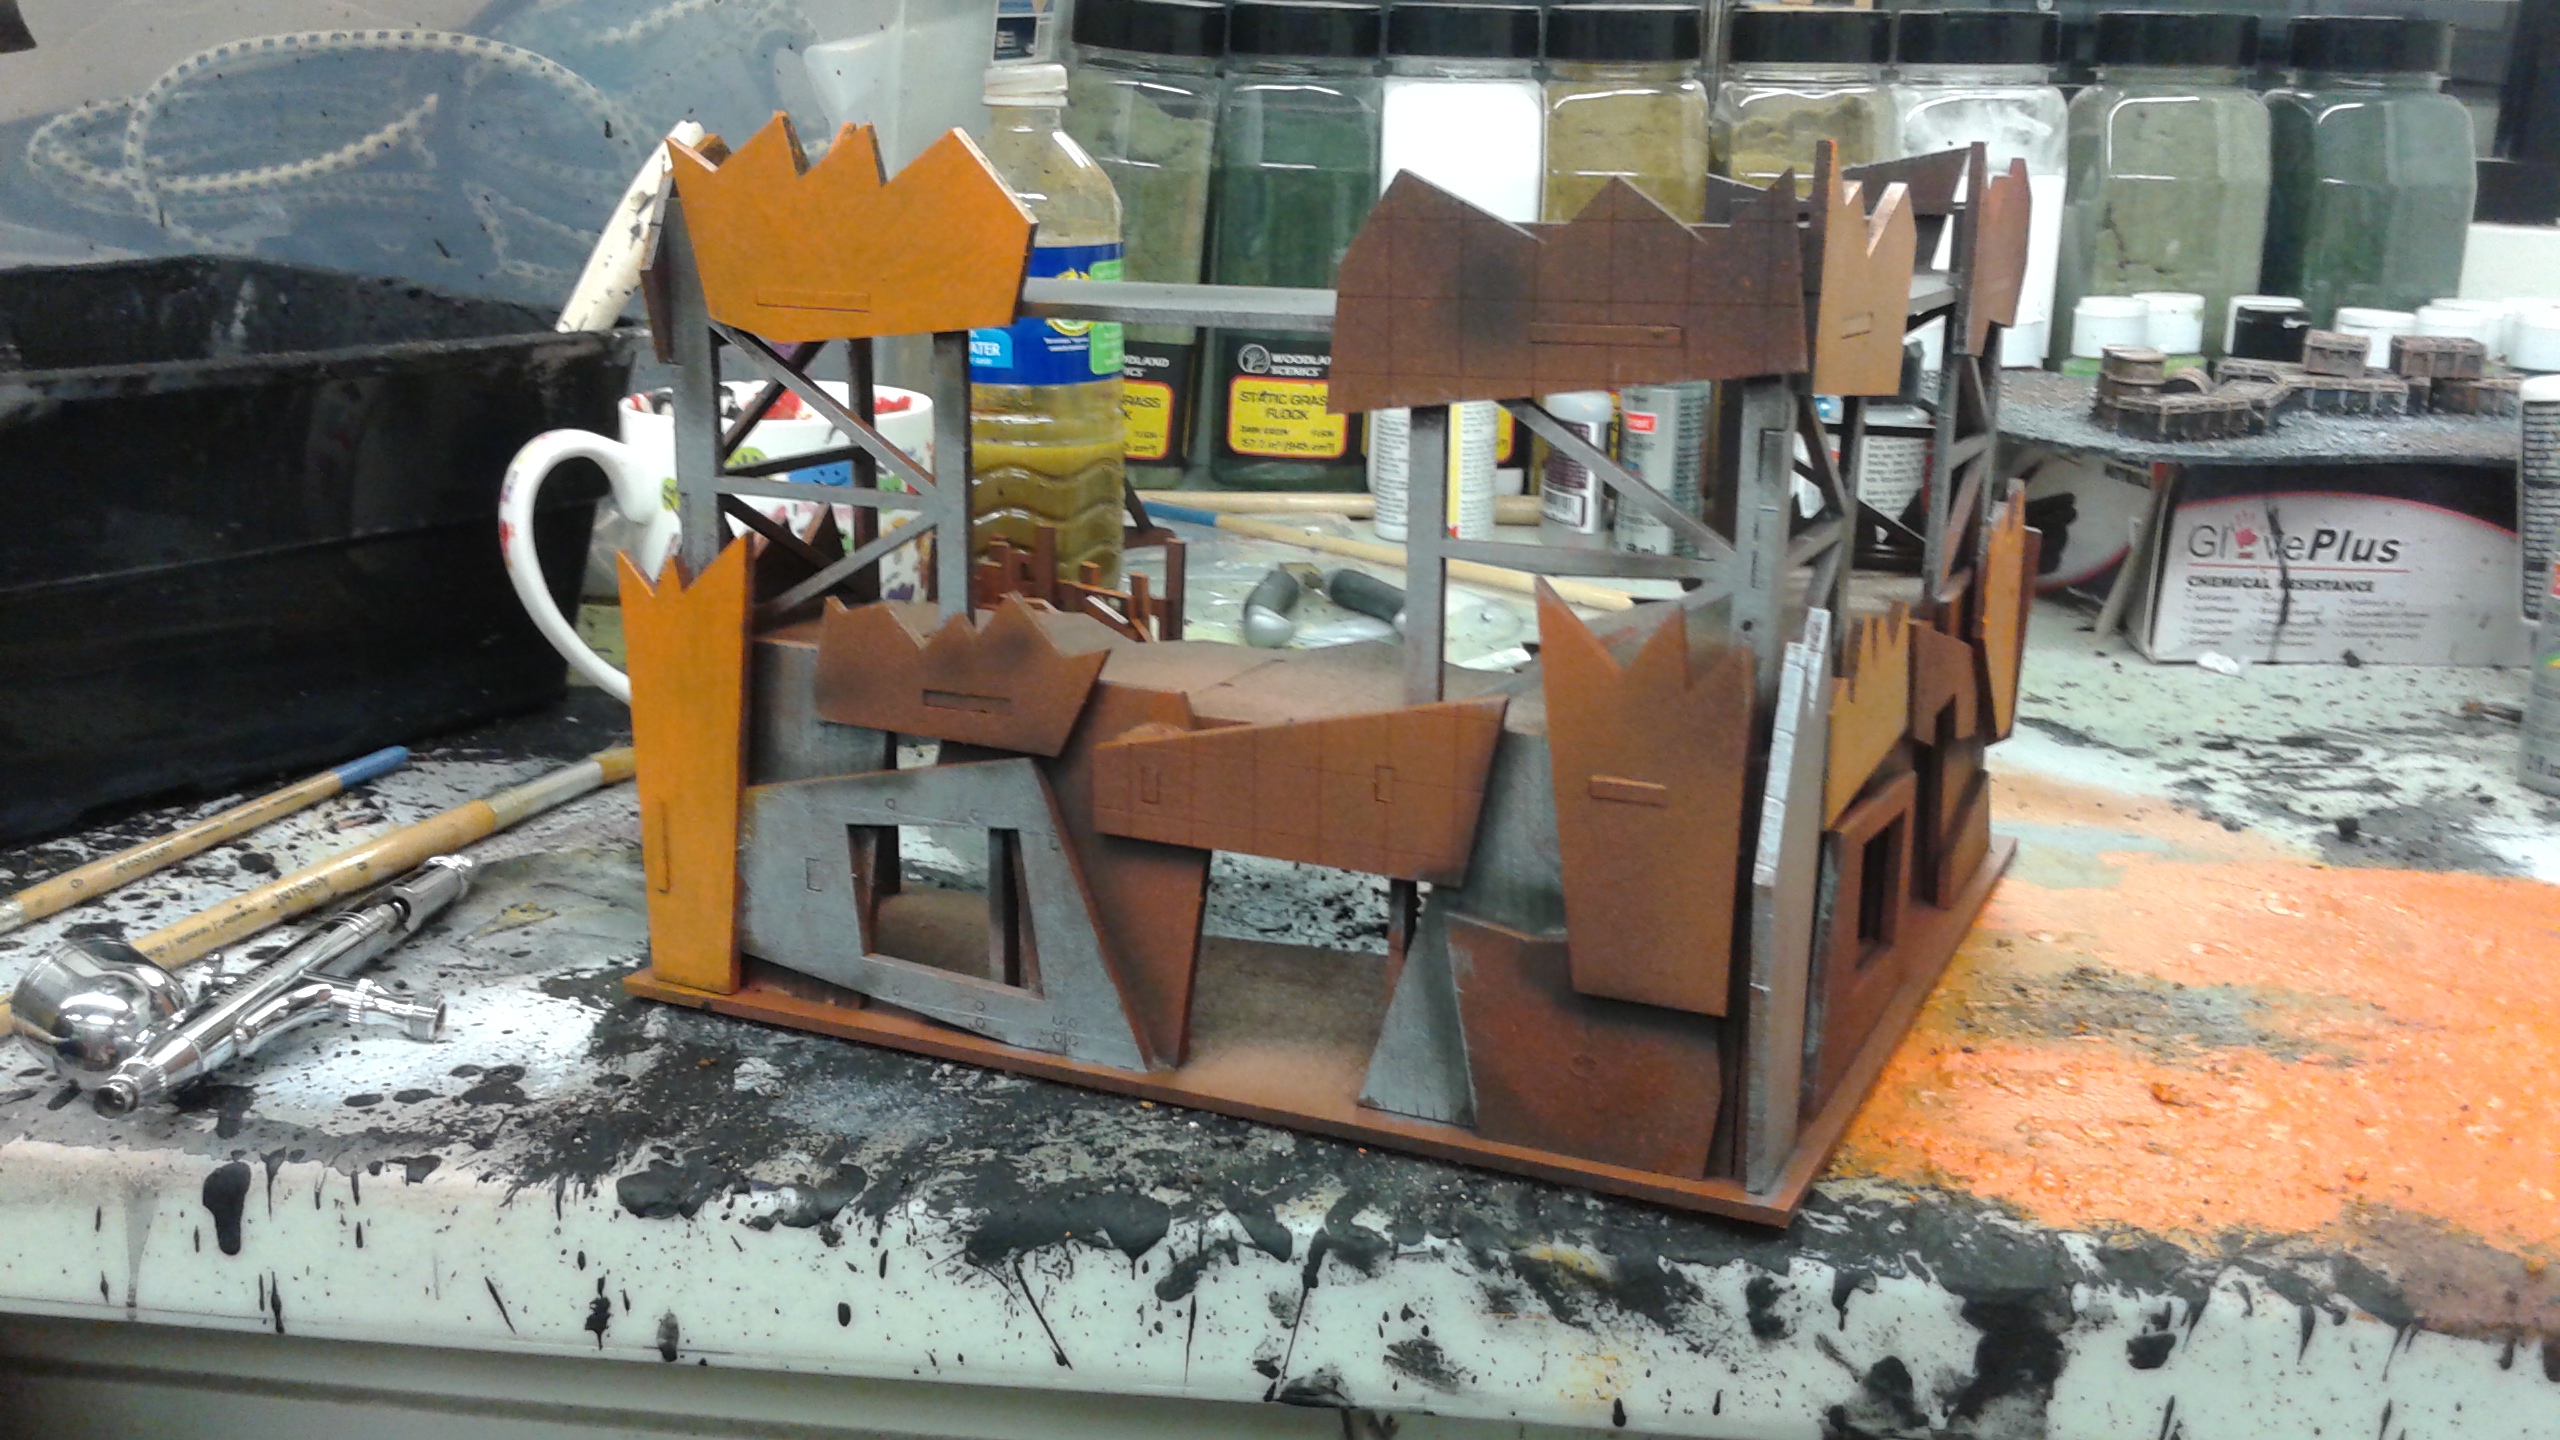
Next up, give it some depth with shading. I mix the ink with purified water, at a 1:1 ink to water ratio, or if you want it to be really dark, a 2:1 ratio. I store my mix in an old water bottle and just give it a shake before I want to use it, and shoot it right through the airbrush. You basically outline the panels with it and shoot some here and there to simulate dirty parts of the building. This makes a BIG difference in the overall appearance of the building. I really can’t overstate it, it is night and day when you take this step. When you get the hang of it, you can bust out a bunch of buildings at this step in a short period of time and as it is so thin, the airbrush pretty much never clogs and you can just crush this stage out in a hurry.

Lastly, we give the entire model a drybrush in light grey. This helps give it a weathered look and brings all of the various colors together, plus it helps cover up any mistakes you may have made.
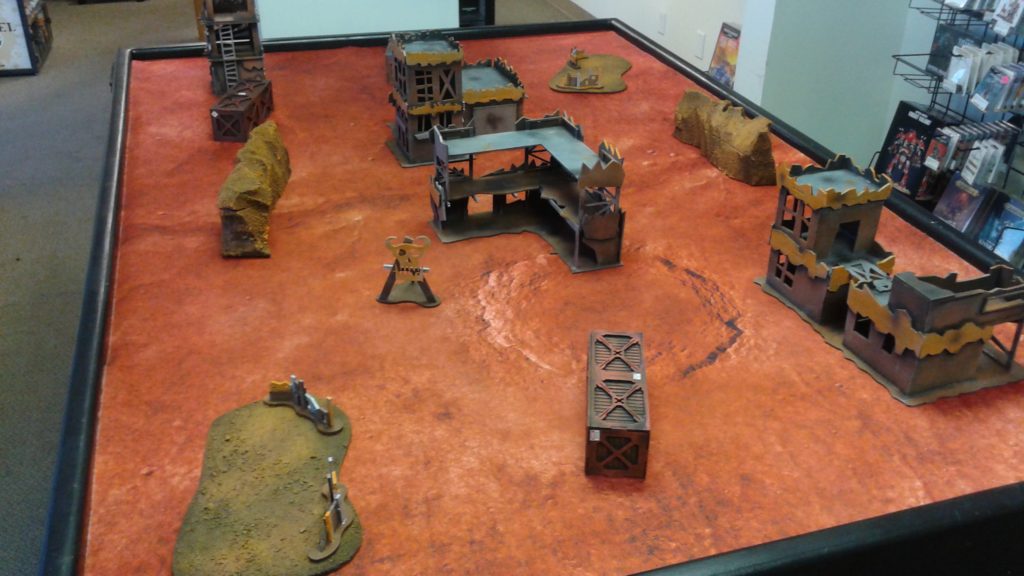

And here’s your finished table! You can apply these exact same techniques to a variety of different mats to get the same effect.
ITC Terrain Series: Orc Mars Village

ITC Terrain Series: Orc Snow Village
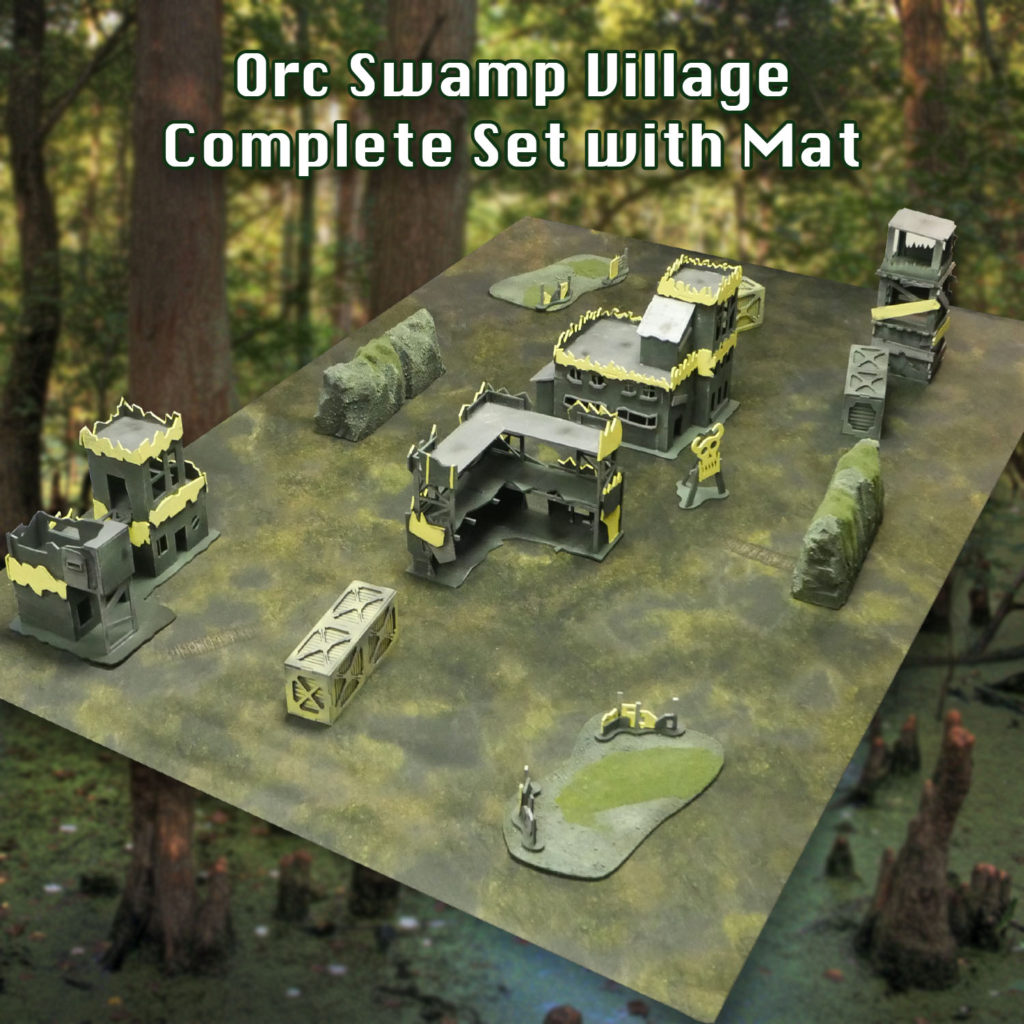
ITC Terrain Series: Orc Swamp Village
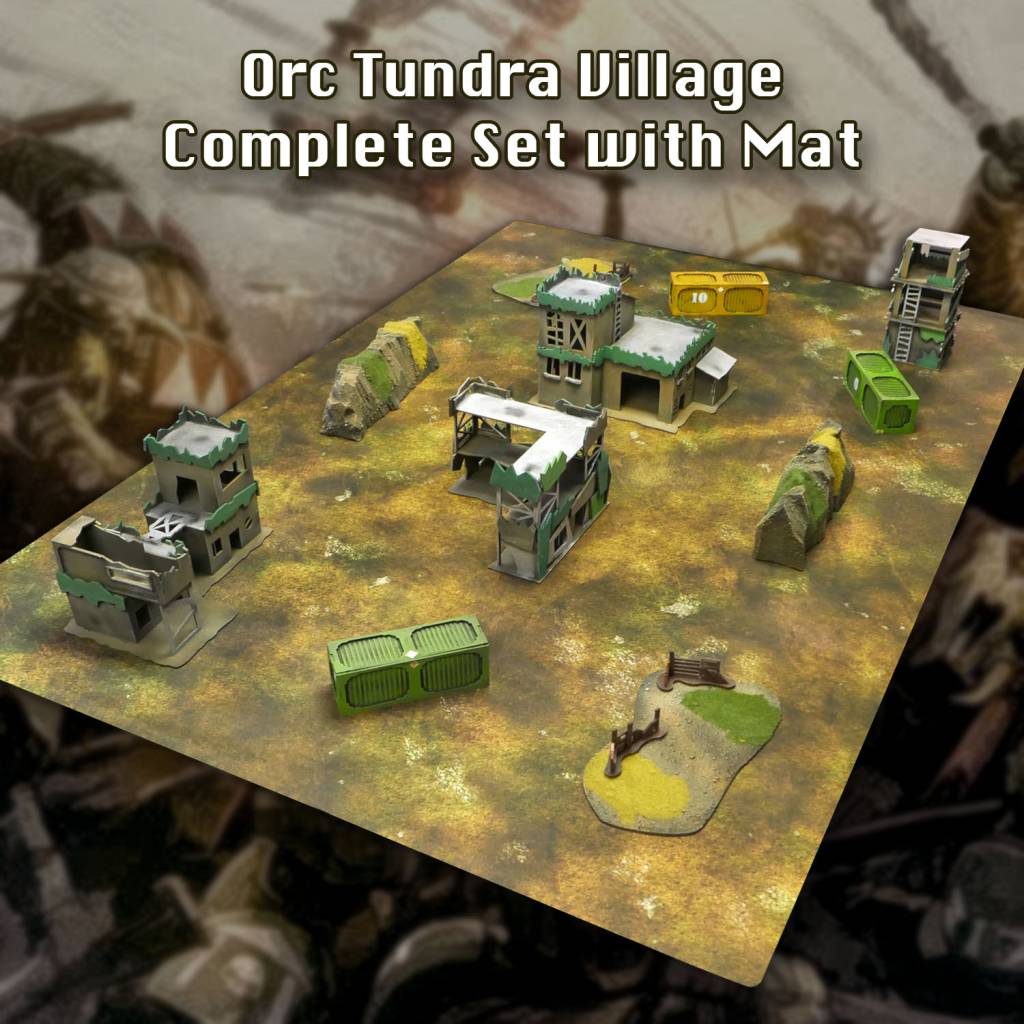
ITC Terrain Series: Orc Tundra Village
And remember, Frontline Gaming sells gaming products at a discount, every day in their webcart!


