

Hi everyone, Michael here with a review of the Deathwatch’s own unique flyer, the Corvus Blackstar. For more reviews and analyses, check out the Tactics Corner.
Overview:
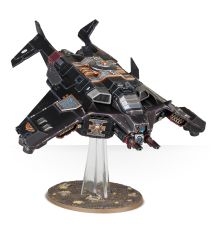
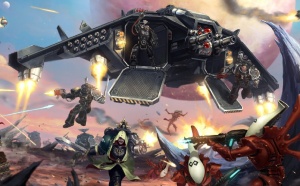
The Corvus Blackstar is a transport flyer and firepower support vehicle for the Deathwatch army. In it’s transport capacity, it has few equals in the Space Marine arsenal, able to transport a mix of Infantry, Jump Pack and Biker models, the latter making it unique amongst Marine transport vehicles. It also has a decent weaponry load out for anti-infantry or anti-armour firepower options, but the lack on key special rules means it is not as effective in this role as other flyers.
The Corvus Blackstar costs 236 pts in its basic load out, though it can get a lot more expensive when fully armed. I would give the Corvus Blackstar a rating somewhere between Situational and Efficient. I think it can find good use in a Deathwatch army, but it is a little too expensive for what it can bring to the table. If it had Power of the Machine Spirit or Strafing Run, I could find more to recommend it. However, my general experience of the Corvus Blackstar is that it is a little disappointing when brought to the battlefield.
![]()
Wargear:
- Twin Assault Cannon
- Two Stormstrike Missile Launchers- 72″, Heavy 1, S8, AP-3, 3 damage.
- May replace its twin Assault Cannon with a Twin Lascannon.
- May replace its two Stormstrike Missile Launchers with two Blackstar Rocket Launchers.
- Blackstar Rocket Launcher- Corvid Warhead: 30″, Heavy D6, S6, AP-1, 1 damage. Add 1 to hit rolls when targeting a unit that can Fly. Dracos Warhead: 30″, S4, AP0, 1 damage. Add 1 to hit rolls when targeting a unit in cover.
- May take a Hurricane Bolter.
- May take an Infernum Halo Launcher or an Auspex Array.
Abilities:
- Hover Jet- Before the model moves in the movement phase, you can declare it will hover. Its Move becomes 20″ until the end of the phase and it loses the Airborne, Hard to Hit and Airborne abilities until the beginning of your next movement phase.
- Airborne- This model cannot charge, and can only be charged by units that can Fly, can only be attacked or attack units in the Fight phase that can Fly.
- Hard to Hit- Your opponent must subtract 1 from hit rolls in the Shooting phase when targeting the Corvus Blackstar.
- Supersonic- Each time this model moves, first pivot it on the spot up to 90 degrees, then move the model straight forward. When the model advances, add 20″ to its Move until the end of the phase.
- Blackstar Cluster Launcher- This model can fire its Blackstar Cluster Launcher as it flies over enemy units in its Movement phase. Pick one enemy unit it moved over and roll a D6 for each model in the unit up to a maximum of 10. For each roll of a 6, the unit suffers 1 mortal wound.
- Auspex Array- You can re-roll hit rolls of 1 when targeting an enemy unit that cannot Fly.
- Infernum Halo-launcher- If an enemy unit that can Fly targets a supersonic model in the shooting phase, your opponent must subtract one from the hit rolls.
- Transport Capacity- This model can transport 12 Deathwatch Infantry models. Each Jump Pack or Terminator model takes the space of two other models, each Biker model takes the space of three models. It cannot transport Primaris models.

Tactics:
The Corvus Blackstar has a fairly standard large flyer profile. It is T7, 14 wounds and a 3+ save. Coupled with the -1 to hit for being supersonic, it is a fairly durable vehicle and should stand up to a fair bit of enemy firepower. However, I’ve found that the Deathwatch army doesn’t really have much in the way of big vehicle targets that they can take, so the Corvus Blackstar tends to take the brunt of the opposing army’s anti-armour firepower. While it is tough, focusing firing on the flyer will take it down fairly easily in most armies. It becomes even more of a prime target if you have an expensive unit inside it.
As a result, it is rare for the Corvus Blackstar to survive past turn 2 in a standard game. As a result of this, however, it does soak up a lot of firepower away from other Deathwatch units in the initial turns. Taking two Corvus Blackstars can split your opponent’s fire, either allowing both to survive damaged or one to survive while the other is destroyed. Two of these flyers will eat up a good chunk of points in a standard 2000 pts army though, so it is a big investment to plan a force around.

As a flyer, the Corvus Blackstar has a very high move value, allowing it to get almost anywhere on the tabletop in a single turn. This high mobility is great for getting the unit embarked inside into key position to disembark the following turn. This makes it great for transporting those units with short ranged weaponry, such as Frag Cannons, or for squads tooled up for combat.
Before we look at the weaponry options, you can upgrade the Corvus Blackstar to have either an Auspex Array or Infernum Halo-launcher. Most of the time, the Auspex array is going to be of more use. Getting to re-roll 1’s to hit against units that cannot Fly will make the most of its firepower most times. For only 5 pts, it is a nice bonus for the Corvus and will tend to have more utility than the Infernum Halo-launcher.
However, there may be some situations where the Infernum Halo-launcher will prove useful. For example, against Drukhari forces, the Infernum Halo-launcher is a good boost. All the anti-armour weaponry on the units such as Raiders, Ravagers and Scourges will be hitting the Corvus Blackstar on 5+ thanks to the stacking effects of the Halo-launcher and Supersonic. It is also of use against other Fly units whose firepower could threaten the flyer, such as Necron Destroyers or other enemy Flyers.
In a blind tournament setting, you are probably better going for the Auspex Array, as it is more likely to be of use against a wider range of opponents than the few times the Infernum Halo-launcher will save you.

As has been mentioned above, the firepower of the Corvus Blackstar is somewhat hampered by the lack of any special rule to boost its chances to hit, such as Power of the Machine Spirit or Strafing Run. As most of its weapons are Heavy, the Corvus Blackstar will be hitting on a 4+ on the move. Most of the time it will be on the move, either making use of its transport capacity or ensuring that it is at -1 to hit. Even with the Auspex array, the Corvus Blackstar does not make much of a gunboat for the Deathwatch army. If you are taking a Corvus Blackstar, it is most likely to be used as a transport vehicle. It is too expensive and has too few guns to be of much use as solely a firepower support vehicle in the army. There are better Forgeworld flyers you can select if you simply want a strong firepower flyer.
The Corvus Blackstar can be tooled for anti-armour or anti-infantry firepower.
For anti-armour firepower, you want to go with the Twin Lascannons, two Stormstrike Missiles and Auspex Array. This takes the Corvus Blackstar up to 247 pts. This gives you four high strength shots that hit on a 4+ on the move (re-rolling 1’s to hit against units without Fly). That is a pretty hefty investment for only four shots that hit about 50% of the time. However, anti-tank firepower is an area where the Deathwatch can suffer, so the additional shots while still transporting a key unit can be worth it.
The other option is to take the Twin Assault Cannons, two Blackstar Rocket Launchers, a Hurricane Bolter and Auspex Array. This takes the Corvus Blackstar to 239 pts, so is a cheaper option than the anti-armour one. This gives the flyer a much great volume of shots; 12 for the Assault Cannons, 2D6 for the Rockets and up to 12 for the Hurricane Bolter. This gives you better odds of getting more hits with your weapons and more chances to use the Auspex Array. However, anti-infantry firepower is not an area where the Deathwatch typically suffer. The abundance of Special Issue Ammunition and heavy weapons such as the Frag Cannon means that most Deathwatch units can easily deal with infantry, but the additional firepower from the Corvus can be useful.
How you arm the Corvus Blackstar will obviously depend on the load out of the rest of your army. If you need the anti-armour firepower, go for the Lascannons and Missiles, just don’t rely on them to do work every turn if you get some bad to hit rolls.
Transport Capacity
Most of the time, you are going to be using the Corvus Blackstar for its transport capacity. This is a great way to get a Deathwatch unit up close to the enemy army quickly. This is one of the fastest ways to get a Deathwatch unit containing a Biker up to the heart of the enemy army.
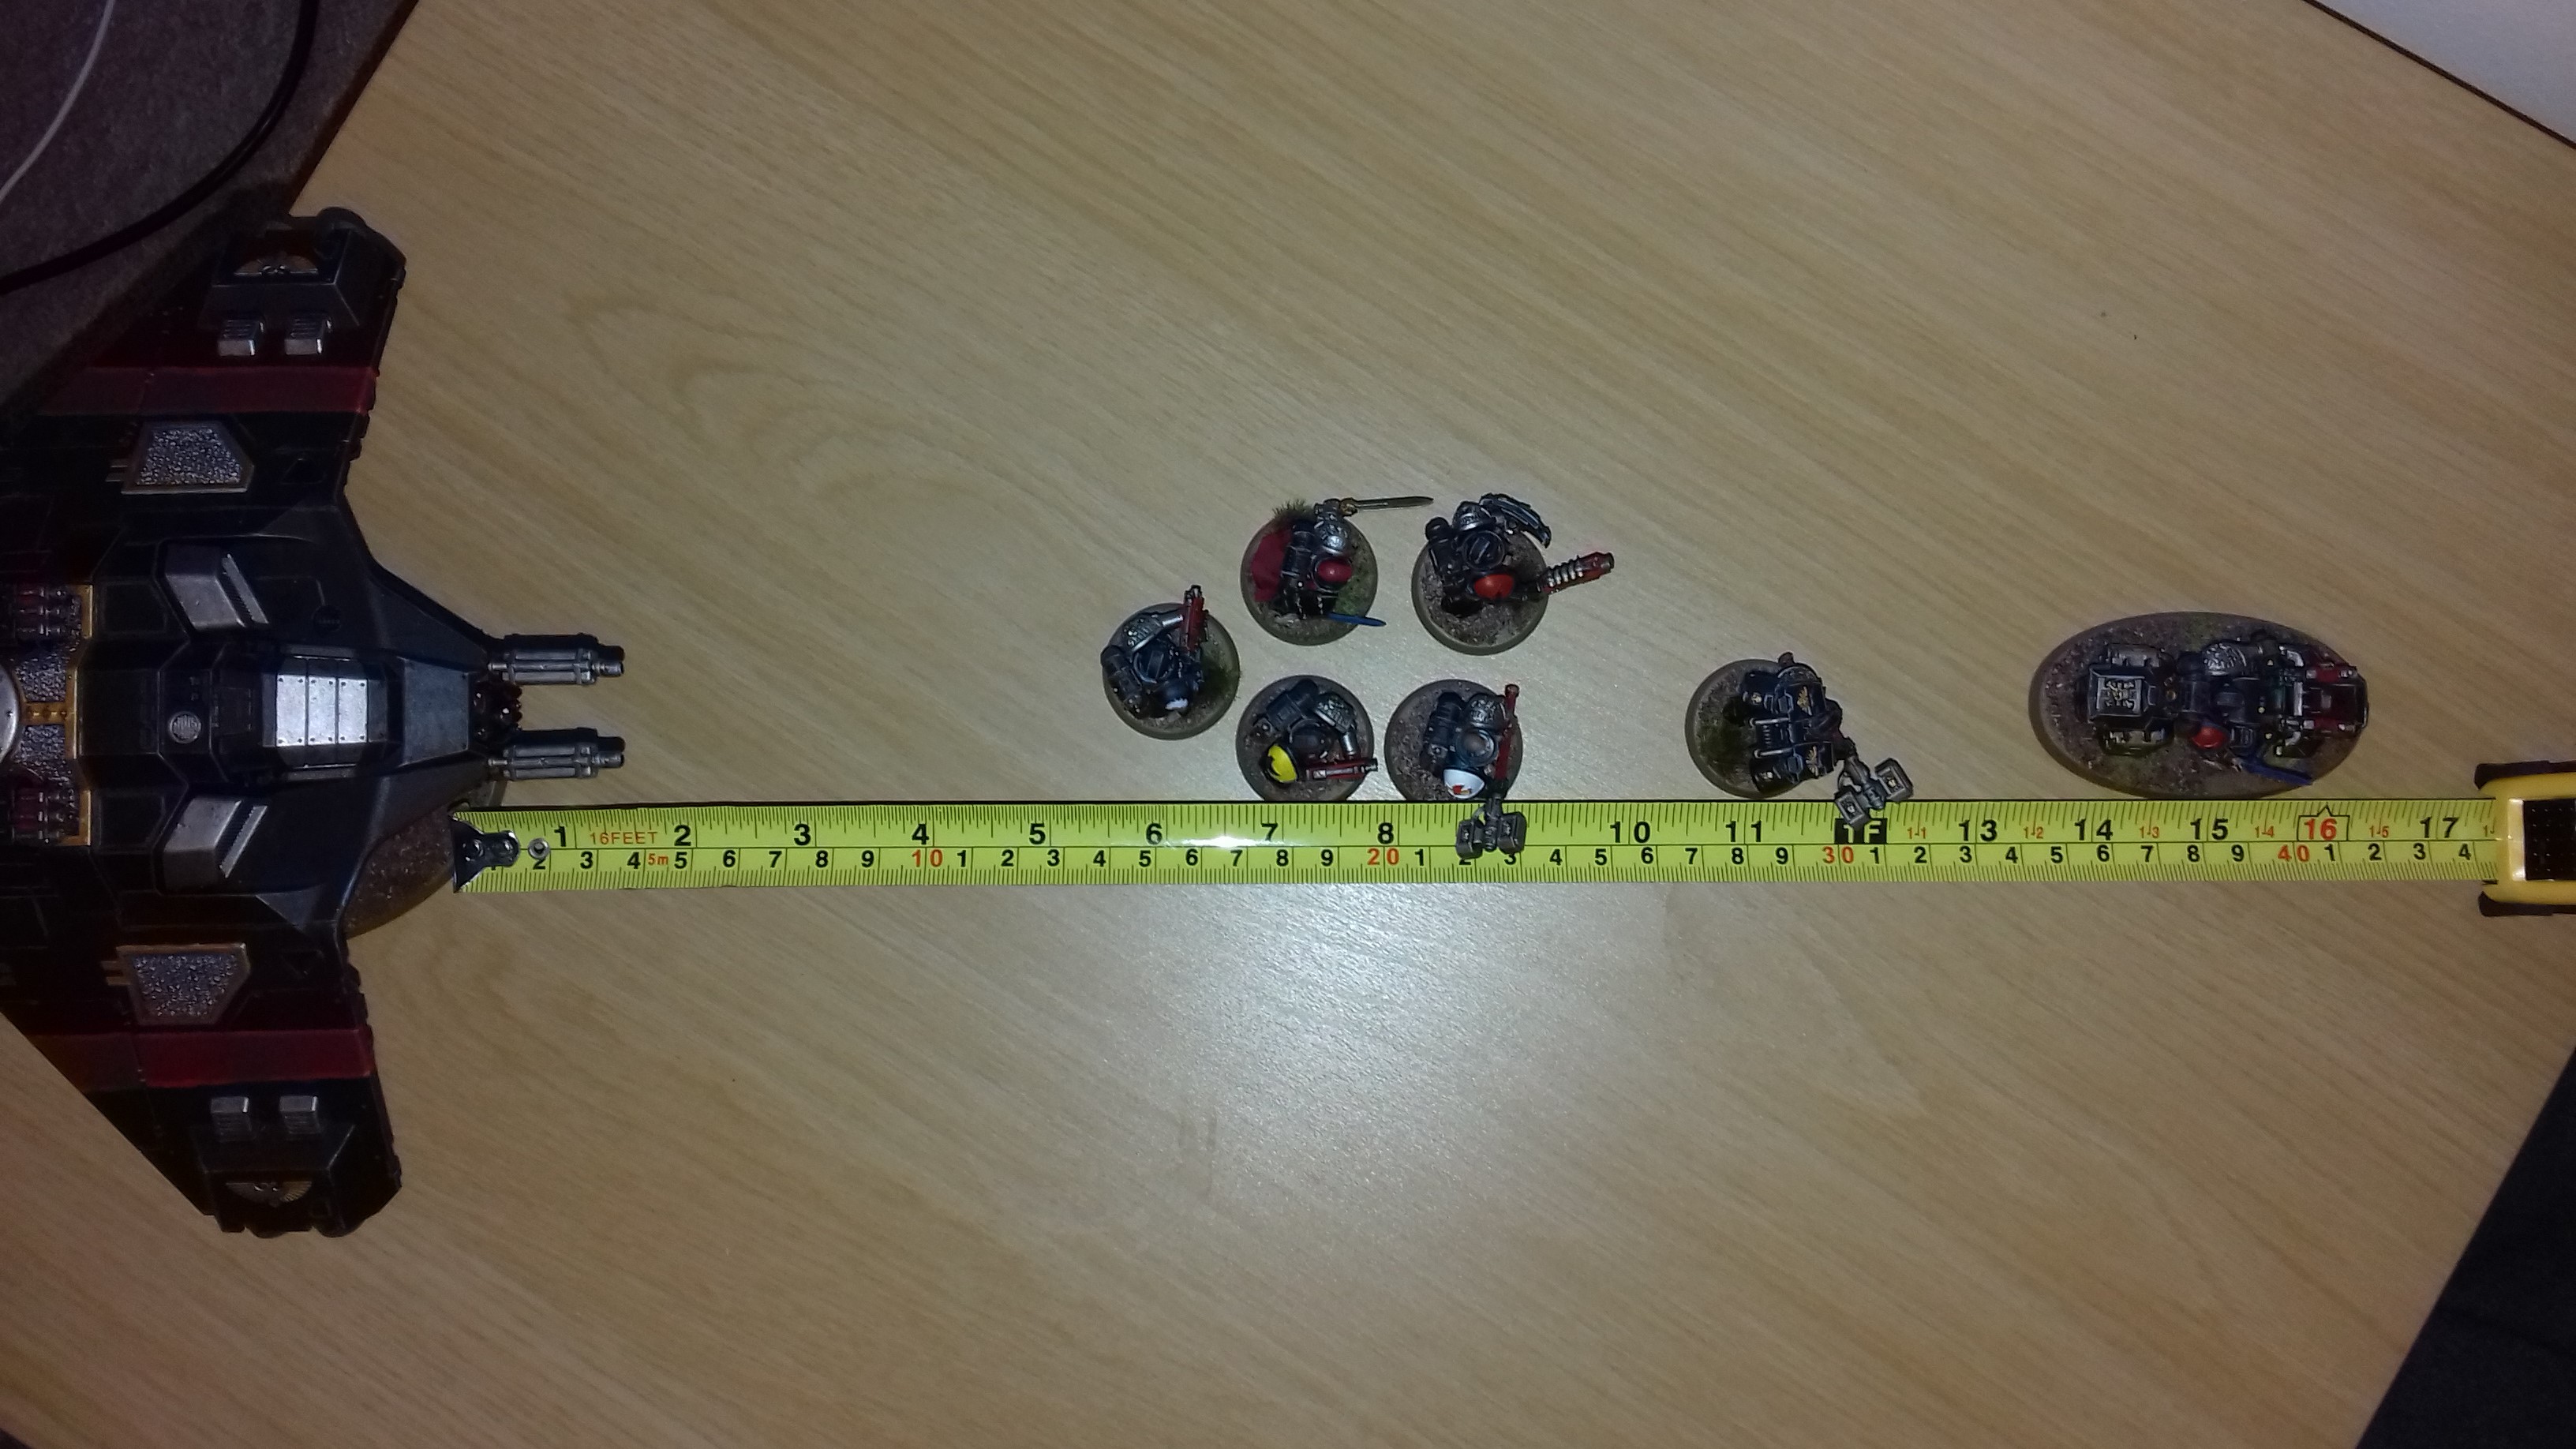
One useful trick is to load up the Corvus Blackstar with a Kill Team containing Veterans, a Biker and a Vanguard Veteran. Using the rules for deploying from a vehicle and the different move values of the unit, you can deploy the unit quite far from the Corvus Blackstar. For example, you can deploy the Biker within 3″ of the flyer and then move 14″, taking you 17″ from the Flyer. You can use the long base size of the Biker and the increased movement of the Vanguard Veteran to maintain coherency with the Deathwatch Veterans. If you deploy the Corvus Blackstar at the edge of you deployment zone, this allows the unit to move up to 17″ in the first turn. If your opponent has deployed near the edge of their deployment zone, this can give you a charge move of between 1-7″ depending on the deployment zone being used.
If you get the first turn, this can be a useful way to get a first turn charge off against your opponent, quite unexpected from the Deathwatch.
As said above, the strength of the Corvus Blackstar lies in its ability to transport Deathwatch models into close range of the enemy army, particularly mixed Kill Teams that struggle to get other transport options.
However, the utility of the Corvus Blackstar has been slightly undone in the new codex with the Teleportarium stratagem. This allows you to put Deathwatch Infantry units in reserve and teleport them into battle using the standard rules. This means you can get up to three Deathwatch units into the heart of the enemy lines without paying for an expensive transport option, with the only cost being command points.
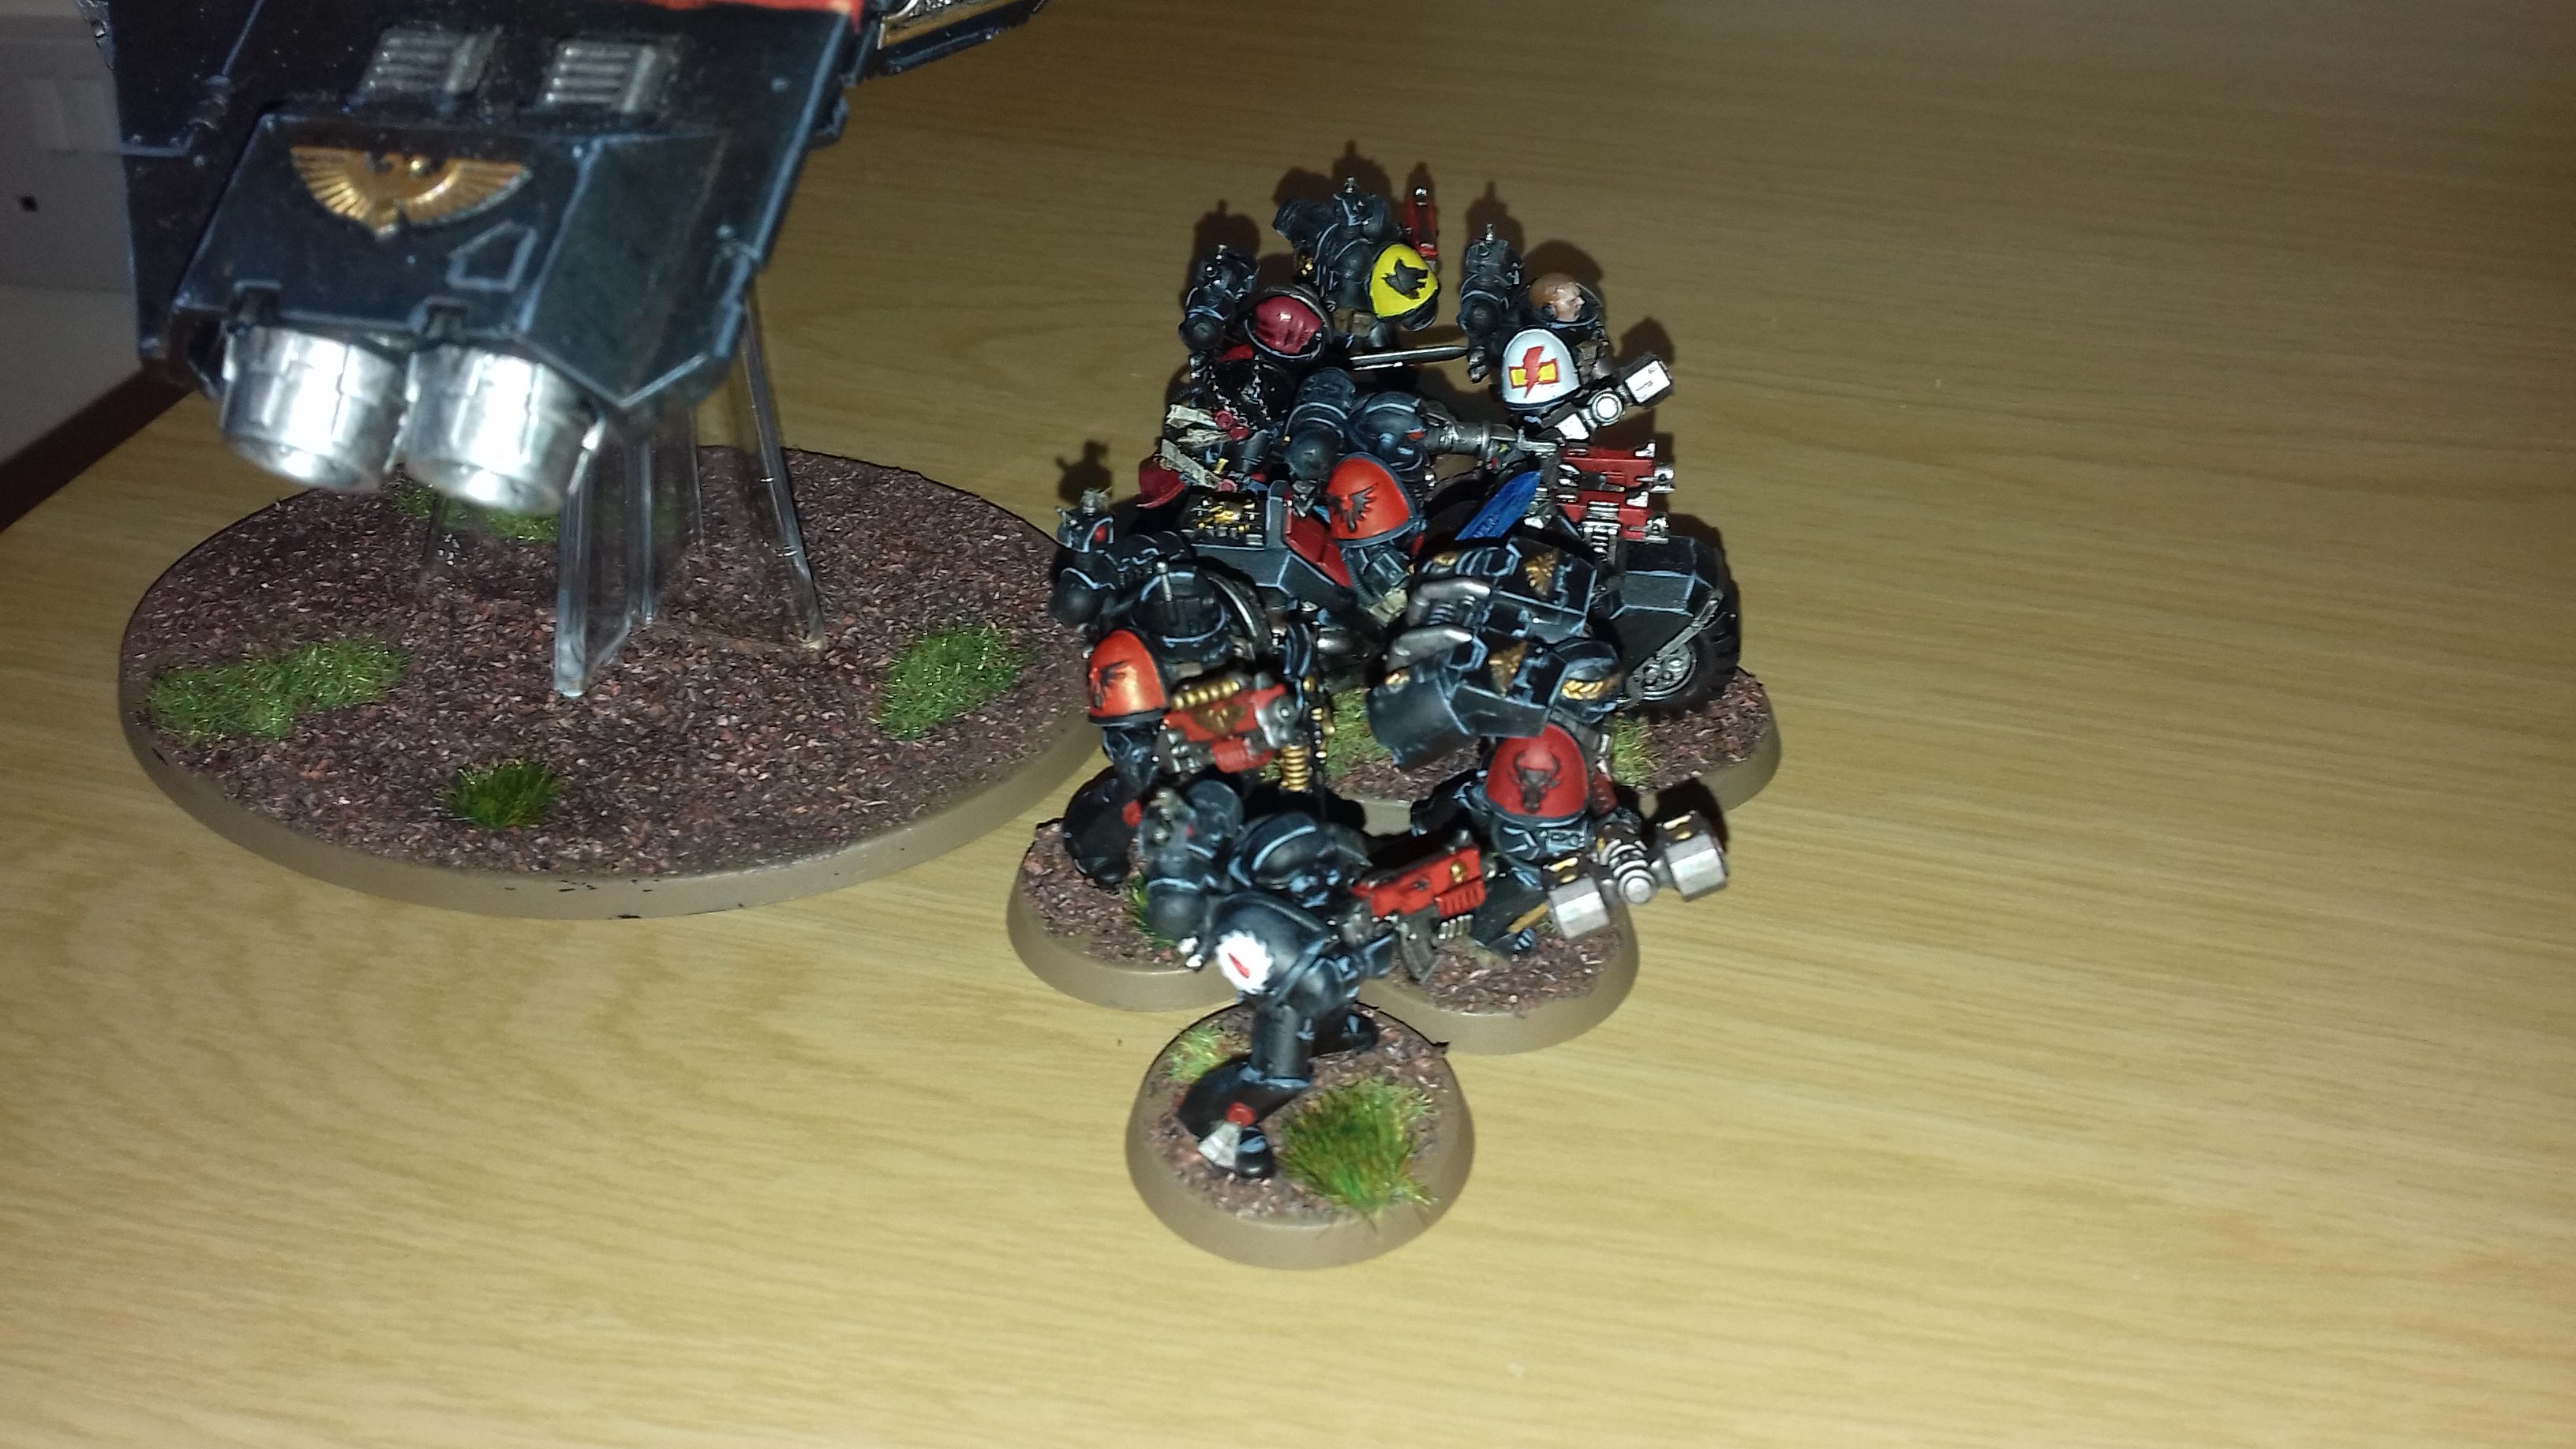
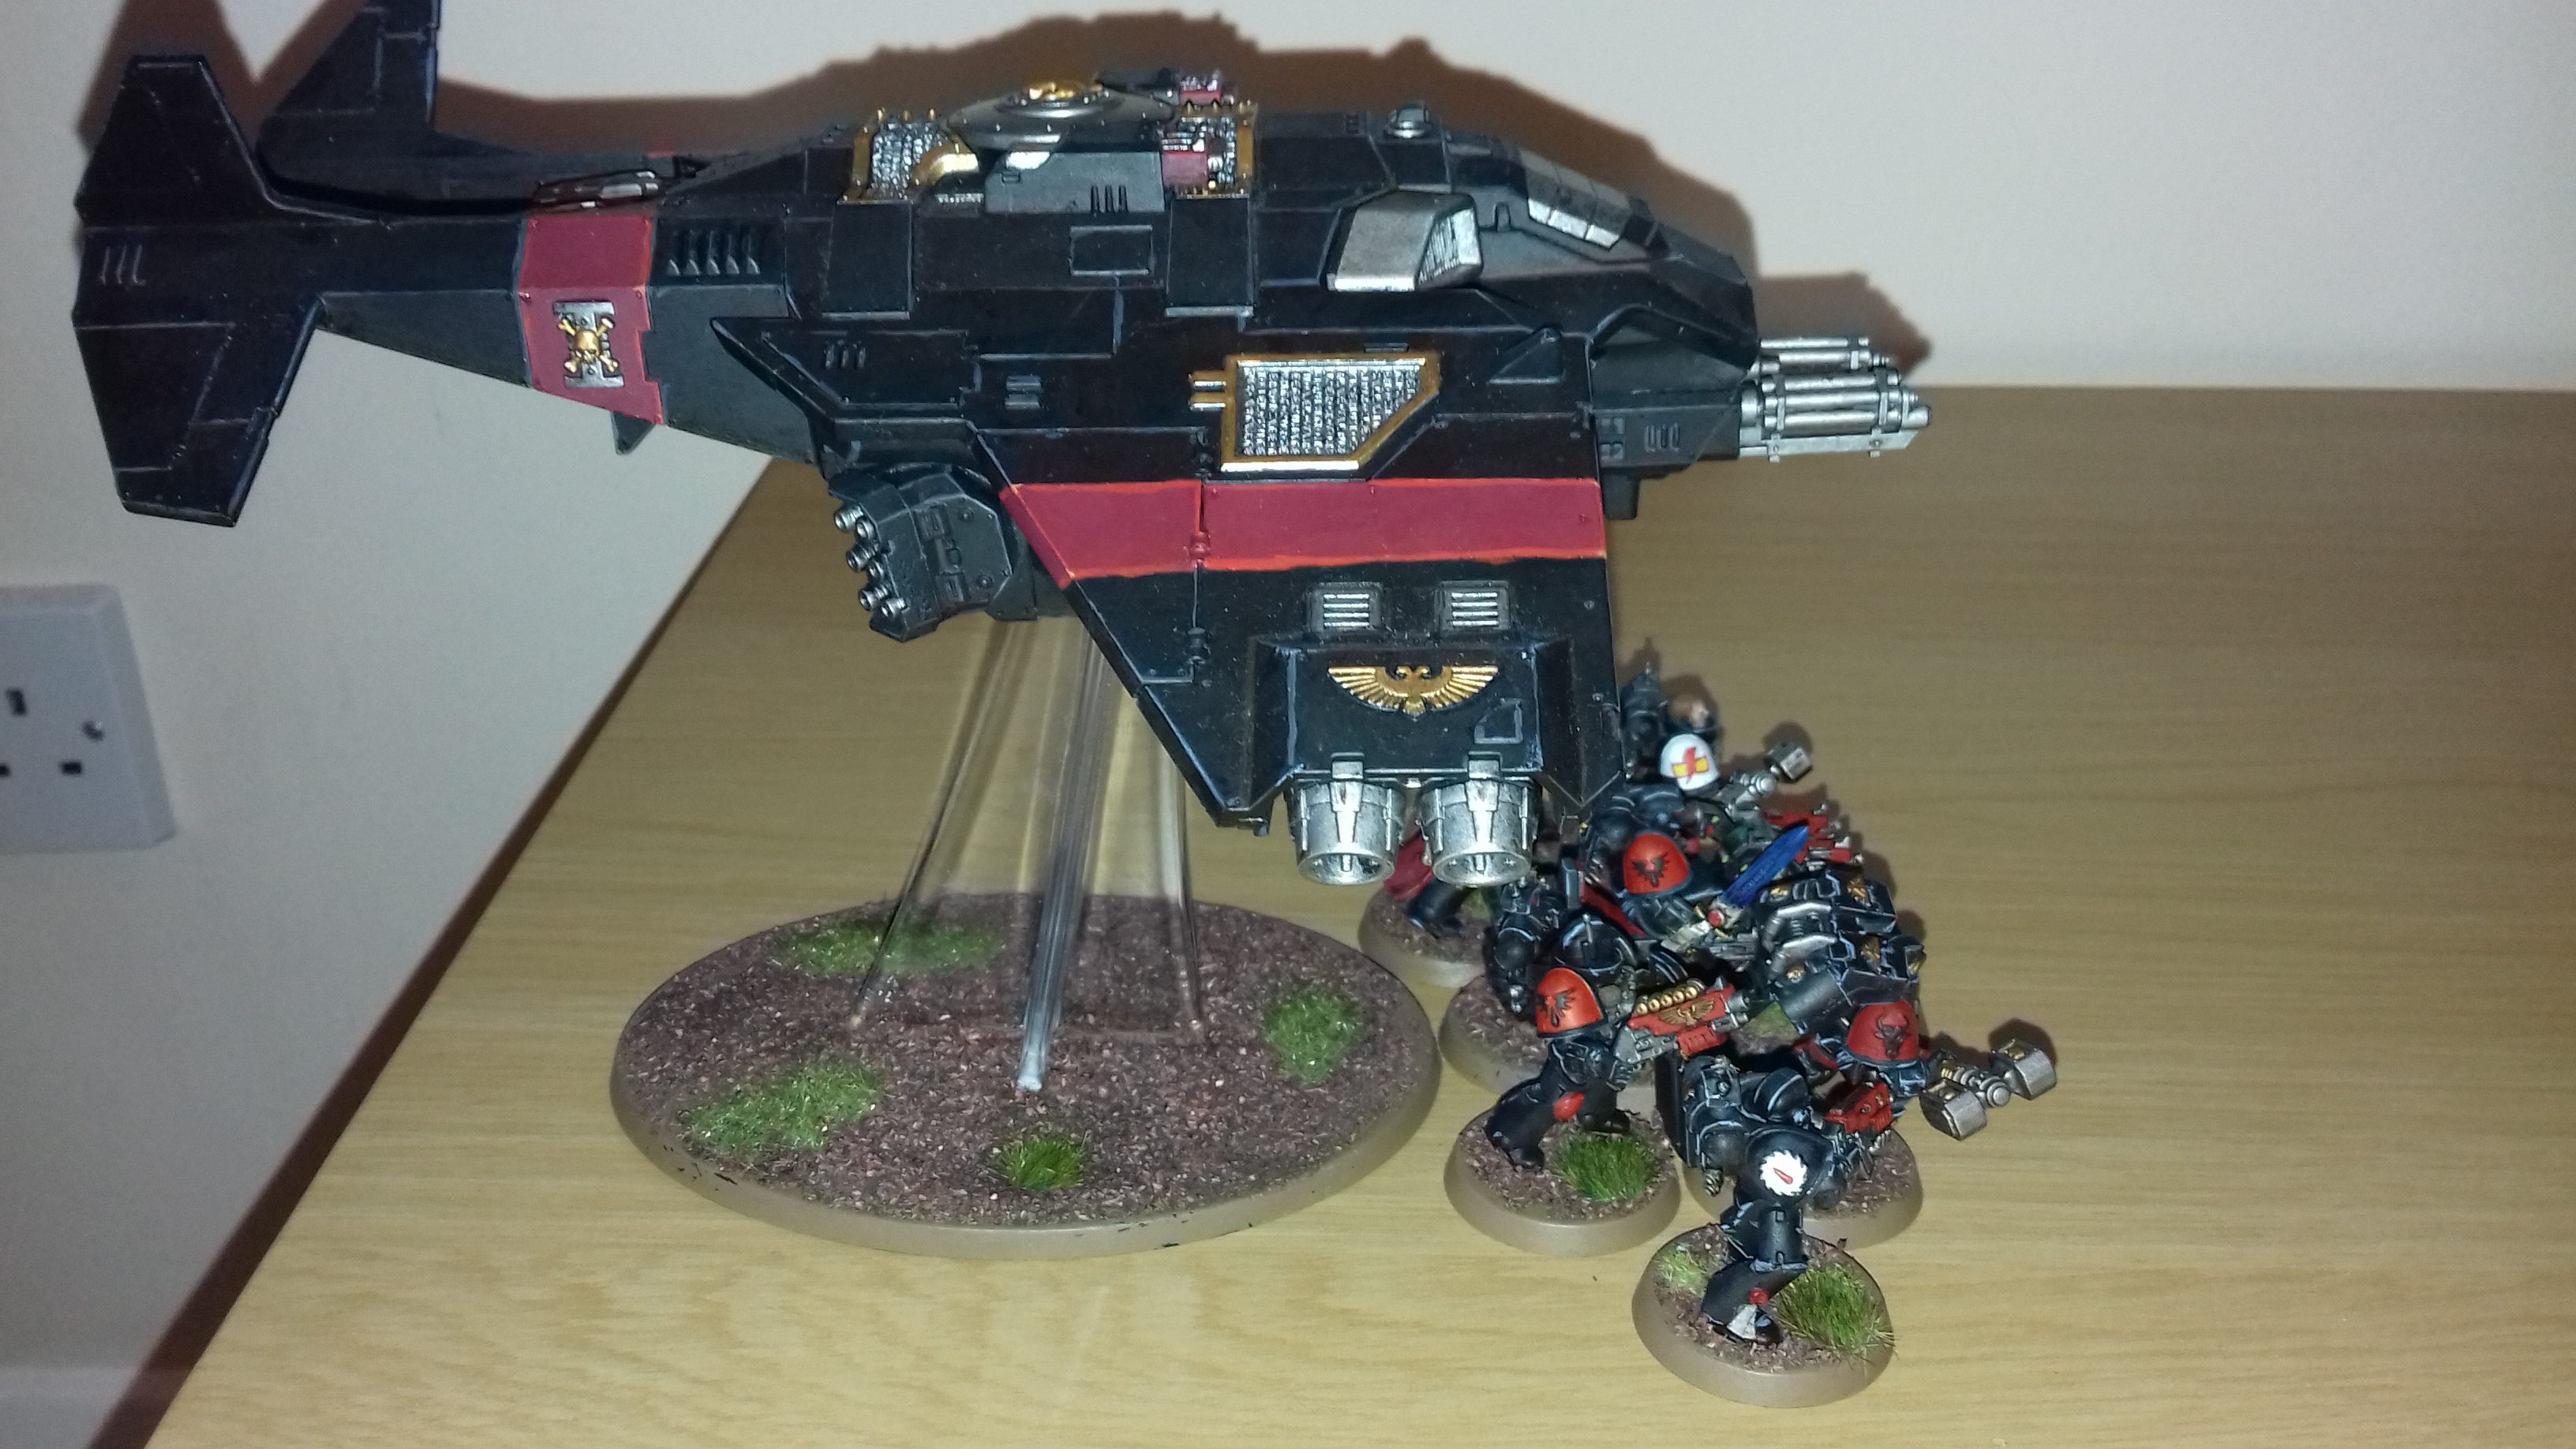
For this reason, my Corvus Blackstar rarely sees the battlefield these days. A real shame, as I think it is a great looking model, one that I spent a lot of time painting up.

Overall
The Corvus Blackstar is an odd vehicle, stuck between dual roles. It wants to be a transport vehicle. In this role, it can be quite successful, able to transport a range of useful models and units. However, in an army with few other big targets for the enemy guns, it tends to find itself quickly targeted and eliminated, leaving its transport unit vulnerable to being targeted and wiped out quickly after it is destroyed. It also wants to be a firepower support unit, but lacks the accuracy and massed weaponry to succeed well in this role.
The Corvus Blackstar will probably do some work for you in a Deathwatch army, but in my opinion, it is simply too expensive for what it can bring to the table. I would rather spend the 250-odd points on more Deathwatch Veterans to boost the numbers in the army. For me, the Teleportarium stratagem has more utility in the Deathwatch army, and the transport capabilities can be fulfilled by a Rhino or Razorback for much cheaper.
And remember, Frontline Gaming sells gaming products at a discount, every day in their webcart!


