
Hey guys, Cavalier checking in, commission painter for Frontline Gaming and co-host of Splintermind: The Dark Eldar Podcast back after a health-hiatus with a return to my Harlequin Detachment Development series. In this installment I’ll be featuring one of the most important aspects of creating a Harlequin force, simplifying the painting process of those damn diamonds!
Selecting A Color Scheme
So initially I was going to go for a custom scheme for a home-brew Masque, but after much encouragement from my fellow co-host and prolific painter Brian, I decided to embrace fully the Y’nnari theme of my army and go with the Penumbral Masque. Not only does it have an awesome name, match my fluff but the color scheme is perfect for both halves of my Aeldari colletion, tying in my red + gold from my Lions of Asuryan, but also the all-black of my Umbral Watchers.
This color scheme is extremely easy to work with as straight black and white of the checker pattern looks better in my opinion WITHOUT highlights which is a big time saver.
Furthermore the colors used for the checkers go on extremely easily. I would highly recommend staying away from yellows and oranges, at least from the GW line as they require a lot of layering.
So in selecting a color scheme, particularly in regard to the checkers choose paints you are familiar with and that apply easily, because even with a simplified approach the checkers still are moderately challenging.
Painting the Diamonds
So without a doubt the hardest part of painting Harlequins is the diamonds. While not completely necessary for those hobbyists wanting to get a classic looking Harlequin force on the table, you gotta have those diamonds!
So when I first started I tried to follow the GW tutorial and found it extremely challenging. The technique is basically laying down a grid of lines that create a diamond pattern, and then simply filling in the diamonds. Even being known for my clean and classic style, I made a total mess of models and even had to strip them and start over again. The problem with that approach is that if you screw up the width between lines at any point, it ruins the pattern completely and going back and fixing it is a nightmare because it requires adjusting the entire grid.
I tried a number of other approaches after that but eventually found a style that enabled me to paint these minis far, far faster. So whats my secret you ask?
Simple. Paint one diamond at a time. Here’s how!
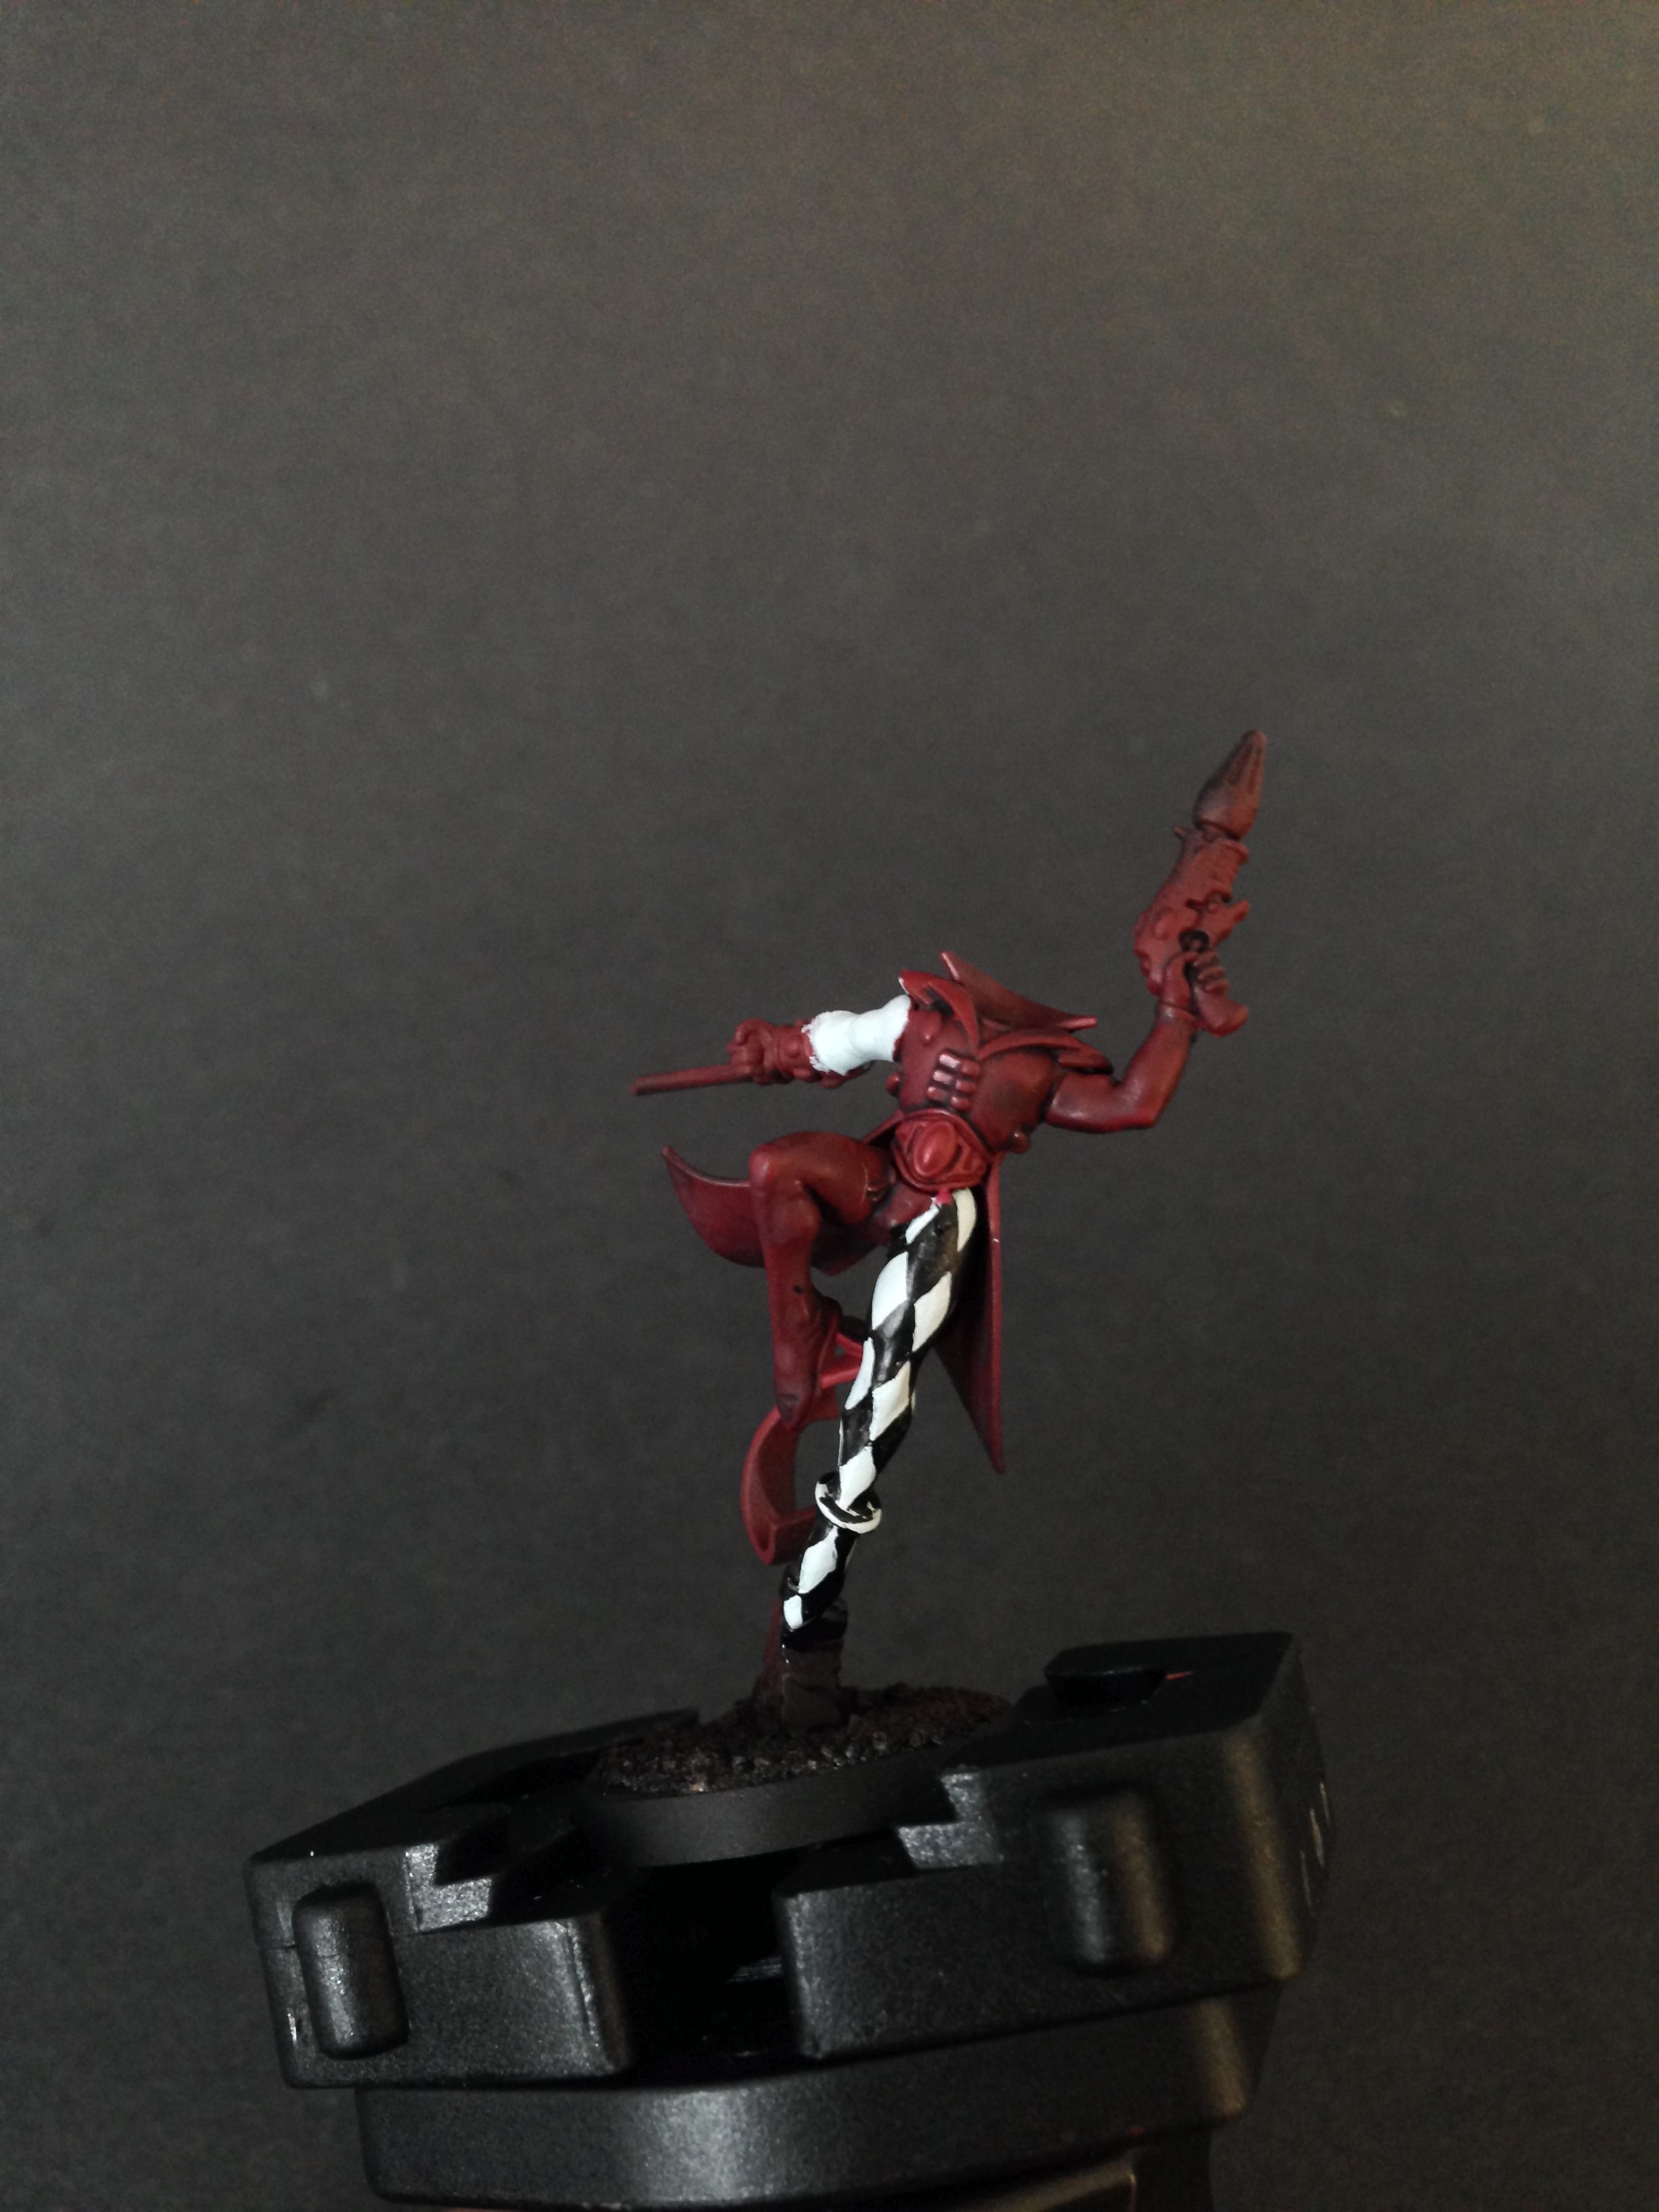
STEP 1
So to begin with I layed down a nice clean layer of Celestra Grey. As you can see this looks almost pure white even at this stage. This color is amazing and goes down over any other color, even black, like a dream. Again having a color that applies easily is super important, as even when you get the hang of the diamonds, you will have to do a good amount of clean-up and adjustment.
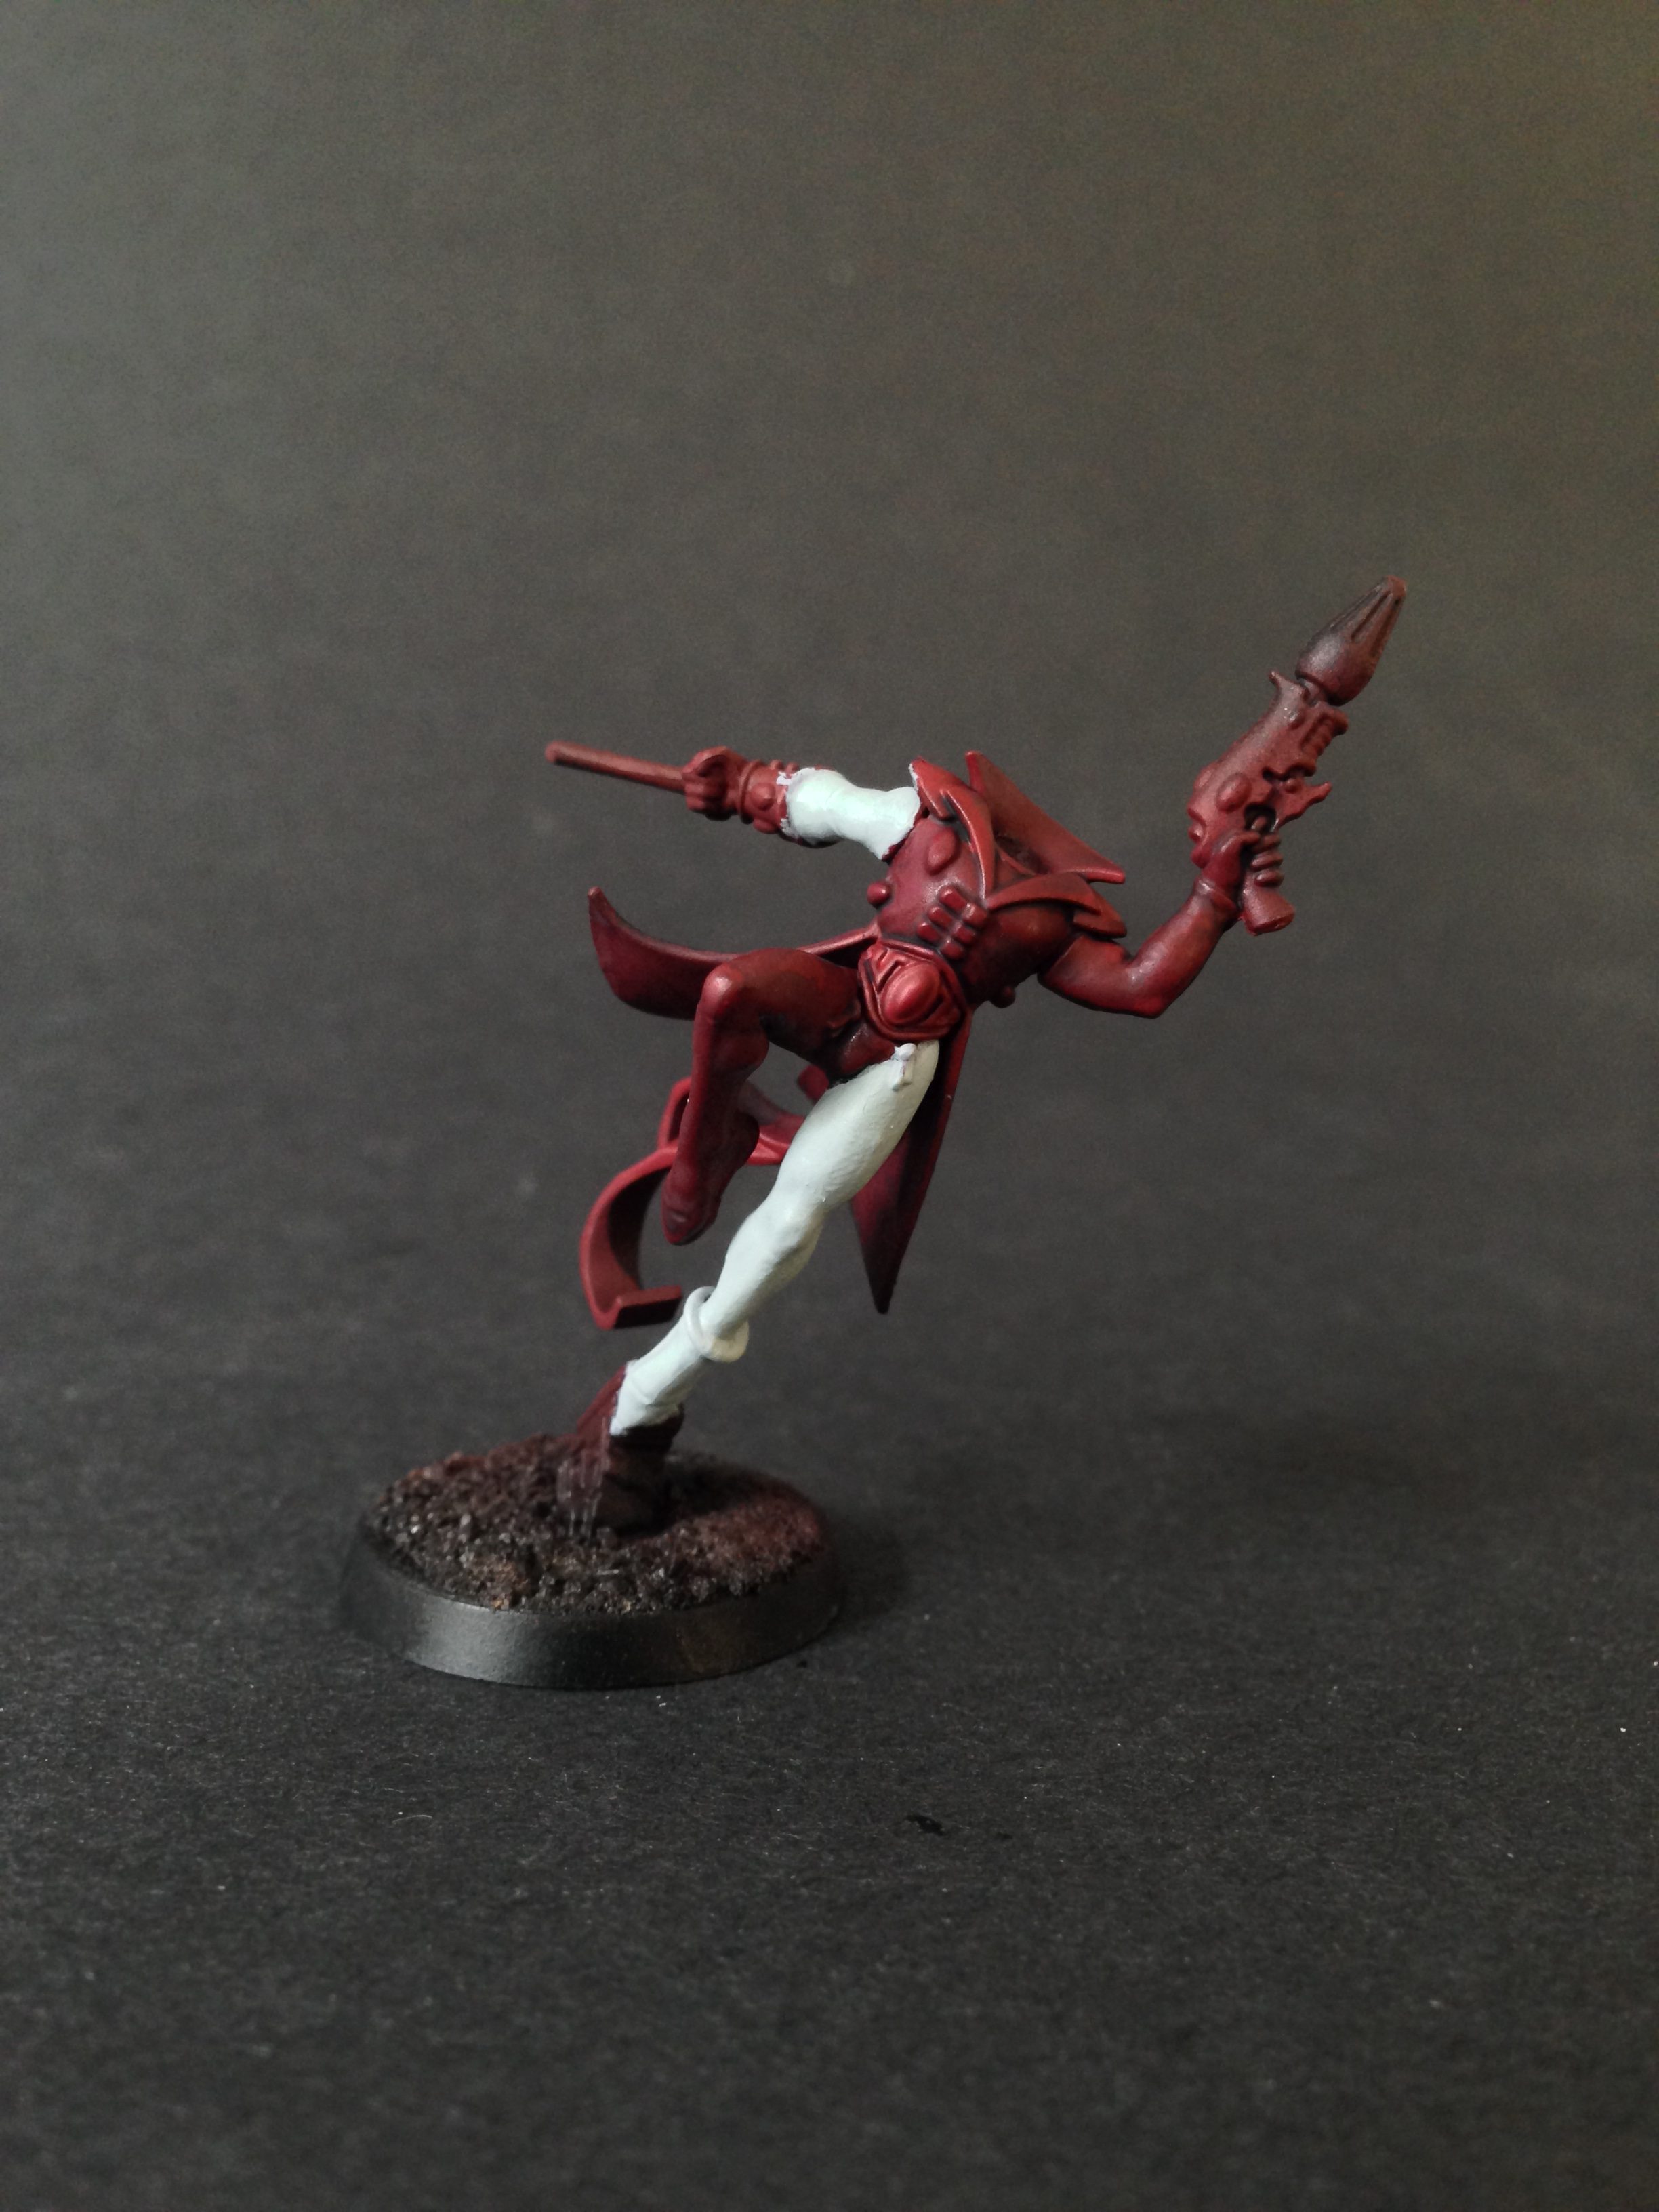
STEP 2
Lay down that first diamonds. My advice is to lay down the diamond that will establish the central chain of diamonds on the front of the model. In this case going down the center of the leg. Take your time and make sure the placement and size is to your liking.
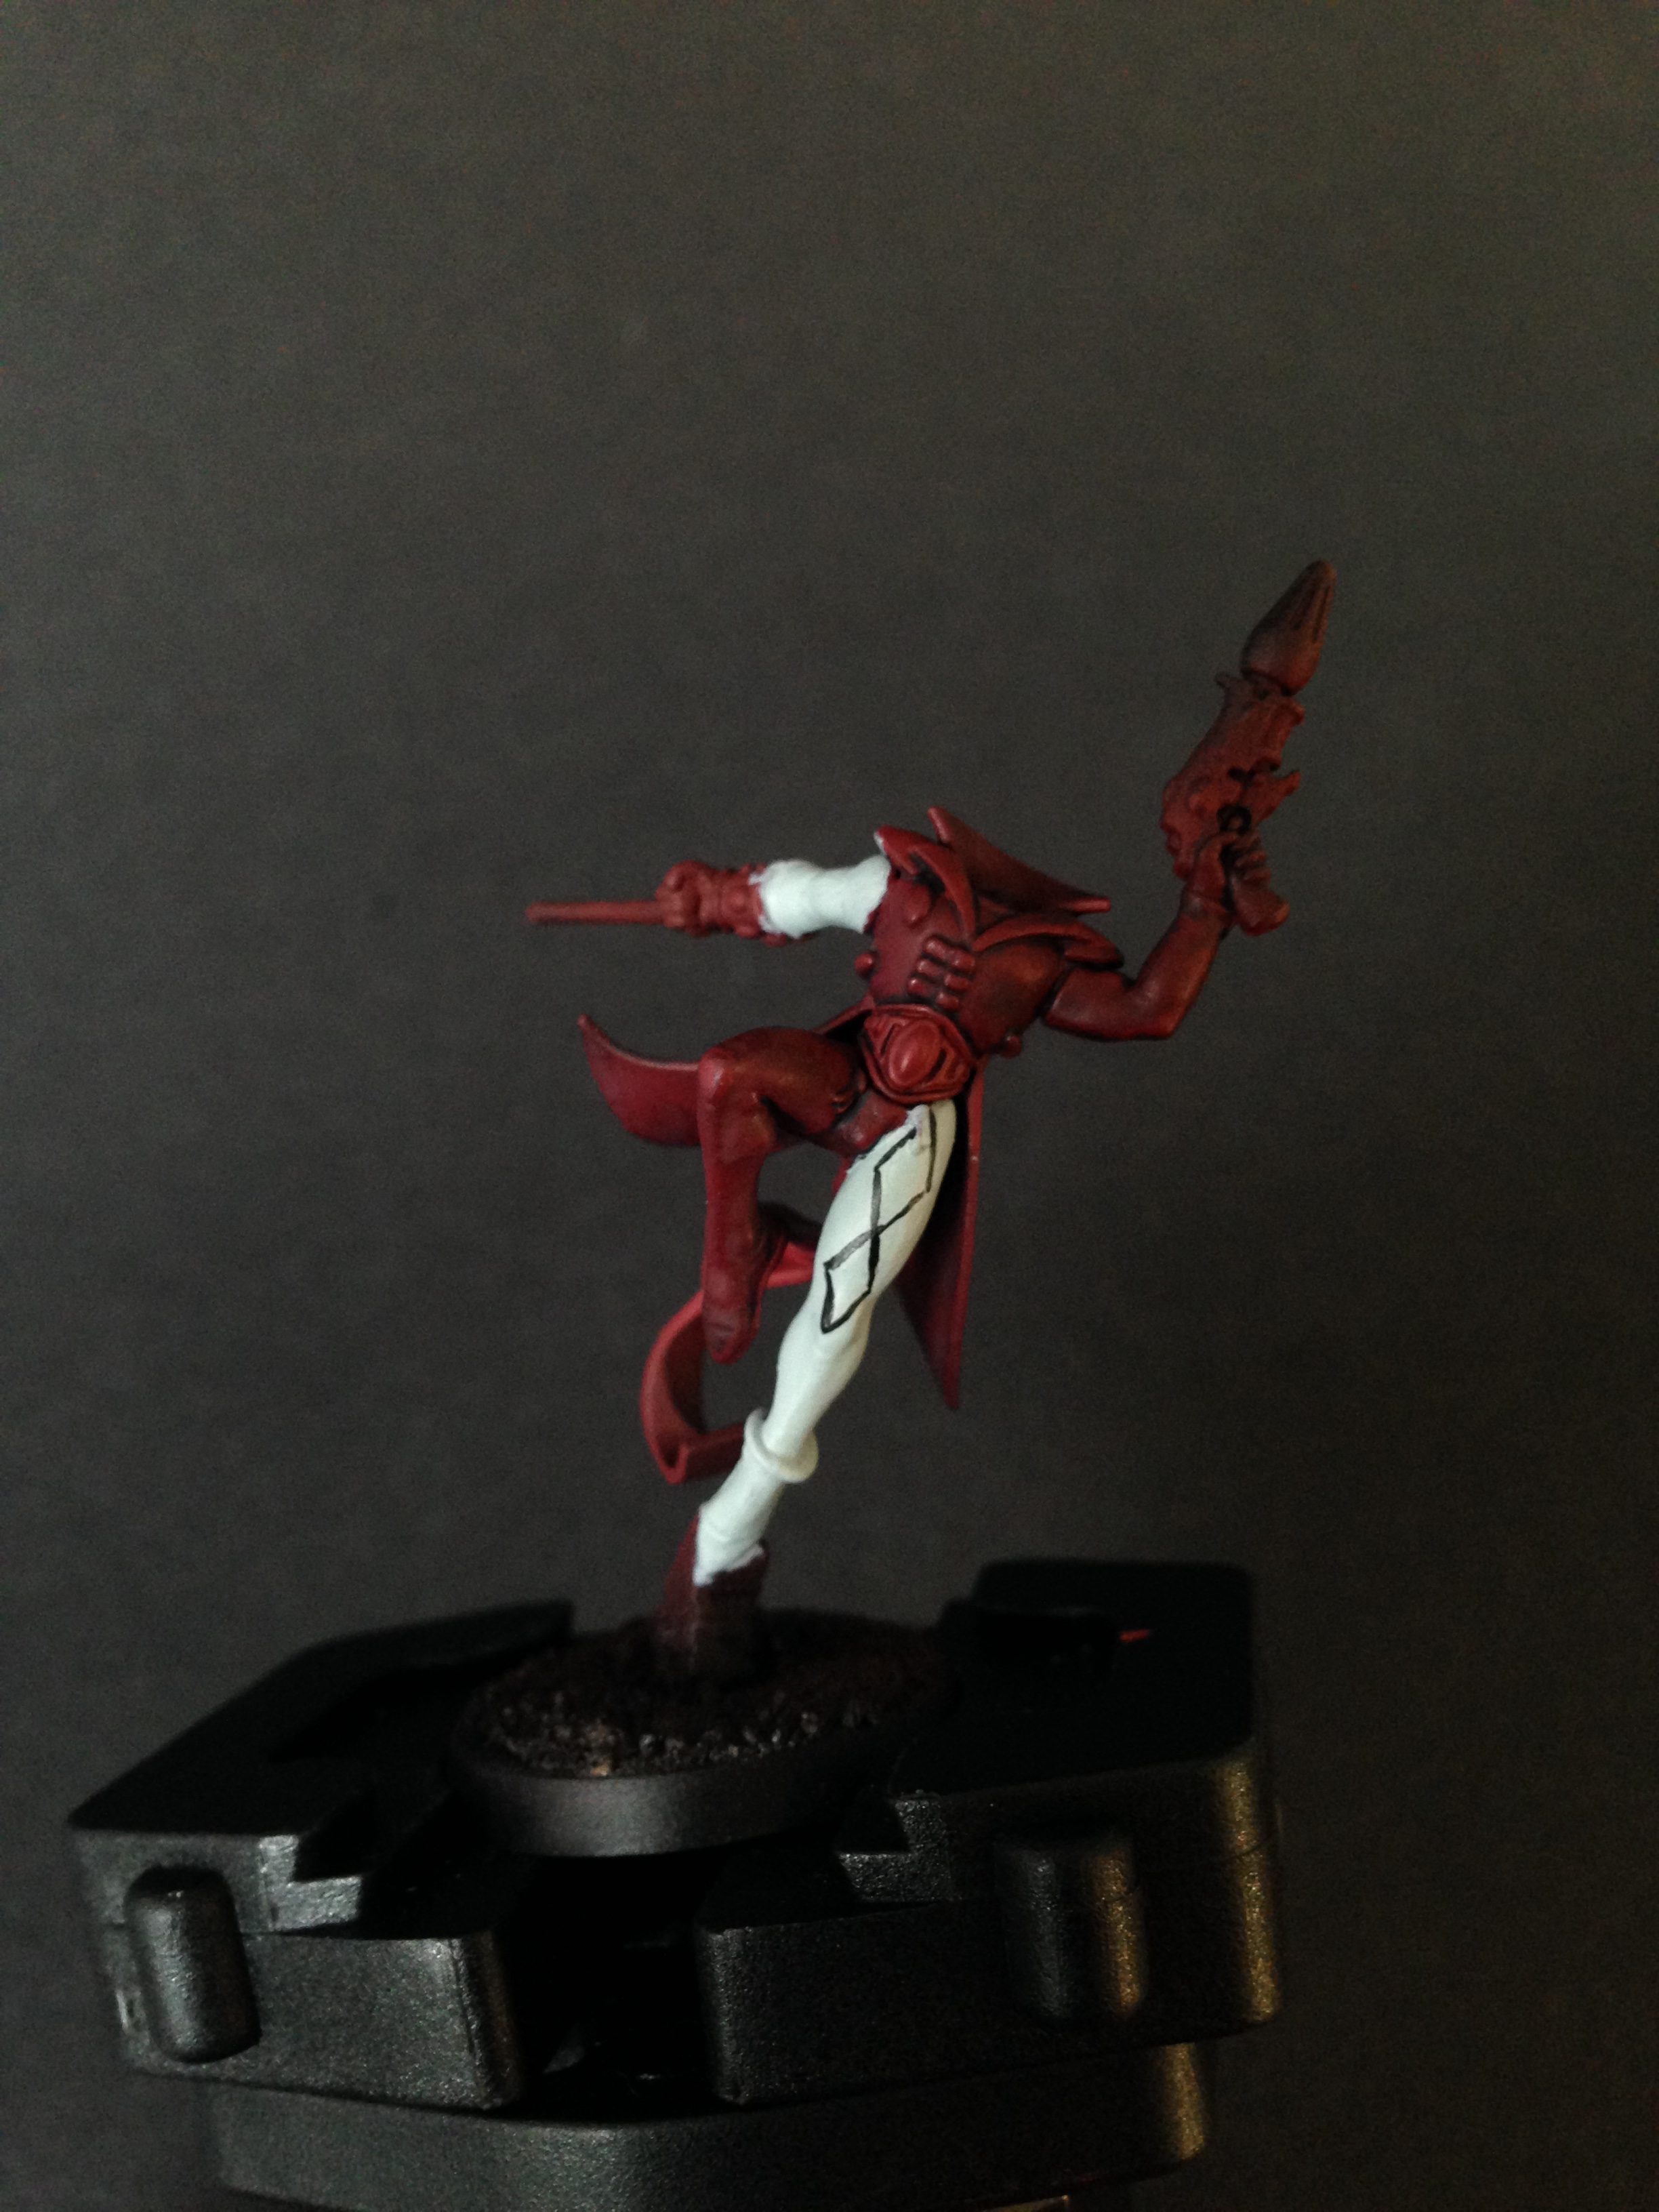
STEP 3
Establish the grid and fill in a few diamonds to get a feel for how it’ll look across the model. This step will give you a little preview of the finished product. So if you find the colors you chose are a nightmare, or the size is wrong, this’ll give you a chance to bail out or proceed forward. It is at this step that you’ll feel the advantage of my approach as each diamond doesn’t need to be a perfect replica of the others to convey a nice clean diamond pattern, as you can make minor adjustments in size and angle in tough areas of the model (like under the coat, or where the pattern meets the belt).
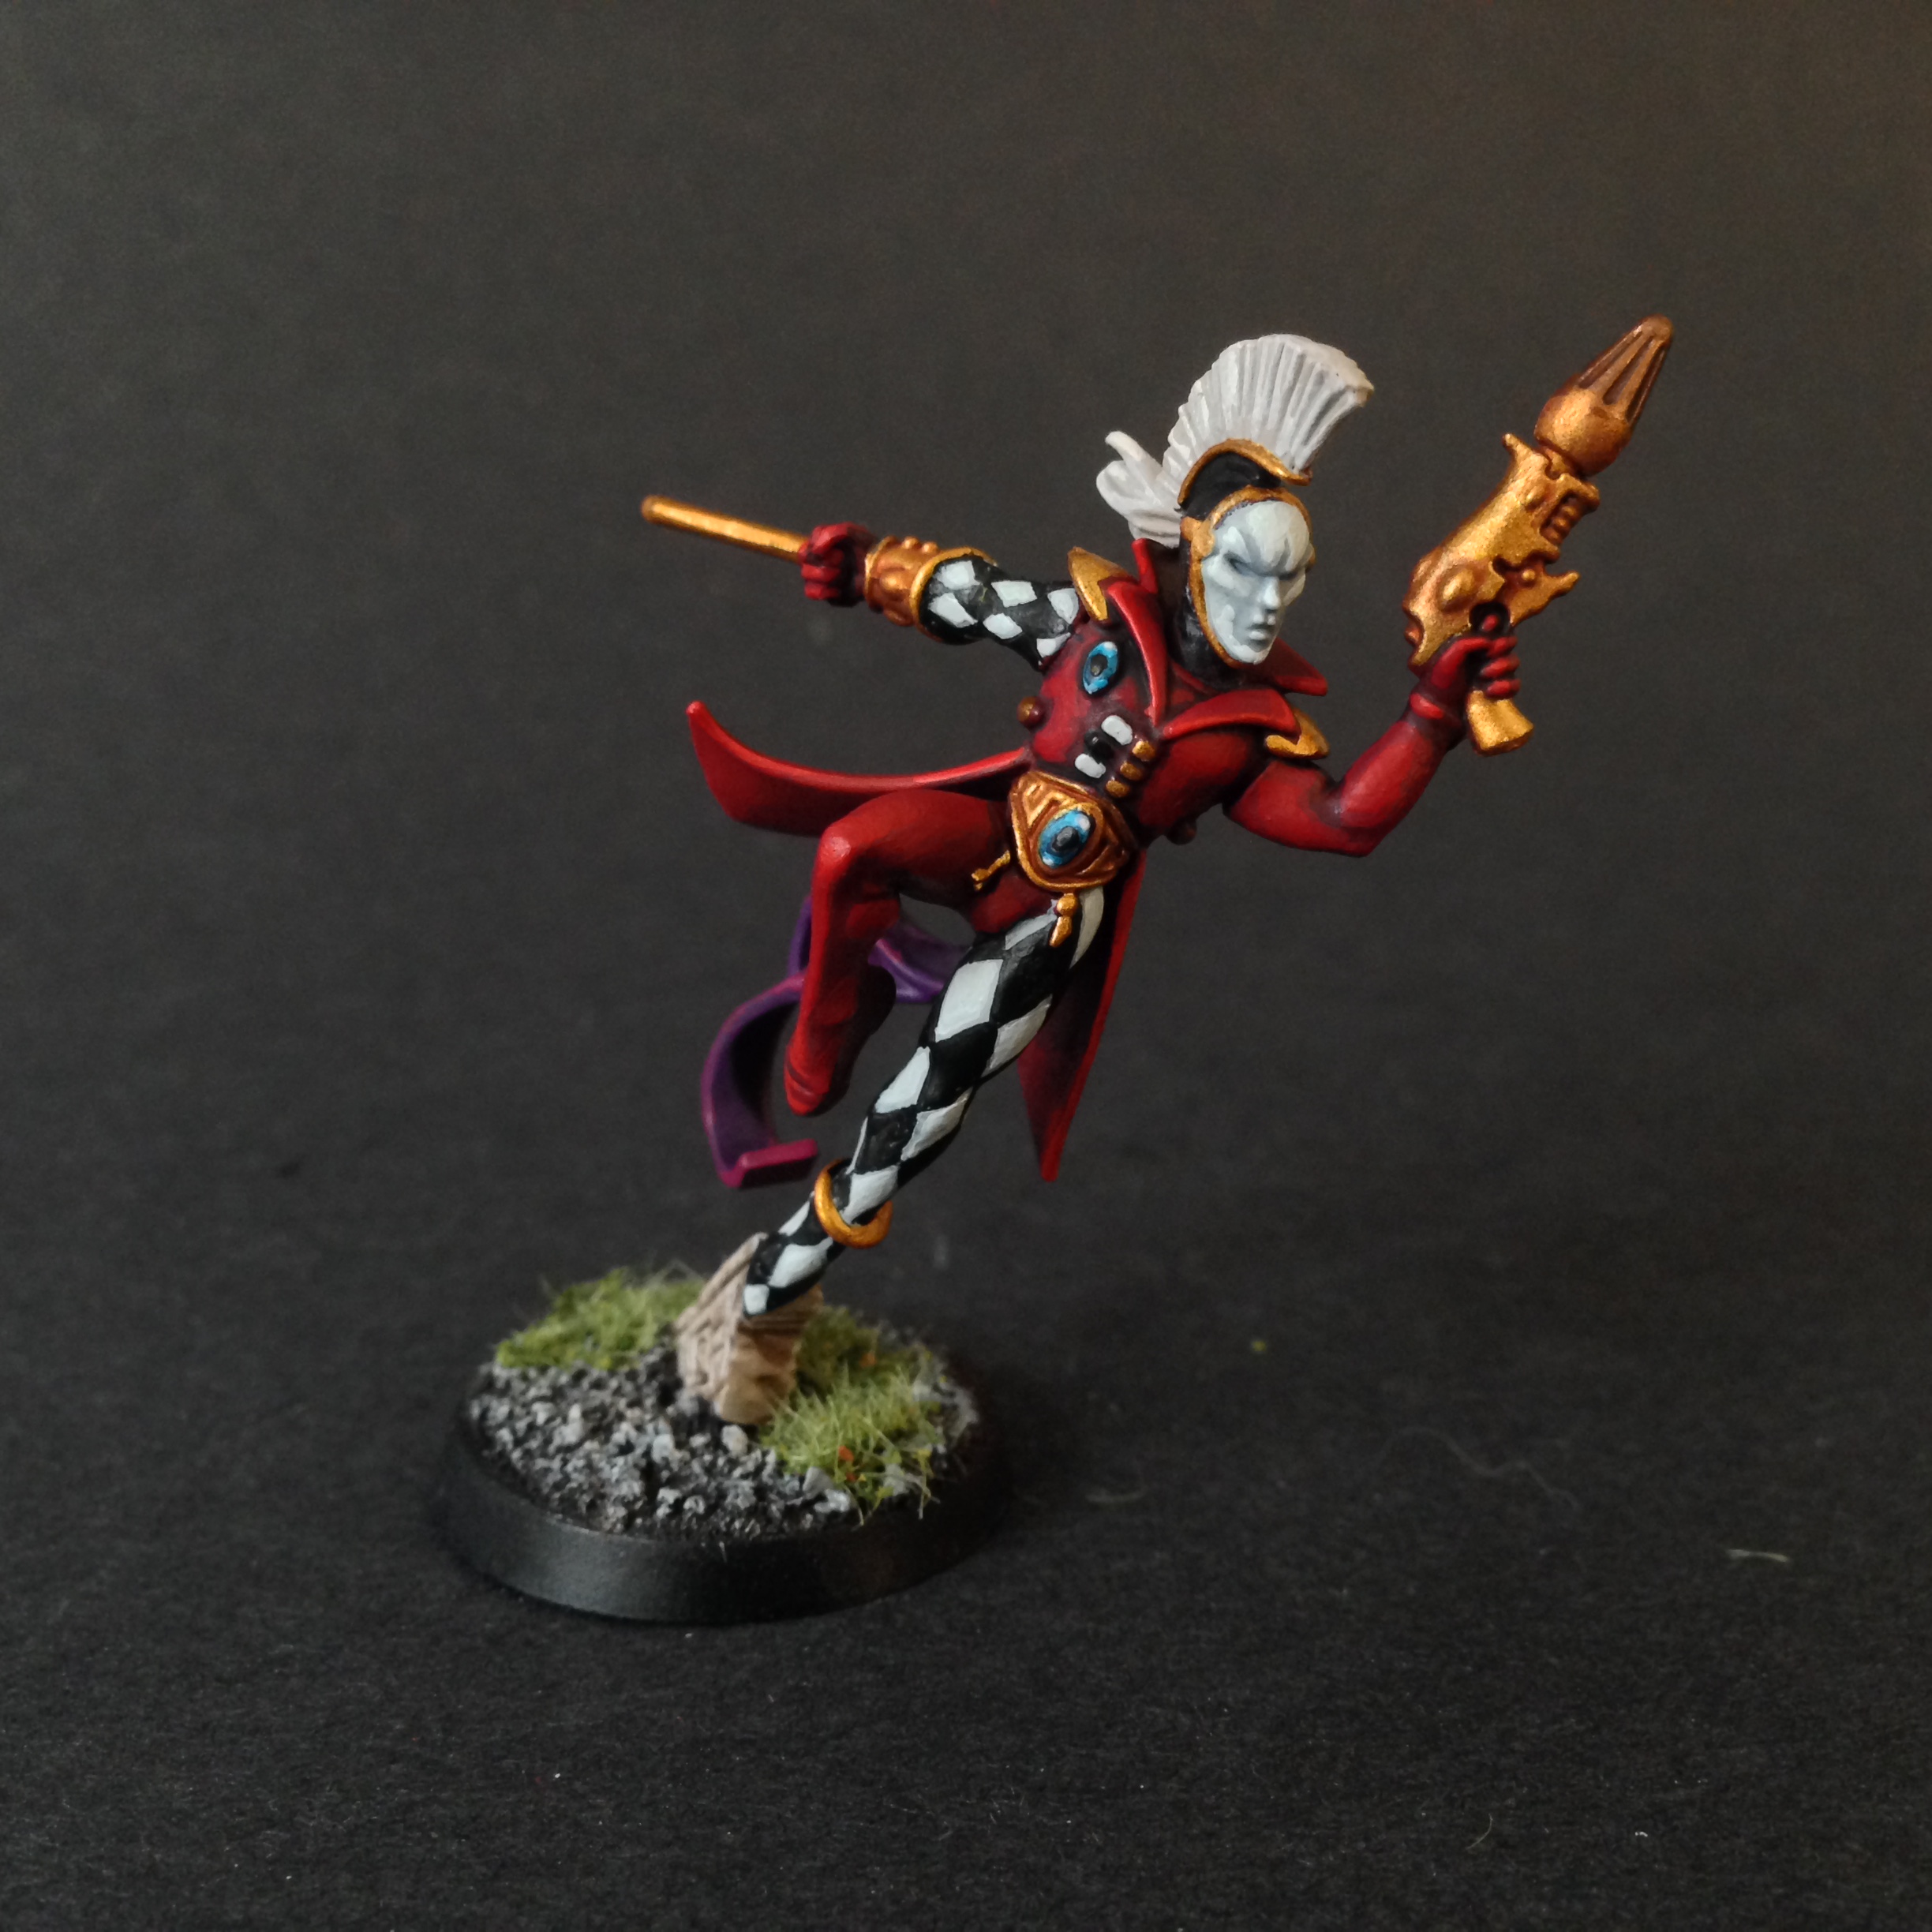
STEP 4
Complete the grid and highlight! In my case since I wanted a pure black and white scheme so I opted to forgo highlighting the diamonds. However I brightened up that Celestra Grey diamonds, filling them in with pure Ulthuan Grey, the exact color match of Corax White primer. This is one my biggest secrets to get pure white on my models with out using Ceramite or Skull White which are fickle beasts.
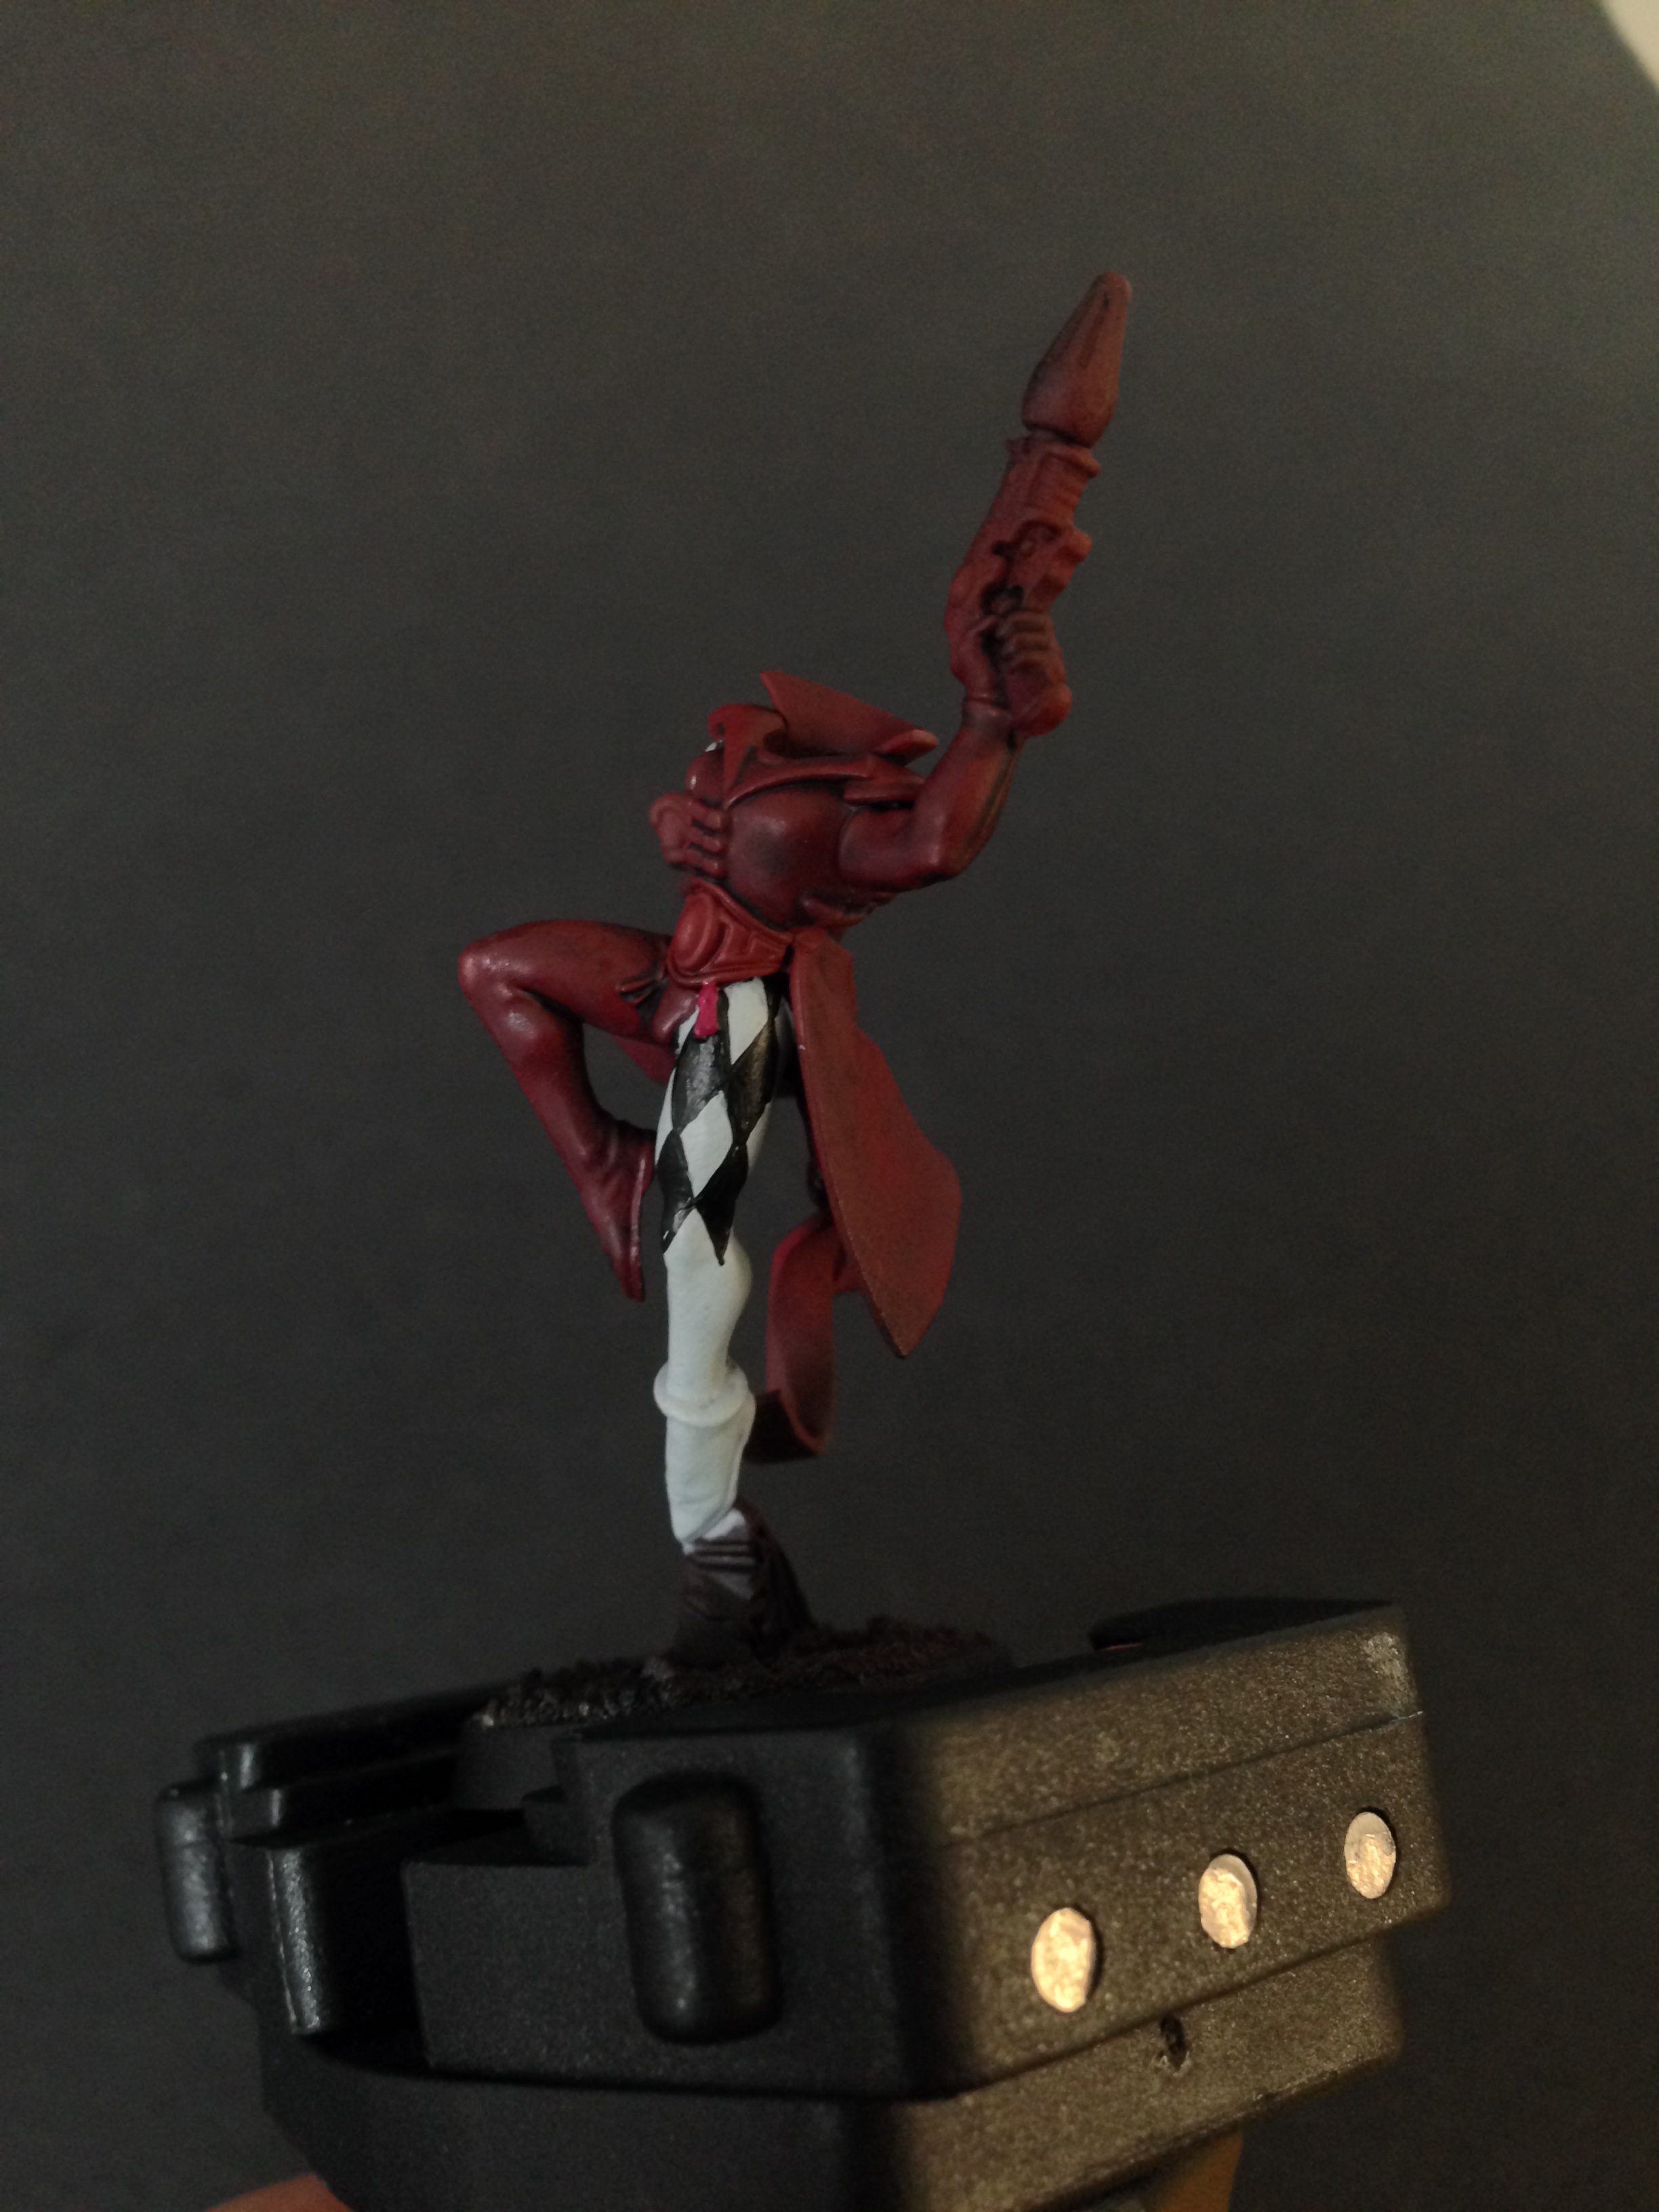
STEP 5
Repeat the pattern on any other areas of the model that you want rocking those diamonds, then paint the rest of the model! For those curious as to my approach on the red and gold, you can refer back to this article on all those tips and tricks.
Conclusion
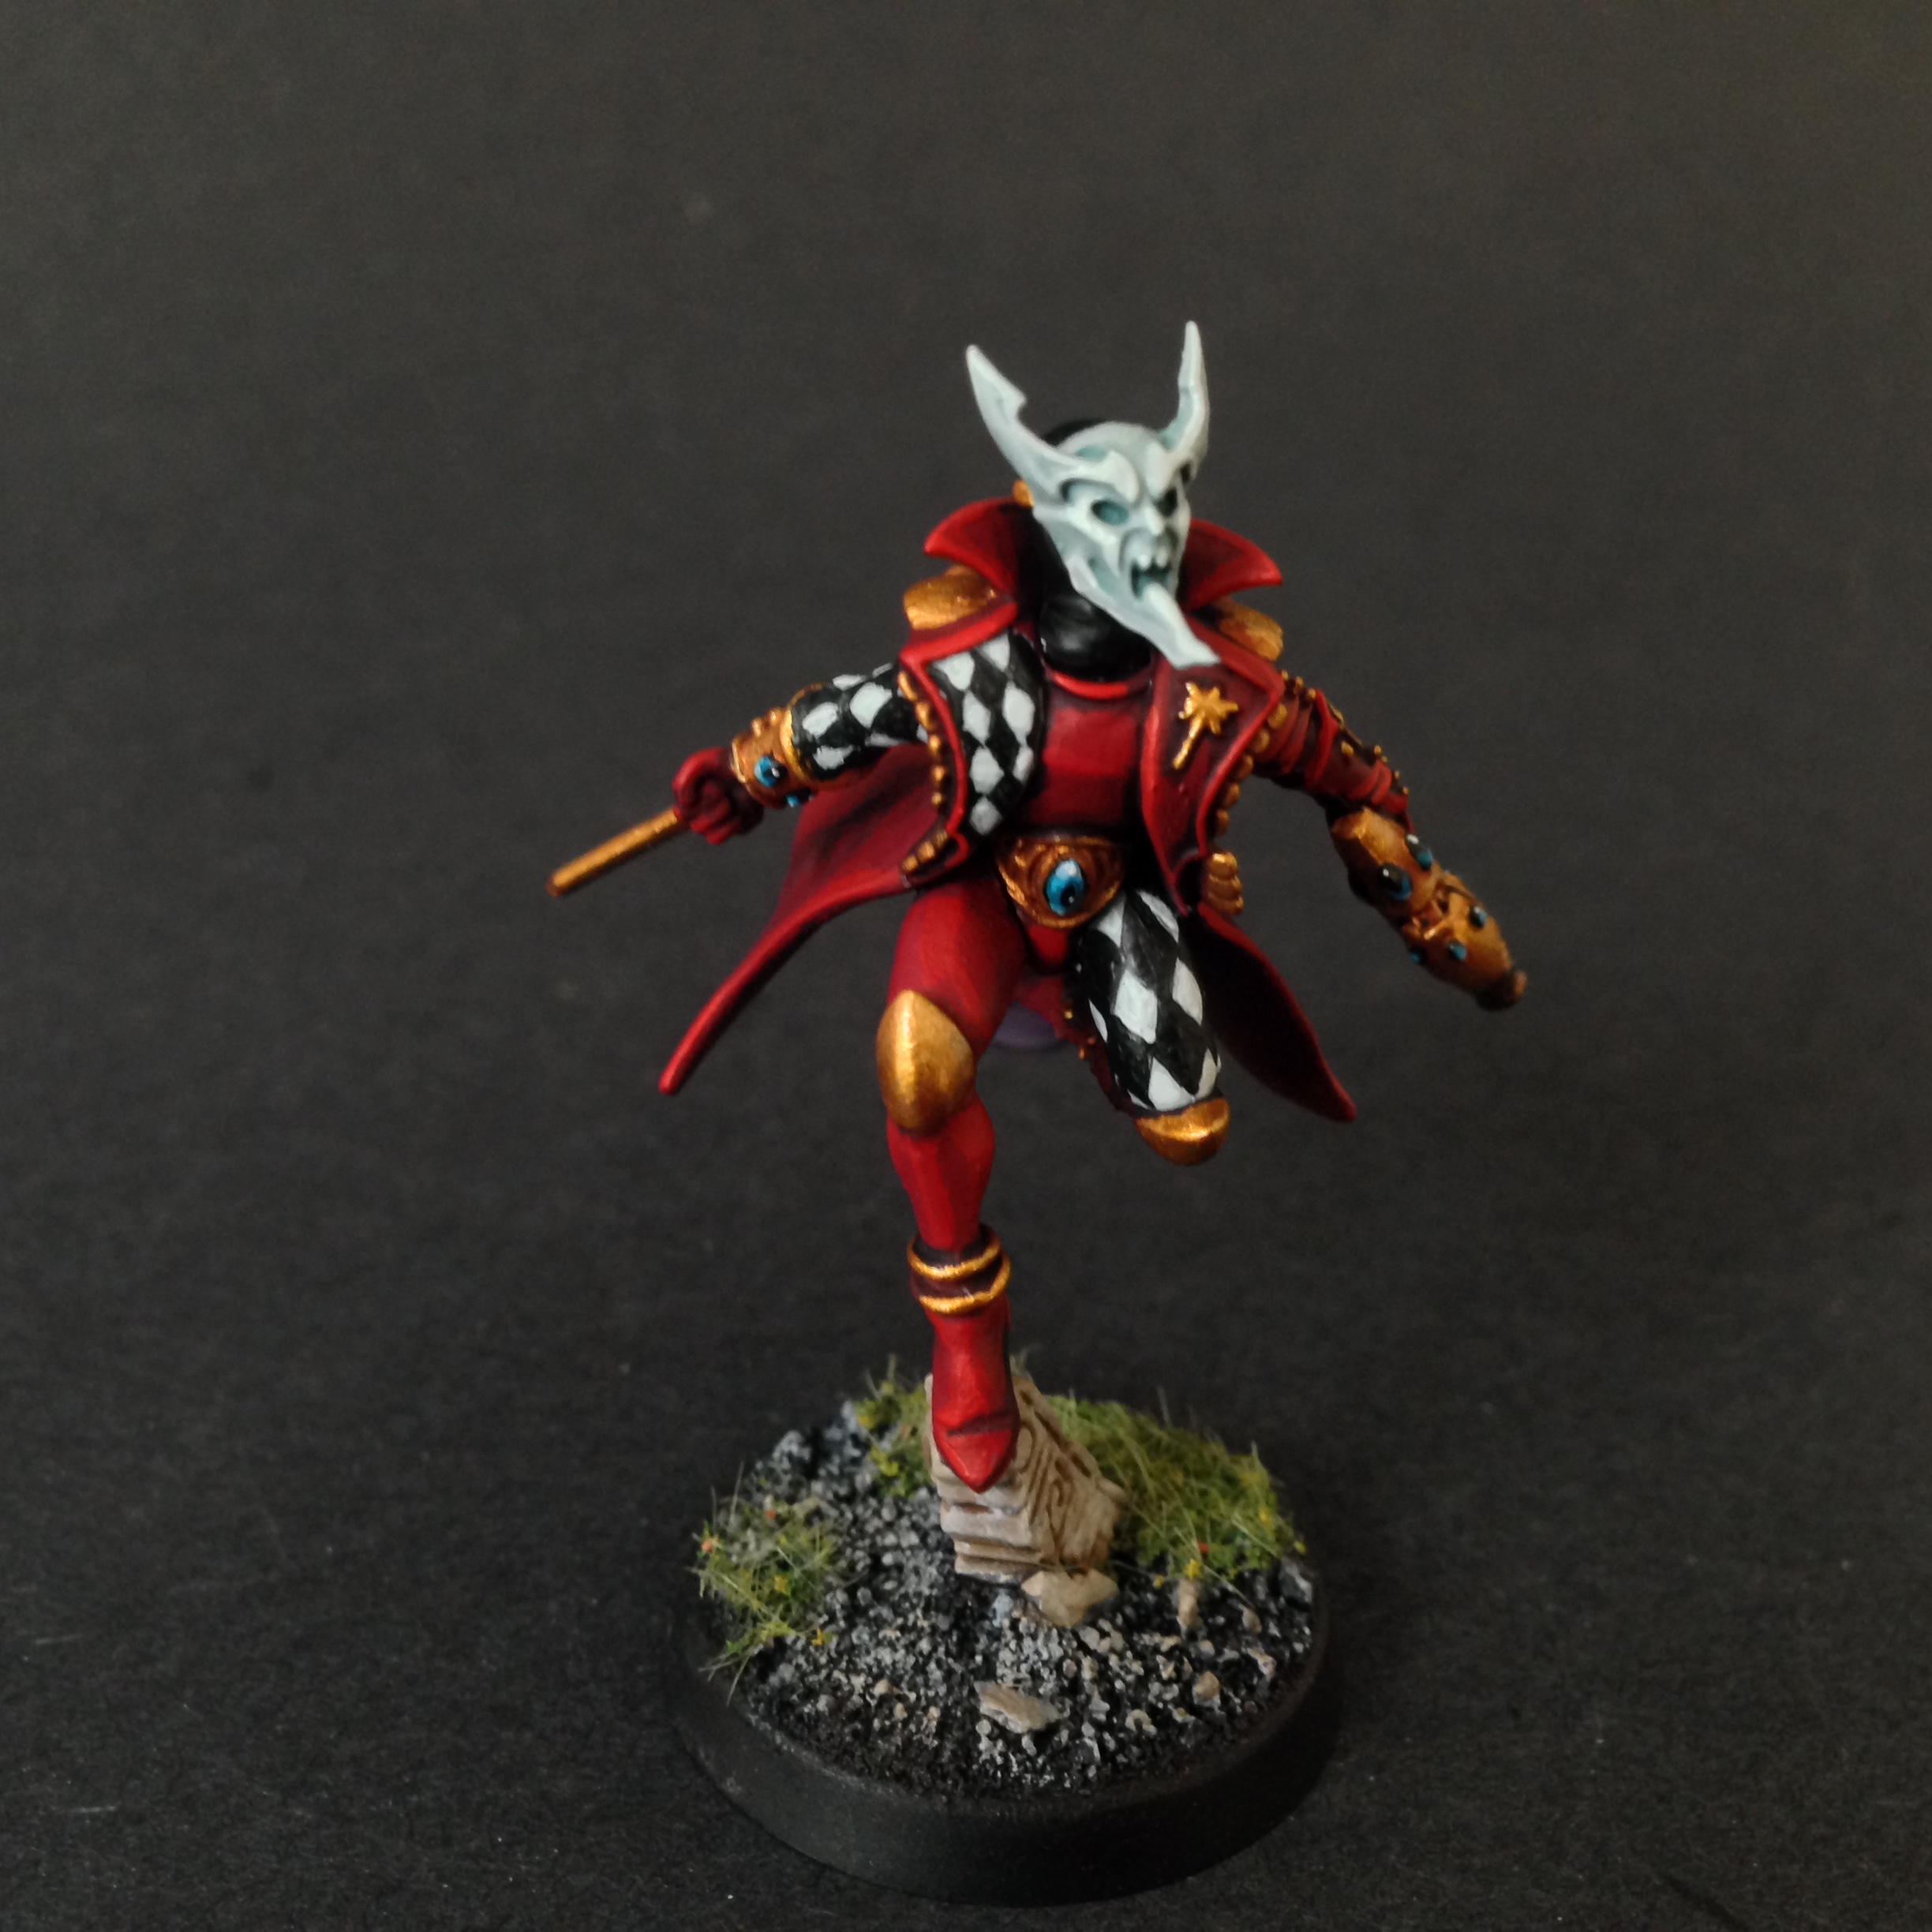
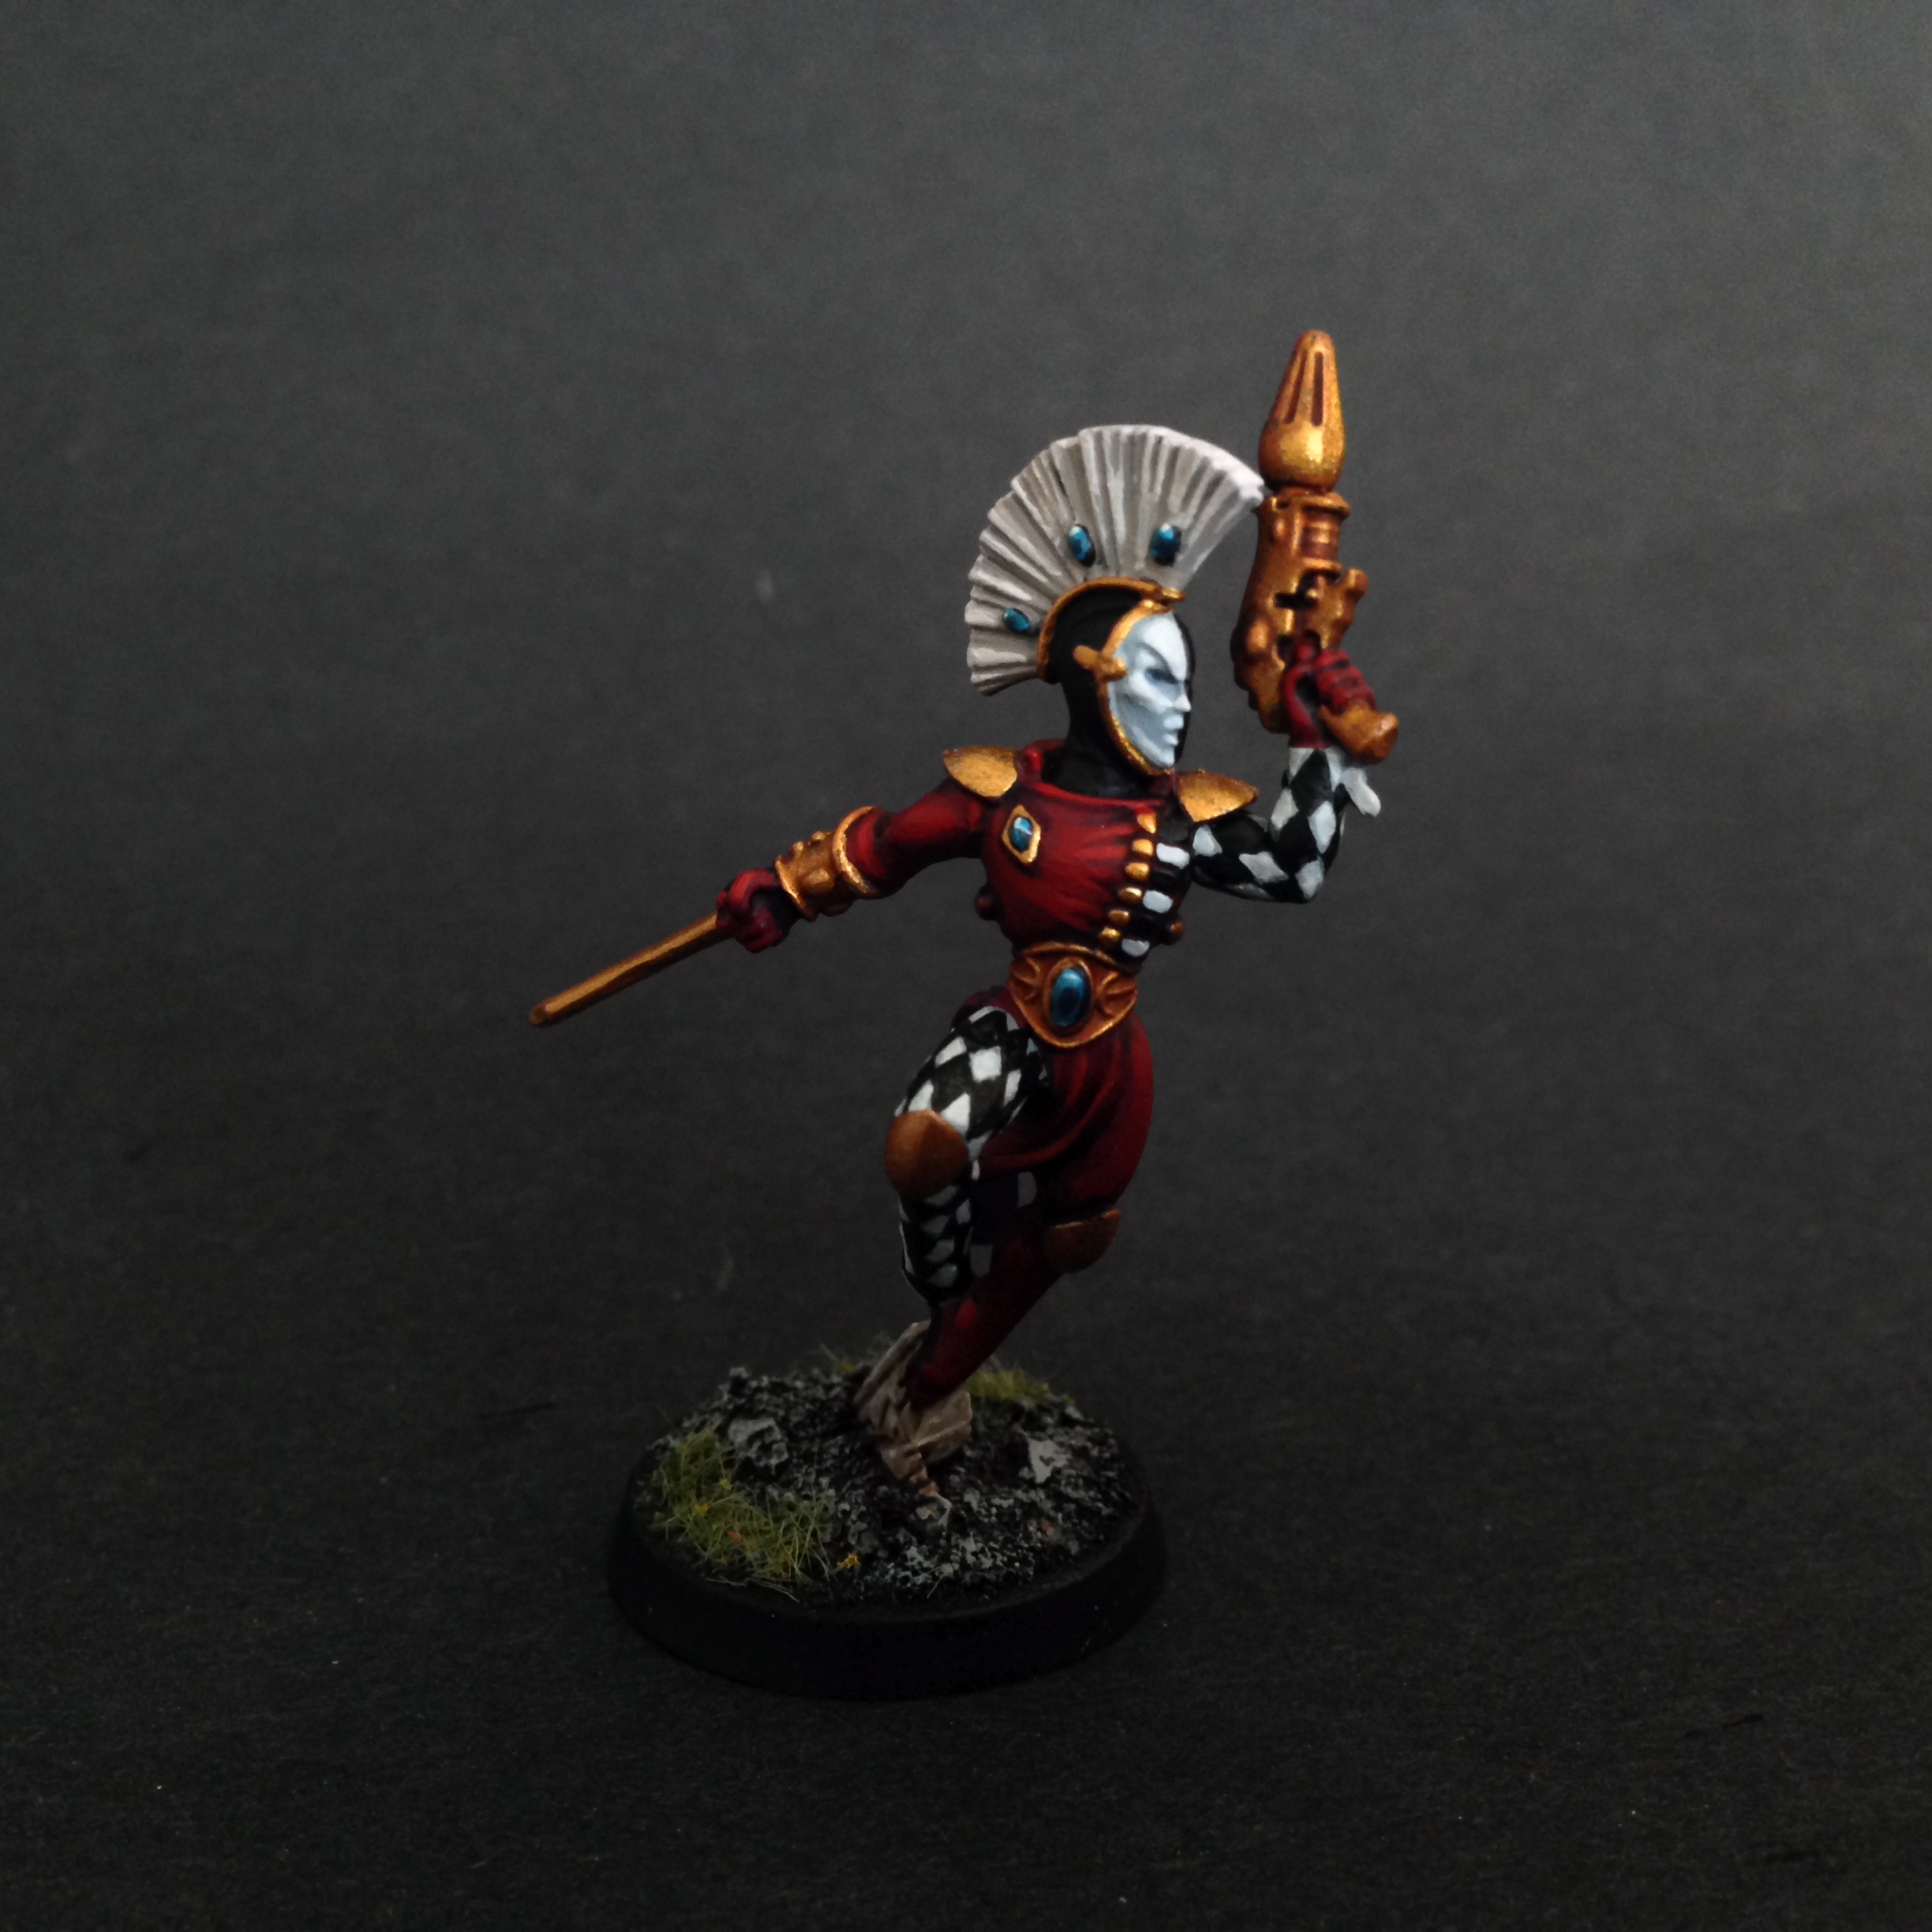
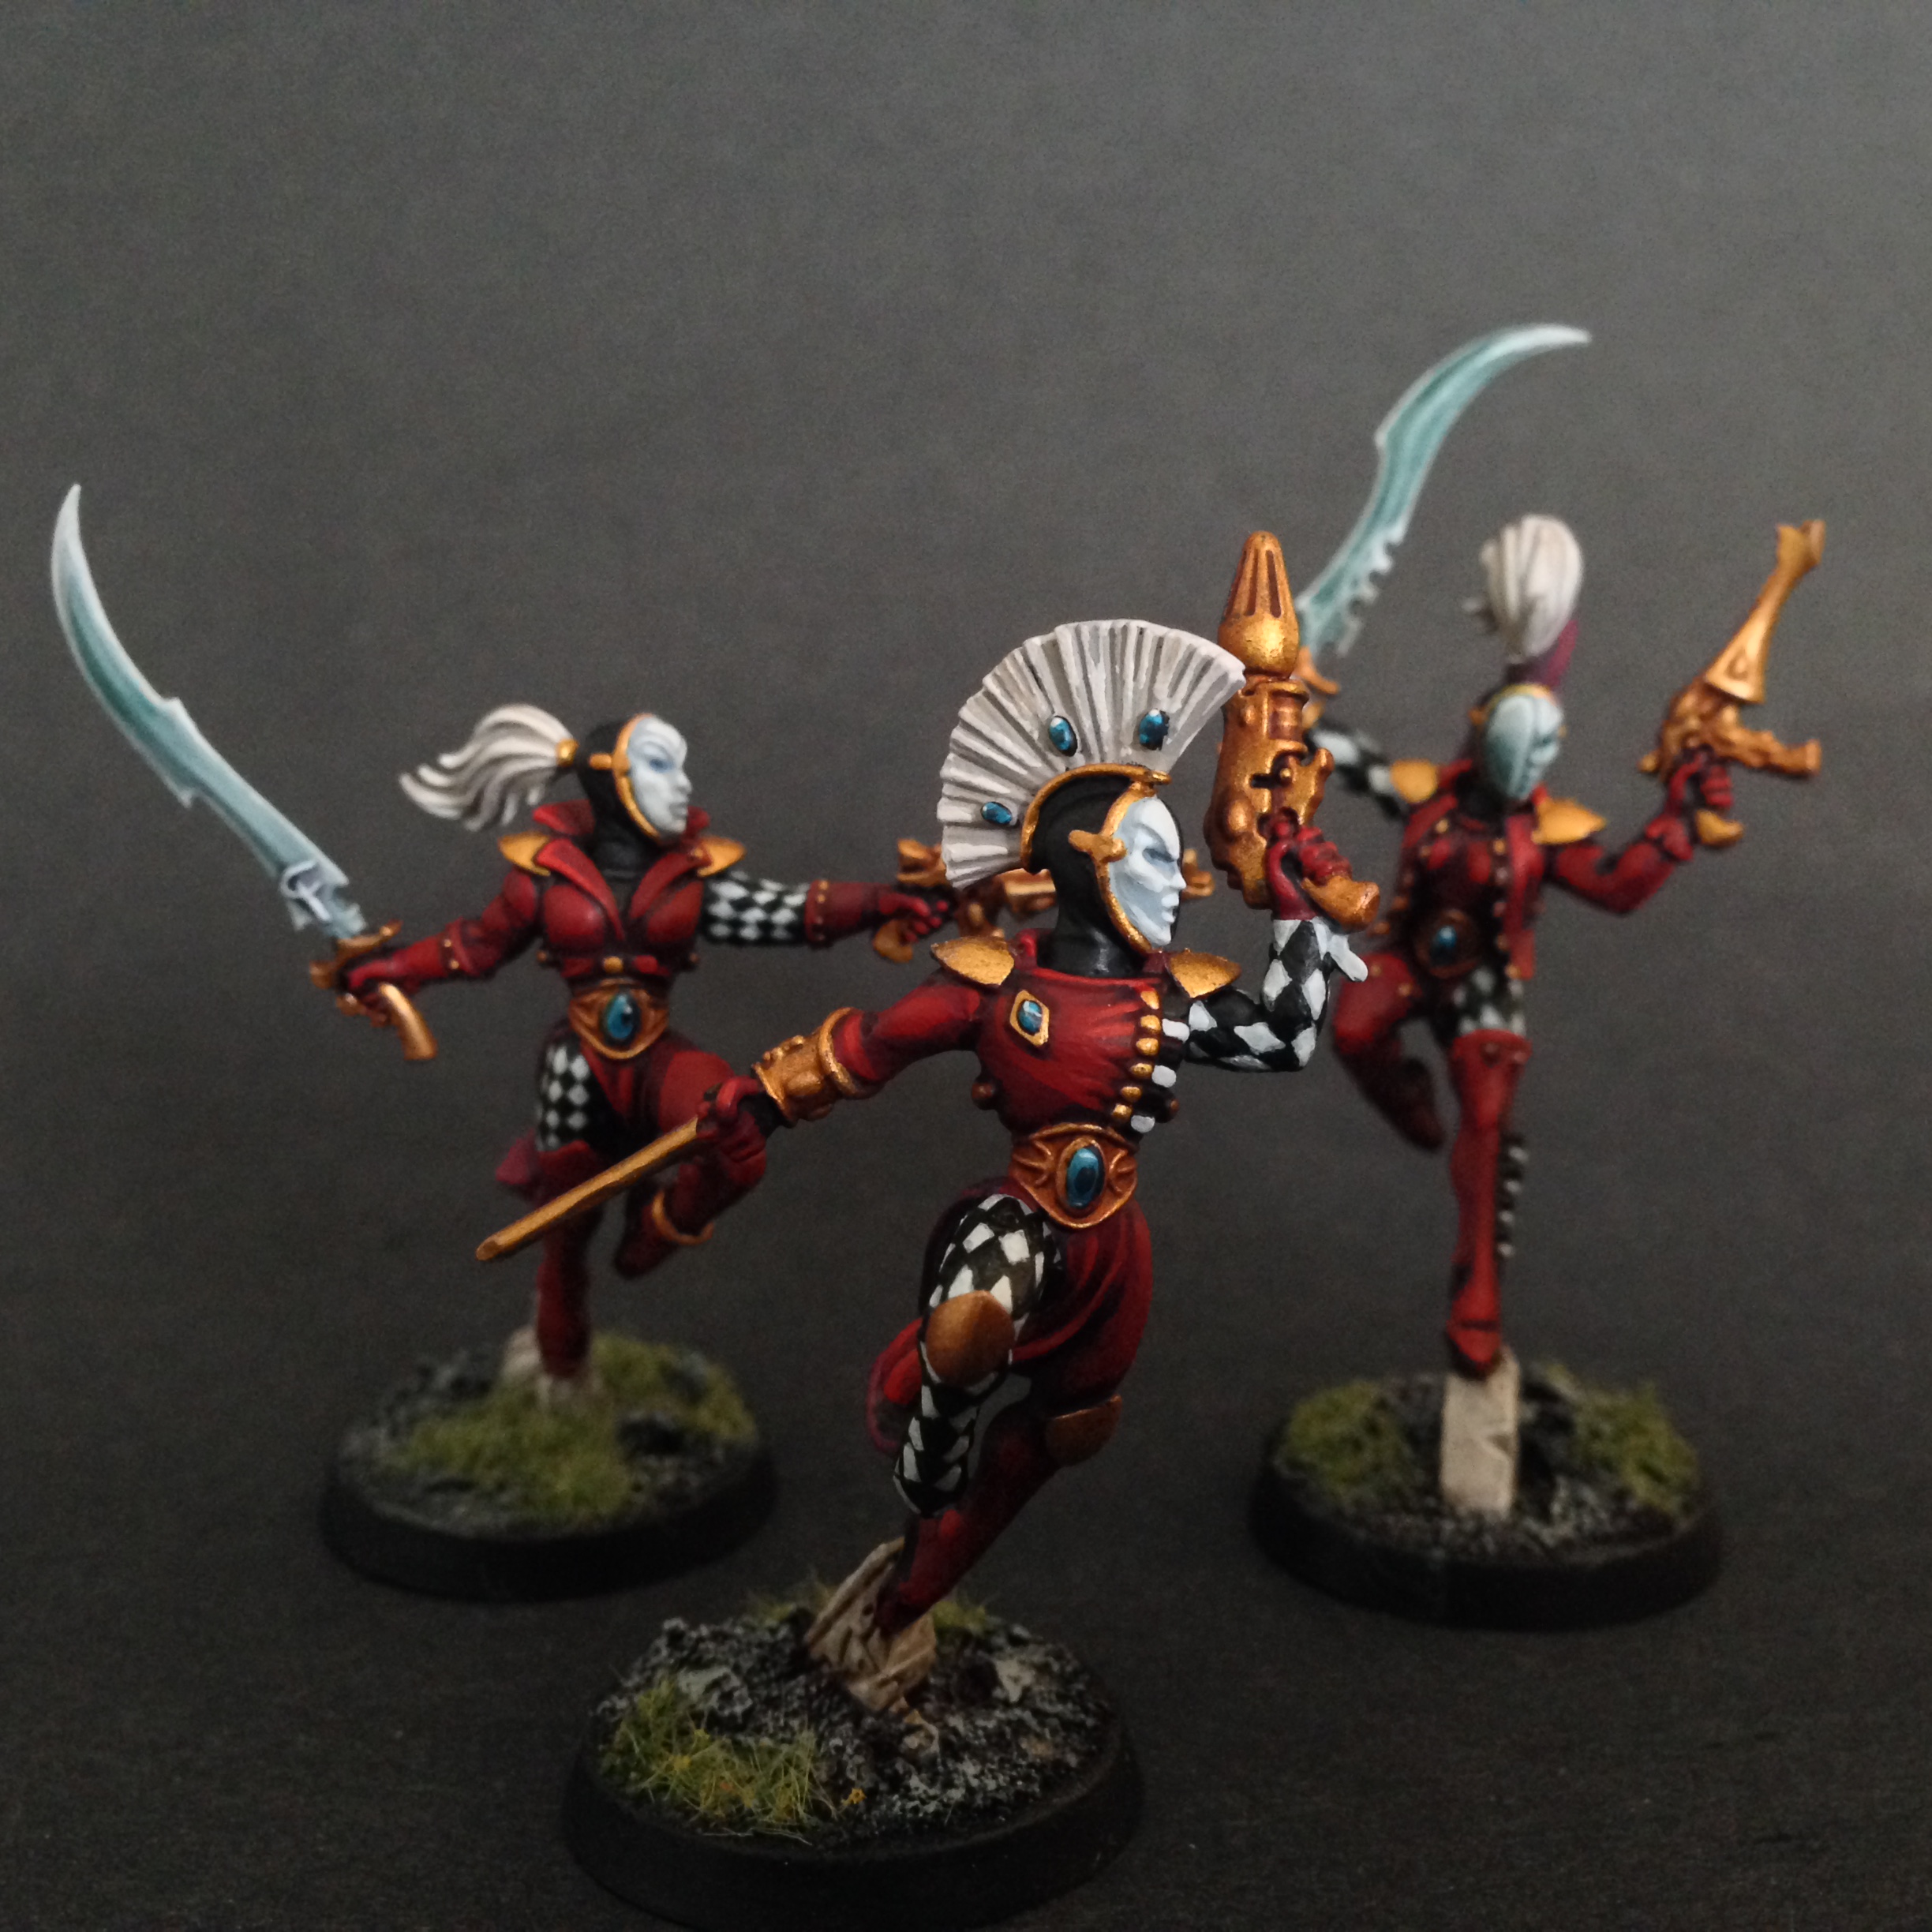
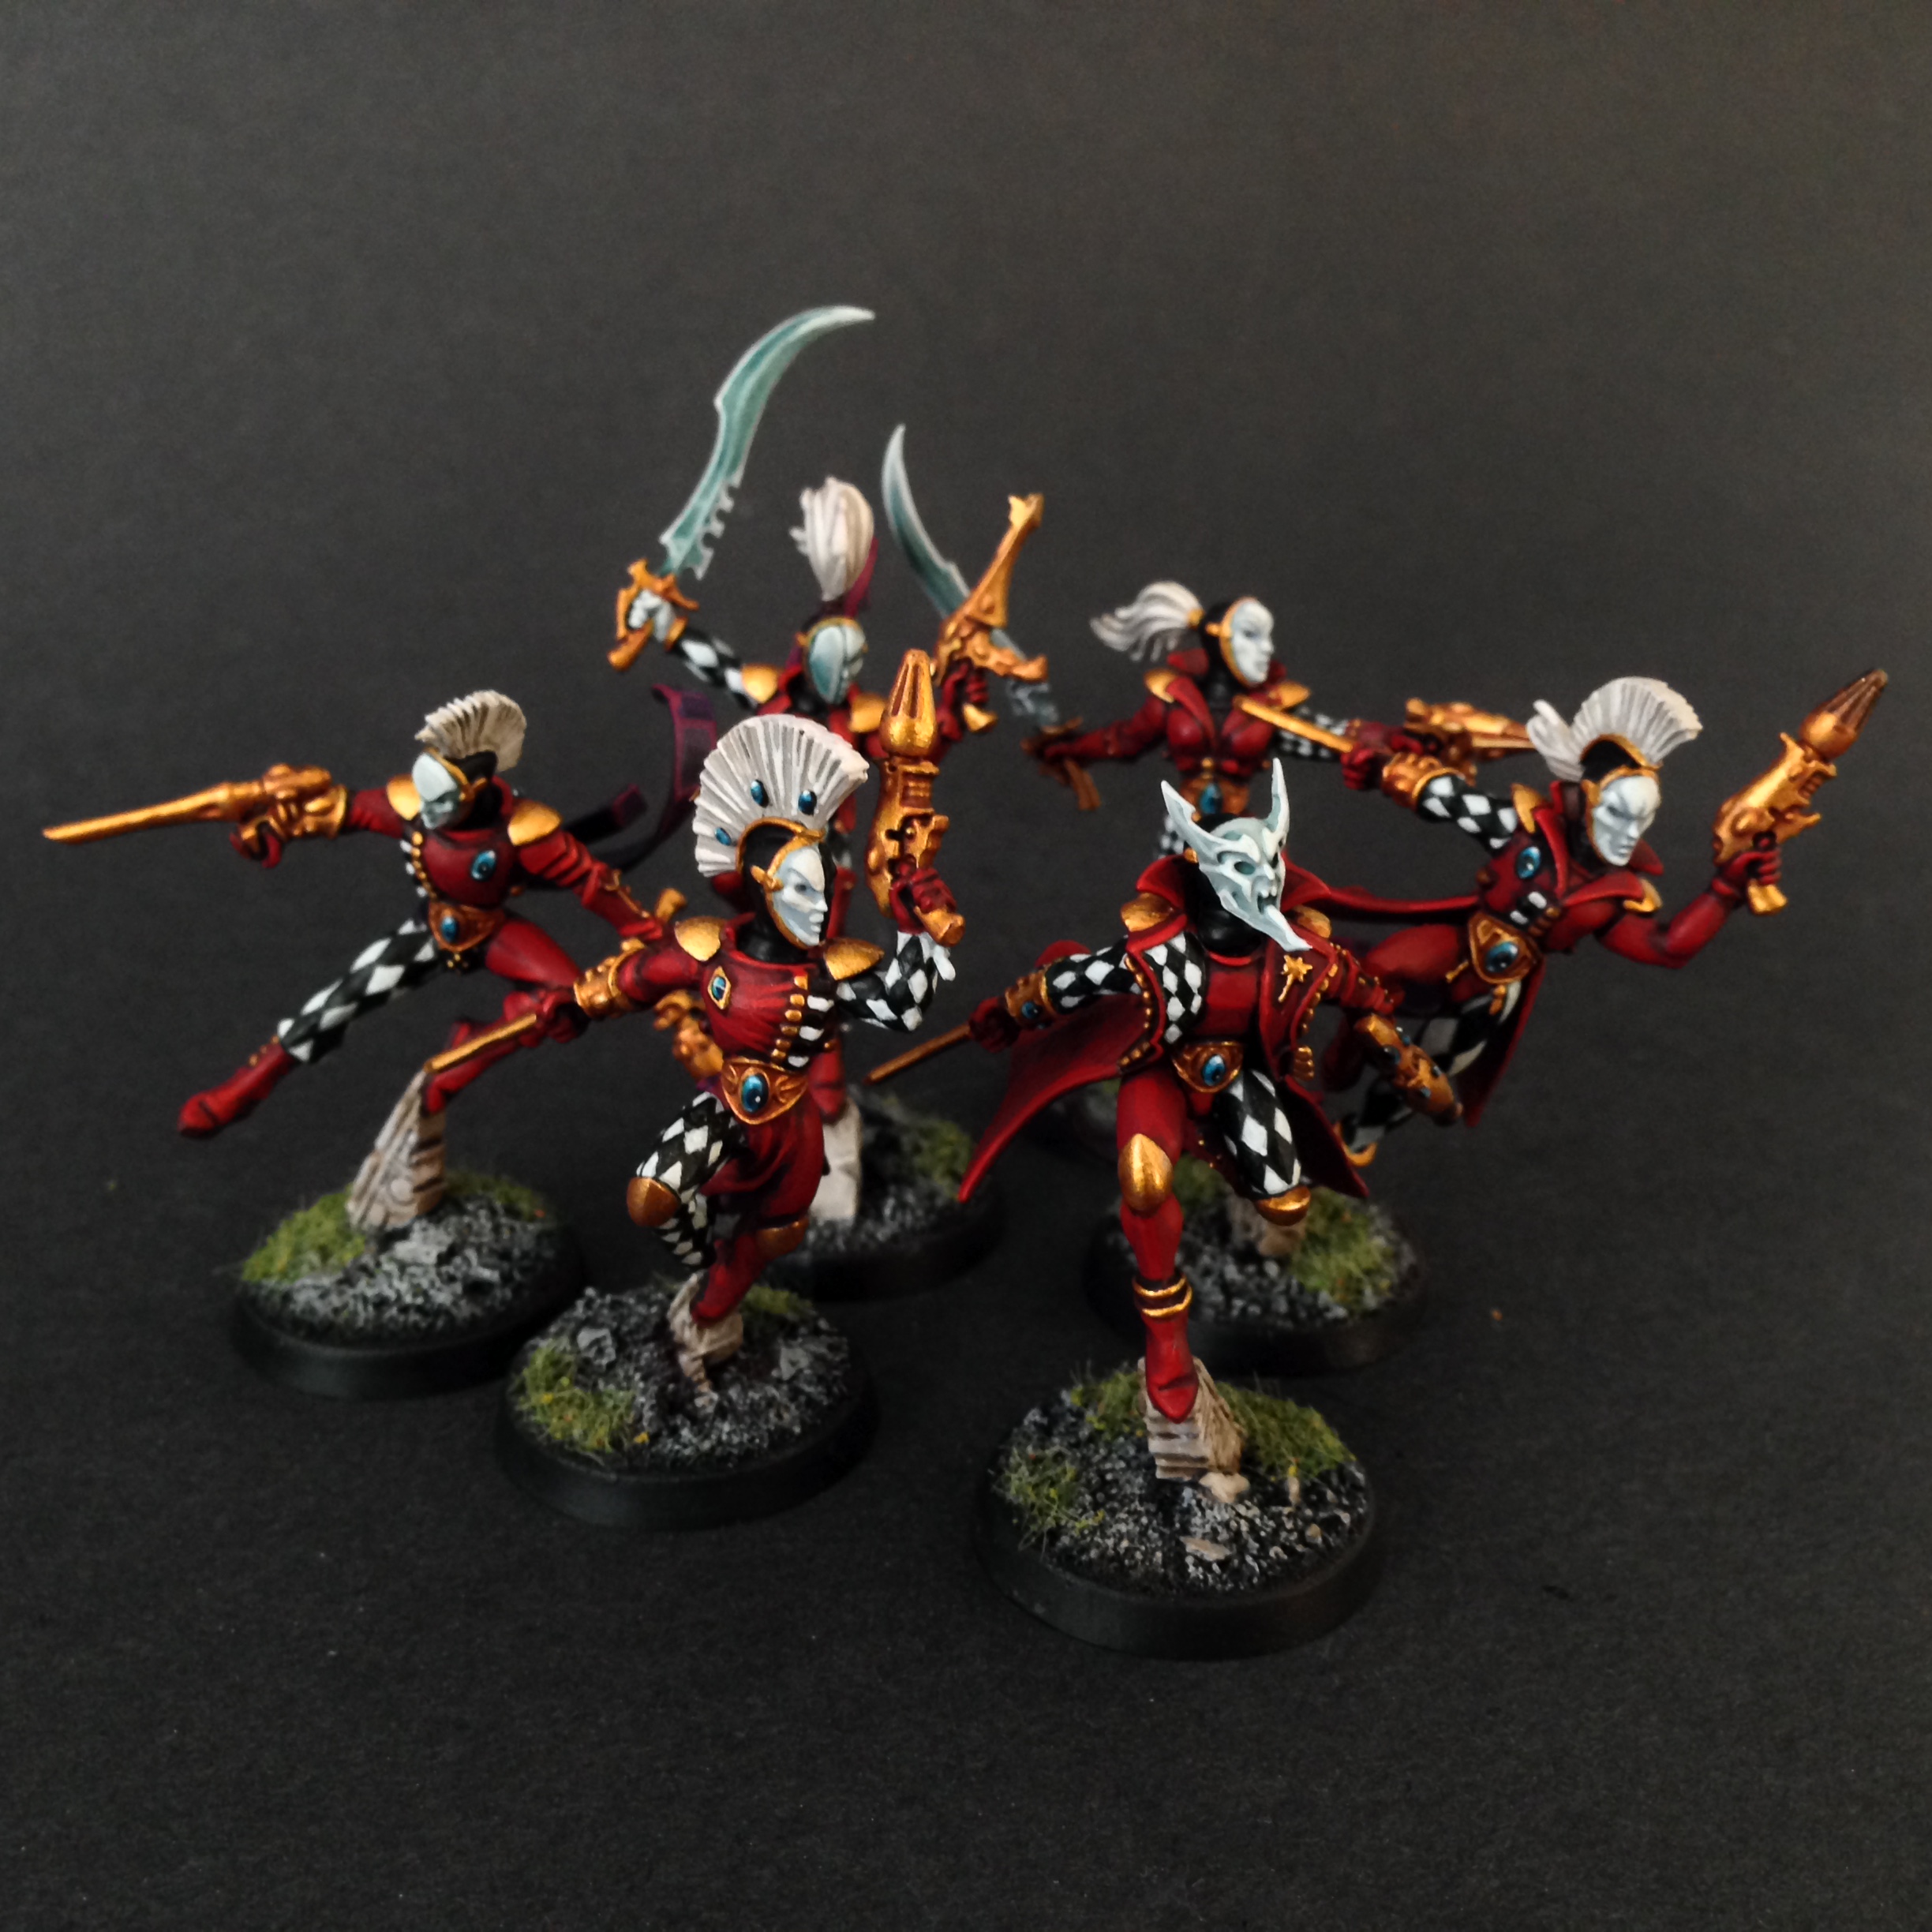
So after many tears of Isha were wept in frustartion, I figured out this approach and was able to finish up my a Troupe Master + 5 Troupes resulting in my first mini-detachment of Harlequins!
My Troupe Master- By far my fave dude so far
So I hope you guys found this article useful. It was definitley a challenge finding an approach that works for me, but hopefully this’ll save you some of the growing pains. Big ups to my fellow battle-bros over the at the Splintermind Facebook page who’ve been getting it done with us in our Harlequin painting challenge. For inspiration head over there and check out the amazing work, especially by Richard McManus!
Next up in the series is how to paint the Starweaver using a stencil! This’ll be a first time for me so hopefully it’ll help all my fellow newbies out there, so stay tuned for that.
Finally if you are interested in exclusive Dark Eldar and all things Aeldari coverage check out our podcast Splintermind the Dark Eldar Podcast, where we tactics, hobby, lore, interview Black Library authors all as it relates to the Eldar factions. Thanks for stopping by!
And remember, Frontline Gaming sells gaming products at a discount, every day in their webcart!


