
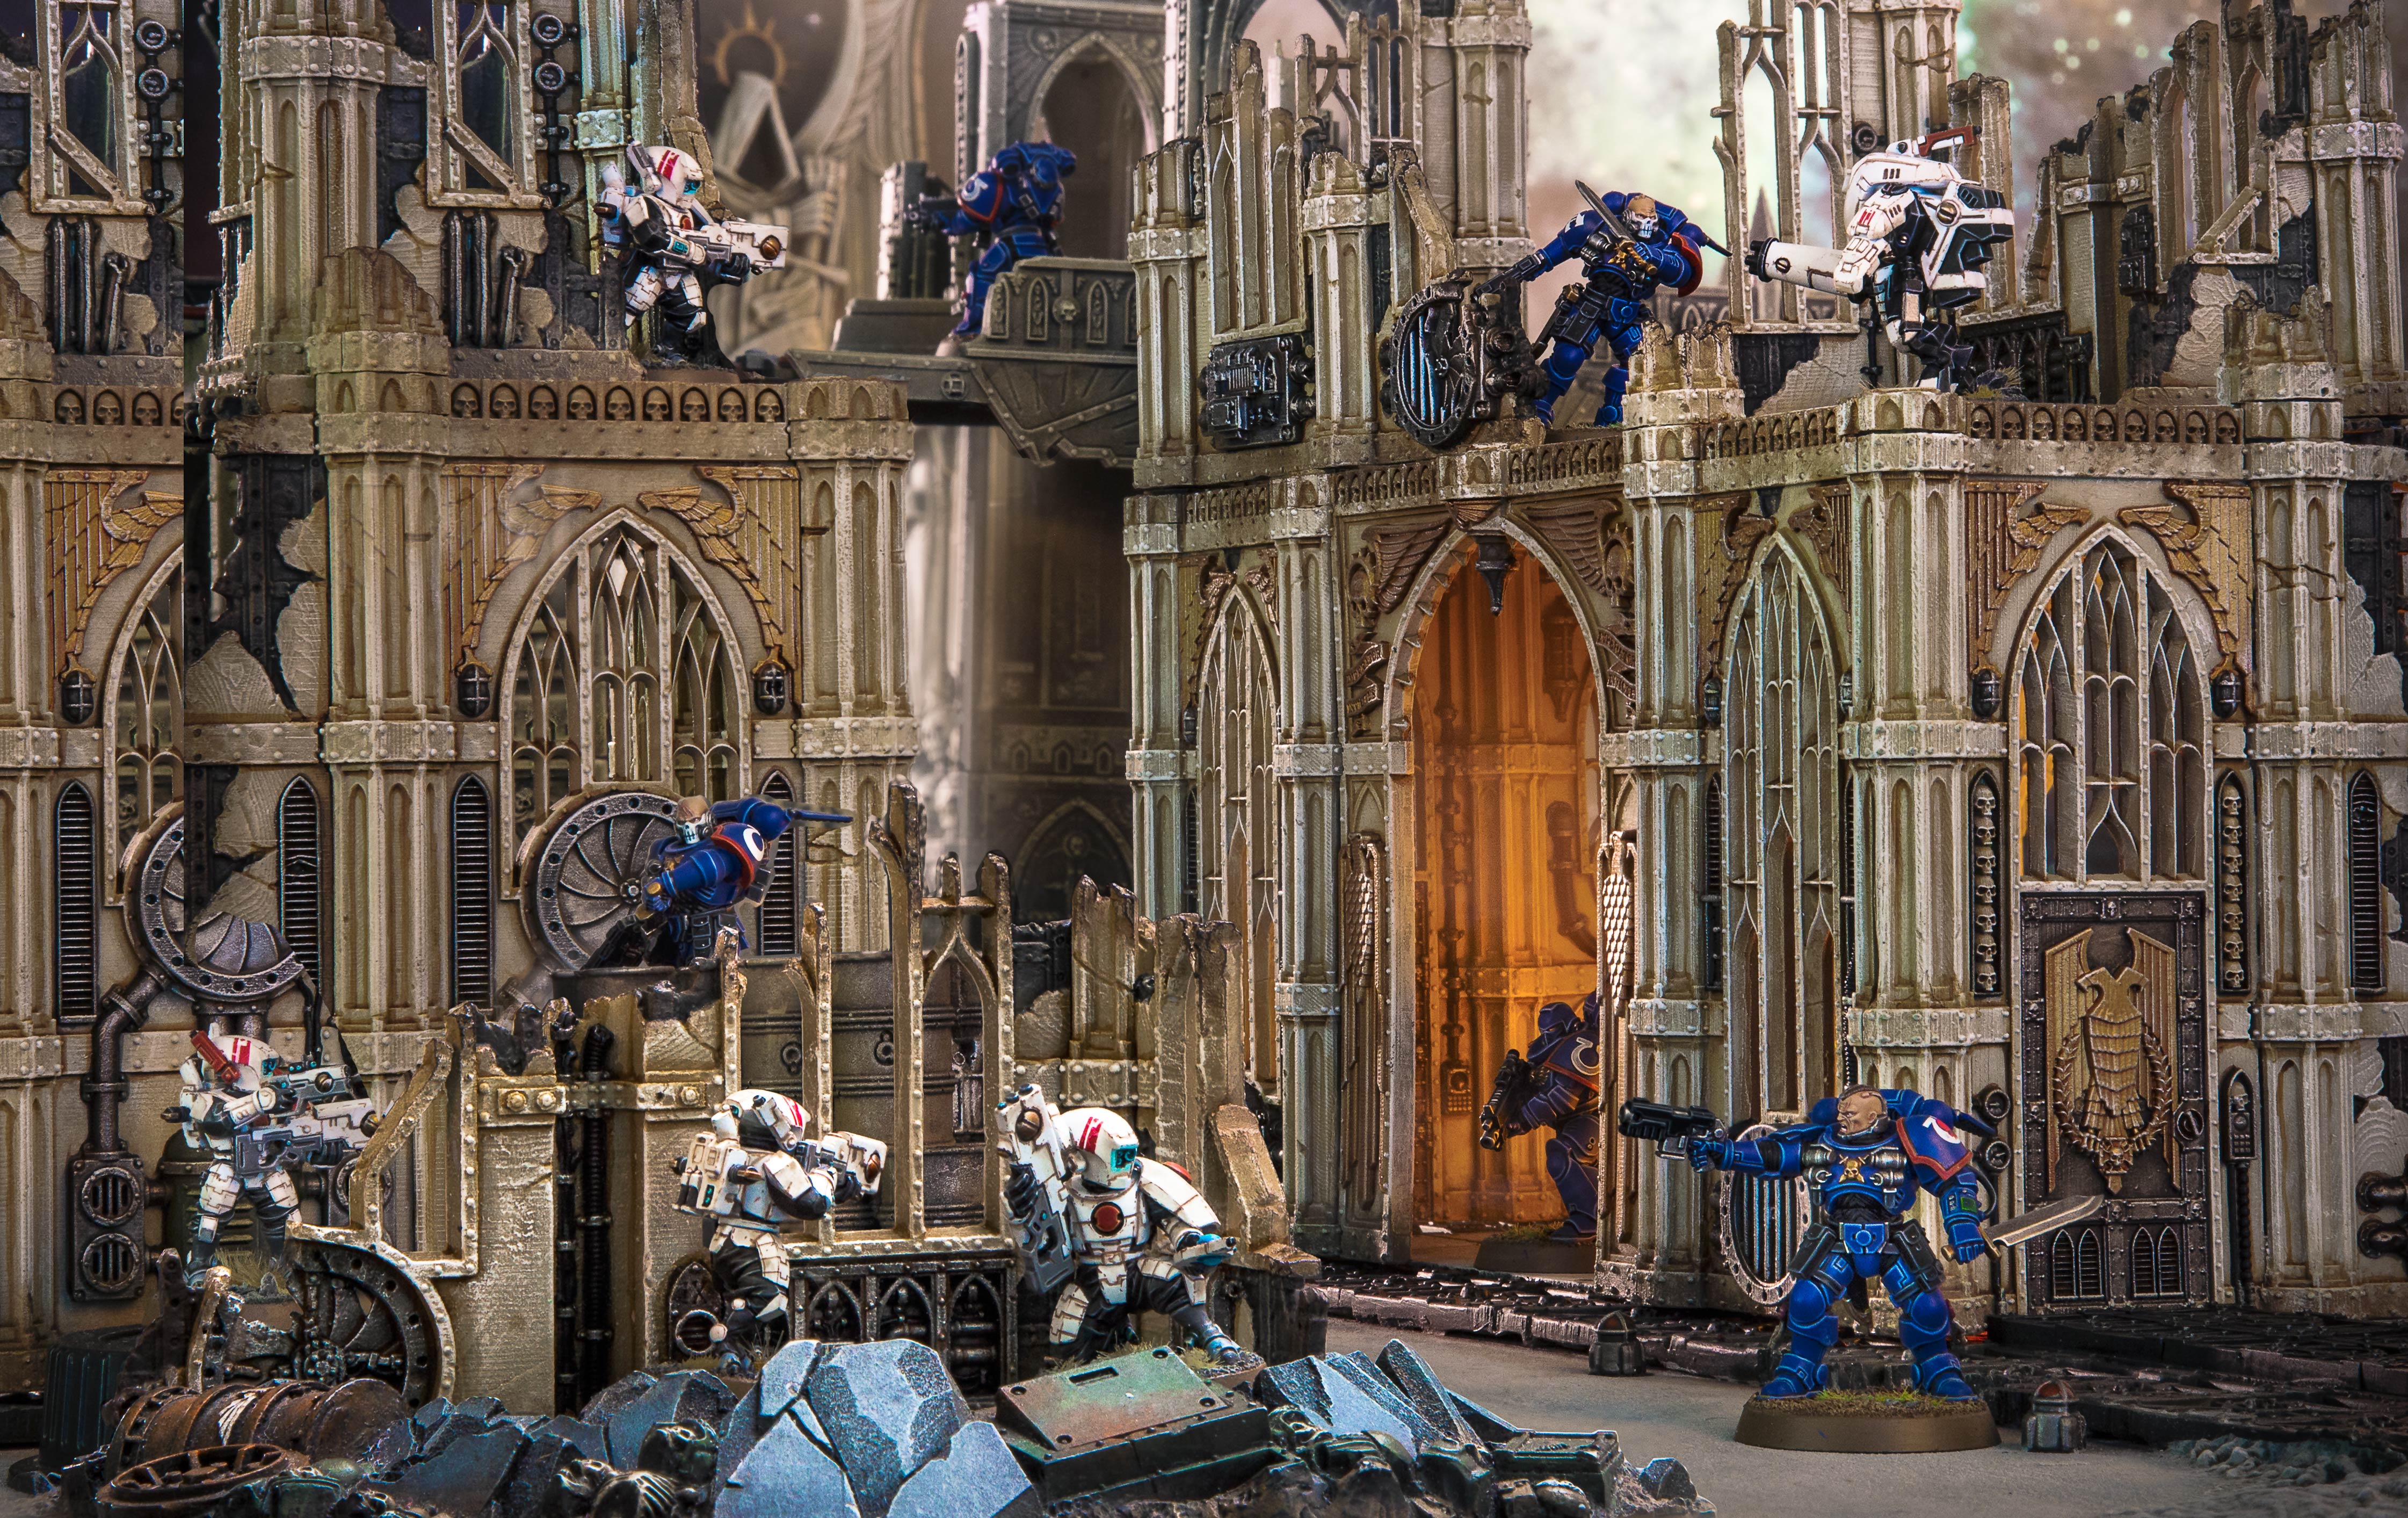
The new Kill Team is right around the corner and there has been much fanfare and excitement. This week, Loopy (Adam from the Masters of the Forge podcast and T.O. of the Goldensprue Cup GT) brings you a quick report on his experiences building the new terrain that comes with the starter.
It is incredible that the new Kill Team boxed set passes any kind of drop test becase this product is packed with value. I’m sure most of you have already watched videos and read articles extoling the virtues of everything in this release, so I’d rather not write a generic article about everything. Instead, I’m going to go through my build process for the terrain and provide some tips that I hope will help you in your own builds.
To accompany my advice in this article, if you have a subscription to the Warhammer TV Twitch stream, I recommend their broadcast from July 17 which was a hang out & build session with one of the folks who designed the terrain. I can’t recommend the Twitch stream enough. The few bucks you pay is well worth the content provided there; it’s absolutely not just an advertisement you pay for.
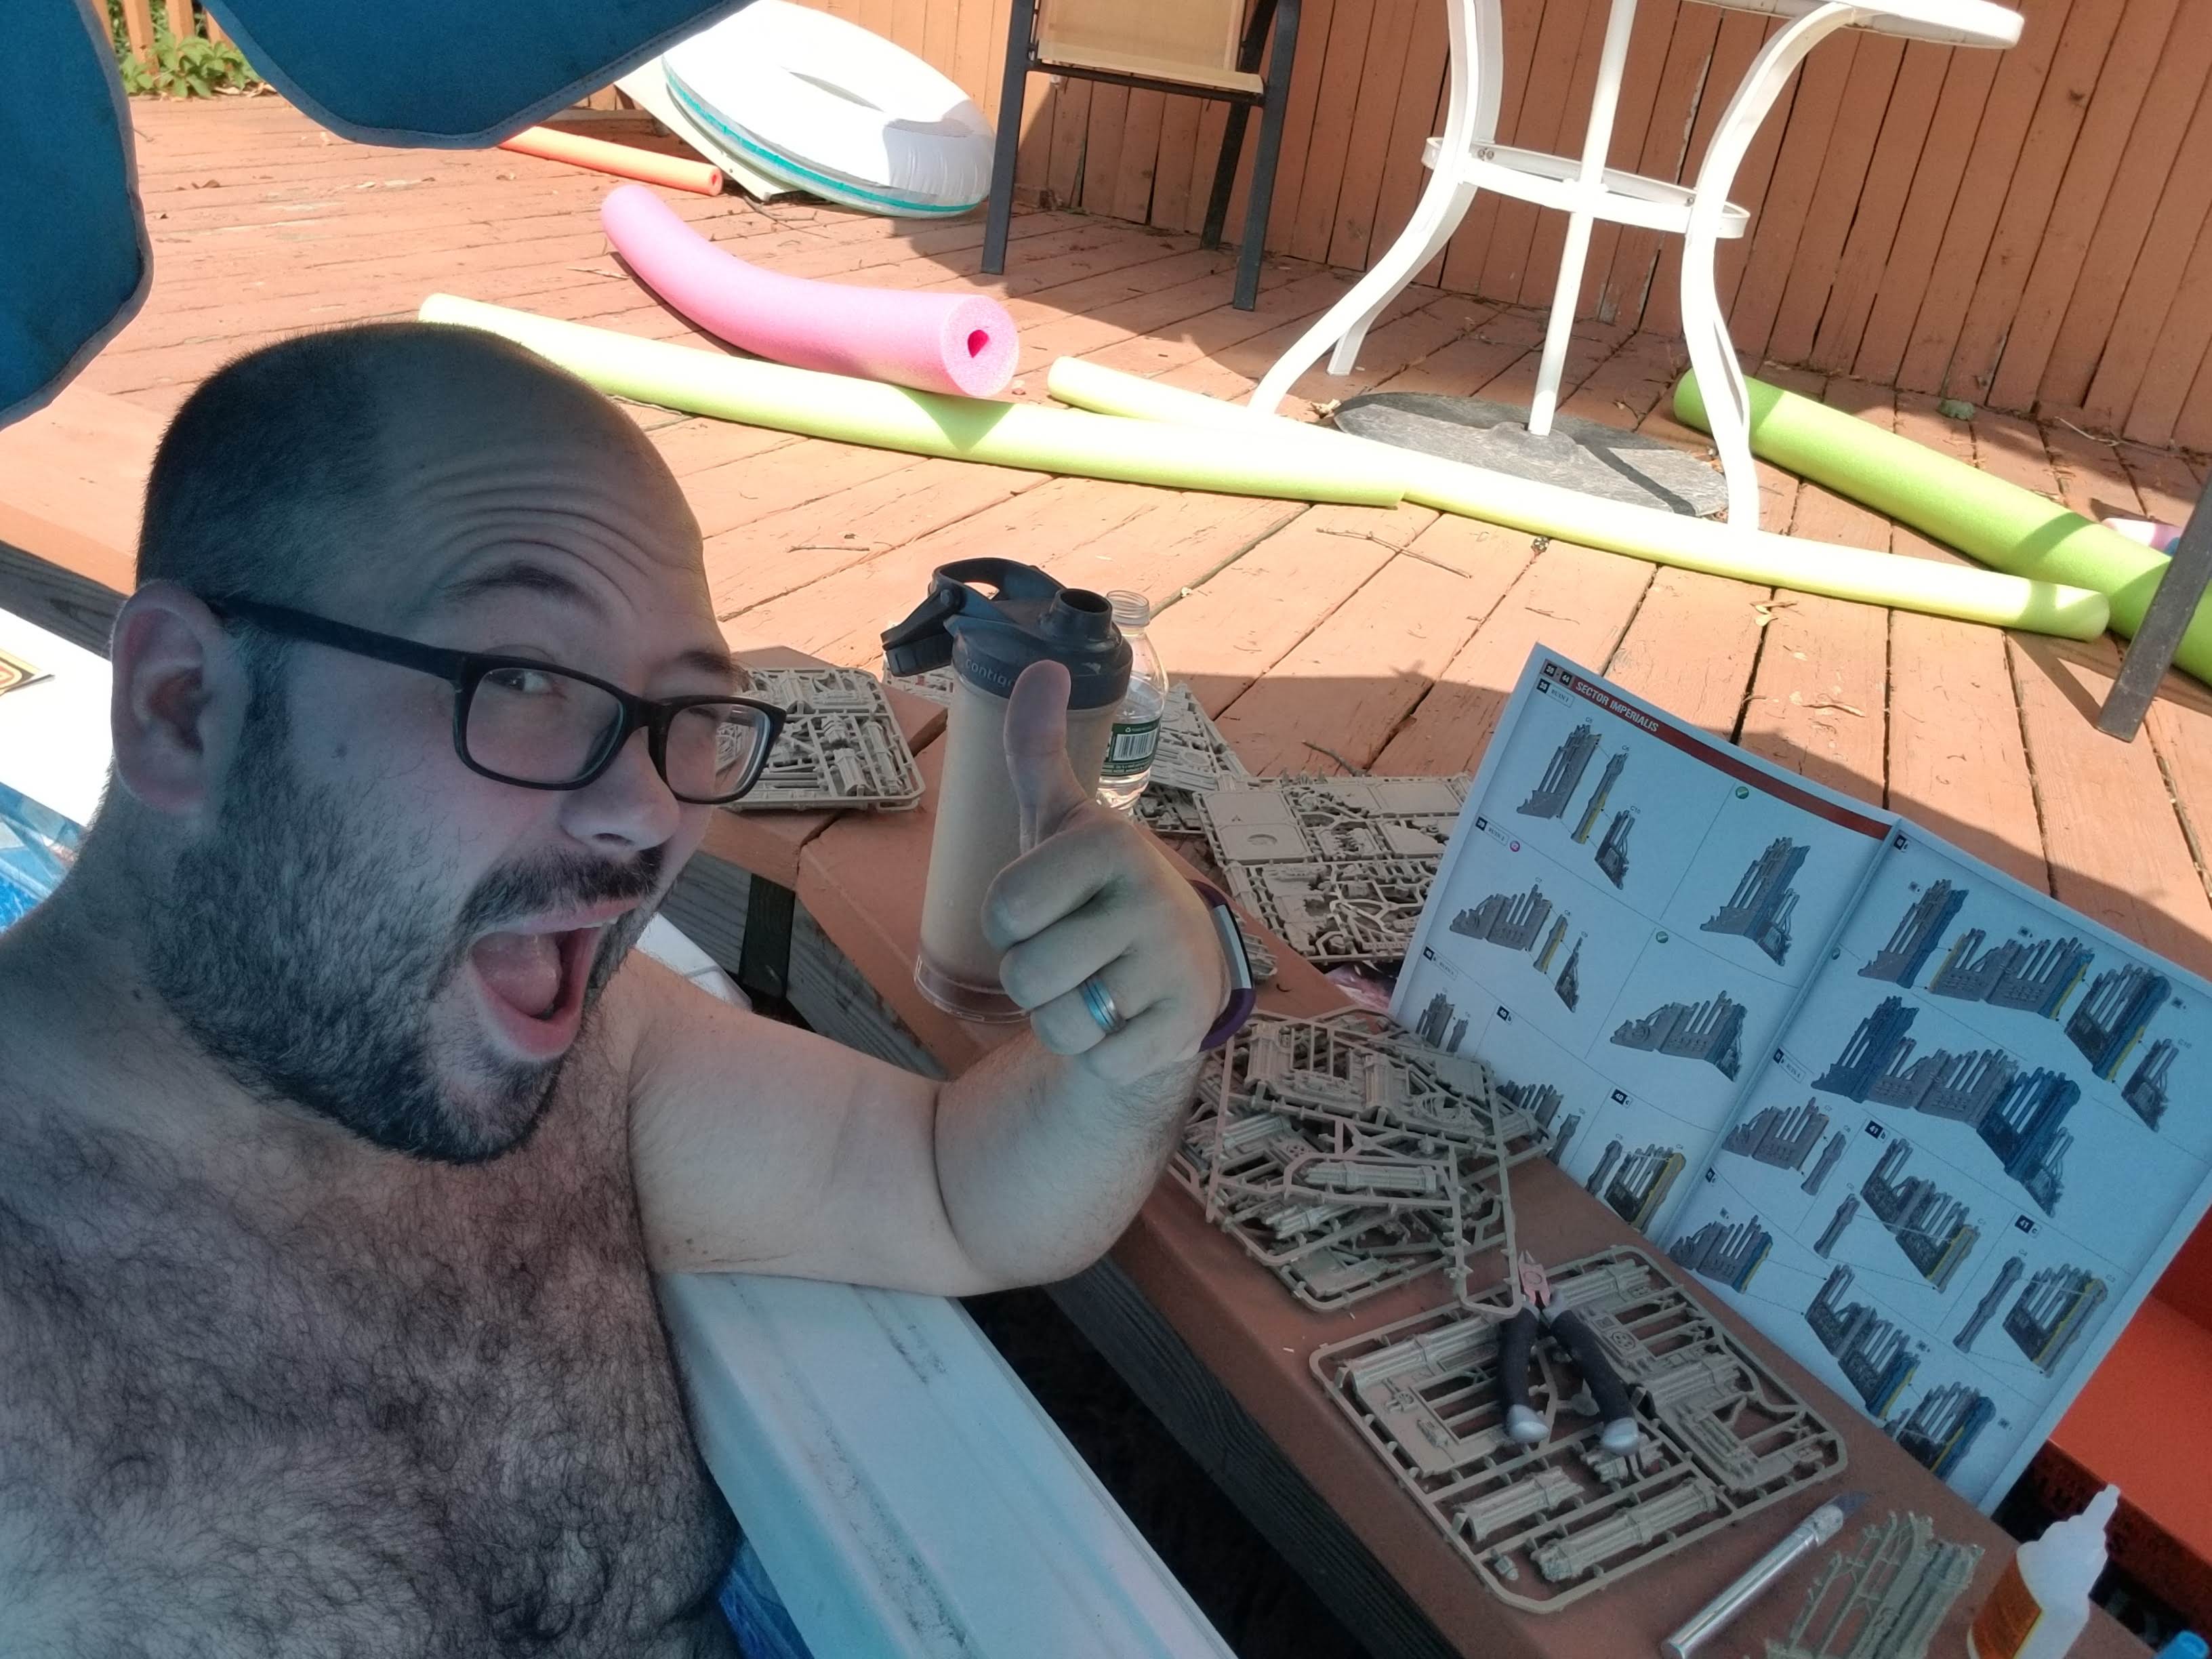
It’s very important to remain cool while buidling models in the summer. I decided to use the instructions for this build, though it is absolutely not necessary to do so. This terrain is not only highly modular with itself, but with all the modern kits including the Sector Mechanicus terrain and Cargo Containers. Moreover, they are designed to fit the city blocks in the Realm of Battle sets.
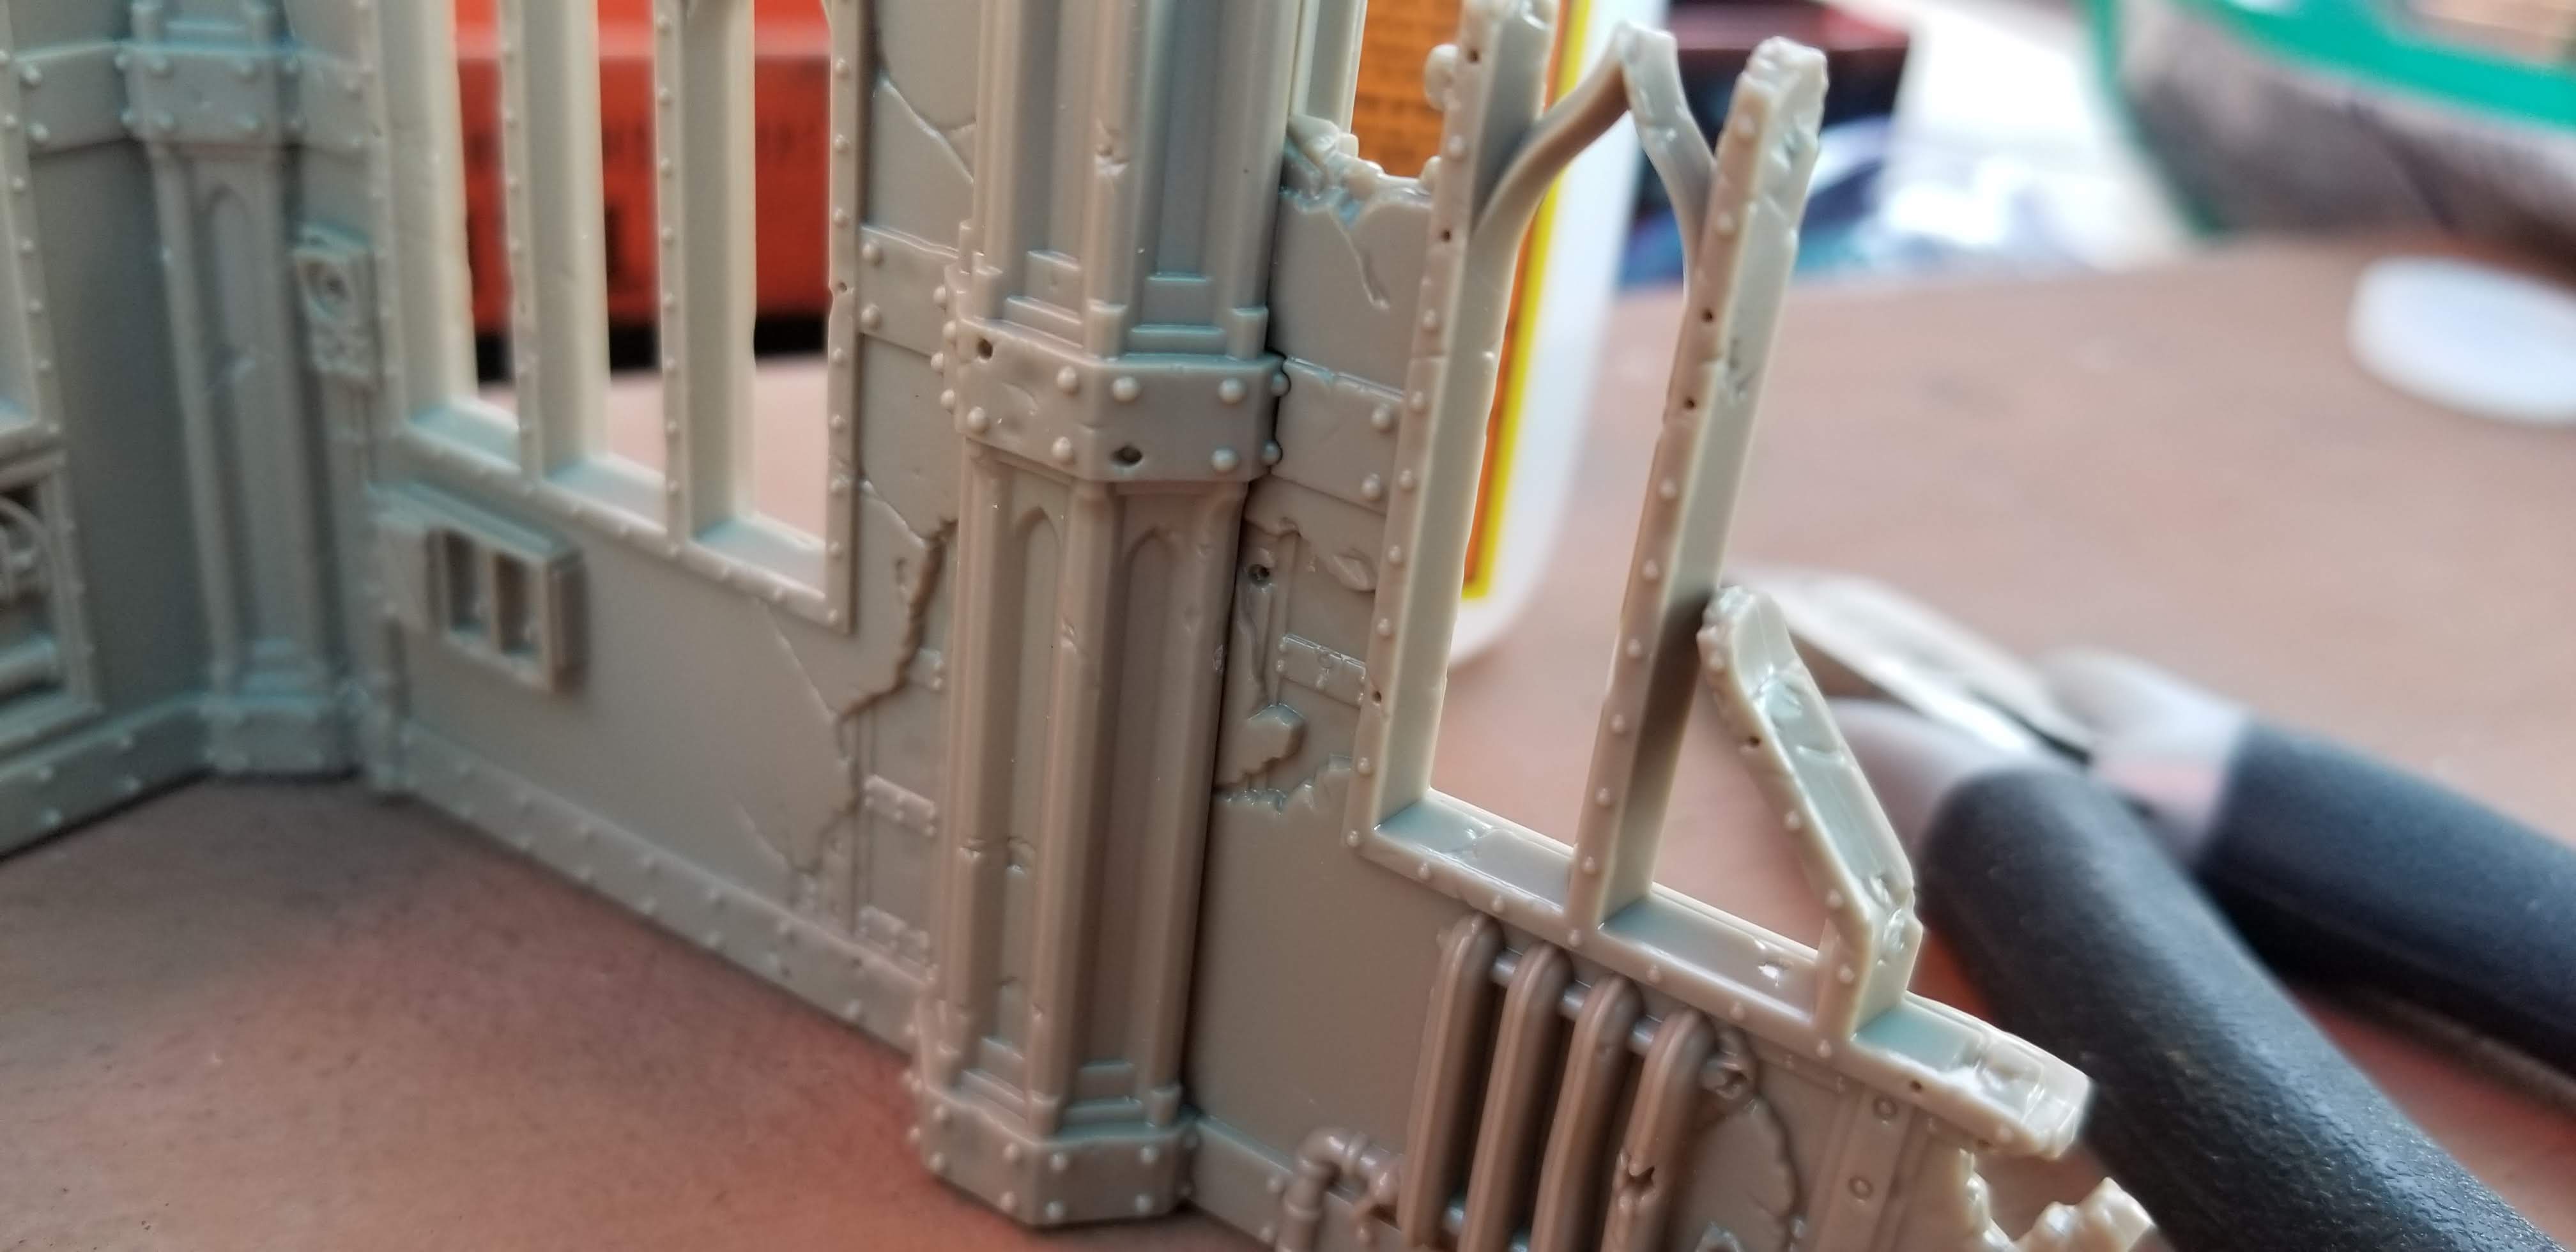
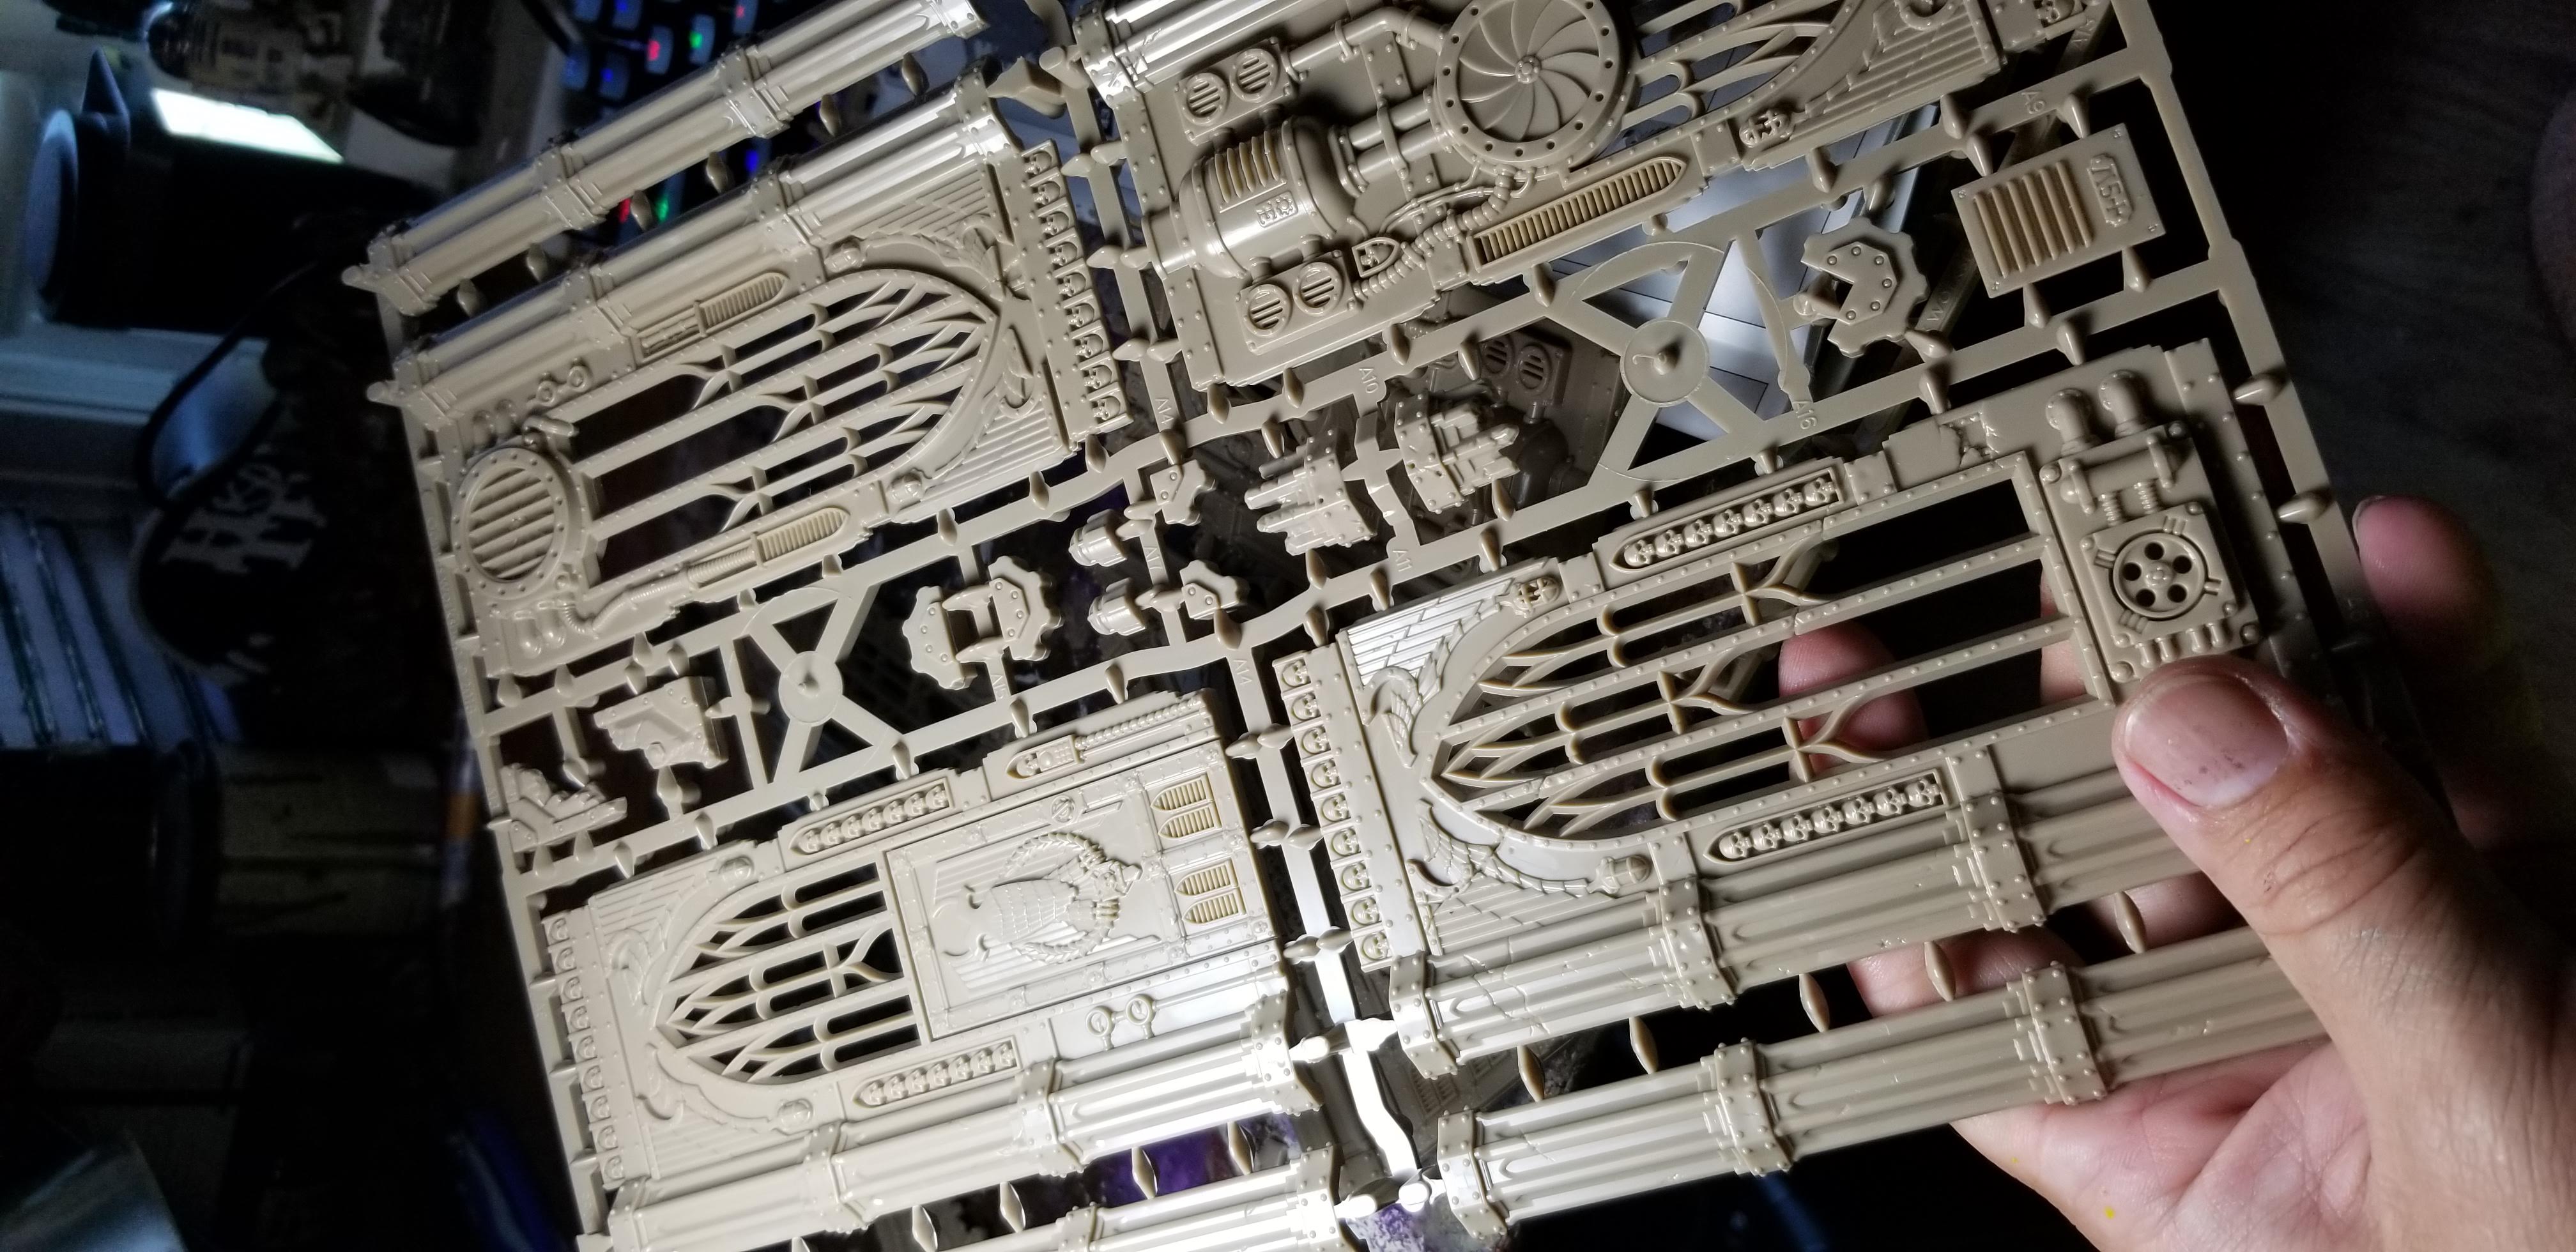
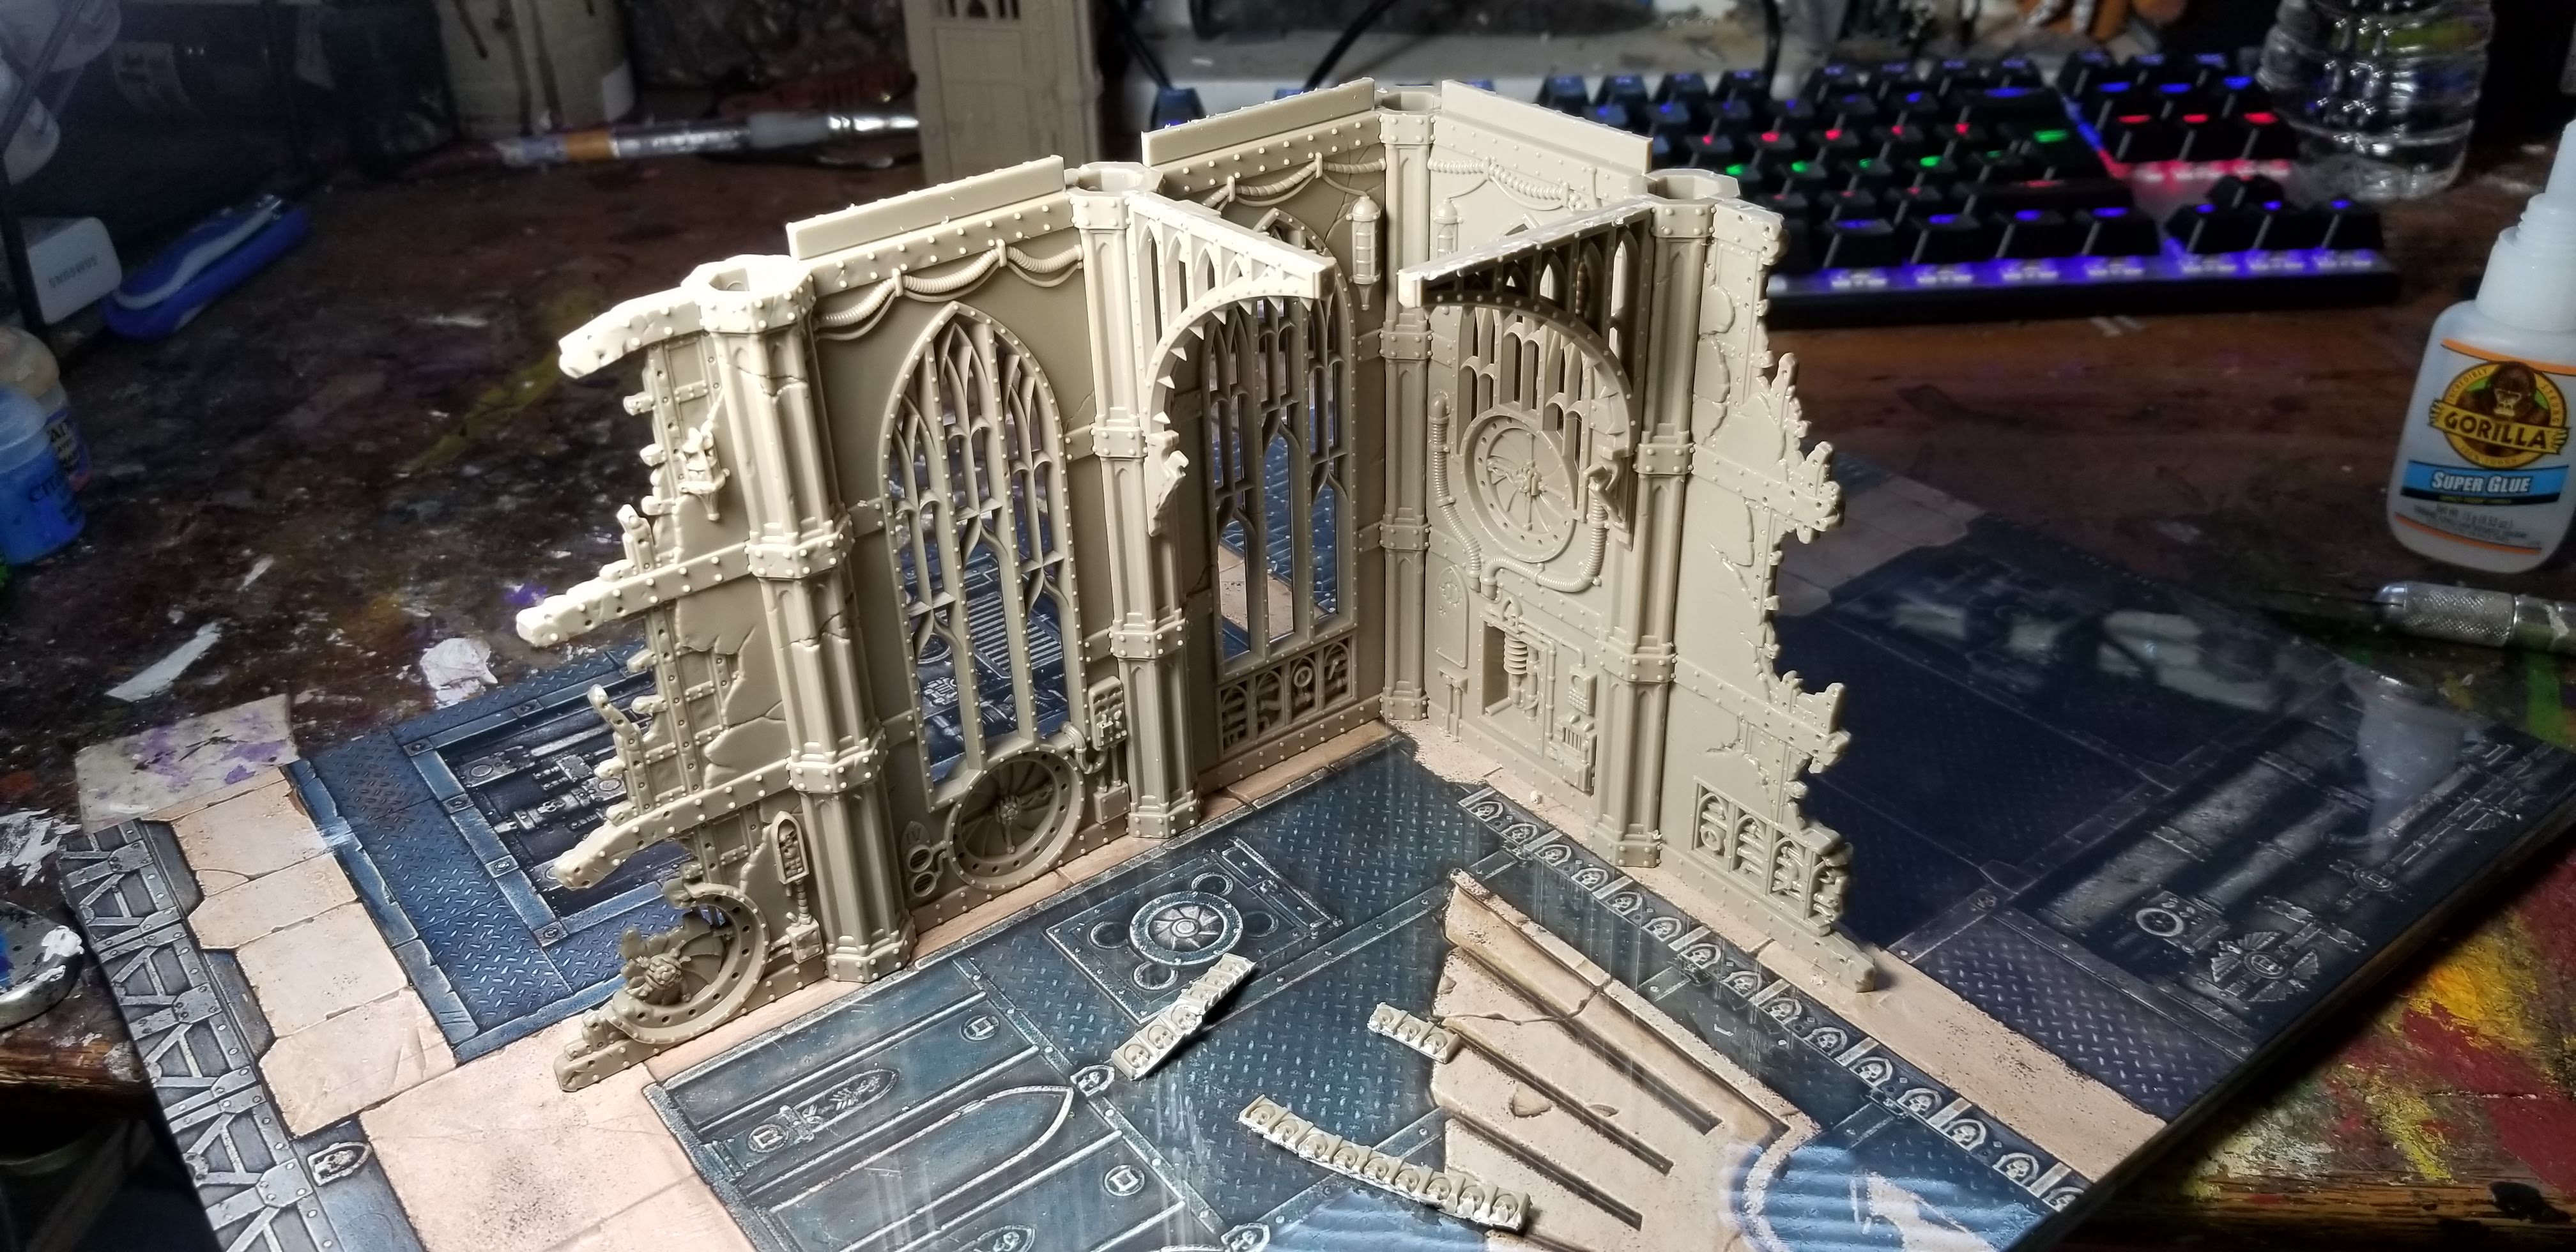
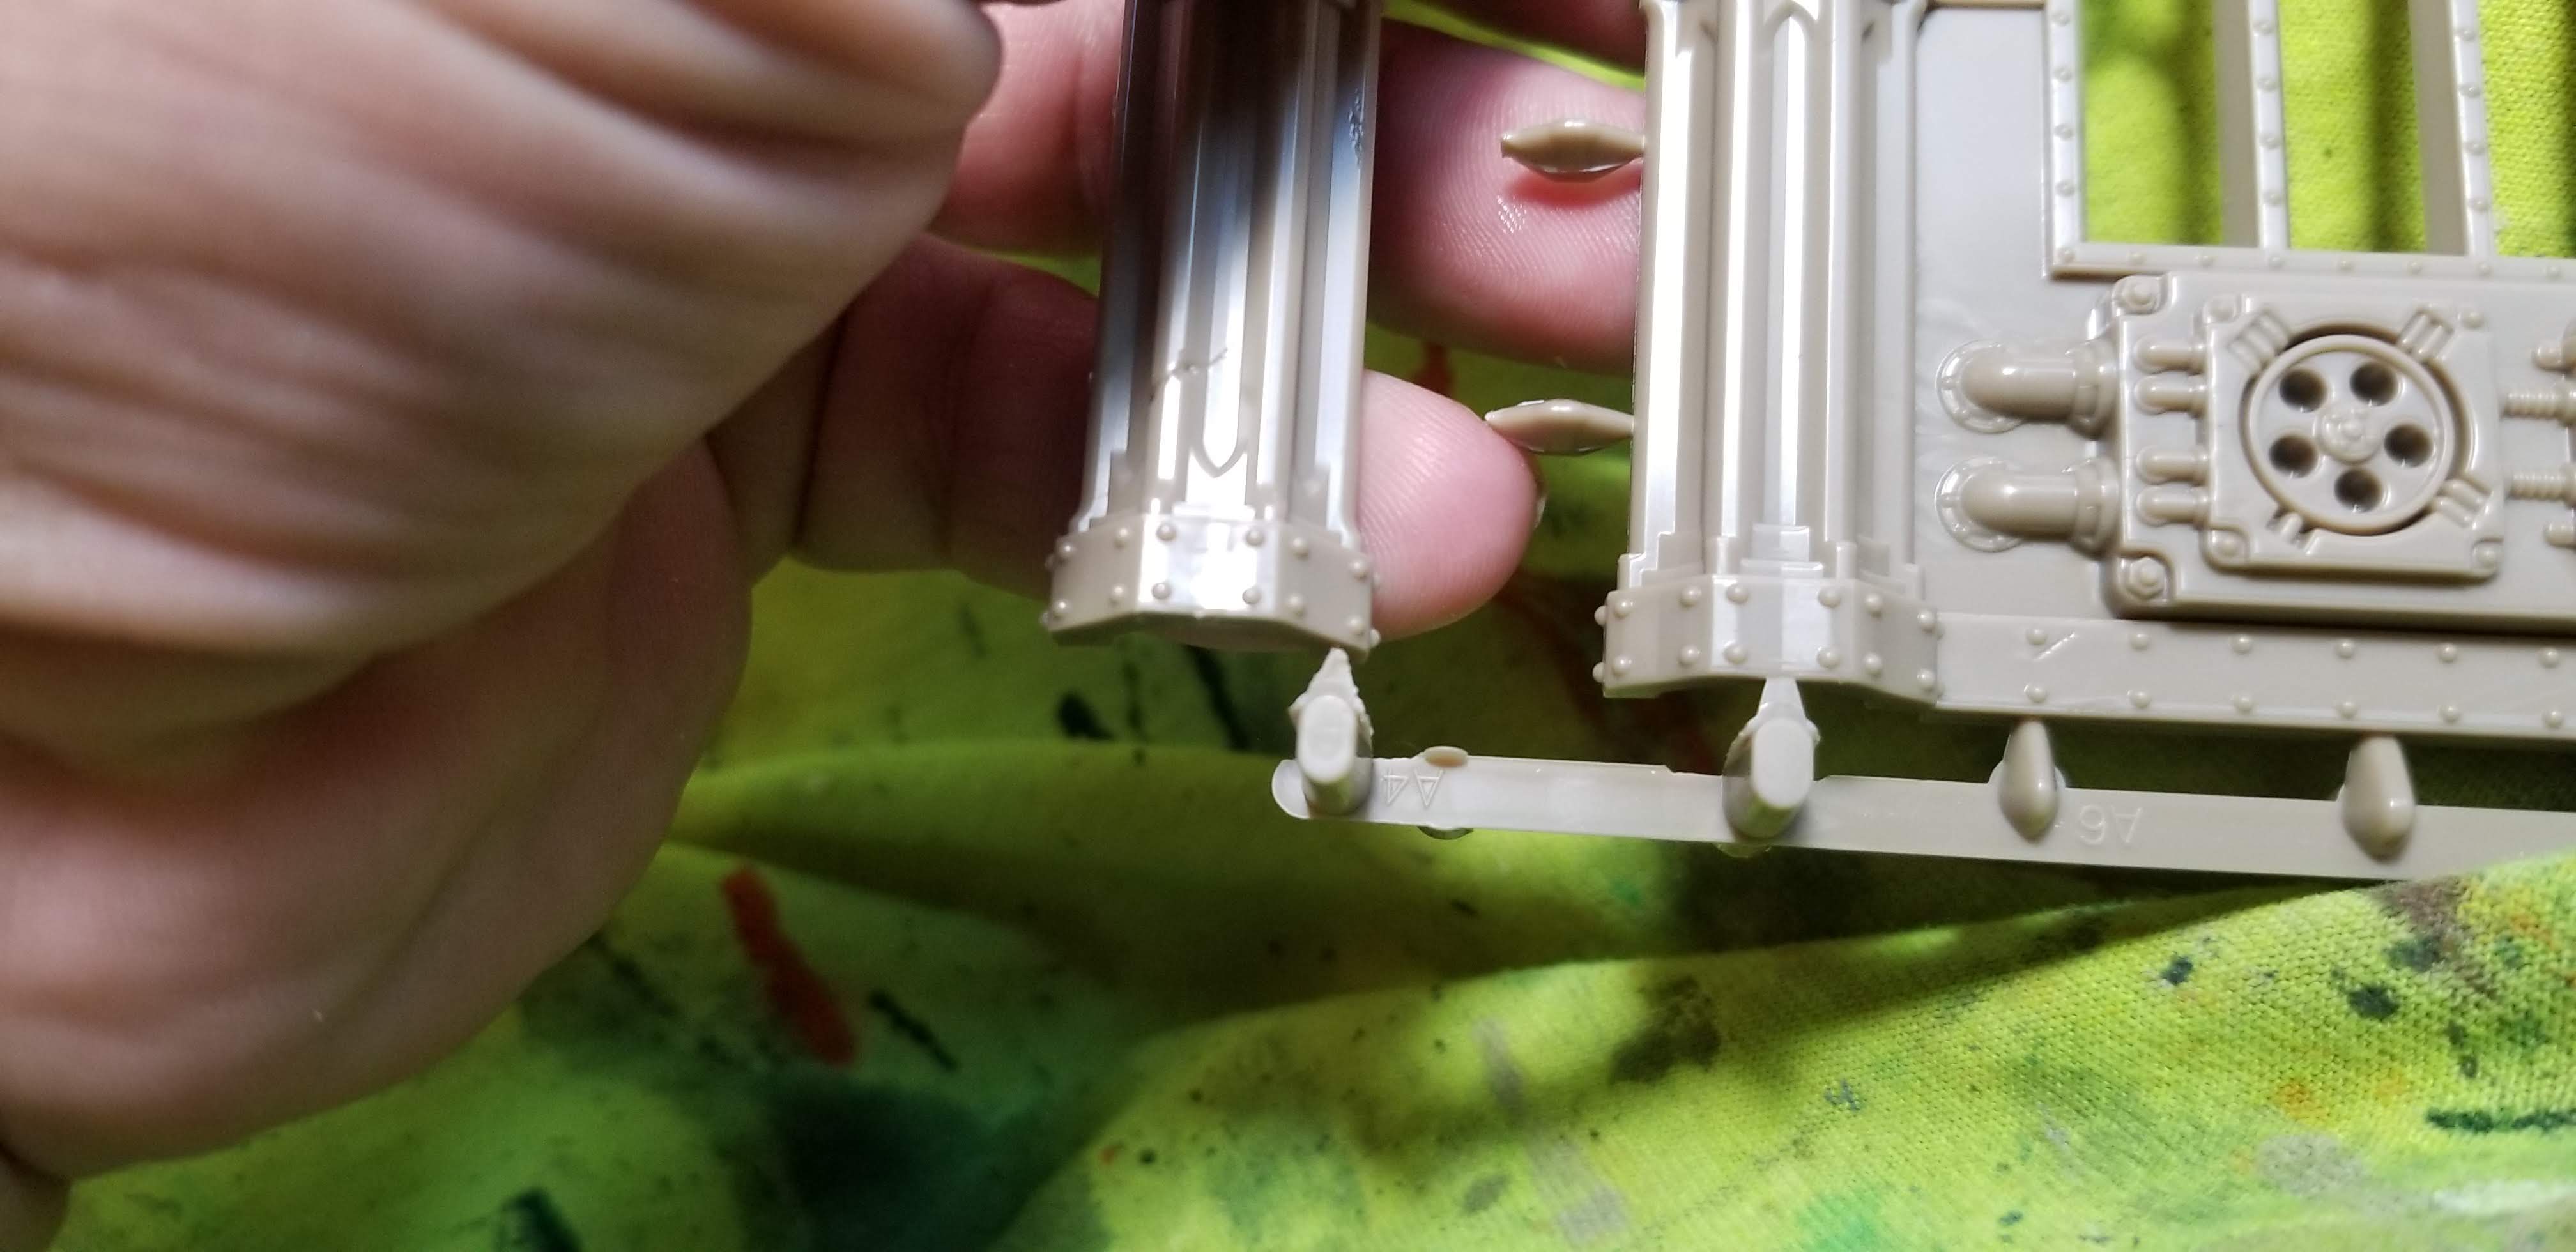
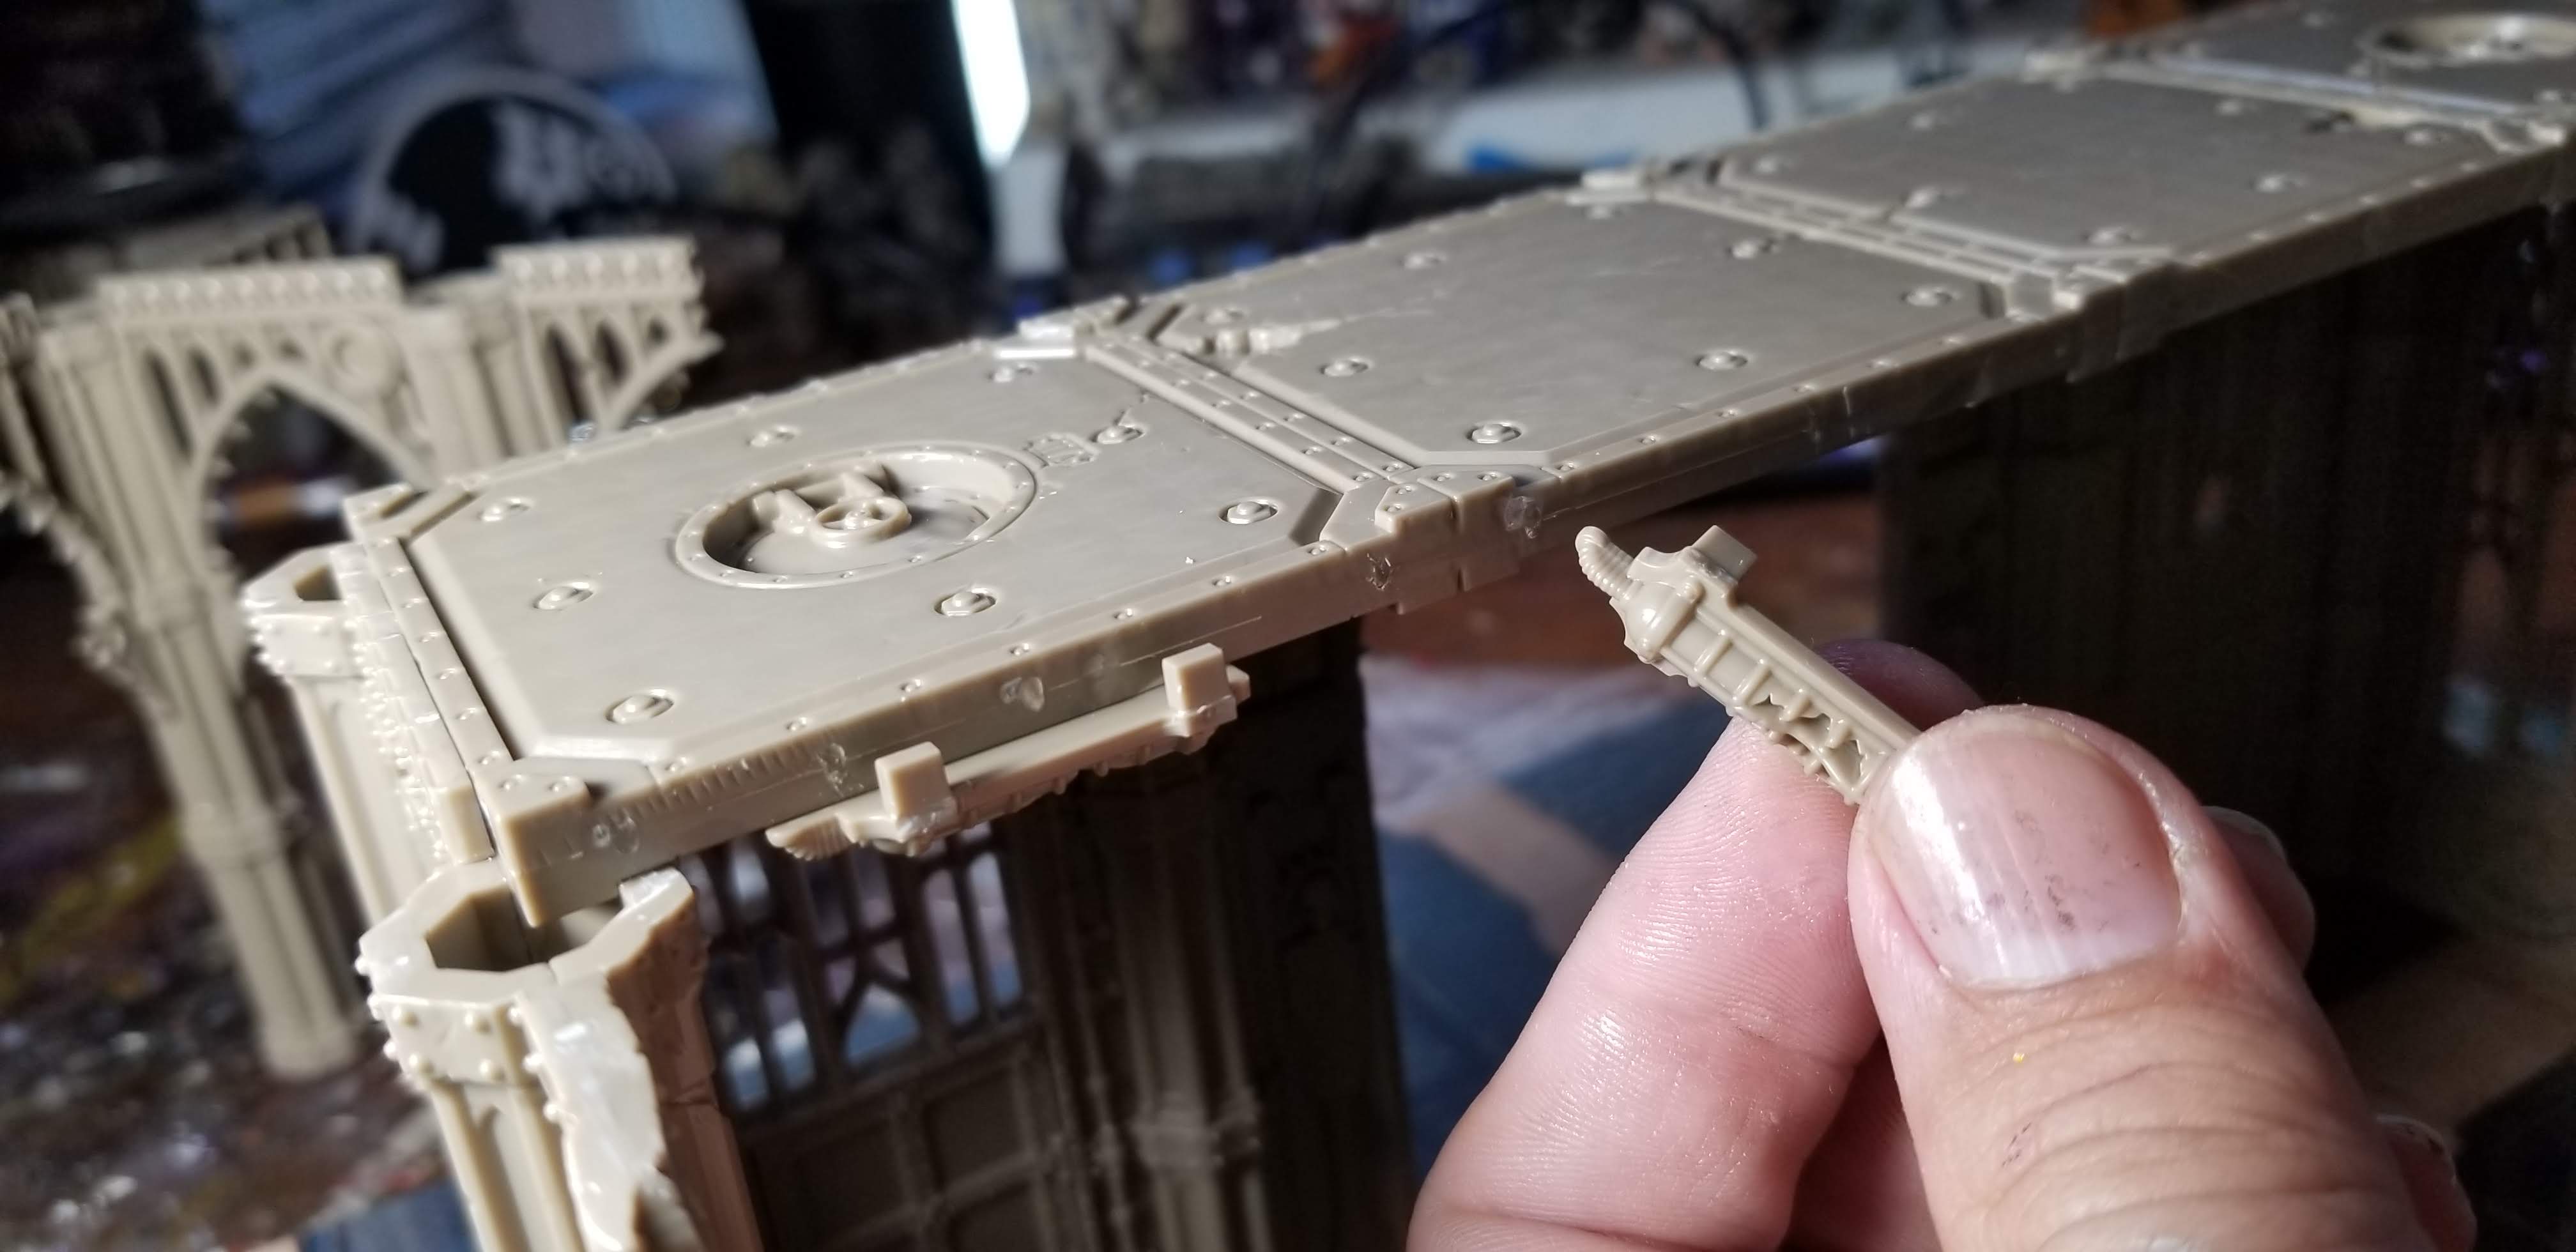
Here ou can see how each section is designed to slot together. There are panels and pillars. Most of the panels have a pillar already molded on one side, but there are also lonesome pillars which allow you to create end pieces and connectors with the other side of a different panel if you want to switch them around. This means that, unlike in the old kits, if you try to build wall sections in a complete circuit, they will line up perfectly.
The pieces slot in together quite well. They hook in together vertically to avoid downward slide while your glue is setting. You can still accidentally glue the sections crooked…
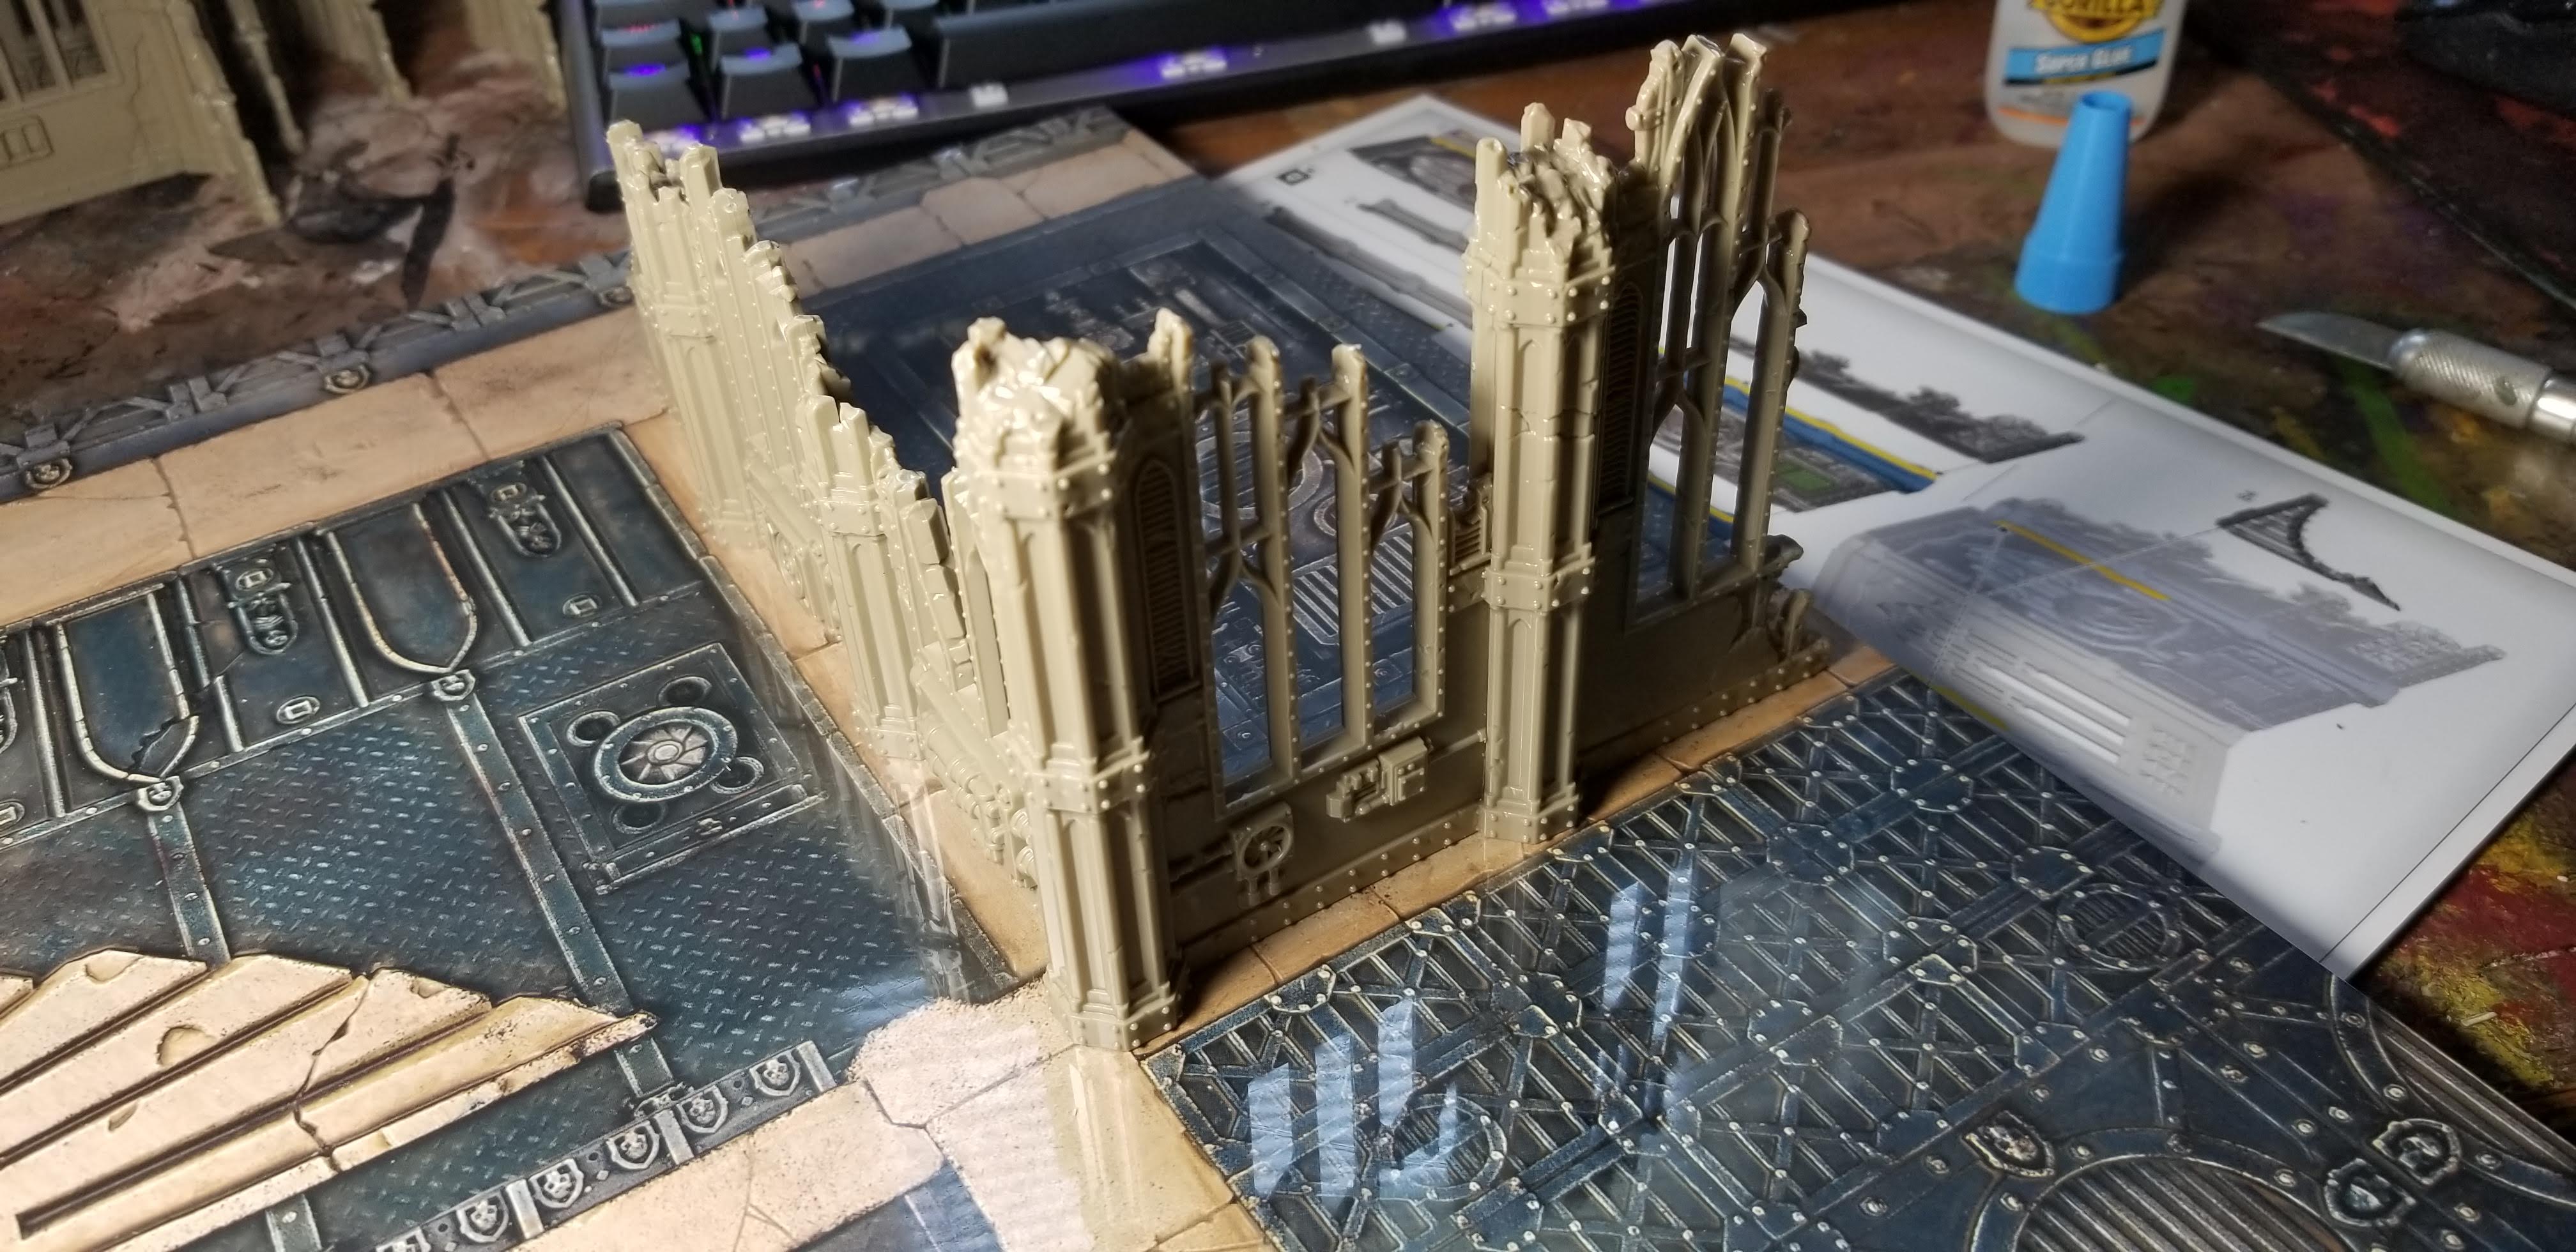
…so I came in out of the pool and used the awesome board provided in the box as a guide for my wall sections. In this way, I was sure to keep them straight while the glue set.
I’m using superglue for these. The creator of this terrain suggests using plastic glue instead. He said this is because the superglue can expand. This can be a problem when the terrain has been so precisely measured and you’re trying to get things to fit just so. It’s not an issue for me, but if you are attempting to do a complete building rather than a smattering of ruins, I might take his advice seriously.
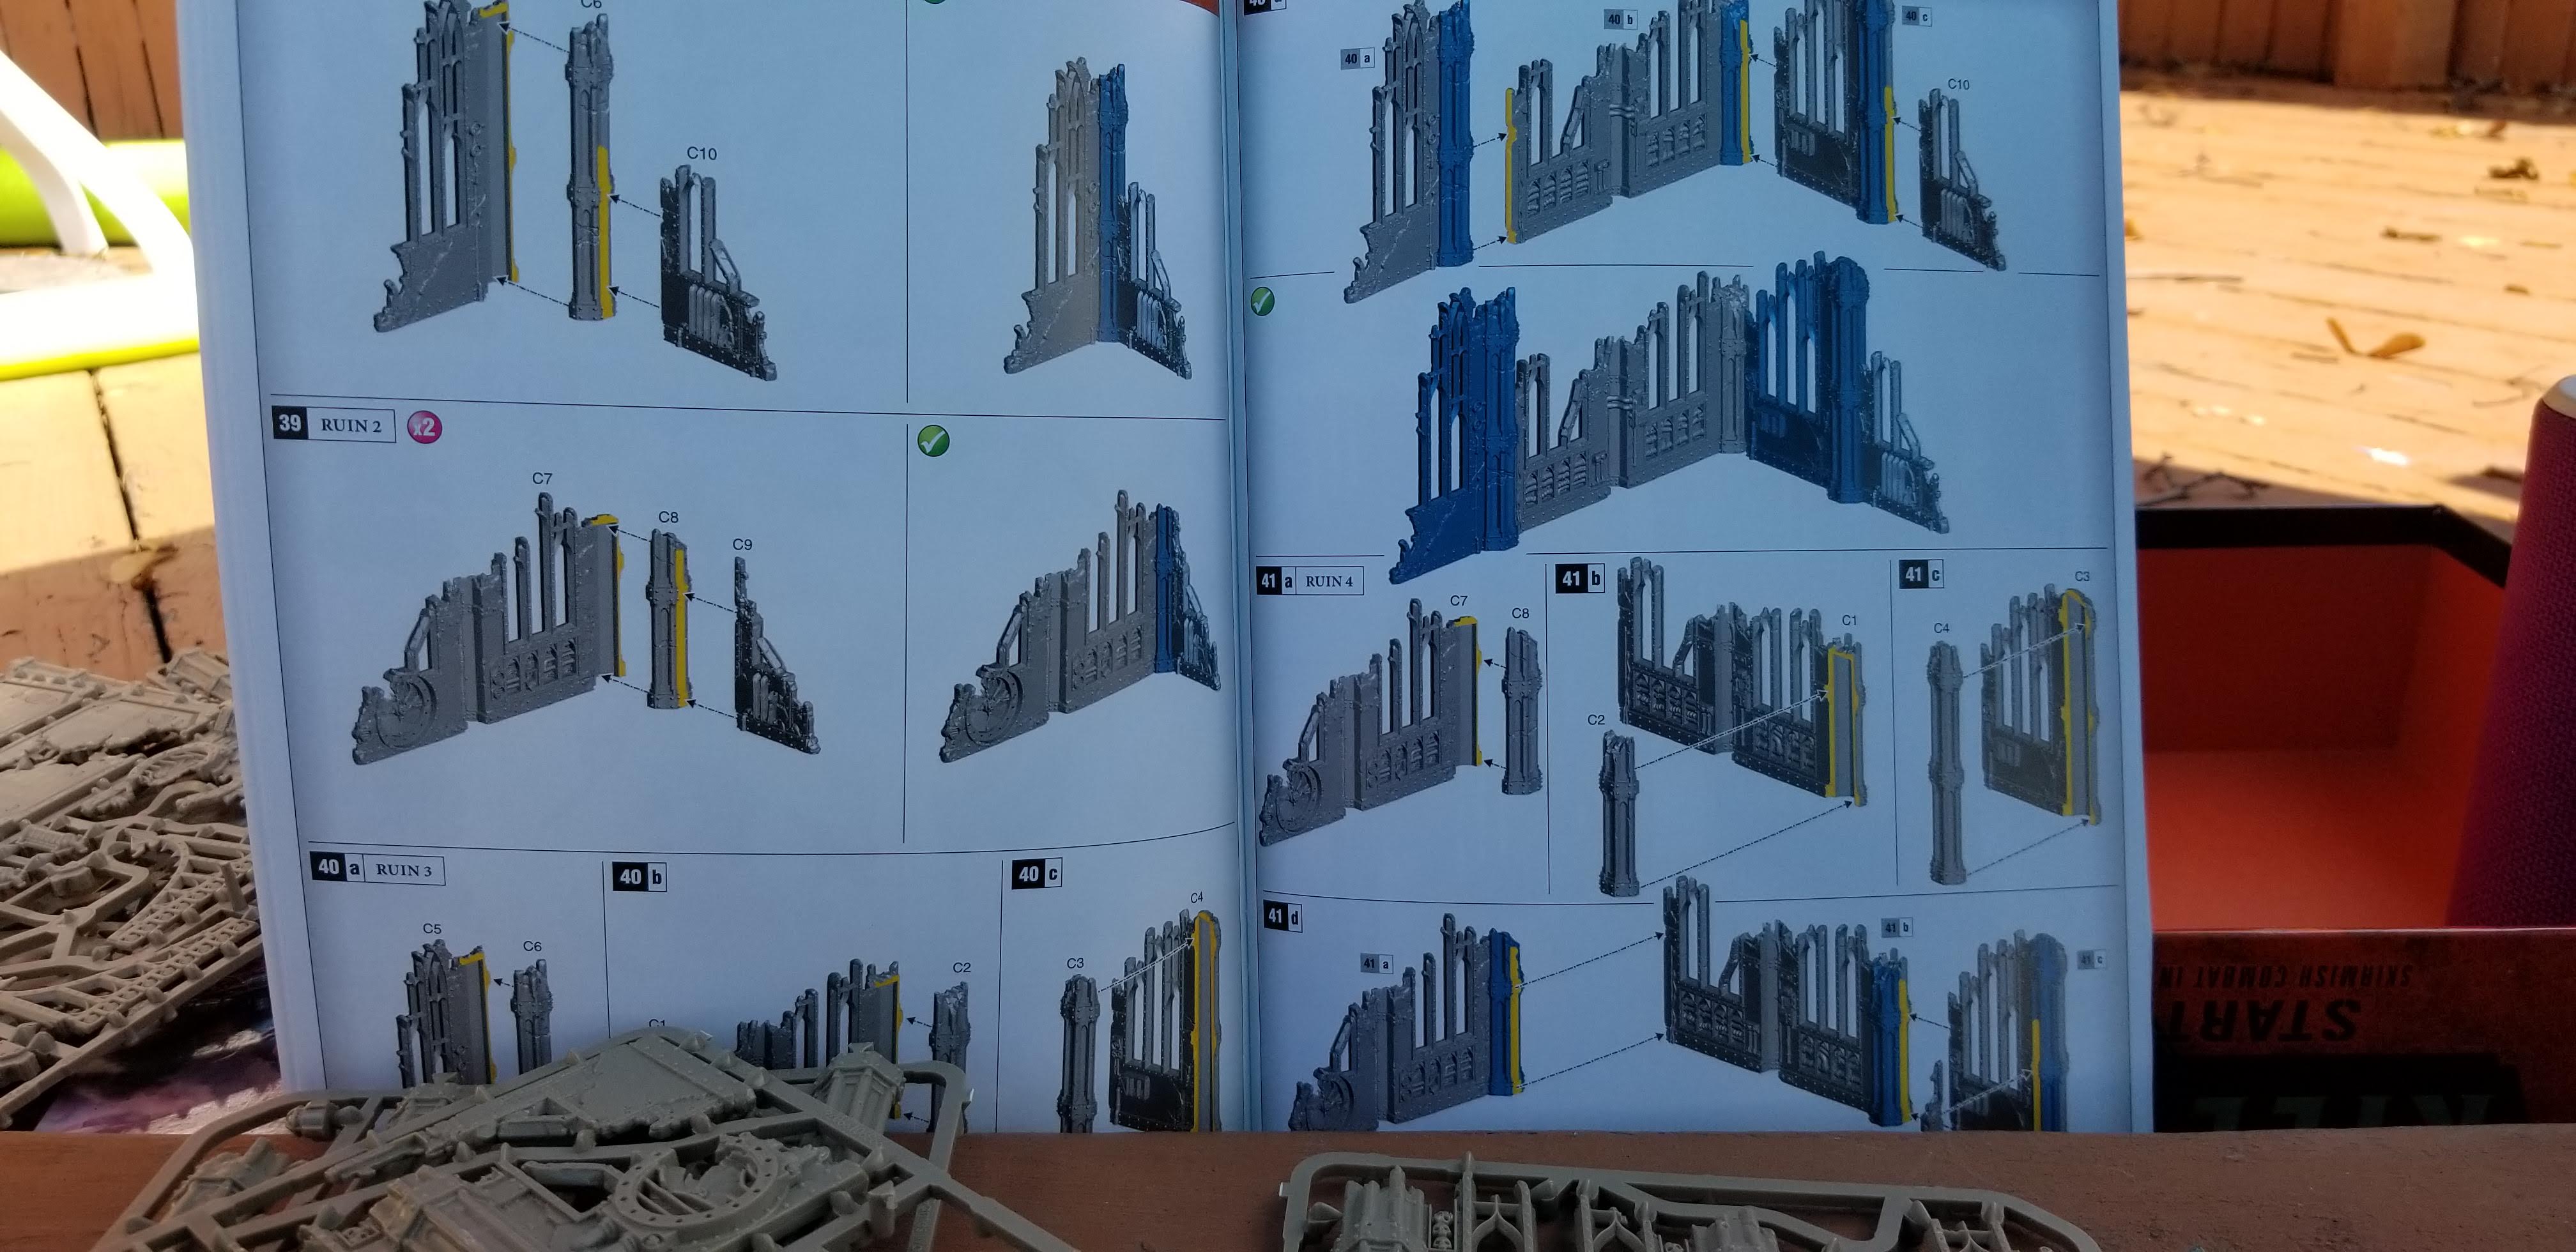
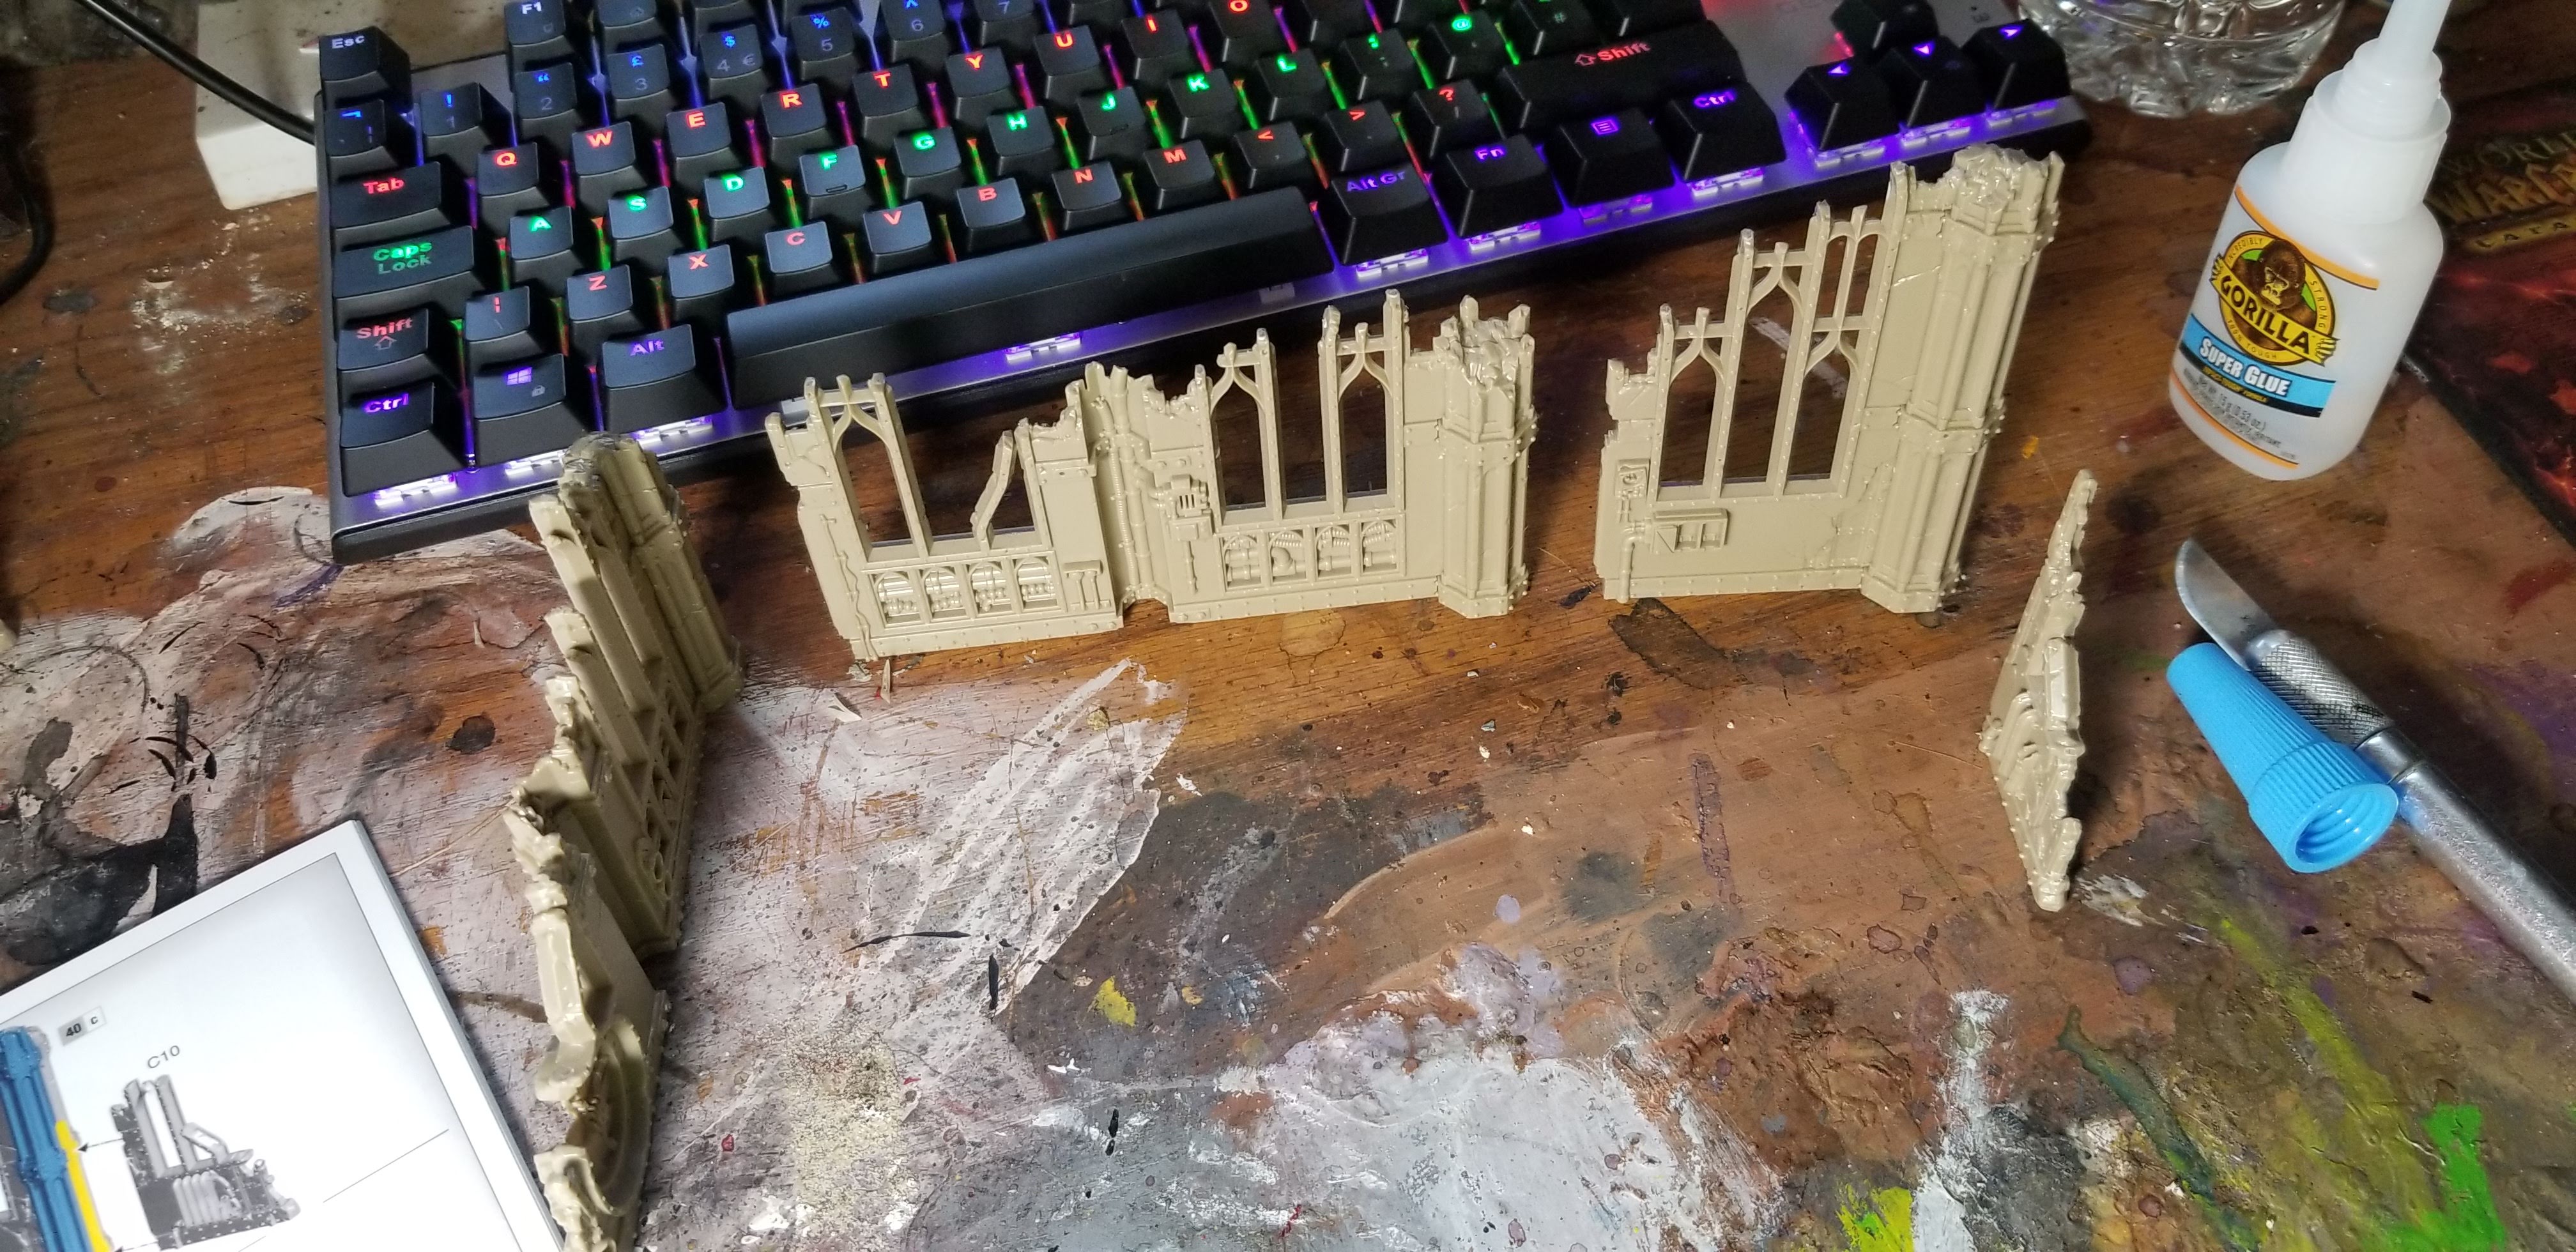
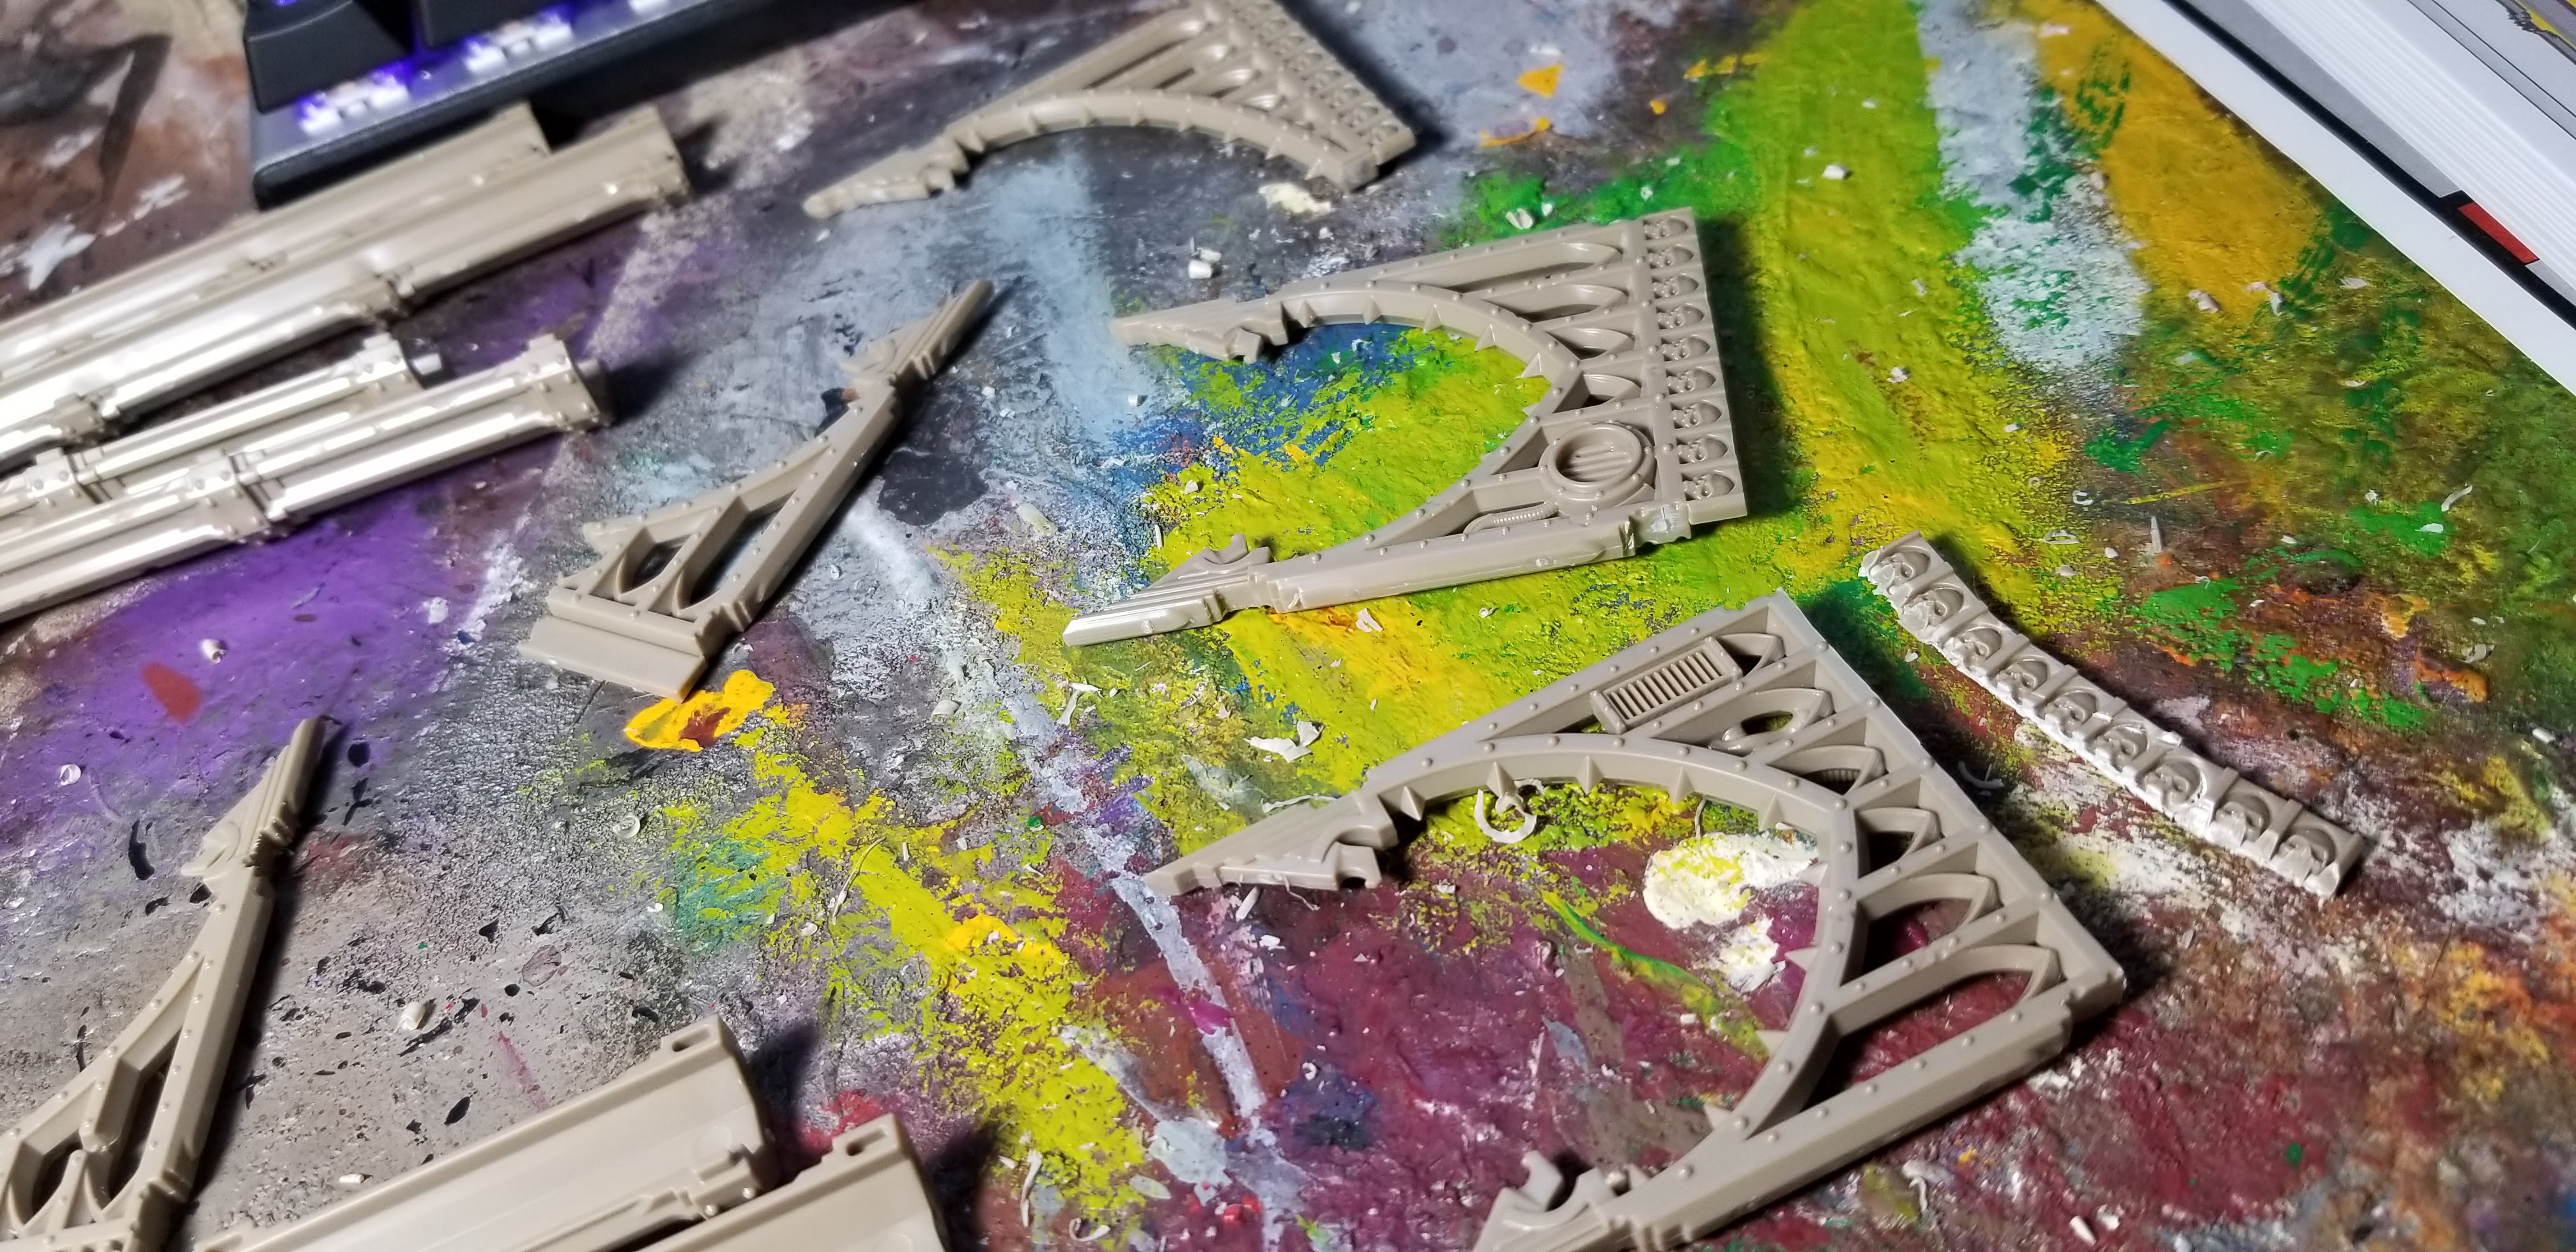
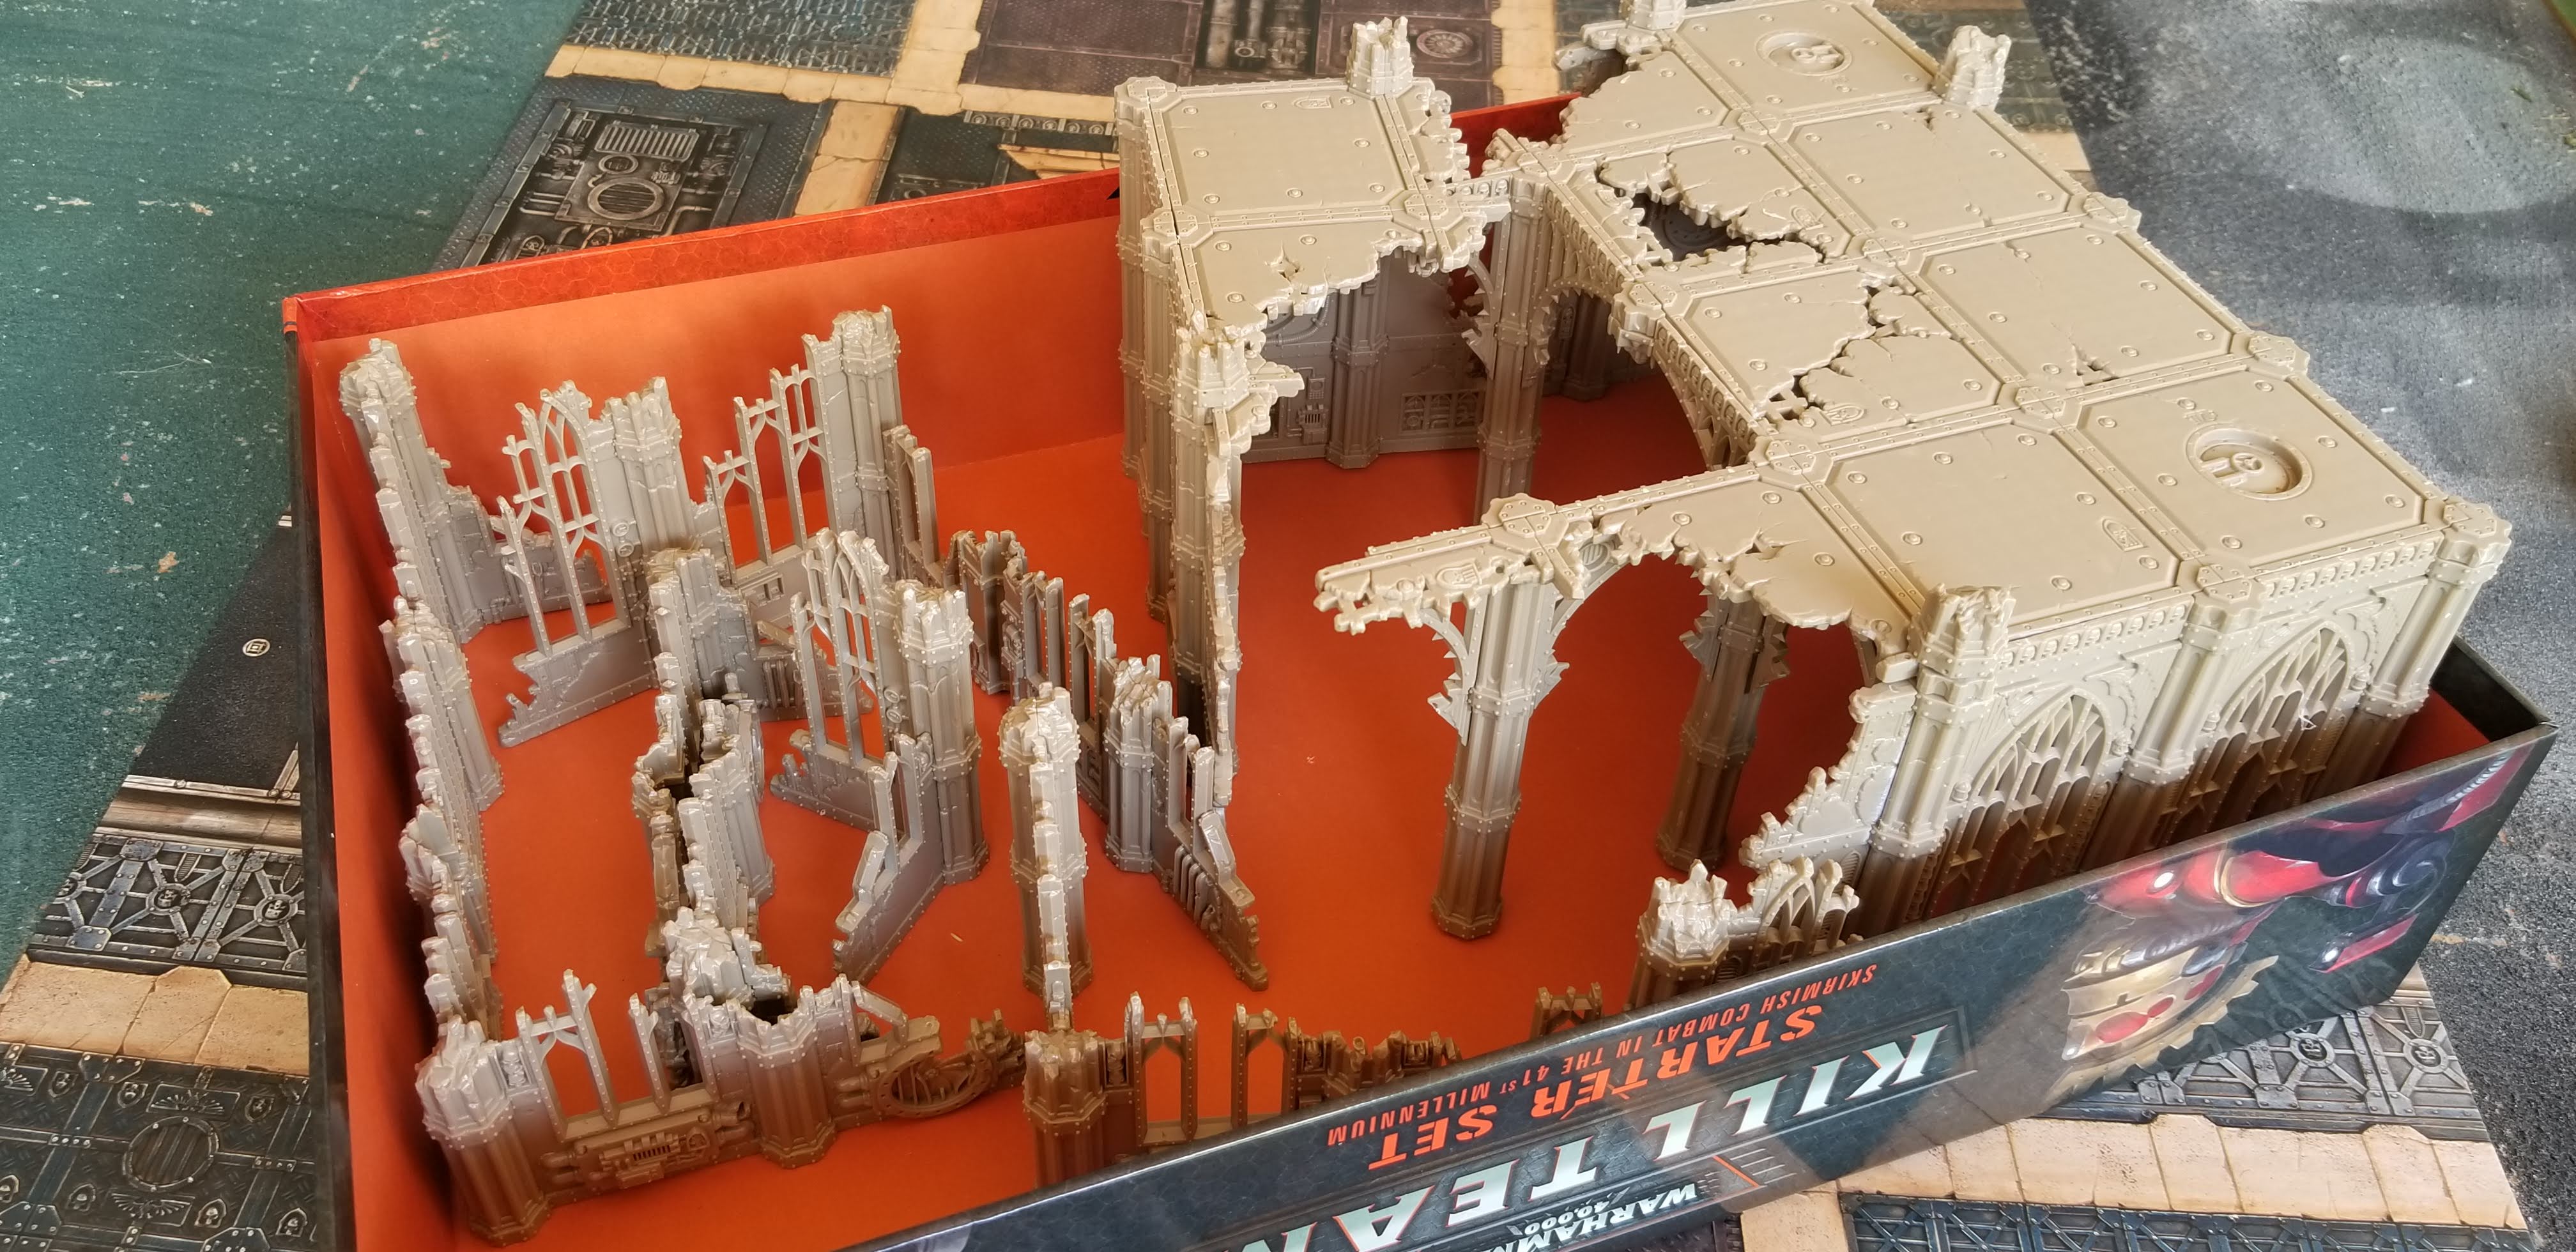
Here’s how the instructions suggested I assemble these ruins pieces. Note that you could slap these together in any way you desire. These ruins are designed to provide a cover save for most anything that sets behind them and fires over the wall. If you’re using it for 40k, be sure to get some boards to use as bases so that non-infantry can also claim the save. You don’t actually have to glue them to the base. In fact, I recommend keeping these ruins free-standing not just for use in Kill Team on the board, but also for easier storage.
And all of the ruins parts are assembled. What gret scatter terrain! These will also be used on top of the taller wall sections at your whim.
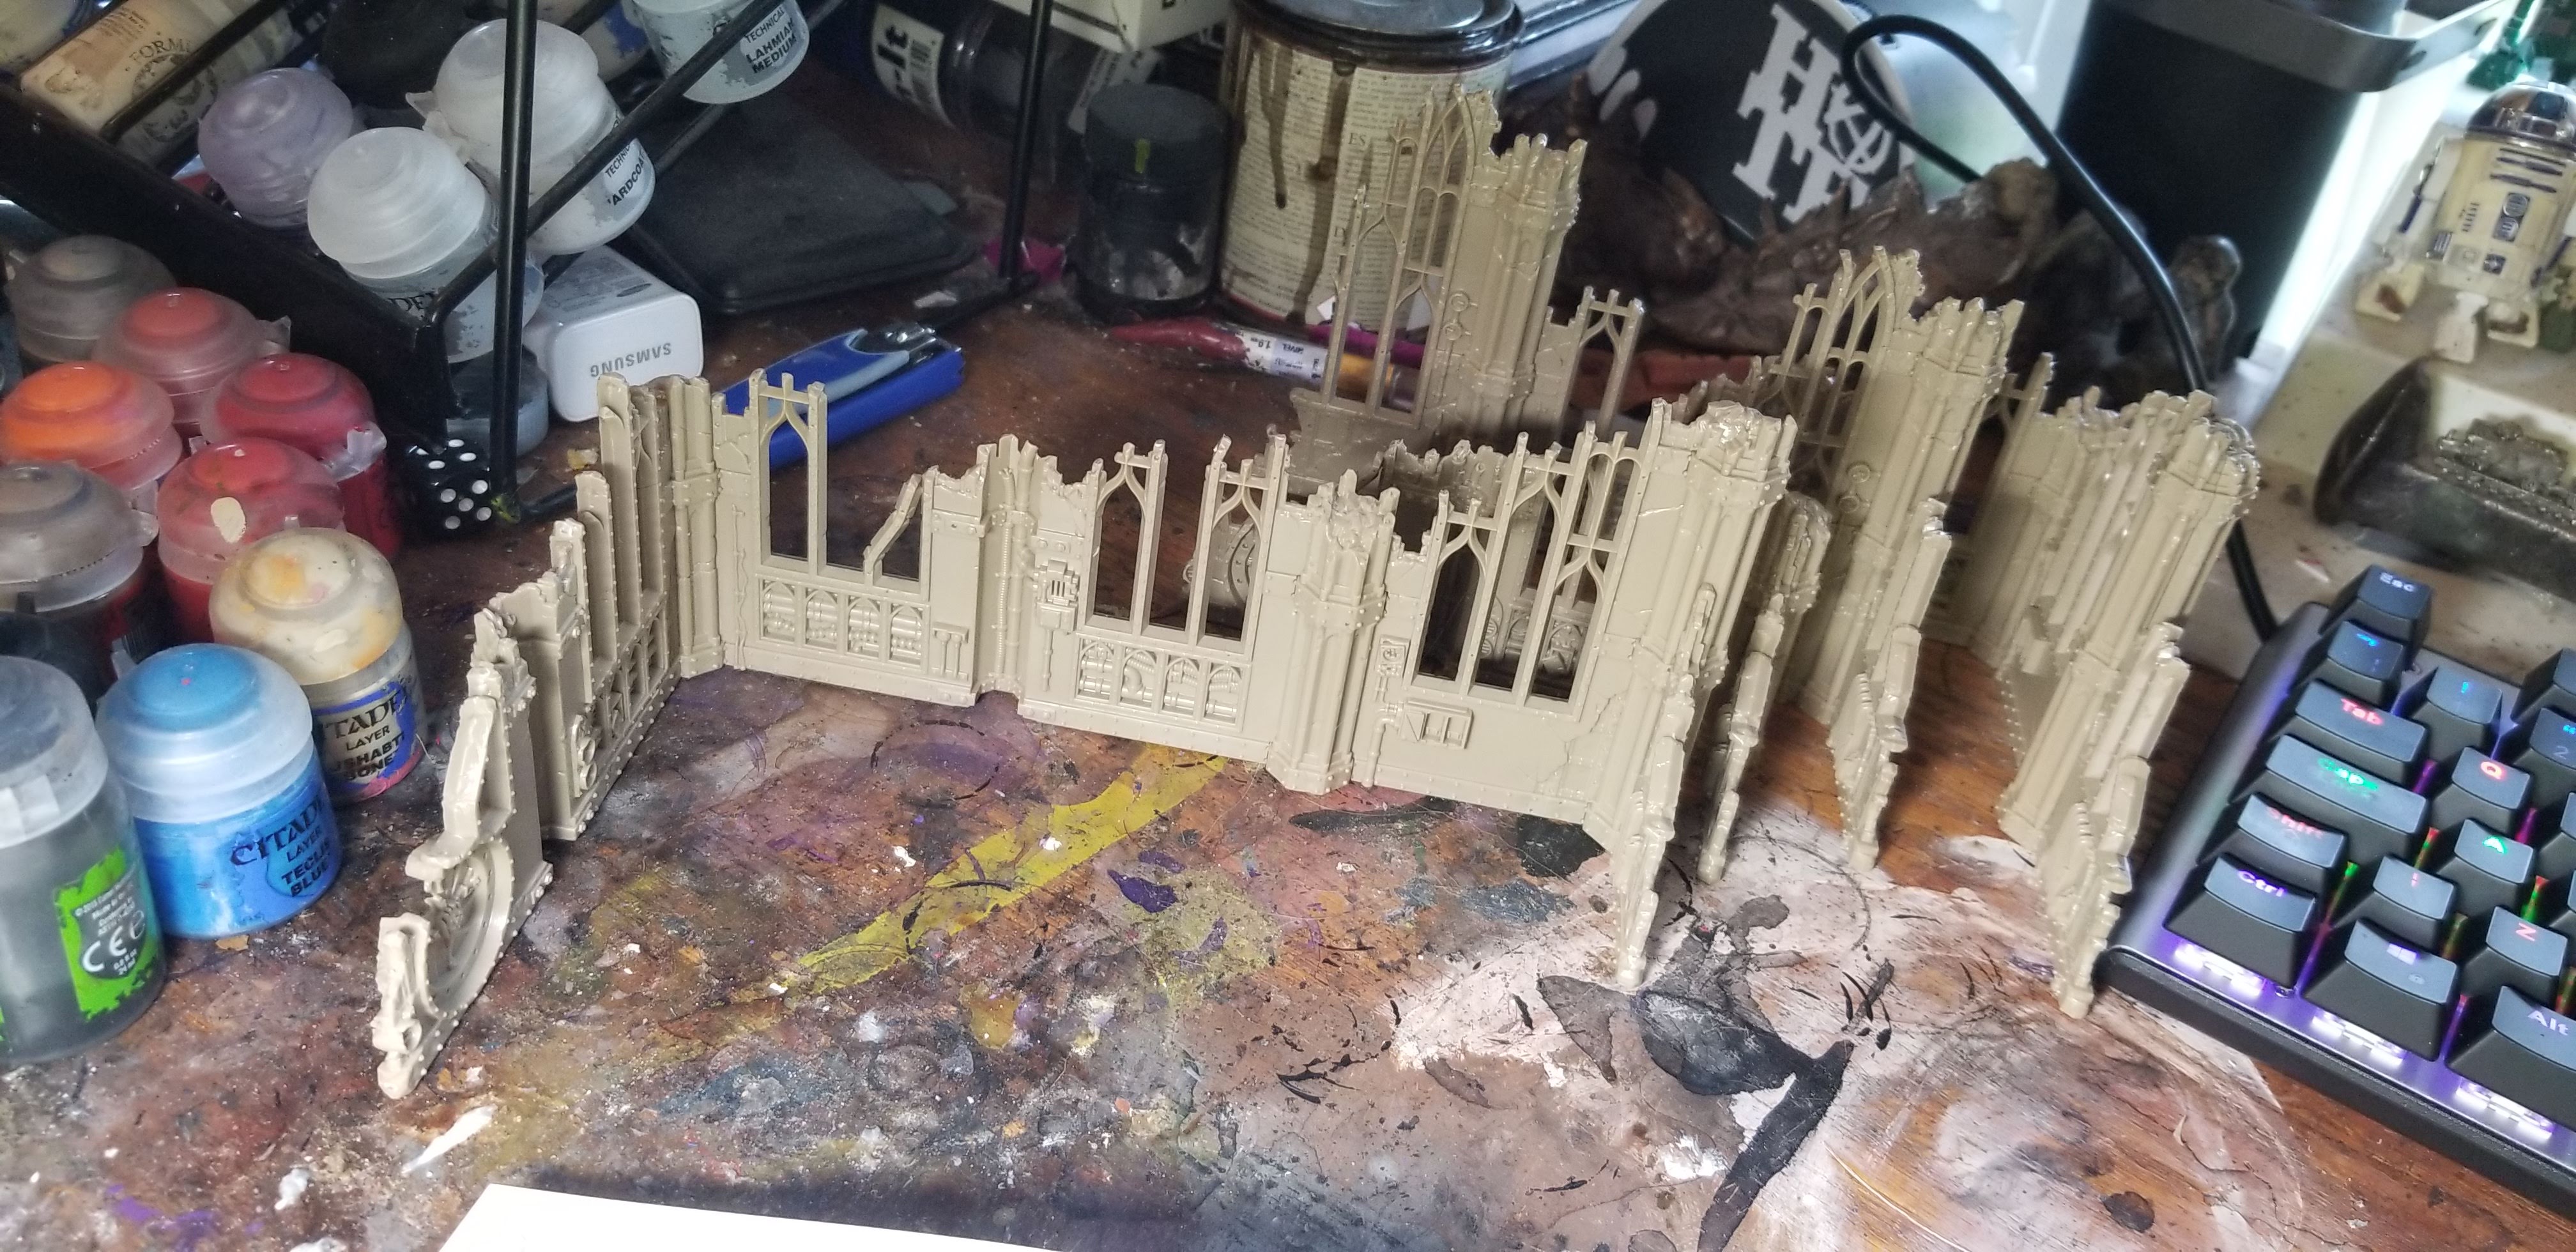
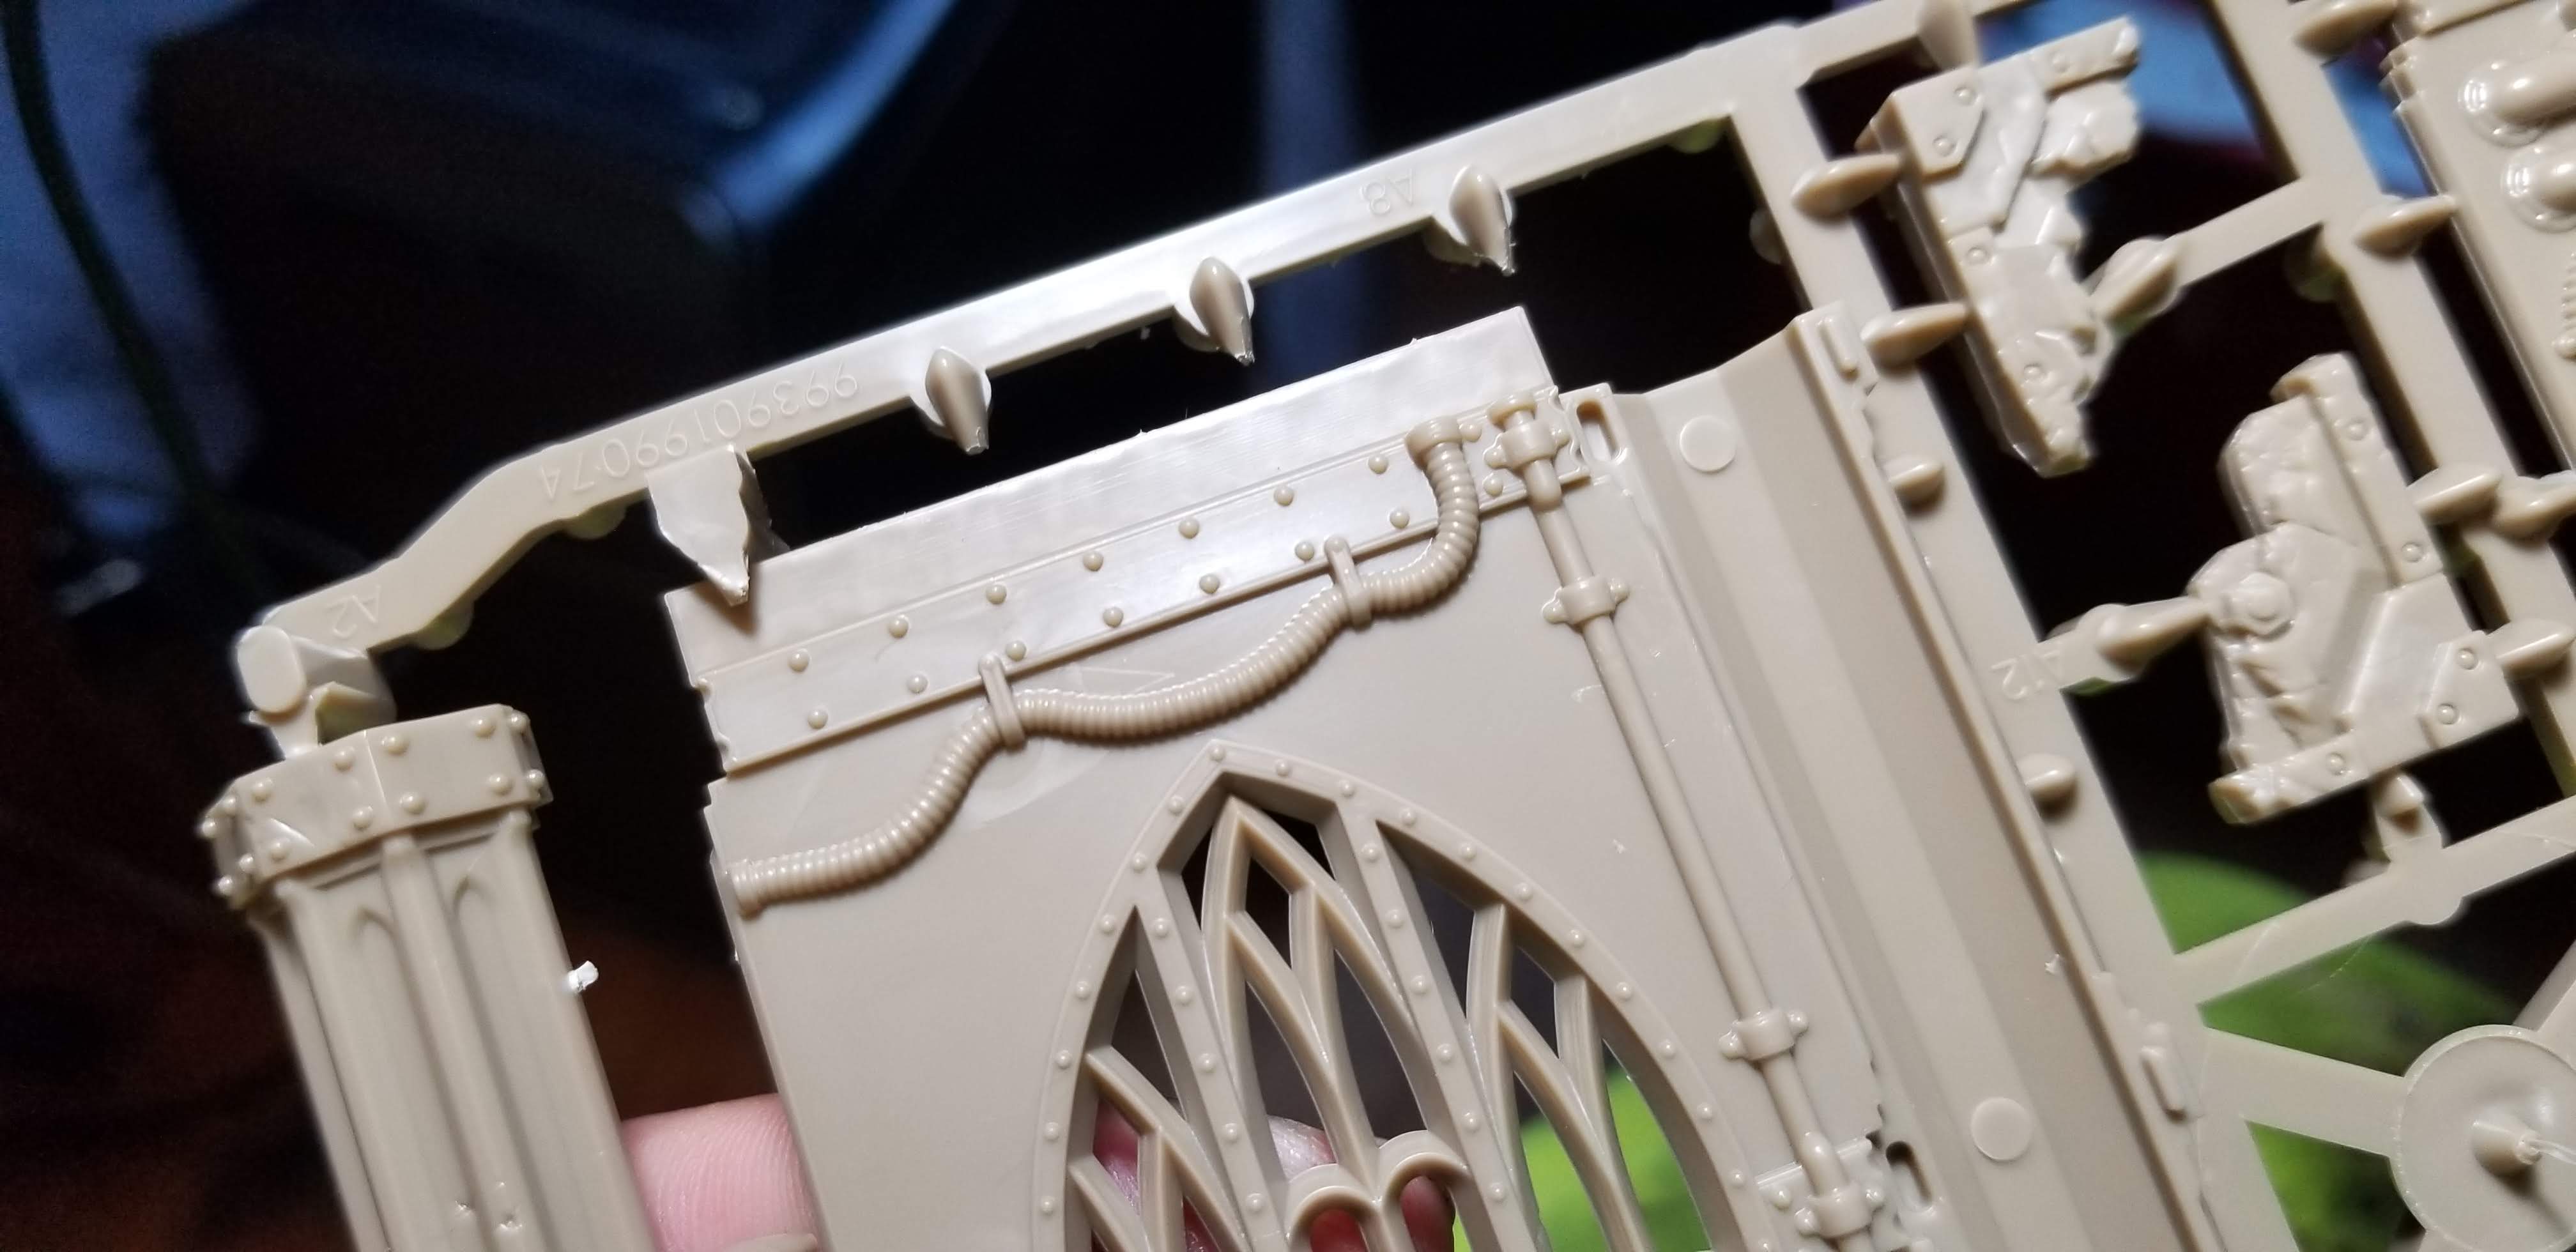
Here’s the sprue with the complete wall sections. At 5″, they work for vertical unit coherency (it’s almost as if they had that in mind when they made the rule) and also for the movement of many models. The height of these sections is very intentional. There are several pieces from the Sector Mechanicus sets that will fit perfectly when placed vertically under the floors. Furthermore, taller wall sections allow for bigger models to fit under floor sections.
There are both blocking sections and window sections. If you want, of course, you can use some polystyrene “FOR SALE” or “KEEP OUT” signs from Wal-Mart or whatever department store you have in your town (these cut well with a simple pair of scissors) and block the back side of the windows.
The floor sections are ingenius. More on these later.
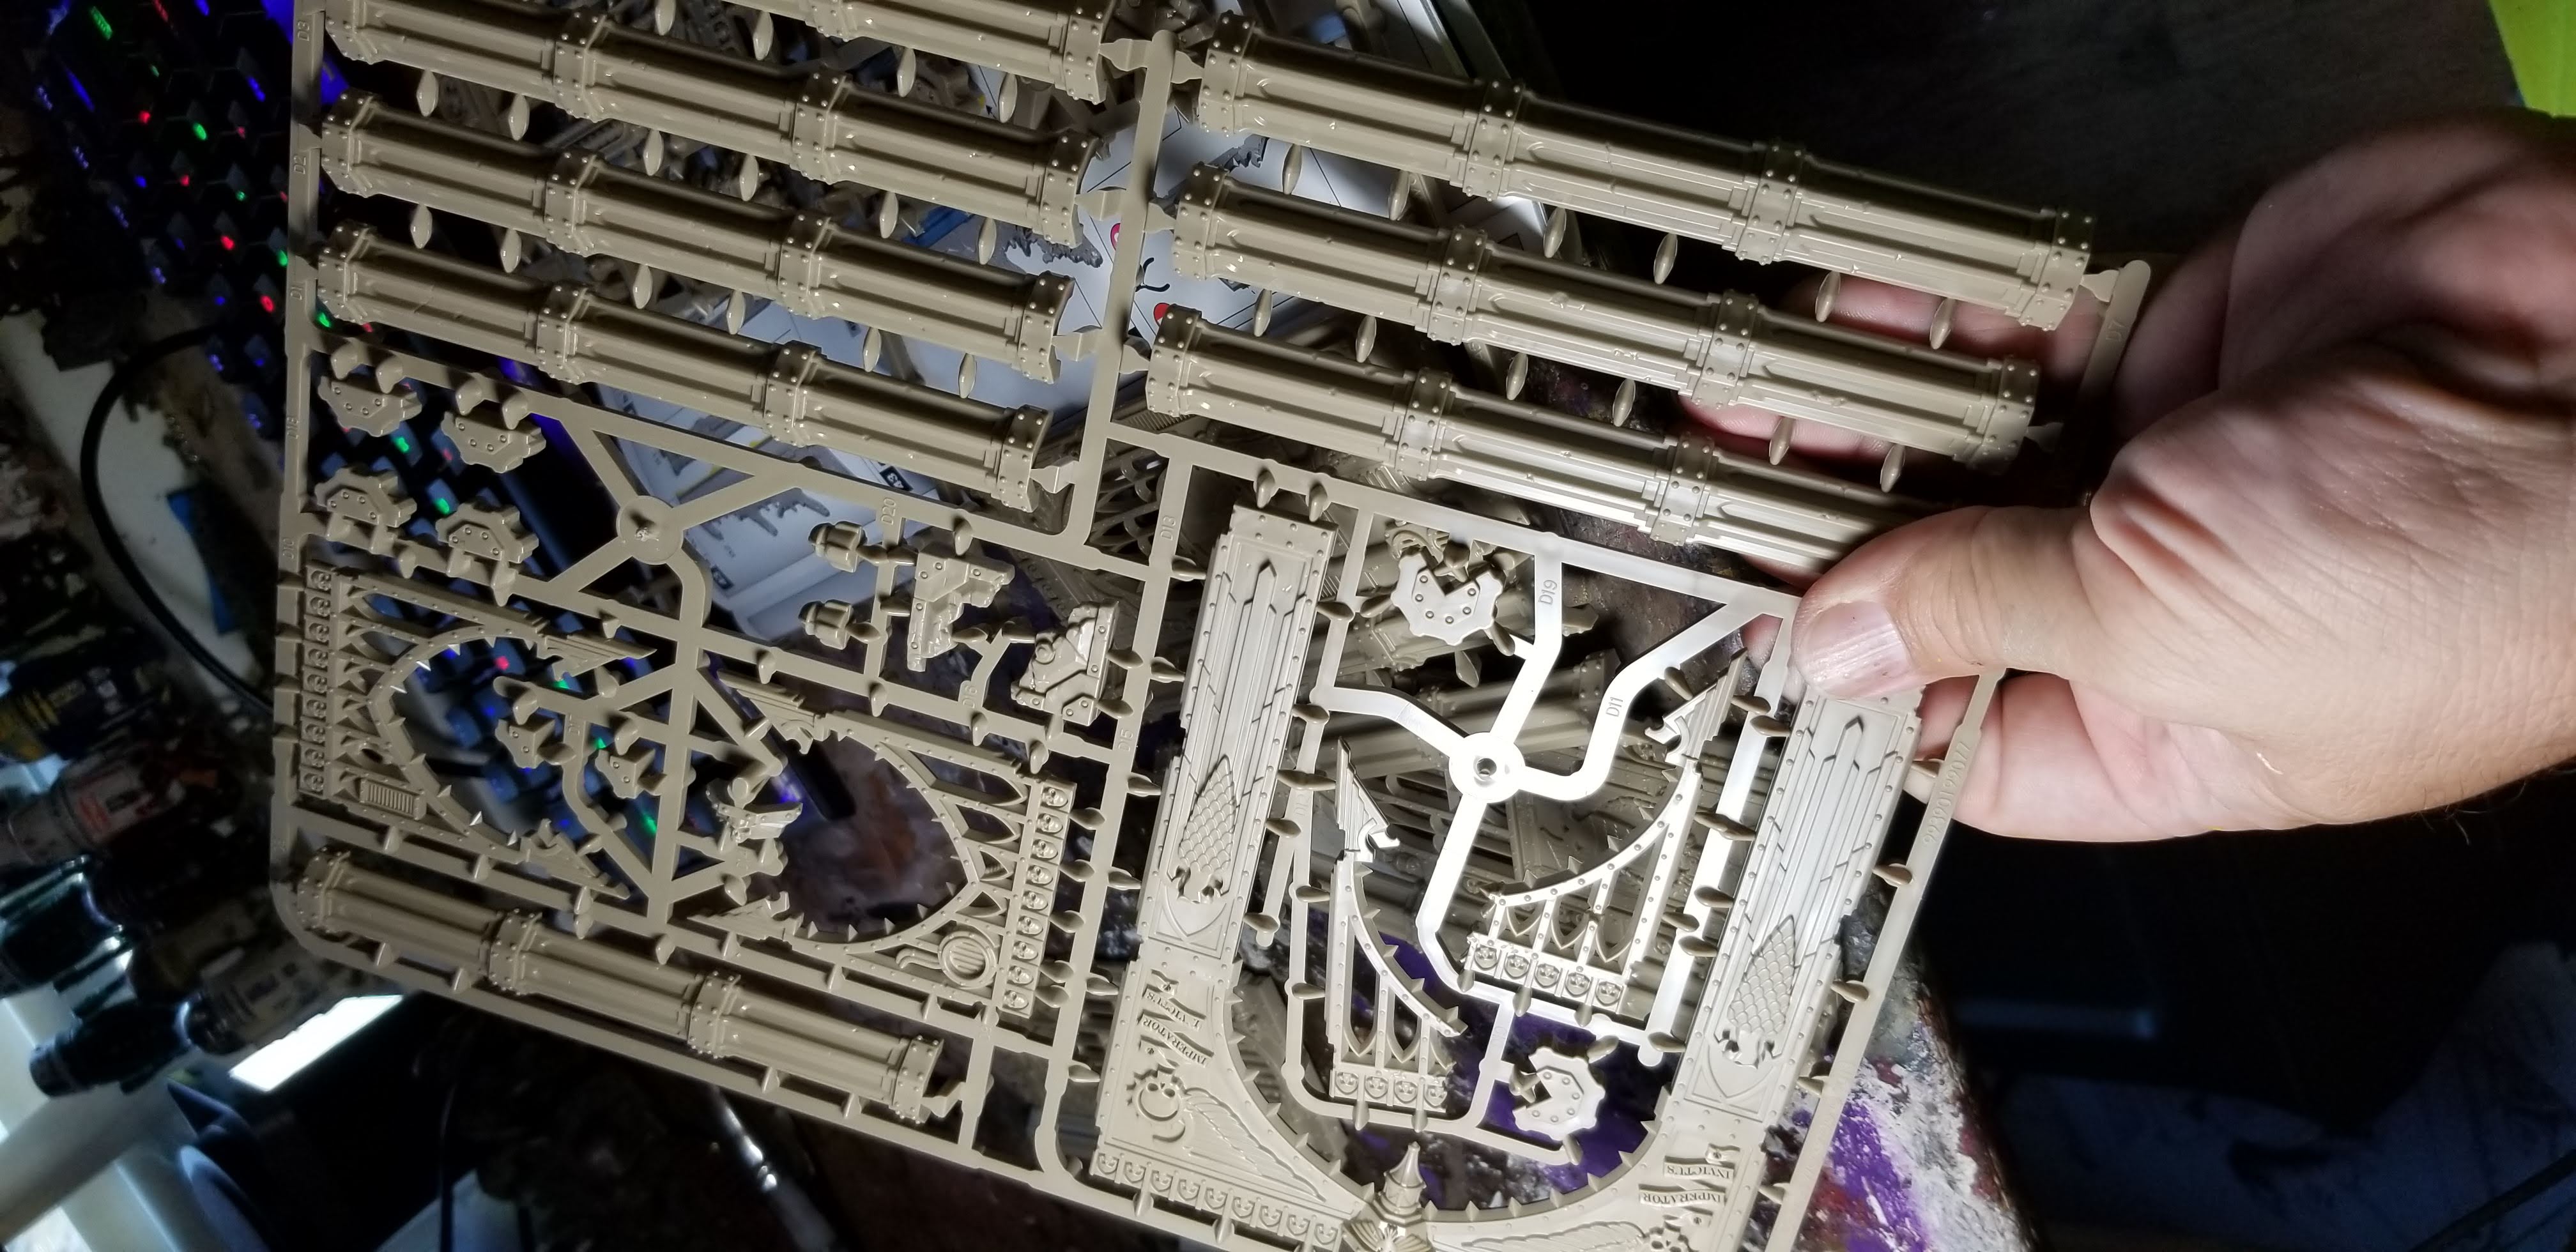
Extra pillars and door sections.
These go together very much in the same way as the ruins…
…you just get some additional supports for your floors.
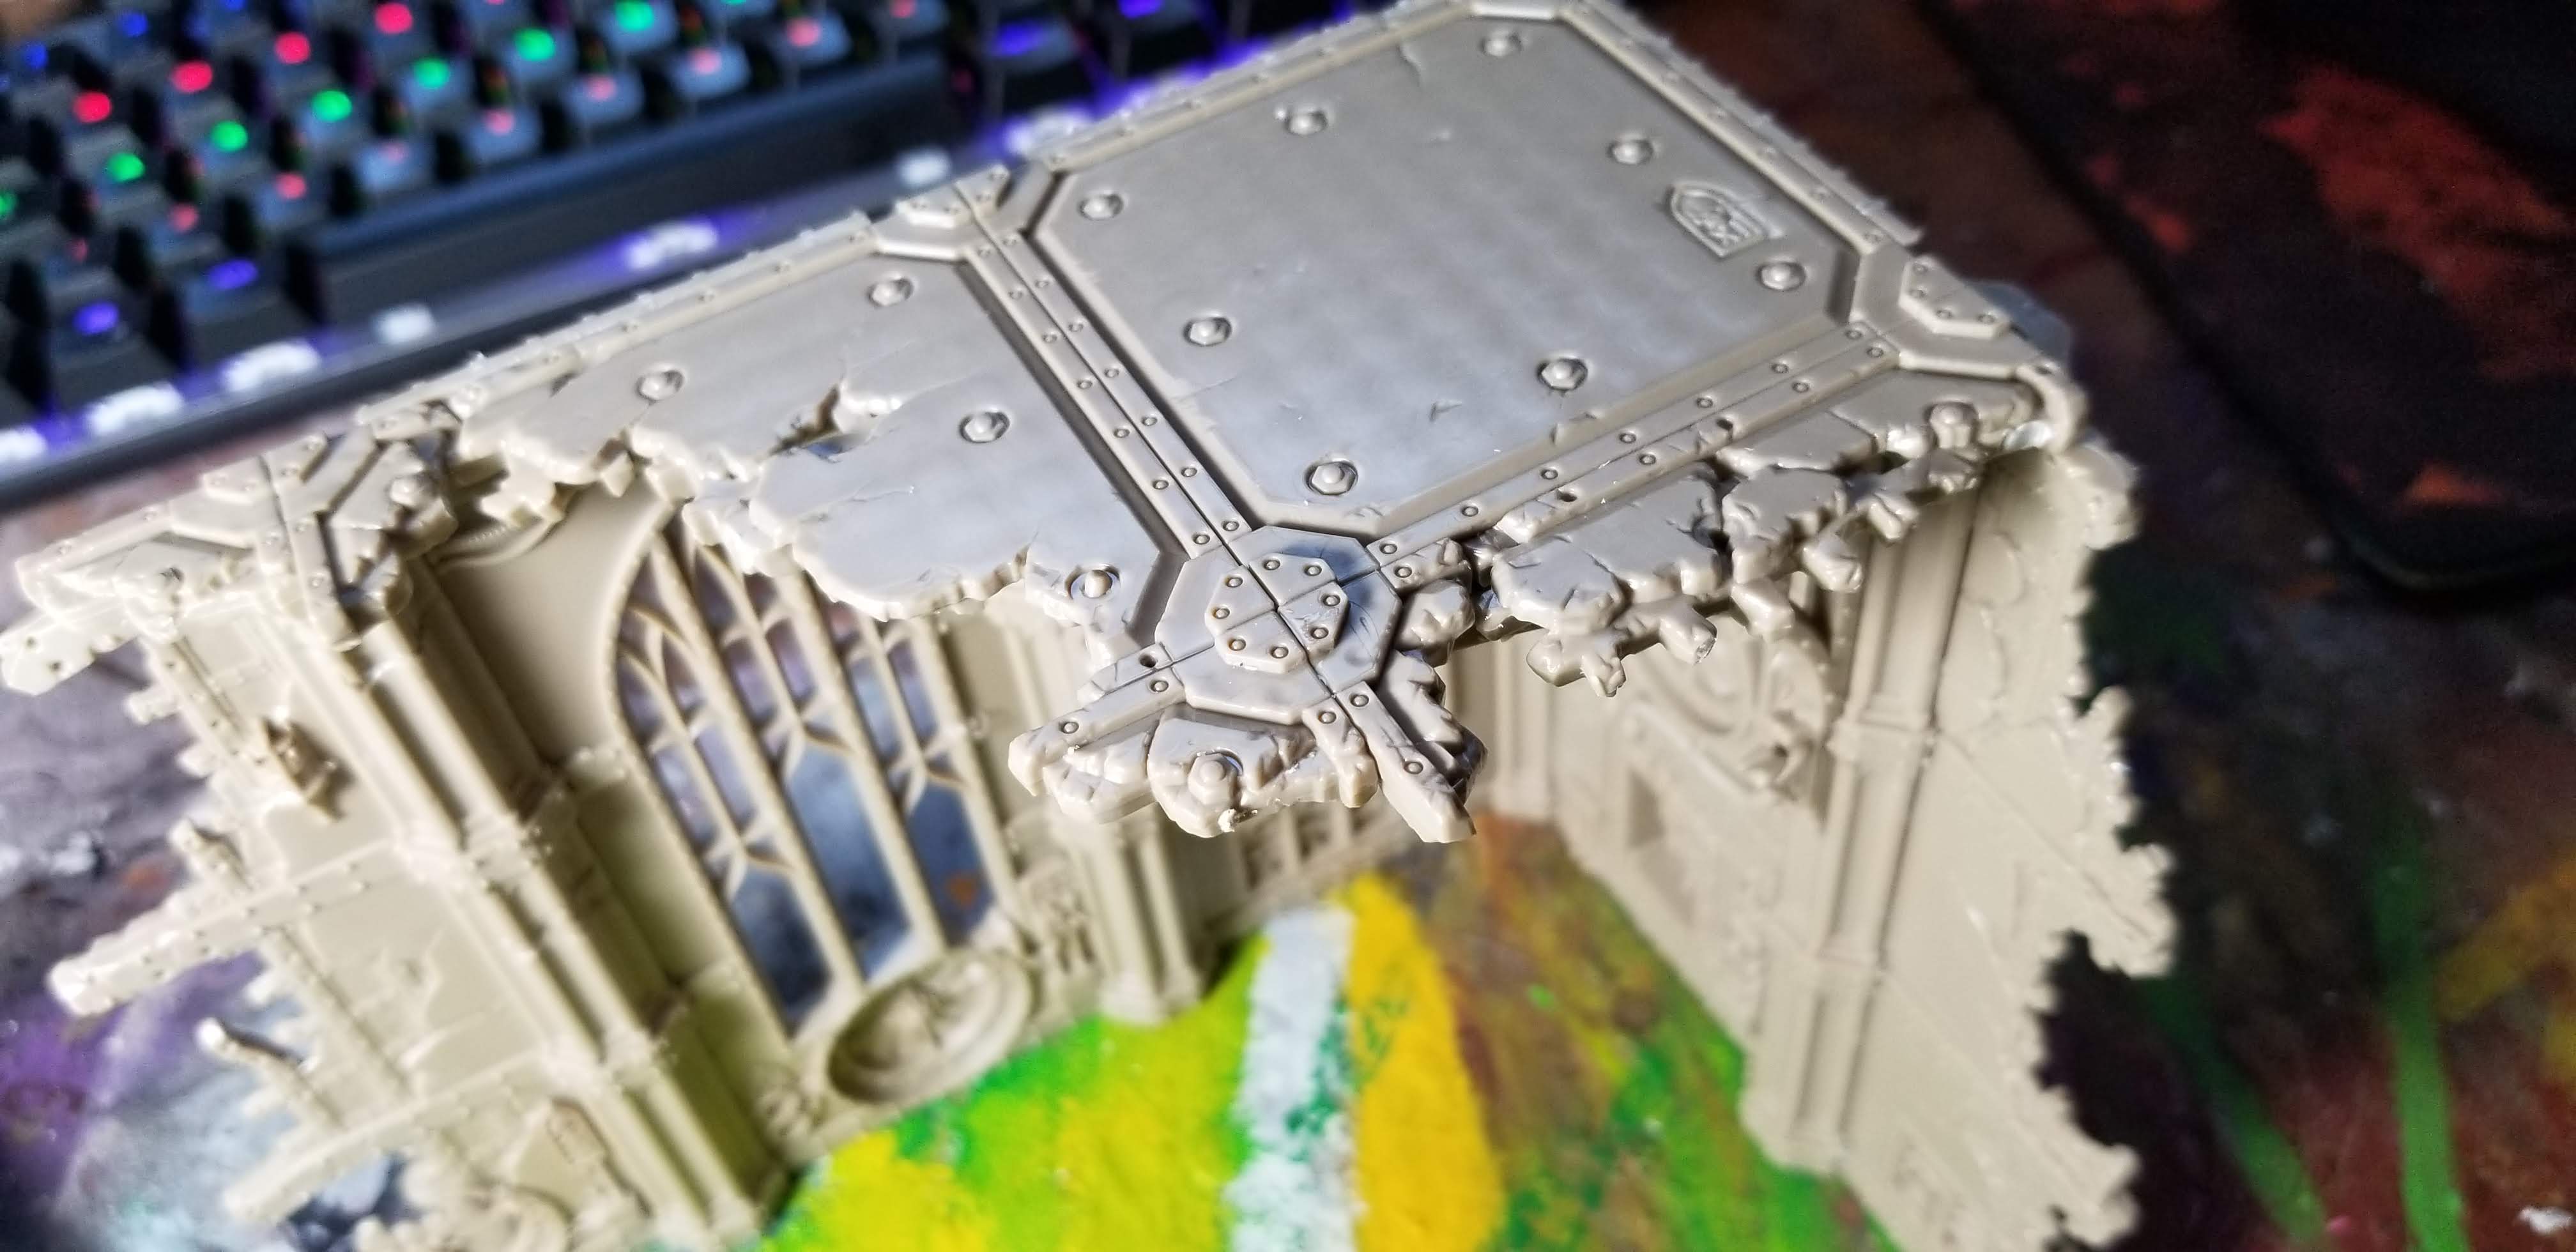
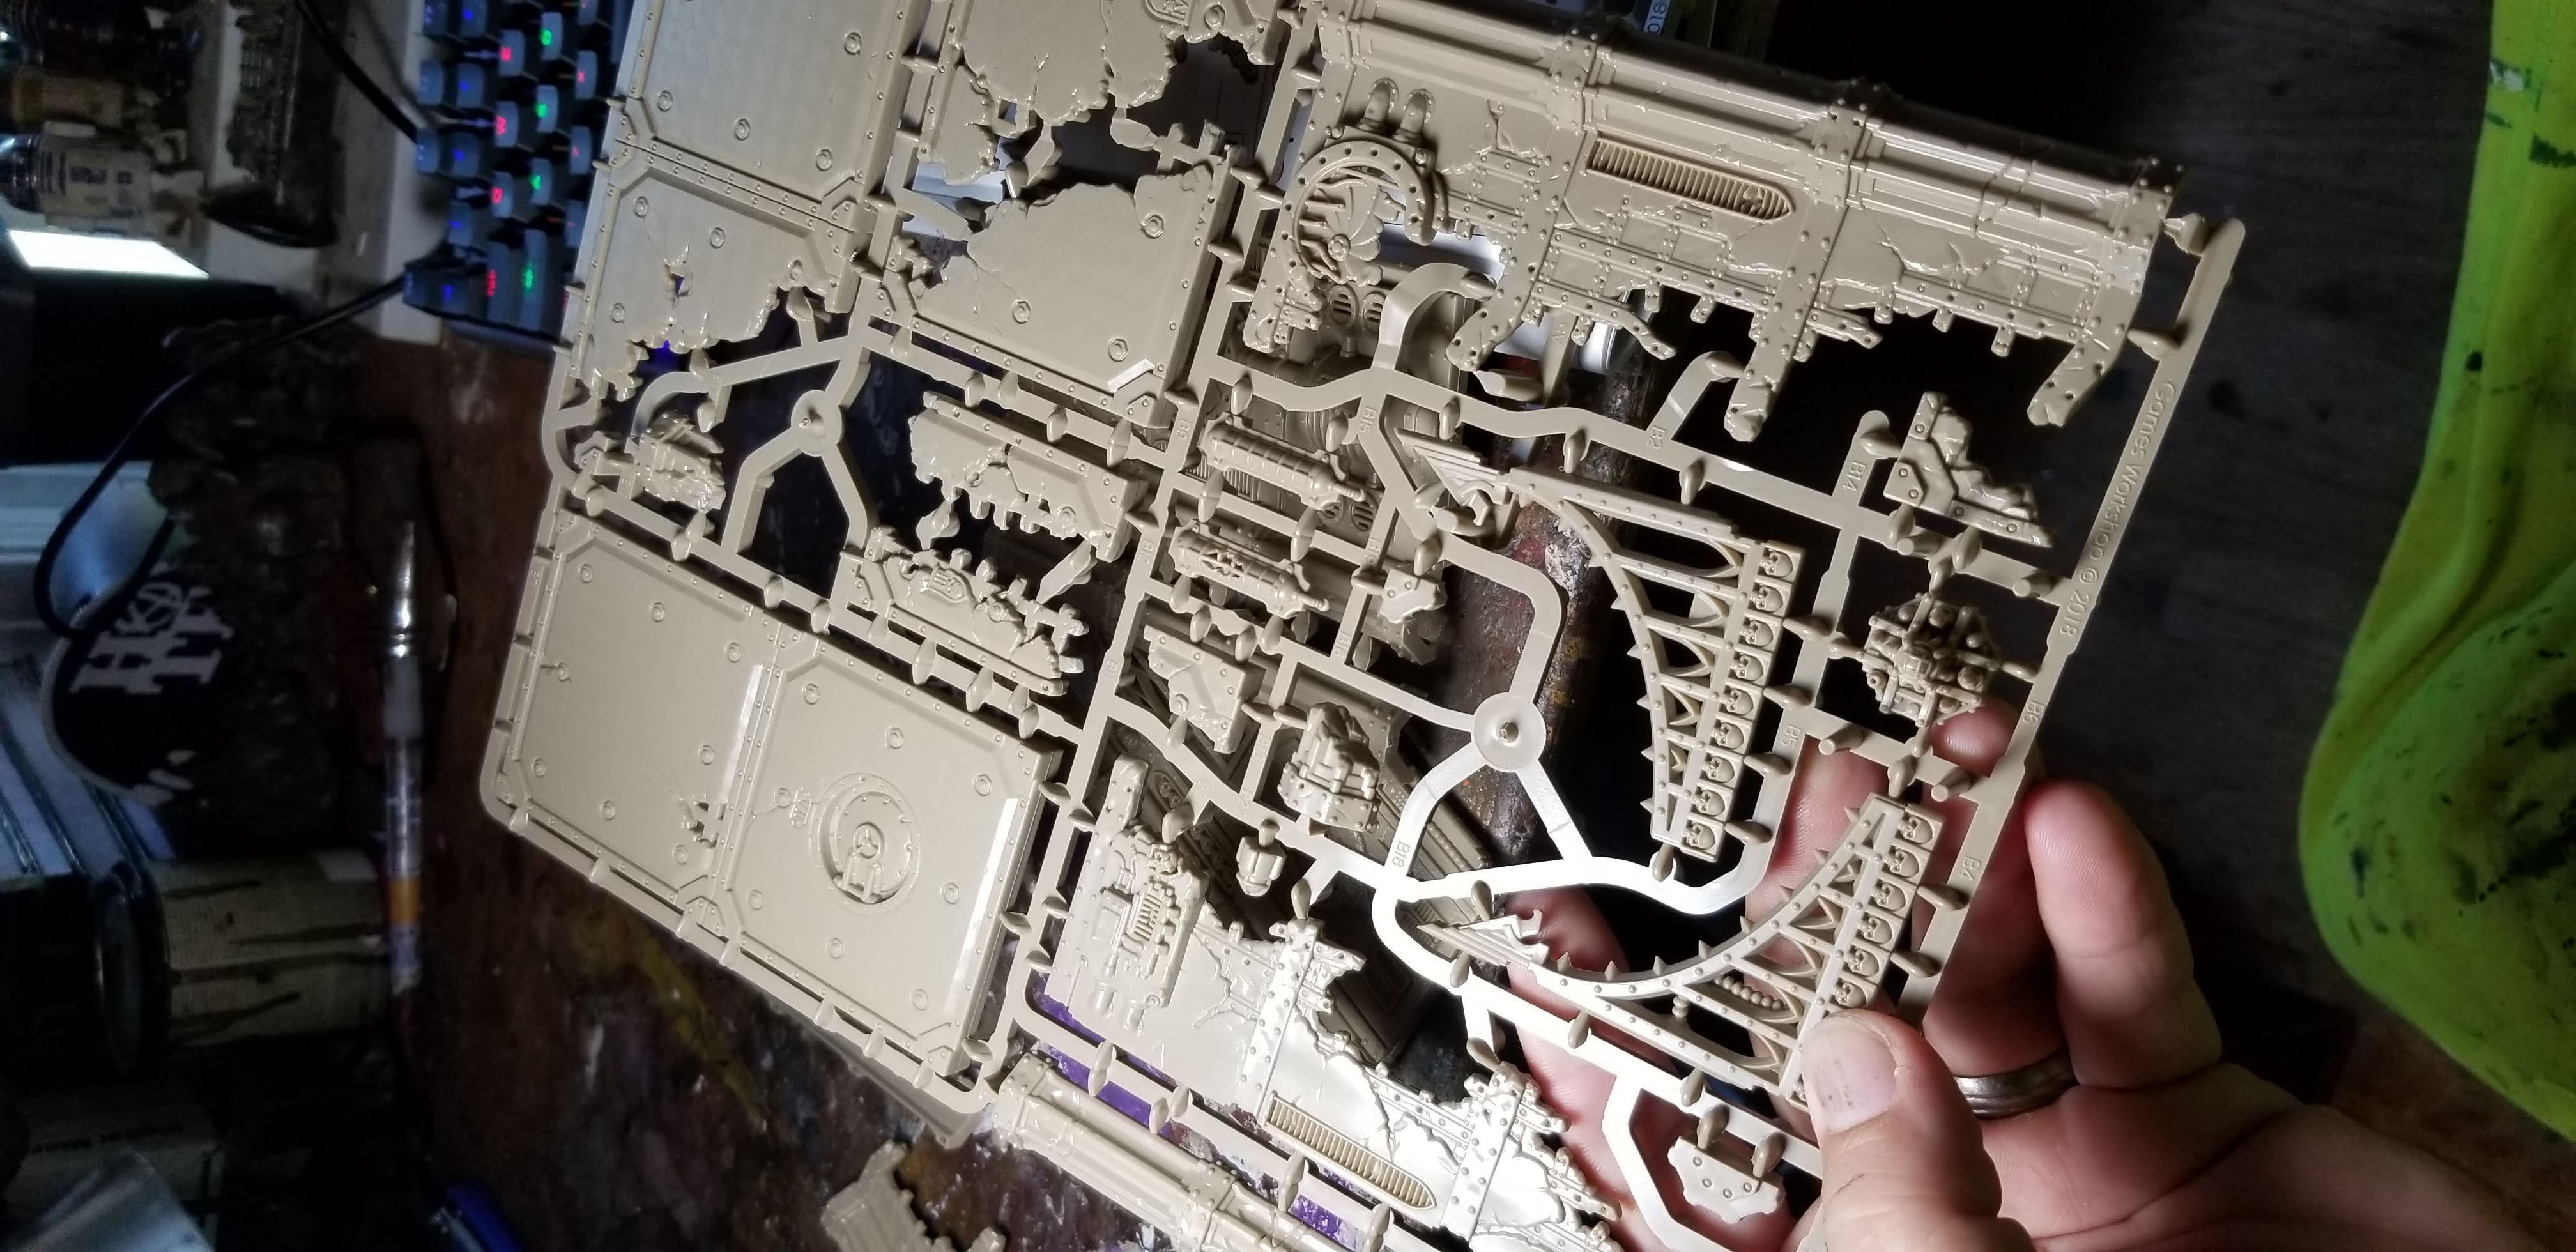
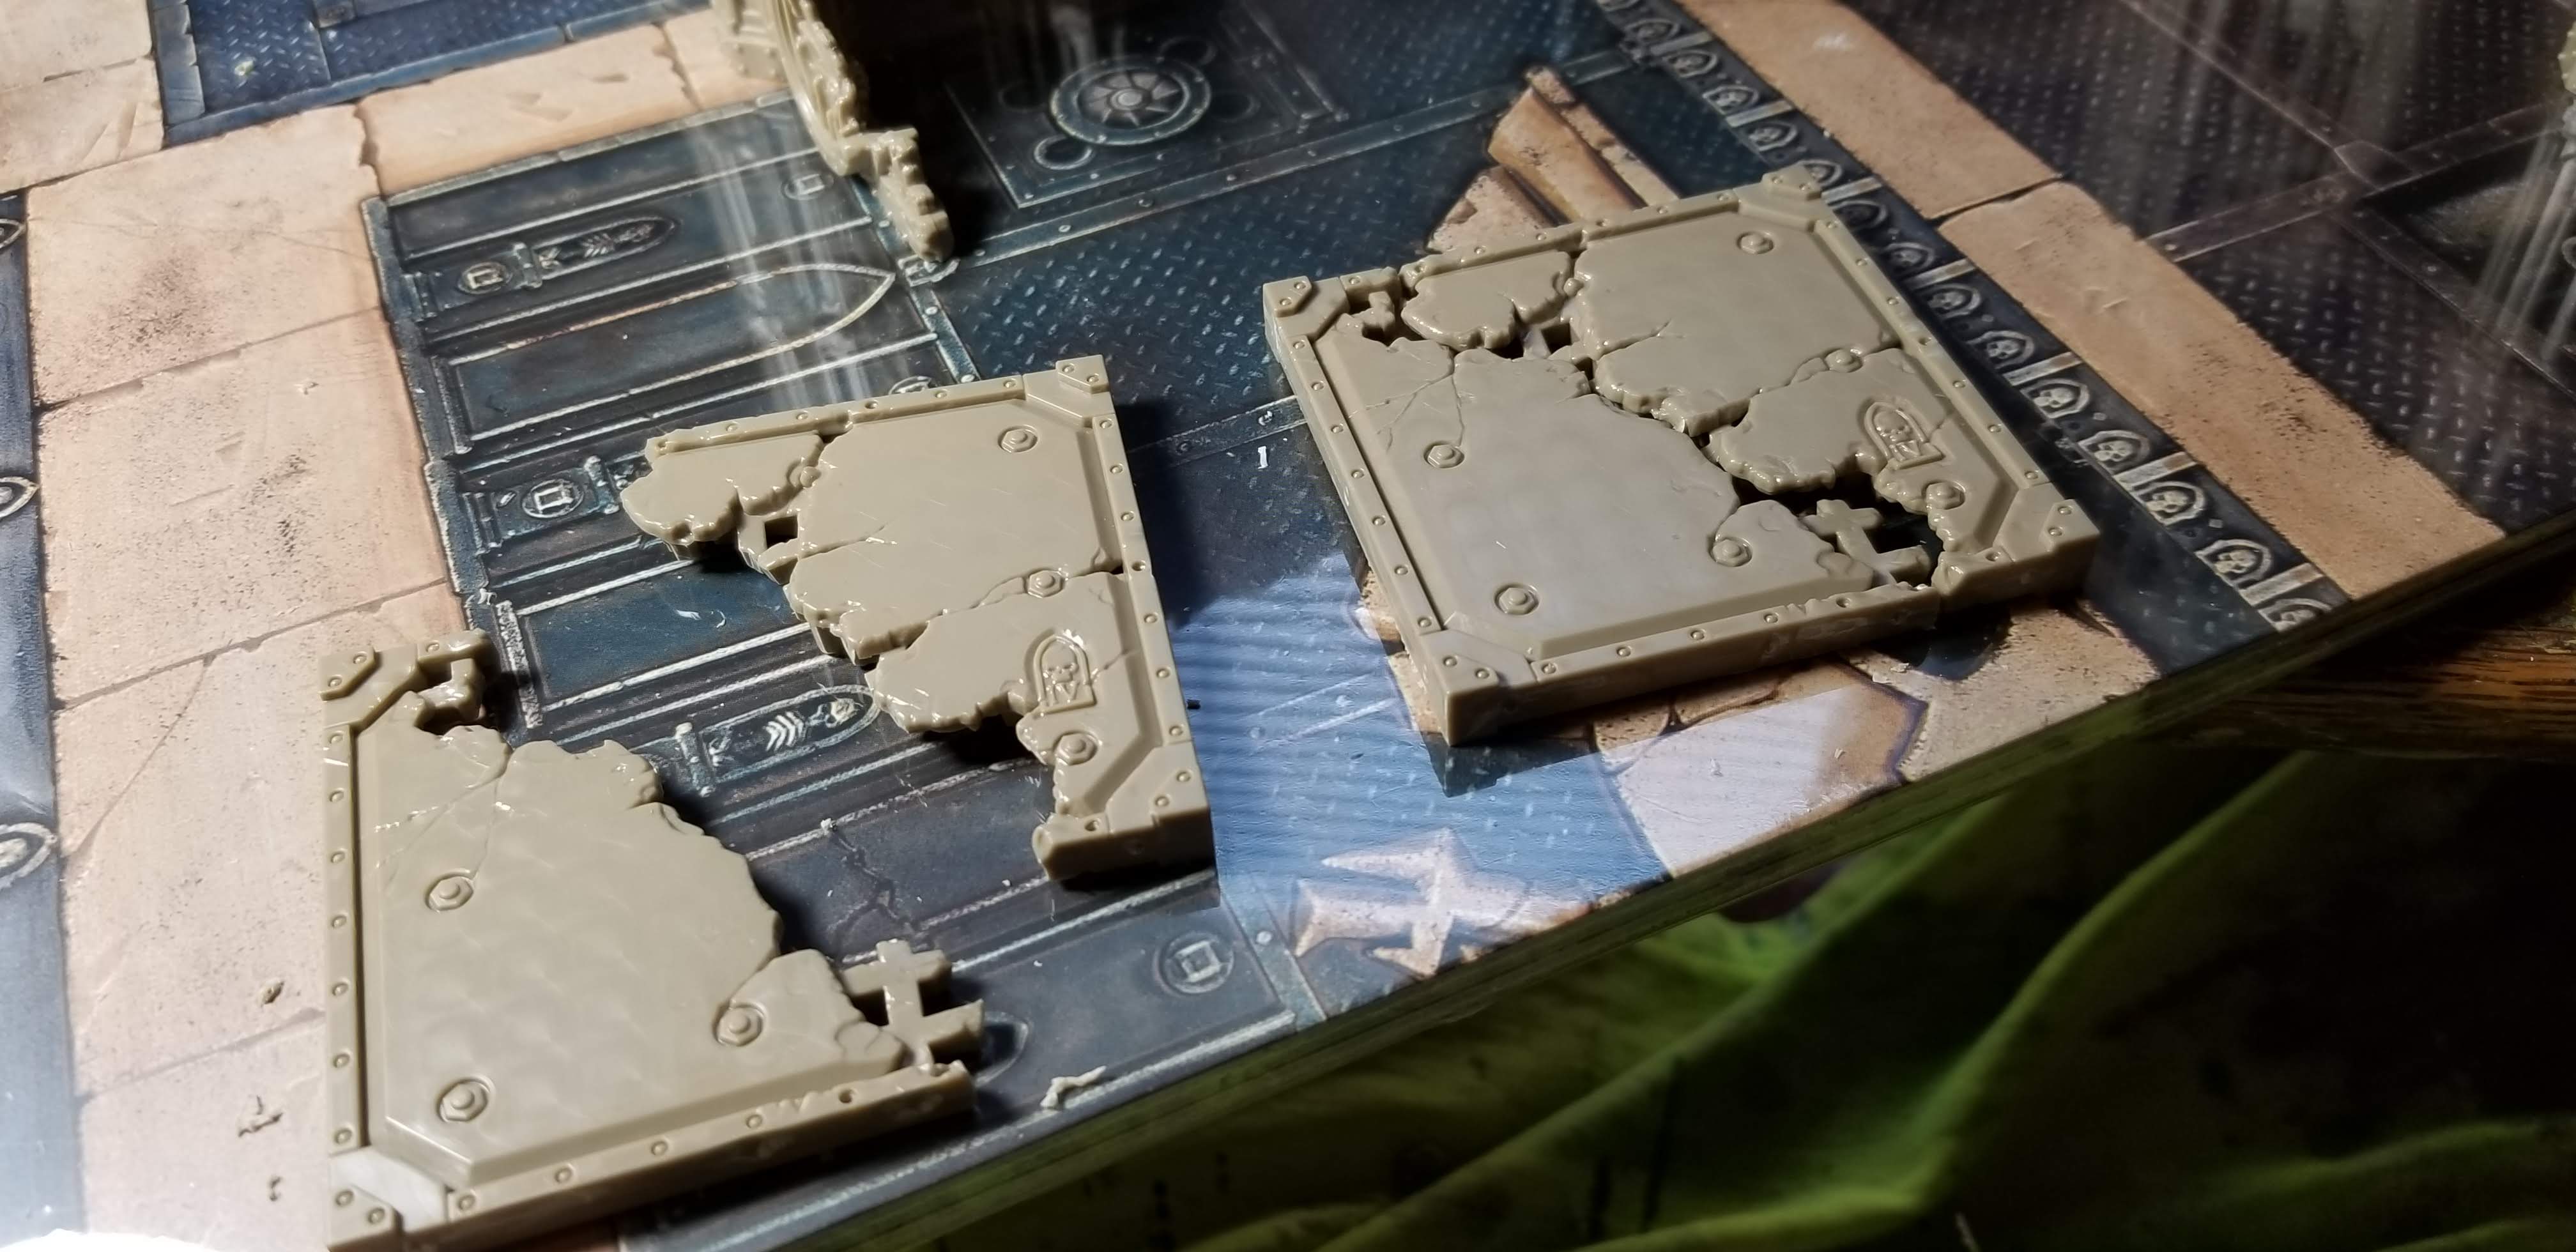
Note that the large floor squares are supplemented by smaller pieces. This helps the kit look more realistic. Instead of a clean break, the floor has crumbled and broken along the weak points instead of the stronger ones.
Here’s a floor section before the detail pieces.

And after. Very clever! This ensures customisability; for example if you want to extend a ledge over the facade of your building.
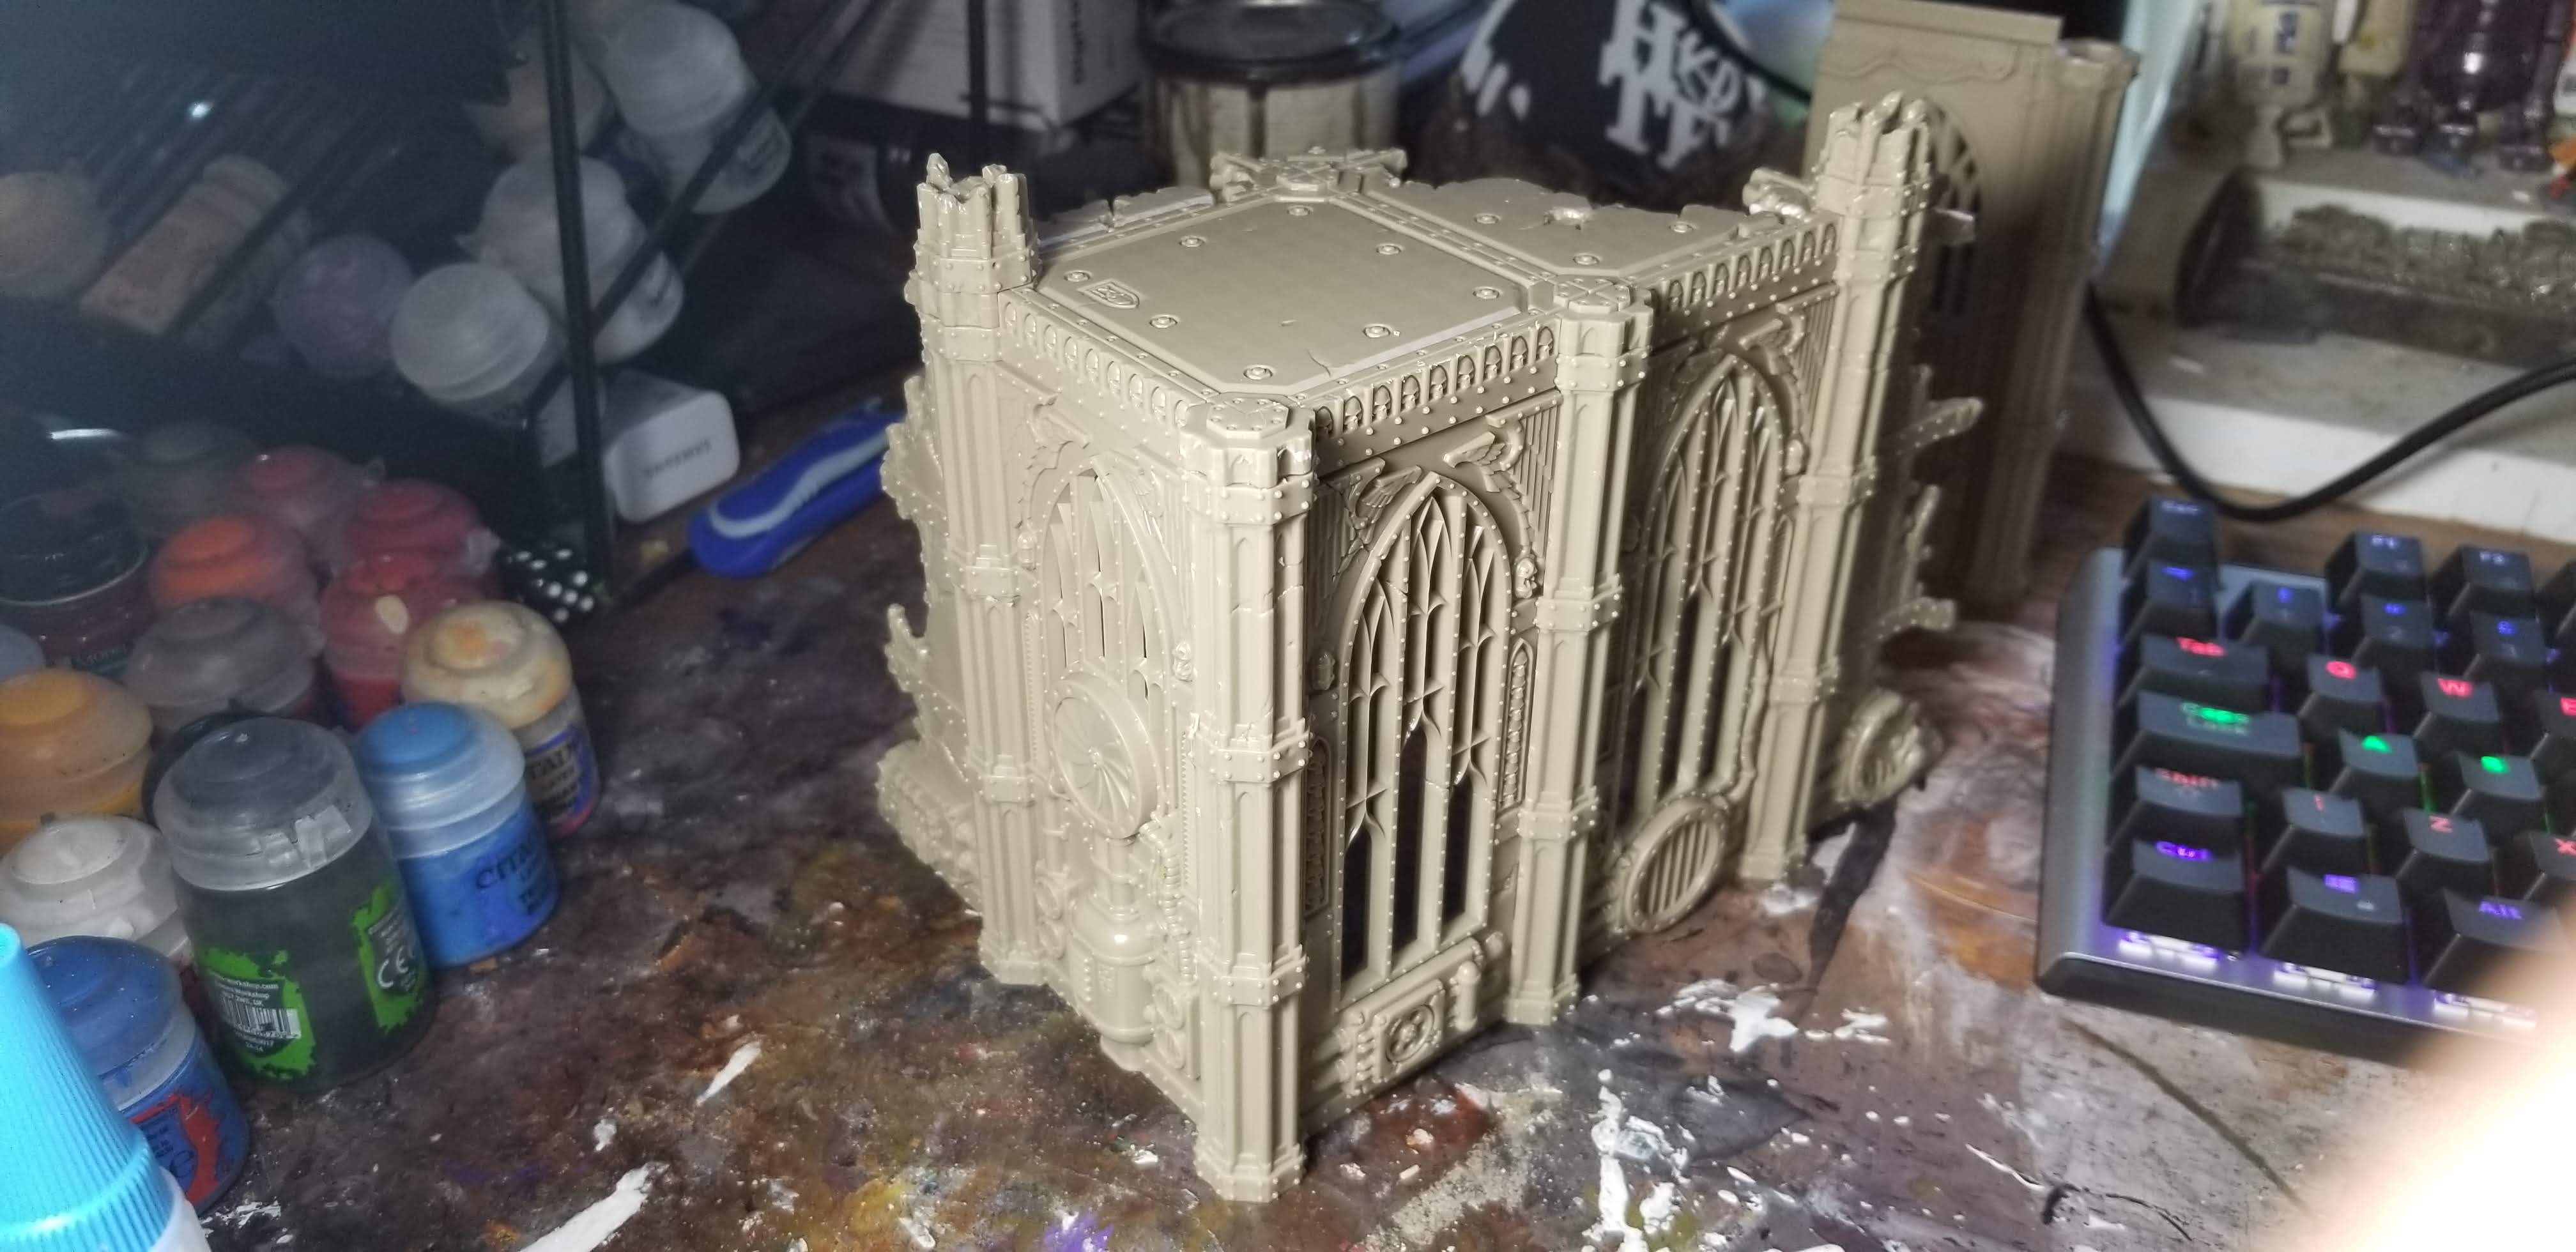
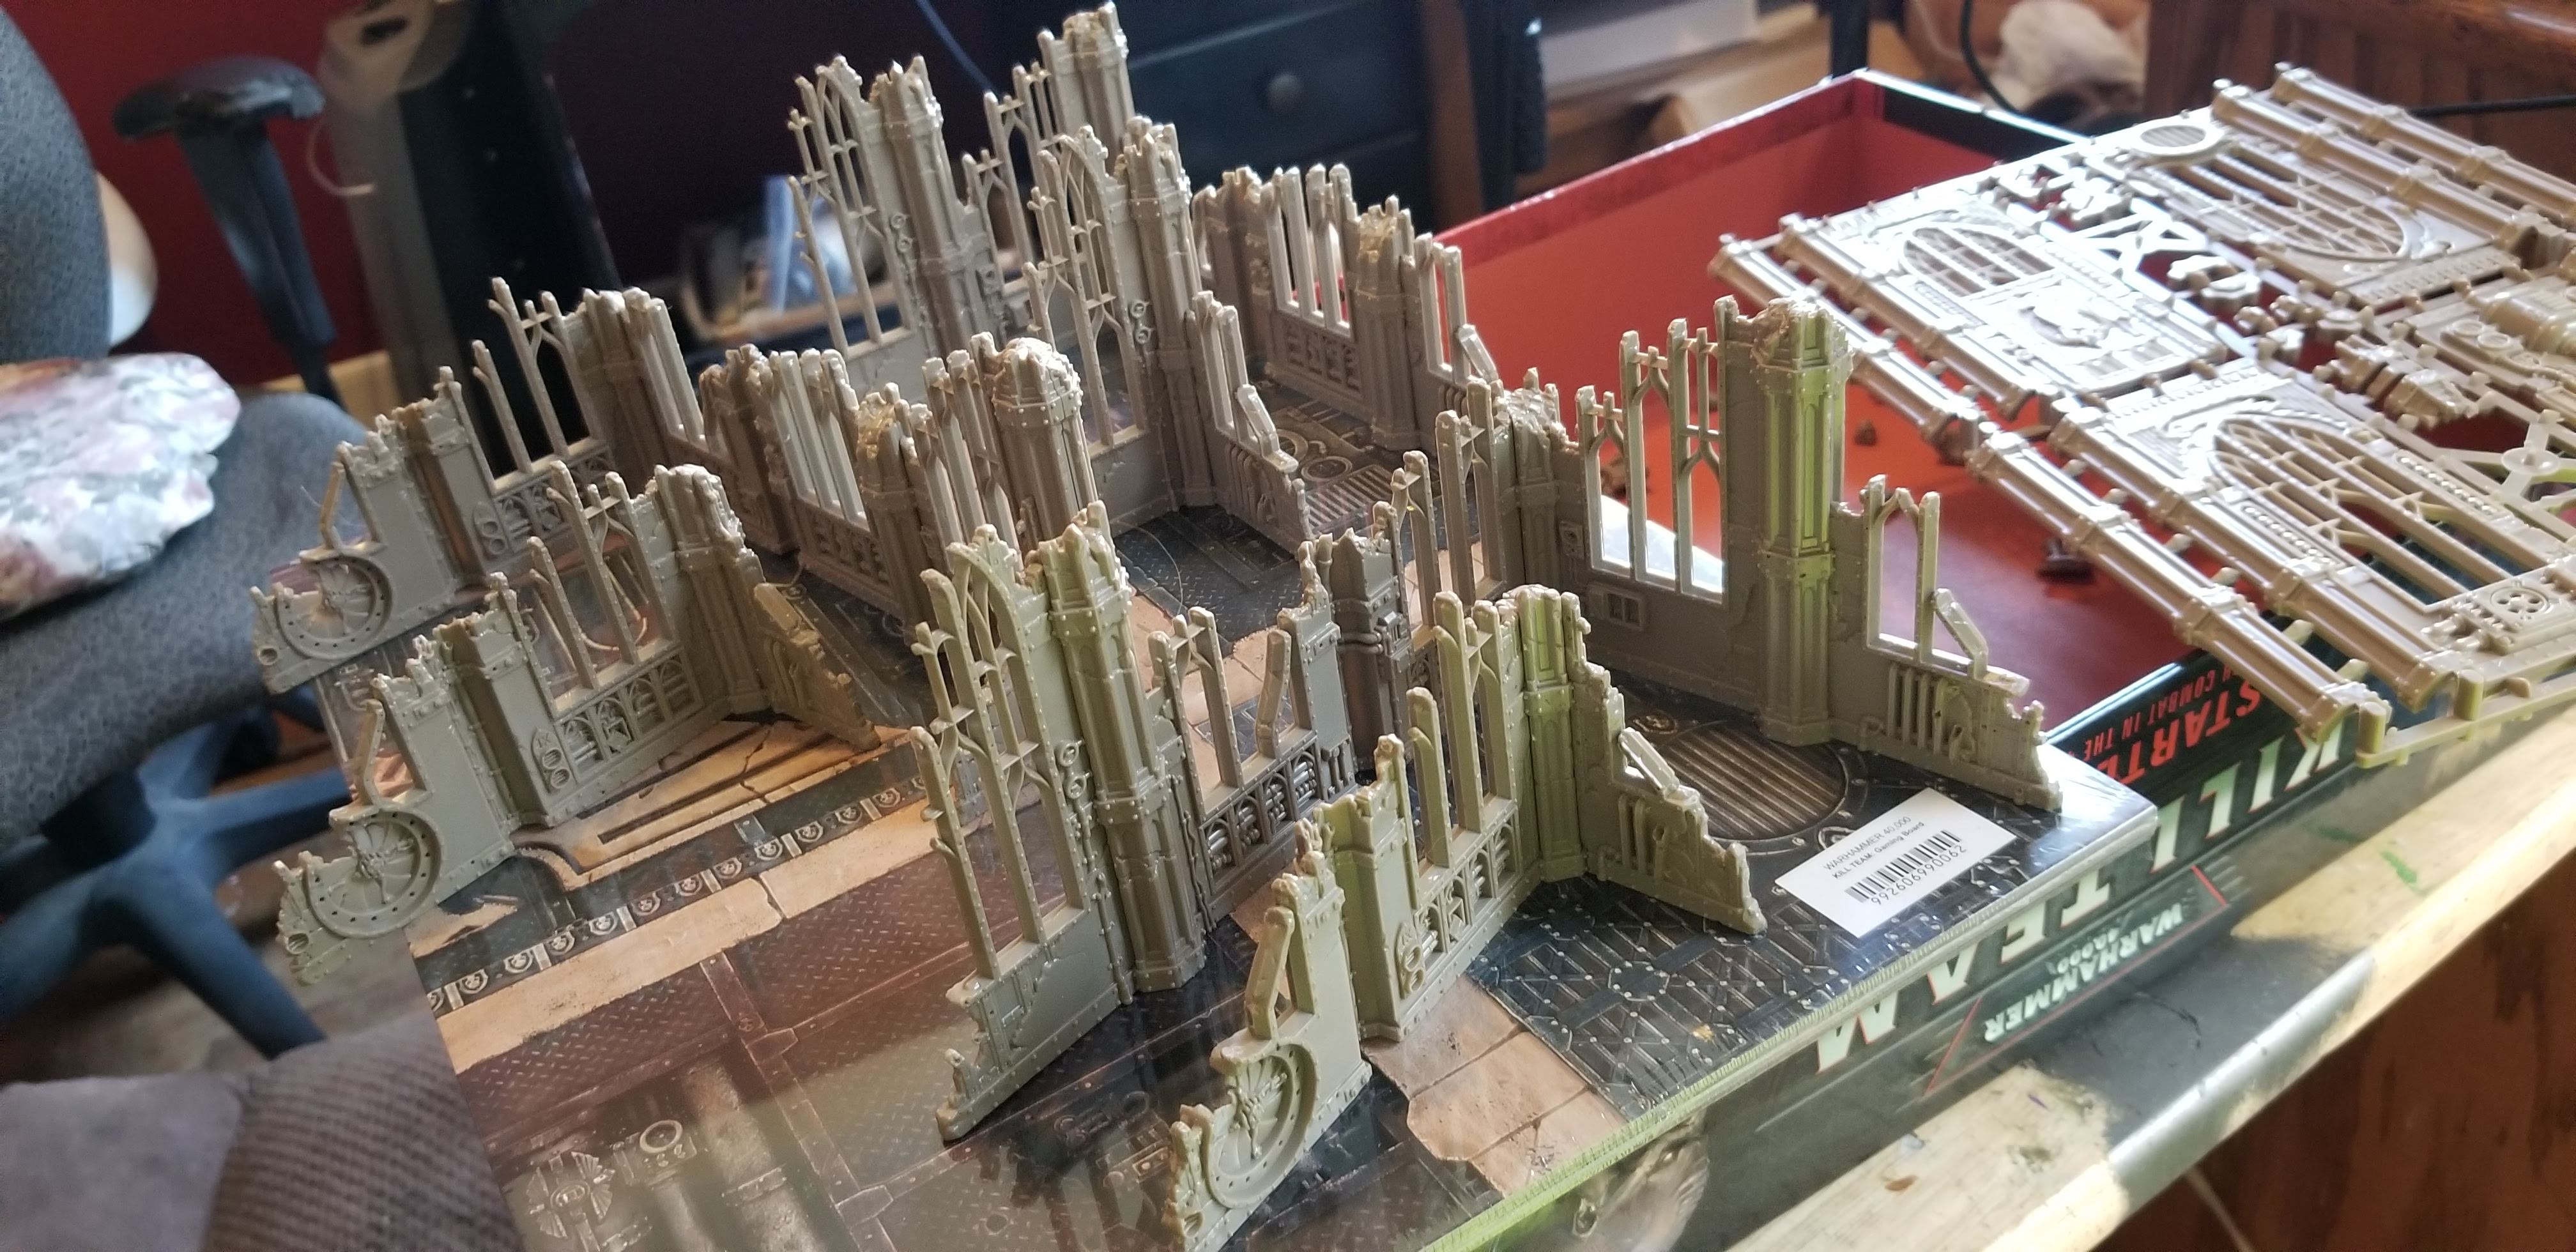
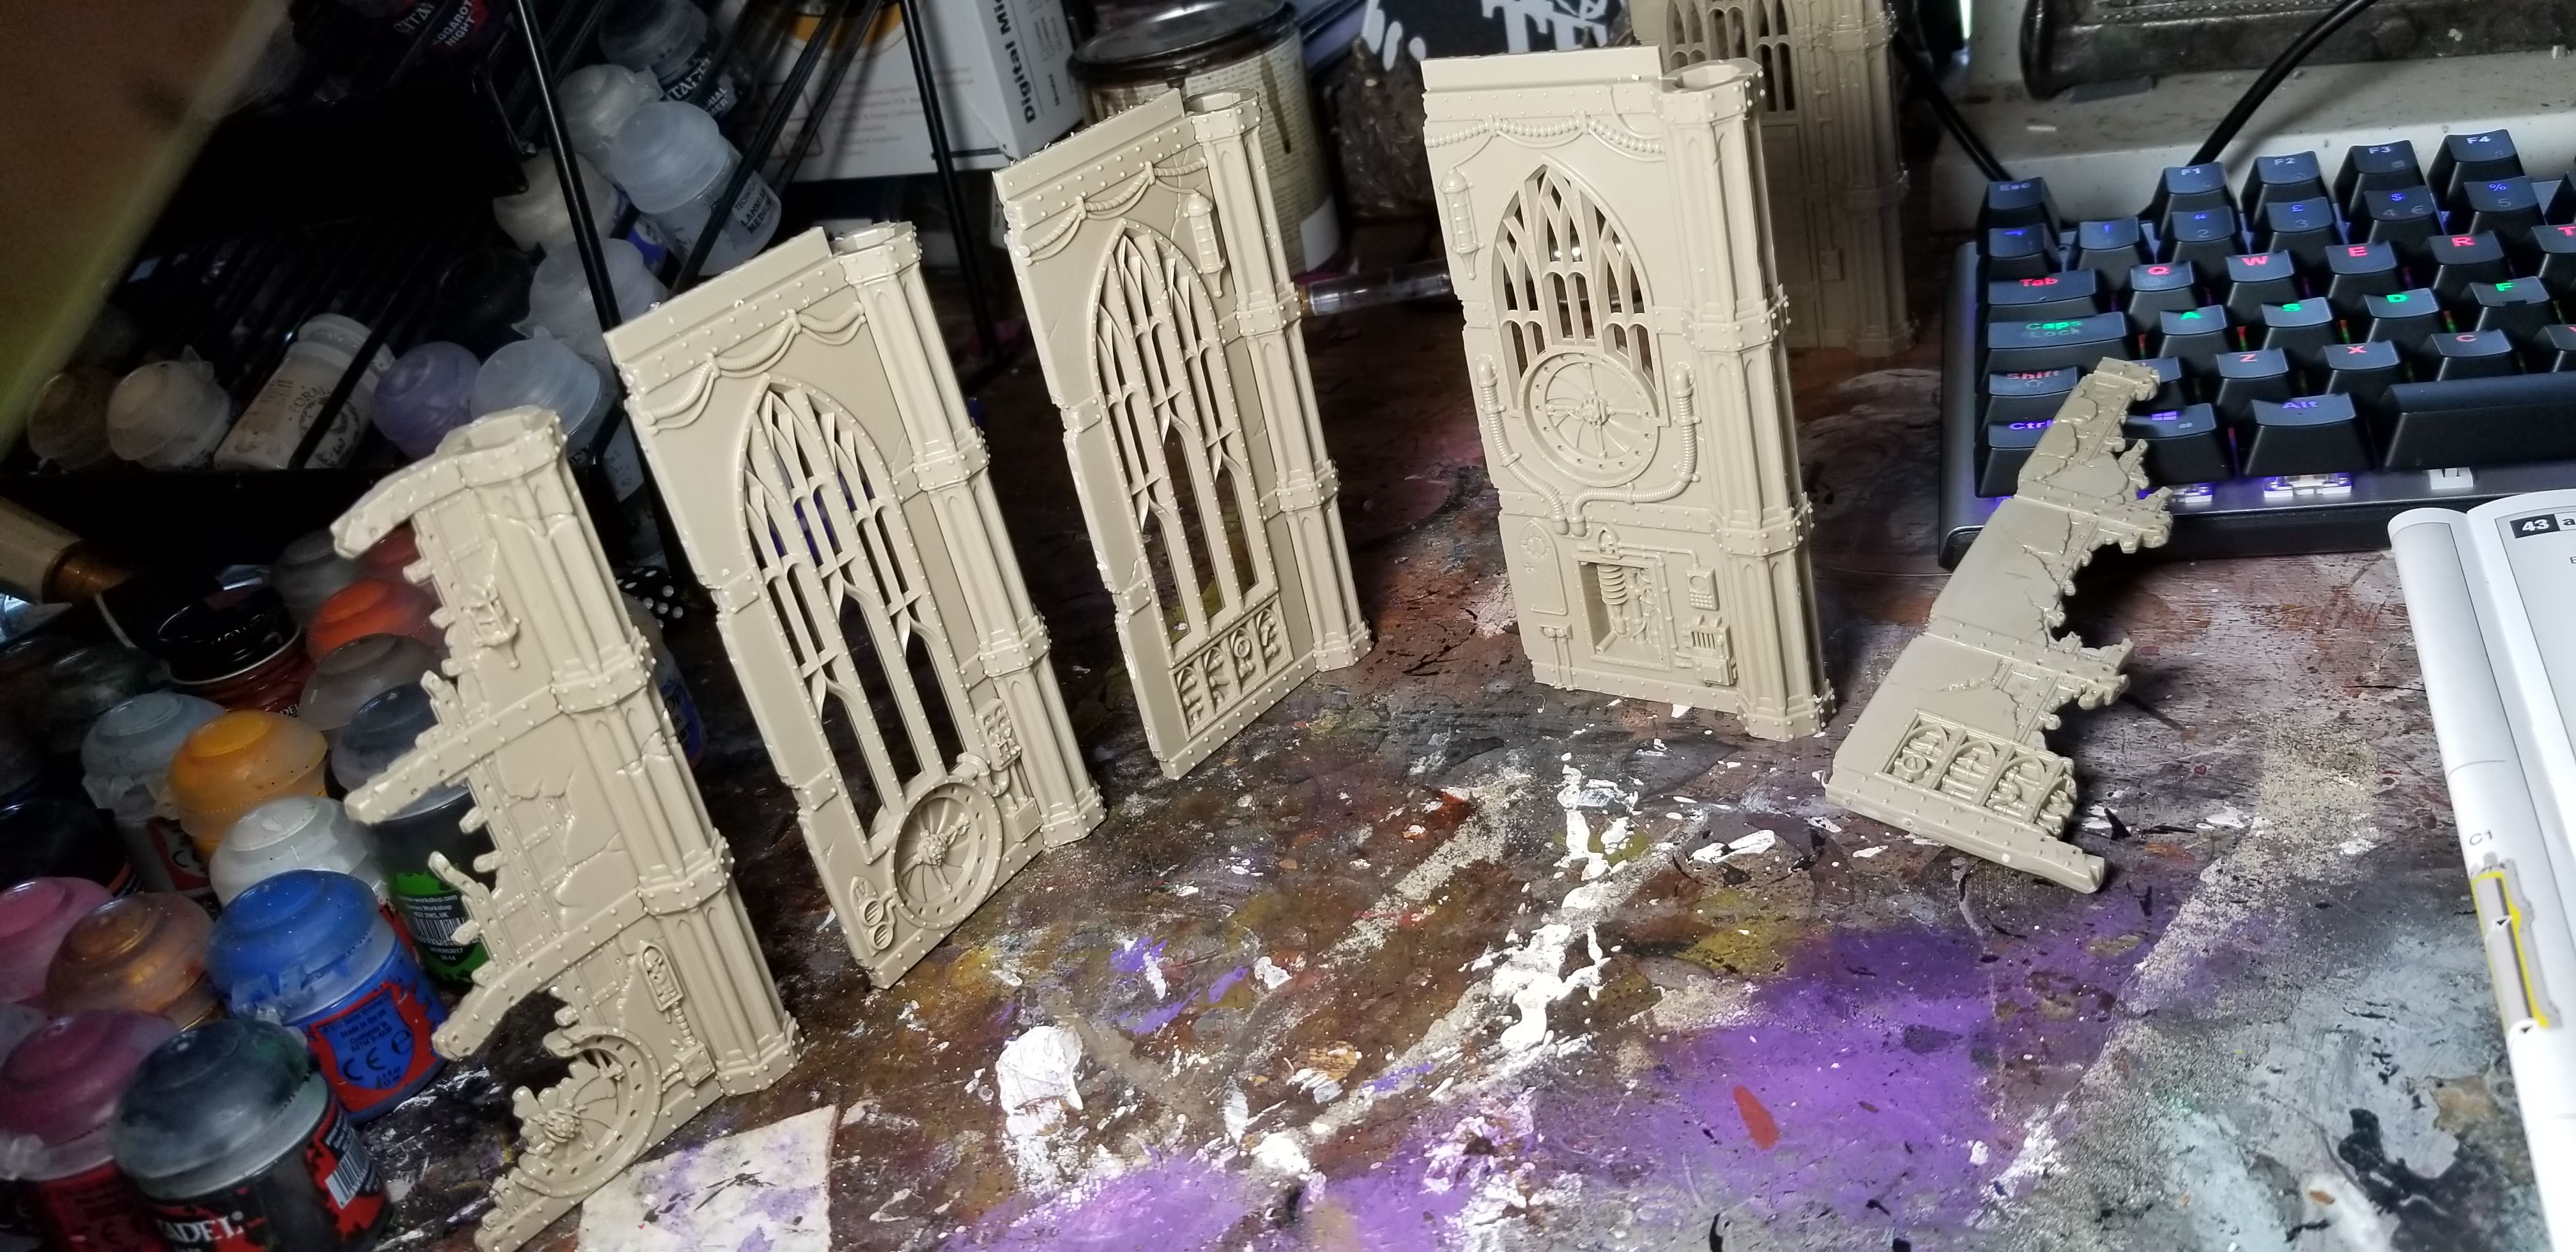
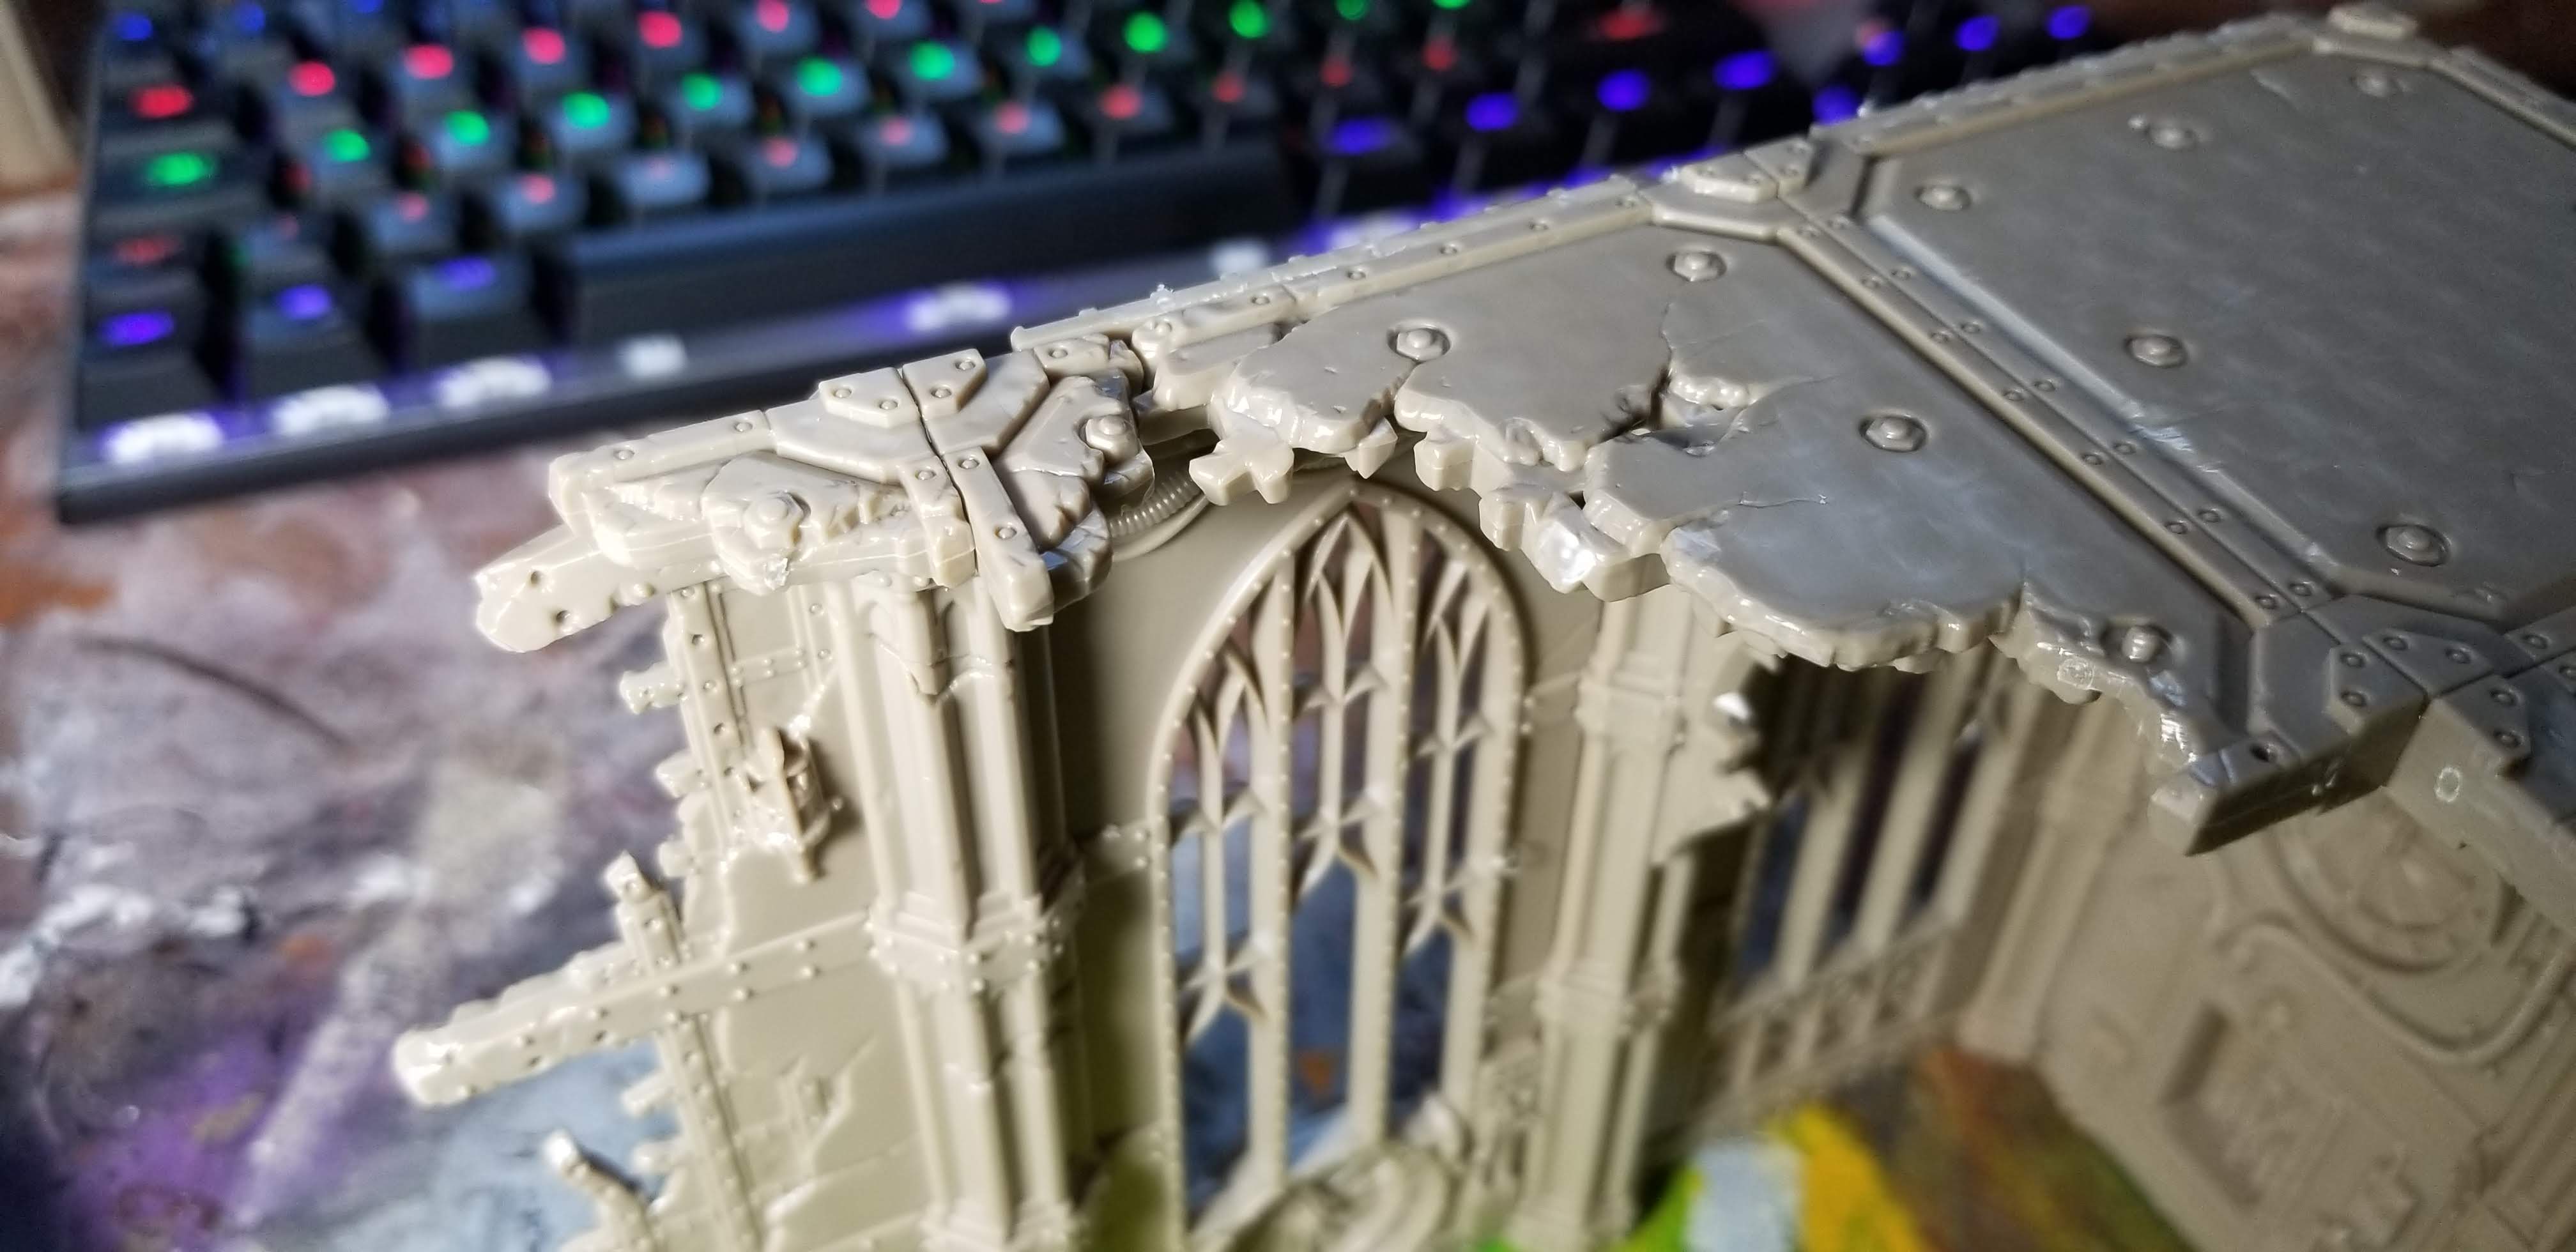
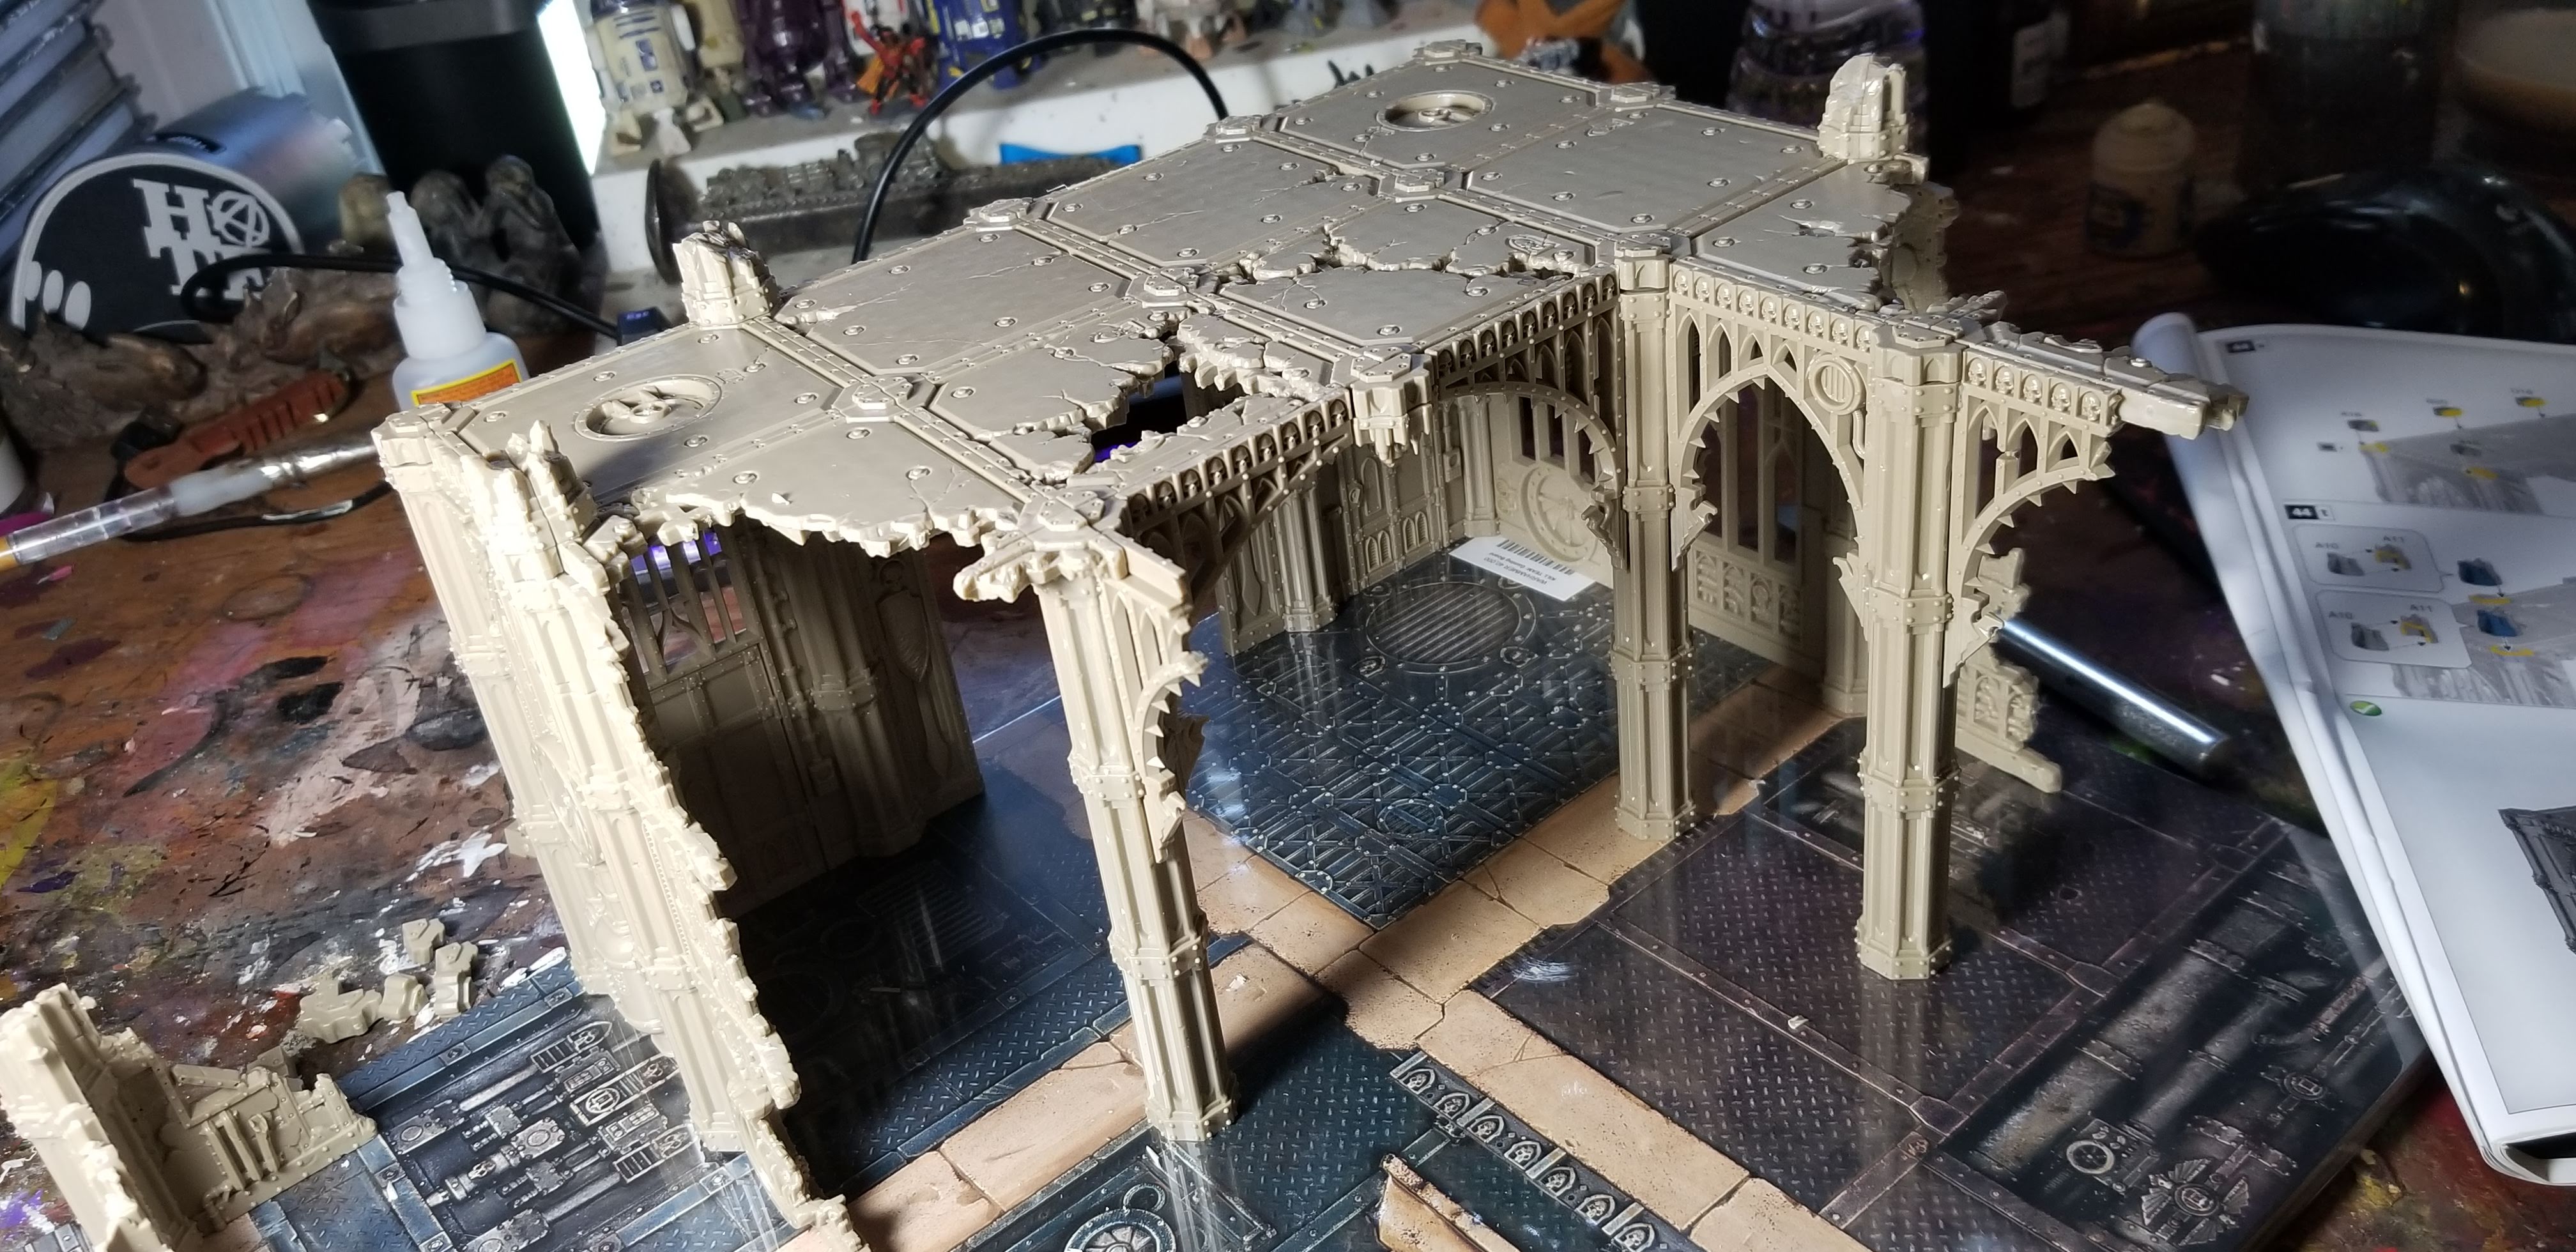
Here’s the first big piece completed. Note that those broken capitals absolutely do not to be glued on.
There are fun details for overhead lighting in the kit, but these bigger ones are somewhat load-bearing and should not be omitted.
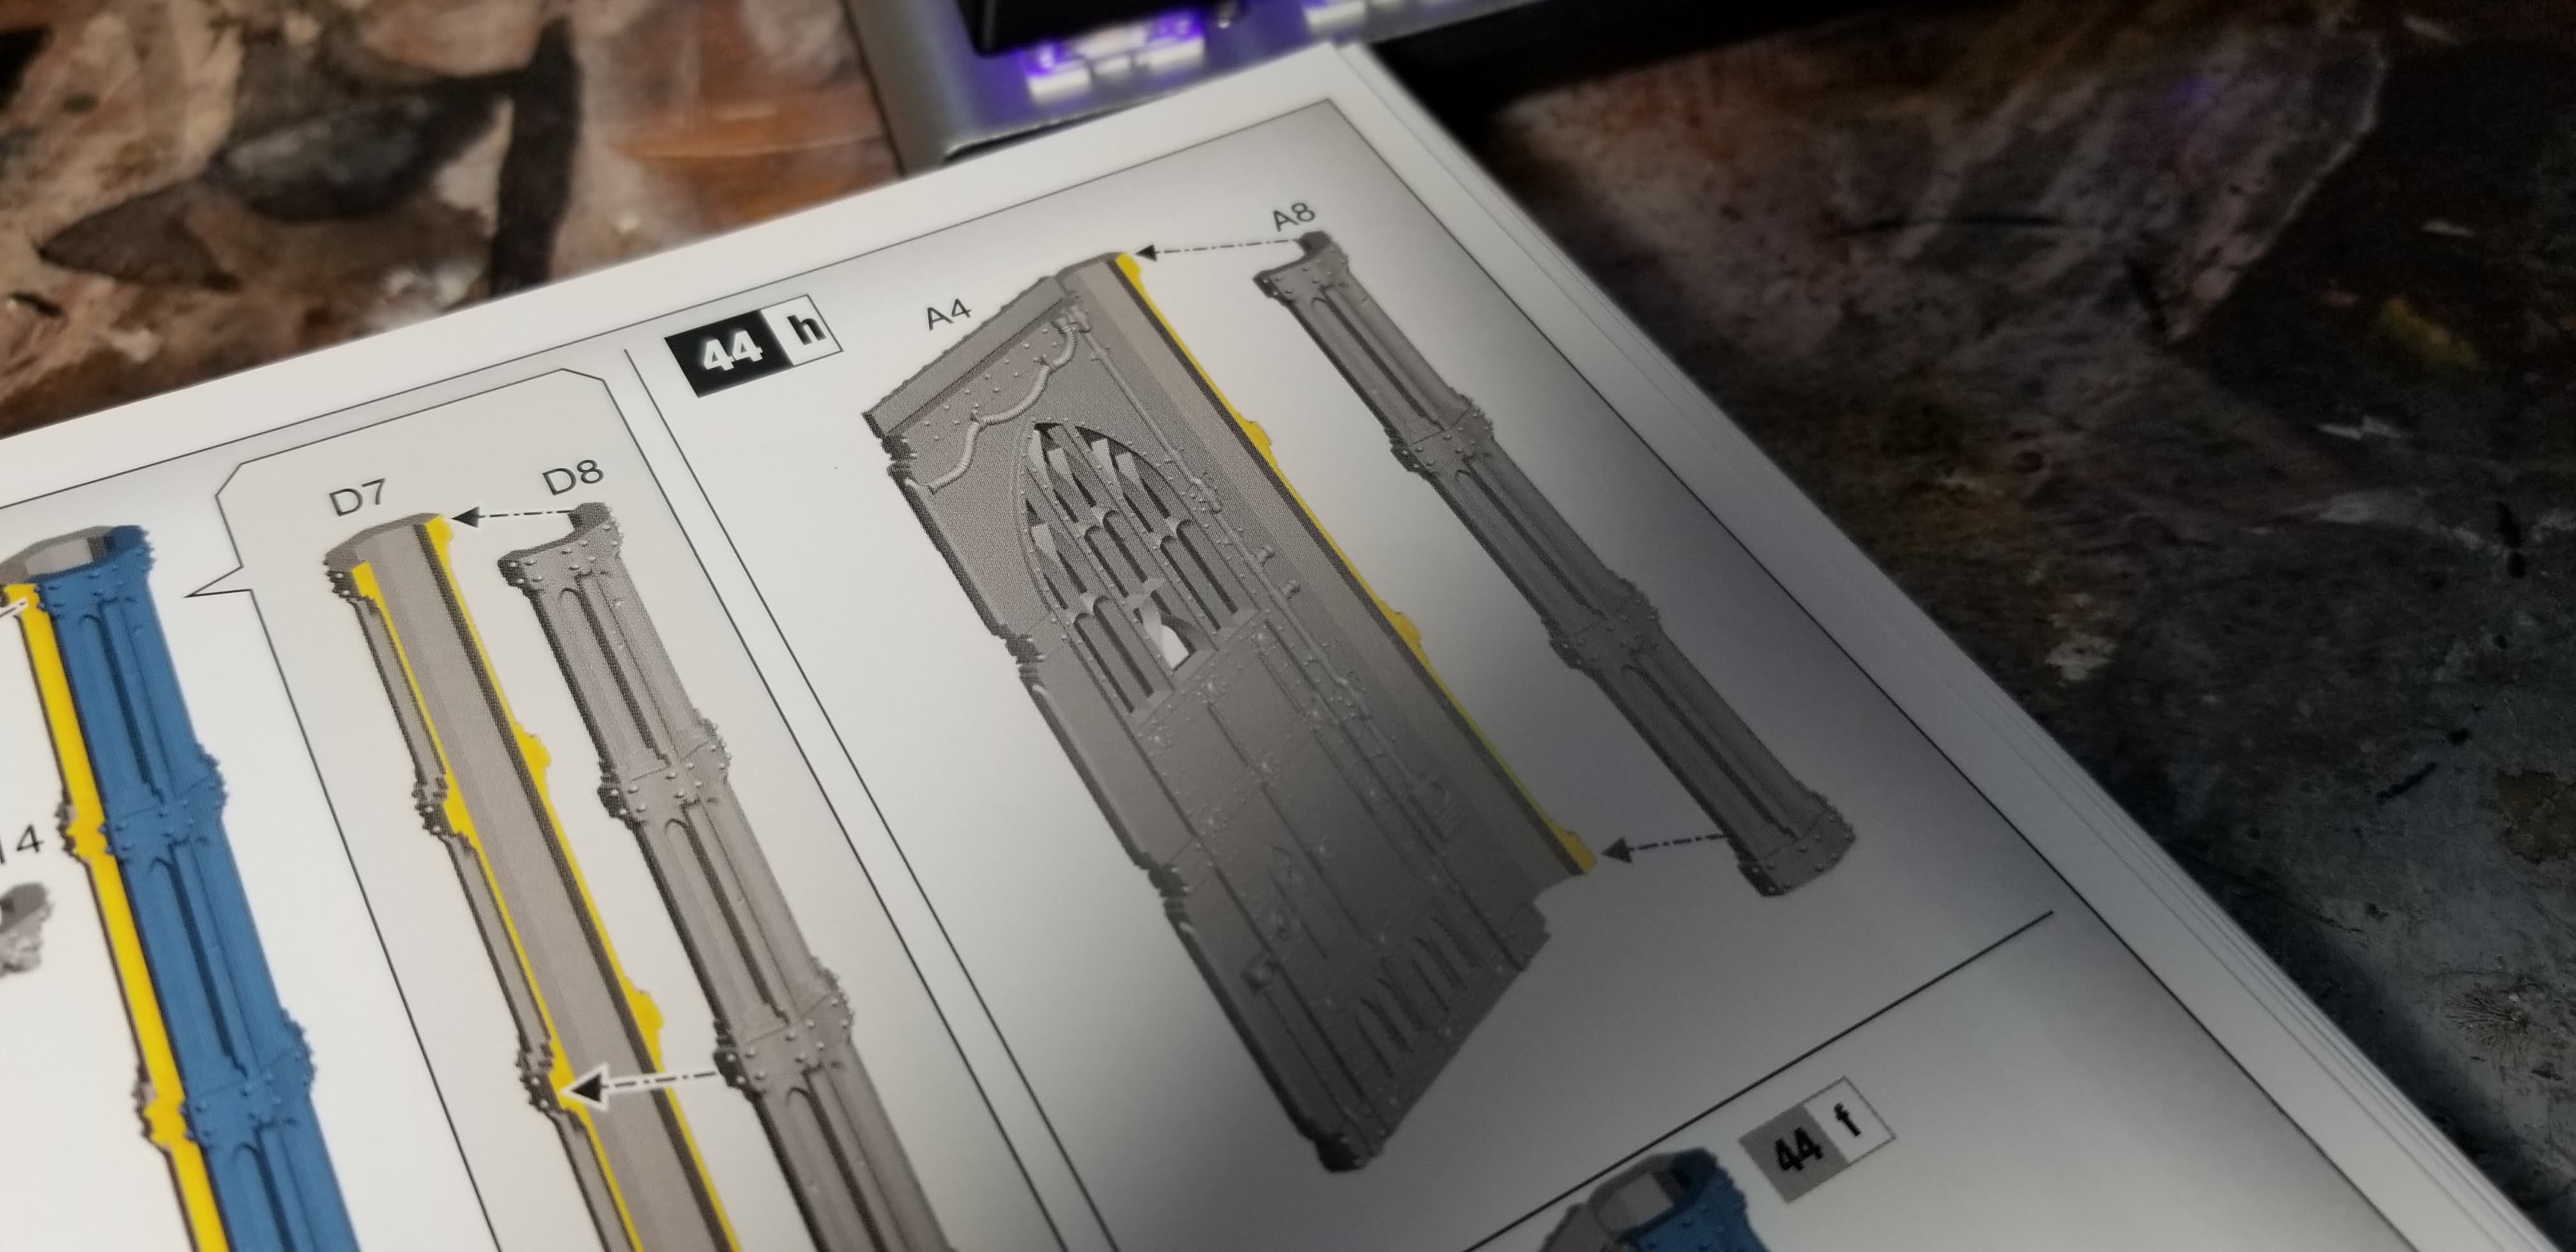
There are some issues with the instructions and numbering scheme.
It’s not insurmountable. Many people won’t be using the instructions anyways, but I thought I should mention it in case you’re like me and prefer to do it at least once with the instructions.
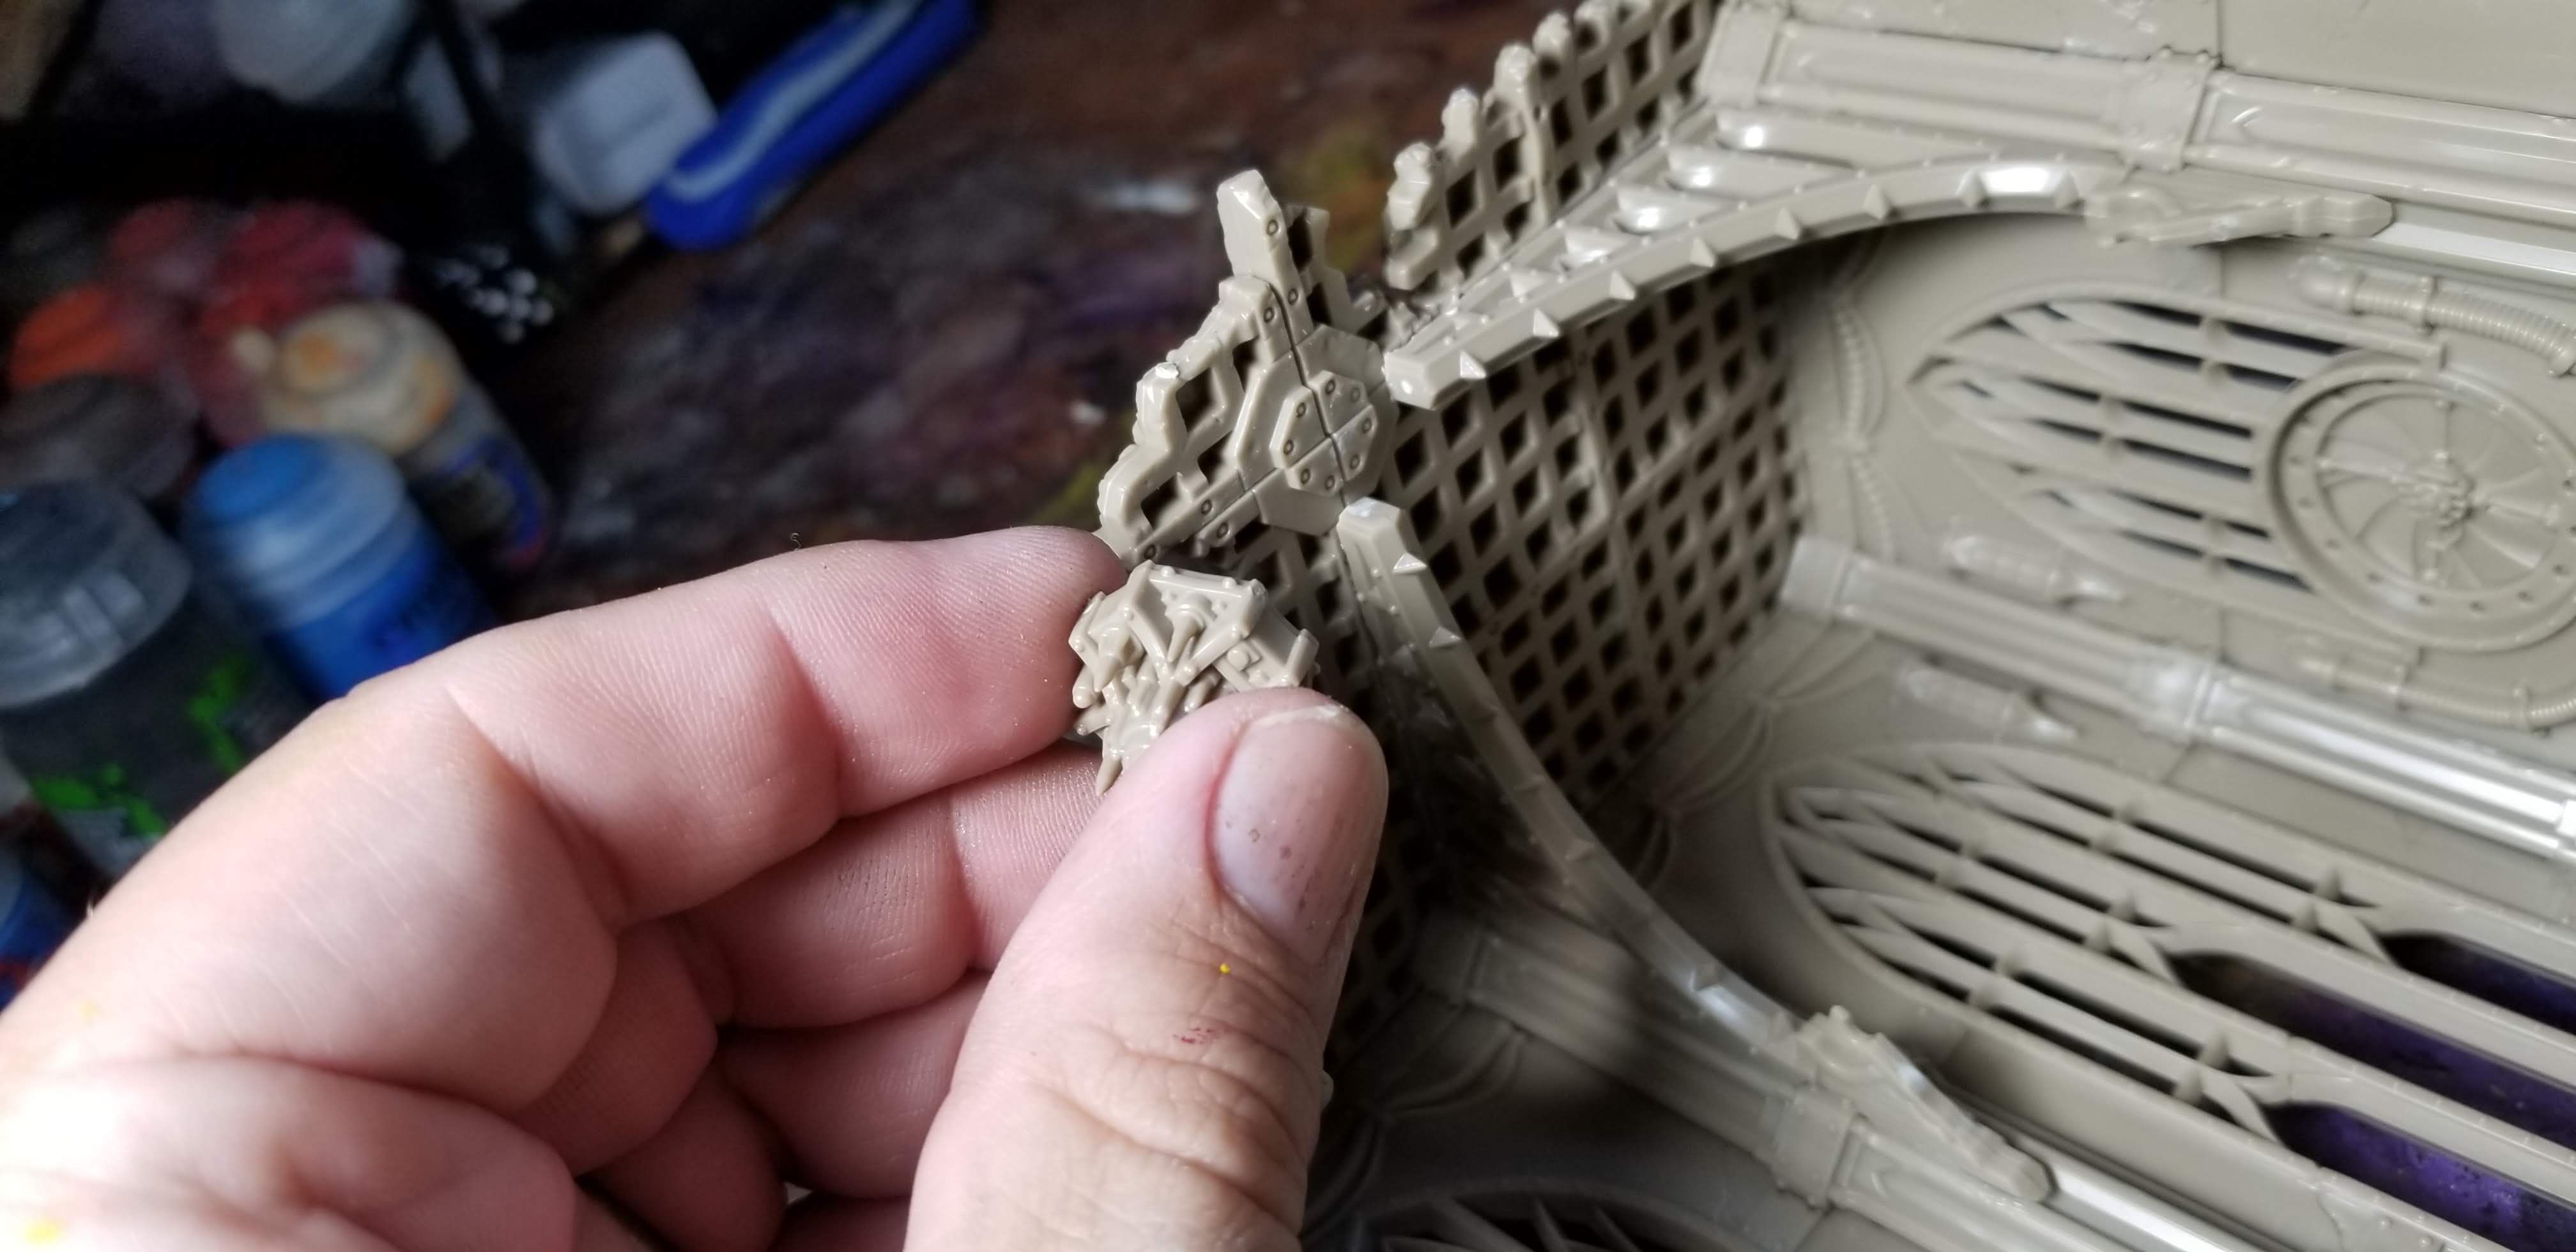
You will be asked to trim the tops off some of these supports depending on whether they are extending a walkwy or supporting the join between two floors. This is another way to avoid a sloppy edge that would otherwise just make the ruin look like a model kit rather than a rad building.
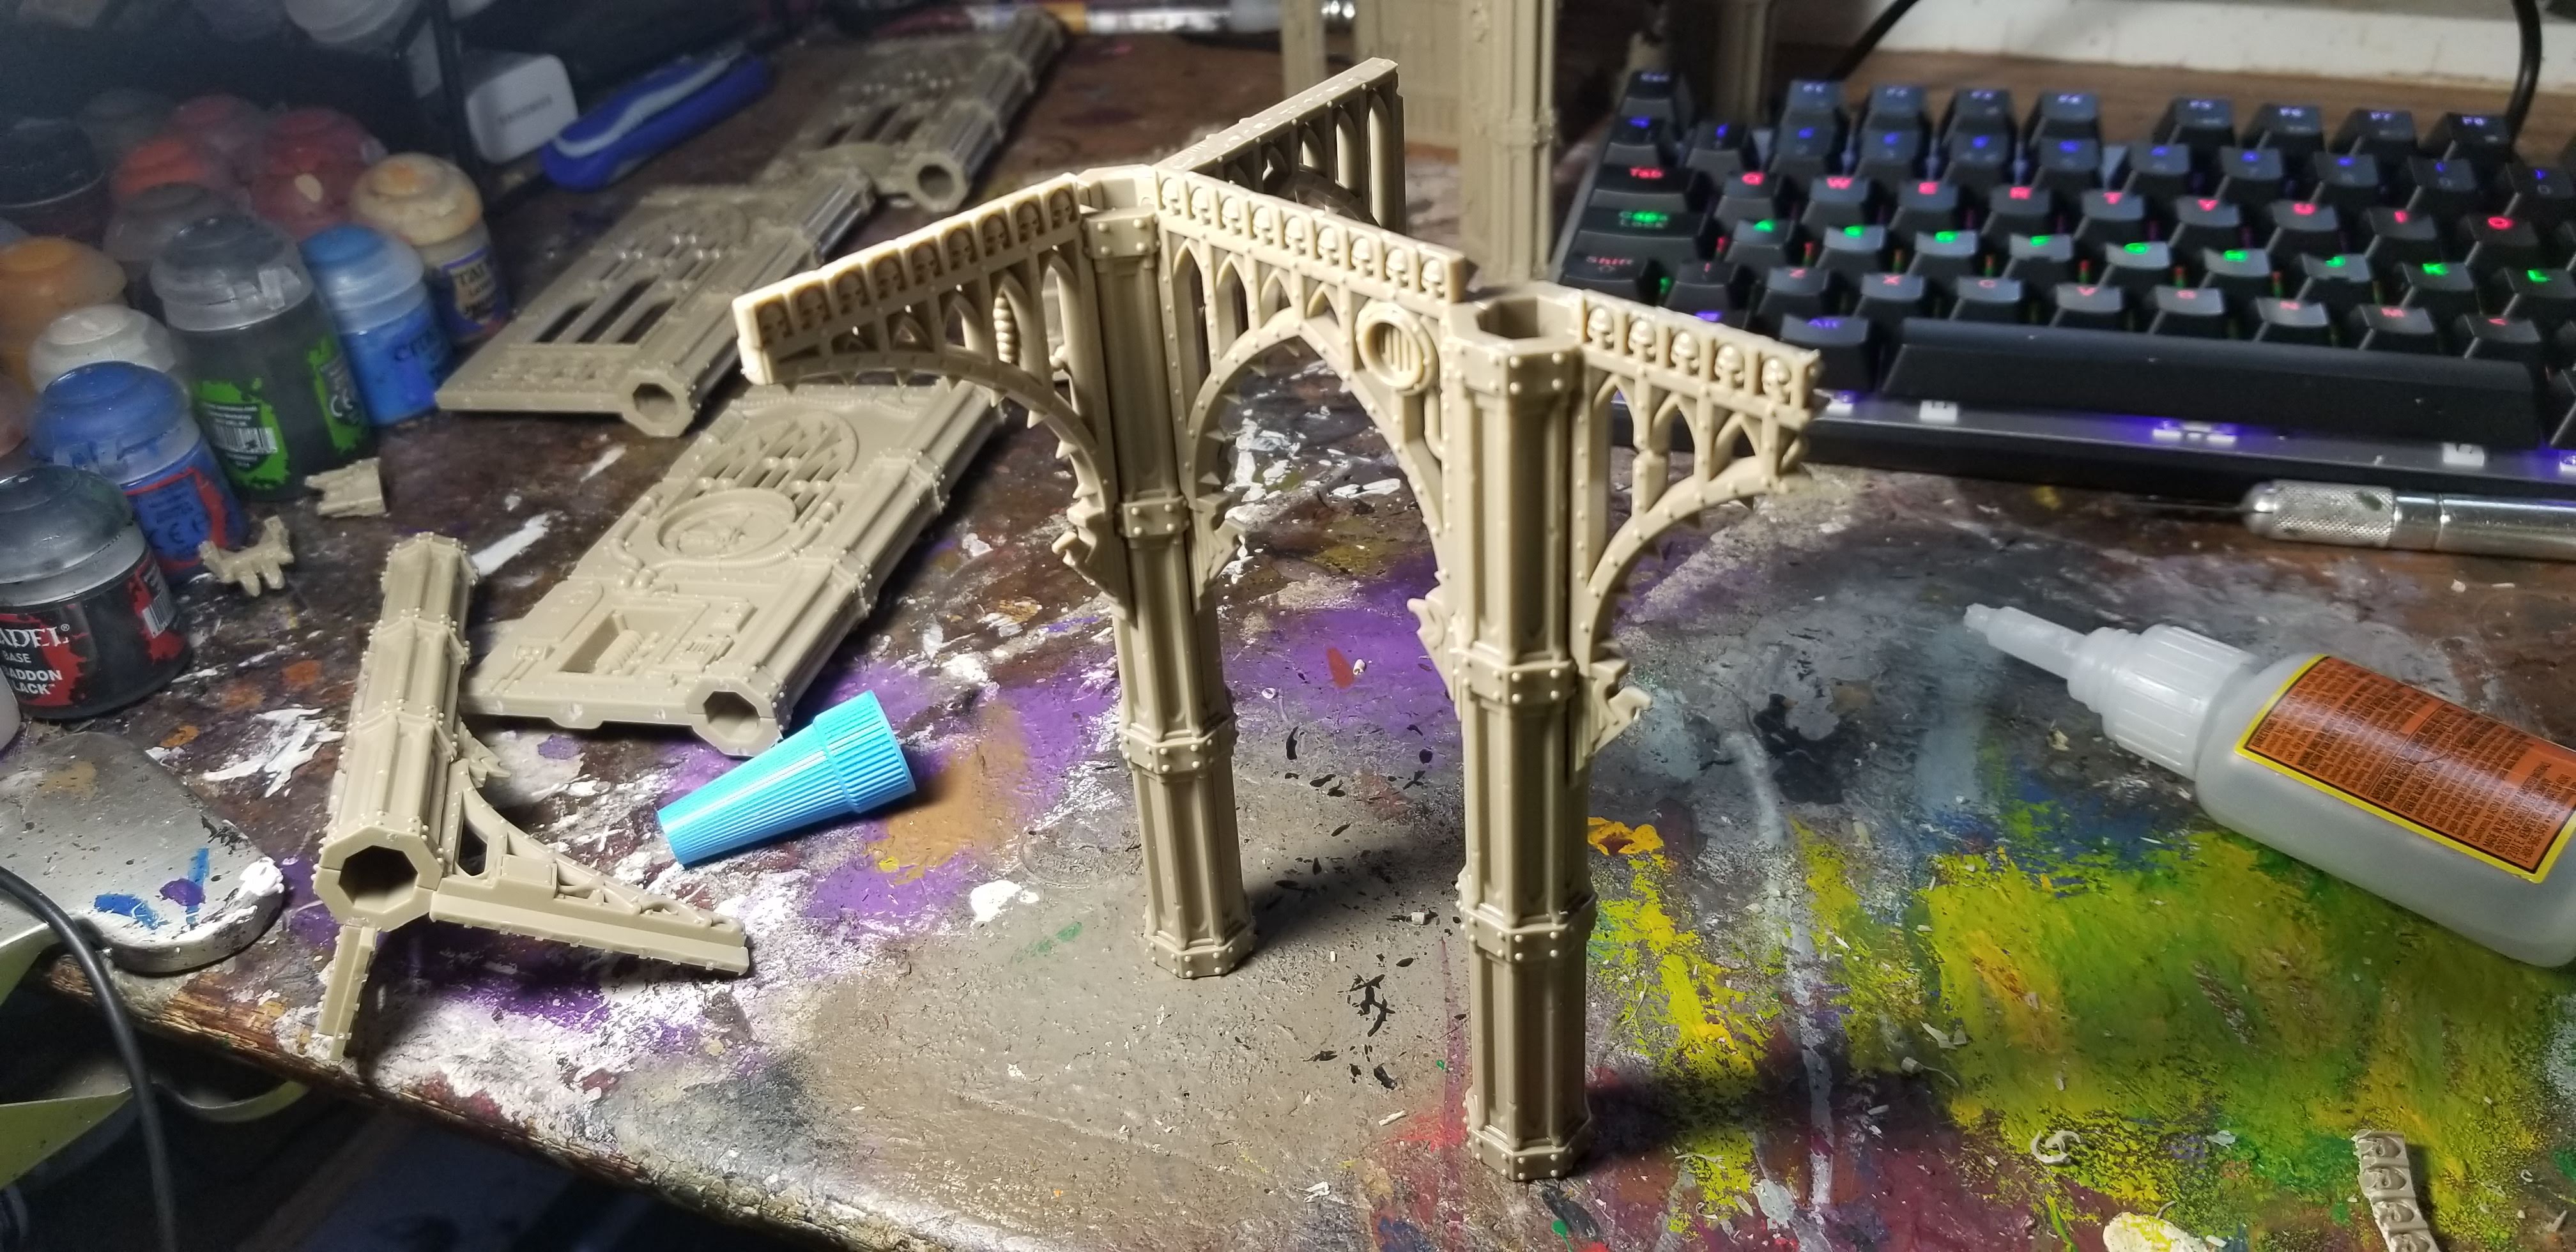
The kits are rather chunky and stable. I am super impressed with them.
Again, I found it super helpful to use my game board to align my pieces as the glue set. Note that I did not take the shrinkwrap off yet. You could just use a simple straightedge for this task.
These light fixtures are used to hold floor pieces together. I recommend plastic glue for this part.
Here you can start to see wh we clipped the top off tht one crossmember. When doing your own ruins, you’ll definitely want to plan ahead with those pieces.
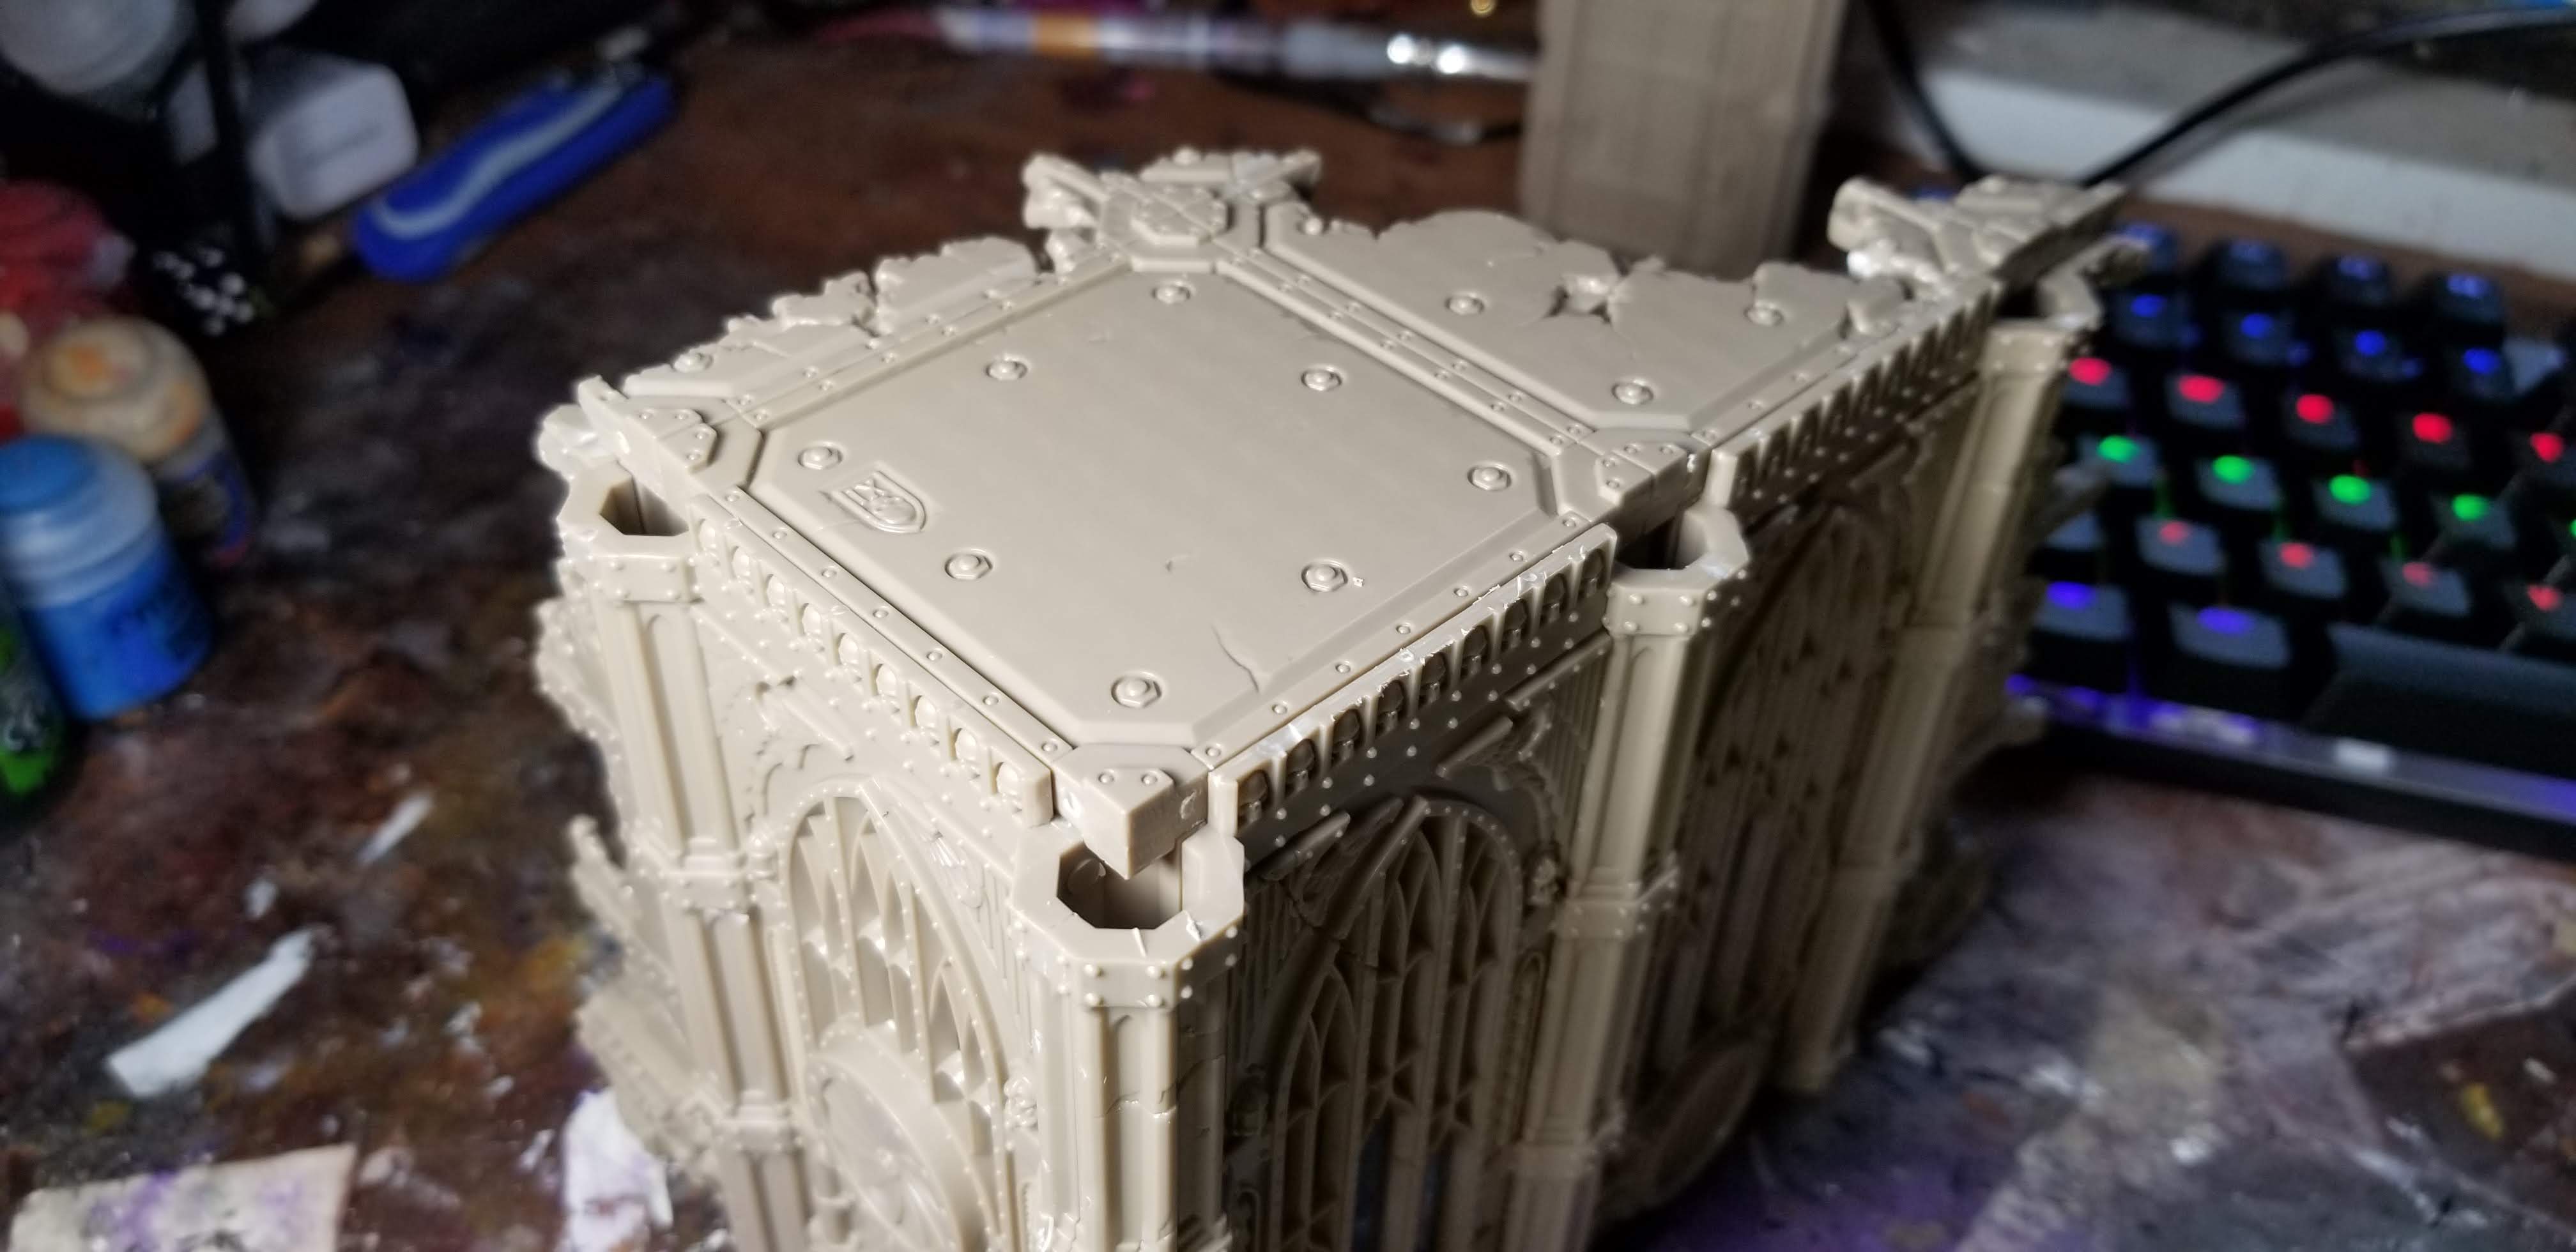
So here are these incredible interlocking floor pieces. Note how you can either use them as ends or as whole plates…
…as the instructions have indicated to do here.

You get loads of additional broken capitals, vent plates, and lumen globes.
If I fits, I sits!
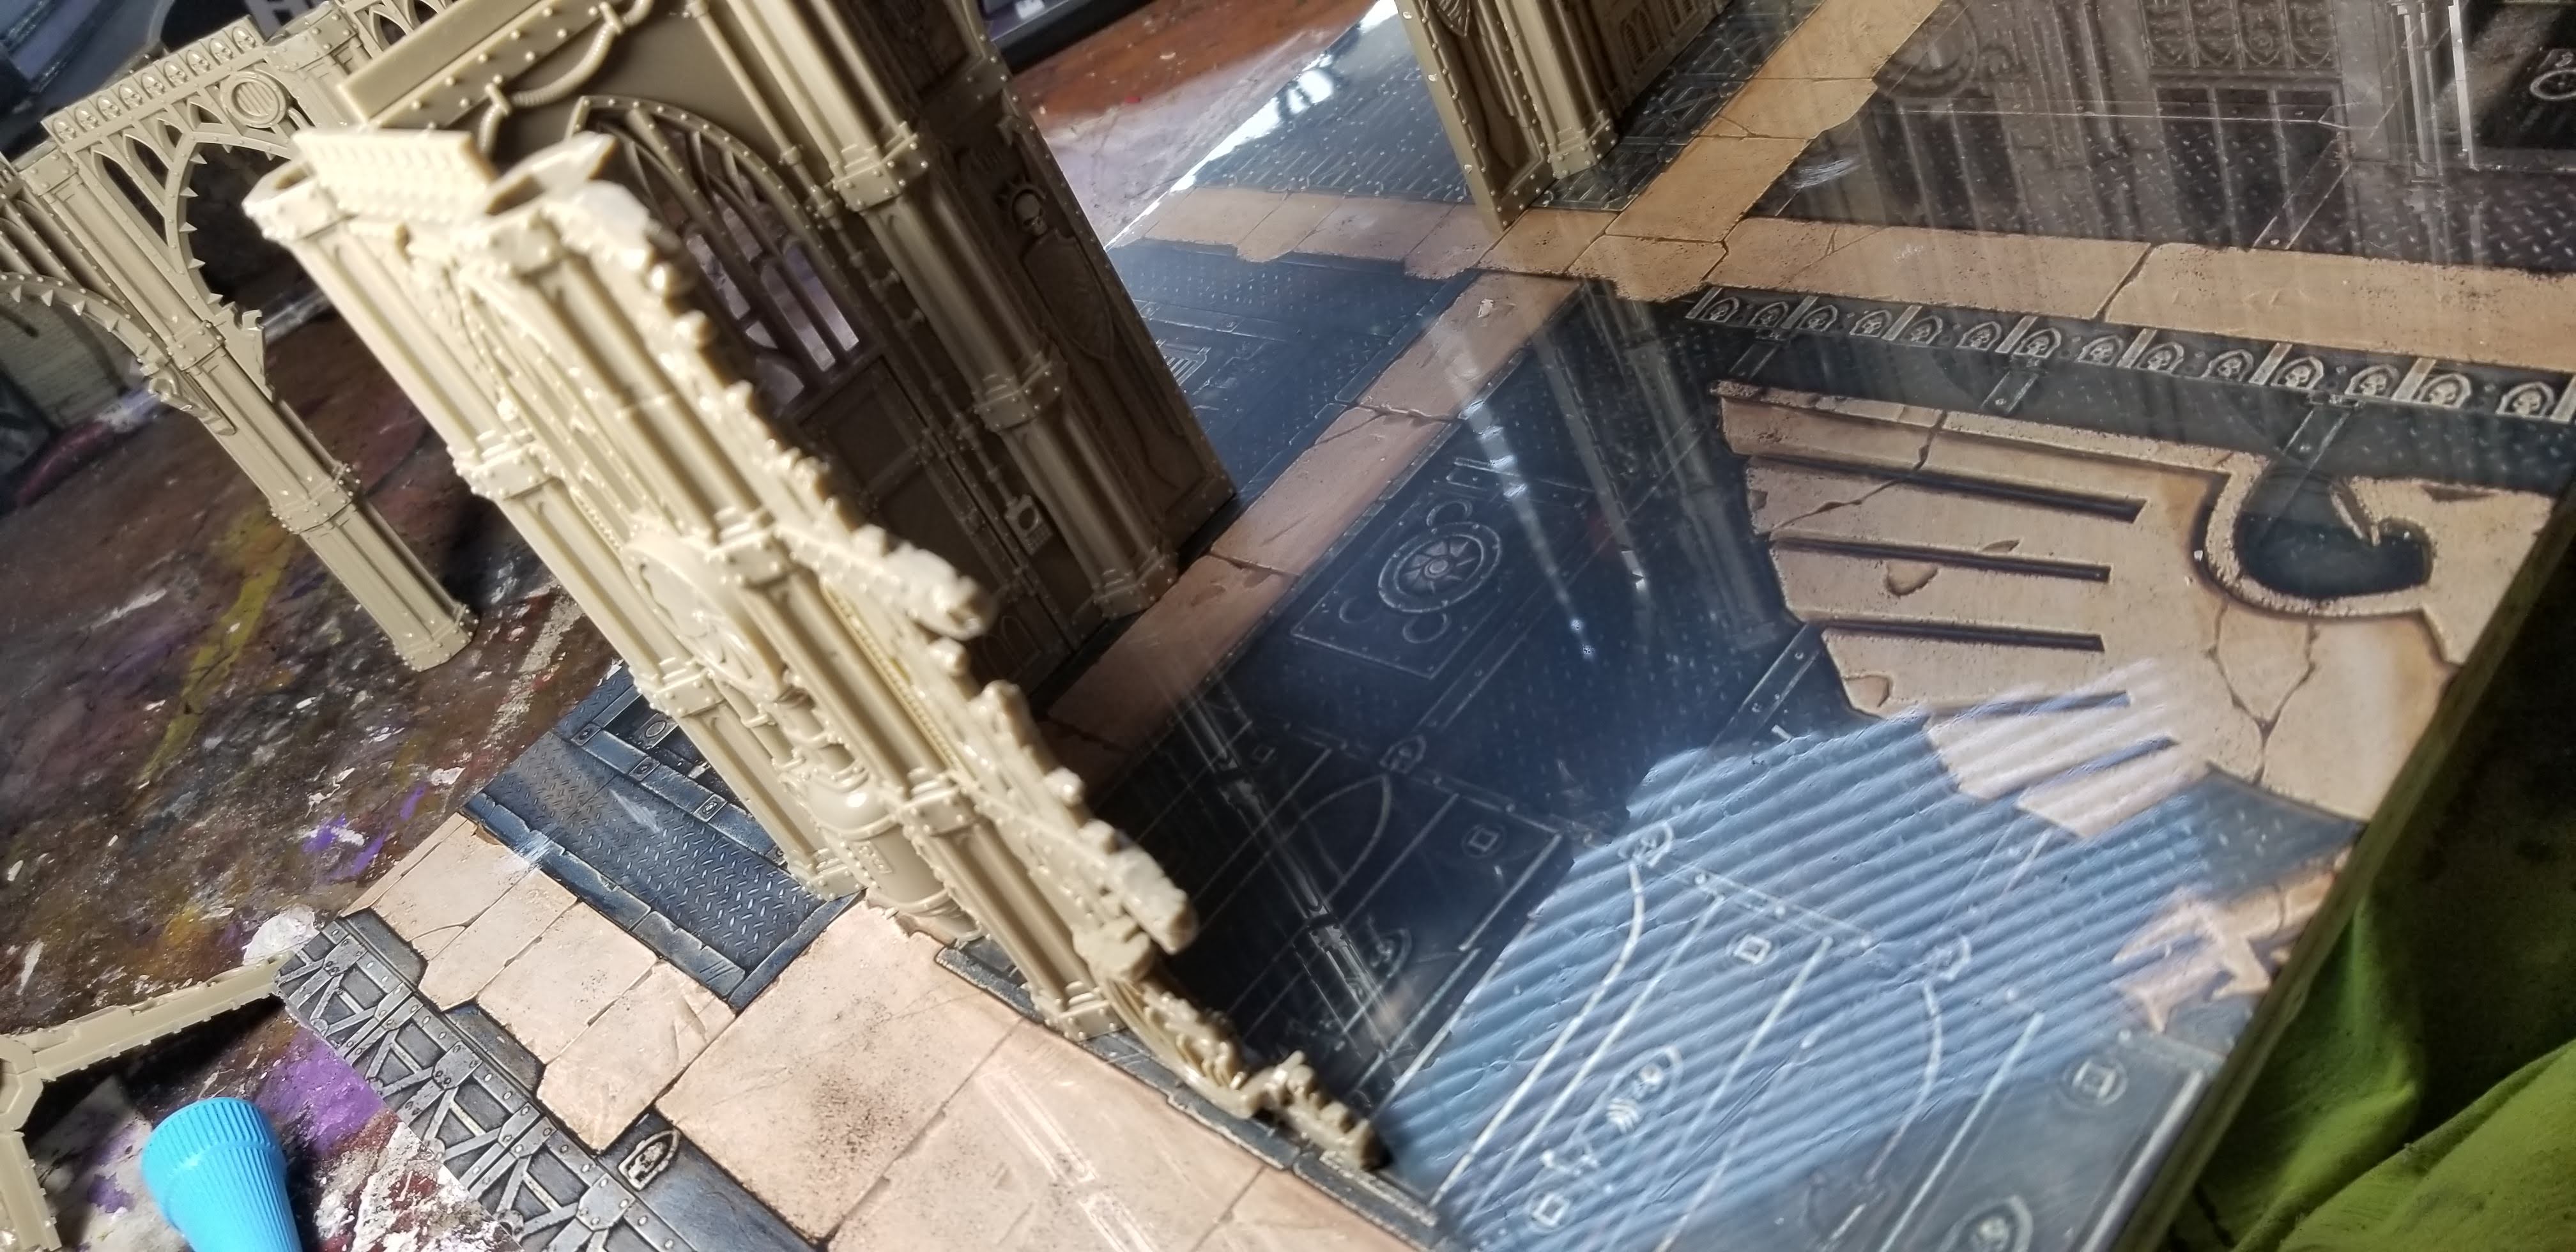
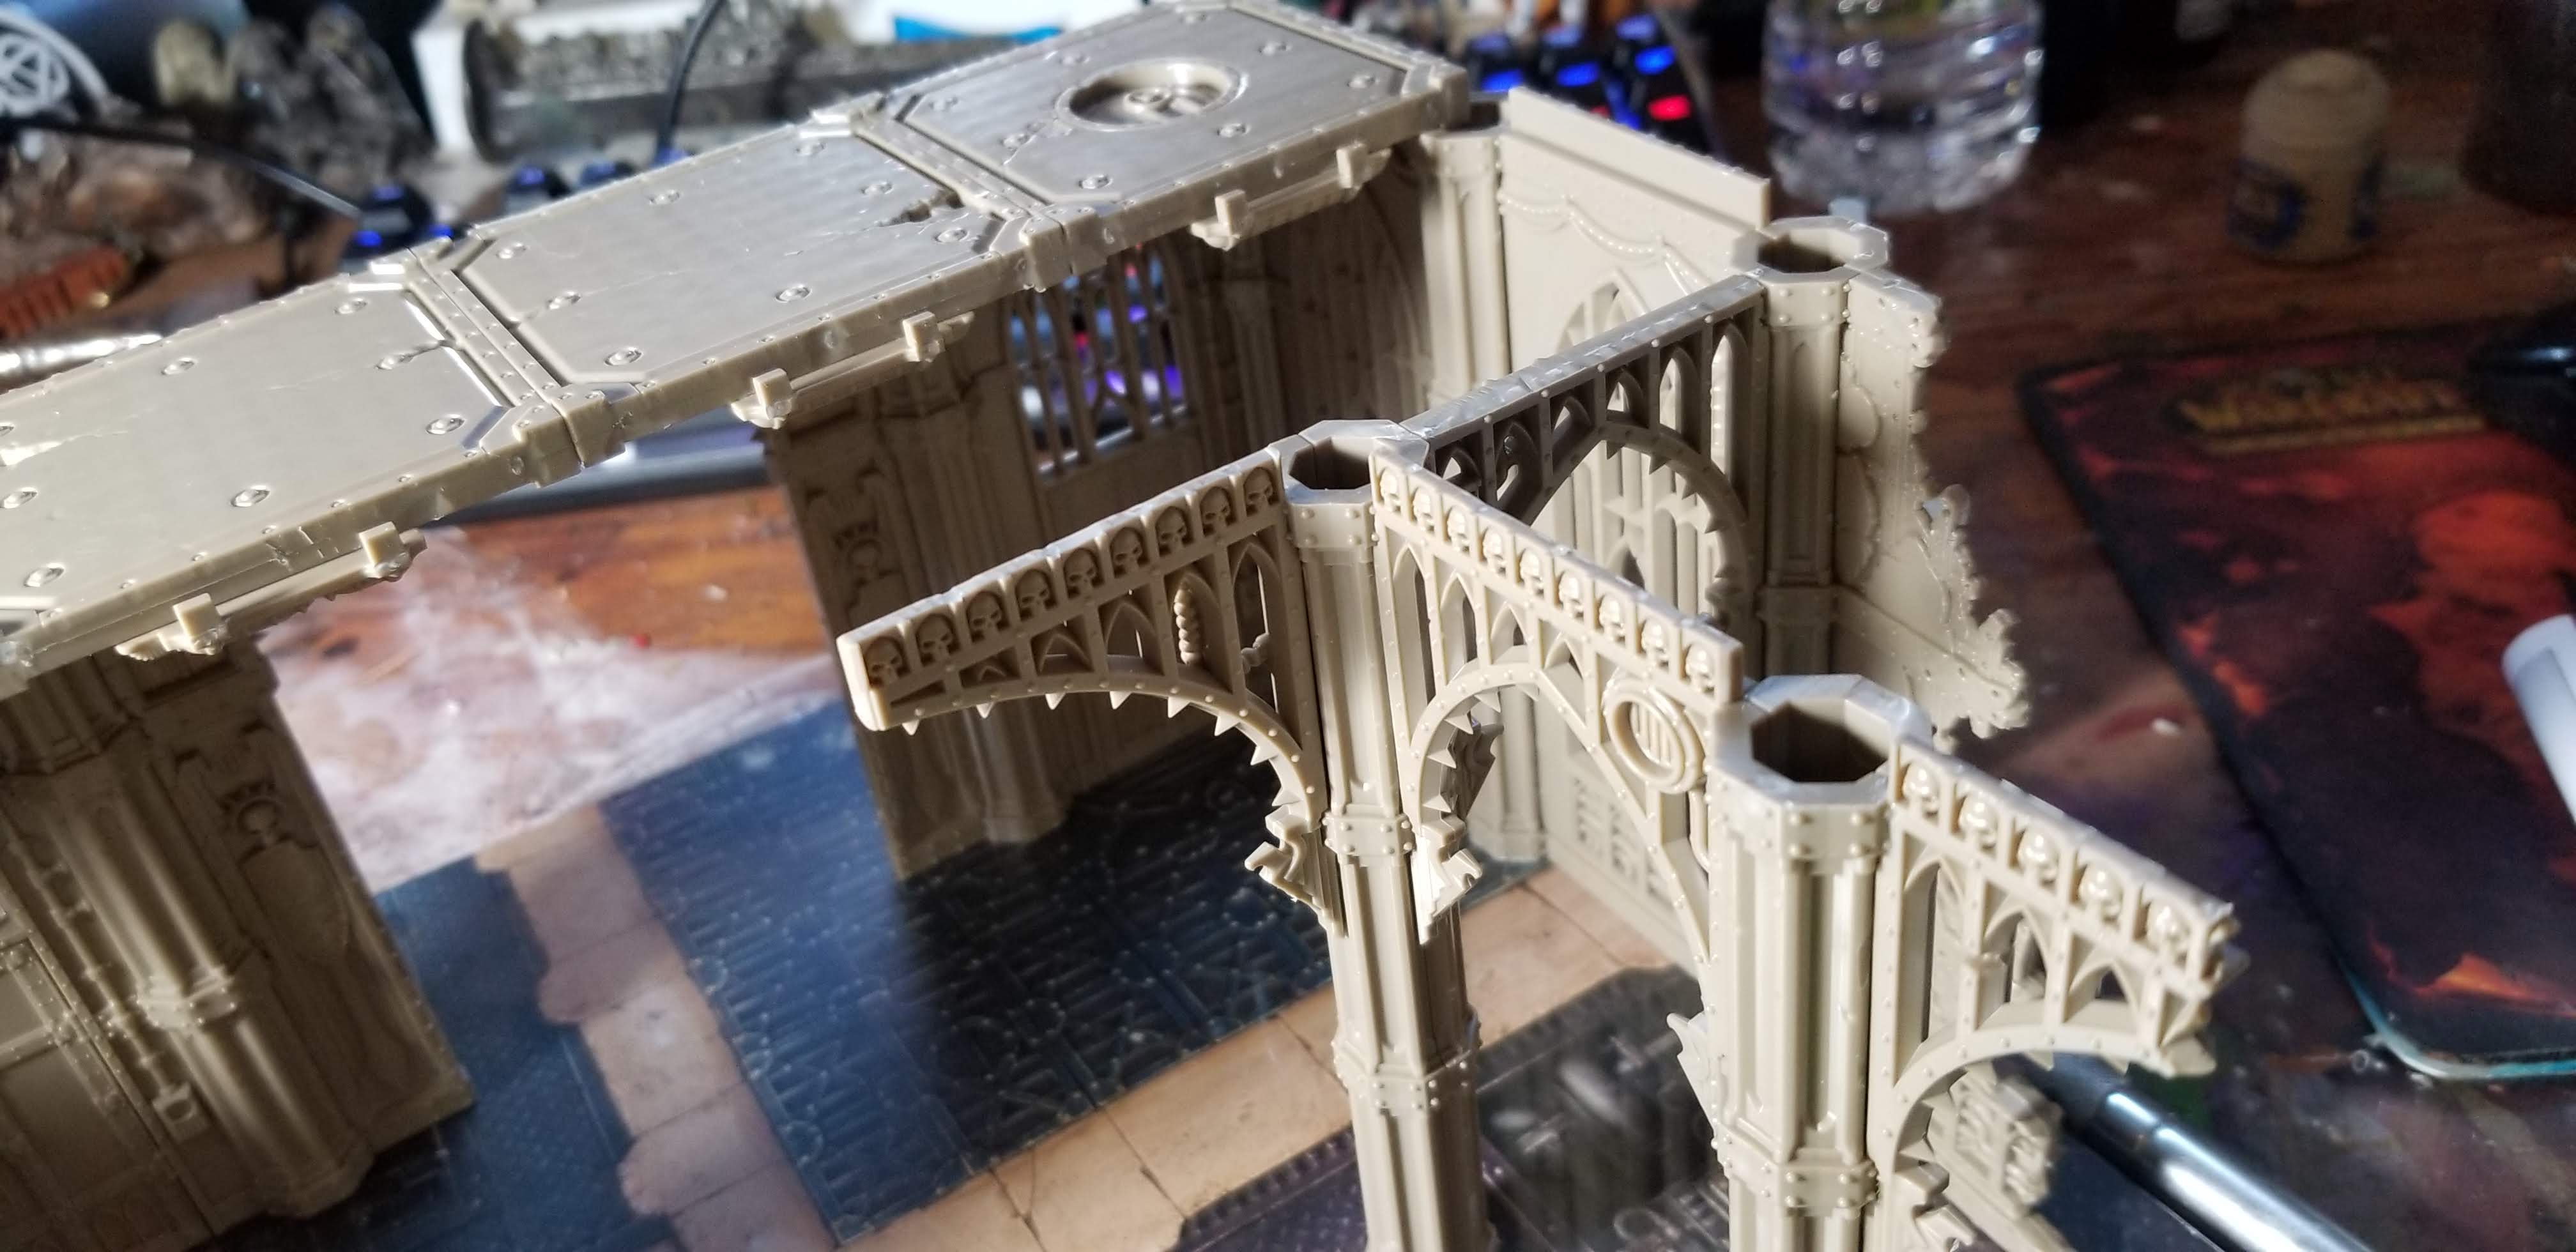
Note how the ruins slot into the tops of the building sections. There is no need to glue them if you don’t want to.
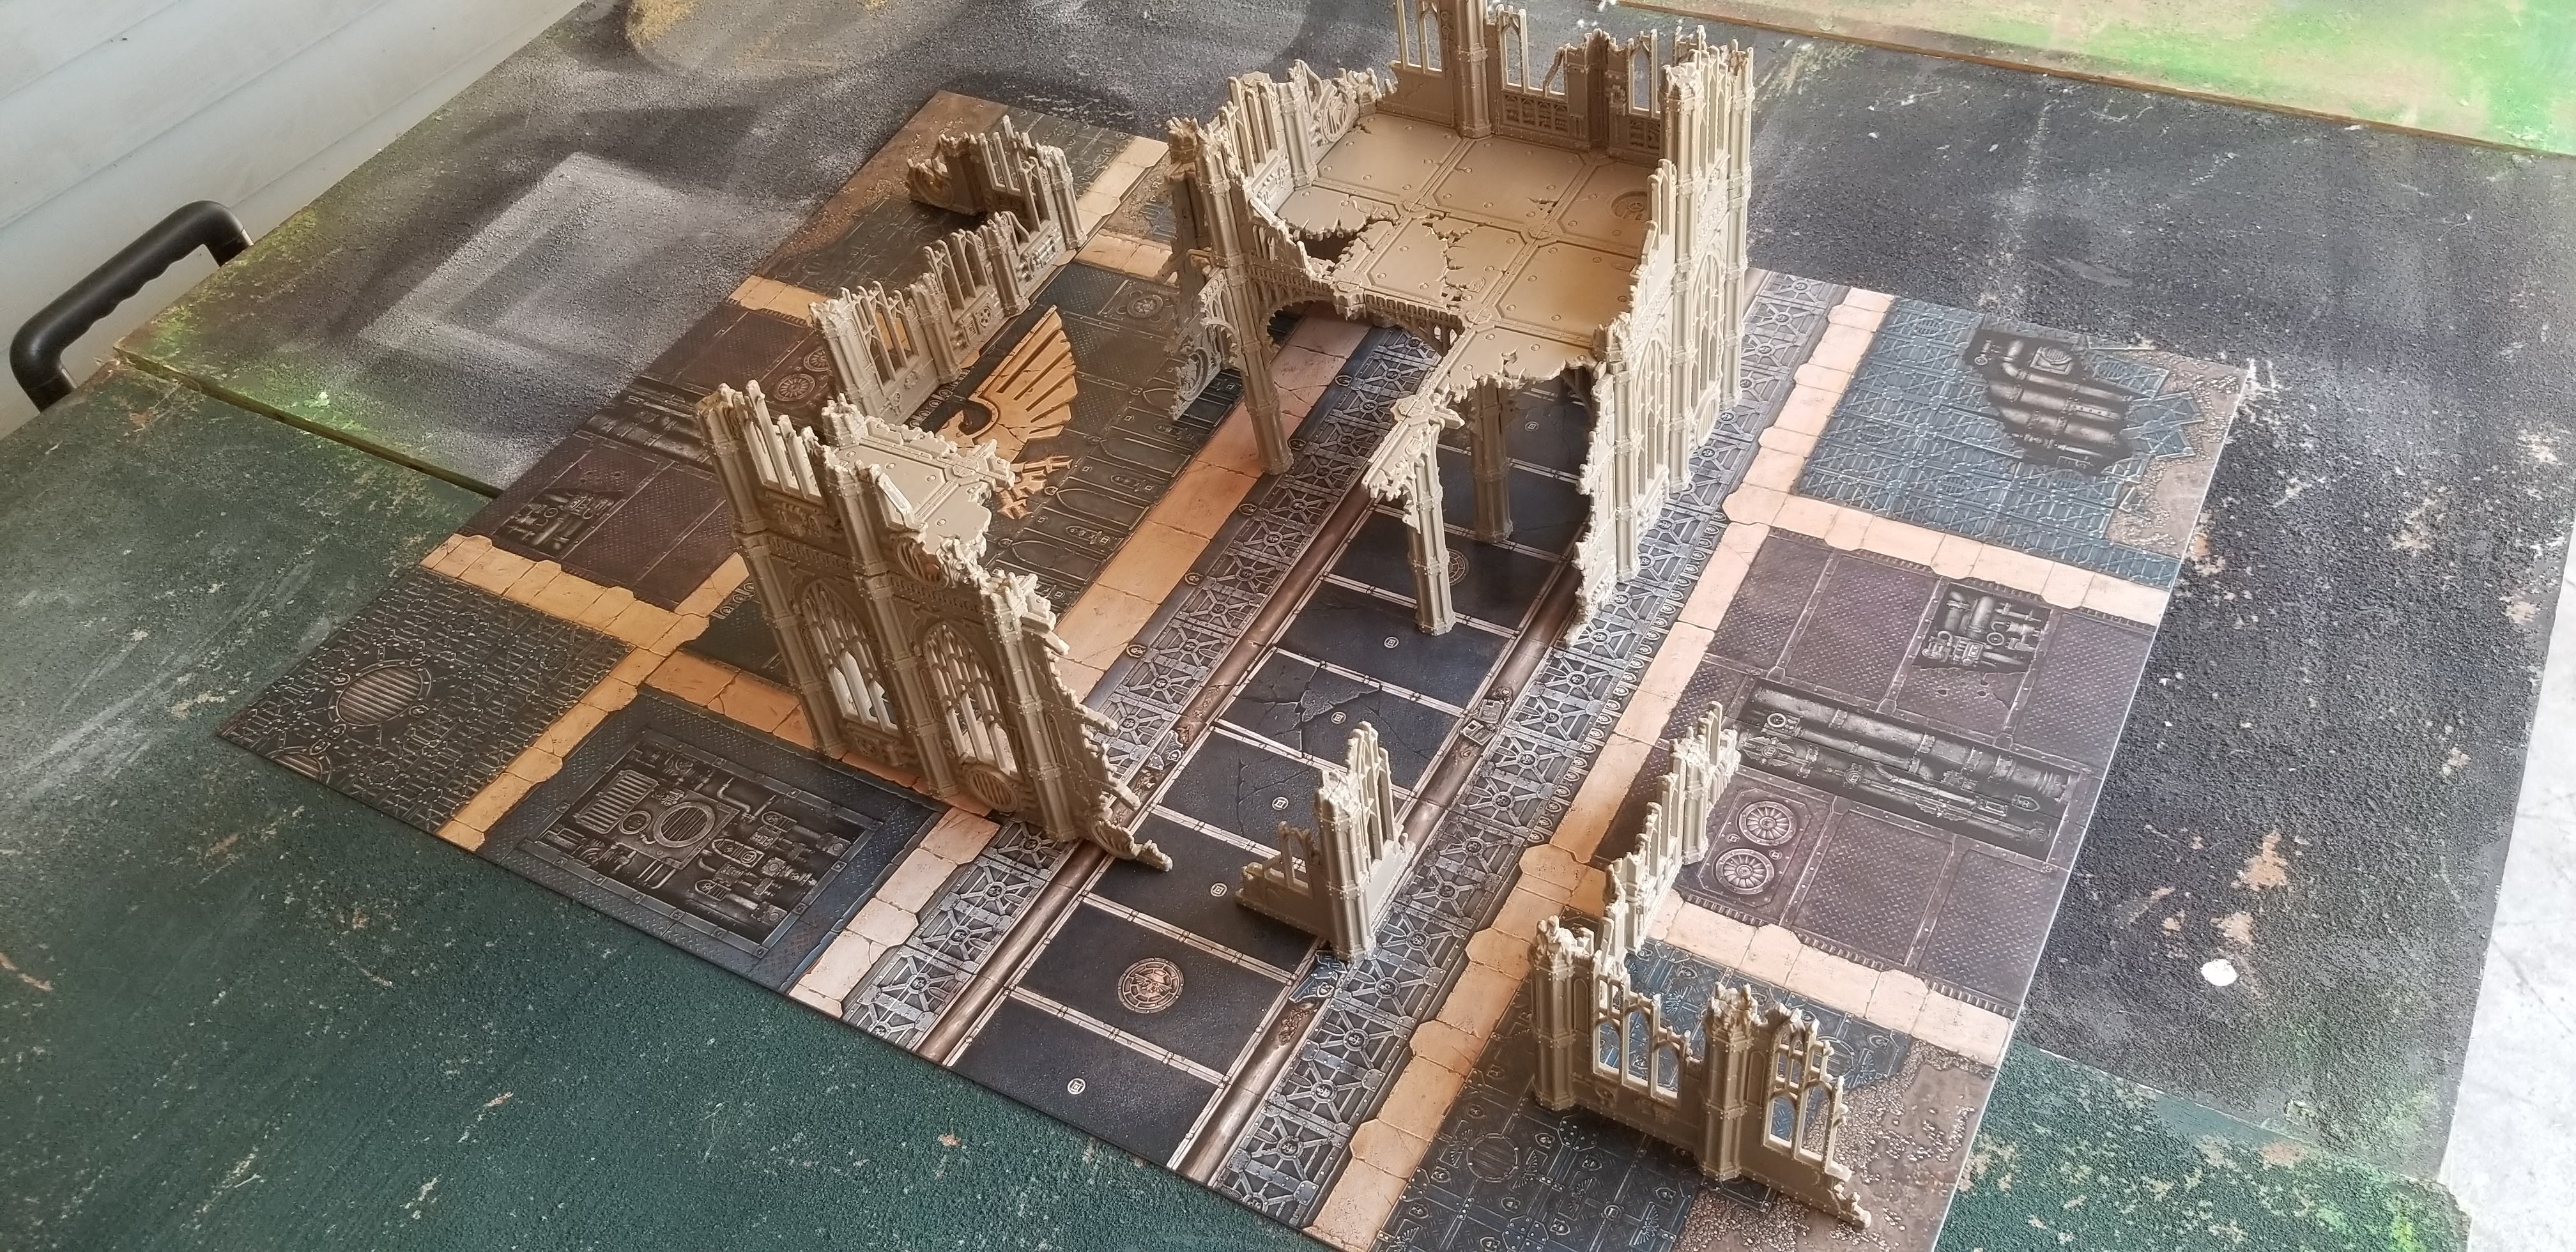
I have played several games of Kill Team using this terrain and this board. I feel as if the game is designed specifically for its use and I think that’s a great thing. You literally can play a great game right out of the box! I recommend a little more, though, of course. Just one of the expansions with either the Space Marines or the Orks would give you more fun scatter terrain to really chunk out this play area.
In standard 40k terms, this set makes two good ruined buildings or one really impressive centerpiece.
The value in ths box cannot be understated. You’ve spent $130 on worse in your life, I’m sure of it.
Please be sure to check out the Masters of the Forge. We’re the podcast that brings the rich lore of Warhammer 40,000 to life on your tabletop. Check out our most recent episode where we talk about our experiences with the new Kill Team.
And remember, Frontline Gaming sells gaming products at a discount, every day in their webcart!


