

Hi everyone, Michael here with my first battle report from the recent London GT. In this game, my Dark Angels take on an army of Imperial Knights. For more reviews and analyses, check out the Tactics Corner.
Welcome to my first battle report from the recent London GT. Game 1 saw my Dark Angels take on an army of Imperial Knights, commanded by Connor. This was Connor’s first 40k tournament, so I was hoping he would have a fun game. This battle report is from my own blog, St Andrews Wargaming, and was fought before the new Imperial Knight codex was released.
This was an ETC mission, featuring an Eternal War and Maelstrom of War mission at the same time. The Eternal War mission was Dominate and Destroy. This featured 6 objectives and you scored a point for each objective you held at the end of your turn, as well as a kill point for each enemy unit destroyed.
The Maelstrom of War mission was Tactical Gambit. In this game, you get four cards per turn, but must bet how many you will score before you draw your cards. If you match your bet, you get the bonus points, otherwise your opponent gets the points. We were also using Search and Destroy deployment (table quarters).
My army consisted of:
Battalion Detachment
- Azrael (Az)
- Primaris Lieutenant- Master-crafted Auto Bolt Rifle (L)
- Primaris Ancient- Bolt Rifle (An)
- 5 Intercessors- Bolt Rifle (I1)
- 5 Intercessors- Bolt Rifle (I2)
- 5 Devastator Squad- Heavy Bolter, Bolters, Armorium Cherub (D)
- 5 Scouts- Bolters, Heavy Bolter, Chainsword (S1)
- 5 Scouts- Bolters, Chainsword (S2)
- 5 Scouts- Bolt Pistols, Shotguns (S3)
- 10 Hellbalsters- Plasma Incinerators (H)
Outrider Detachment
- Sammael (S)
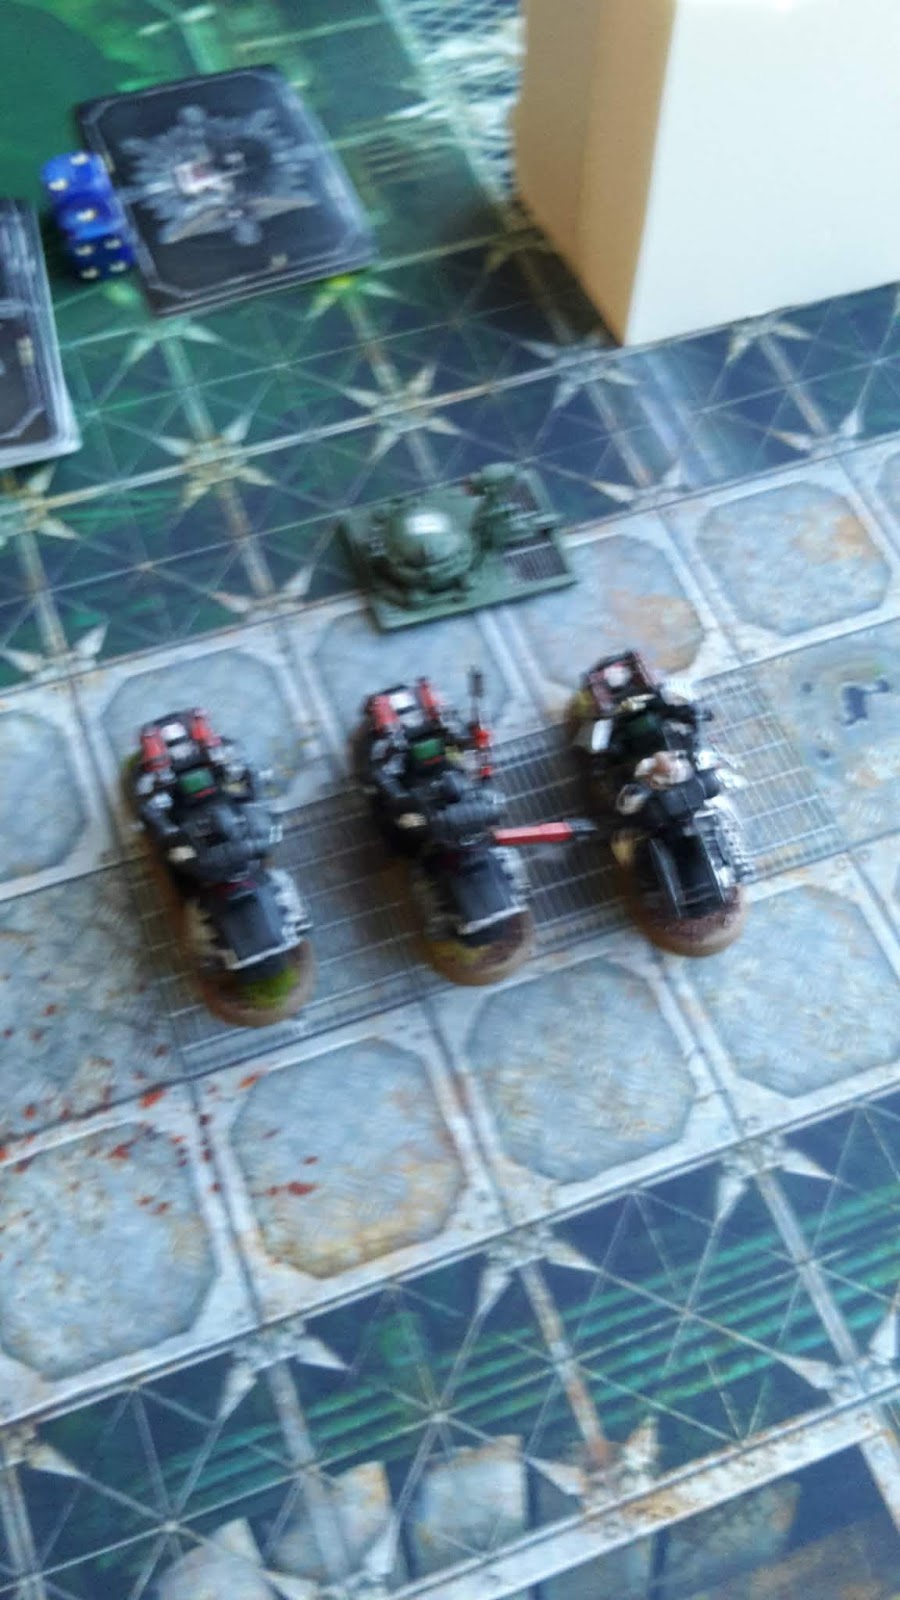
- 5 Black Knights- Plasma Talons, Corvus Hammers (BK)
- 4 Ravenwing Bikers- Flamer, Twin Bolters, Storm Bolter (RB1)
- 4 Ravenwing Bikers- Meltagun, Twin Bolters, Storm Bolter (RB2)
- 3 Ravenwing Bikers- Twin Bolters, Storm Bolter, Plasma Gun (RB3)
- Ravenwing Darkshroud- Assault Cannon (D)
10 Command Points
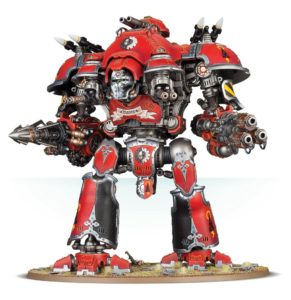

Connor’s army consisted of:
Super Heavy Detachment
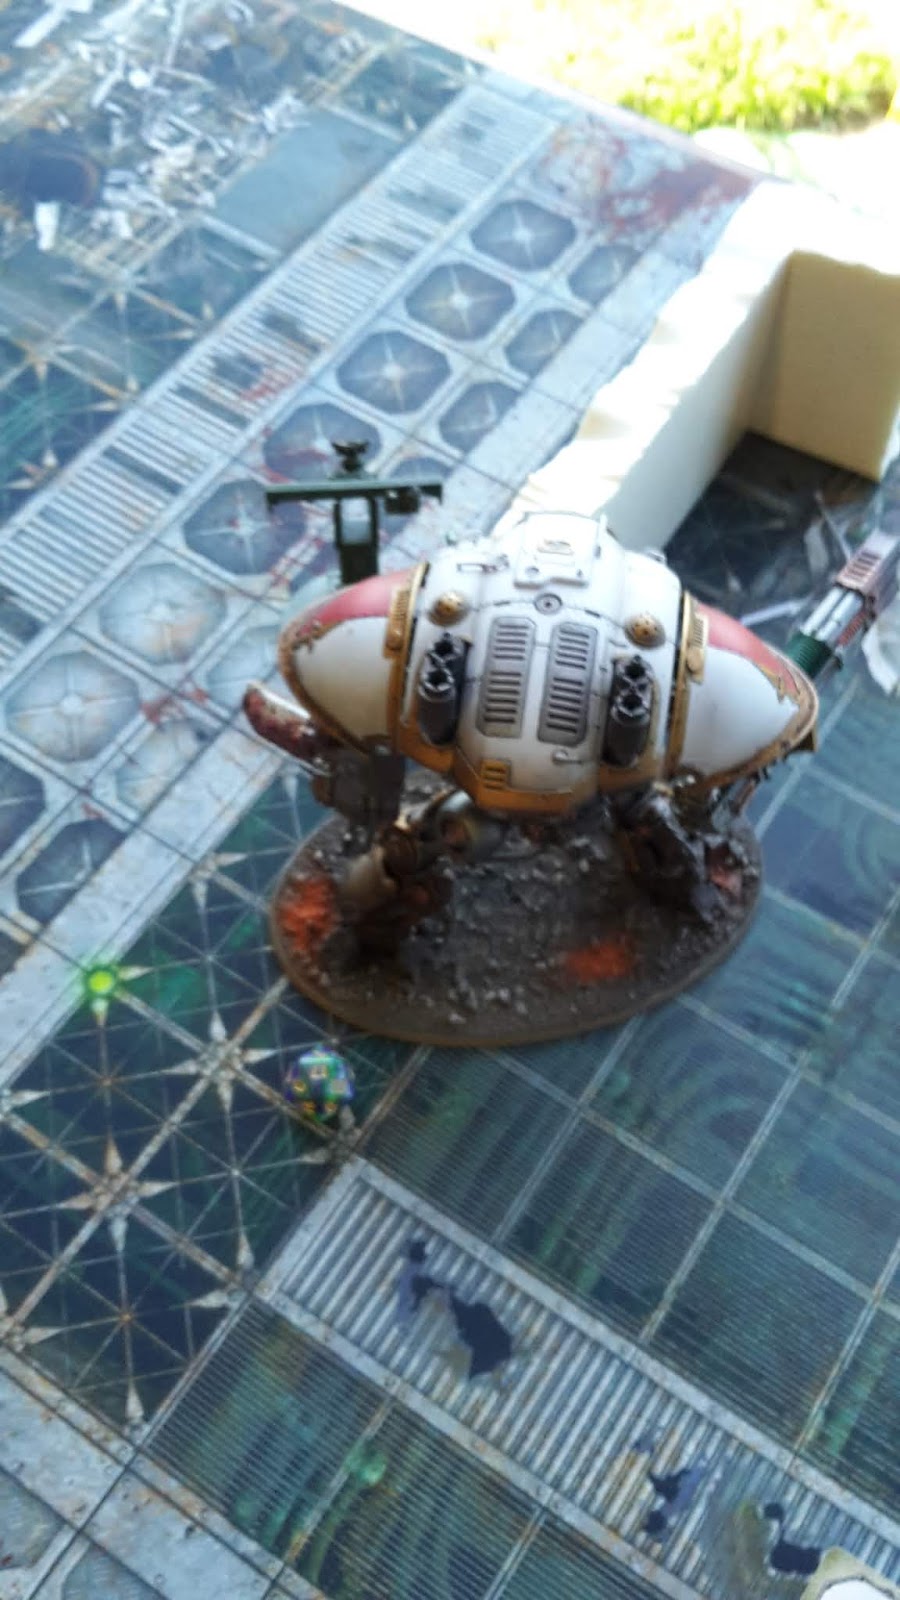
- Questoris Knight Styrix- Graviton Crusher, Volkite Chieorovile, Ravager (Relic), WARLORD
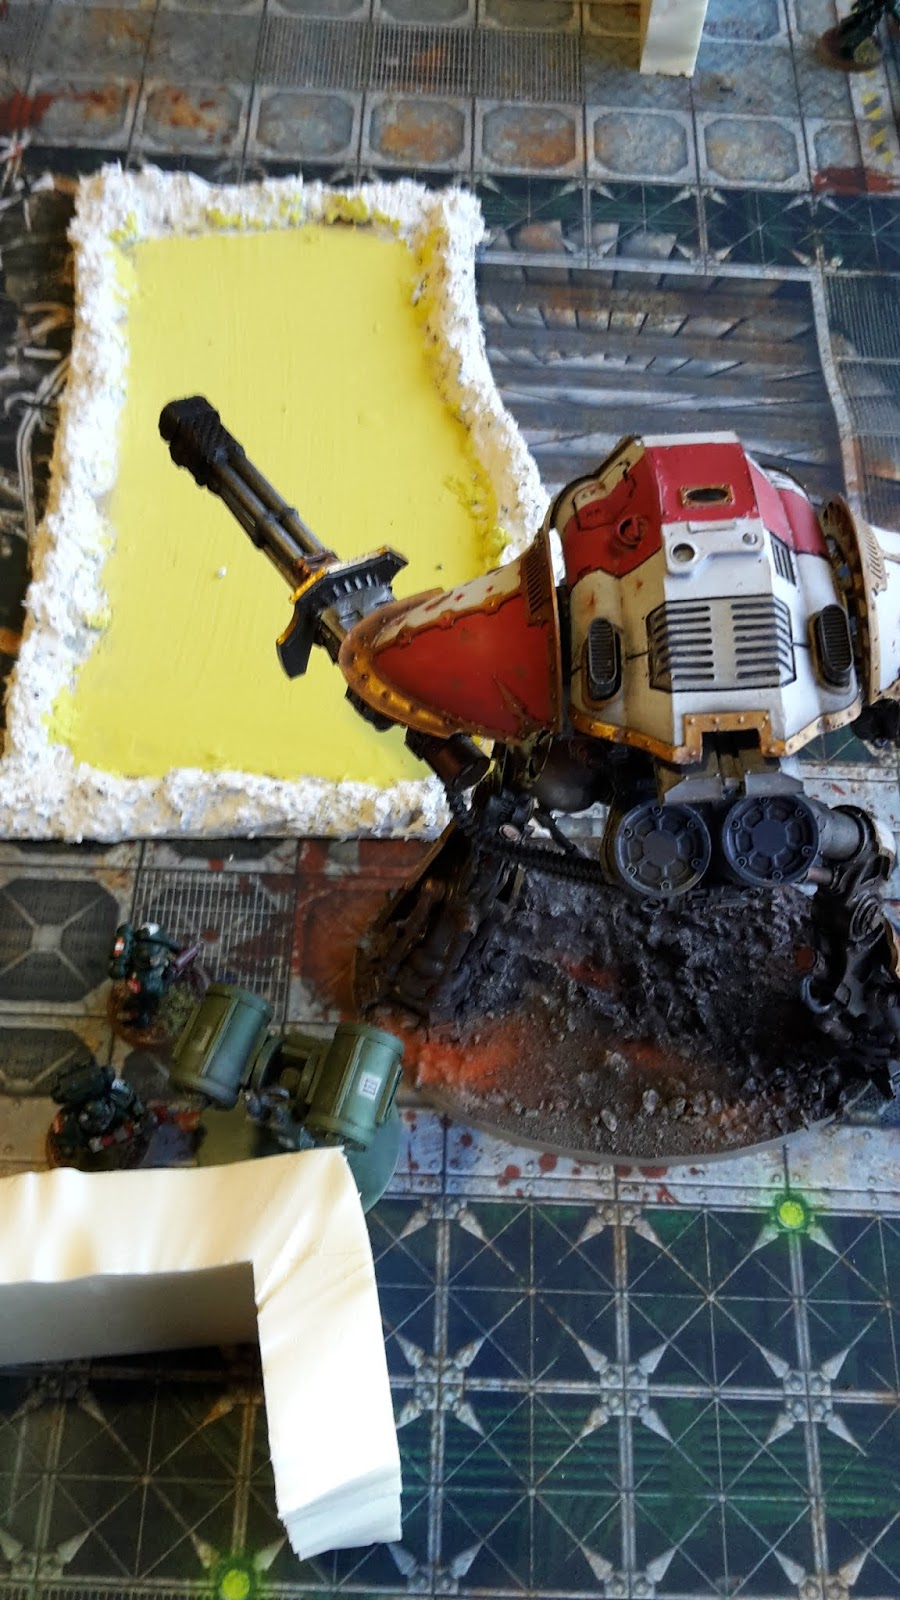
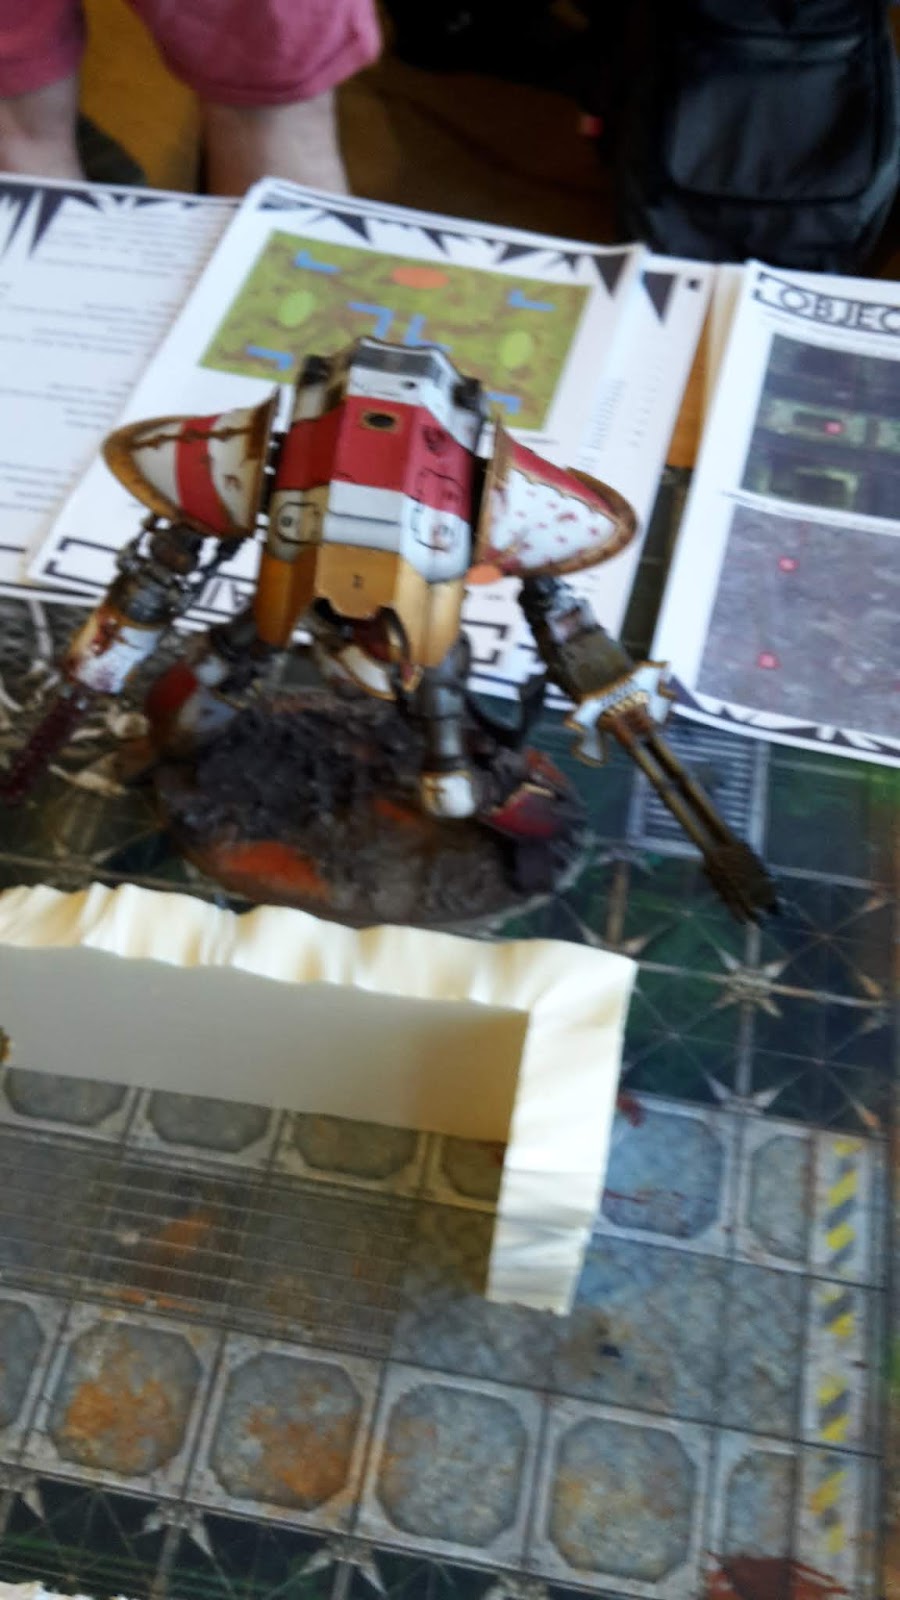
- Cerastus Knight Acheron- Acheron Flame Cannon, Reaper Chainfist, Twin Heavy Bolter
- Cerastus Knight Atropos- Atropos Lascutter, Graviton Singularity Cannon
- Armiger Warglaive- Reaper Chain-cleaver, Thermal Spear, Heavy Stubber
- Armiger Warglaive- Reaper Chain-cleaver, Thermal Spear, Meltagun
I’ve only faced Imperial Knights once in 8th edition. They were pretty tough to take out without the right weaponry. I was hoping that the Plasma Weaponry in my army would be able to deal with the Knights when they got close, and that I had enough units to score the objectives as the game went on.
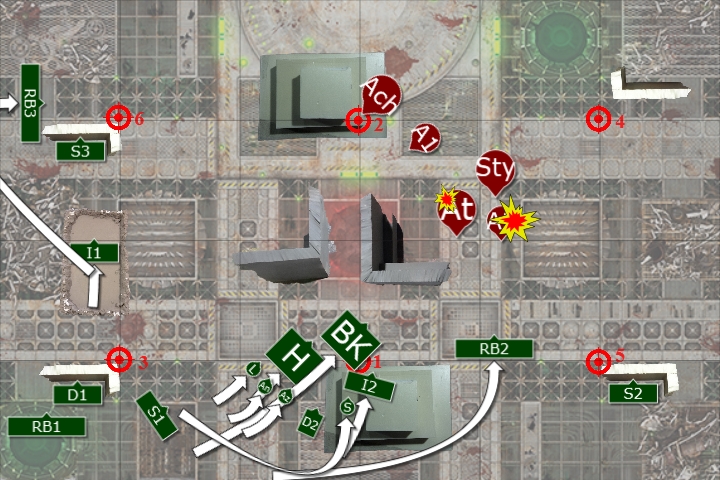
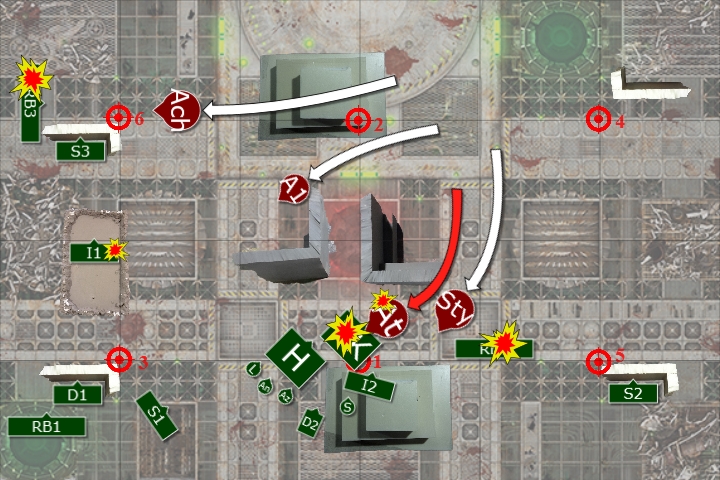
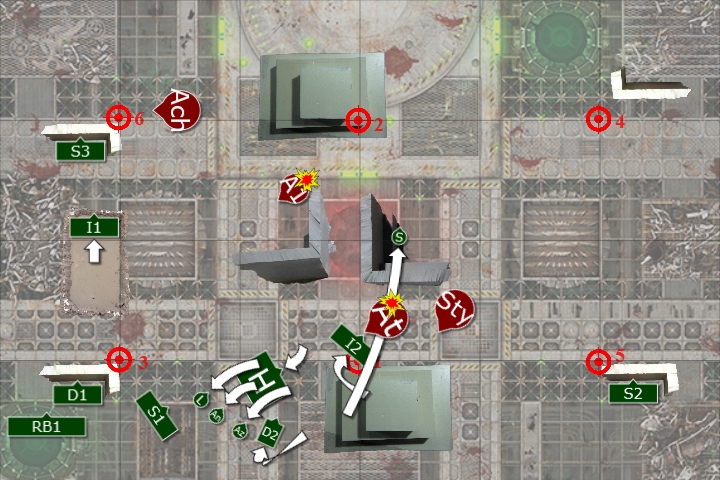
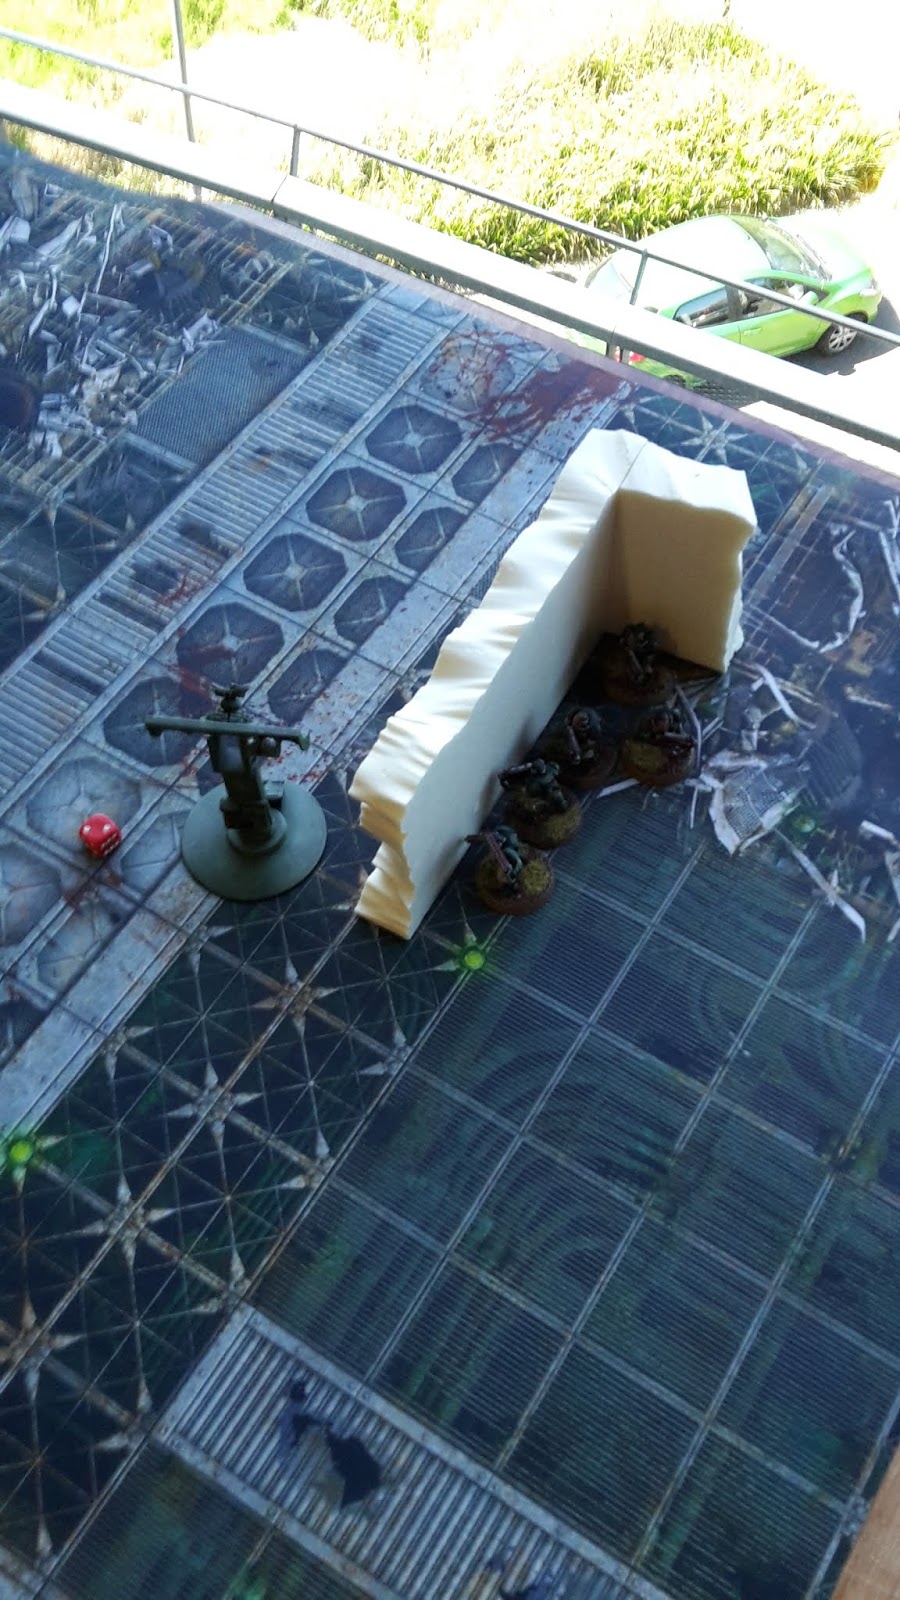
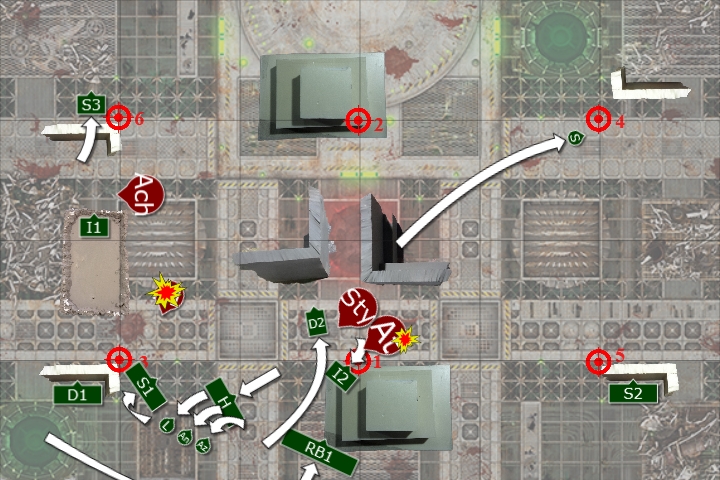
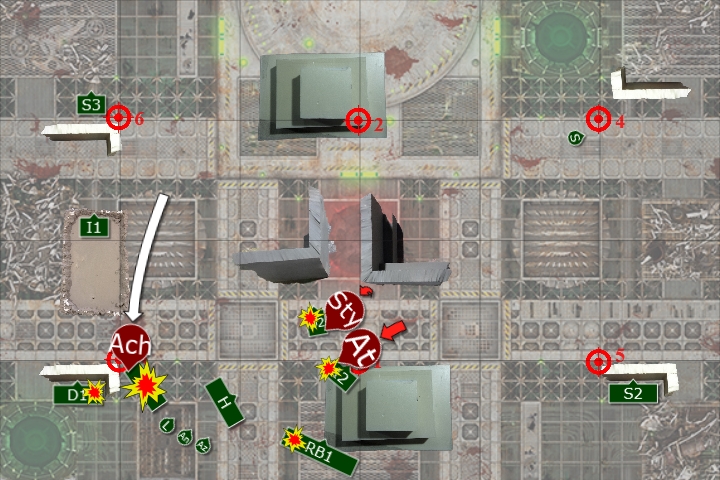
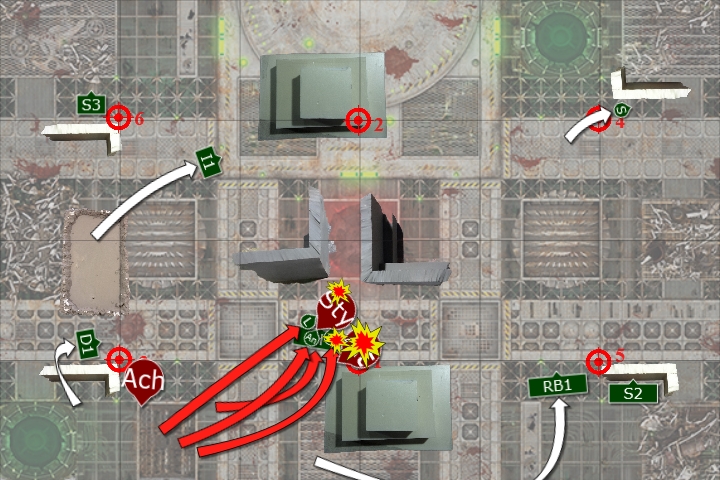
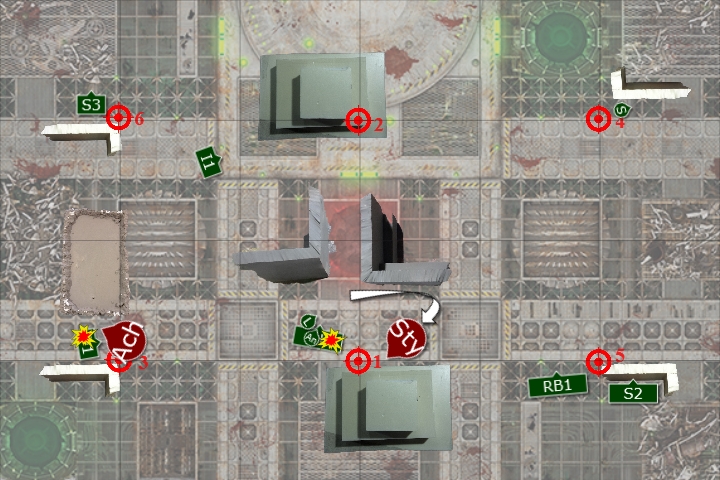
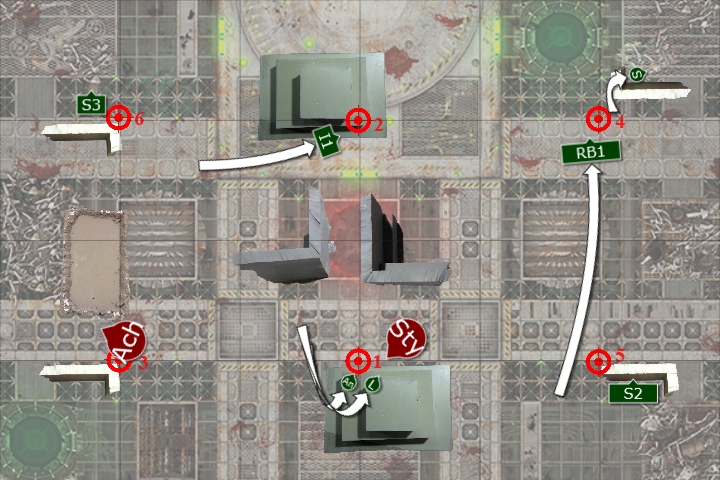
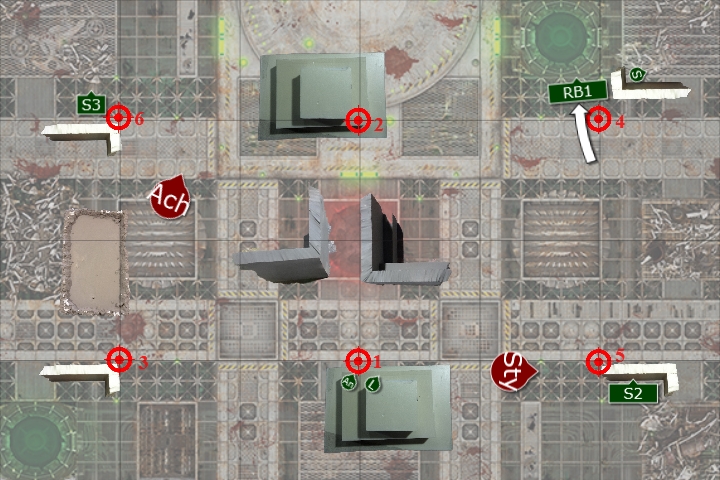
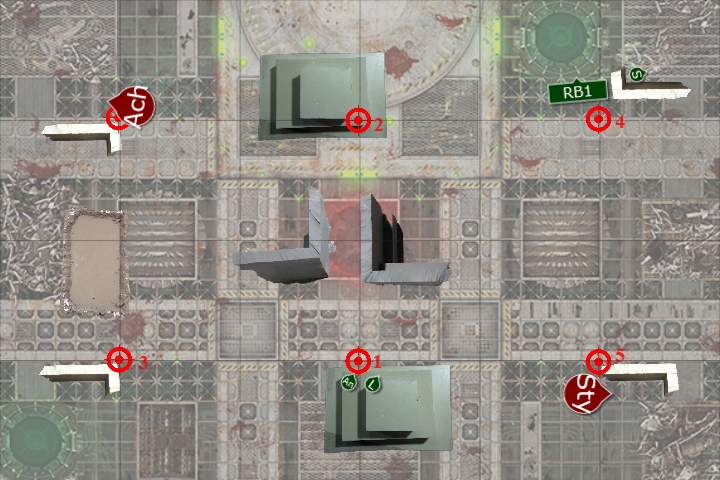
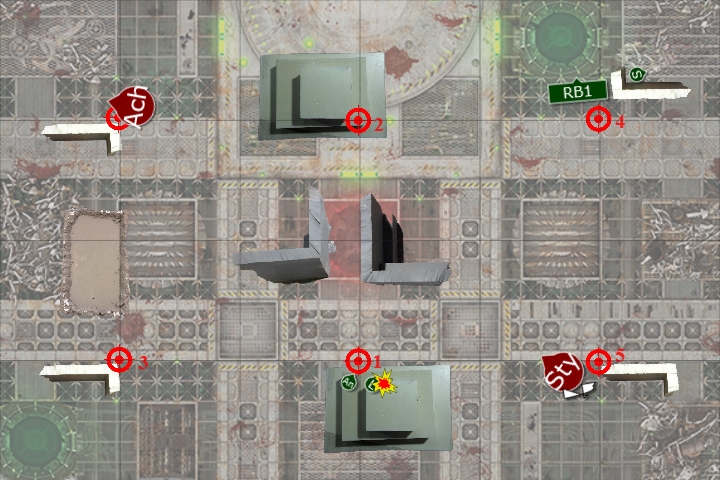
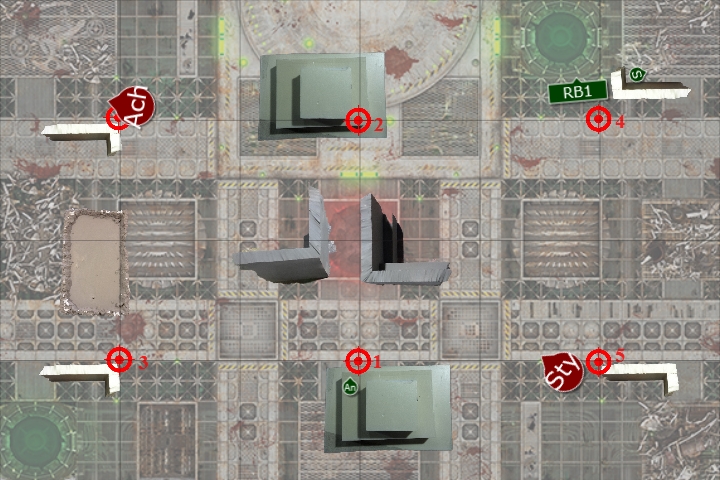
The placement of the objectives were set as shown below:
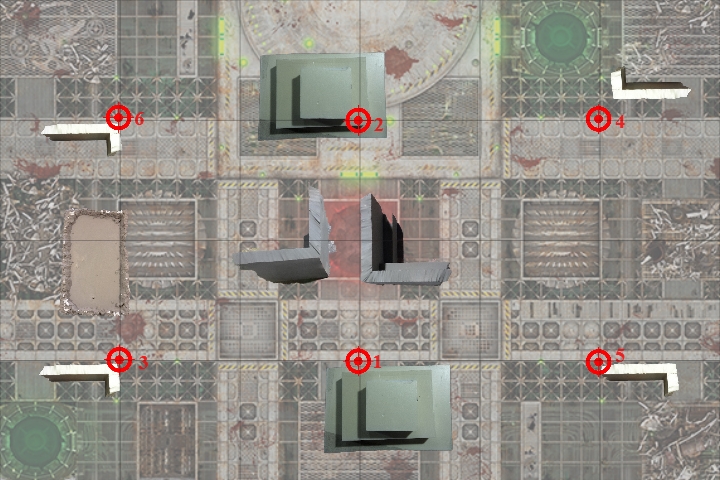
We then deployed our forces (it didn’t take Connor long!).
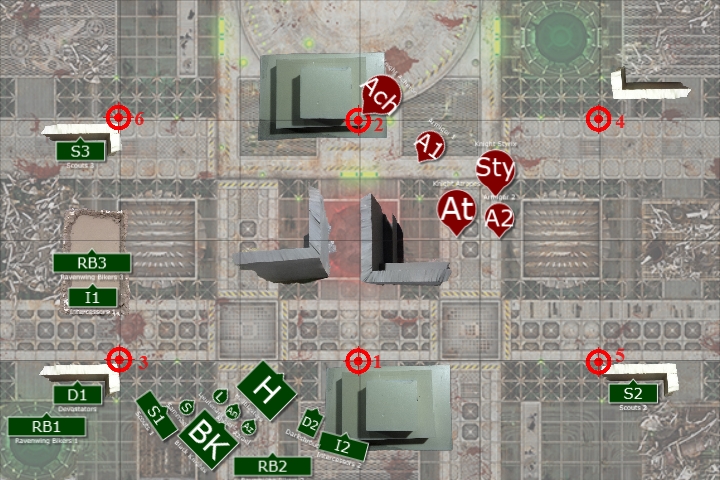
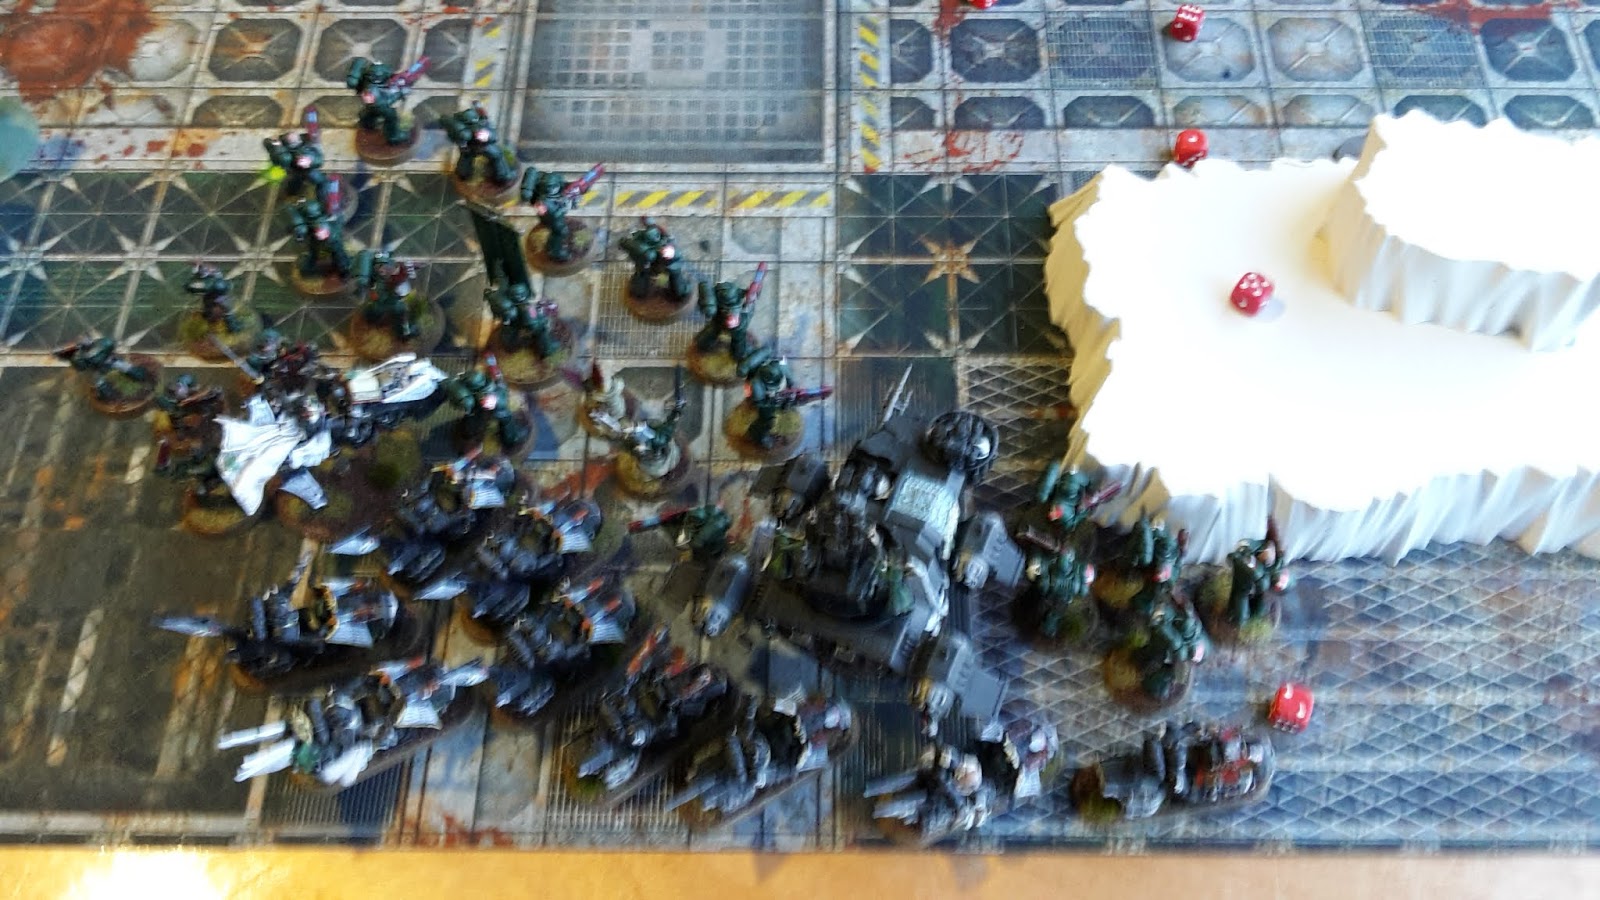
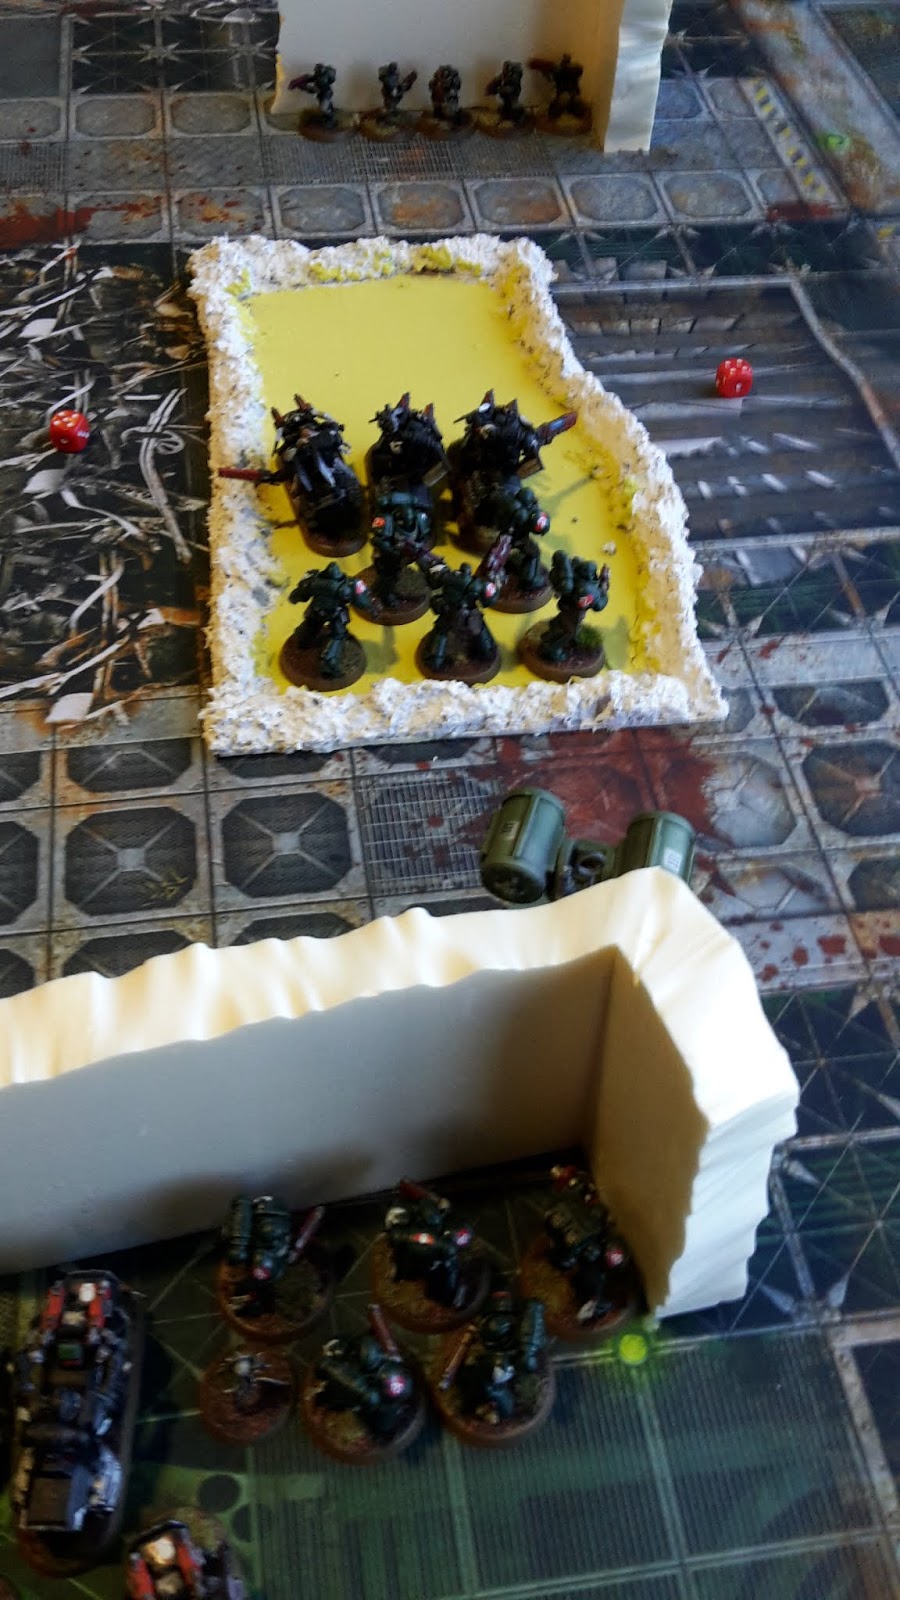
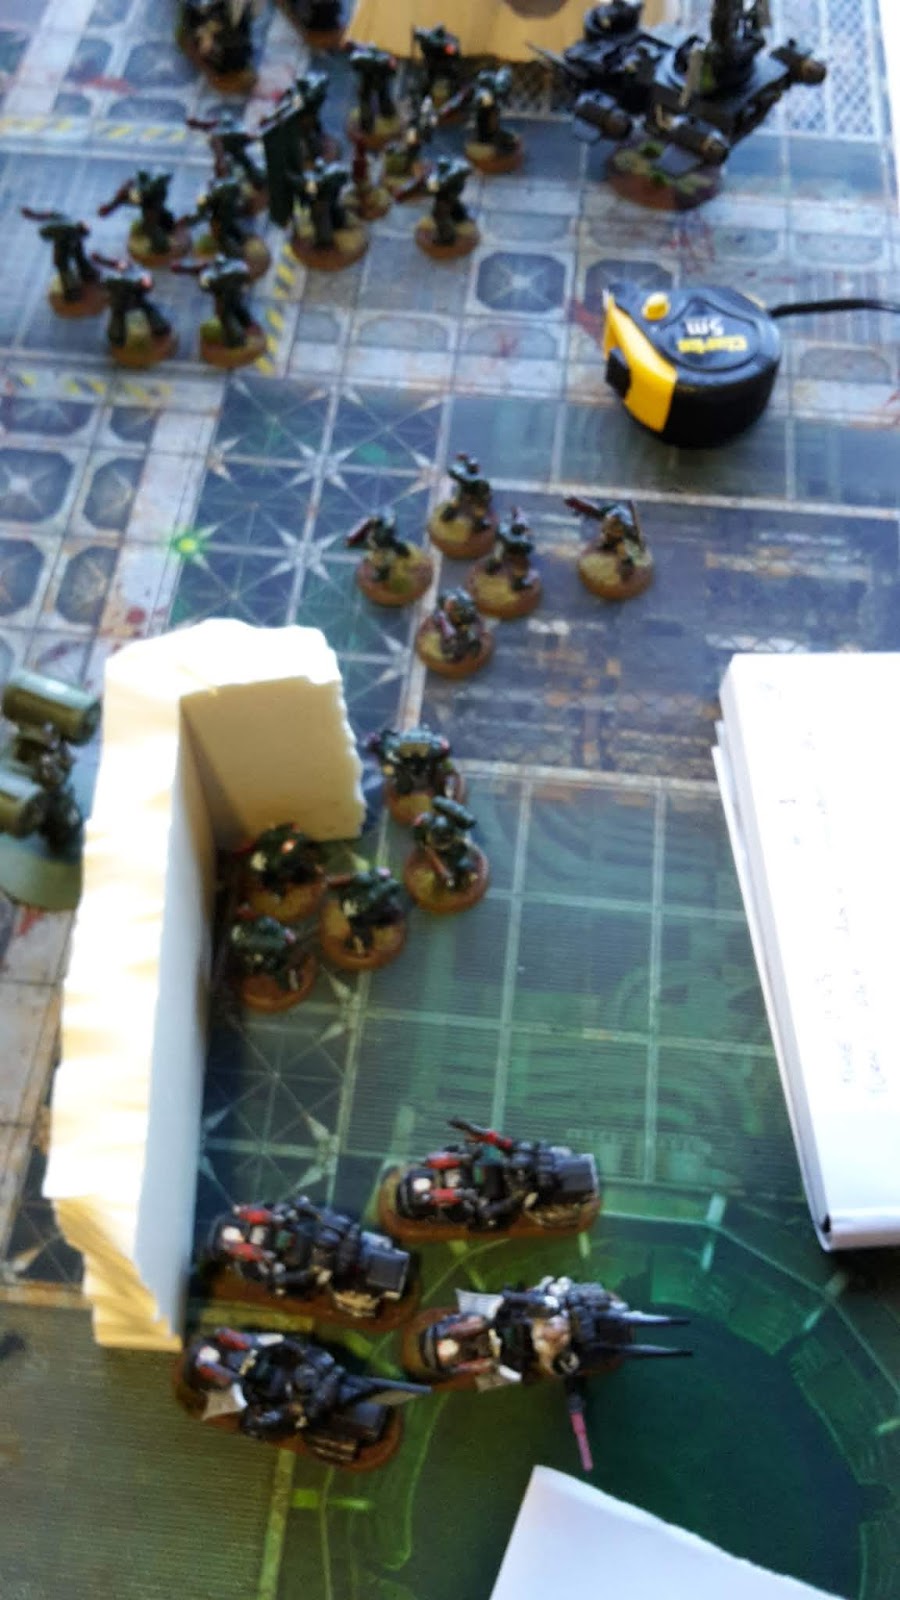
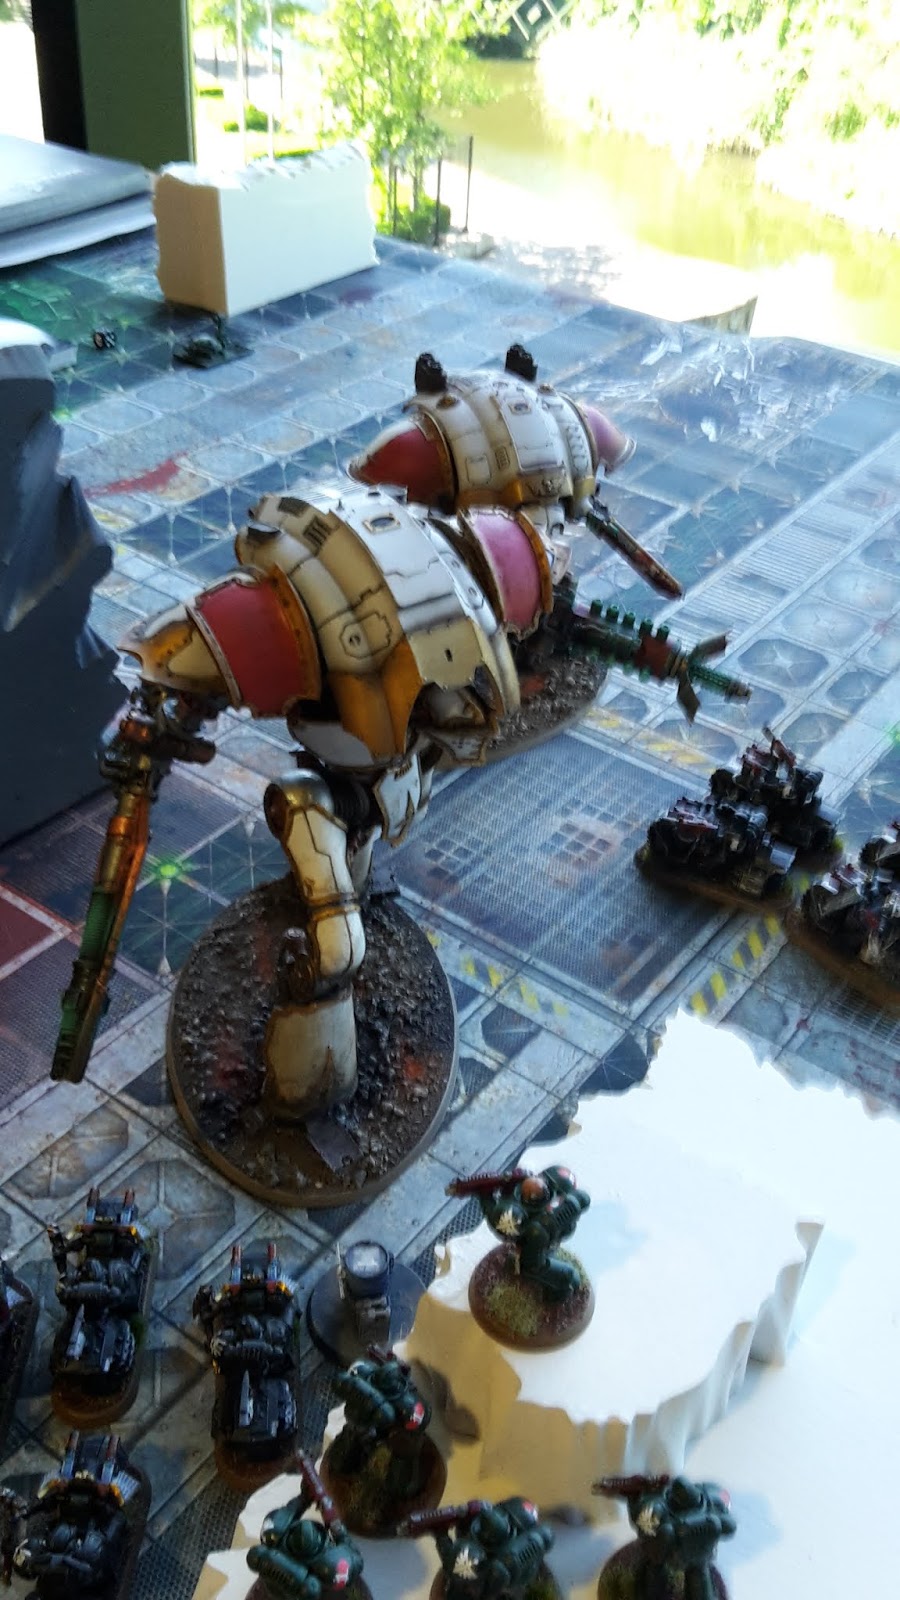
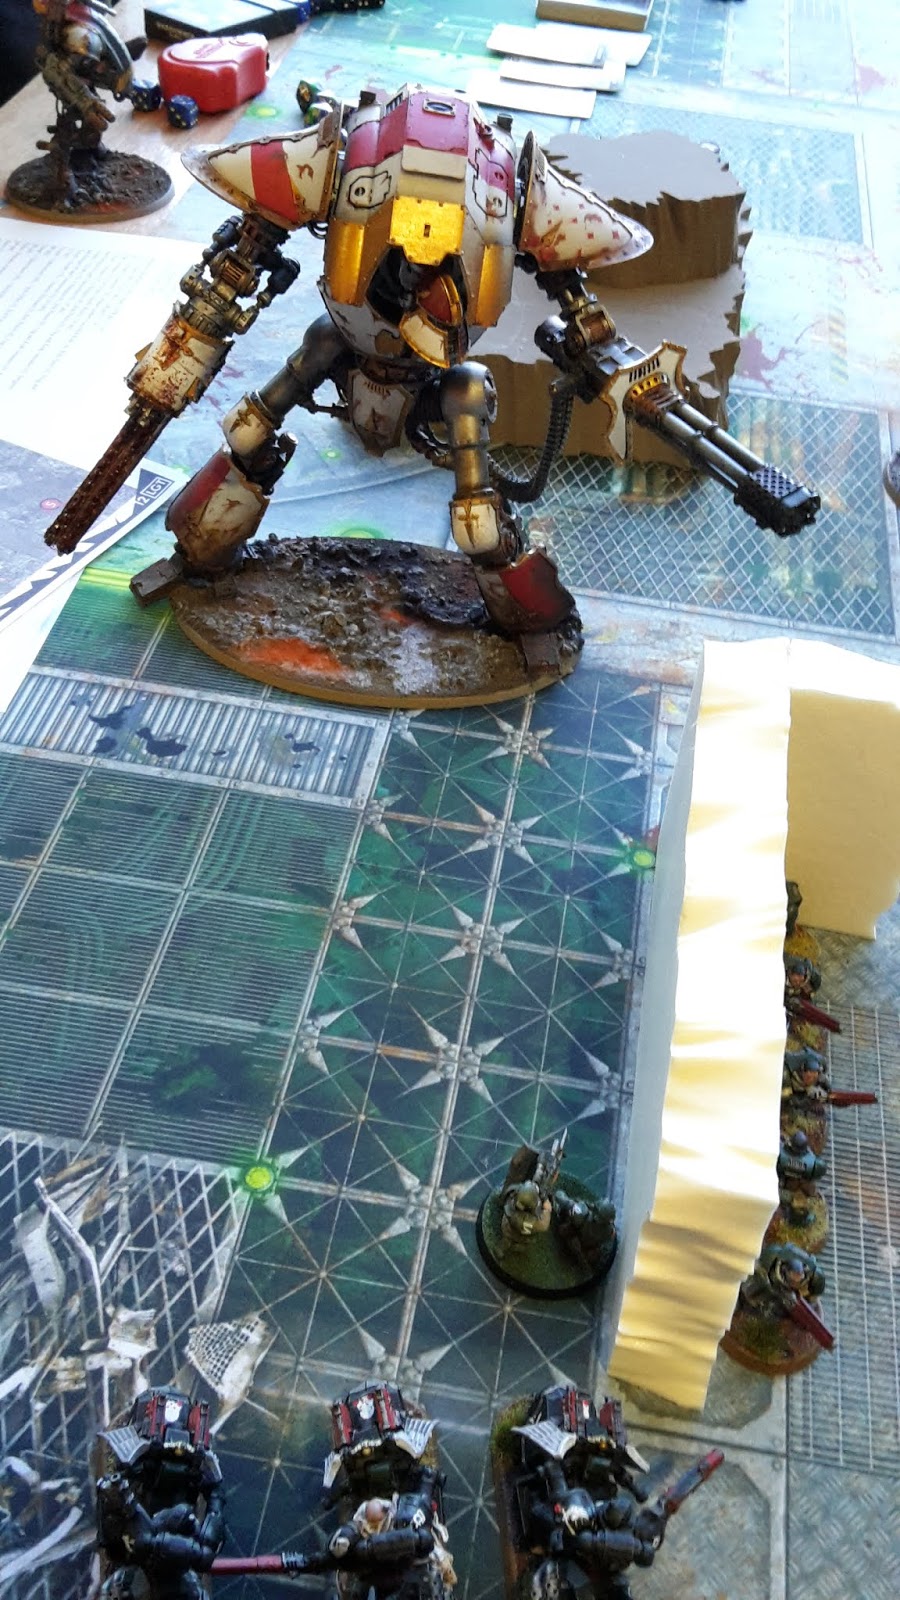
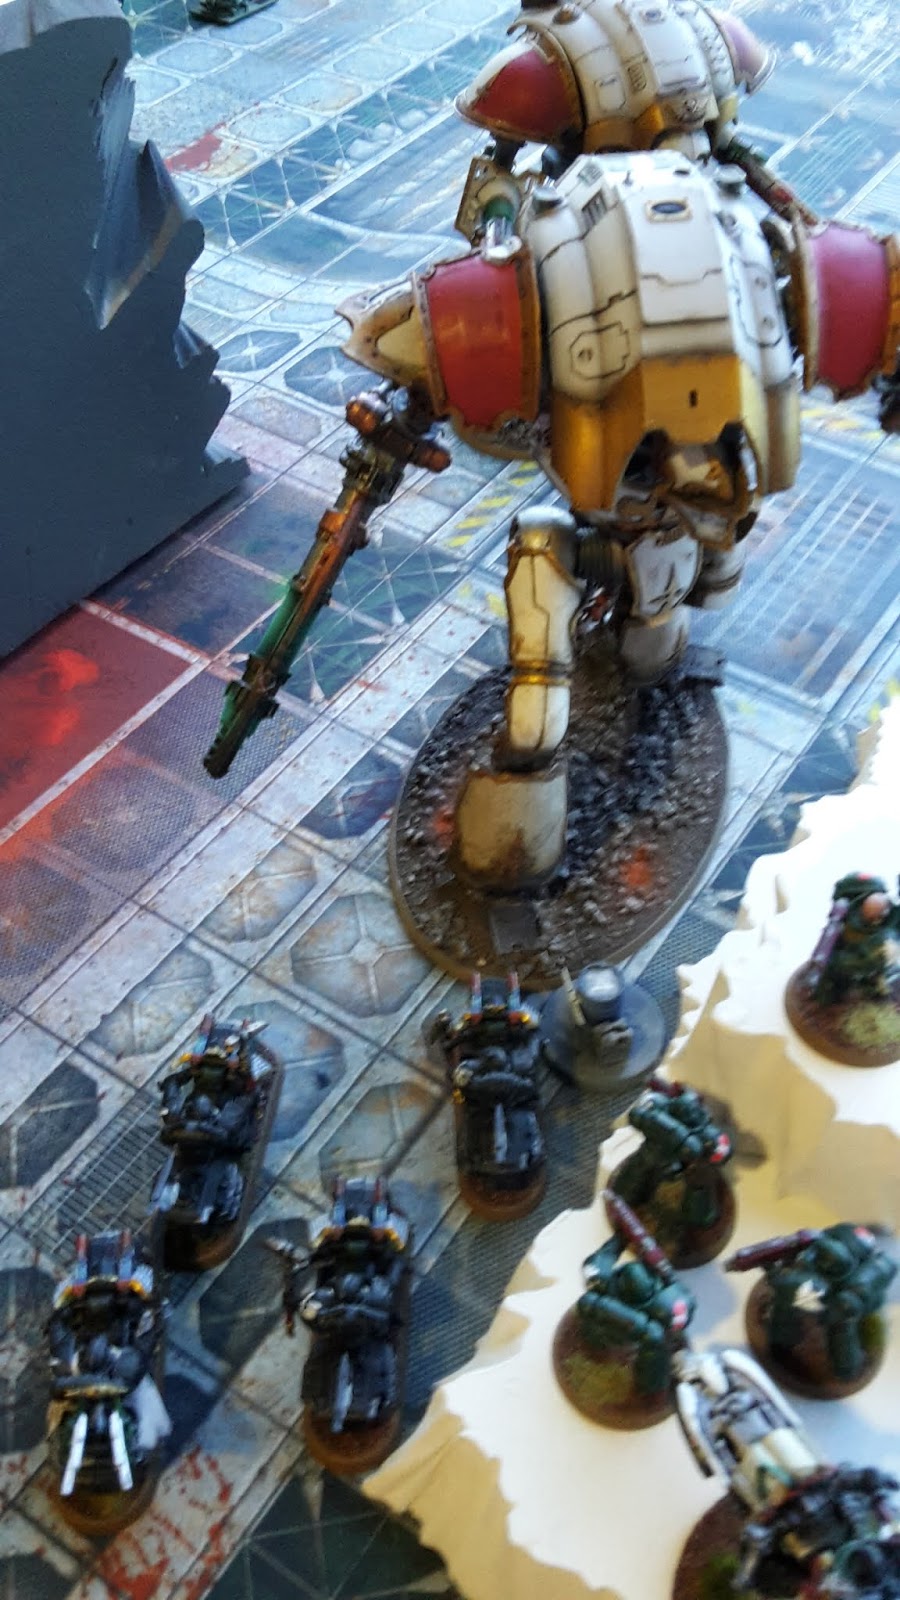
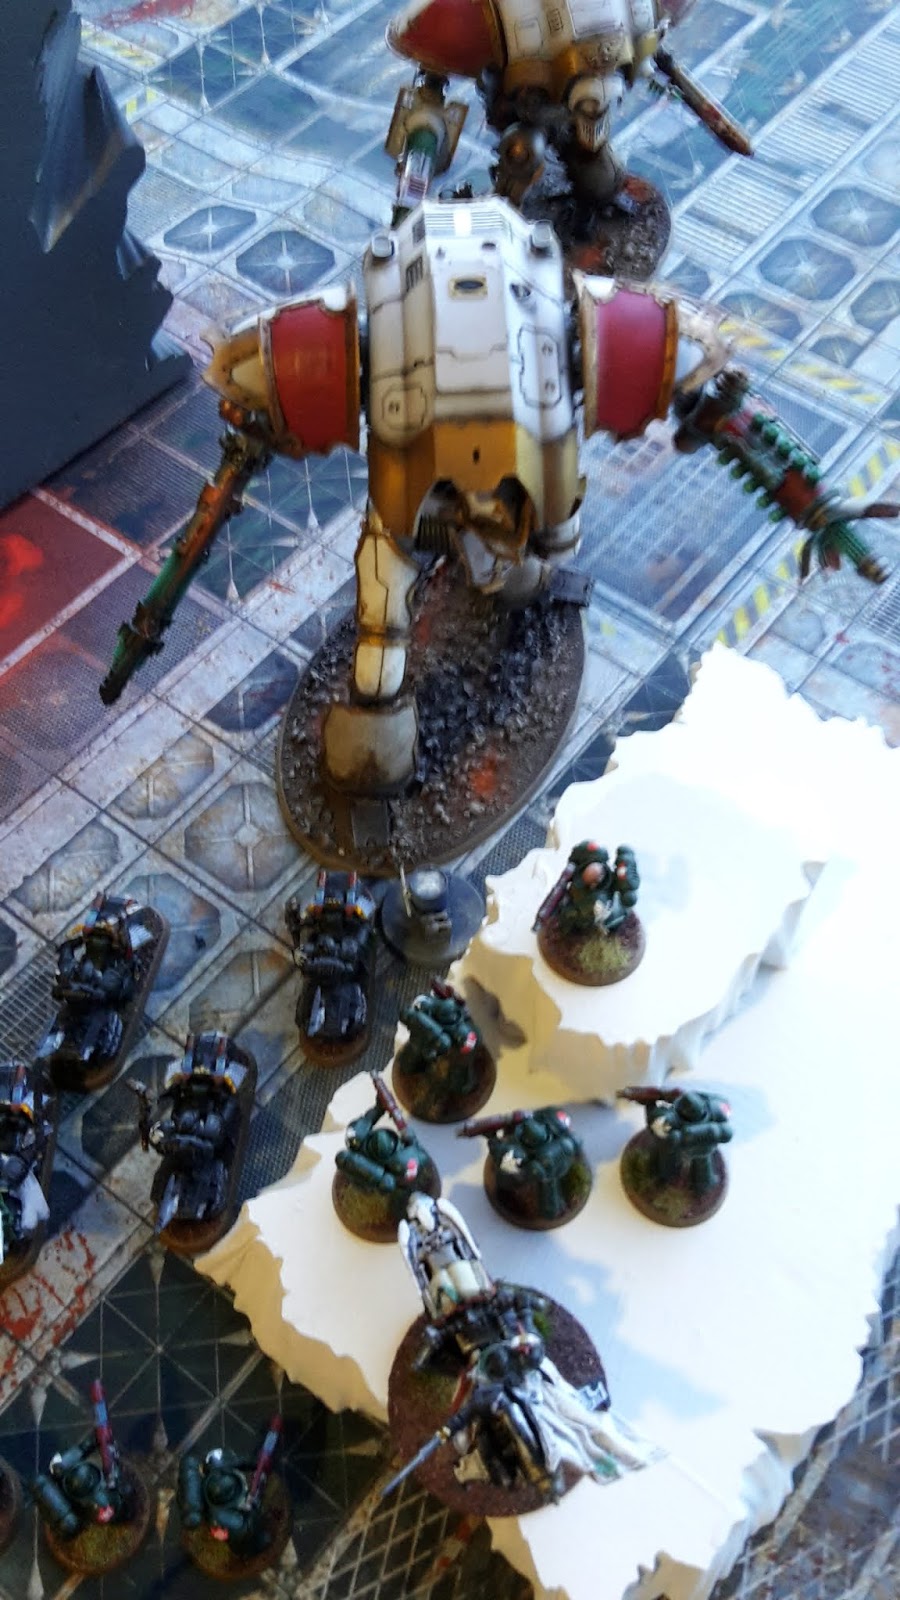
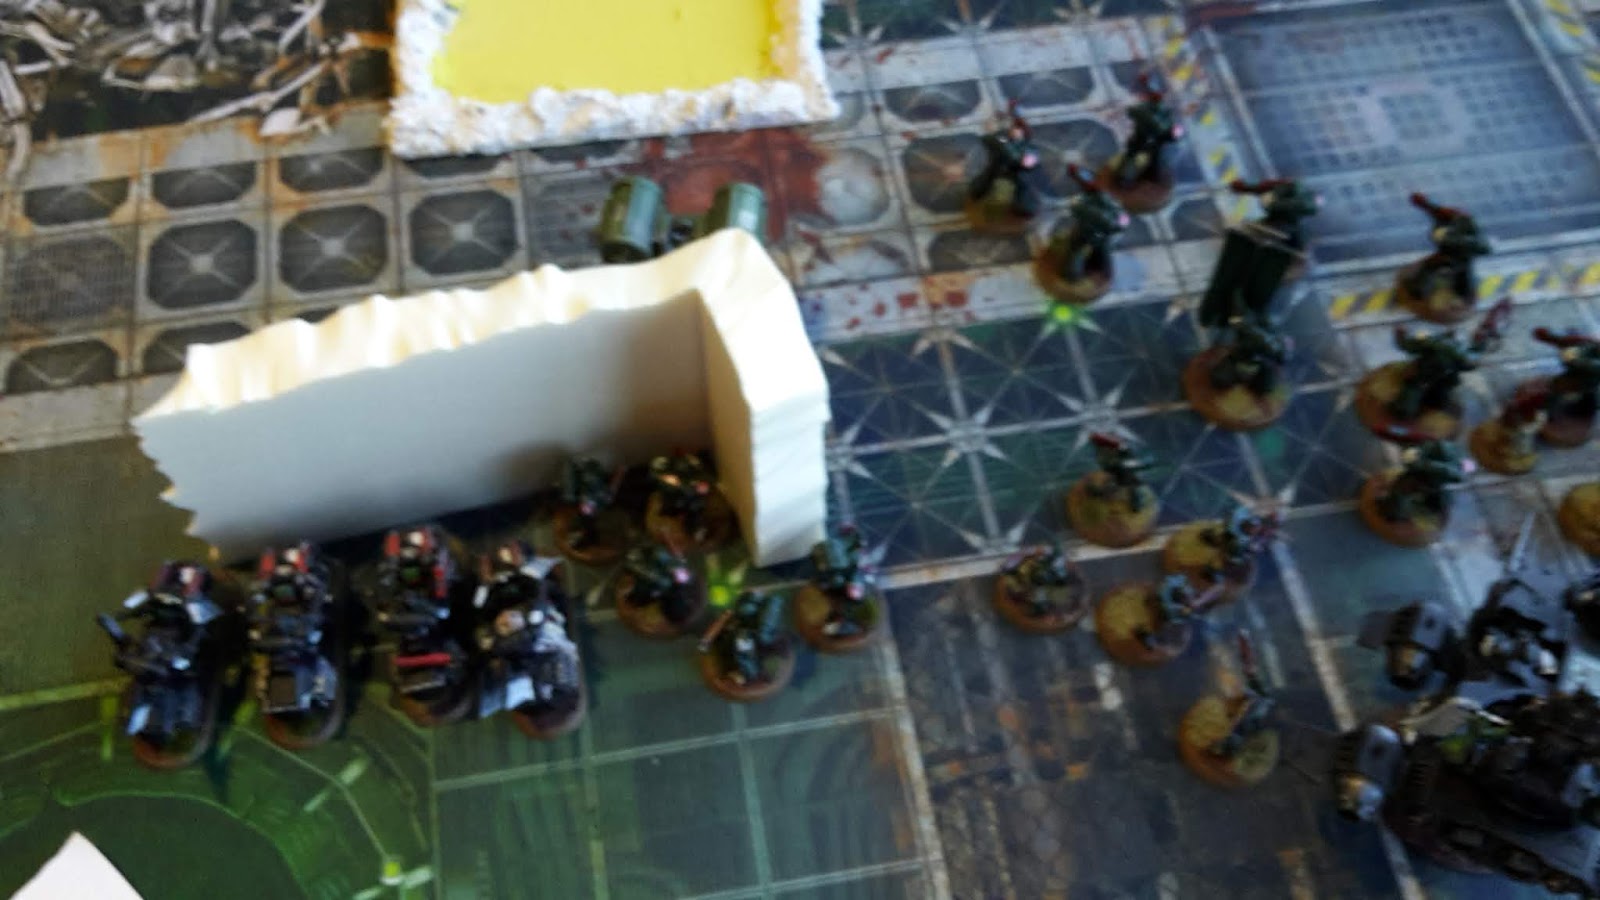
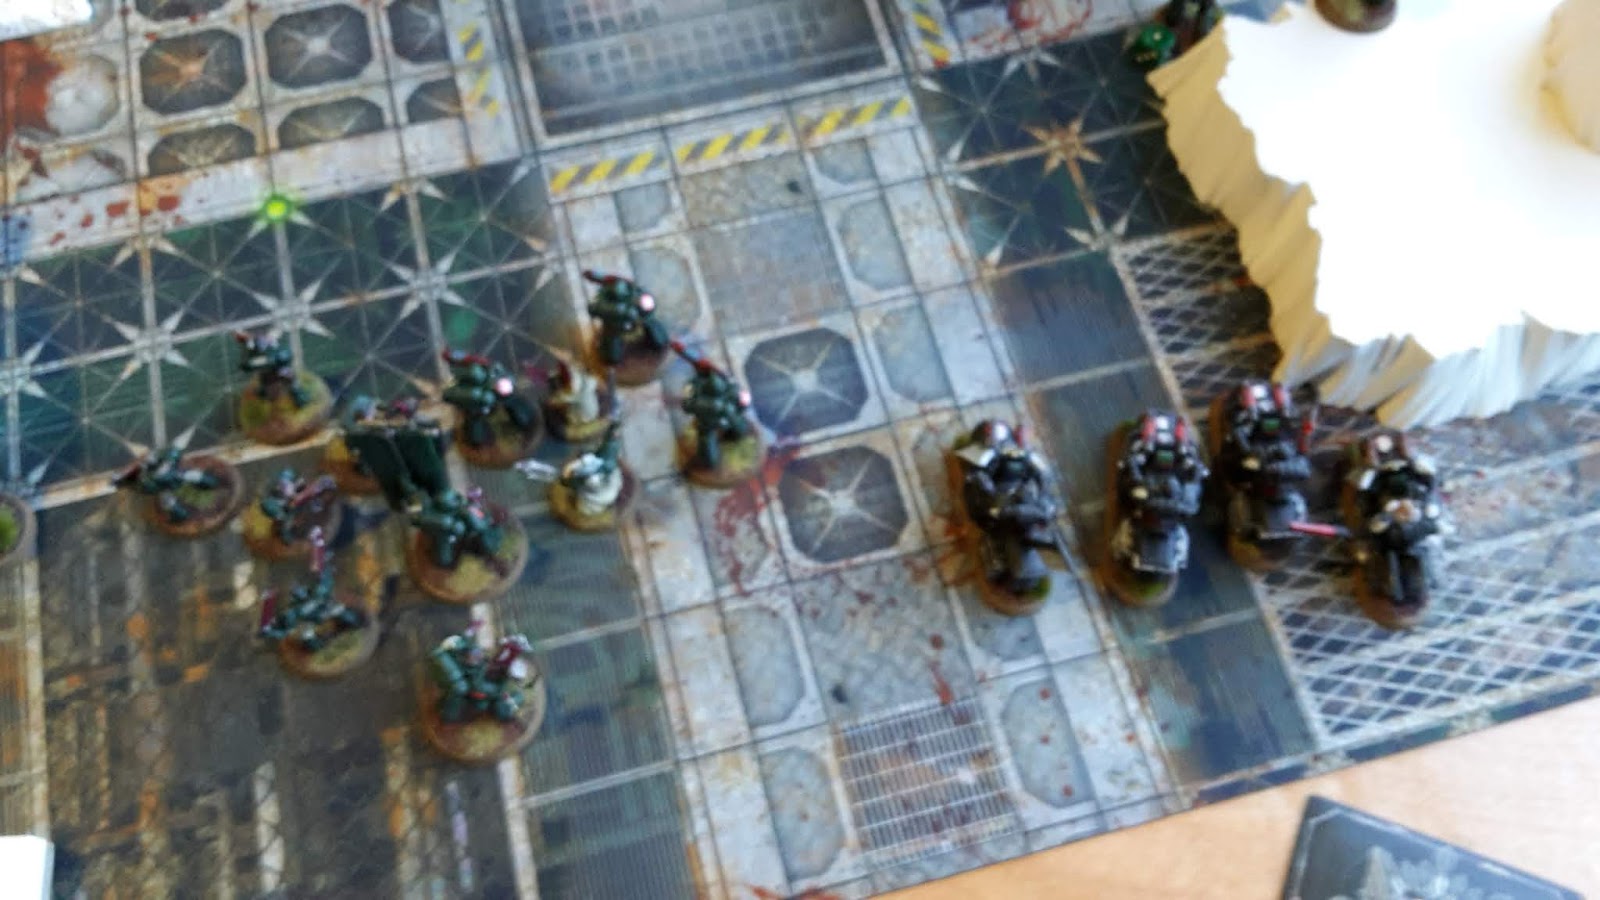
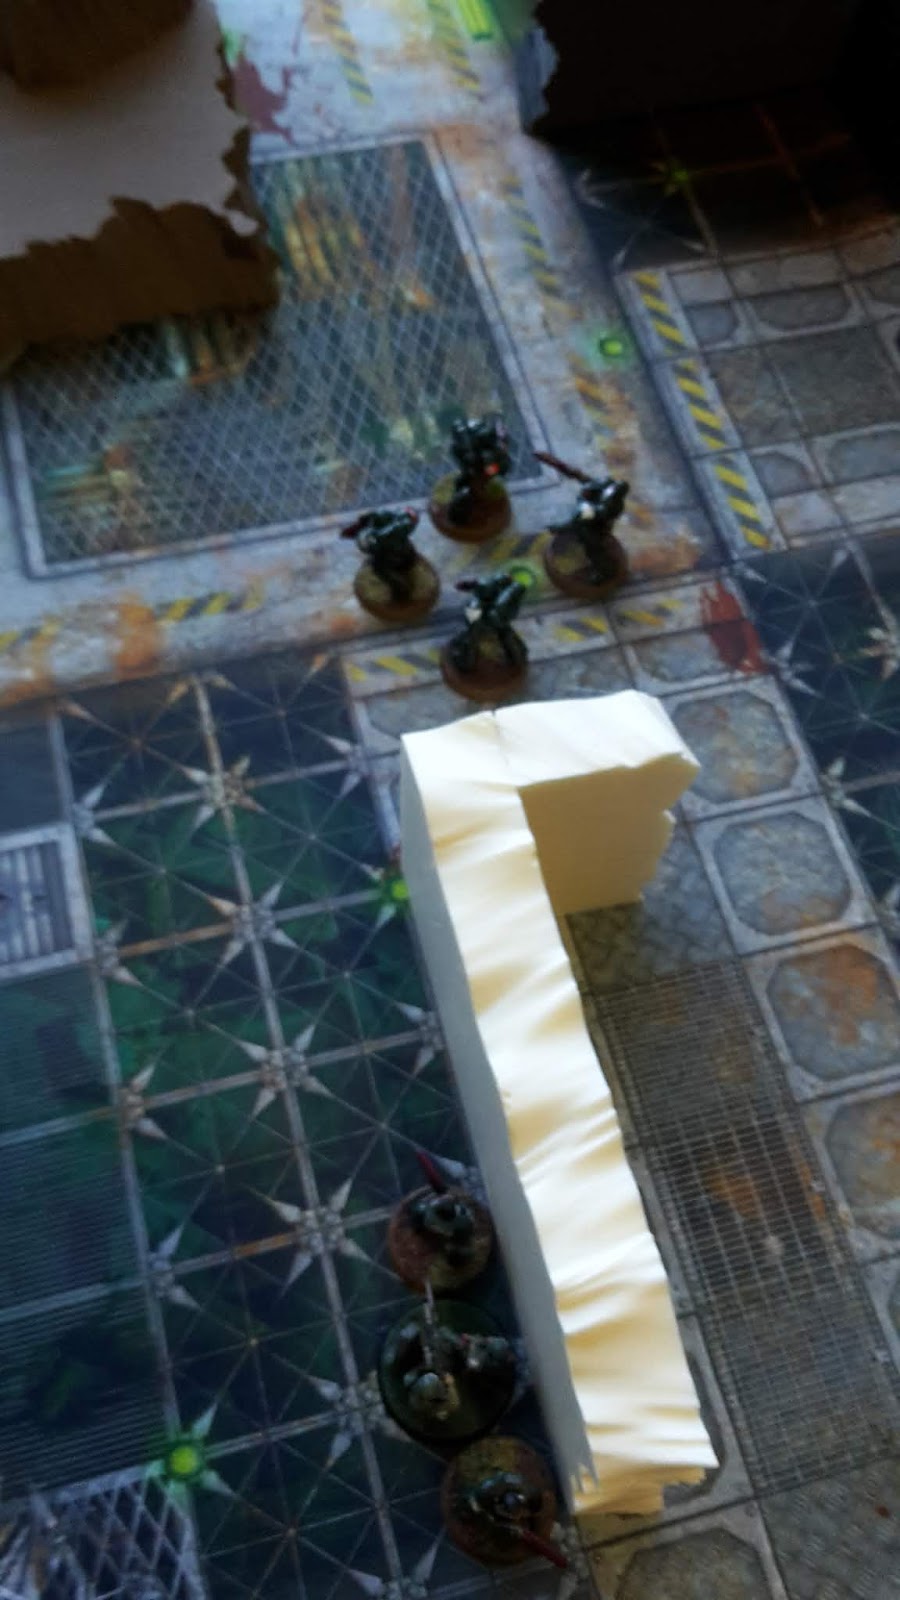
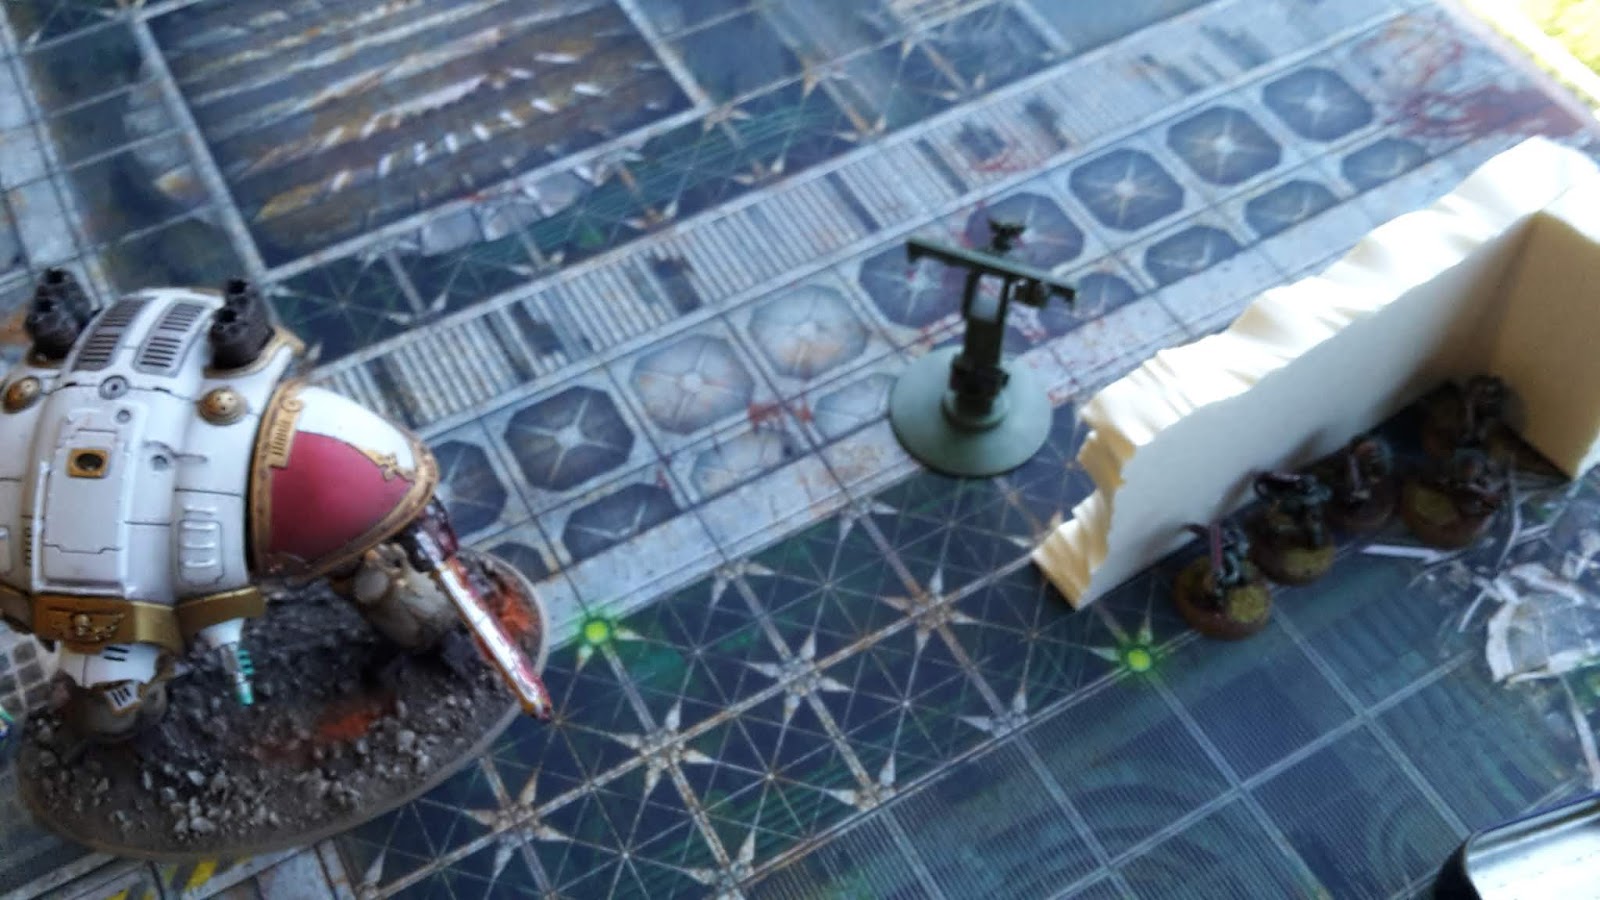
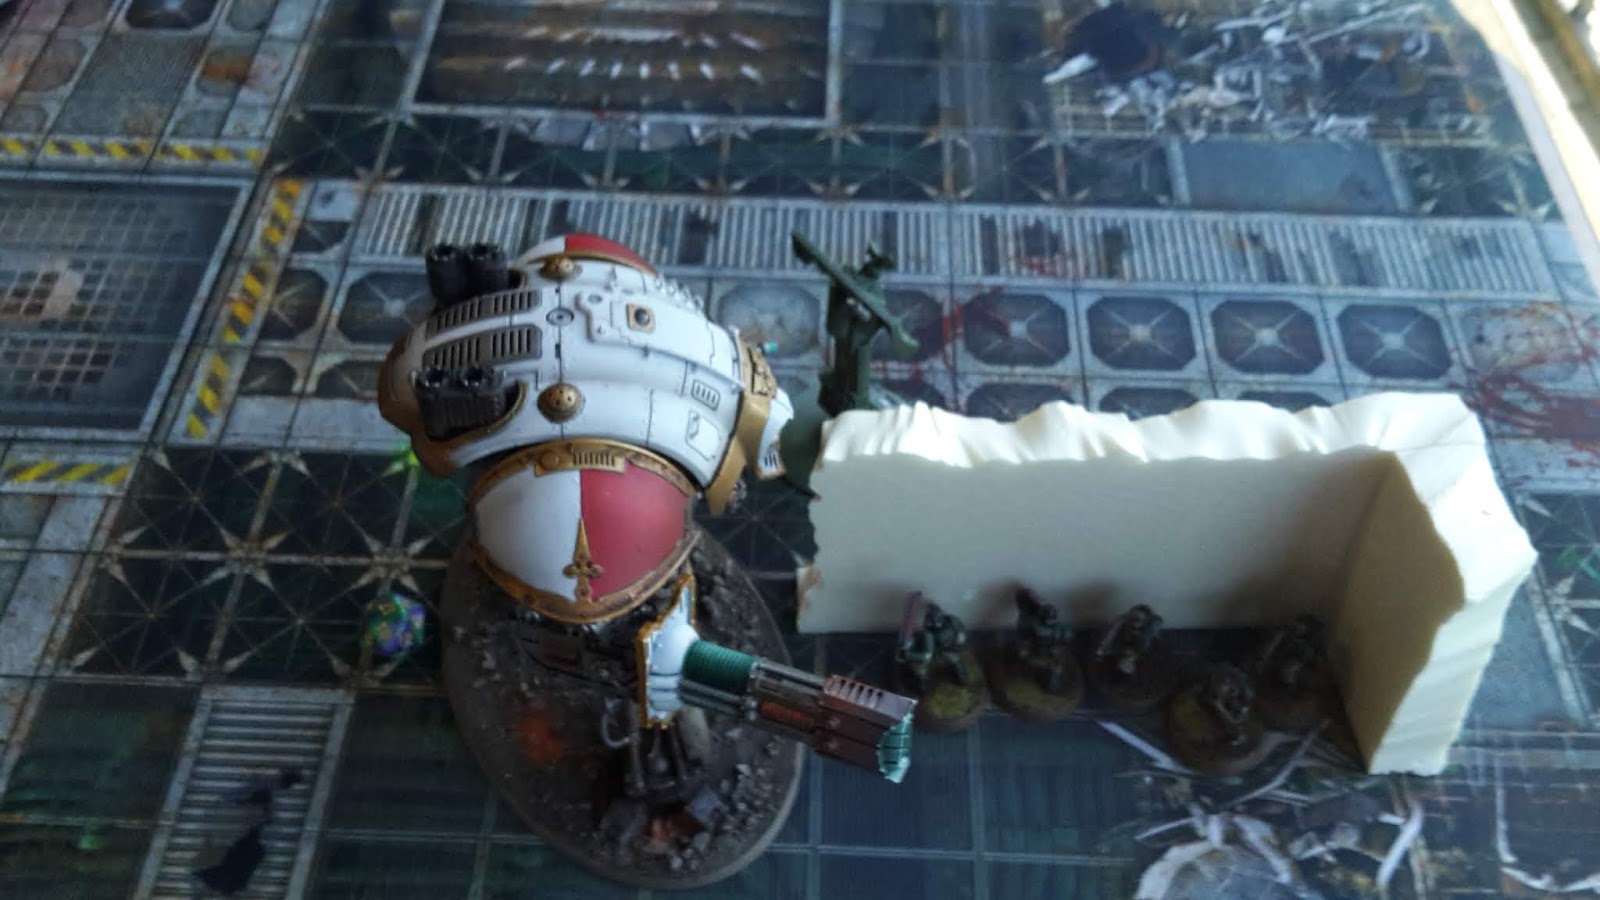
I deployed the bulk of my forces on the edge of my deployment zone. I put the Hellblasters at the front, with a number of units around them. The height of the Knights meant there was little in the way of line of sight blocking terrain, so I wanted to get as many units to benefit from Azrael’s invulnerable save.
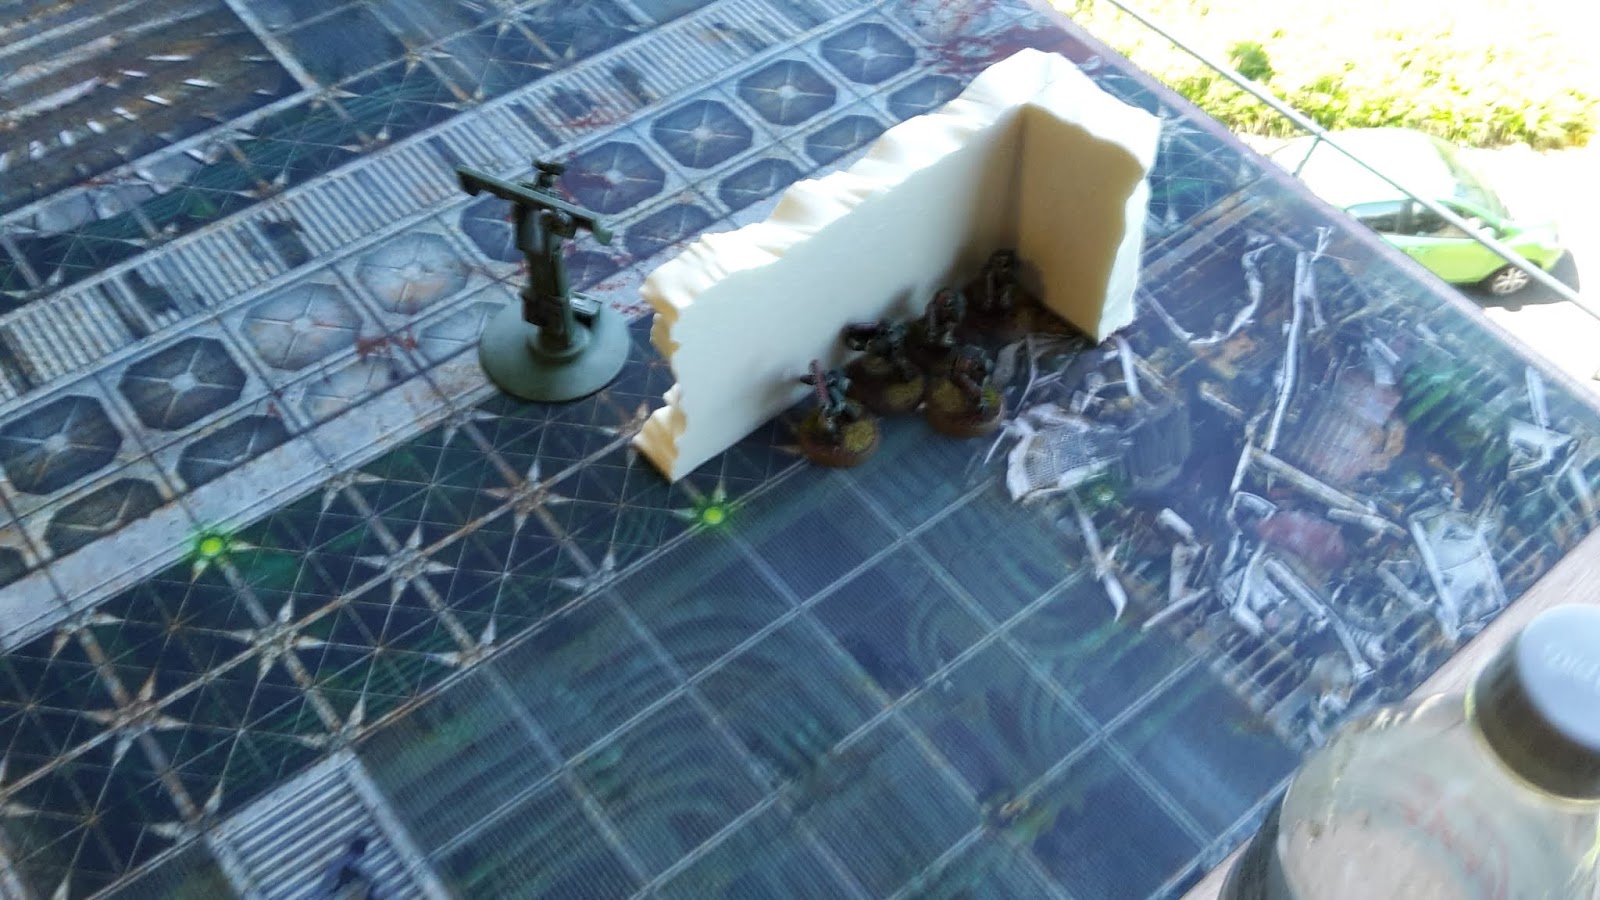
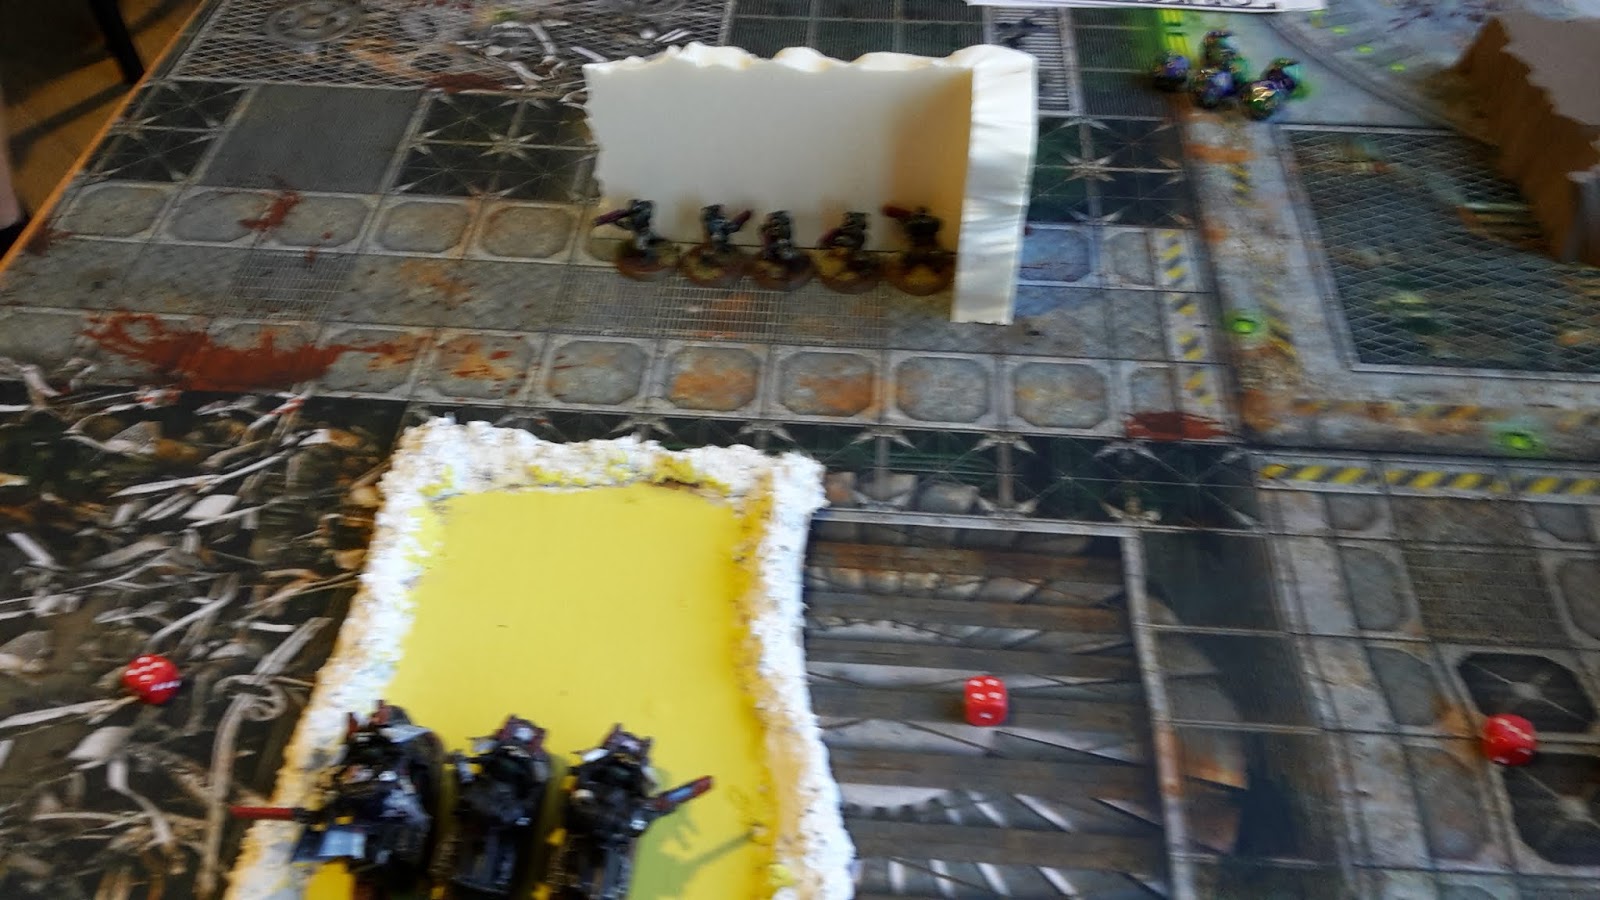
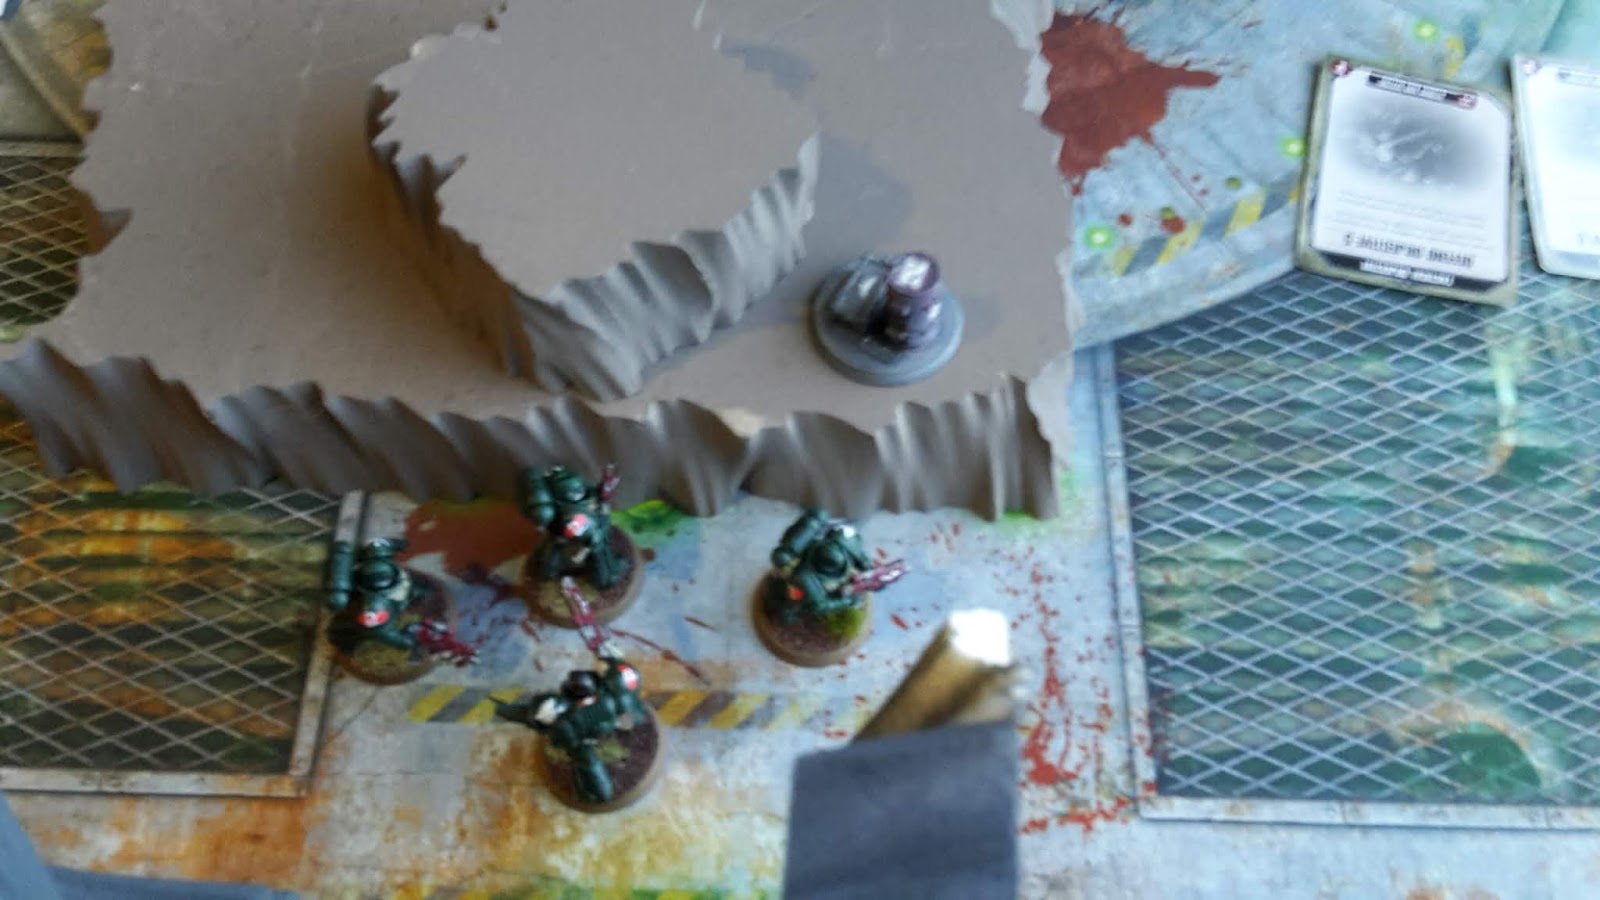
I put the Devastator Squad behind the ruins in my deployment zone, with a unit of Bikers beside them. I put one unit of Scouts in the other corners, again using the line of sight blocking terrain to keep them safe. I put one unit of Intercessors and Bikers on the left flank, ready to advance on the objective.
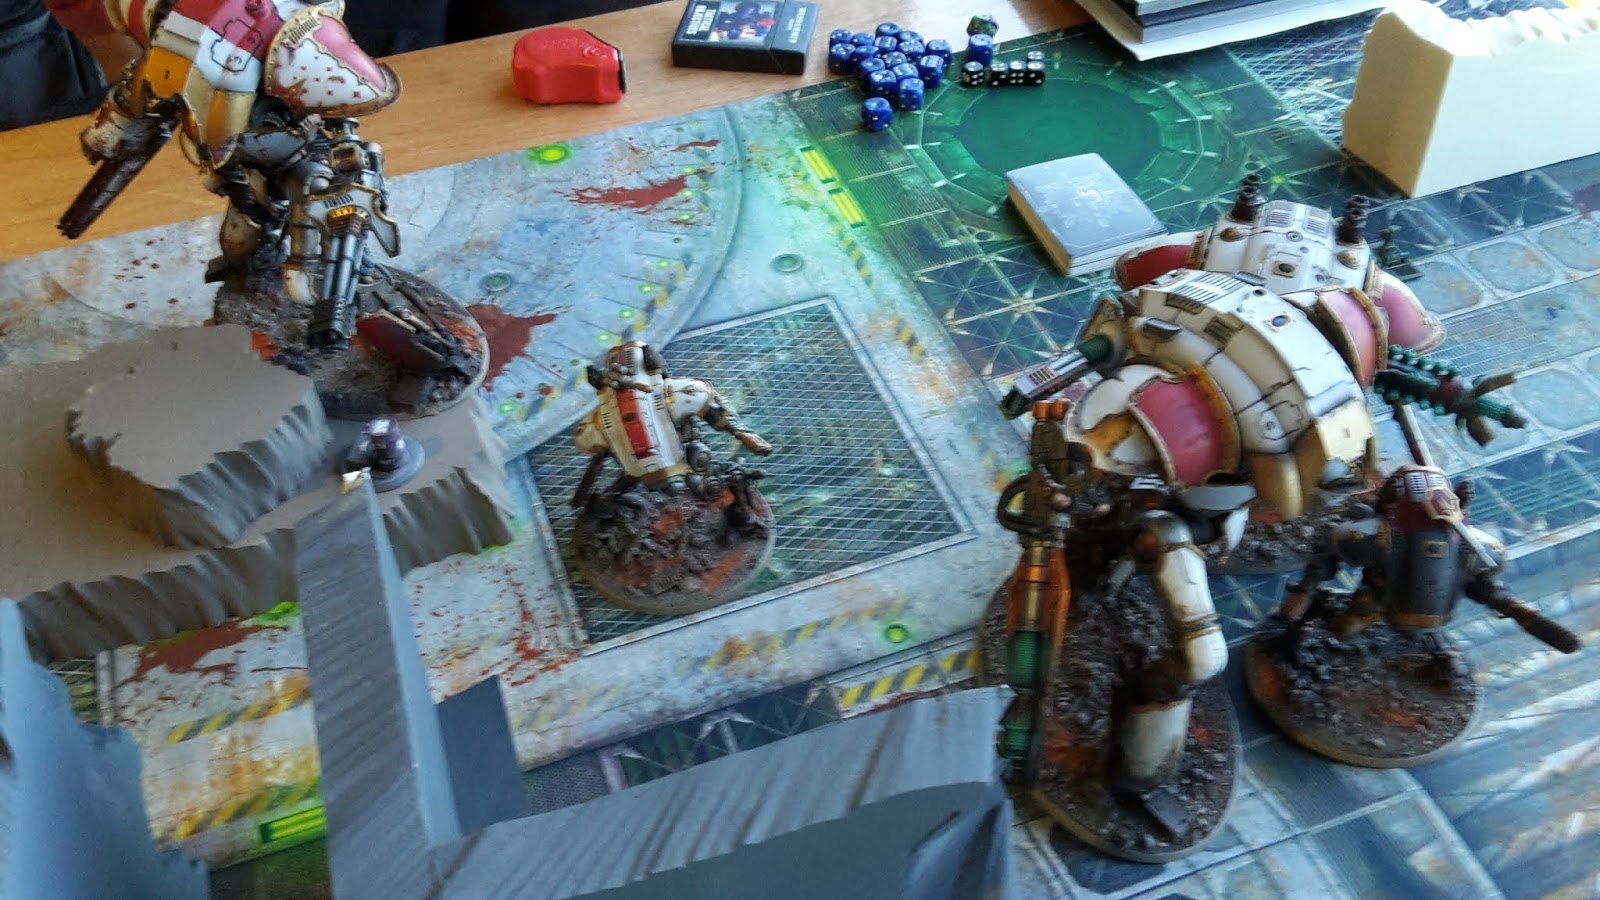
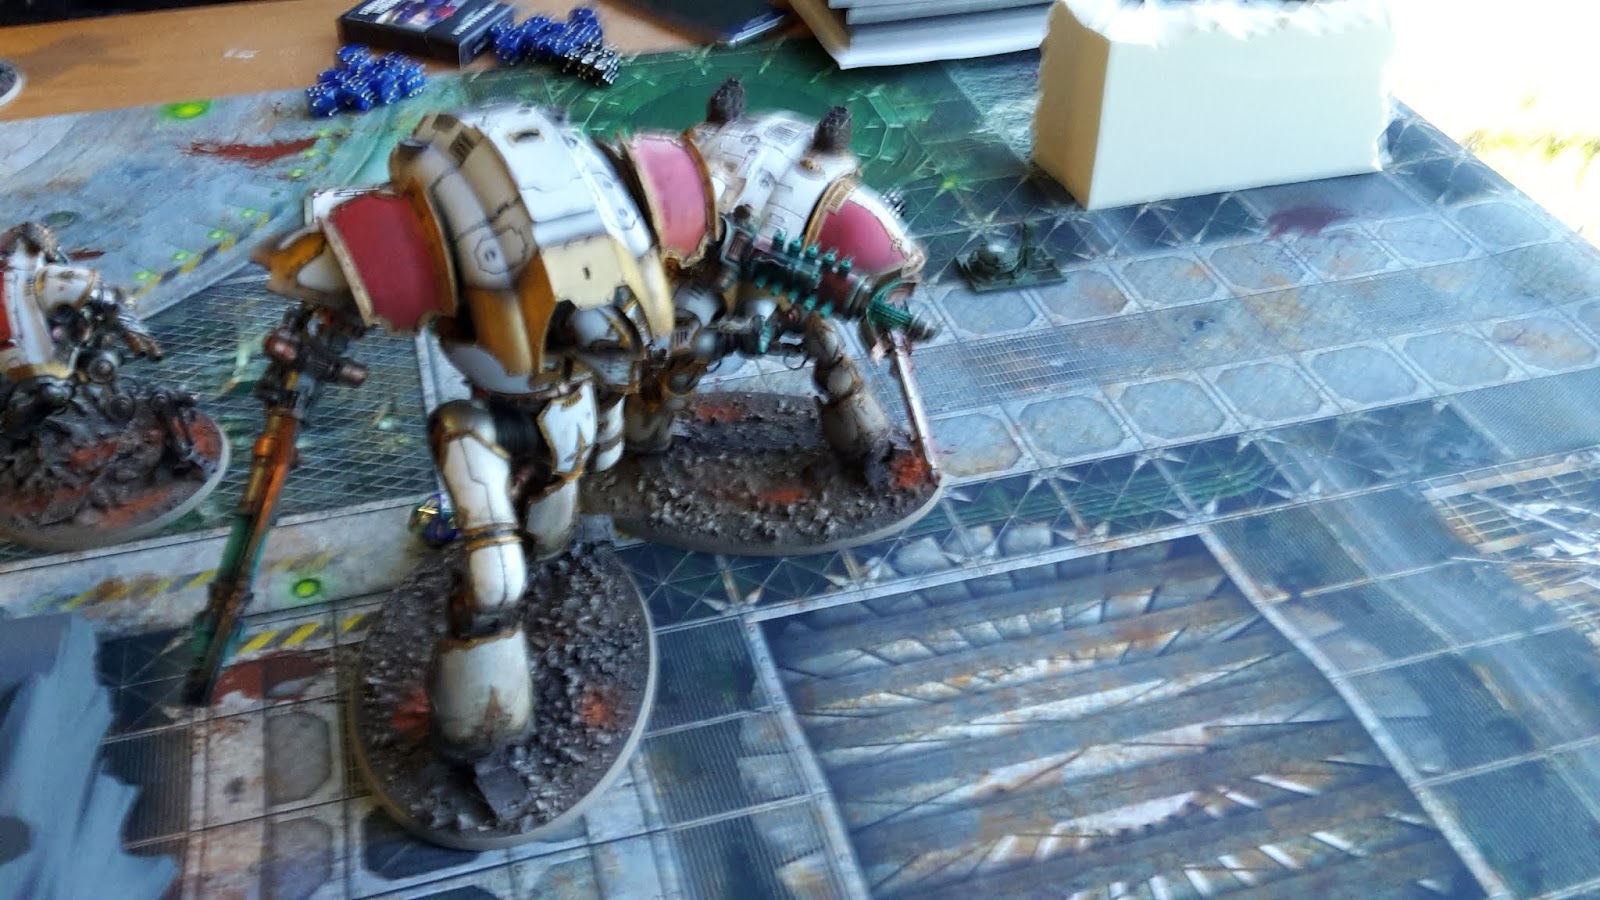
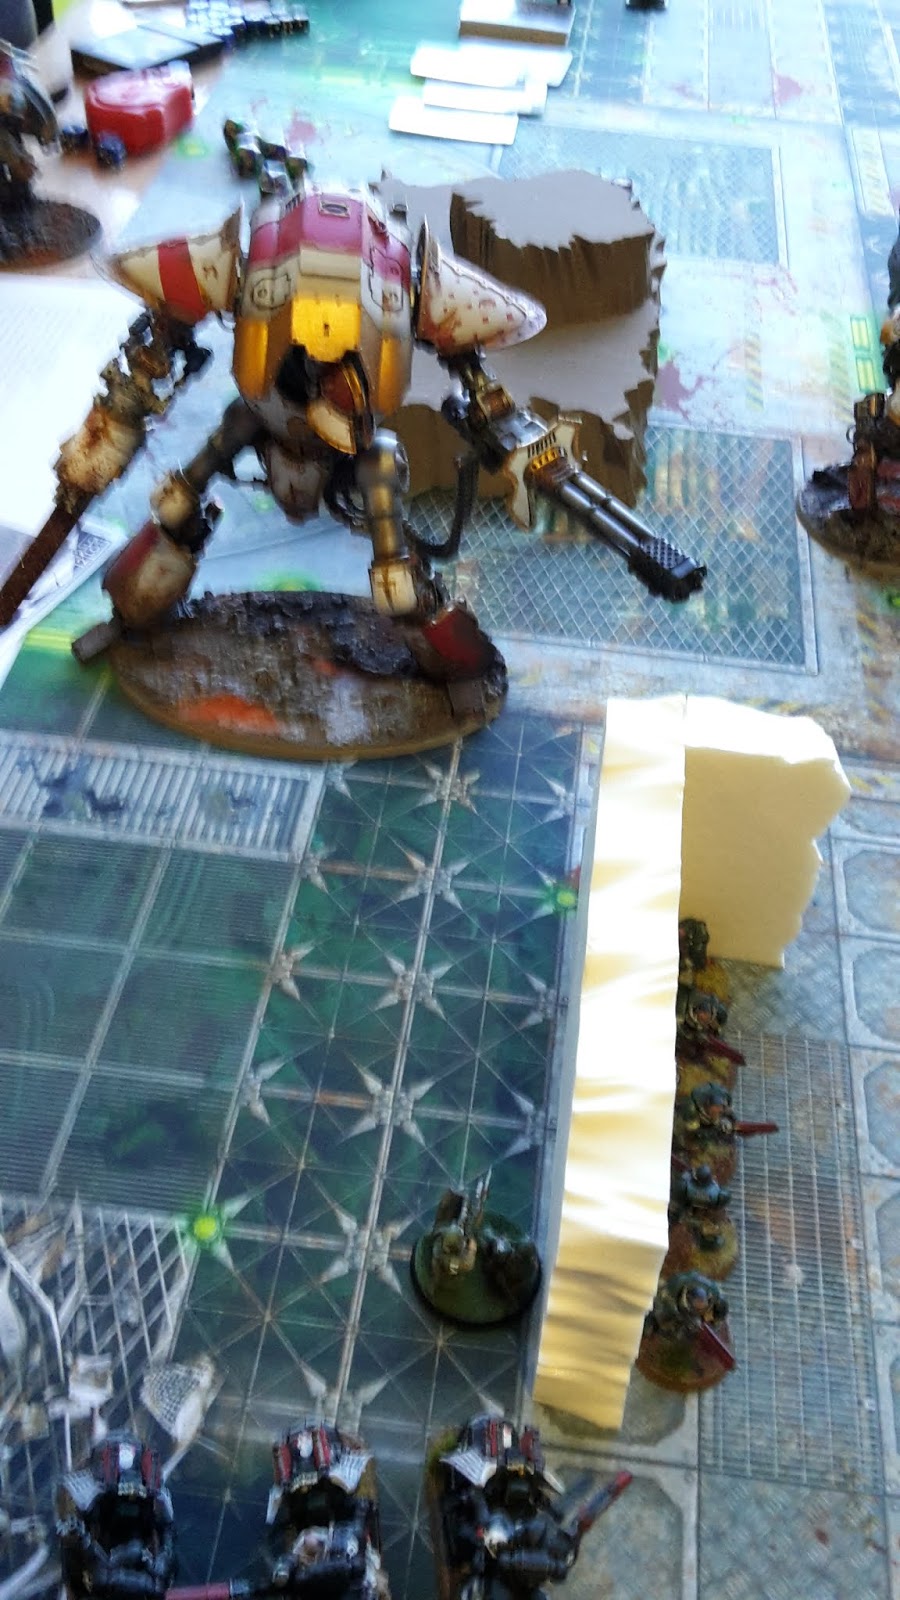
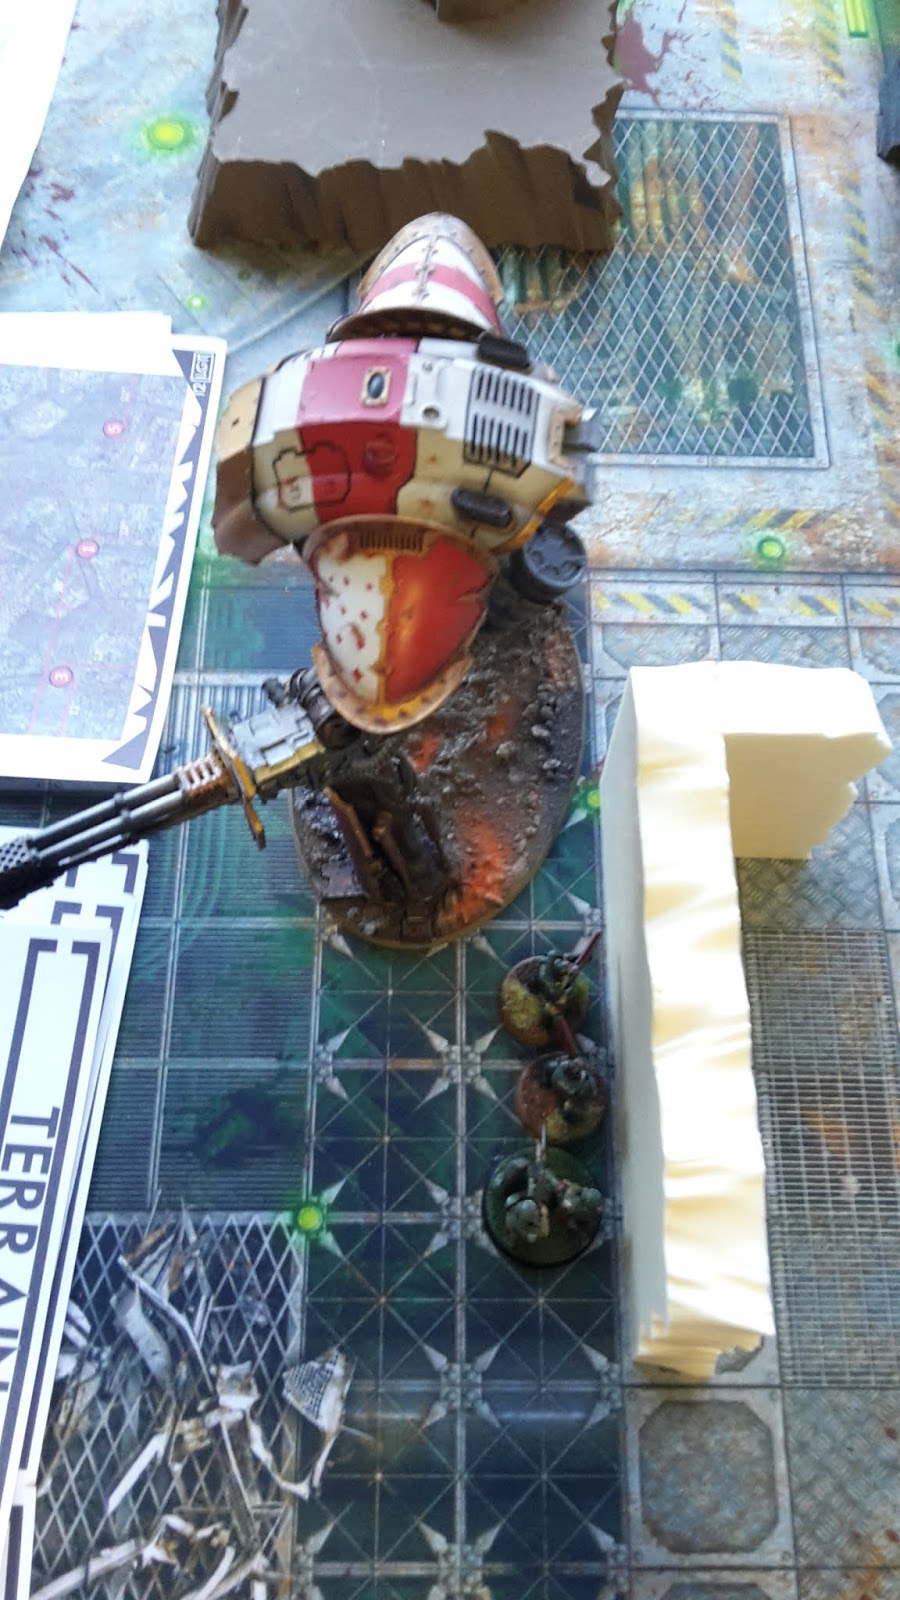
Connor put the Acheron on the right flank with one of the Warglaives. The other Knights went towards the centre of the deployment zone.
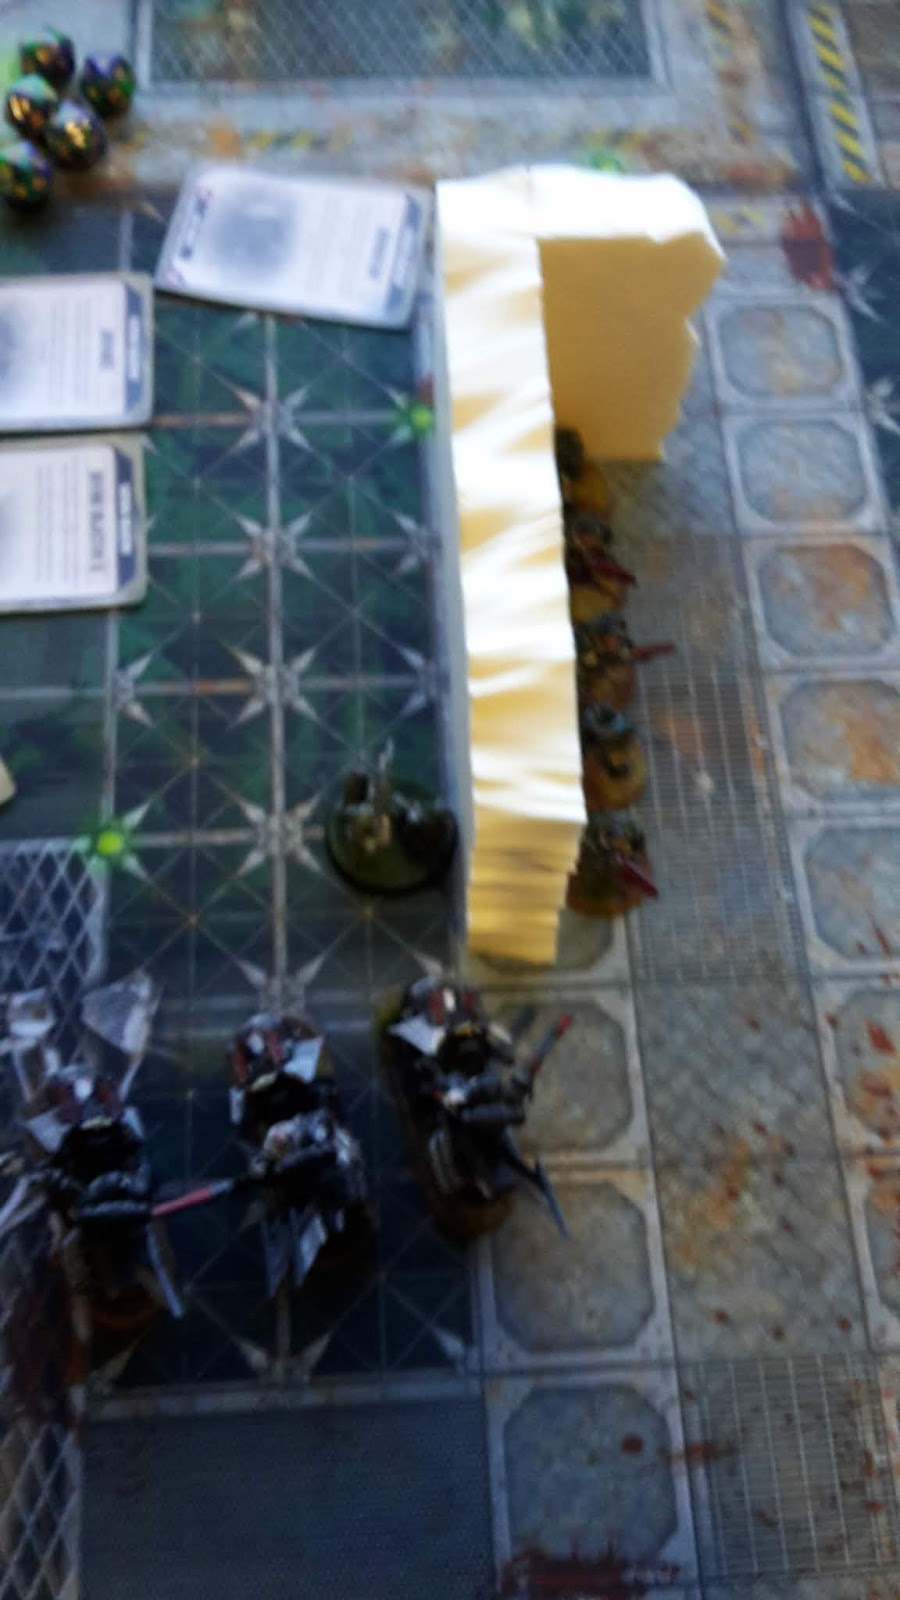
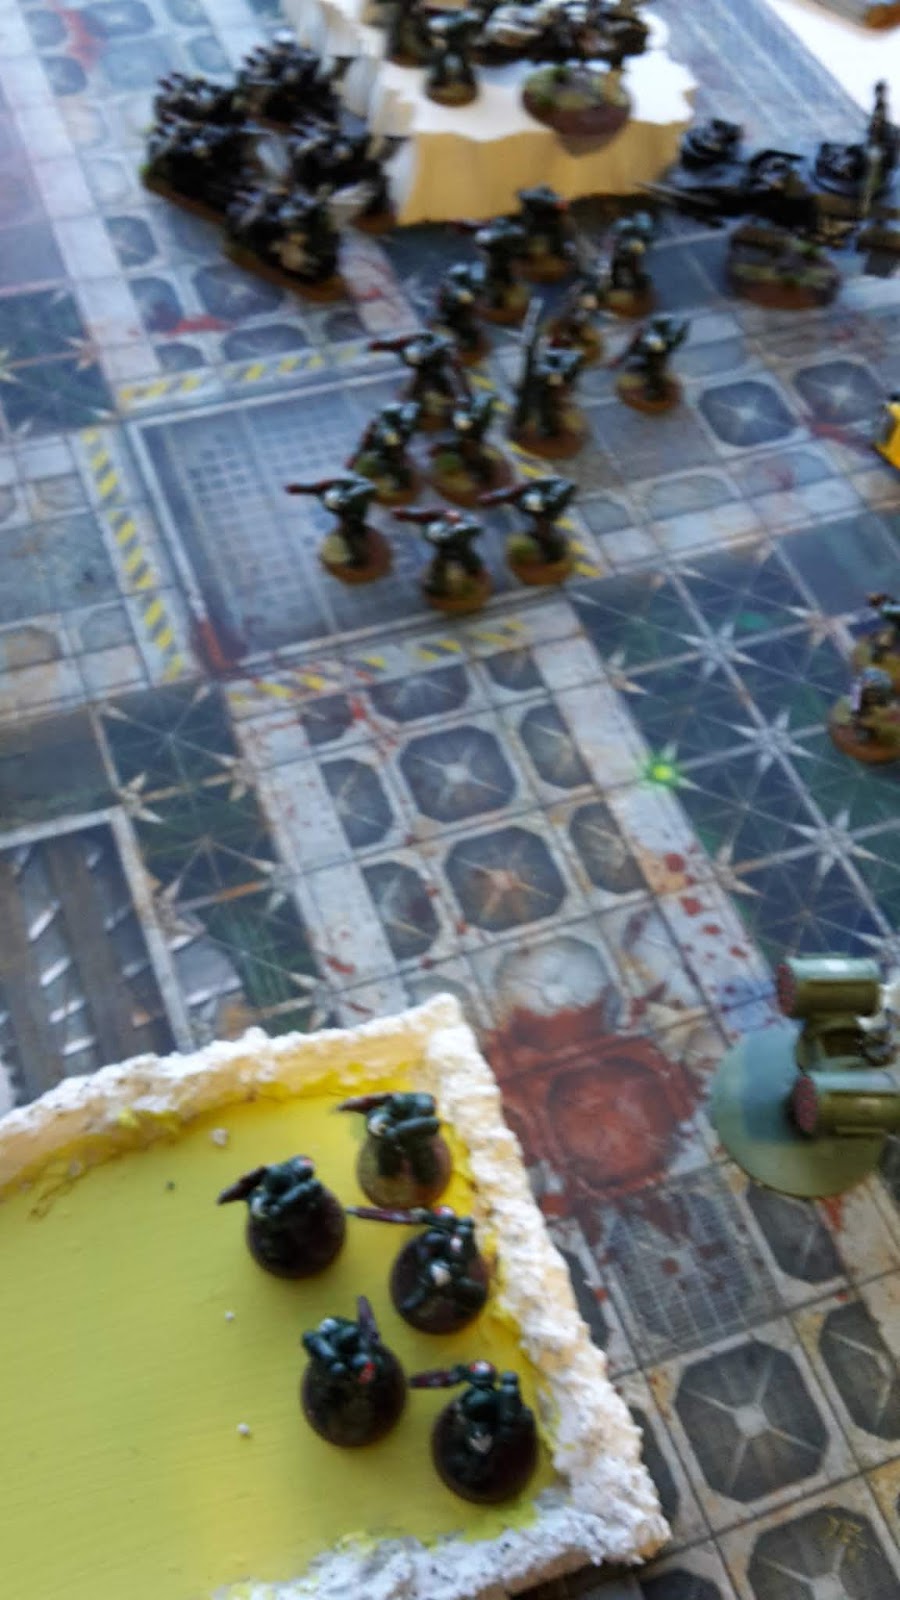
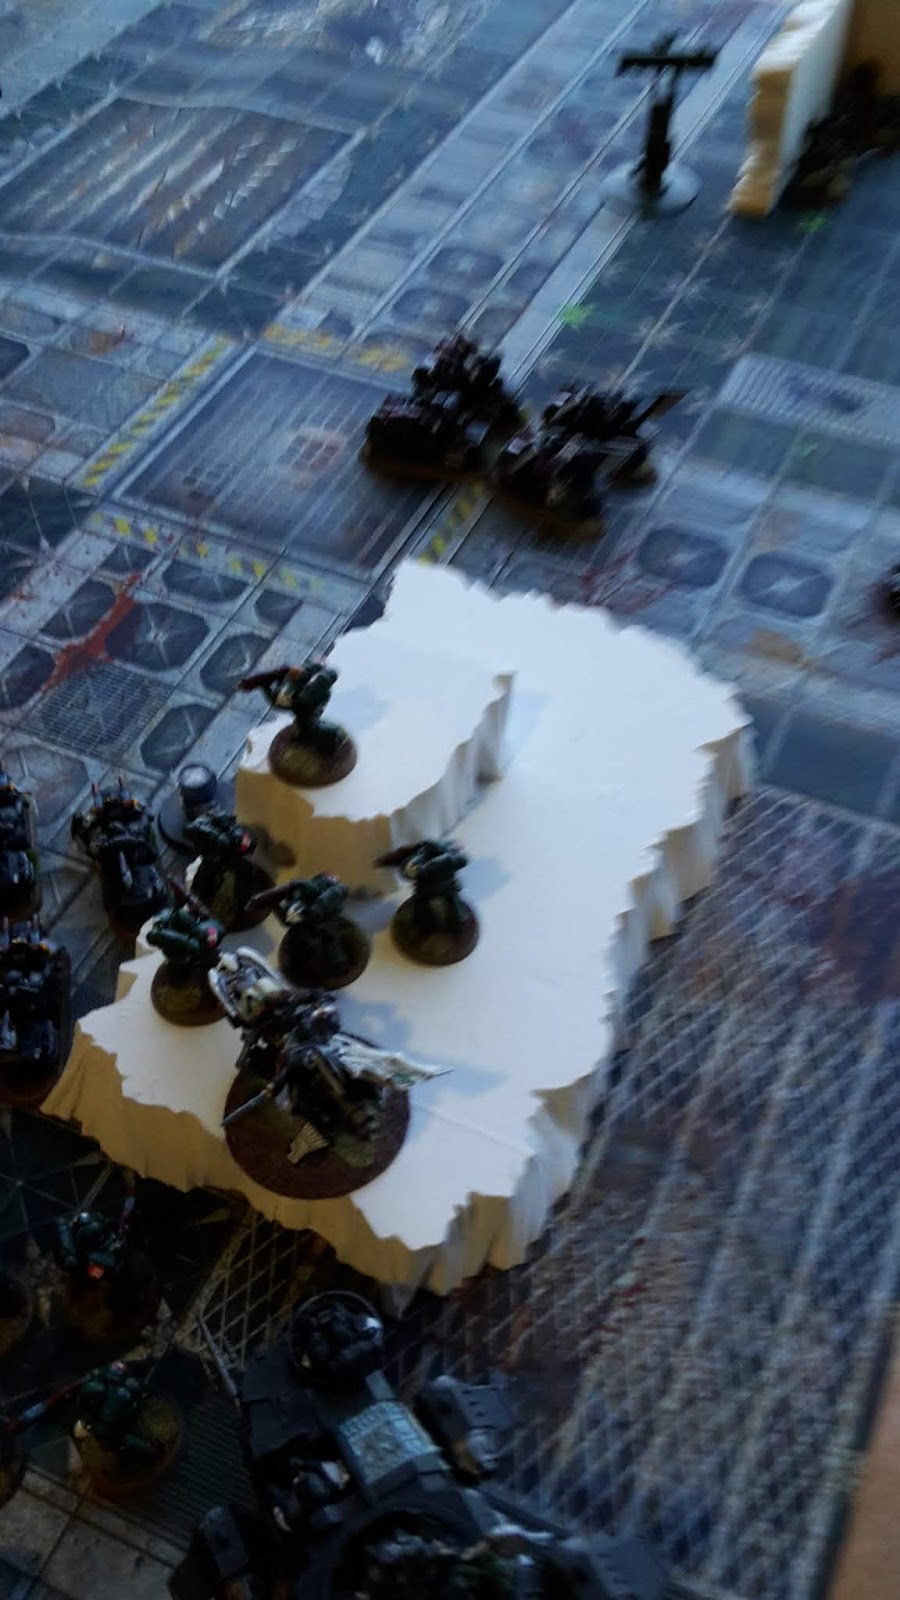
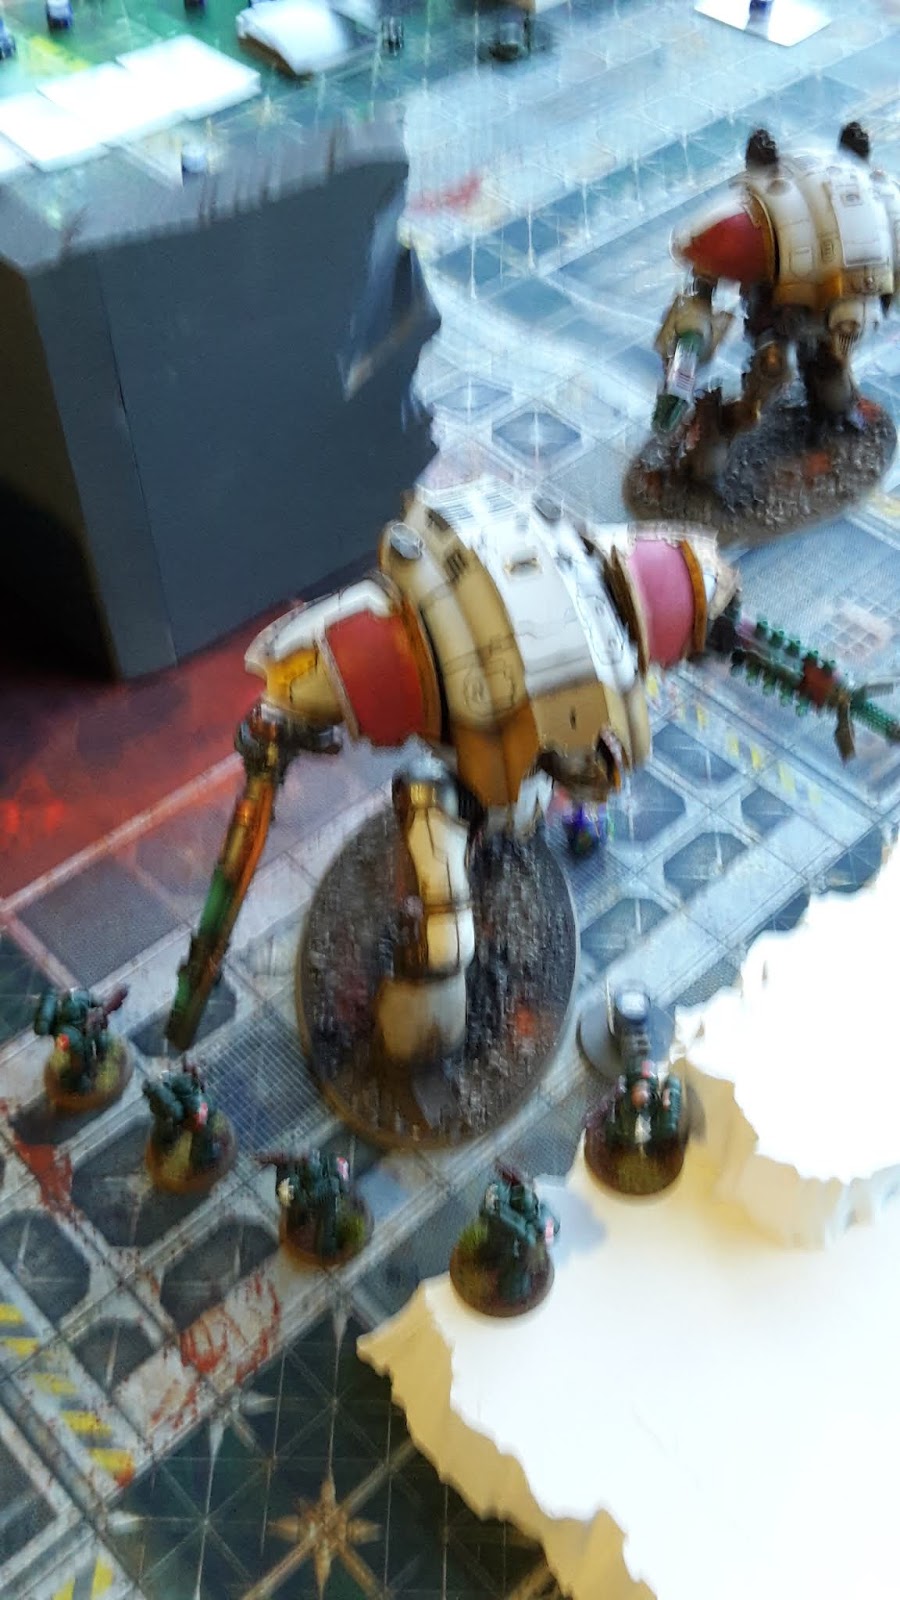
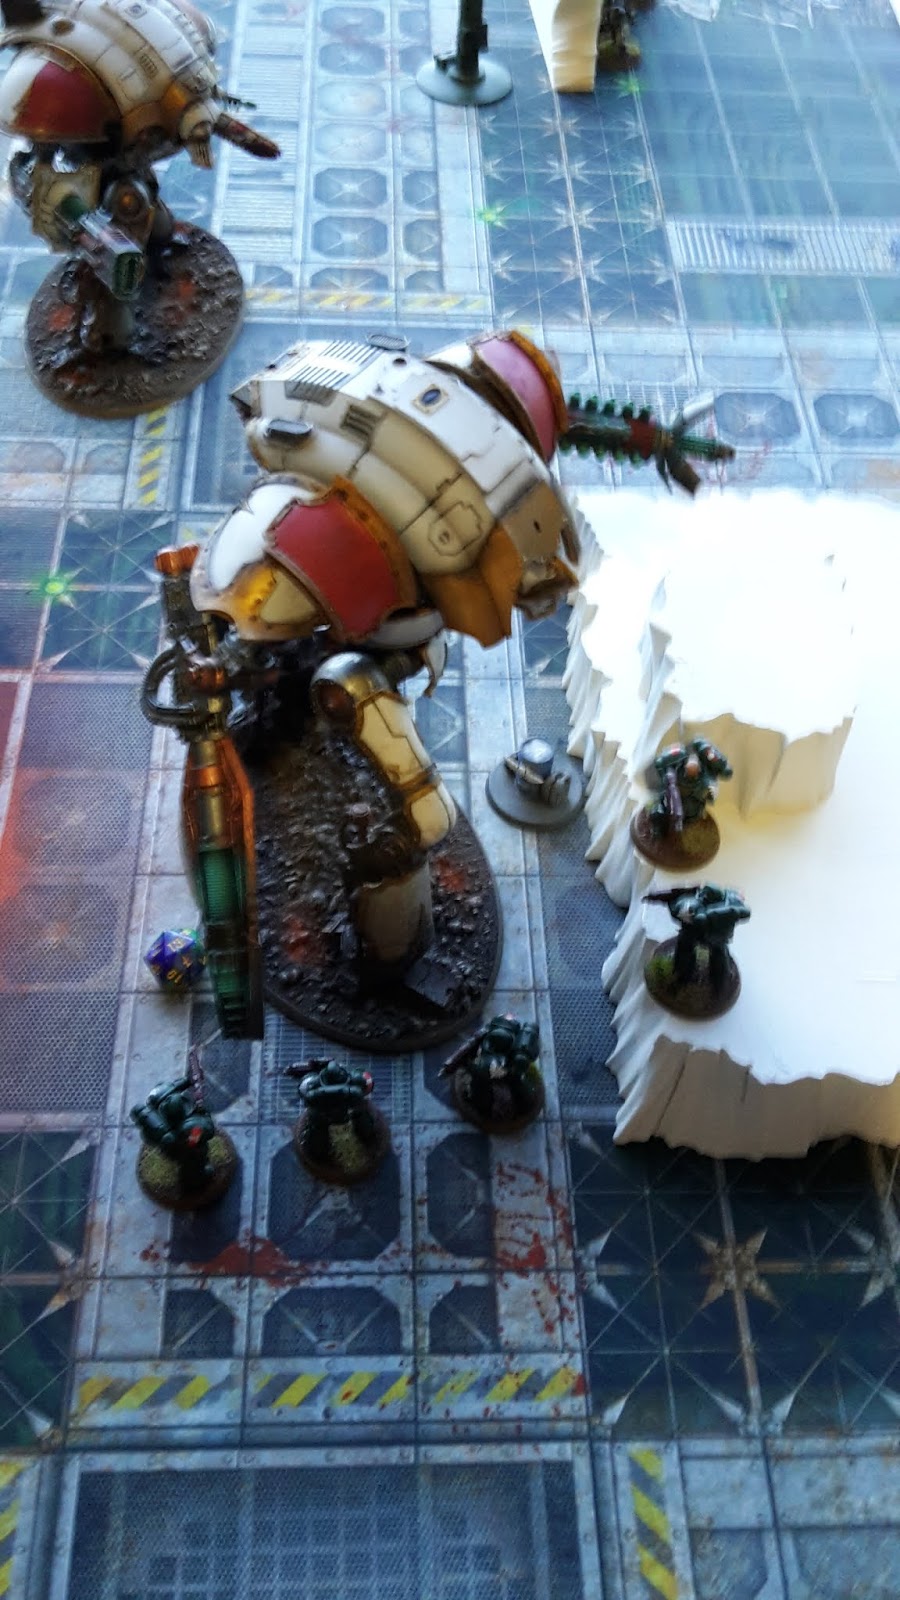
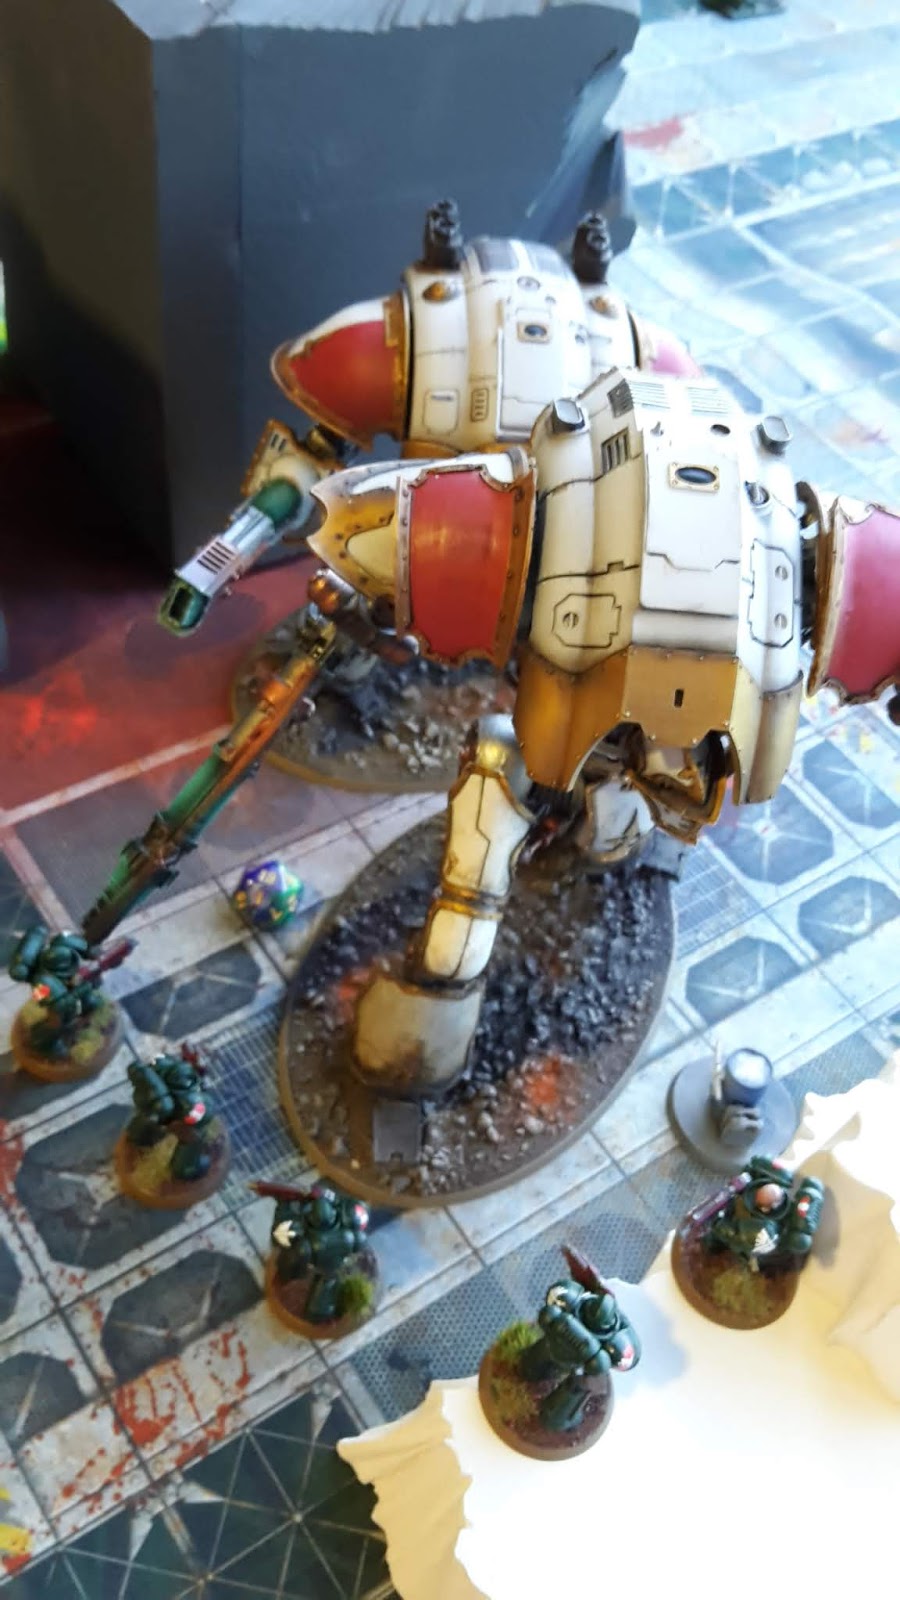
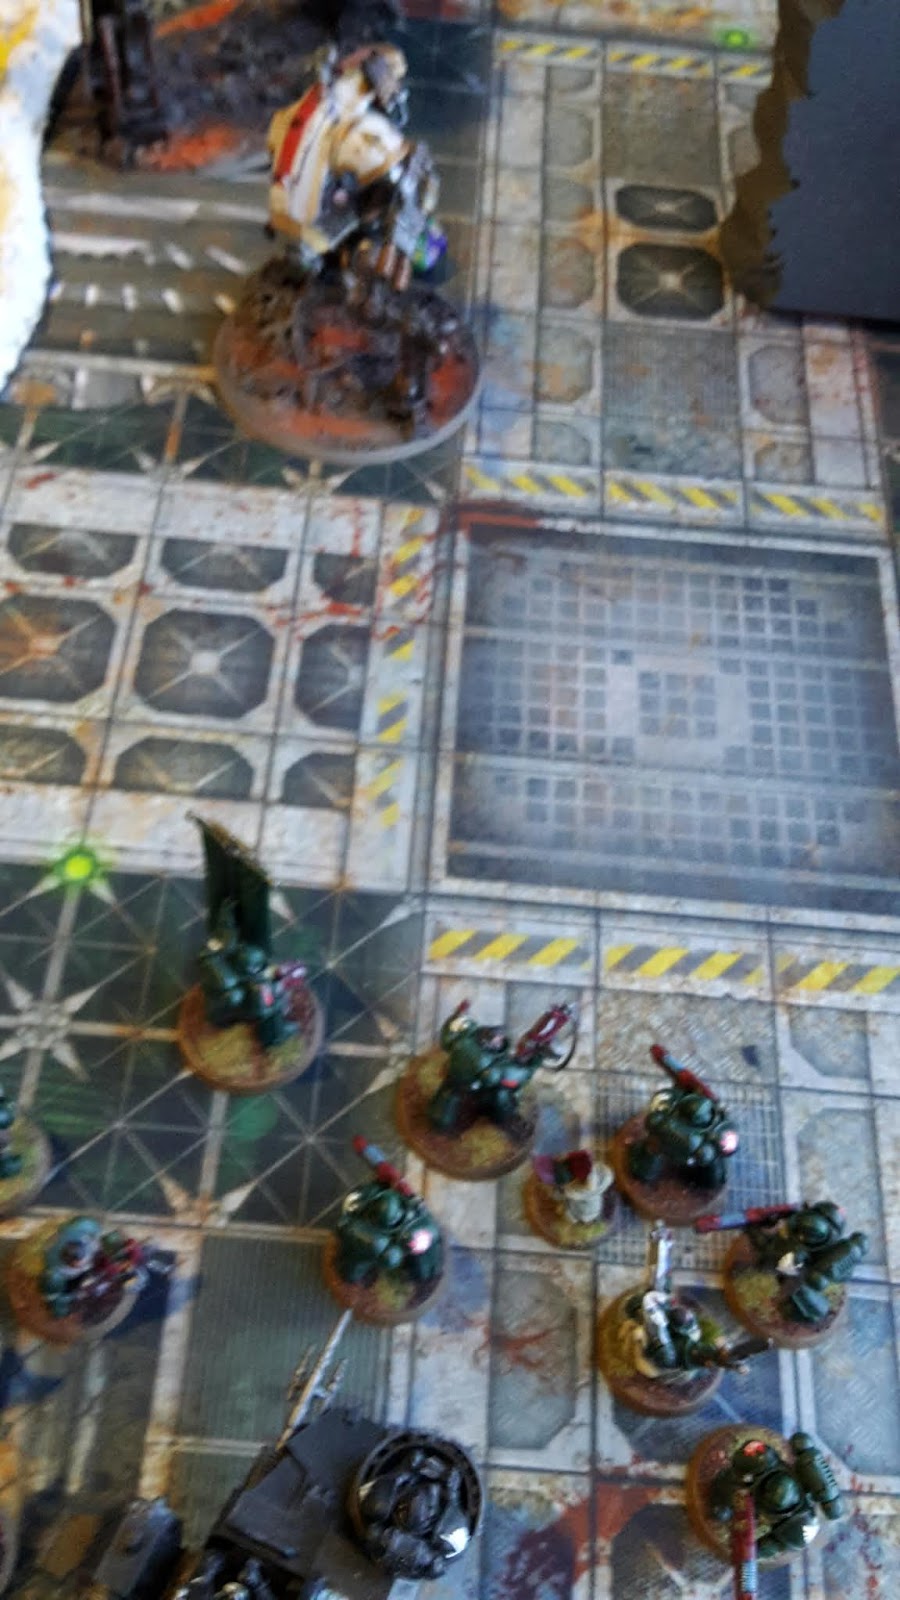
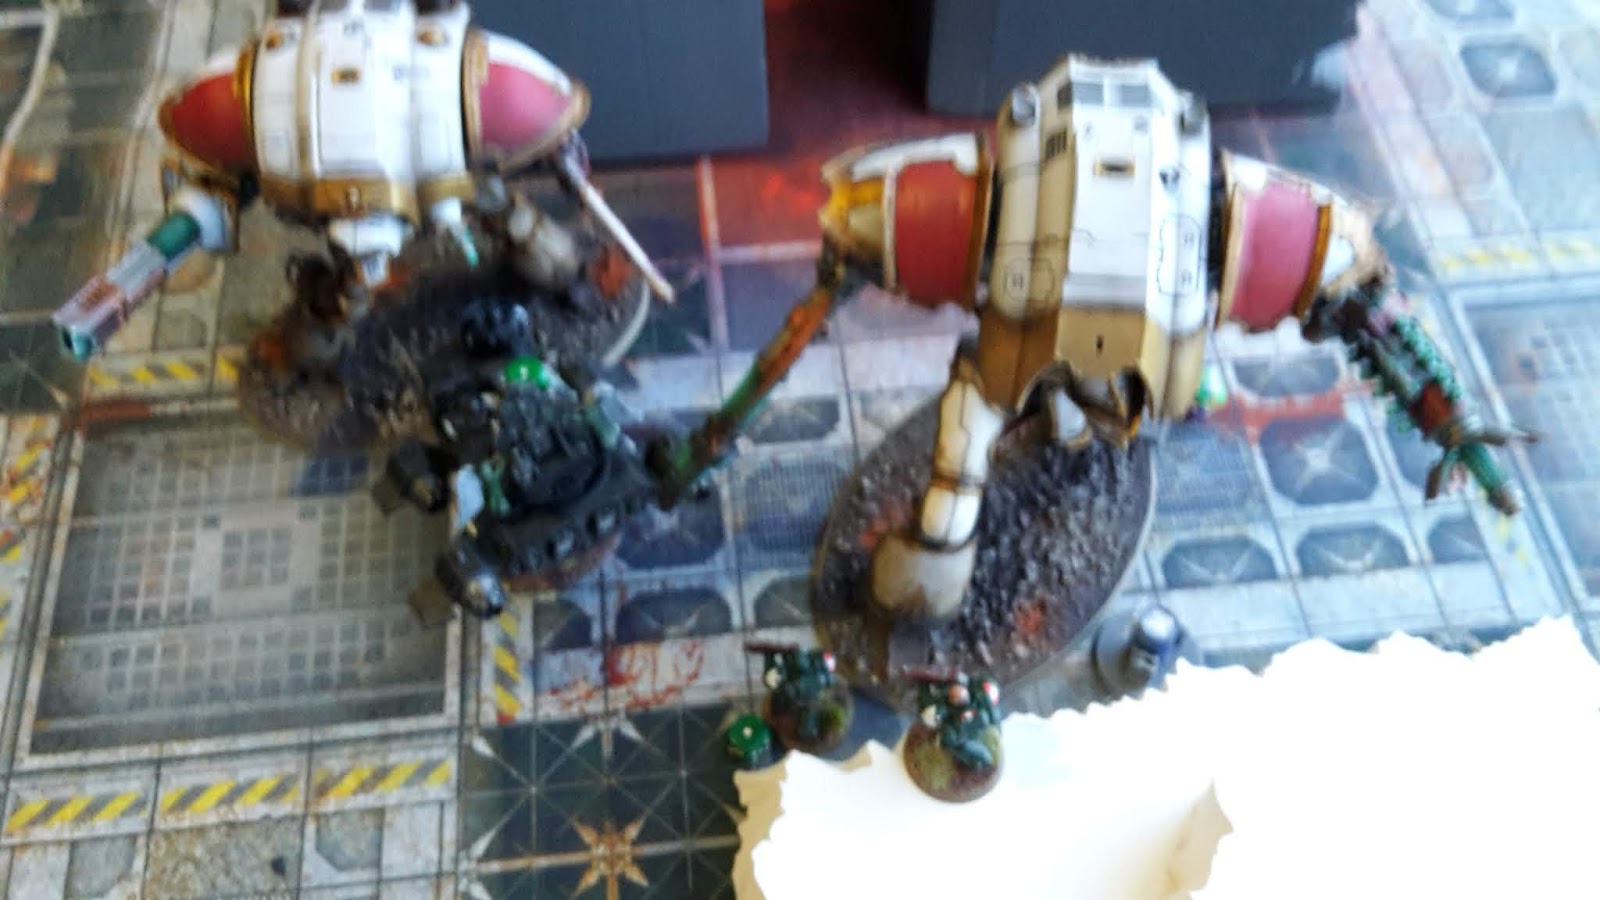
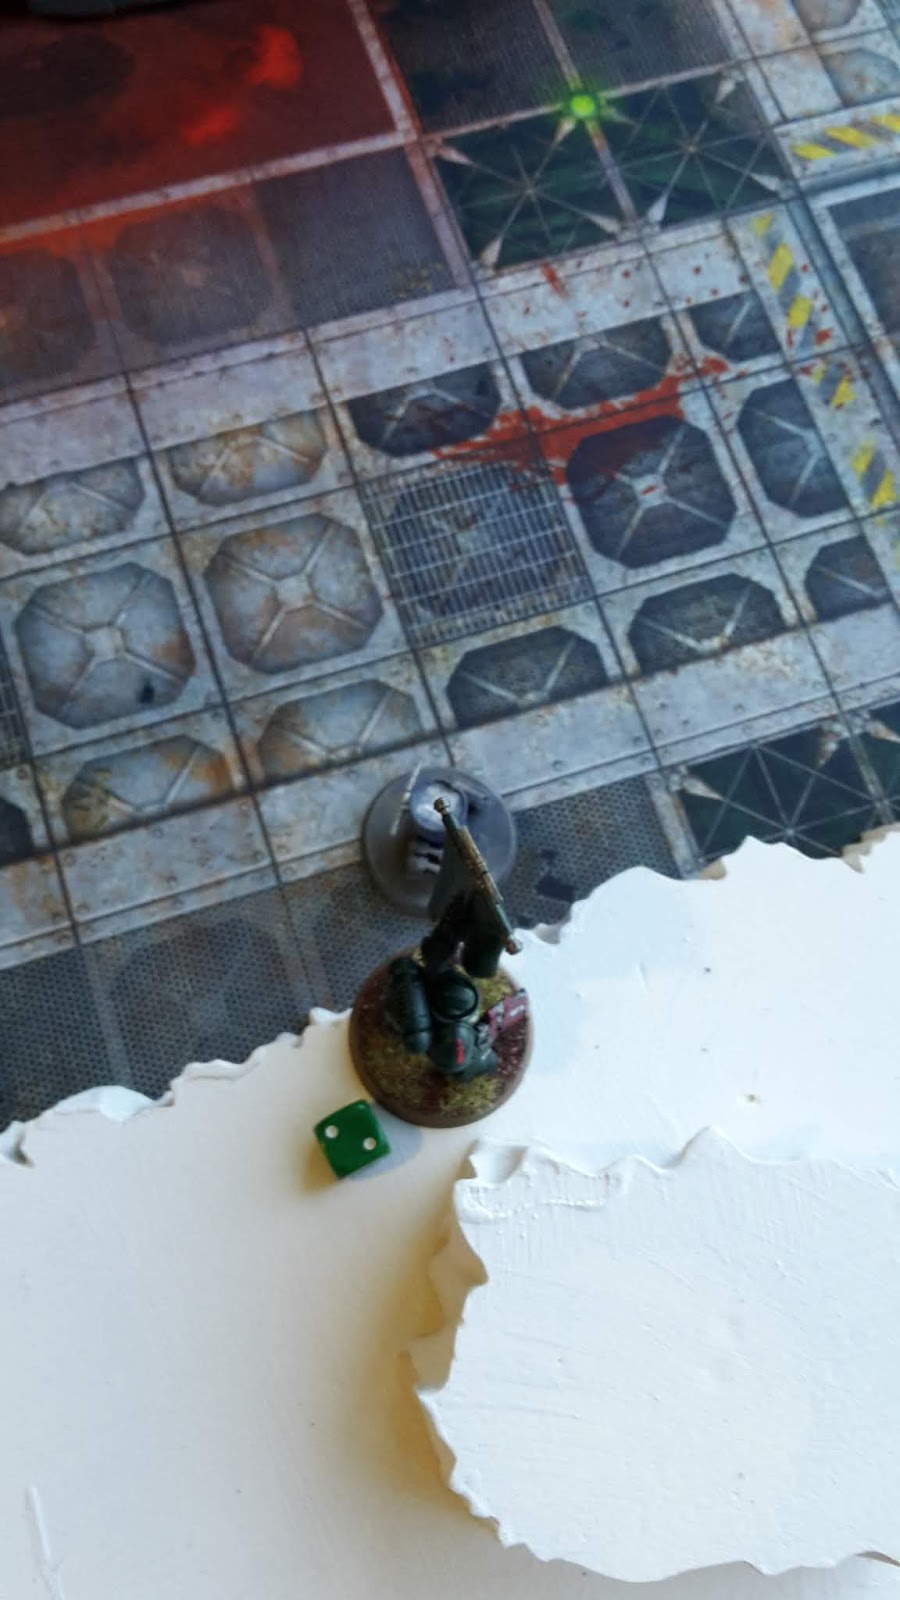
Apologies for the quality of the photos, we were right next to a big window and it washed out the photos.
I won the roll off for first turn and Connor failed to seize the initiative. I also used the Secret Agenda stratagem to keep my maelstrom cards secret during the game. I also got the command point back thanks to Azrael’s warlord trait.
TURN 1- DARK ANGELS
In my first turn, I bet on scoring one card. I drew Assassinate, No Prisoners, Blood and Guts and Defend Objective 2. Not the best draw for turn 1, I would need to take out the warlord Knight to score at least 2 cards.
The Black Knights used the Speed of the Raven stratagem to advance and still get to fire (I also got the command point back). I didn’t want them to move far, but did want to benefit from their Jink invulnerable save. The other Ravenwing Bikers also advanced to get their Jink saves, the Plasma Gun squad moving off to secure the objective, while the Meltagun squad moved up on one of the Knights.
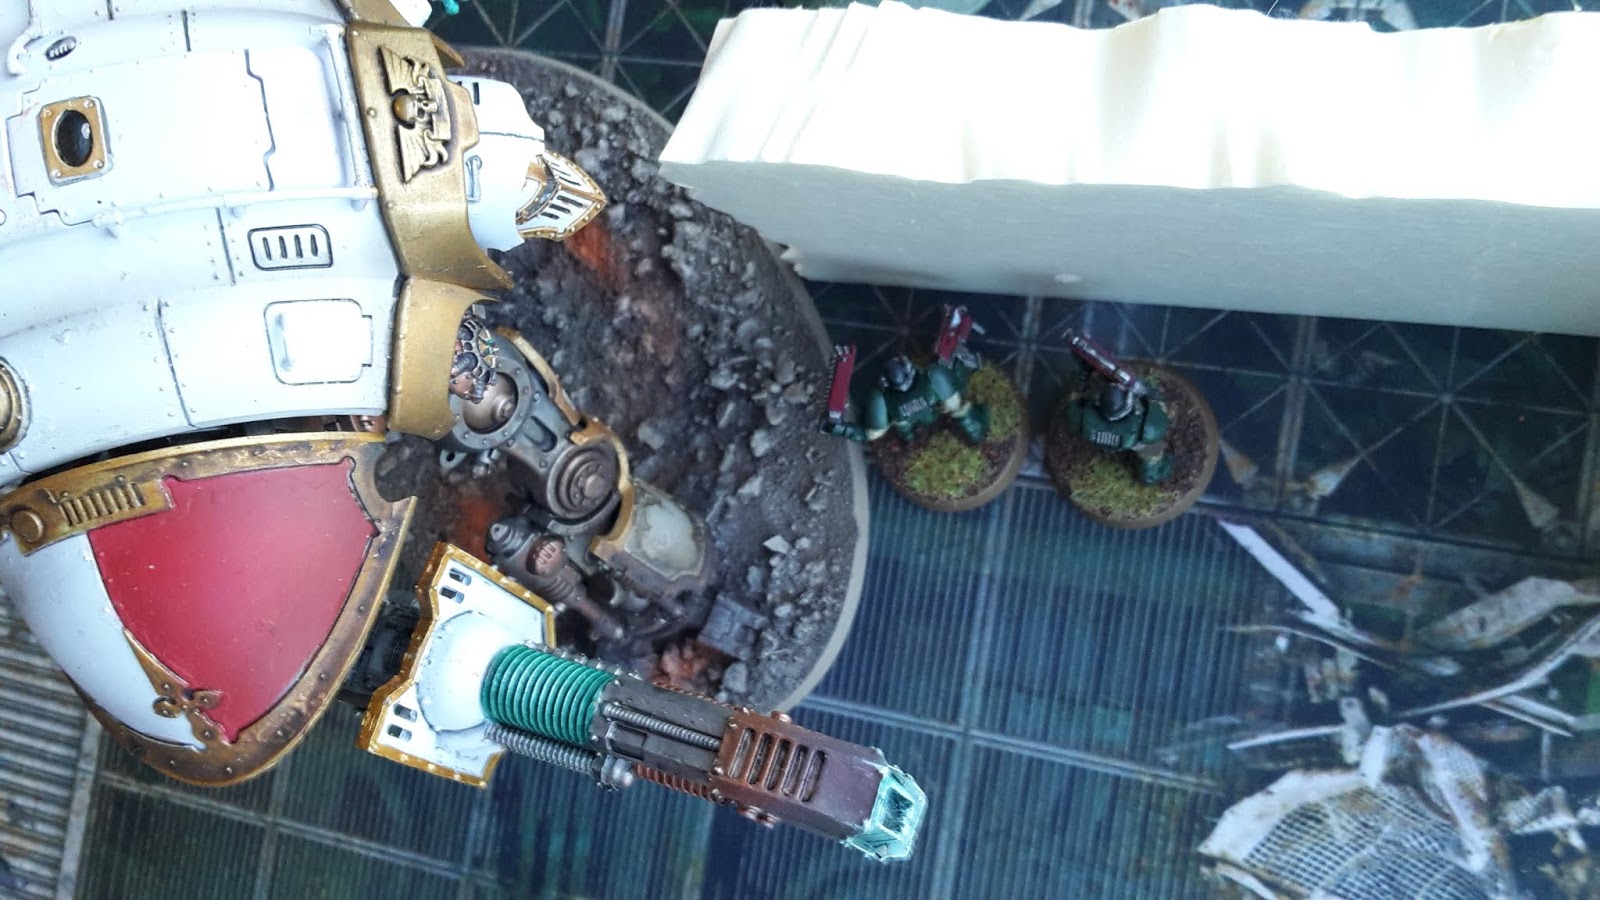
The Black Knights fired at the Knight Atropos, overcharging and using Weapons of the Dark Age to boost the damage to their Plasma Talons. The Ravenwing managed to hit with all their shots and wounded 5 times. Connor used the Ion Shield stratagem to give the Atropos a 3+ invulnerable save. He passed three saves, using a command point re-roll to pass a fourth save. The Atropos took 3 damage.
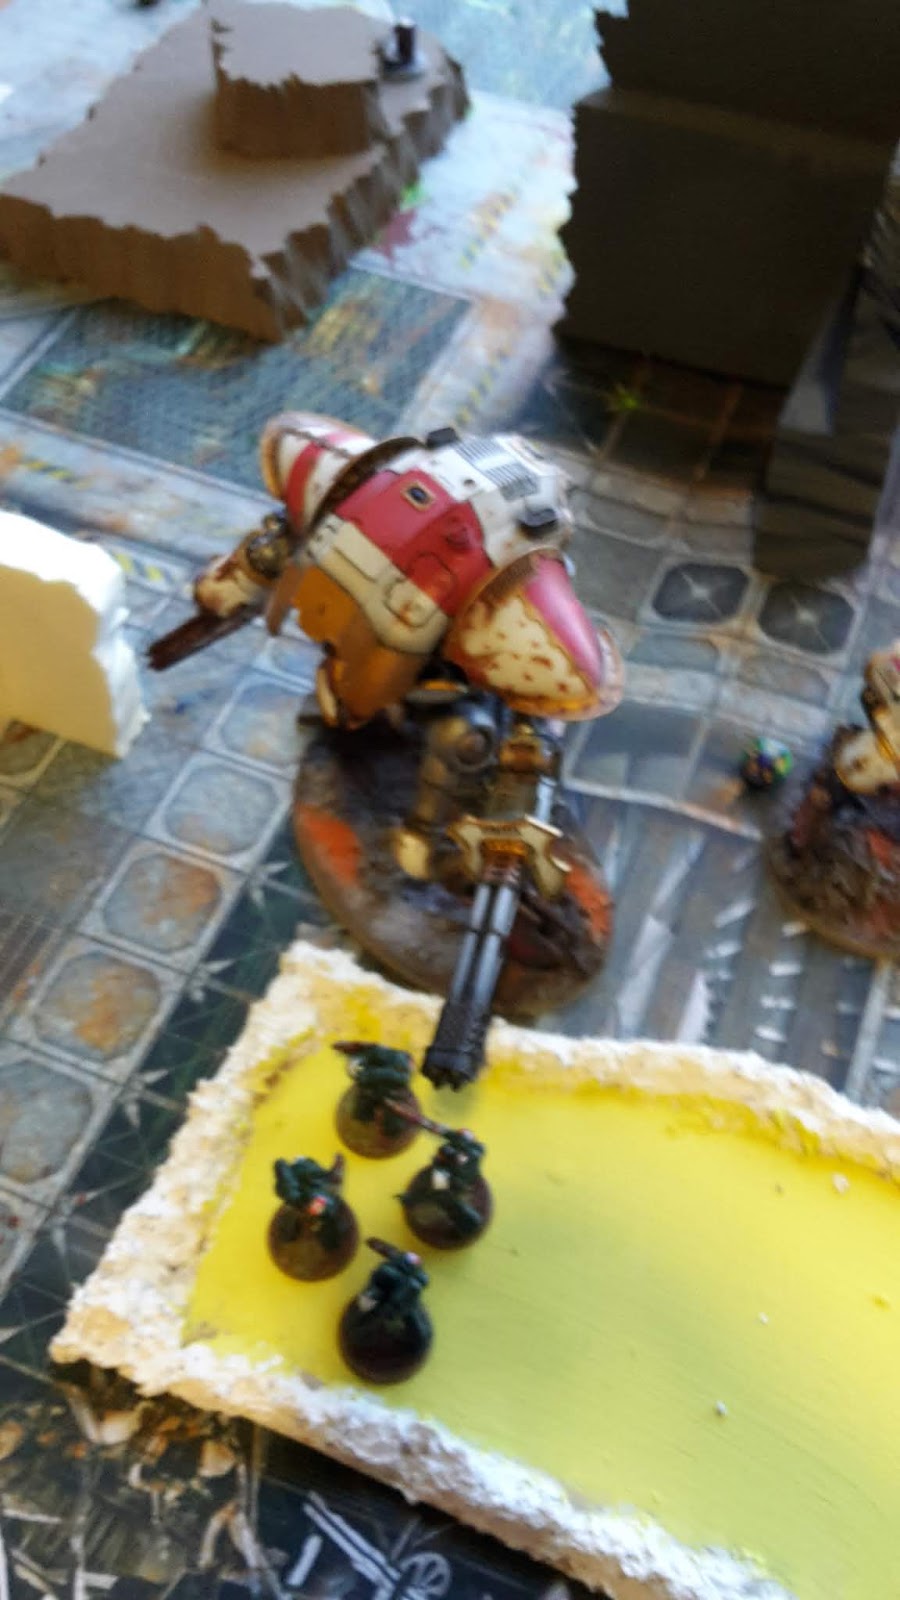
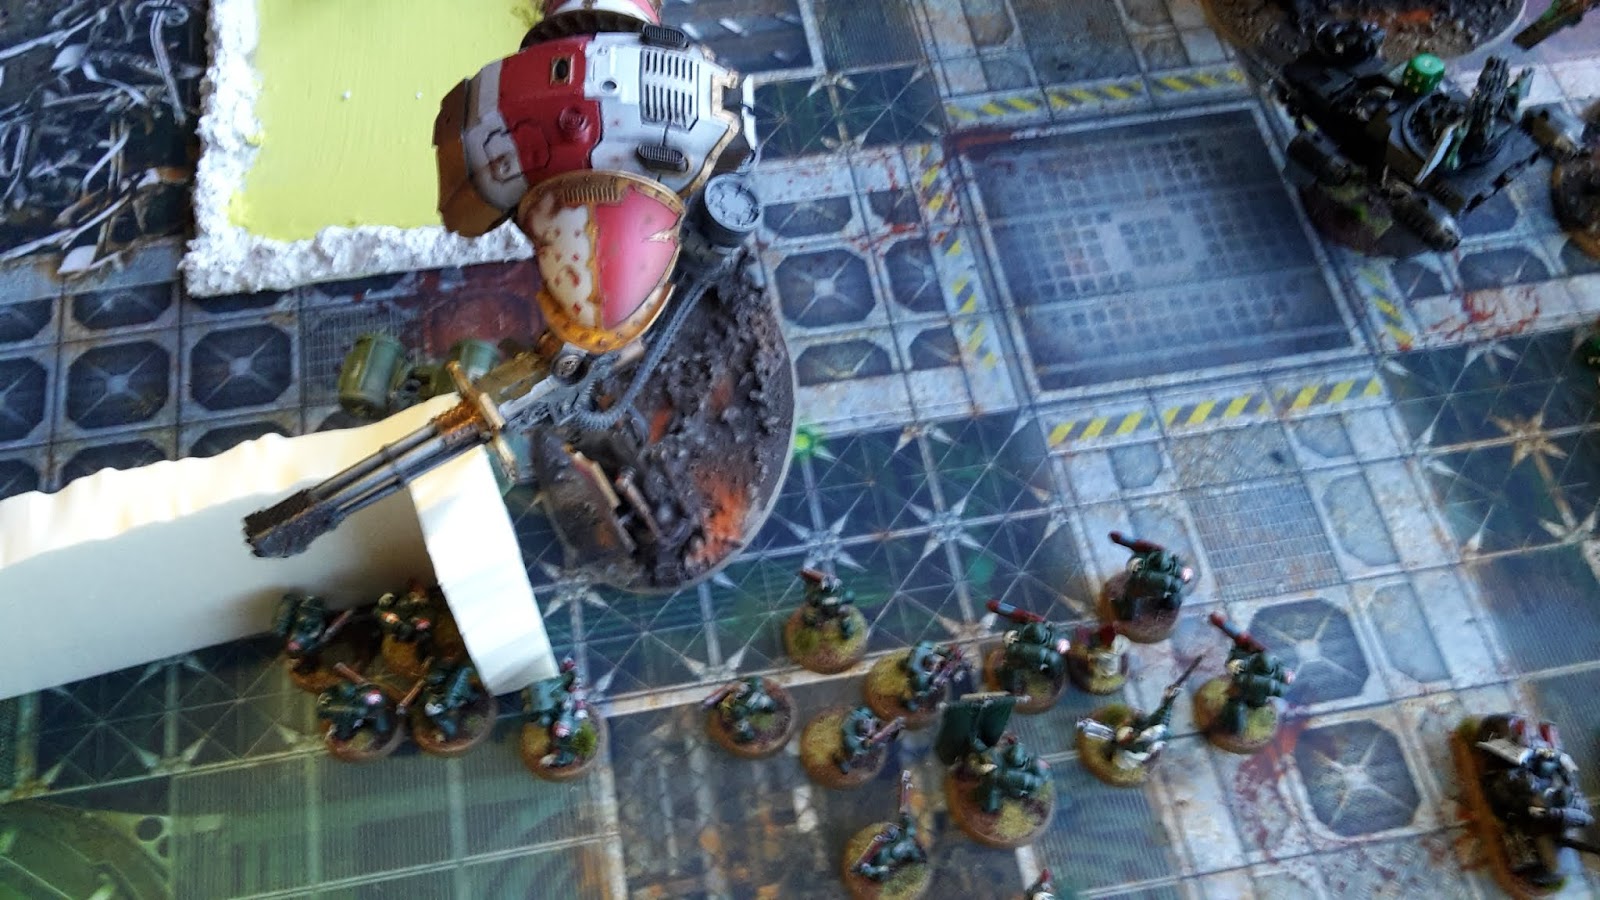
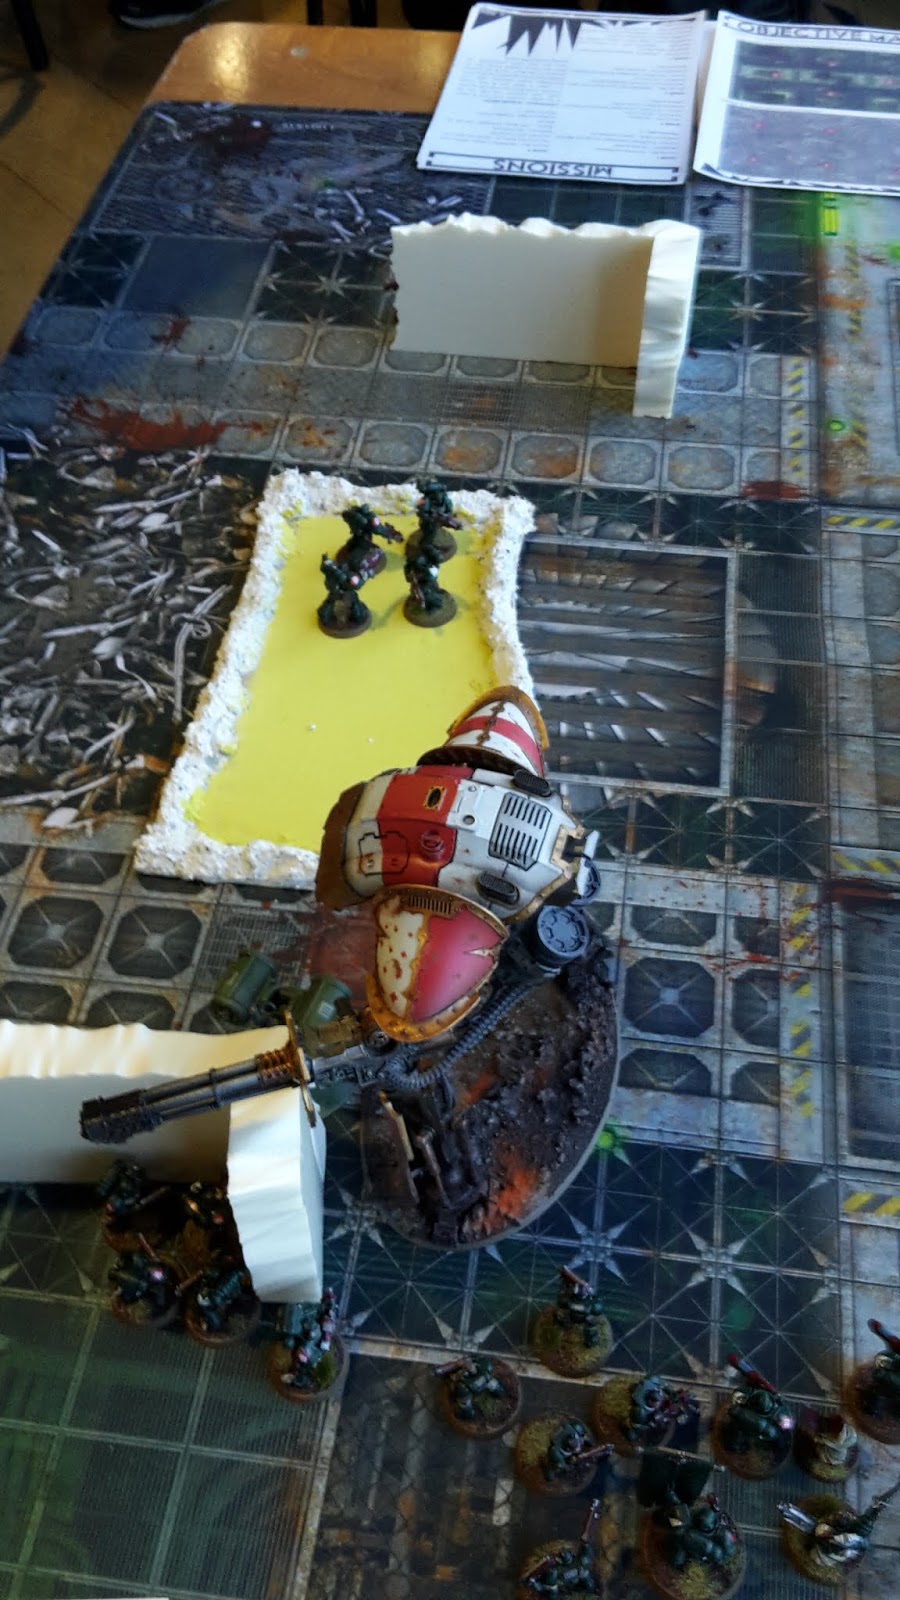
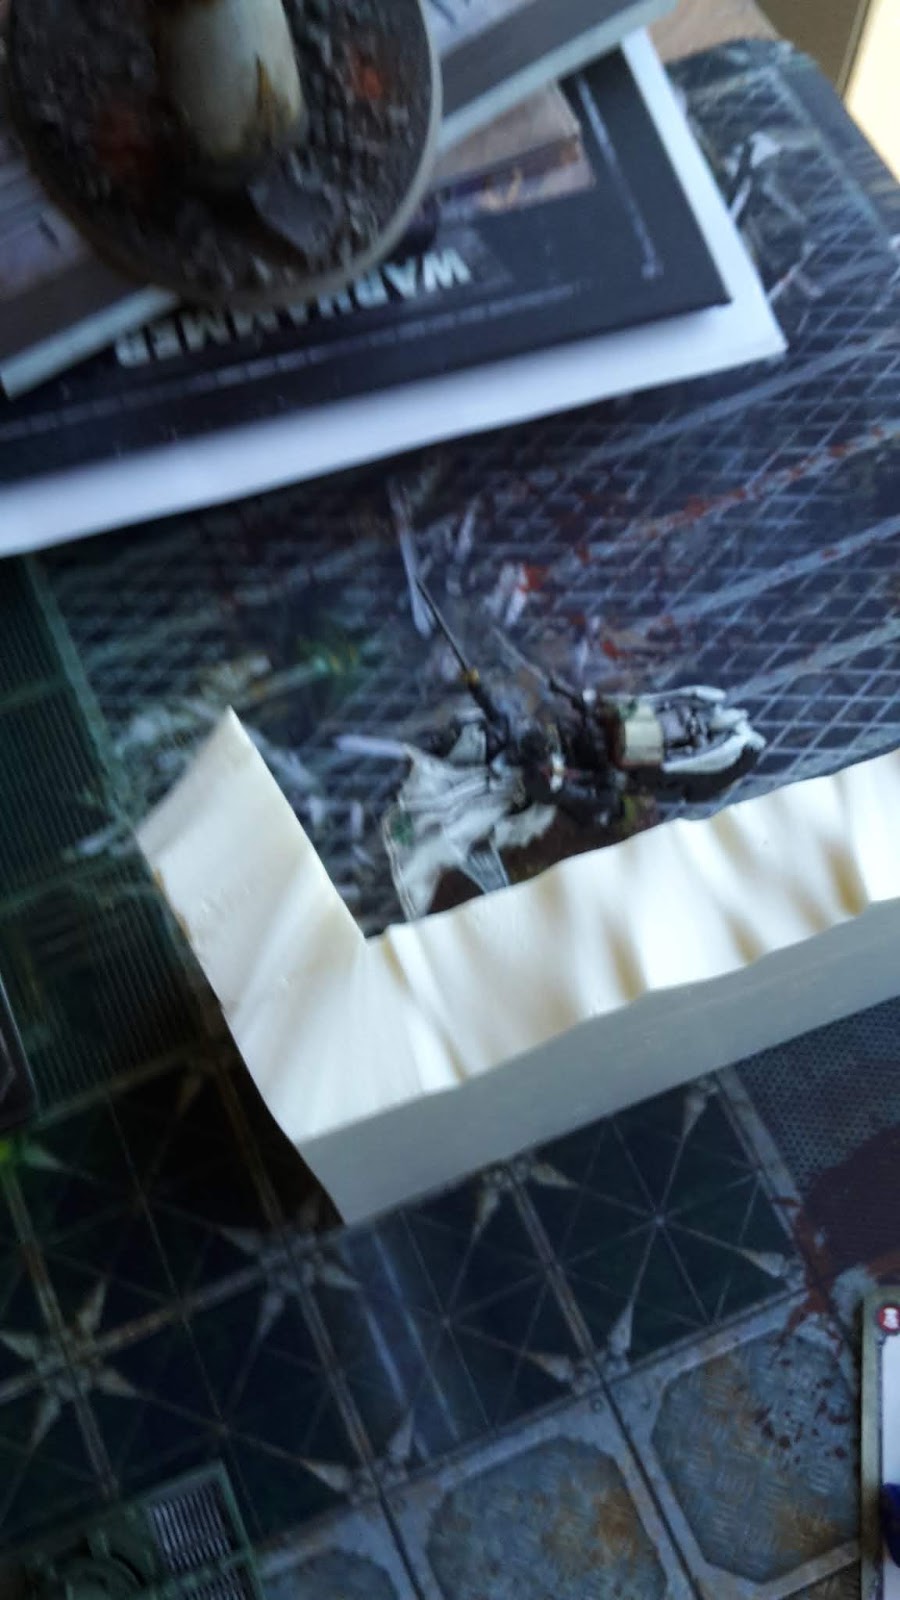
The Hellblasters targeted the closest Armiger Warglaive. they overcharged their shots, hitting and wounding 8 times and destroying the smaller Knight.
The Ravenwing Bikers fired their Meltaguns at the Knight Atropos. They managed two hits (with one command point re-roll, for which I kept the command point again). One shot wounded, but failed to get past the Knight’s shield.
The rest of the units on the right flank fired at the Atropos, taking two wounds from it. The Devastator fired his Heavy Bolter using the Hellfire Shells stratagem, taking two mortal wounds from it. The squad used the Armorium Cherub to do another 3 mortal wounds, taking 10 from it in total.
At the end of my turn, I scored First Blood, 4 Objective points, one kill point, No Prisoners and my bonus point. I discarded Blood and Guts.
A pretty good turn for me. I had managed to take out one of the Knights, as well as scoring 7 points. I had spent only one command point, despite using several stratagems thanks to Azrael’s warlord trait.
TURN 1- IMPERIAL KNIGHTS
In his first turn, Connor also bet one card. He drew Defend Objective 5, Defend Objective 6, Advance and Domination.
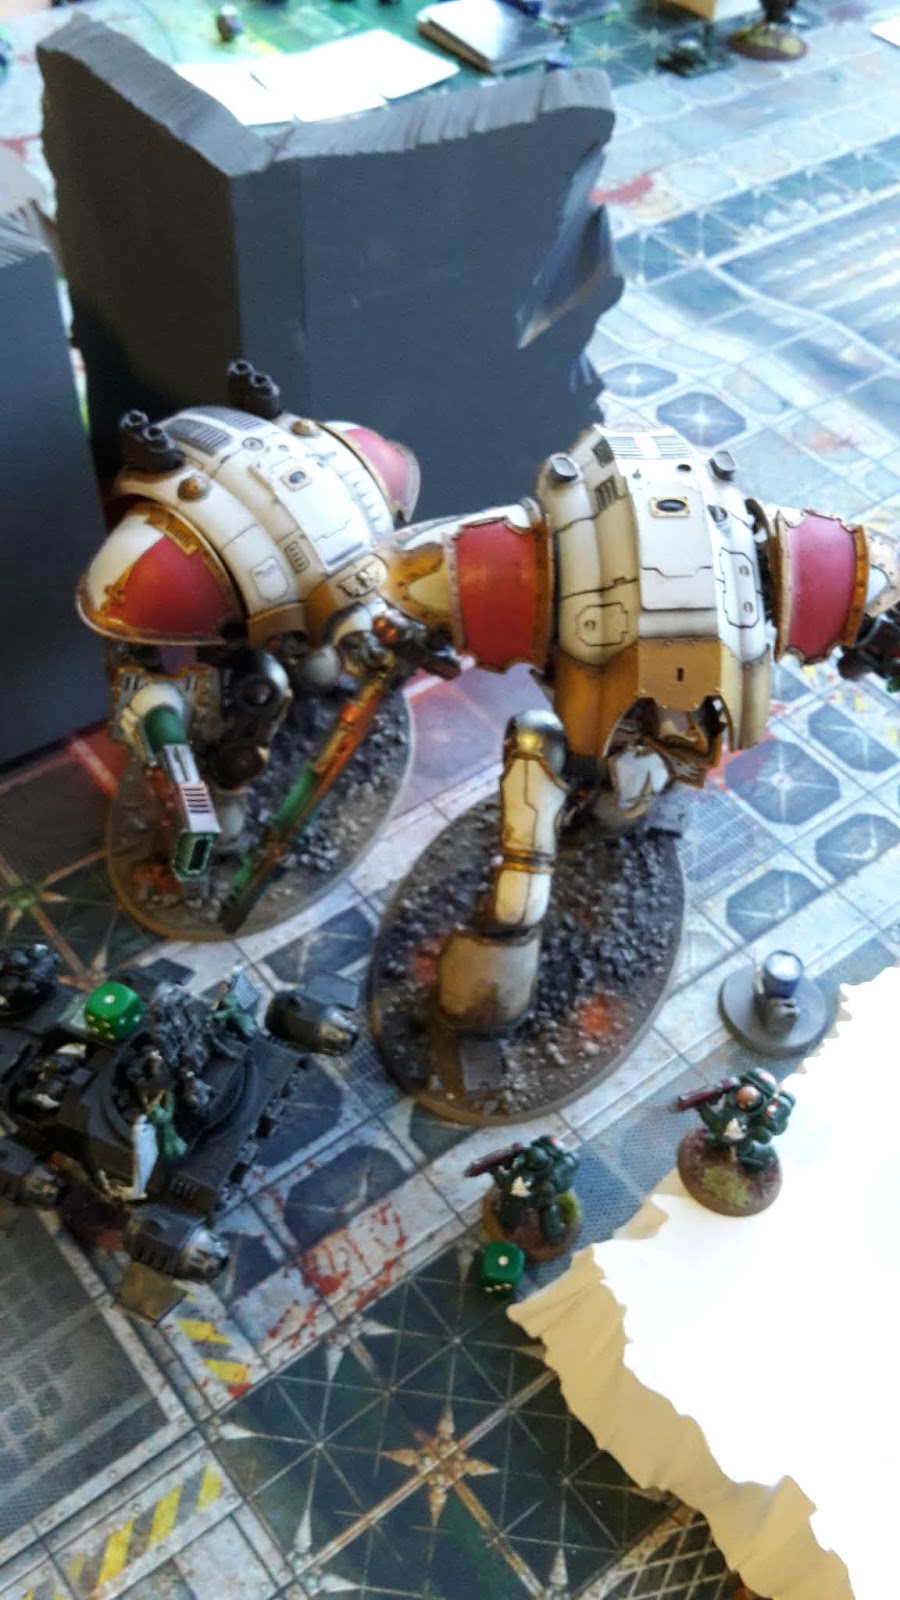
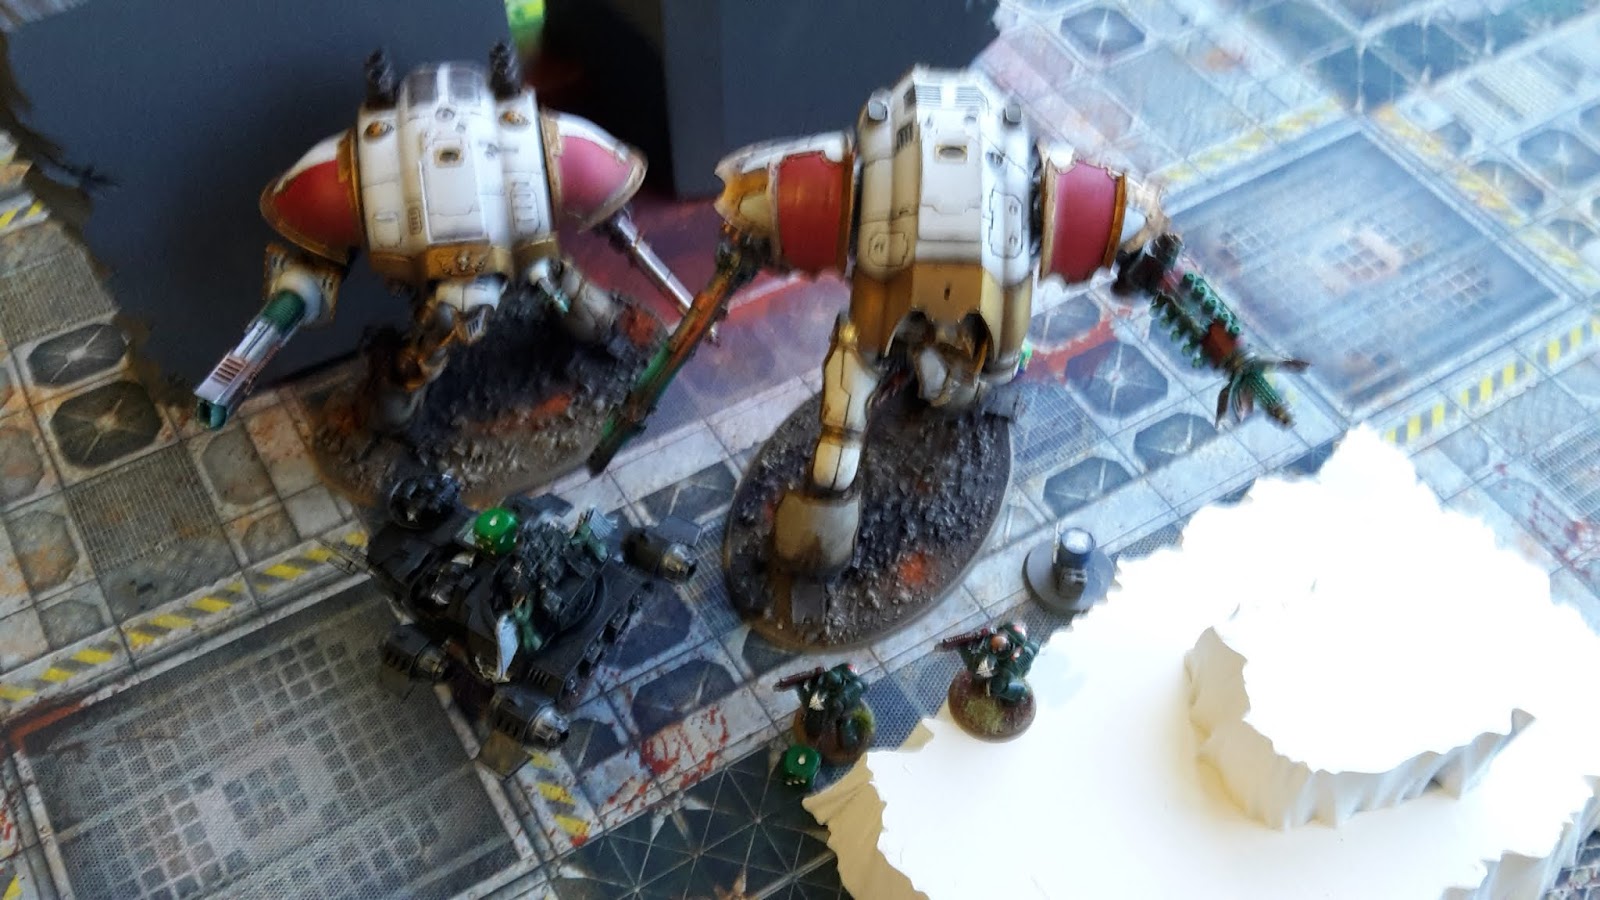
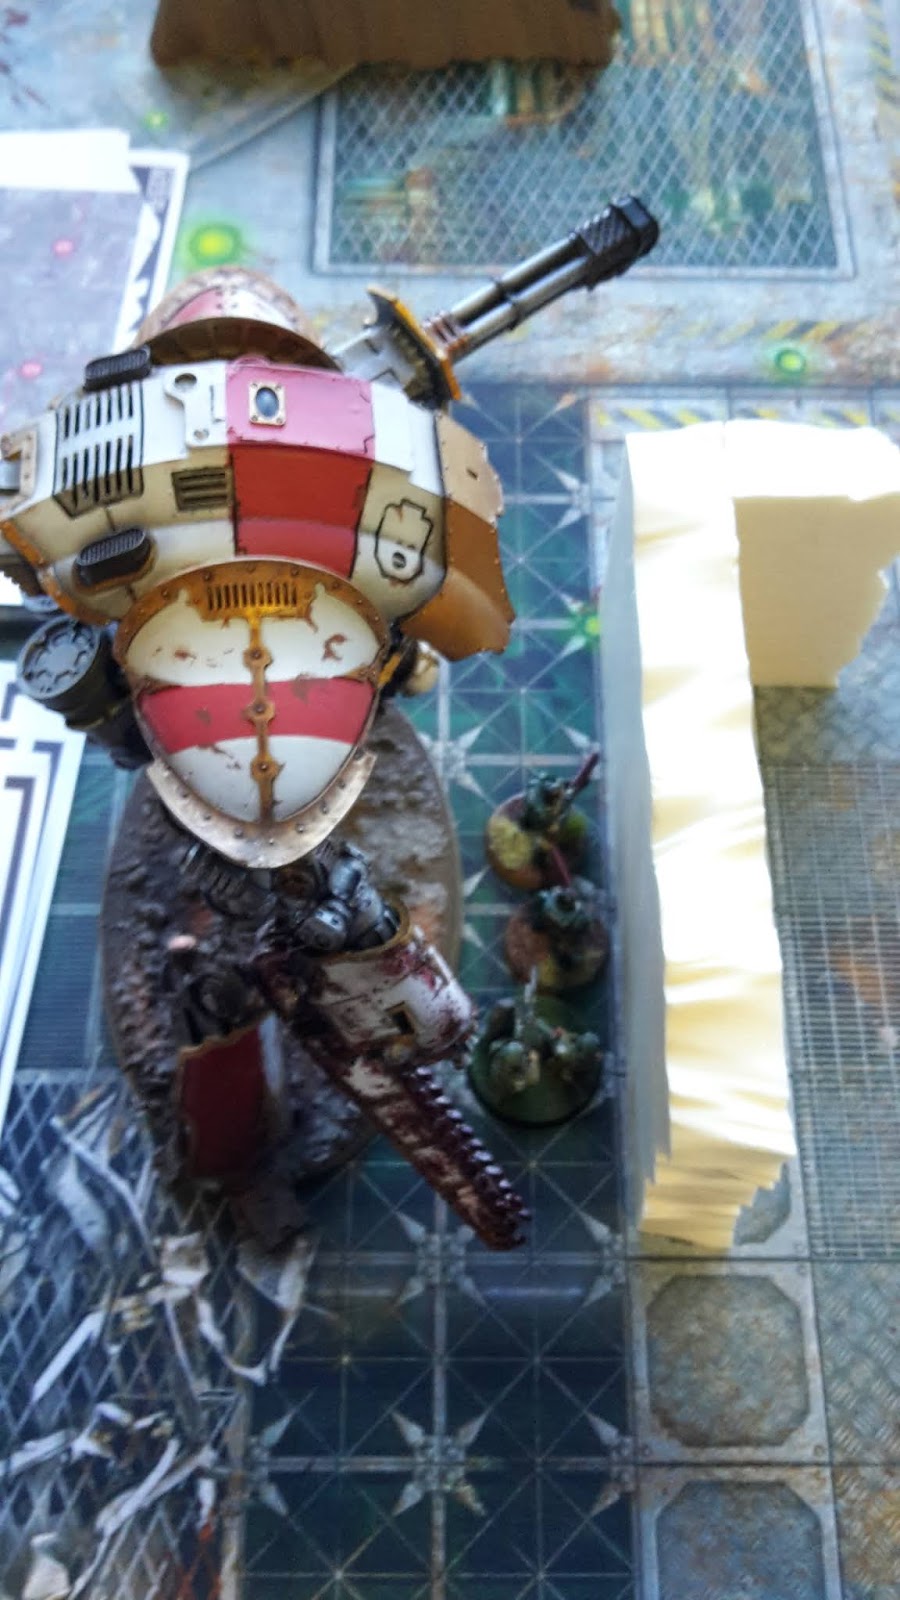
The Knight Acheron moved towards the Ravenwing on the right flank, joined by the surviving Armiger. The other two Knights moved up on the main ranks of the Dark Angels.
The Knight Acheron opened fire on the Ravenwing Bikers. His Flame Cannon manged a great 11 hits on 2D6, but only got four wounds, despite needing a 3+ to wound. However, I failed all my jink saves and the unit perished.
The Armiger fired at the Interceptors, killing one of the squad.
The Knight Styrix fired at the Meltagun Bikers, hitting and wounding them four times. I failed all my invulnerable saves once more and the unit perished. I had yet to make a single 4+ save out of 8 saves!
The Atropos fired at the Black Knights, wounding them twice, but I finally made some Jink saves and the unit was fine.
In the charge phase the Atropos charged the Black Knights. I overcharged the Plasma Talons in overwatch, taking two wounds from the Knight for the loss of one Black Knight.
The Knight Atropos struck with its Titanic Feet, hitting 10 times and wounding 7 times. I failed 5 saves and the squad was wiped out. I actually forgot that they would benefit from Azrael’s invulnerable save in combat, so may have saved some of the unit.

At the end of his turn, Connor scored three kill points, Advance and his bonus point. He discarded Domination.
VICTORY POINTS:
Dark Angels- 7
Imperial Knights- 5
TURN 2- DARK ANGELS
In turn 2, I bet one point once more. I drew Hold the Line and Secure Objective 5. I also had Defend Objective 2 and Assassinate.
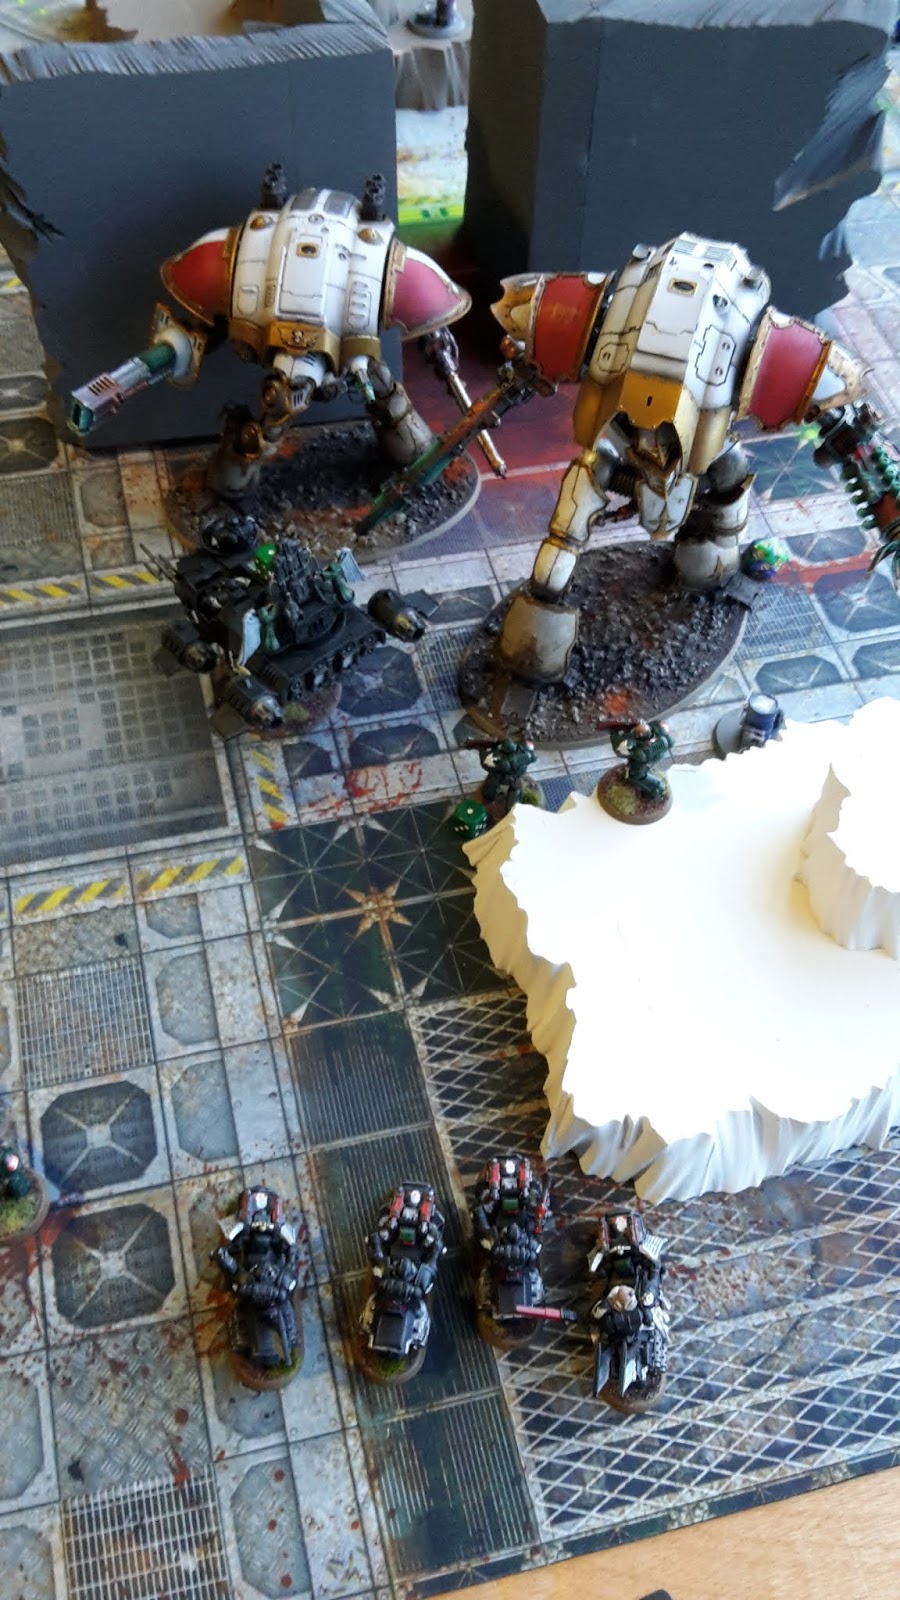
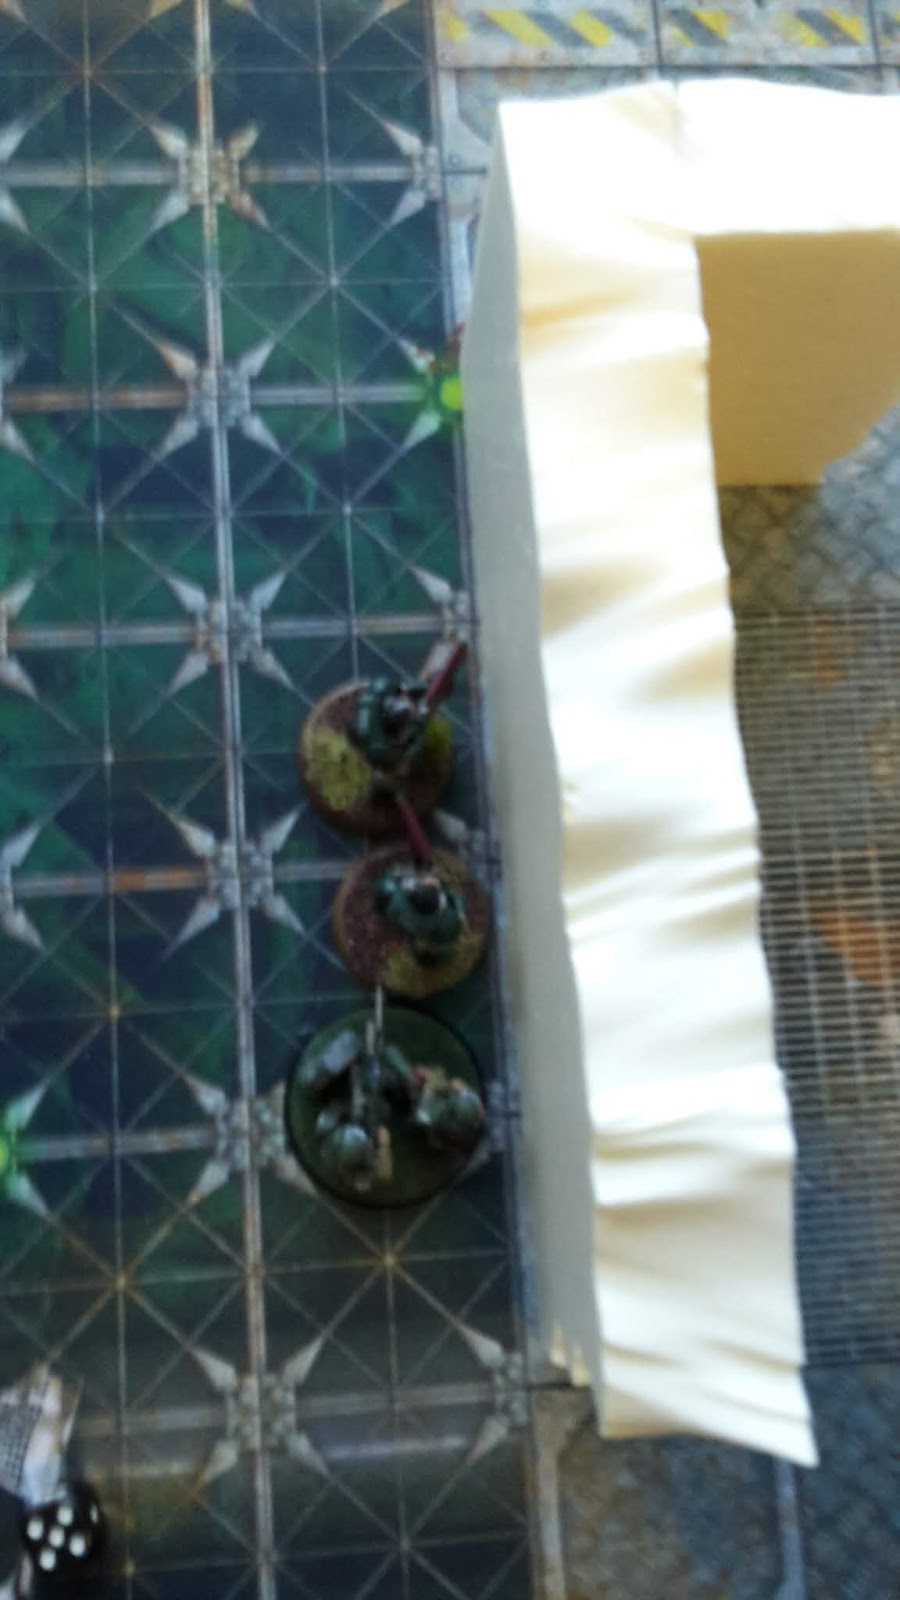
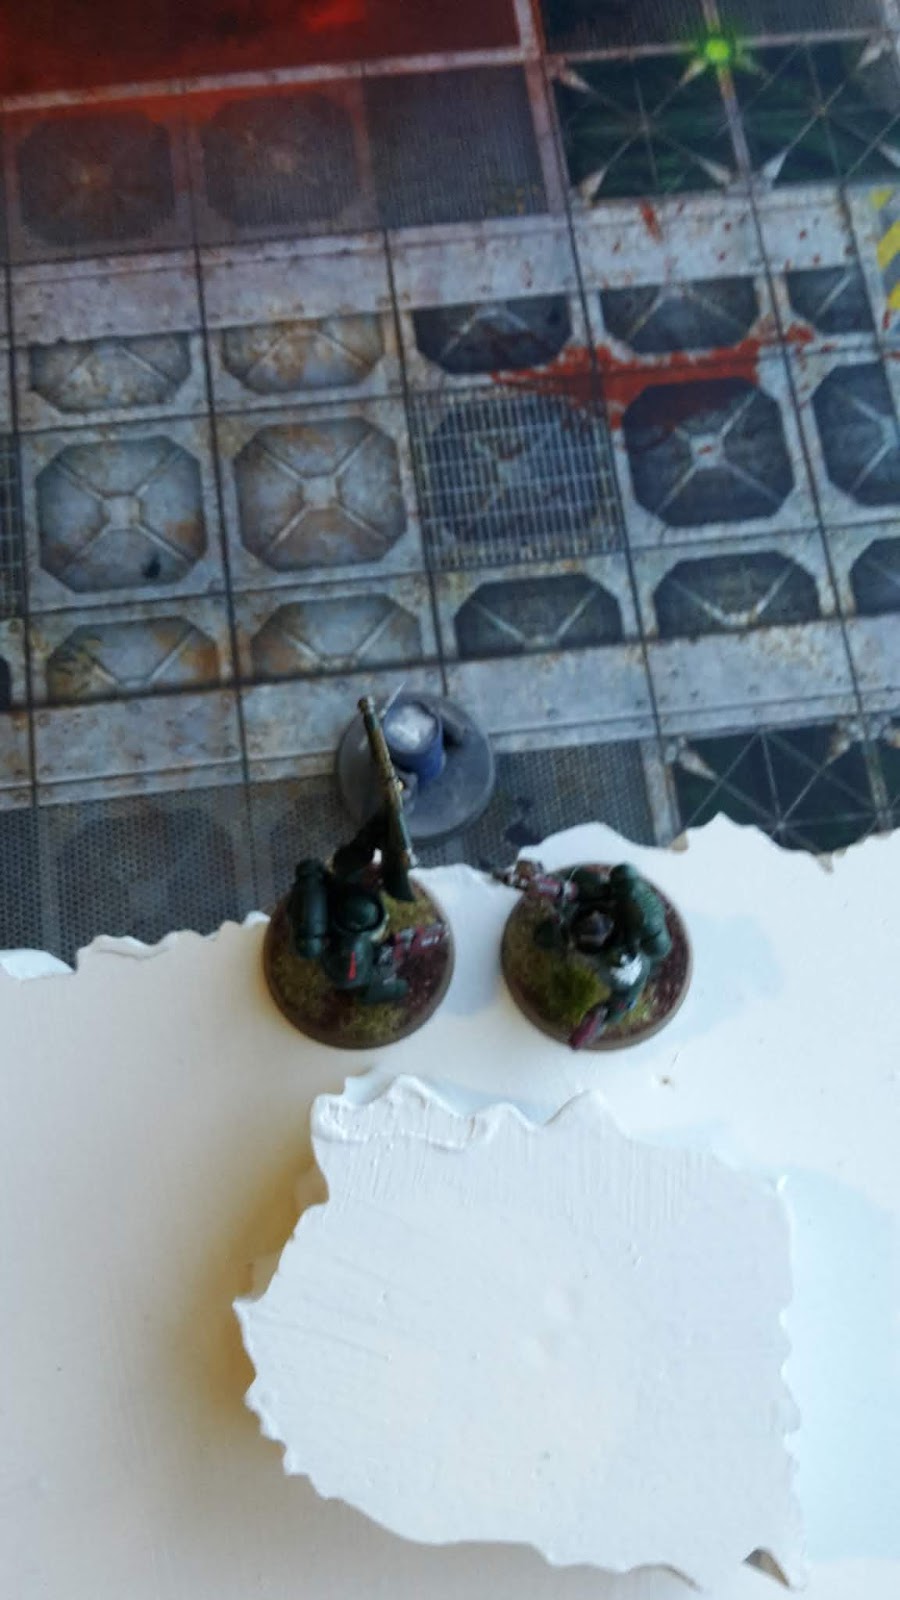
The Intercessor squad moved in front of the Knight Atropos, hoping to block the advance of the titanic war machine. The Hellblasters and rest of the Dark Angels moved back from the Knights moving up on their lines. On the left flank, the Intercessors moved up to support the Scouts. Sammael advanced towards the centre of the battlefield. The other Bikers also advanced.
My plan was to stall the Knights for as long as possible with sacrificial units, in order to keep scoring the objective points. My plan was to send Sammael after the objective in Connor’s deployment zone.
The Hellblasters fired at the Knight Atropos, overcharging and using the Weapons of the Dark Age stratagem. The squad hit 20 times with the death of one Hellblaster. I only managed 7 wounds, just below average.
Connor then rolled his saves and made 6 out of 7 invulnerable saves. He then used a command point re-roll to pass the final save. I was a bit shocked by that, my key Hellblaster unit had fired with the hope of finishing off the Knight, but his shield had rebuffed all their shots.
The other units nearby fired at the Atropos, wounding him once with their firepower, while the Devastators did another mortal wound with the Hellfire Shells stratagem.
The Intercessors on the left flank fired at the Armiger, wounding it once.
A the end of my turn, I scored Secure Objective 5, four objective points and my bonus point. I discarded Assassinate. I had managed to score a number of victory points in my turn, but the failure of the Hellblasters to severely damage or kill the Atropos was a big blow!
TURN 2- IMPERIAL KNIGHTS
In his turn, Connor bet one point. He drew Defend Objective 3, Defend Objective 4, Defend Objective 5 and Defend Objective 6. Not the best hand for Connor, he would need to stop moving up on my forces to try and score the objectives.

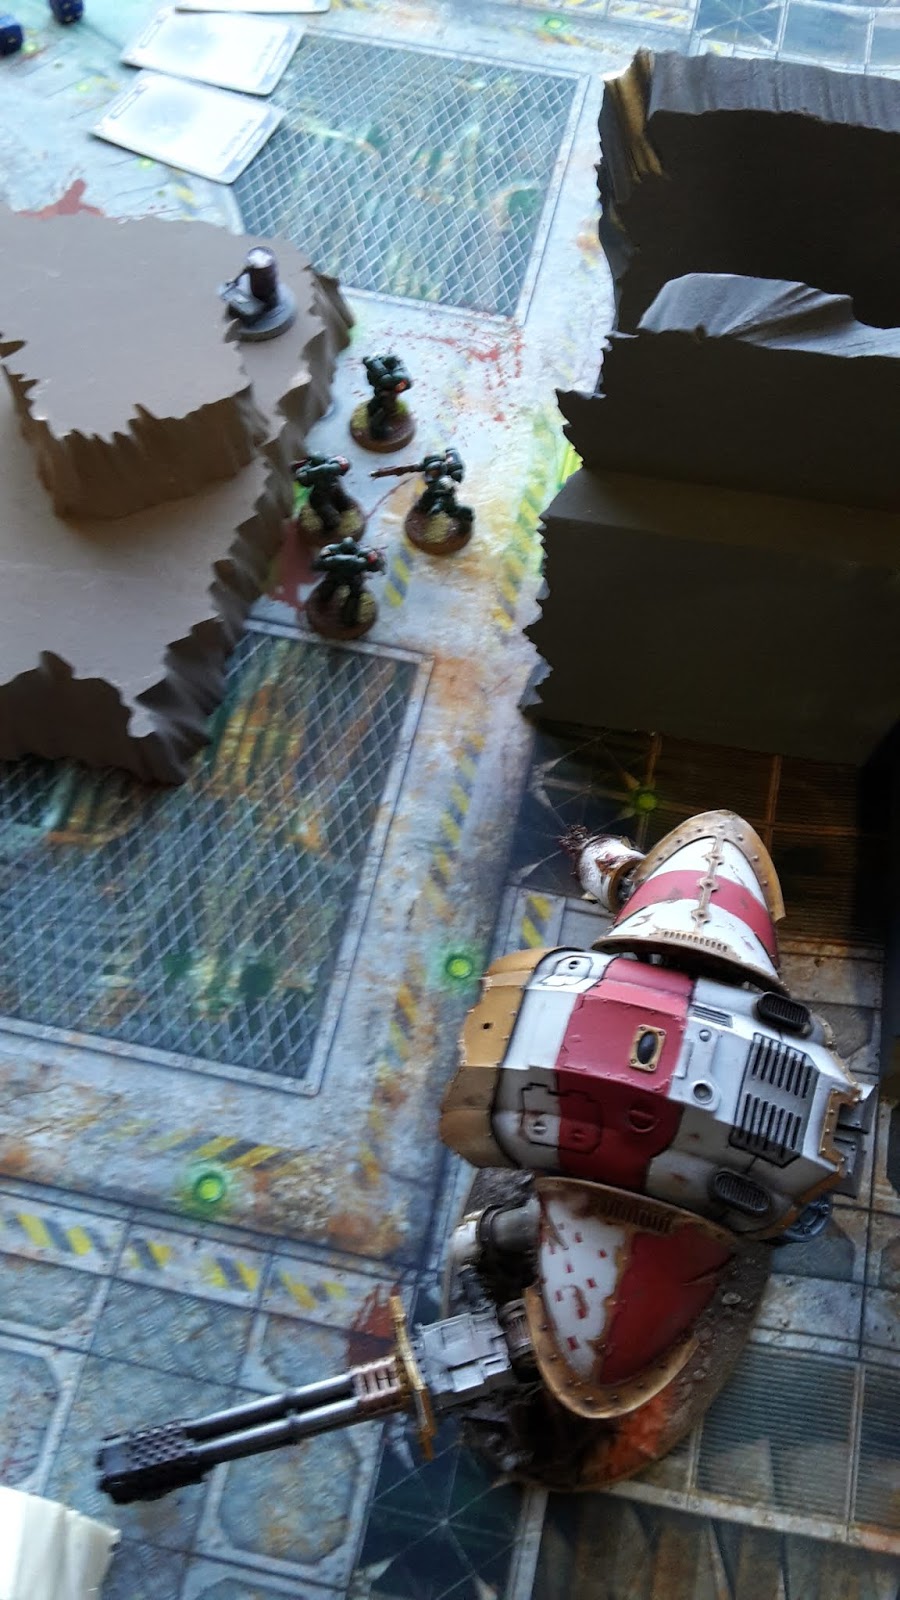
The Knight Acheron moved up on the Scouts and Intercessors on the right flank, while the Armiger moved up on the Hellblasters. The Knight Atropos and Knight Styrix moved up on the Intercessors who were blocking their path.

The Acheron fired its Twin Heavy Bolters at the Scouts, killing three of the squad. The Flamestorm Cannon targeted the Hellblasters, wounding them 5 times and killing three. Two of the Primaris Marines got to fire thanks to the Ancient. They targeted the Armiger Warglaive, taking four wounds from it.
The Armiger fired on the Hellblasters, but failed to hit them thanks to the Darkshroud.
The Knight Styrix fired at the Intercessors and Darkshroud, taking five wounds from the skimmer and killing one Intercessor.
The Knight Atropos fired at the Hellblasters and Darkshroud. The cannon took three wounds from the Darkshroud, leaving it on one left, while failing to hit the Hellblasters.
In the charge phase, the Styrix and Atropos charged the Intercessors. The Acheron tried to charge the other squad of Intercessors, but Connor rolled a double 1 for the charge!
The Warglaive charged the Hellblasters. I overcharged the shots to try and take it out, getting no hits and losing two Primaris Marines for the trouble! One Hellblaster got to fire back thanks to the Ancient and took 2 wounds from it. The Armiger failed the charge.
The Atropos struck at the Intercessors, killing two of them and wounding another. I was able to pull the casualties from the Styrix to stop it from attacking. In the morale phase, I passed all my morale tests.
At the end of the turn, Connor scored no points. He discarded Defend Objective 4. I scored Connor’s bonus point as he scored no cards.
VICTORY POINTS:
Dark Angels- 14
Imperial Knights- 5
A good turn for me, I had gotten very lucky (and Connor unlucky) in not finishing off the two squads of Intercessors.
TURN 3- DARK ANGELS
In my third turn, I bet I would score one card. I drew Secure Objective 1 and Secure Objective 4. I also had Hold the Line and Defend Objective 2.
The Intercessors fell back for combat, just in front of the Atropos. The Darkshroud moved up in front of the Styrix. It only had a single wound left, so I was happy to sacrifice it to stop the Warlord Knight from moving.
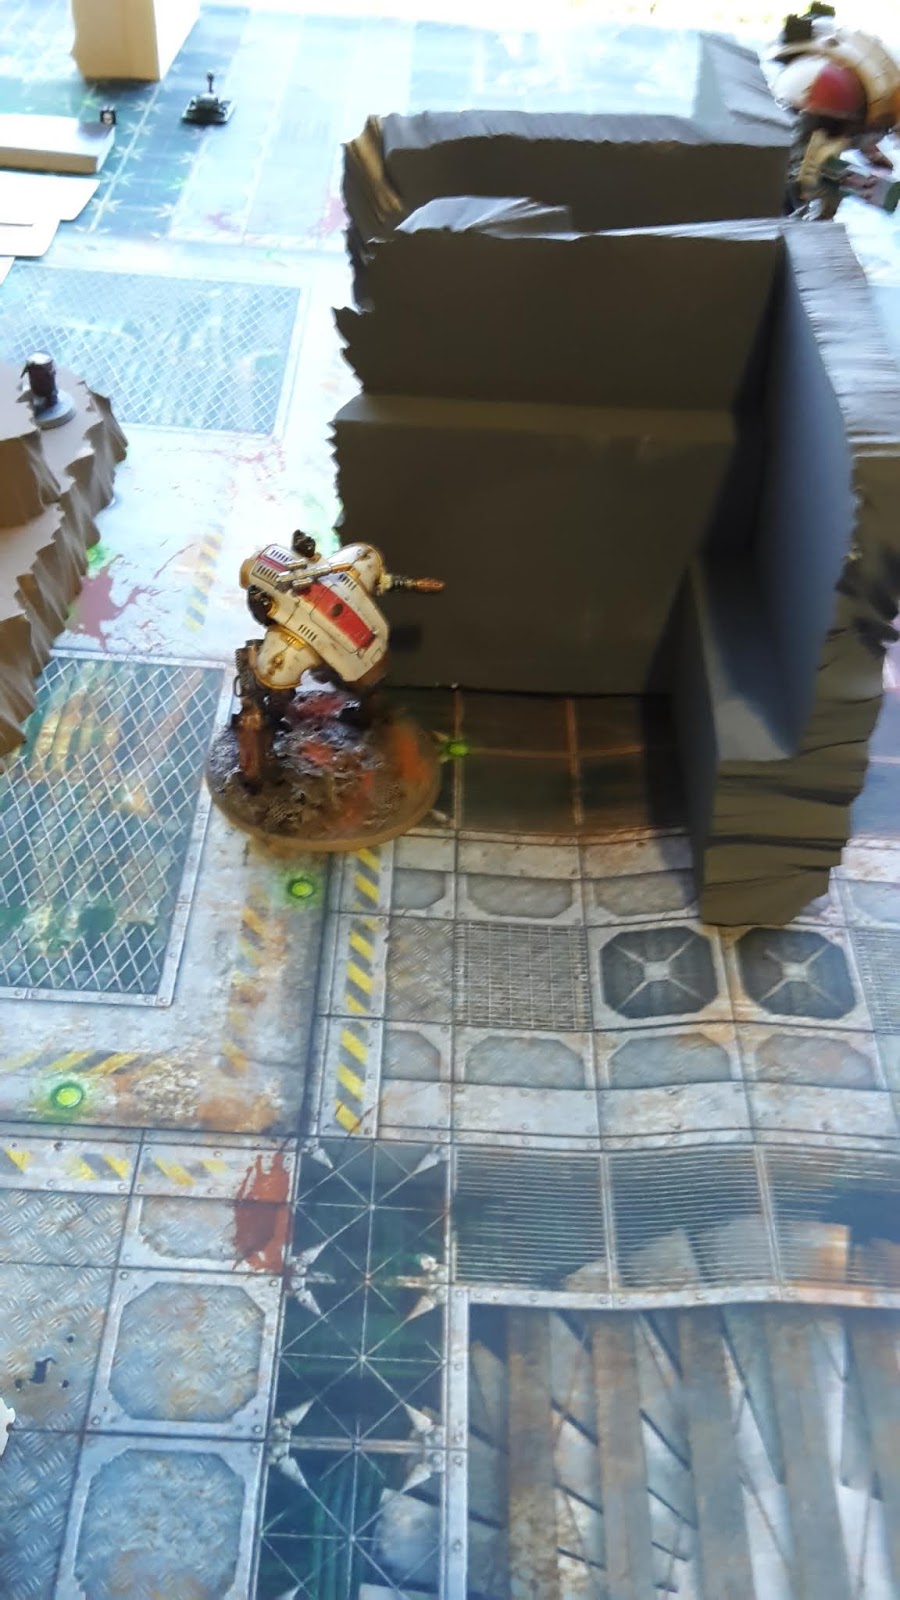
Sammael turbo-boosted onto the objective, while the remaining Ravenwing Bikers advanced on the south flank. They used Speed of the Raven to be able to still fire. The Scouts to the north moved to the other side of the ruins, out of line of sight.
The Devastators fired at the Armiger, using the Hellfire Shells stratagem to do three mortal wounds on it. The Darkshroud, Intercessors and Scouts fired on the Armiger, doing a single wound in total. Azrael fired at the Armiger Warglaive and was able to destroy it.
The Hellblasters used the Weapons of the Dark Age stratagem, overcharging and firing at the Atropos. Connor used the Ion Shield stratagem to boost its invulnerable save. The Plasma Incinerators managed to get 9 hits for the loss of one Hellblaster (the Ancient allowed him to fire again, which contributed to the 9 hits). I managed 5 wounds and Connor failed two saves, the Atropos taking 6 damage.
The Lieutenant and Ancient fired at the Atropos, taking another 3 wounds in total and leaving it on 4 wounds left.
The Ravenwing Bikers fired at the Atropos, but failed to do any damage.
At the end of my turn, I scored 5 objective points, one kill point, Secure Objective 1 and Secure Objective 4, as well as my bonus point for 9 points in total. I discarded Hold the Line.
TURN 3- IMPERIAL KNIGHTS
Connor bet one point for the objectives this turn. He drew Defend Objective 4 once more, to go with Defend Objective 3, Defend Objective 5 and Defend Objective 6. He really was not having a good run with the maelstrom cards in this game.
The Knight Acheron moved up on the Devastators holding the objective, while the Knight Styrix and Knight Atropos moved what little they could towards the Dark Angels lines.
The Atropos fired at the Hellblasters and Darkshroud. Connor managed a great 3 out of 4 hits on a 5+ on the Hellblasters, killing one of the squad. The slain Hellblaster fired back at the Atropos thanks to the Ancient, but failed to cause any damage. The Knight missed its shots at the Darkshroud.
The Knight Styrix fired at the Bikers and Hellblasters, killing one Biker and one of the Primaris Marines. The slain Hellblaster fired back at the Atropos, but failed to do any damage once more.
The Acheron fired at the Devastators and Scouts, killing one Scout and three Devastators with its Flamestorm Cannon.
In the charge phase, the Acheron charged the Devastators and Scout Squad. The Atropos charged the Intercessors, while the Styrix assaulted the Darkshroud.
In the fight phase, the Acheron attacked the Scouts, wounding them four times. I failed all four invulnerable saves (from Azrael) and the unit was slain.
The Knight Styrix attacked the Darkshroud, killing it. Even in its weakened state, the Atropos was able to kill off the Intercessor squad.
At the end of his turn, Connor scored three kill points and one objective point. I also scored his bonus point, as he scored no maelstrom cards.
VICTORY POINTS:
Dark Angels- 24
Imperial Knights- 9
With three turns played, I was running away with the victory points. All I had to do was survive till the end of the game to claim victory.
TURN 4- DARK ANGELS
In my turn, I drew Defend Objective 2, Behind Enemy Lines, Secure Objective 3 and Advance. I bet one point before I drew my cards.
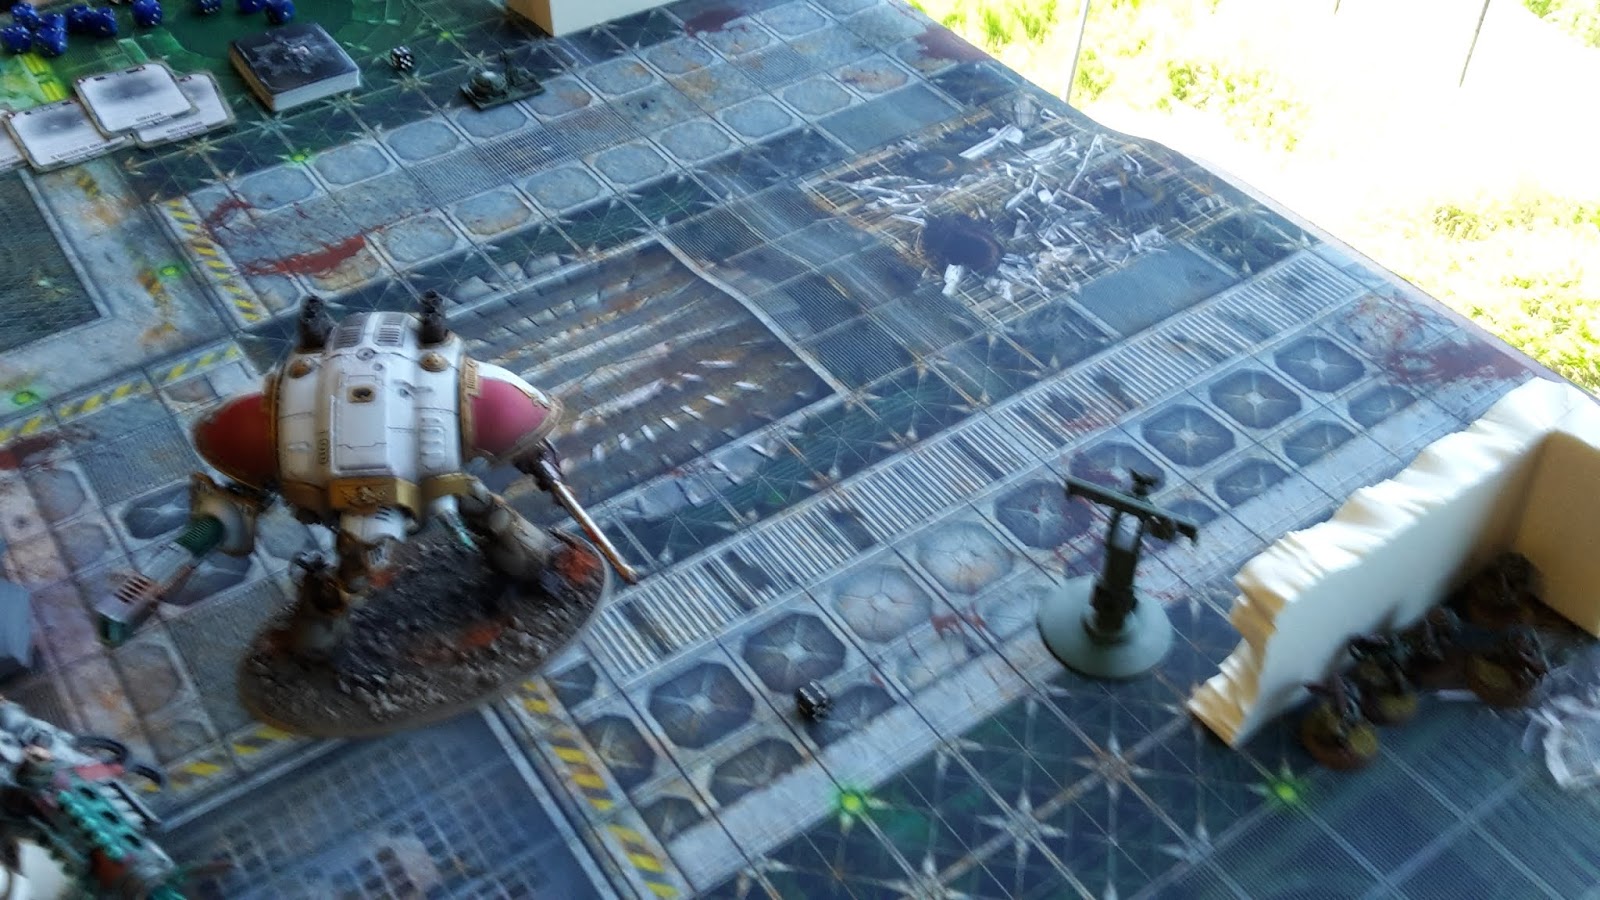
The Ravenwing Bikers moved to the right flank to secure an objective, advancing to get their Jink save, while Sammael advanced on the objective in the enemy deployment zone. The Intercessors also advanced towards the central objective, using a command point re-roll to move further. The Devastators fell back from combat.
The Hellblasters fired on the Knight Atropos, overcharging and using Weapons of the Dark Age once more. They only managed a single hit and wound, taking three wounds from the Knight.
Azrael, the Ancient and the Lieutenant fired on the Knight, the Lieutenant finally managing to bring it down. The Knight did not explode fortunately.
In the charge phase, I assaulted the Knight Styrix with the Hellblasters, Azrael, the Lieutenant and Ancient. I figured I would have a better chance of trying to damage it in combat, rather than waiting to be shot and then charged in my turn.
Azrael struck at the Knight and managed to take 7 wounds from it with the Sword of Secrets. The rest of the Dark Angels were unable to harm the mighty war machine.
The Knight struck back at Azrael, and managed to do 13 wounds. I passed all but 5 invulnerable saves. I used my last Command Point re-roll and Azrael’s free re-roll to try and save the damage, but it was to no avail and the Dark Angels’ Warlord fell.
At the end of my turn, I scored one kill point, 4 objective points, Behind Enemy Lines and my bet bonus point. Connor scored a kill point and Slay the Warlord.
TURN 4- IMPERIAL KNIGHTS
In his fourth turn, Connor had Defend Objective 2, Defend Objective 3, Defend Objective 5 and Defend Objective 6, as well as betting one point.
The Warlord Knight fell back from combat, while the Acheron moved up on the Devastators once more.
The Acheron fired at the Devastators and Intercessors, failing to harm the Primaris Marines, but killing the Devastator Squad.
The Styrix fired at the Bikers and Hellblaster, killing the last Hellblaster, but failing to harm the Ravenwing Bikers.
The Knight Styrix tried a 12″ charge on the Bikers. It was a long shot, but worth a go as my Bikers had little chance of harming him with their overwatch fire.

At the end of his turn, Connor scored two kill points and two objective points. I also scored his bonus point.
VICTORY POINTS:
Dark Angels- 31
Imperial Knights- 15
TURN 5- DARK ANGELS
This turn, I bet one point once more. I drew Priority Orders Received (Big Game Hunter), Secure Objective 5, Defend Objective 3 and had Advance.
The Ancient and Lieutenant moved up on the objective in front of the Knight Stryrix. The Intercessors advanced on the objective, while the Bikers advanced to take the objective Sammael was holding. The Ravenwing Grand Master moved to the safety of the ruins.
In my shooting phase, the Scouts, Ancient and Lieutenant fired on the Knight Styrix, but failed to do any damage.
At the end of a very quick turn, I scored my bonus point, Advance, Secure Objective 5 and 5 objective points. I discarded Priority Orders Received. Connor scored Defend Objective 3.
TURN 5- IMPERIAL KNIGHT
In his turn, Connor bet one point. He drew Supremacy and had Defend Objective 2, Defend Objective 5 and Defend Objective 6.

The Knight Atropos moved up on the Intercessors, while the Knight Styrix moved up Scouts on the left flank.
The Atropos fired its Flamestorm Cannon at the Intercessors, wiping out the unit. The Styrix fired at the Bikers and Lieutenant. It managed to kill one Biker, but was unable to kill the Primaris Lieutenant.
The Styrix failed to charge the Scouts.
At the end of his turn, Connor scored one Kill point. He discarded Supremacy and I scored his bonus point.
VICTORY POINTS:
Dark Angels- 40
Imperial Knights- 16
At this stage, Connor had little chance of closing the gap. His best option was to try and table me, which would be very difficult to achieve in the remaining turns. We rolled to see if the game would go on and it did.
TURN 6- DARK ANGELS
In my turn, I bet one point. I drew Secure Objective 1, Secure Objective 2 and Psychological Warfare to go with Defend Objective 3.
The Bikers advanced to gain their Jink save, but there was little other movement in my lines. The Scouts fired at the Knight Styrix, but their Bolters did no damage.
At the end of a very quick turn, I scored four objective points, Secure Objective 1 and my bonus point. I discarded Psychological Warfare.
TURN 6- IMPERIAL KNIGHTS
Connor bet one point. He drew Mission Critical Objective (objective 5) to go with Defend Objective 2, Defend Objective 5 and Defend Objective 6.

The Stryrix moved up on the Scouts on one side of the field, while the Atropos moved up to engage the other Scout squad.
The Styrix fired on the Scouts in front of it, killing three of the squad. The other Knight fired at the second Scout squad, killing two more.
Both Knights then charged the Scout squads in front of them. One Knight rolled a double 1 for the charge length, but fortunately still made it in.
The remaining Dark Angels Scouts were easily dispatched by the powerful war machines.
At the end of his turn, Connor scored two objective points, two kill points, one point for Mission Critical Objective and his bonus point. He discarded Defend Objective 2.
VICTORY POINTS:
Dark Angels- 46
Imperial Knights- 22
We rolled to see if the game went on and it did. Looks like this battle would go the distance. I had four units to Connor’s two, but I don’t think he was in any trouble of being tabled!
TURN 7- DARK ANGELS
I bet one more point, and drew Mission Critical Objective (objective 1), Overwhelming Firepower and had Secure Objective 2 and Defend Objective 3.
The Bikers advanced to get their Jink save. The Dark Angels characters fired at the Knight Styrix, but failed to do any damage.

At the end of my turn, I scored two objective points, Mission Critical Objective and my bonus point.
TURN 7- IMPERIAL KNIGHTS
Connor bet two points. He drew Hold the Line, Behind Enemy Lines and had Defend Objective 5 and Defend Objective 6.
The Imperial Knights stayed on the objectives and opened fire on the enemy units. The Sytrix managed to put 18 wounds on the Lieutenant, easily slaying him! The Acheron fired its Heavy Bolters at the Ancient, wounding him twice.
At the end of the game, Connor scored one kill point, two objective points, Defend Objective 6, Defend Objective 5 and his two bonus points. I also scored Linebreaker.
VICTORY POINTS:
Dark Angels- 50
Imperial Knights- 31
A win for the Dark Angels.
AFTER-BATTLE THOUGHTS
Thanks to Connor for a fantastic and tactical game. He was a pleasure to play, despite going so far behind in points early in the game, he kept going and had a great attitude. This was his first tournament and he chose a very tough army to use based on the 5 missions.
The Imperial Knights are very tough, able to put out a lot of firepower, hit like a ton of bricks in combat and soak up a ton of firepower. Connor got quite unlucky with the maelstrom cards and struggled to hold many objectives during the game, while I was able to score about four objective points for most of my turns.
I wonder if keeping his Armiger Warglaives back would have been a better tactic in this game. He could have parked them on two objectives, scoring the points each turn and using their longer range firepower to take out my units. I might have been able to take out two of the bigger Knights in their place, but may have struggled against the tougher Knights. While it may not have won him the game, it might have gotten him more points in the end.
I must admit, on turn 2 I was pretty worried about losing the game. The Hellblasters firing at the Knight Atropos with their damage three shots and Connor making every invulnerable save had me down. In all honesty, I thought that round of saves had just won him the game.
Fortunately, I was able to play on, knowing if I could hold out, my superior numbers would score me more victory points in the end. I think blocking the two Knights with the Darkshroud and Intercessors was the right choice. This stopped them from charging the Hellblasters and tying up my best firepower. I was lucky the Darkshroud was left on a single wound, meaning it was still alive to block the path and sacrifice itself to keep the rest of the army safe.
I also forgot about Azrael’s invulnerable save in the combat with the Black Knights. It may have kept a few of them alive to fire in the following turn using the Intractable stratagem. In the end, it didn’t have too much of an effect.
Once again, I was able to take a note of the times for each turn in the game. They were as follows:
- Game Start- 11.10 am
- Deployment- 17 mins
- Dark Angels Turn 1- 15 mins
- Imperial Knights Turn 1- 13 mins
- Dark Angels Turn 2- 11 mins
- Imperial Knights Turn 2- 17 mins
- Dark Angels Turn 3- 15 mins
- Imperial Knights Turn 3- 14 mins
- Dark Angels Turn 4- 14 mins
- Imperial Knights Turn 4- 6 mins
- Dark Angels Turn 5- 4 mins
- Imperial Knights Turn 5- 5 mins
- Dark Angels Turn 6- 3 mins
- Imperial Knights Turn 6- 7 mins
- Dark Angels Turn 7- 2 mins
- Imperial Knights Turn 7- 5 mins
As you can see, the turns were pretty even throughout the game. We practically raced through the last three turns, each lasting about 10 minutes for both players. I’m always glad to see the game times are roughly even, I would hate to think that my notes and photo taking would result in me slow playing my opponent.
The first game down had seen me take a 20-0 victory in tournament points, so I would be interested to see what army I would next be facing.
You can find the other battle reports on my blog:
- Game 2- Dark Angels vs Blood Angels/Raven Guard/Adeptus Custodes
- Game 3- Dark Angels vs Astra Militarum
- Game 4- Dark Angels vs Aeldari
- Best Army Nomination Photos
Remember, you can also join the St Andrews Wargaming Facebook group to get all the latest battle reports.
And remember, Frontline Gaming sells gaming products at a discount, every day in their webcart!


