Adam (Loopy) from the Masters of the Forge podcast has been keeping busy with his Imperial Knights and he has a quick article with lots of photos giving you the details on the new Knight Valiant kit as well as some tips on the project.
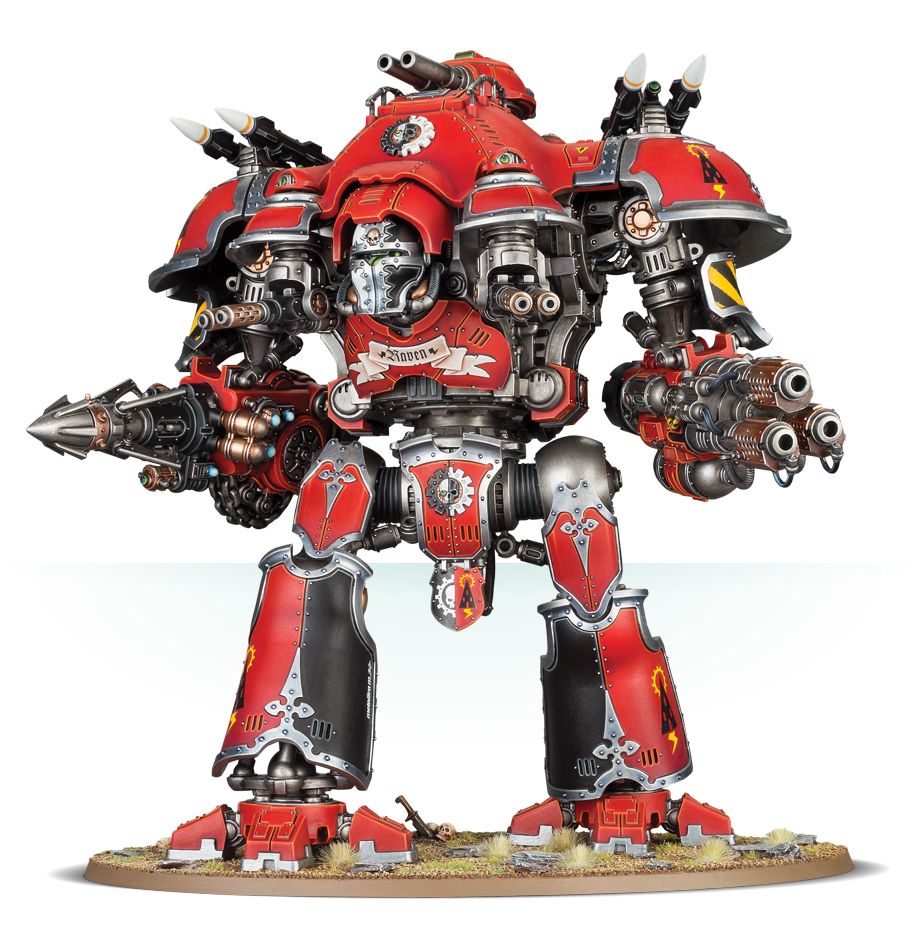
The new Dominus Class Knight Valiant is a gorgeous and well-designed model. Games Workshop was kind enough to provide me with one of these kits so that I could show it off to you and give you a few tips on its construction. Obviously, I haven’t had any time to actually paint it yet, but I think this article should be helpful to you as you all start receiving your models in the coming weeks.
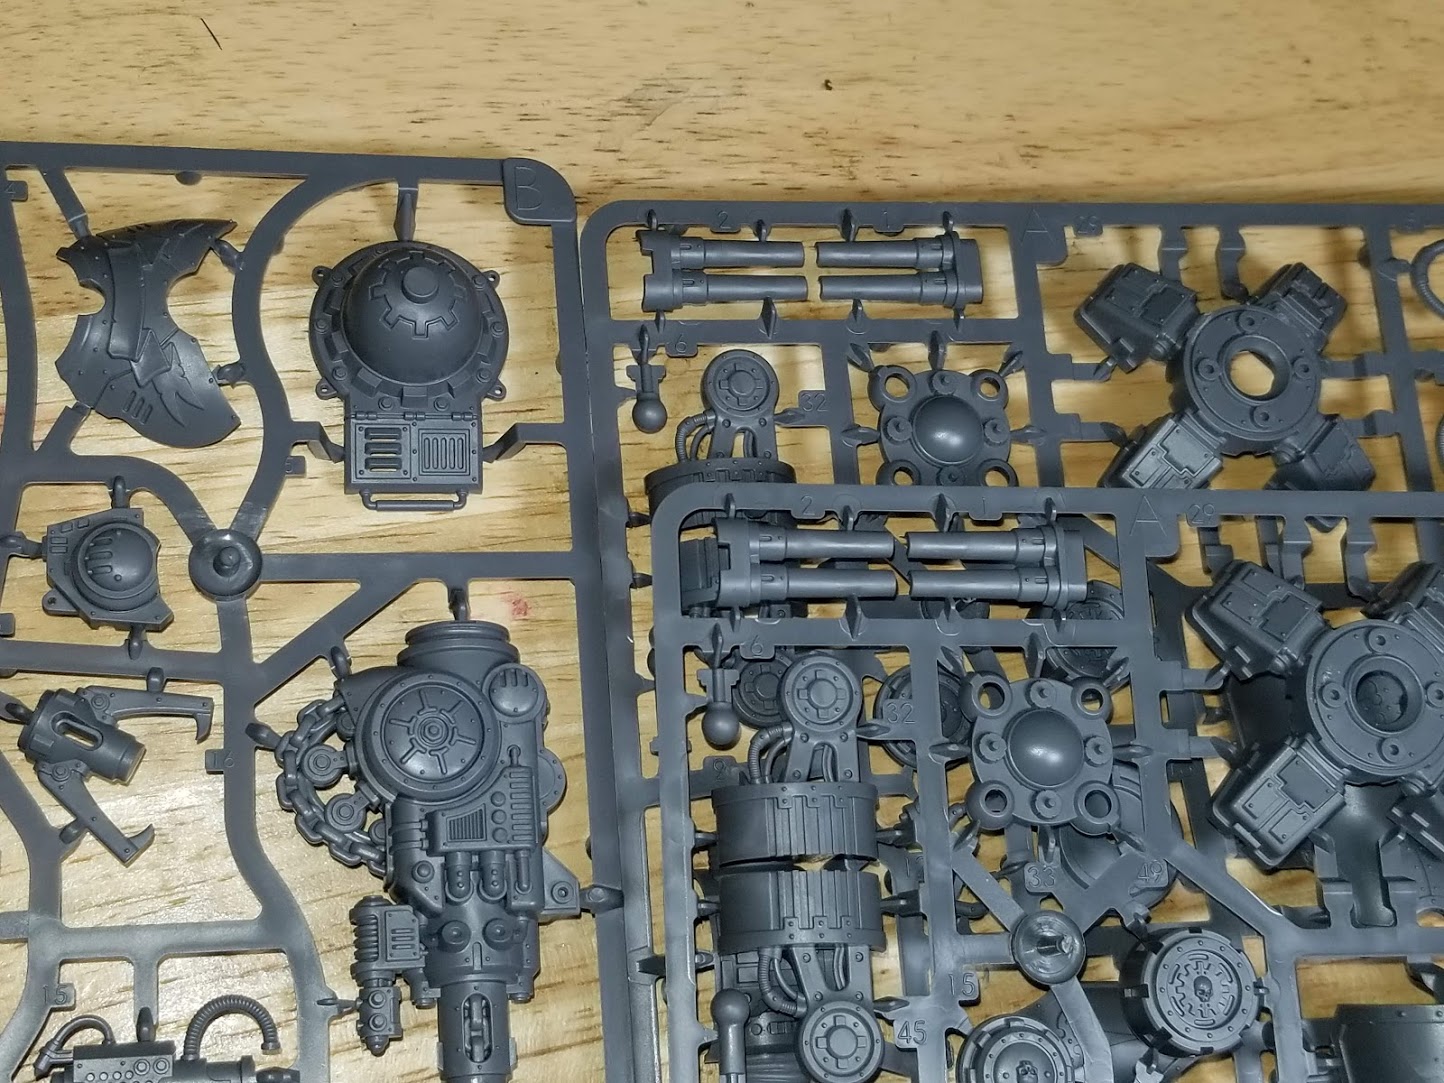
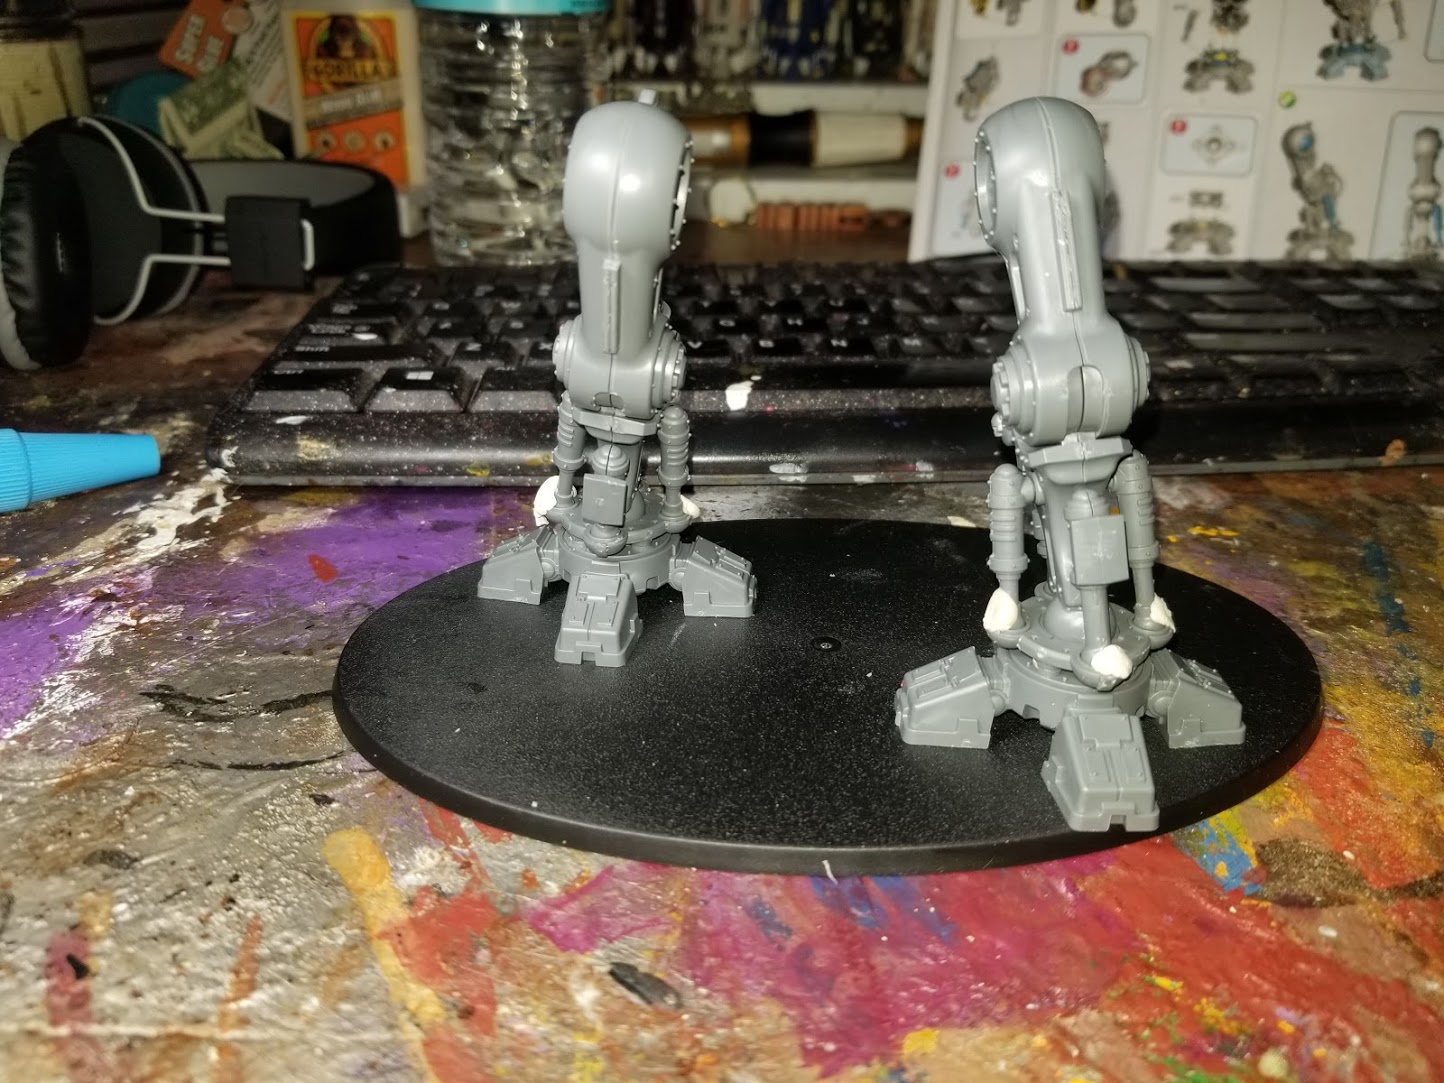
The kit comes with three sprues. One sprue that has all the single, unique pieces on the model such as the guns and centre carapace bits. The other two sprues are identical and they contain the shoulders, legs, and anything else that has both a left and right component. The model is a mirror of itself, so it’s actually hard to mess up which bit you use.
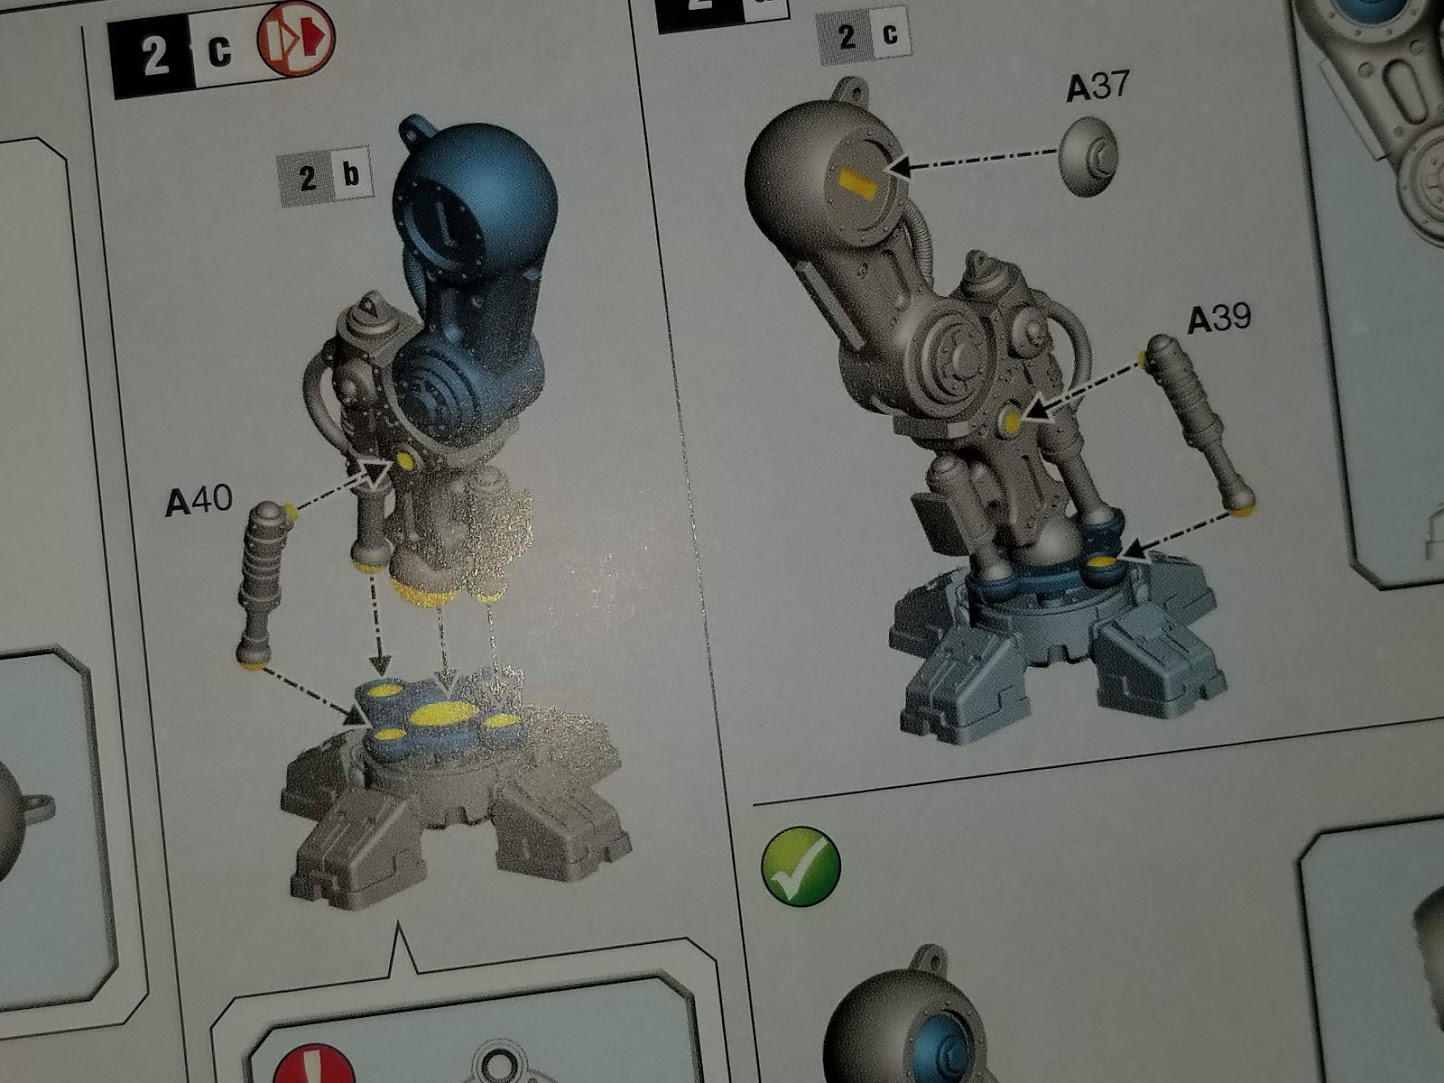
This model can be built with either left or right foot forward. You just have to be cognisant of which piston you use on the left and right. A40 needs to go on the inside heel regardless of whether it’s the stepping back foot or the stepping forward foot.
Whether the leg is stepping back or forward will, in part, be determined by which of these two holes you use for this peg. Keep that in mind as you’re building and deciding which foot you want to put forward.
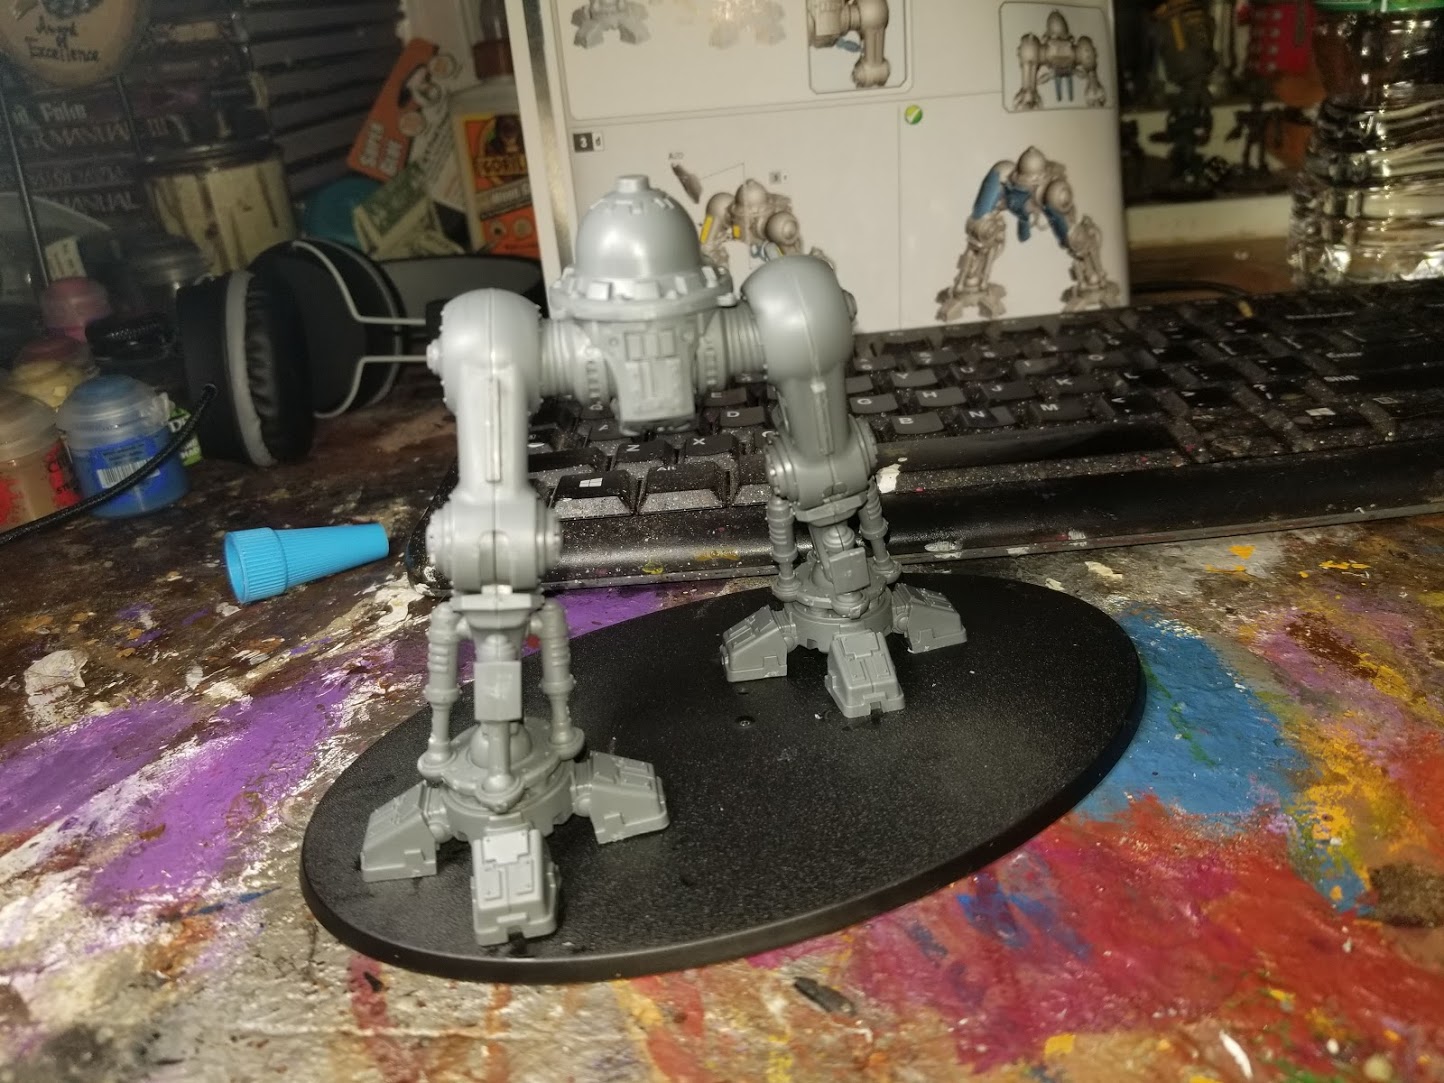
Here’s the left foot forward with sticky tack. Note the caps on the upper leg joints can go on the inside or the outside of each leg.
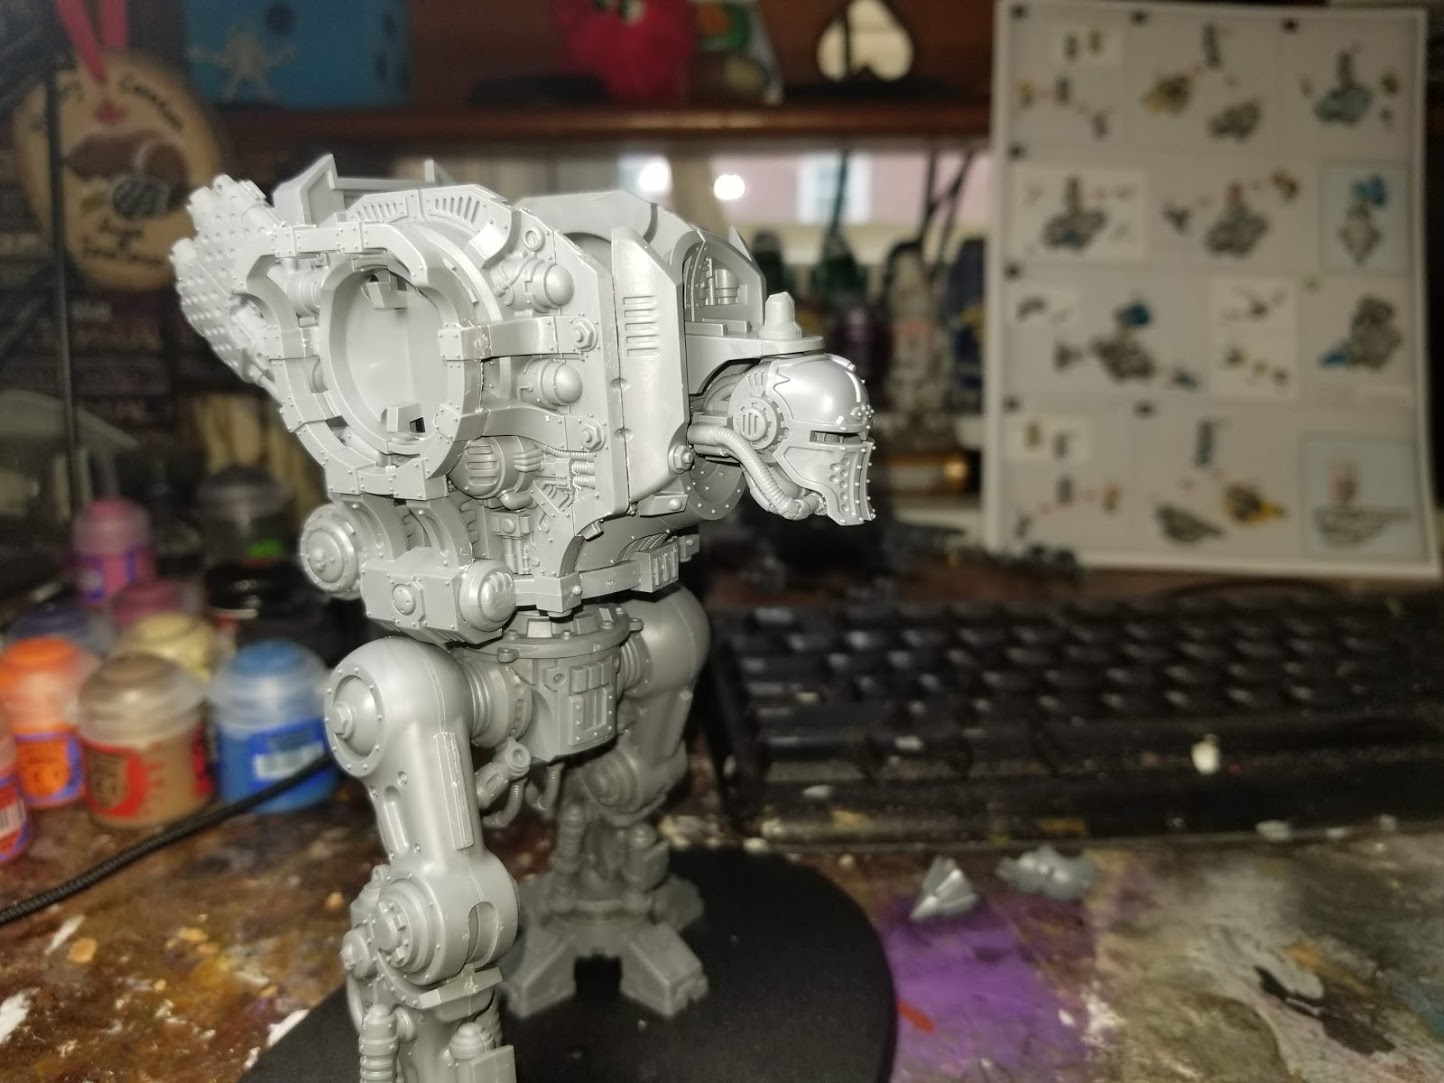
I decided to go with right foot forward. Look at the stance on this model; I much prefer it to the “Dreadnought” stance of the Questoris class. Some of you might even decide to throw down the cash to just use this chassis for your Questoris Knights. Nothing wrong with that. You can actually get the arms to work with this model.
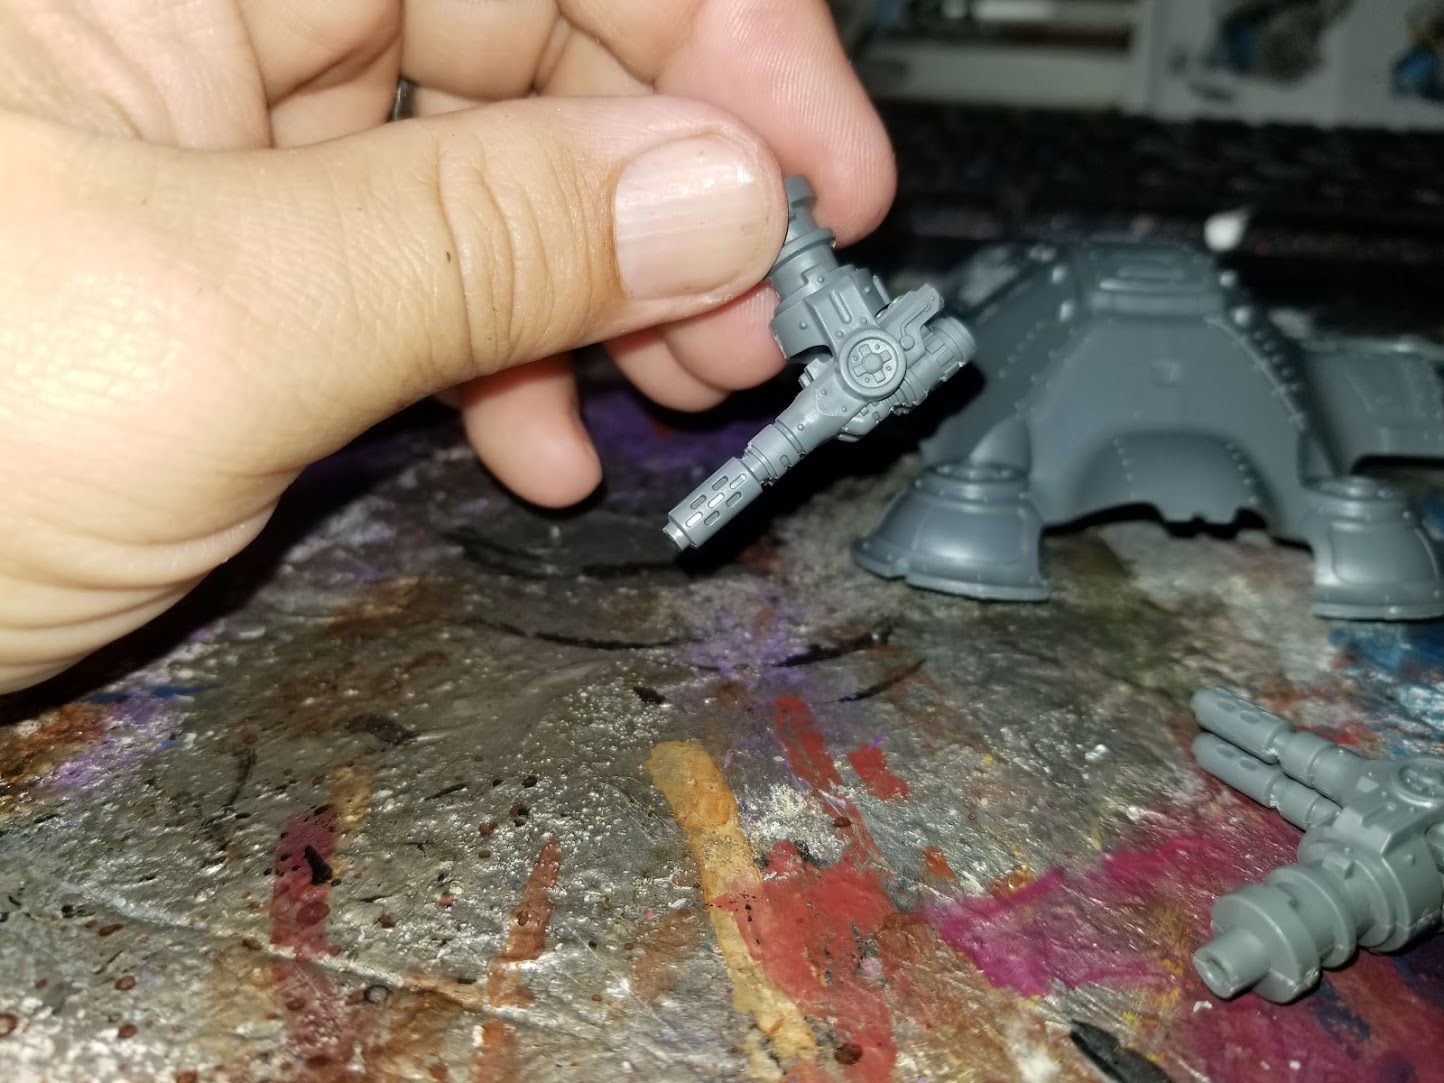
If you want your meltaguns to face forward instead of down, you’ll have to glue them.
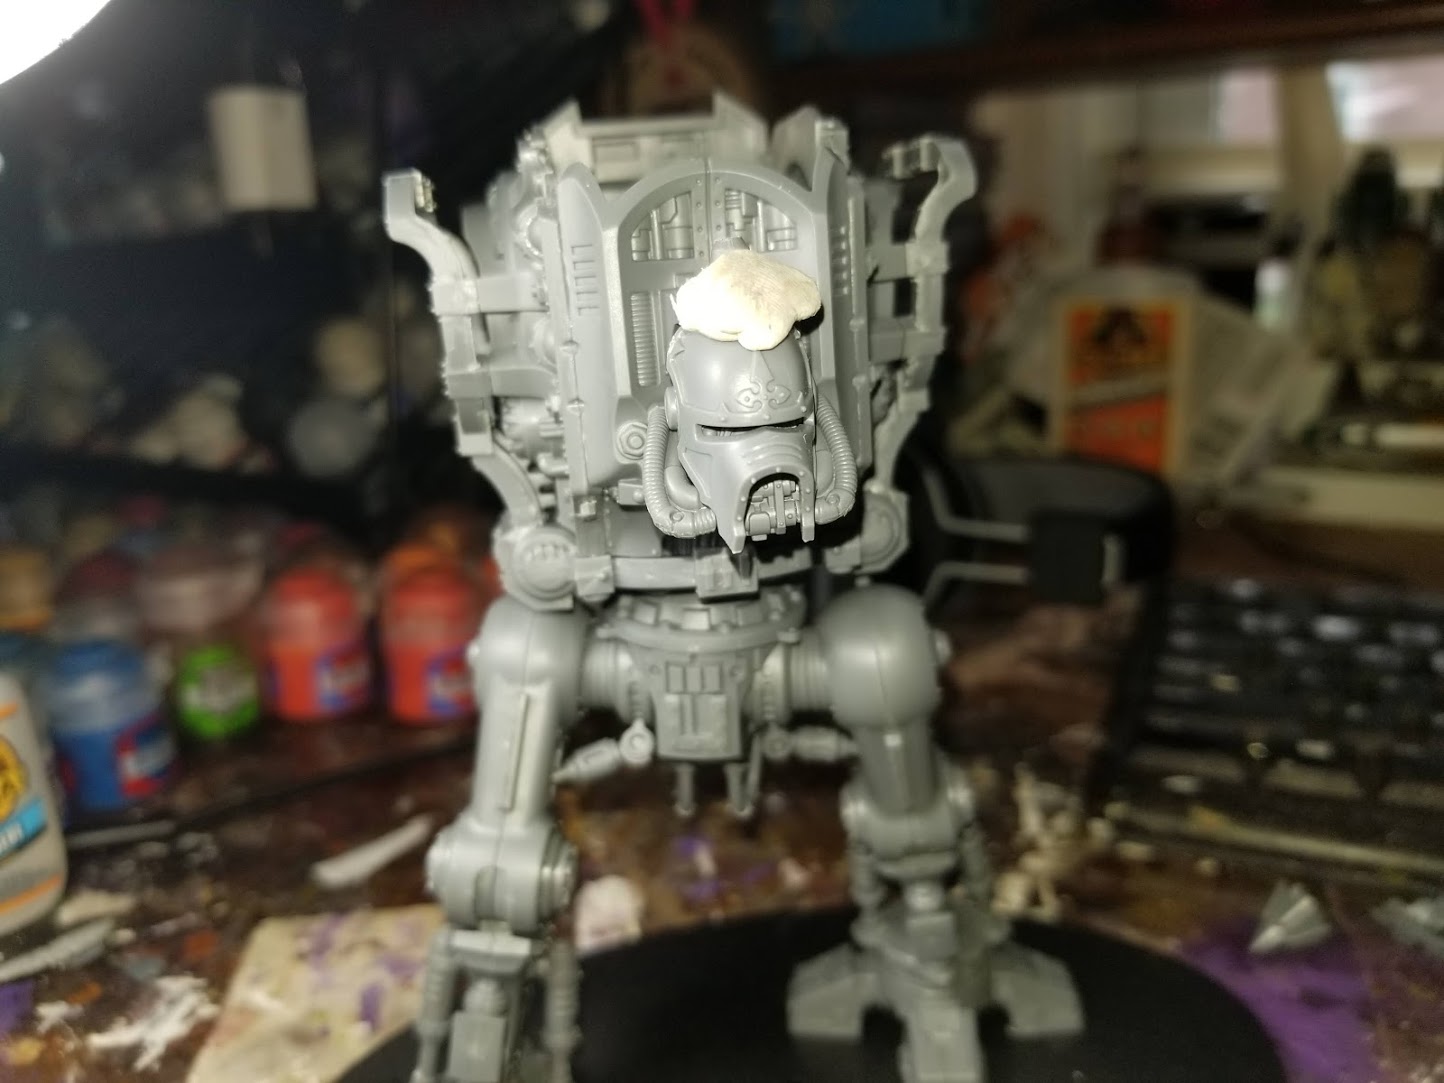
It turns out the heads on the Dominus class are the same size and have the same face plate contact point as the Questoris class. The model only comes with one face plate, but you are free to use any of the dozens you probably have in your bitz box from your other Knights.
If I fits, I sits!
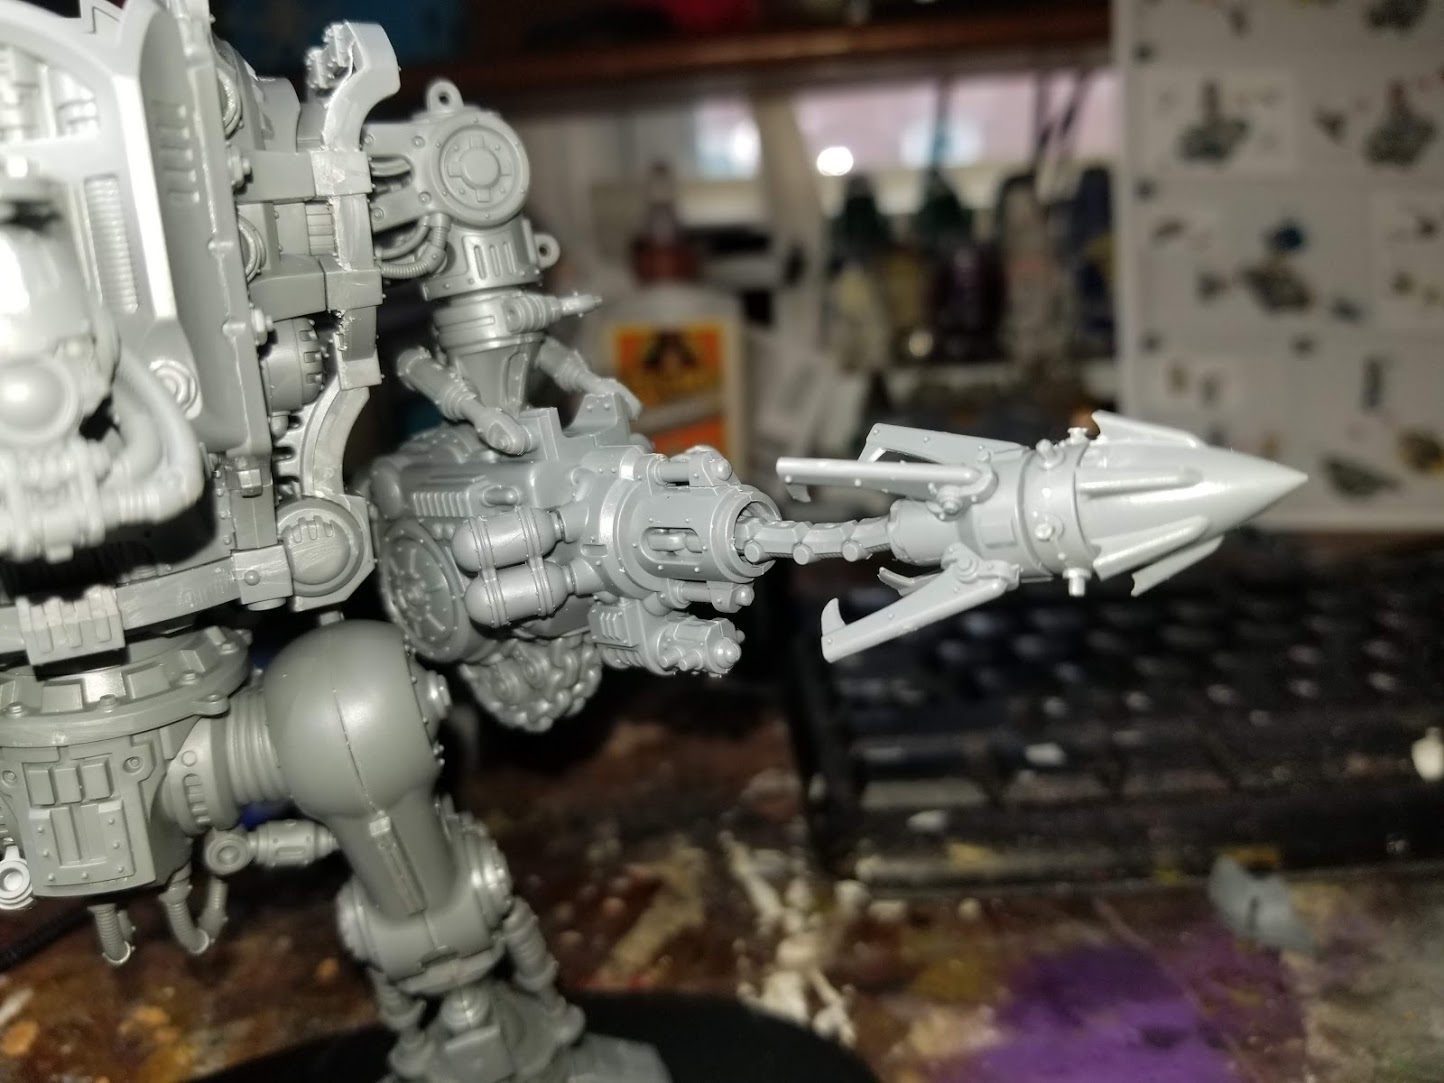
I love the detail on the spear! The pressurised bottles on the side for the pneumatics are a nice touch. Note that the arms are interchangeable from one side to the other. I am not entirely sure if the shoulder joint is the same on the Questoris, but the elbow joint is close enough that you could magnetise there and use this Dominus chassis for your Questoris if you prefer it.
I couldn’t help but customise the harpoon a bit and used a bit from the Maulerfiend to make it look like it’s firing. It would look better with a heavy plastic chain bit which I bet you can find on another kit somewhere.
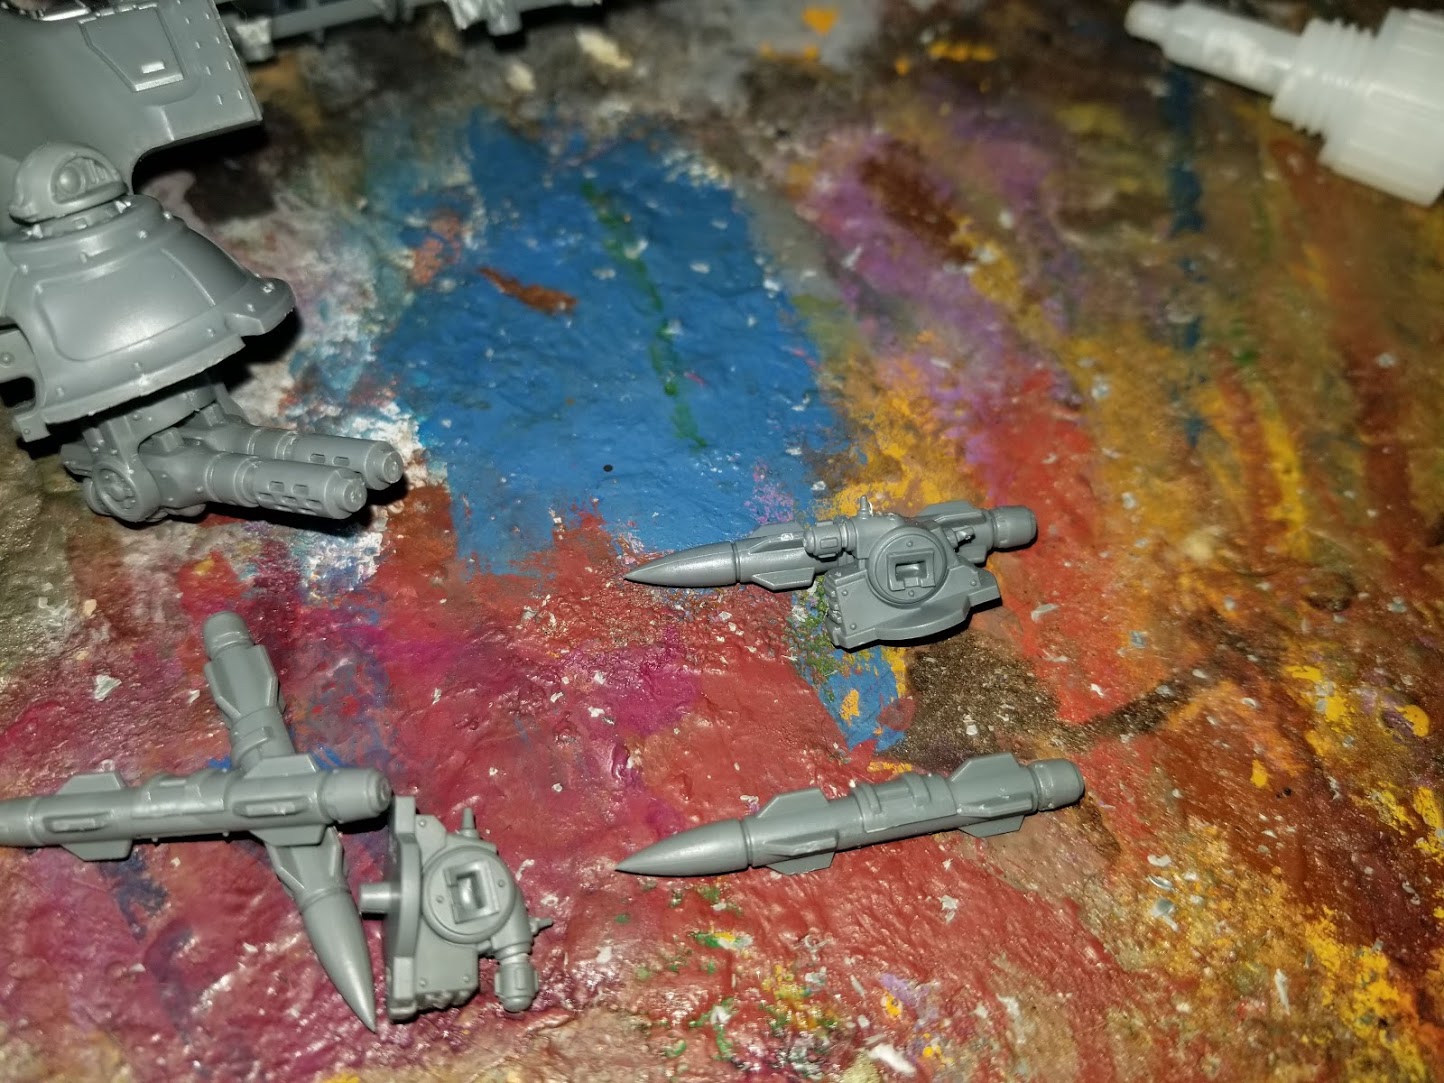
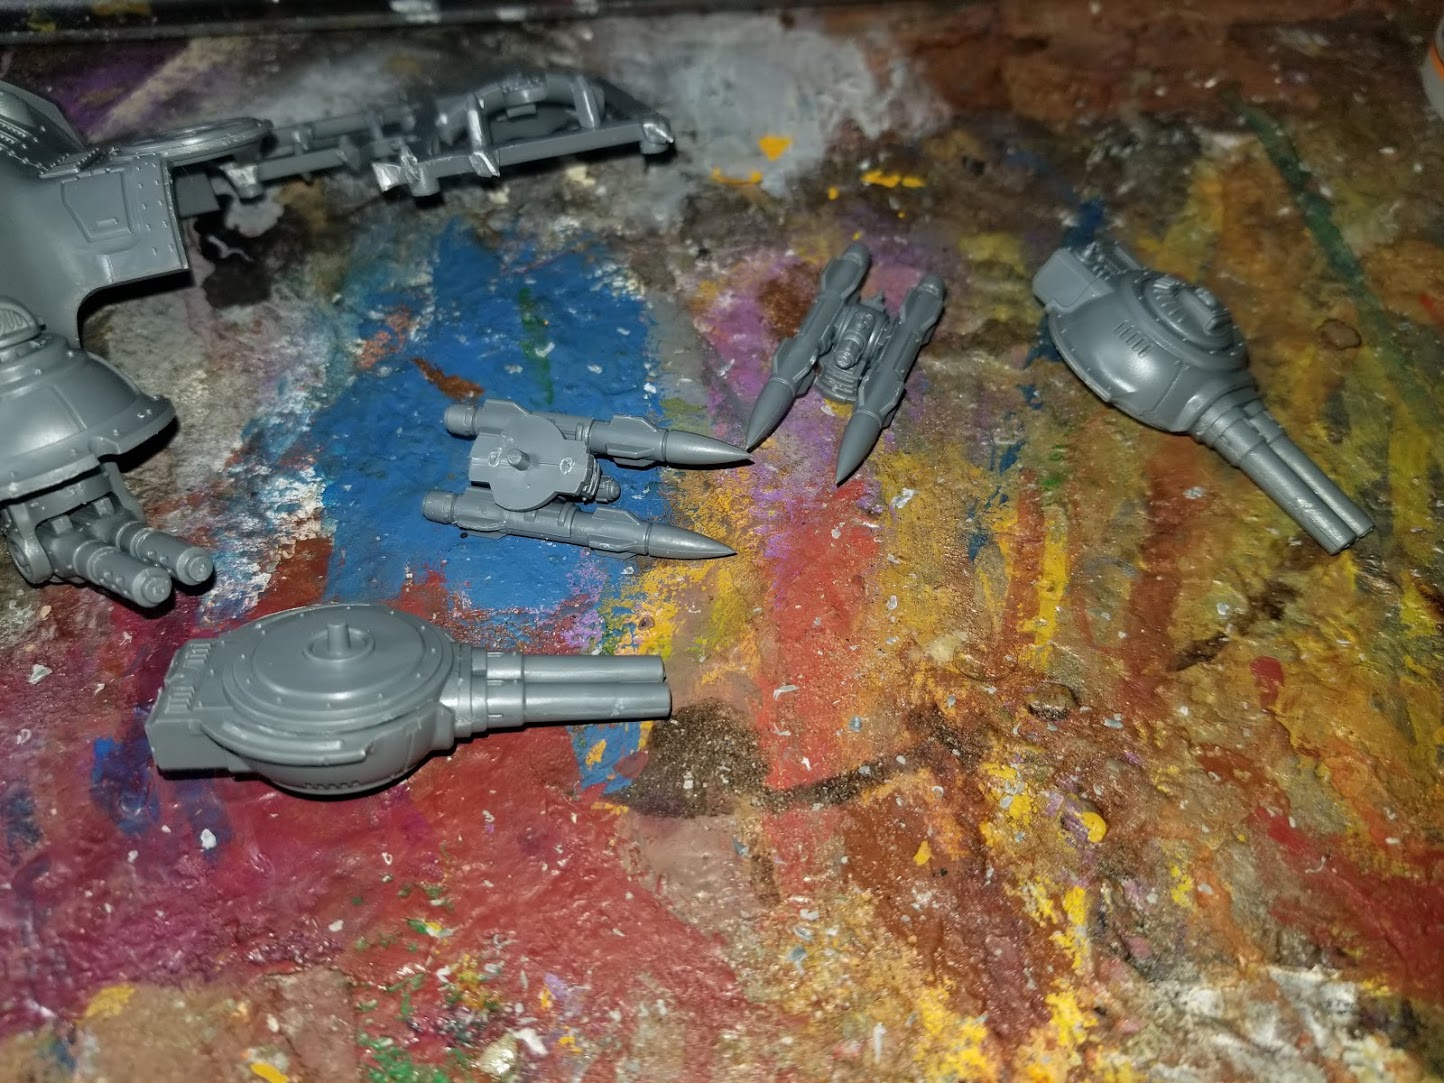
You could magnetise these missiles if you want. It wouldn’t be too hard. You don’t need a heavy magnet because it couches with a bit of a lip and the missiles are light. However, I fully plan on expending all of my missiles in turn 1 most games (I don’t plan on targeting a character more than once), so I’m just gonna glue these on and remove the turret when I use them up. Edit: I’m a cheater. You can only shoot one per turn.
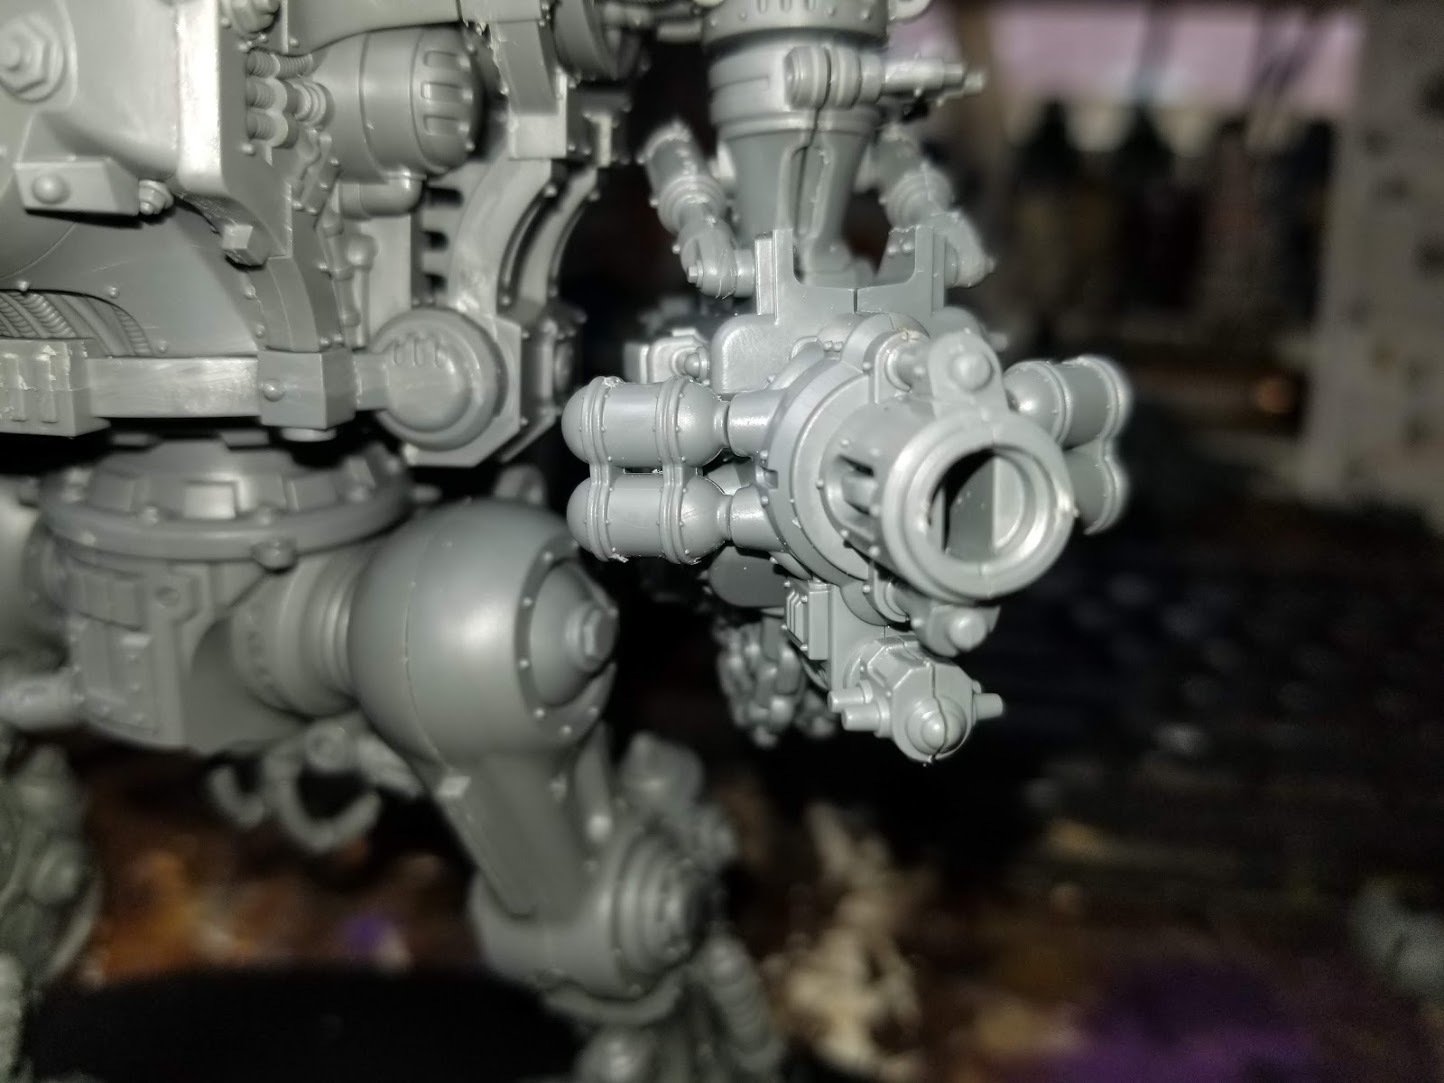
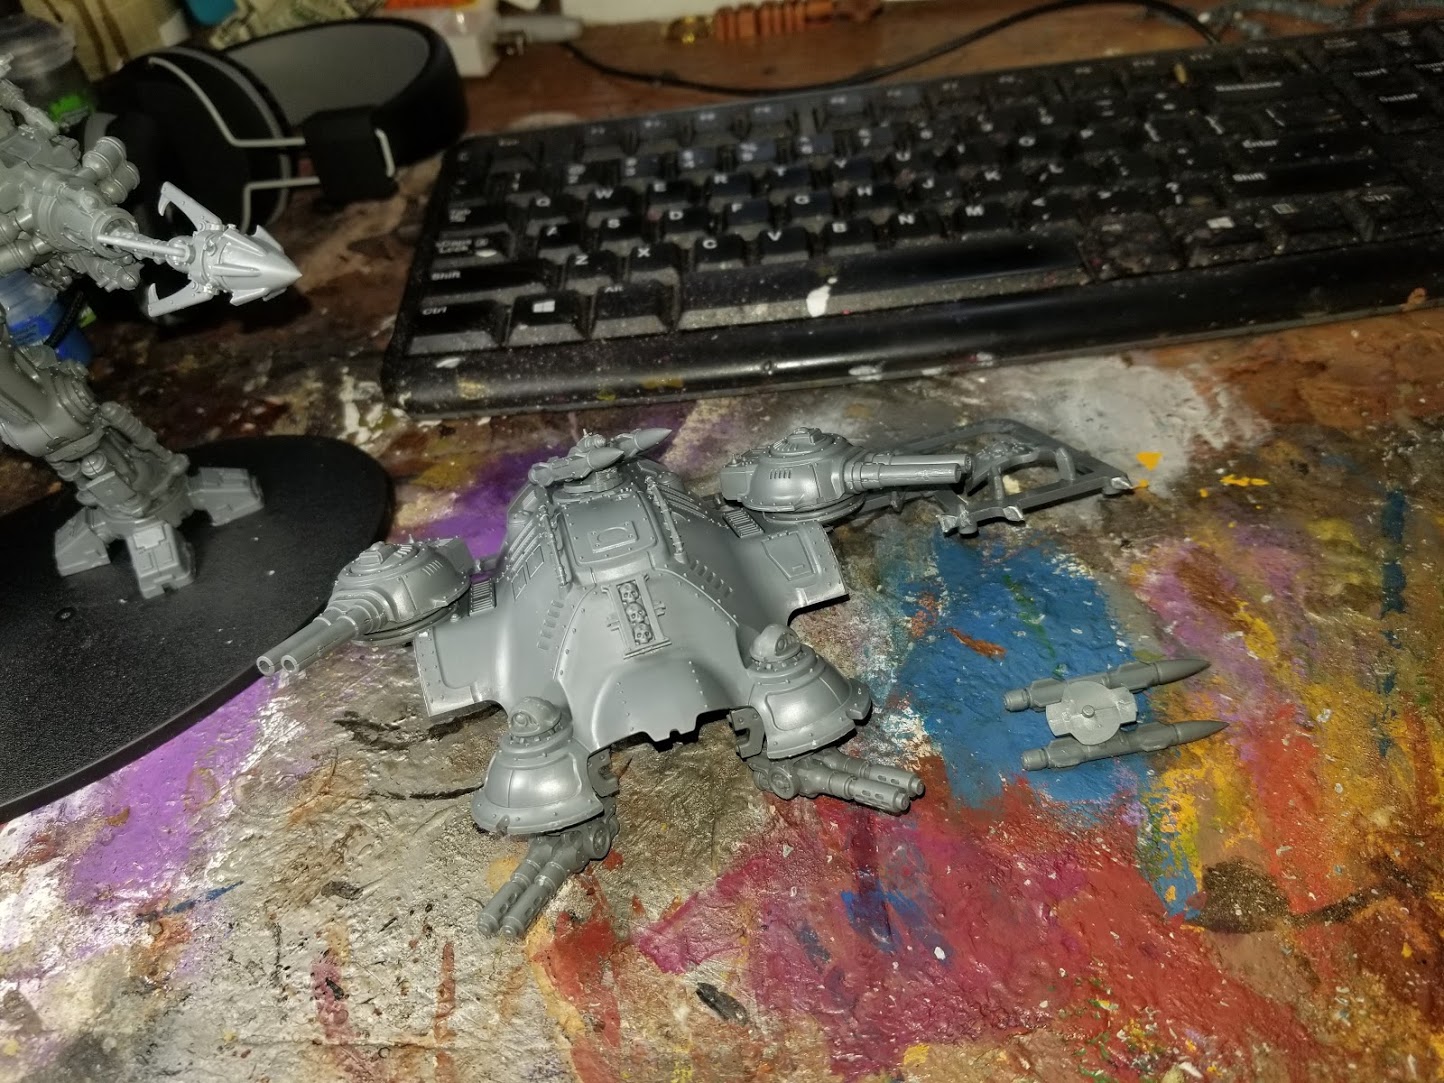
The model comes with enough parts that the turrets do not share pieces. You can mix and match turrets from game to game and their pegs are long enough that magnetisation, while possible, is not necessary.
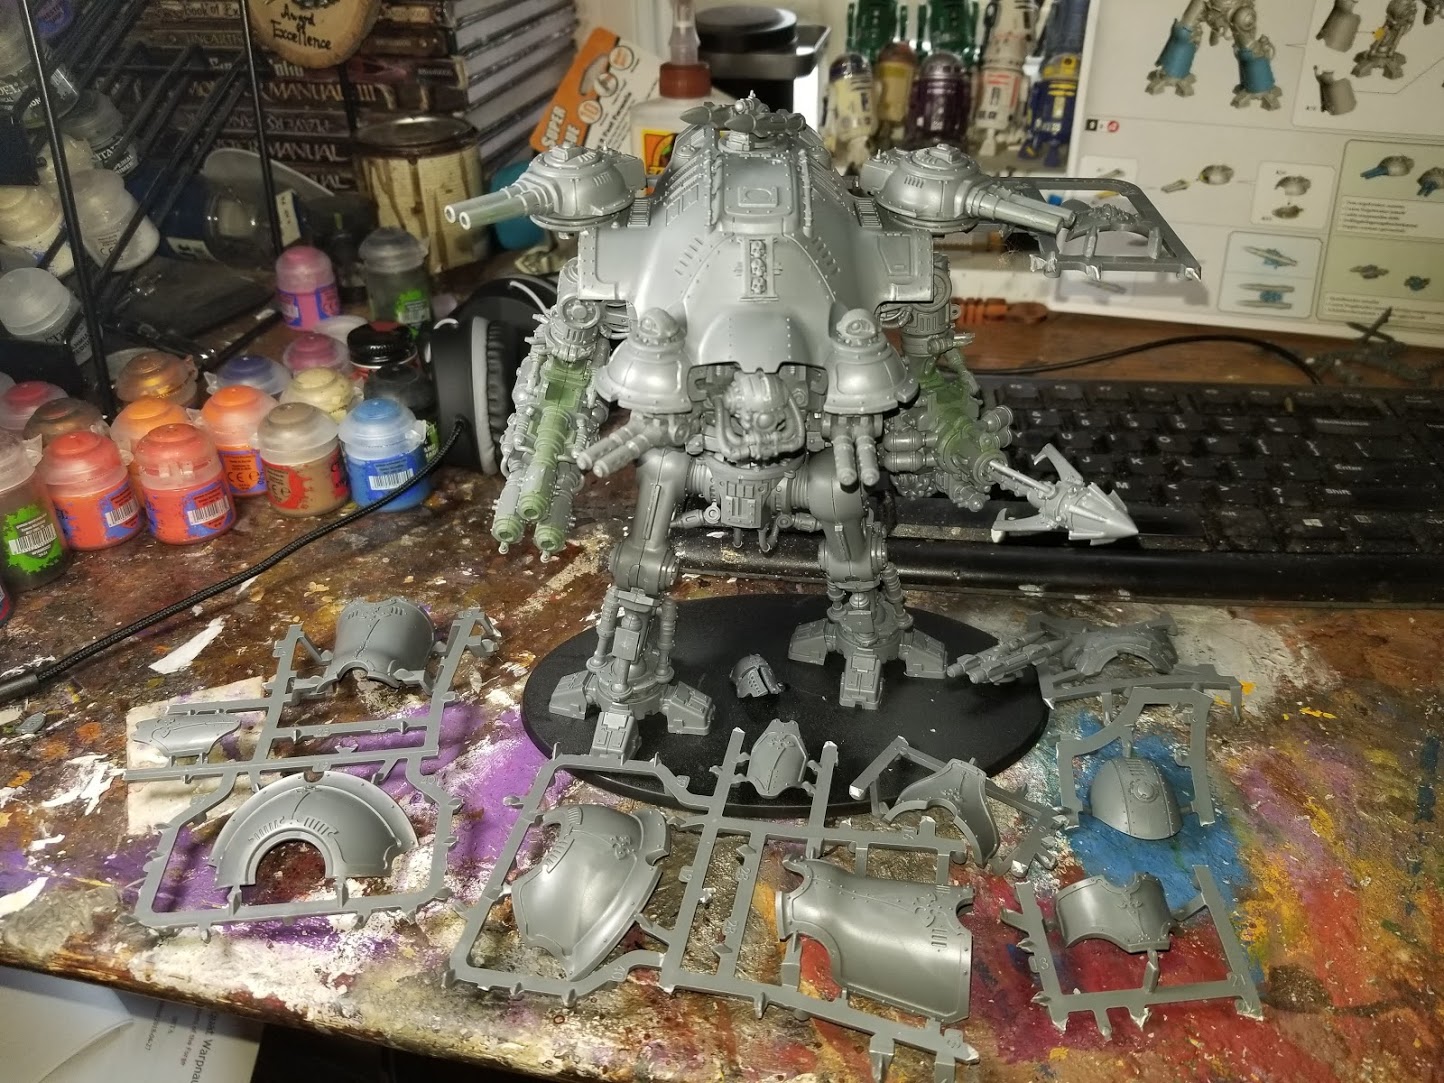
Carapace sub-assembly. I left it on the sprue because these are big models and I like to have a bit of control when painting the carapace.
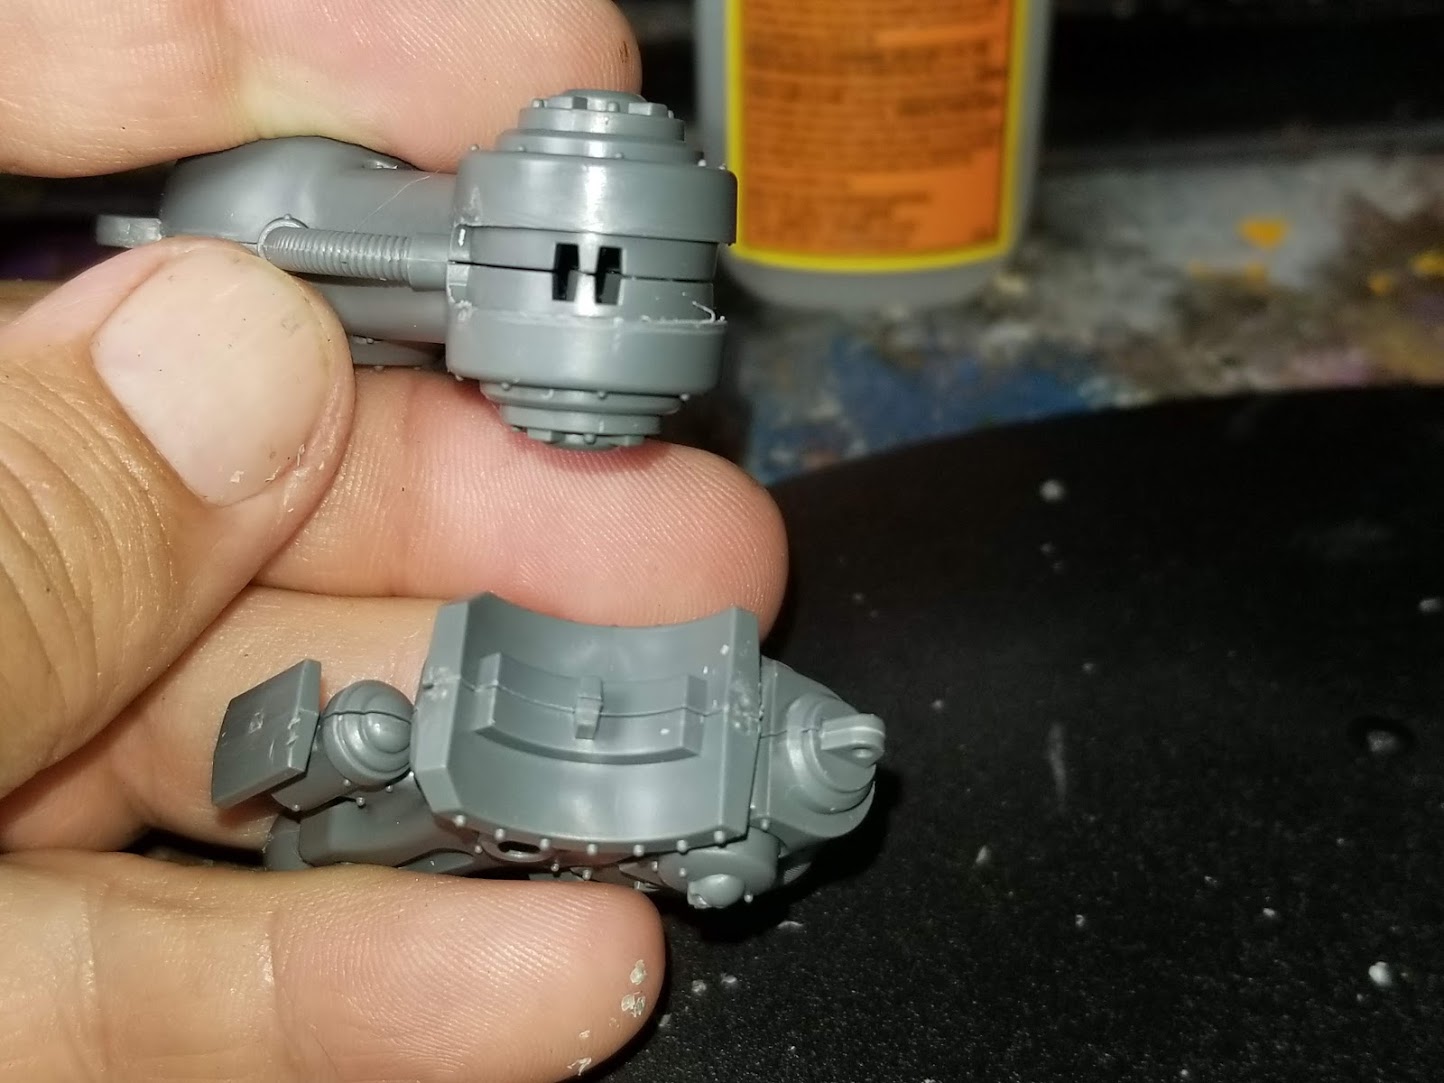
There she is, all ready for paint. Again, with these huge models, it really is easier to paint all the panels separately, then snip them out and glue them on. You just have to touch up the snip points with whatever colour you’re doing your edging in. Note that the arms will need some significant gap filling, as will the turret barrels.
I am really pleased with this model. I really appreciate all of the thought that went into how it was put together. It was a really quick build, too. Were I not snapping photos and taking notes, it would have been maybe a 3 hour task.
Thanks for looking. If you have any other tips, please go ahead and drop them in the comments below!
Also, please be sure to check out the Masters of the Forge. We’re the podcast that brings the rich lore of Warhammer 40,000 to life on your tabletop.