
Hey guys Cavalier here, commission painter for Frontline Gaming and co-host of Splintermind the Dark Eldar podcast here today with a painting tutorial on painting your Death Guard quick and easy!
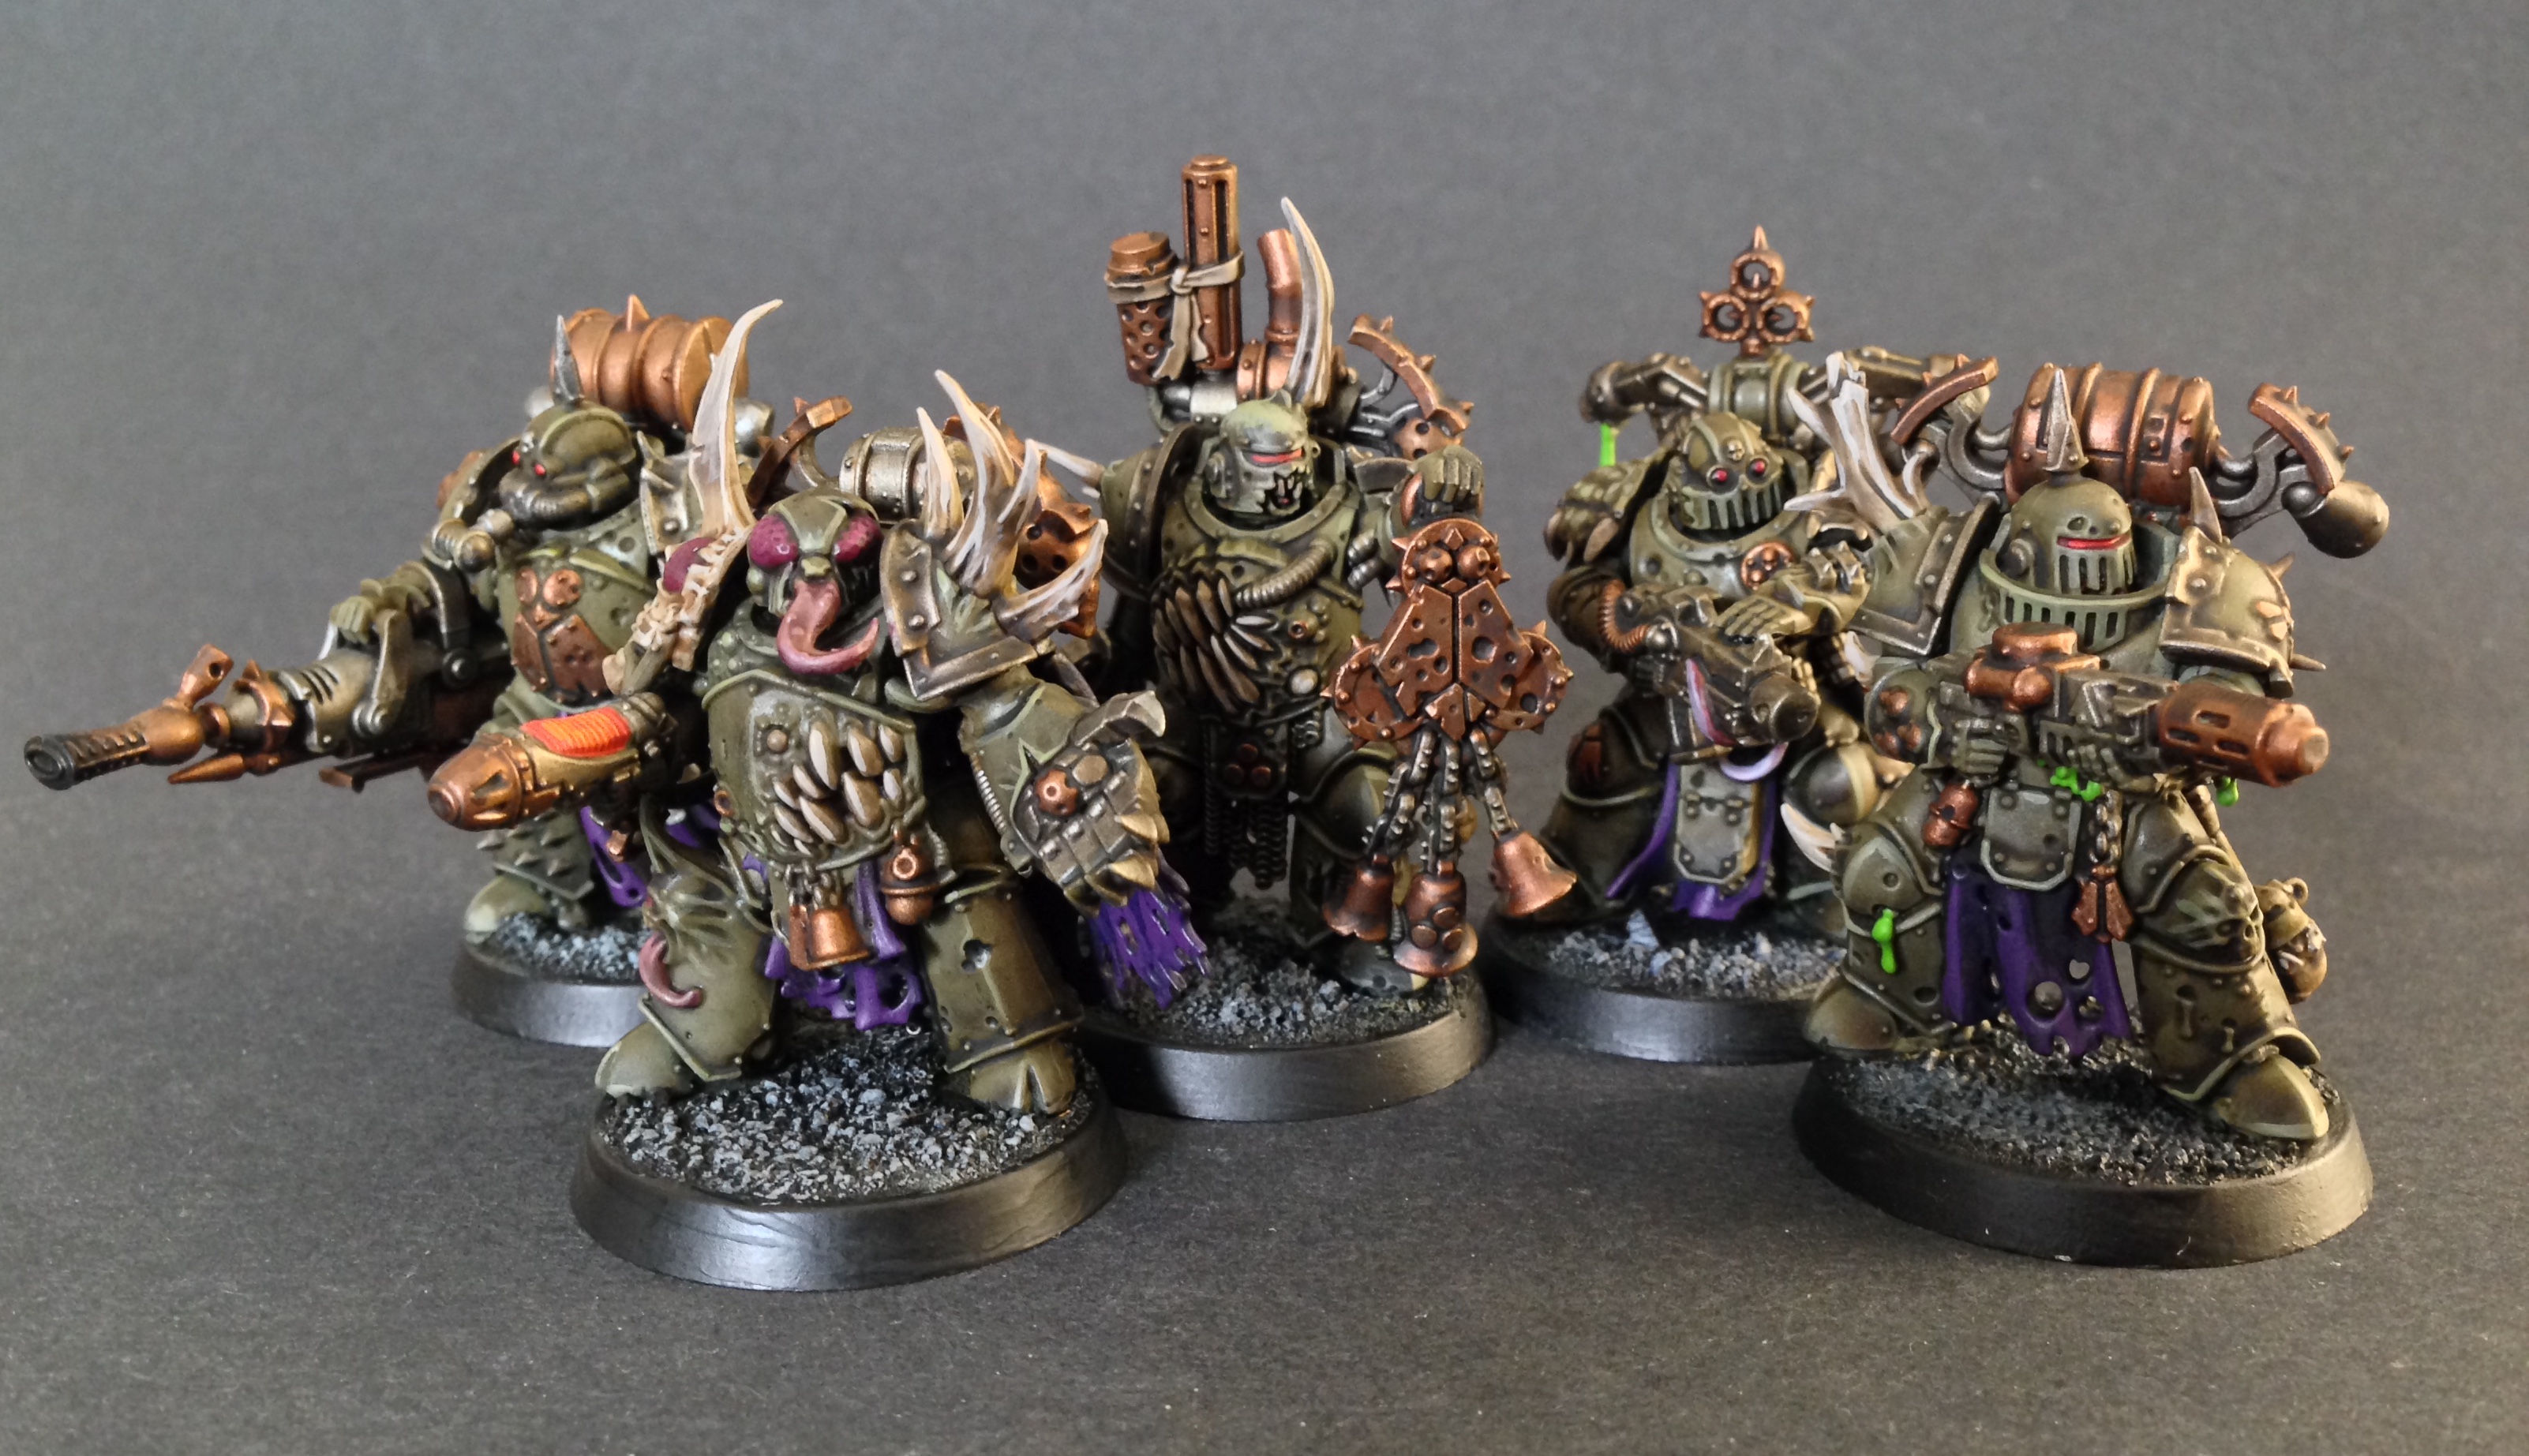
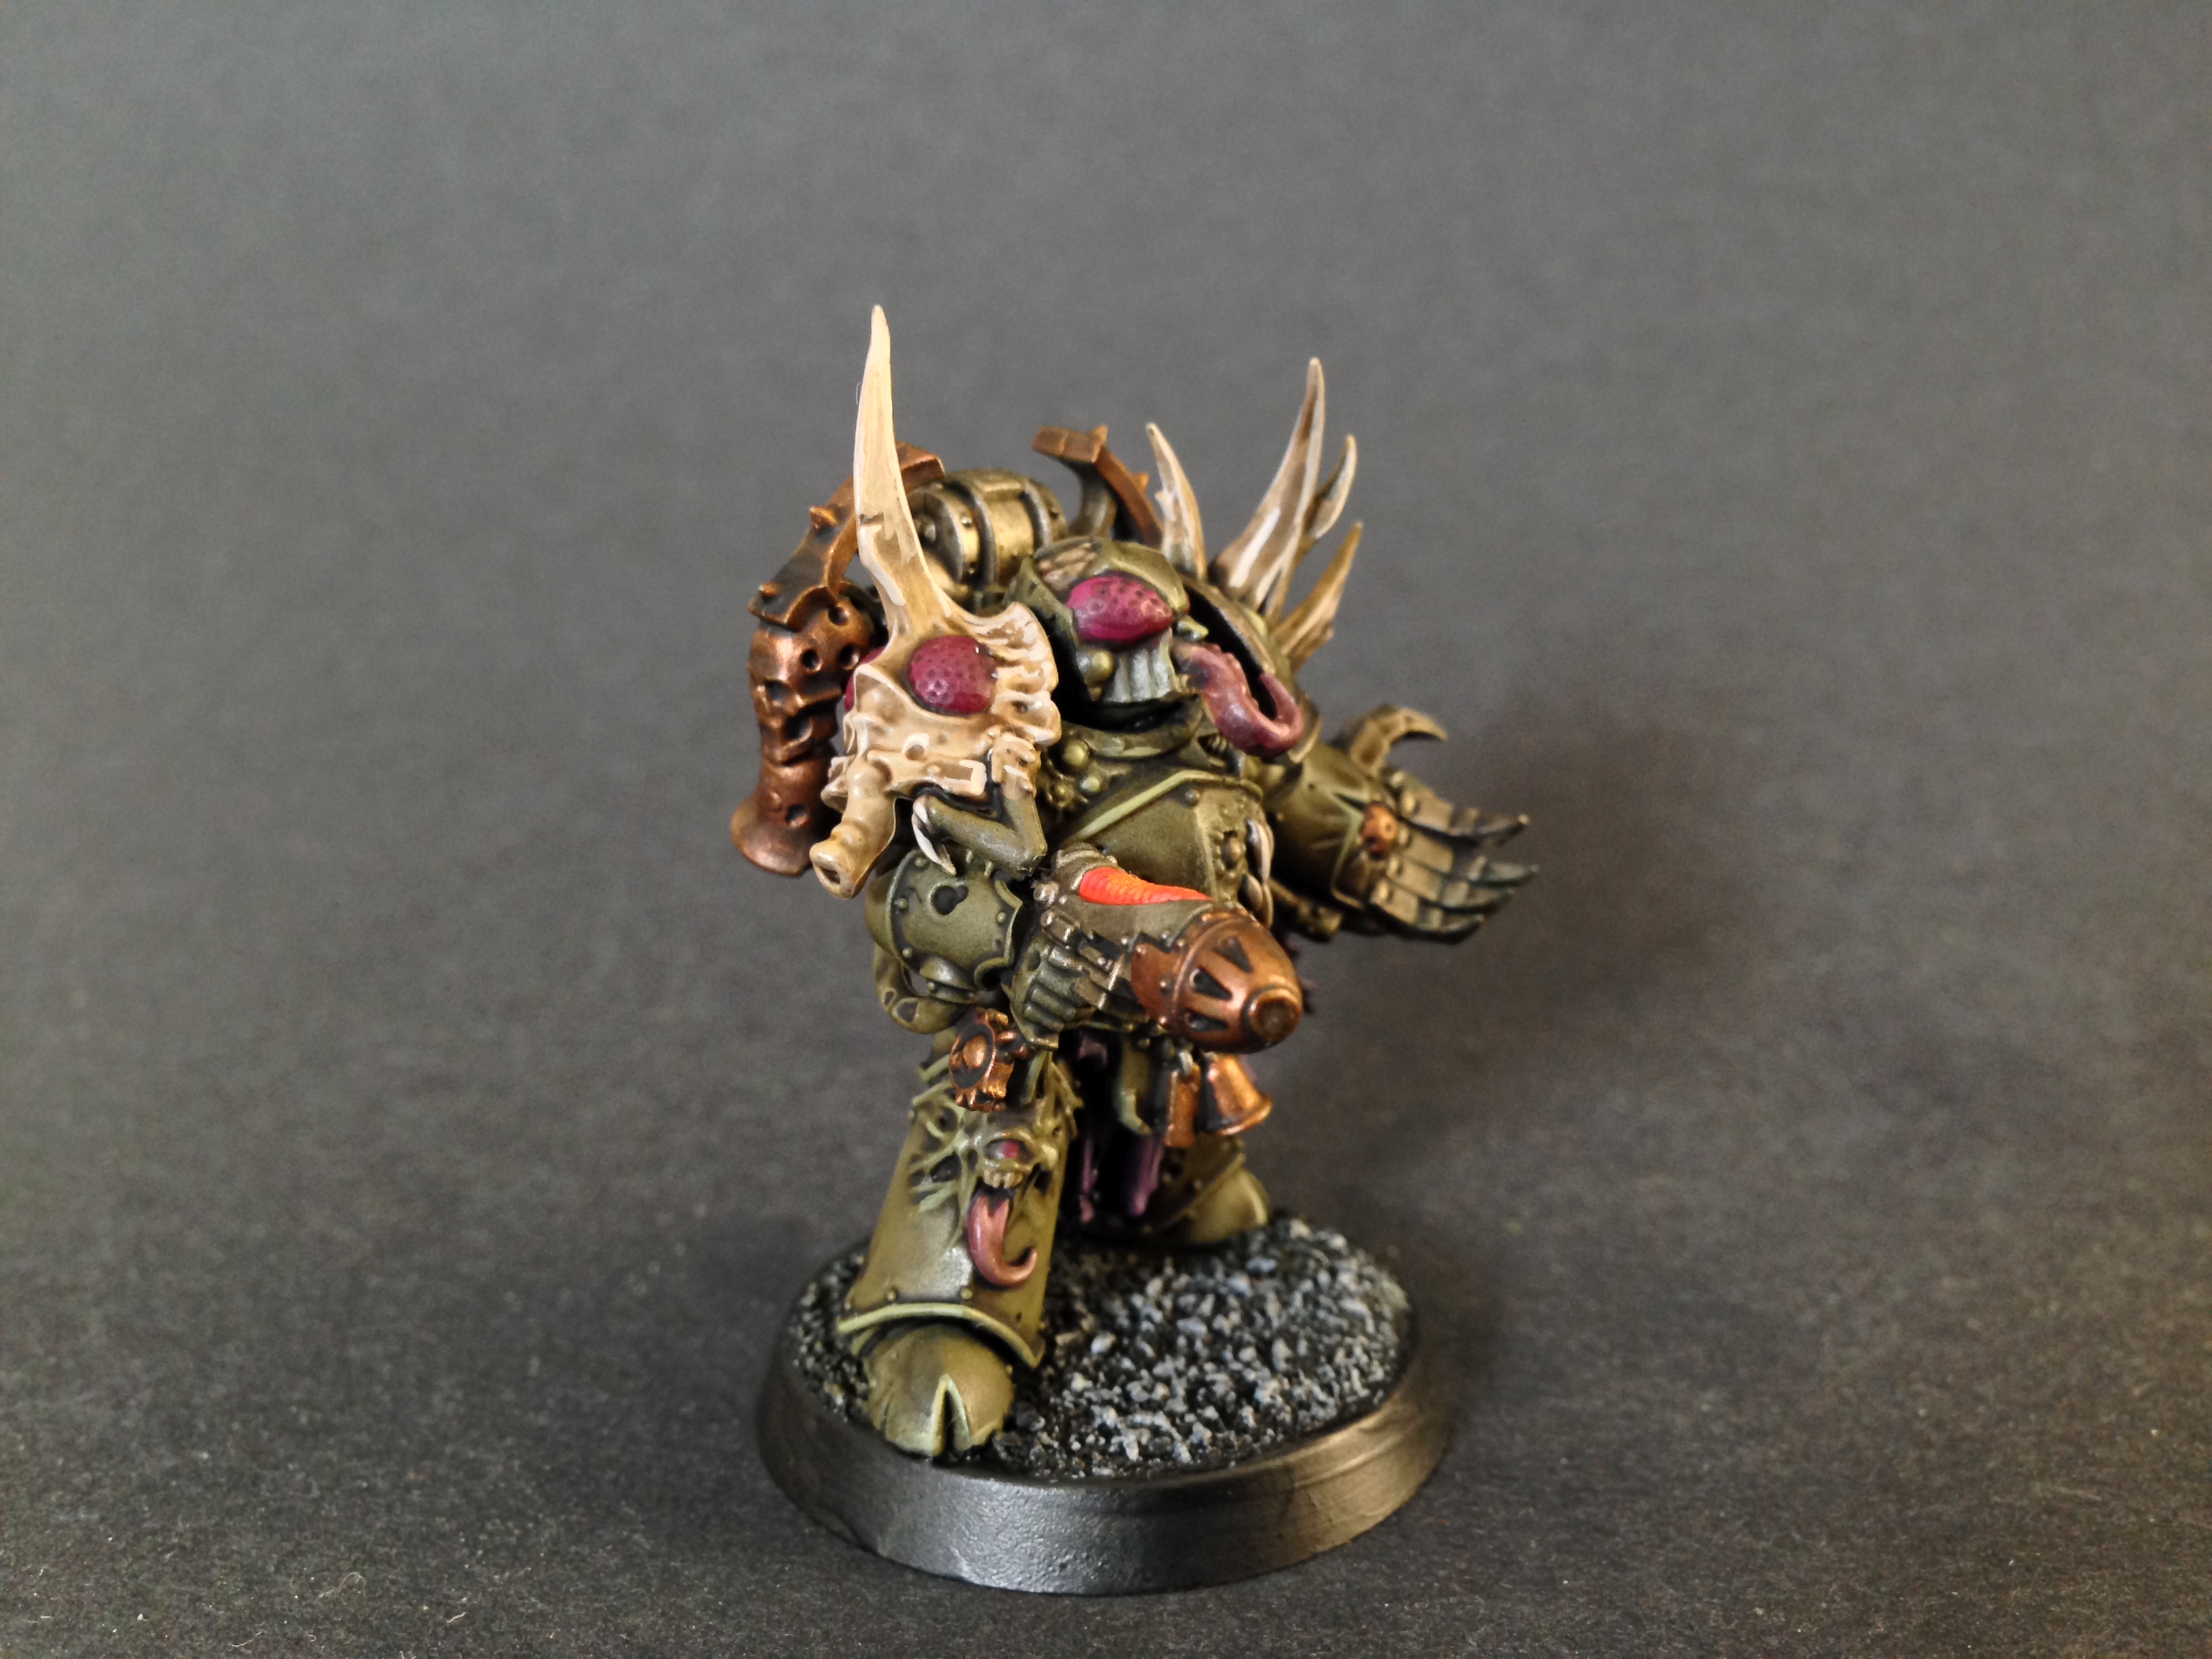
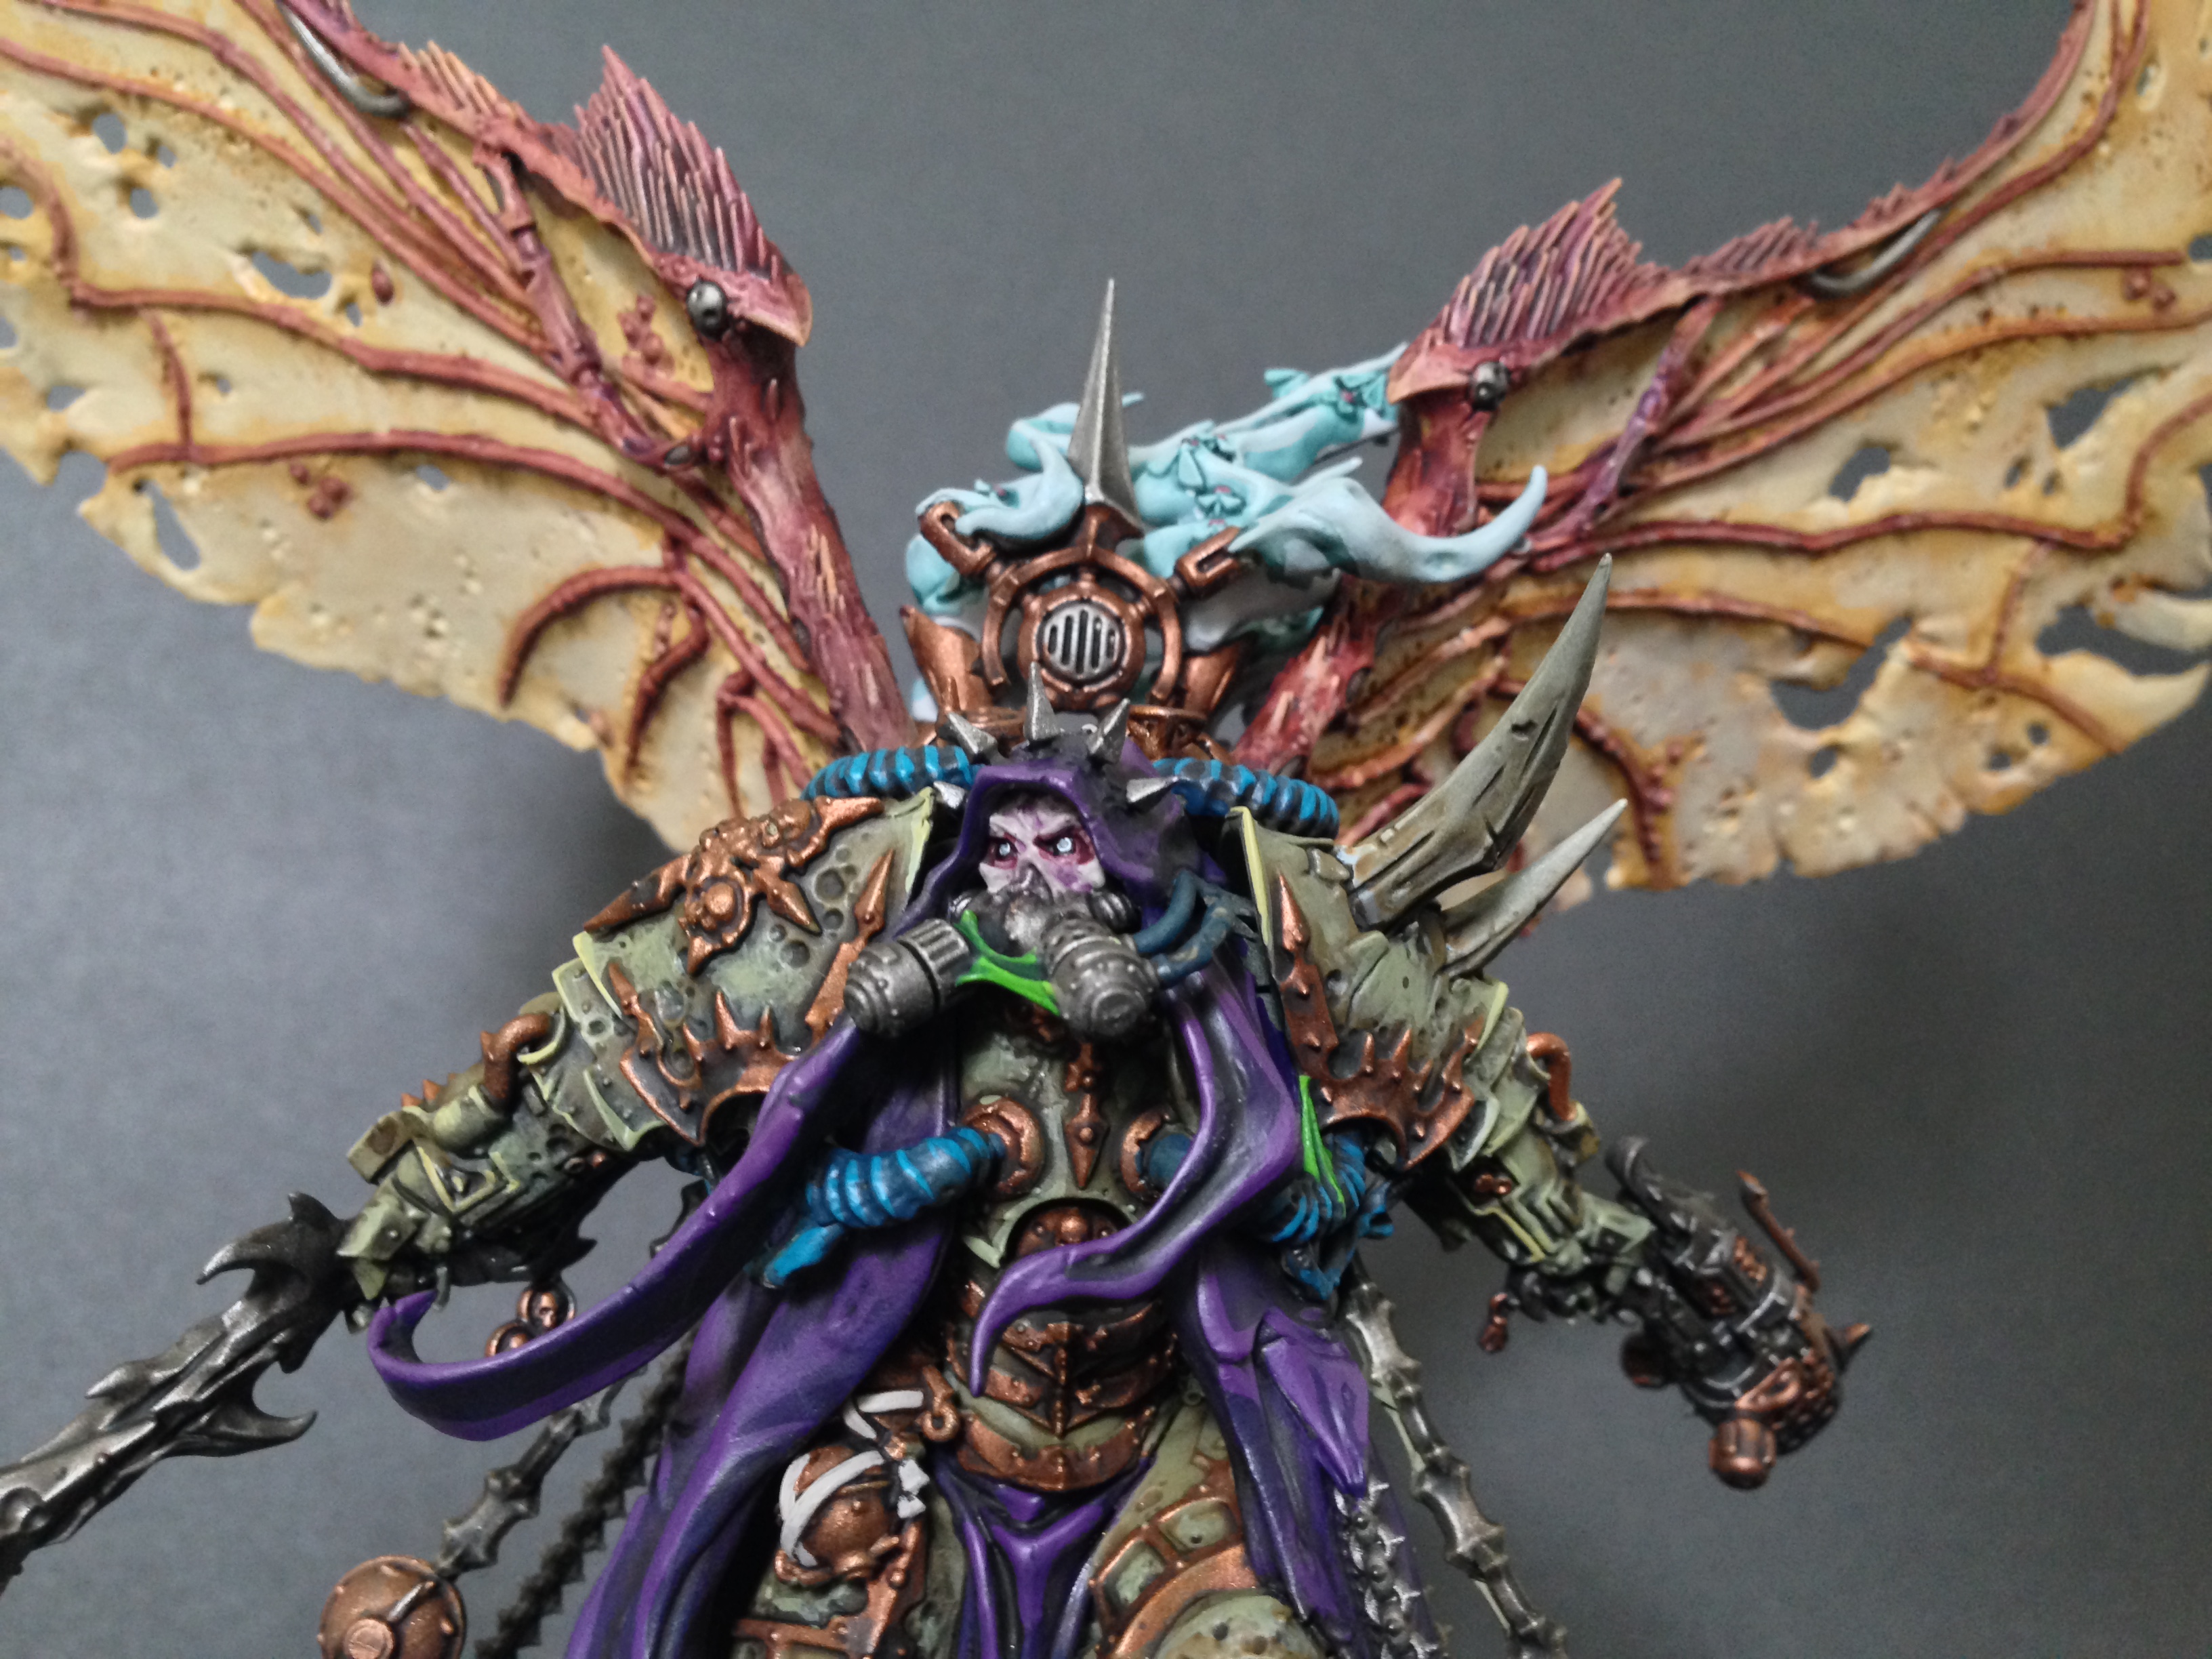
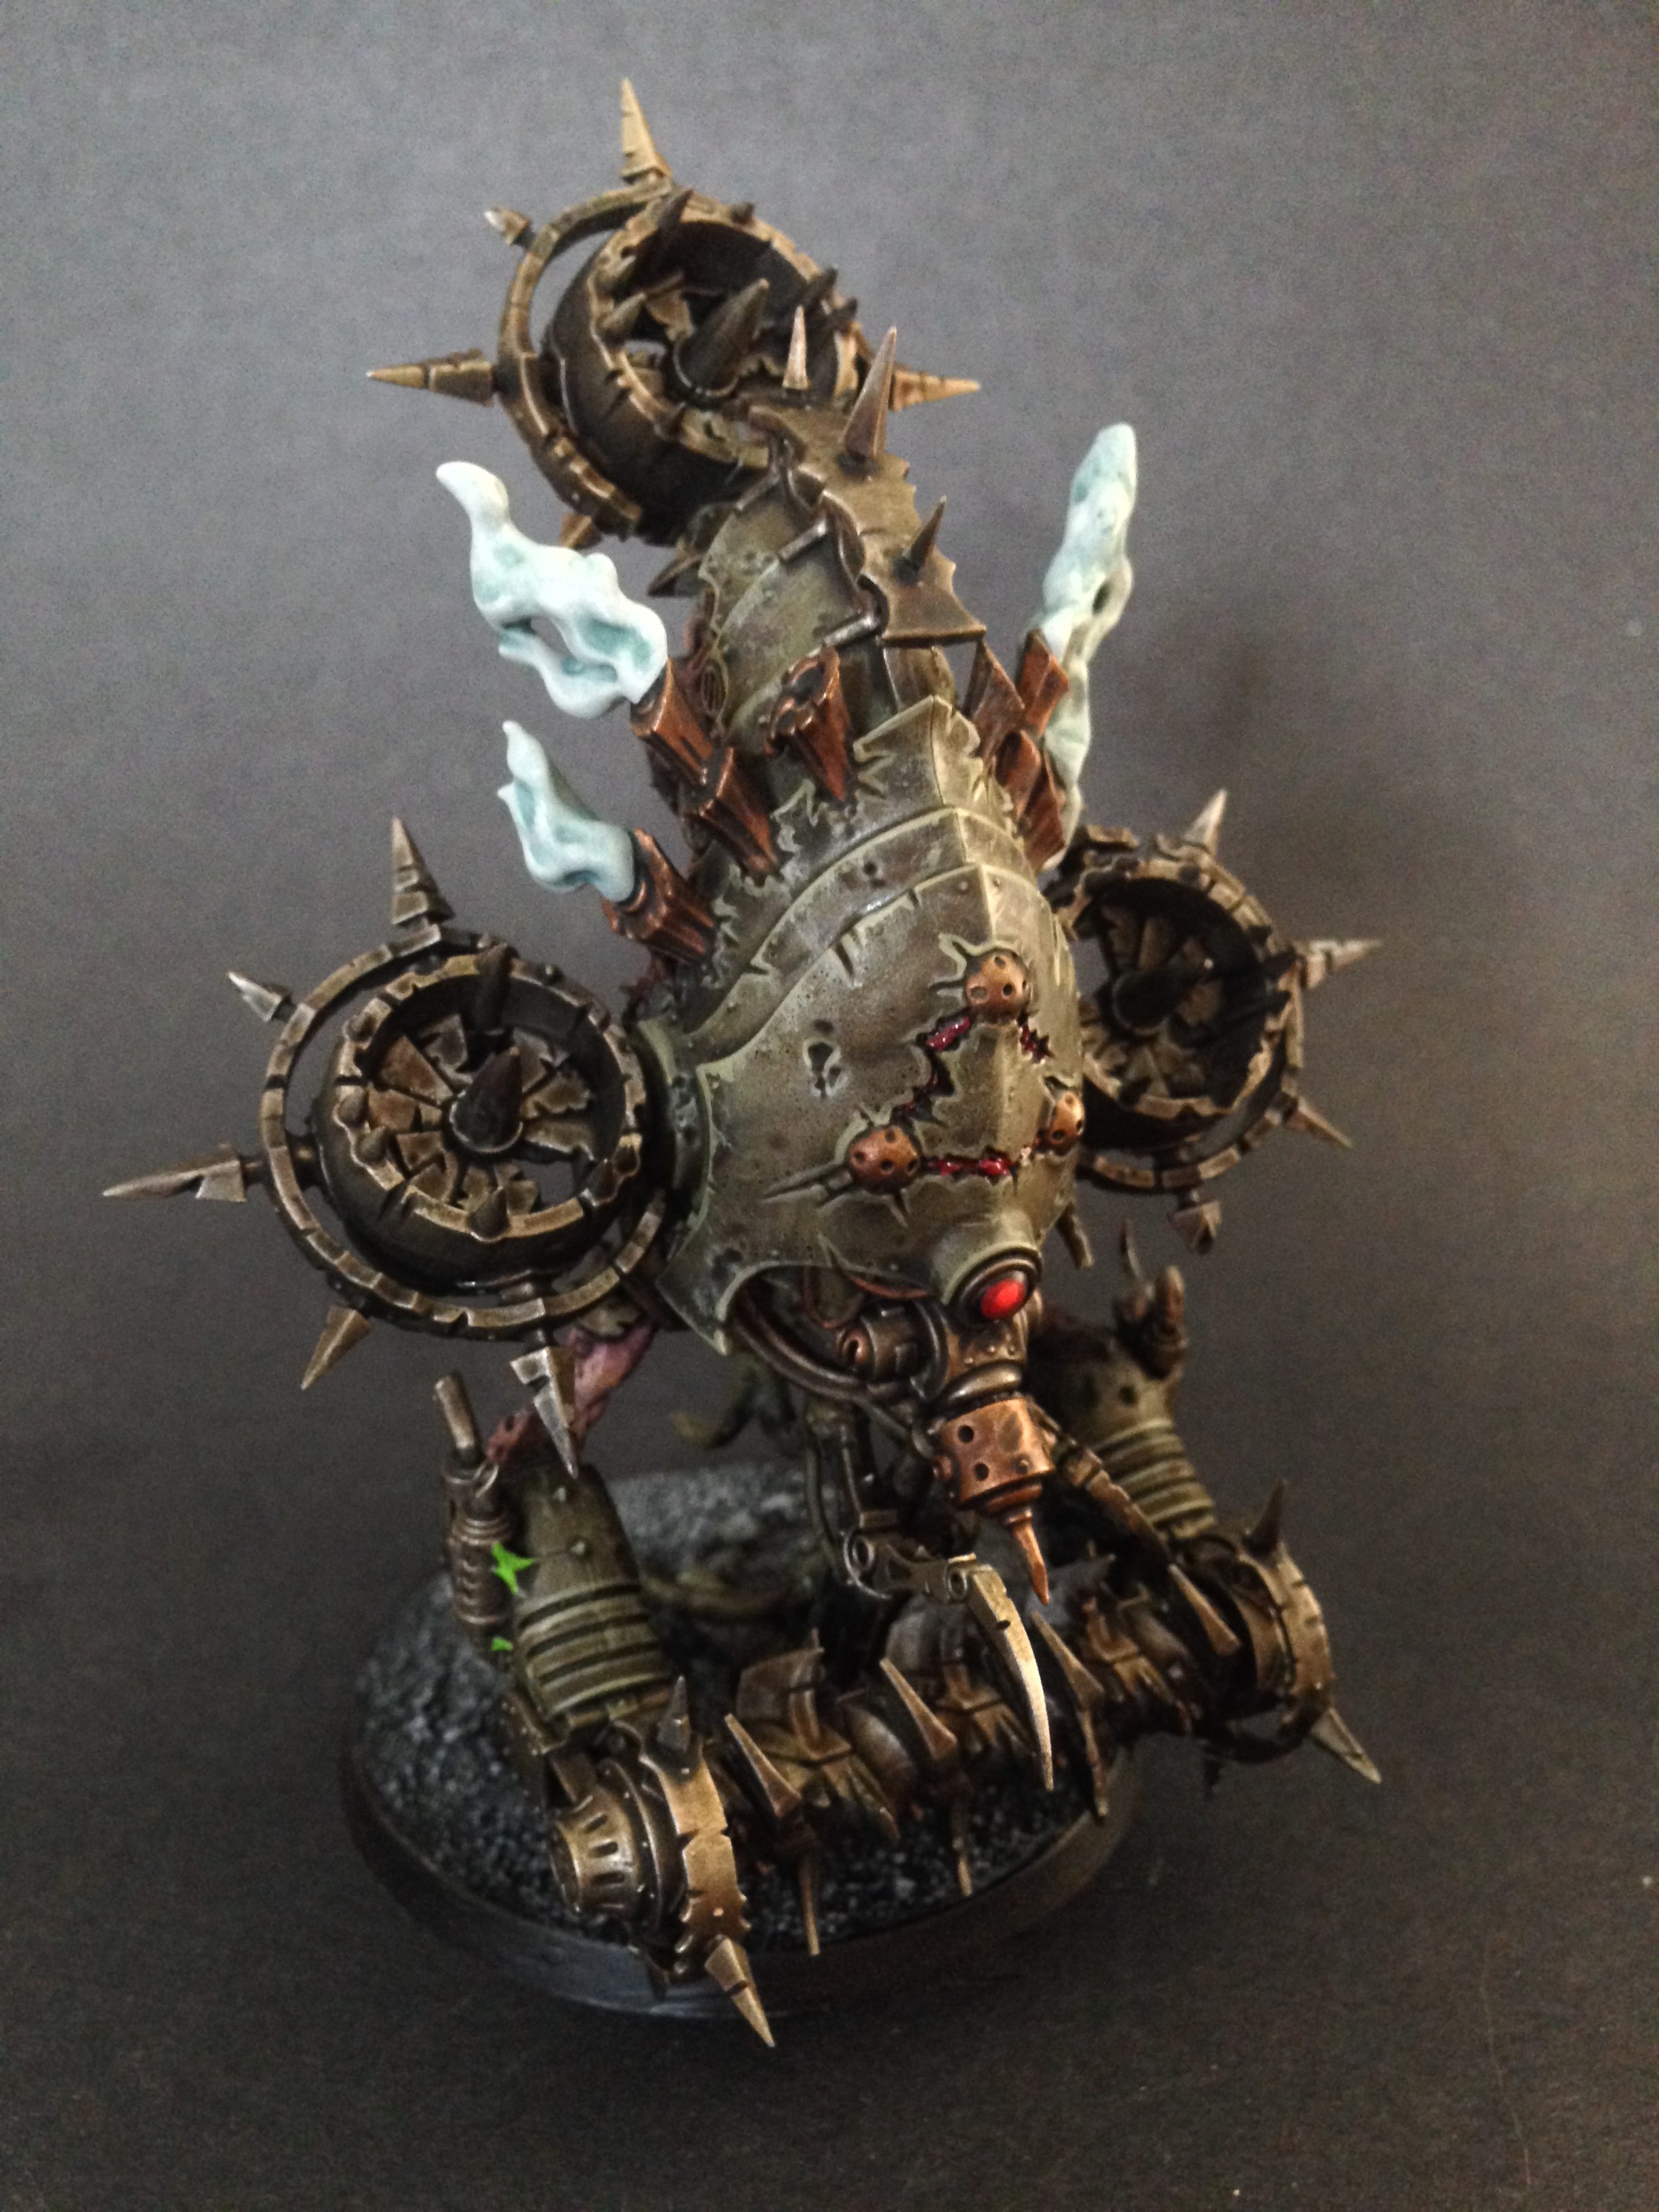
So I’ve painted Mortarion three or four times, yet never any proper Plague Marines. Luckily I got the chance to paint some for my most recent commission but only to a Tabletop Standard which means a single highlight. I actually find this quite challenging because finding a highlights that doesn’t look either wildly bright, or far too subtle can be a real challenge. However I’ve got a technique that works perfectly with Death Guard. So if you like the miniatures pictured above I’ll show you how to achieve that look with only a single highlight!
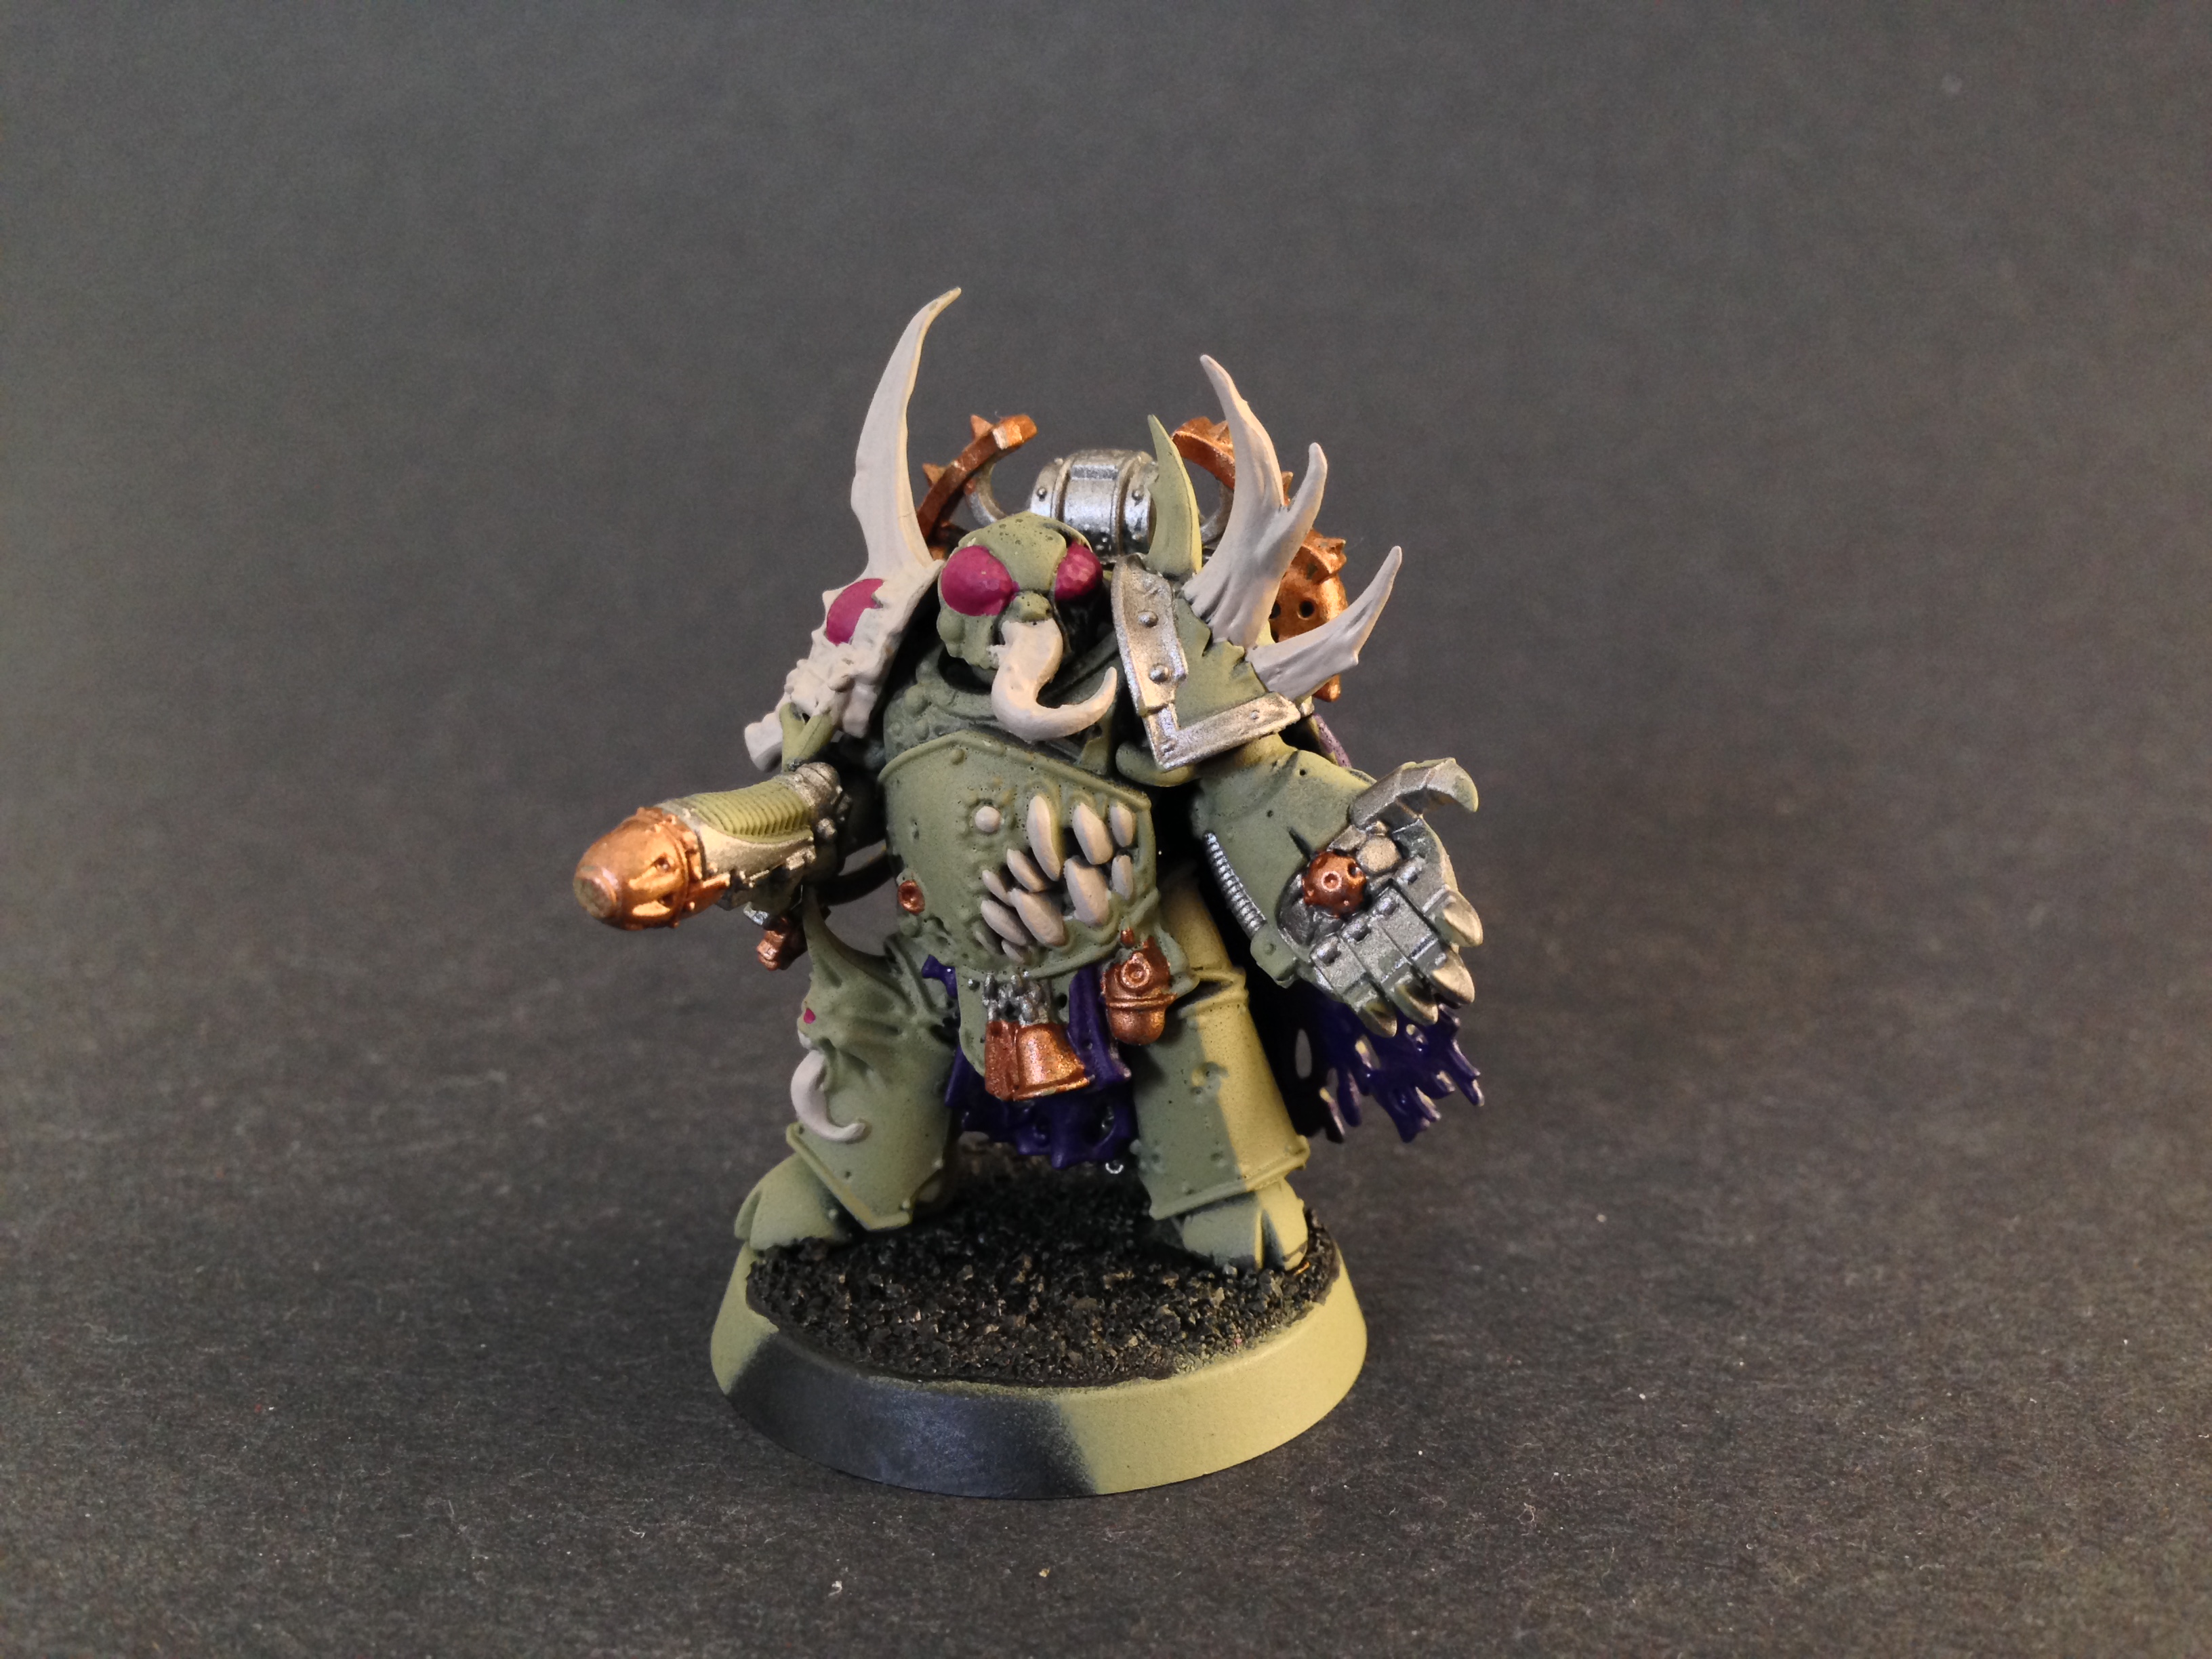
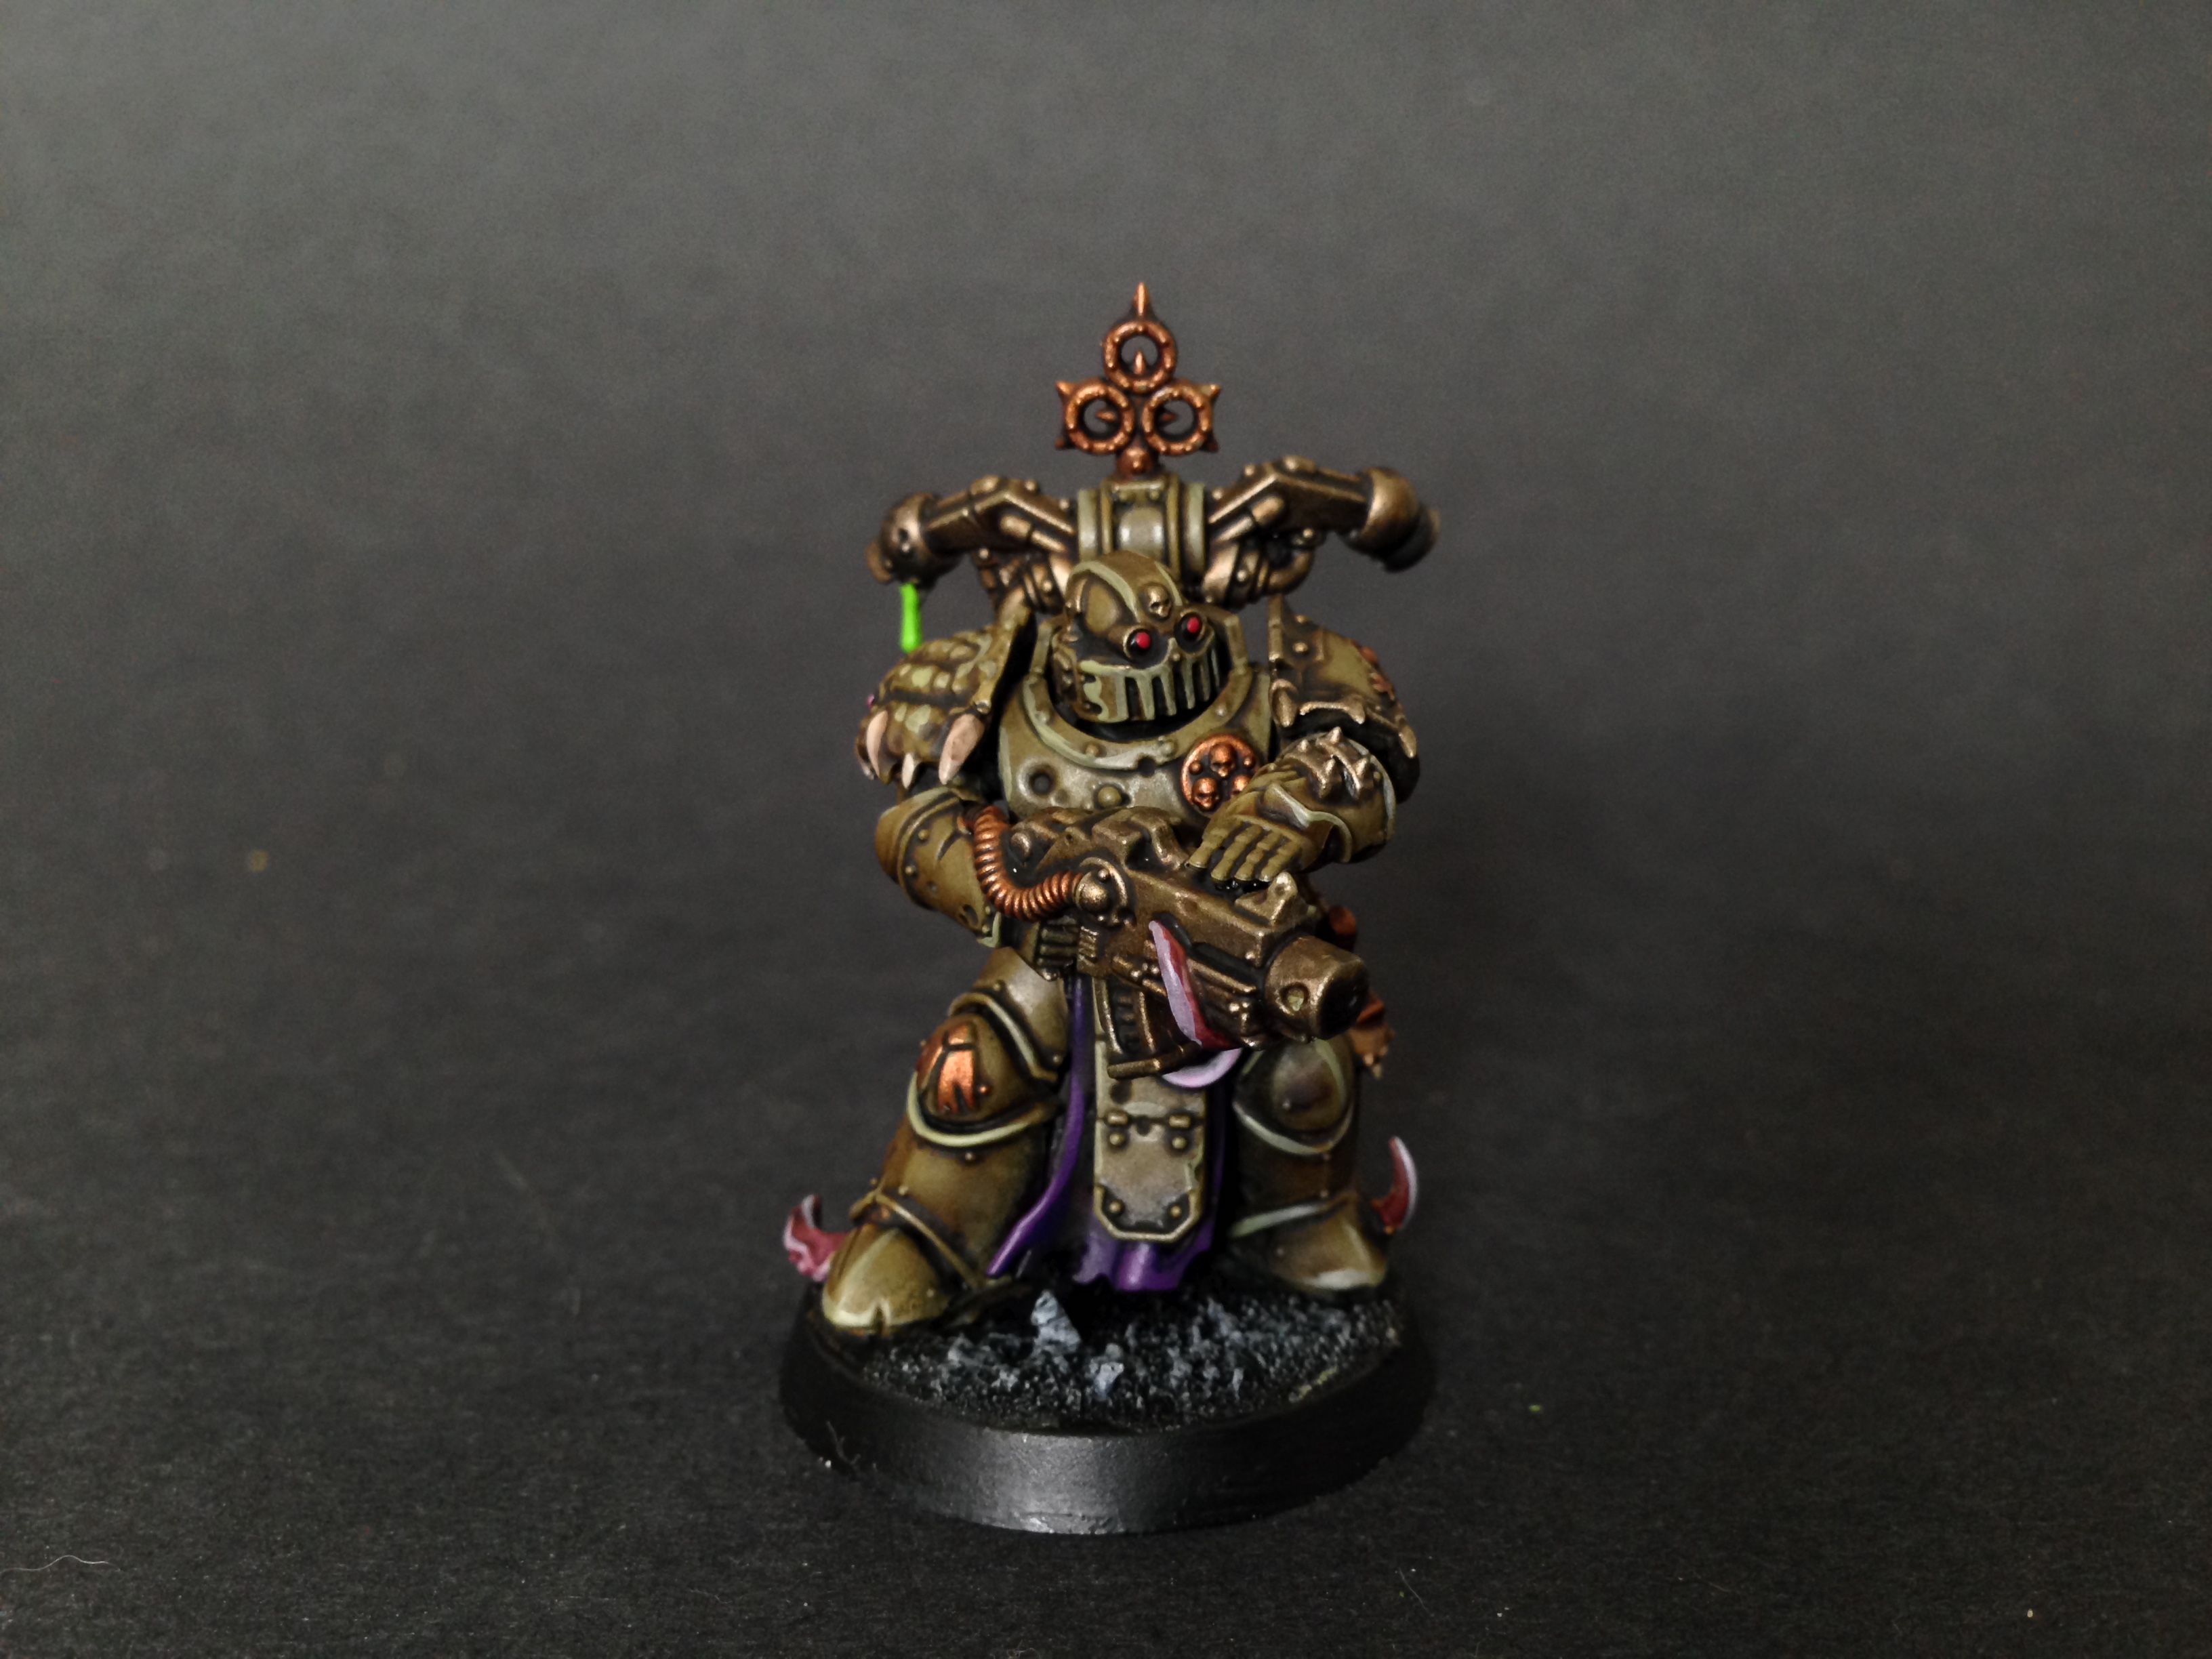
So for my example I’ll take you through how I painted the Champion step by step. To begin with I primed him Death Guard Green over a Chaos Black base.
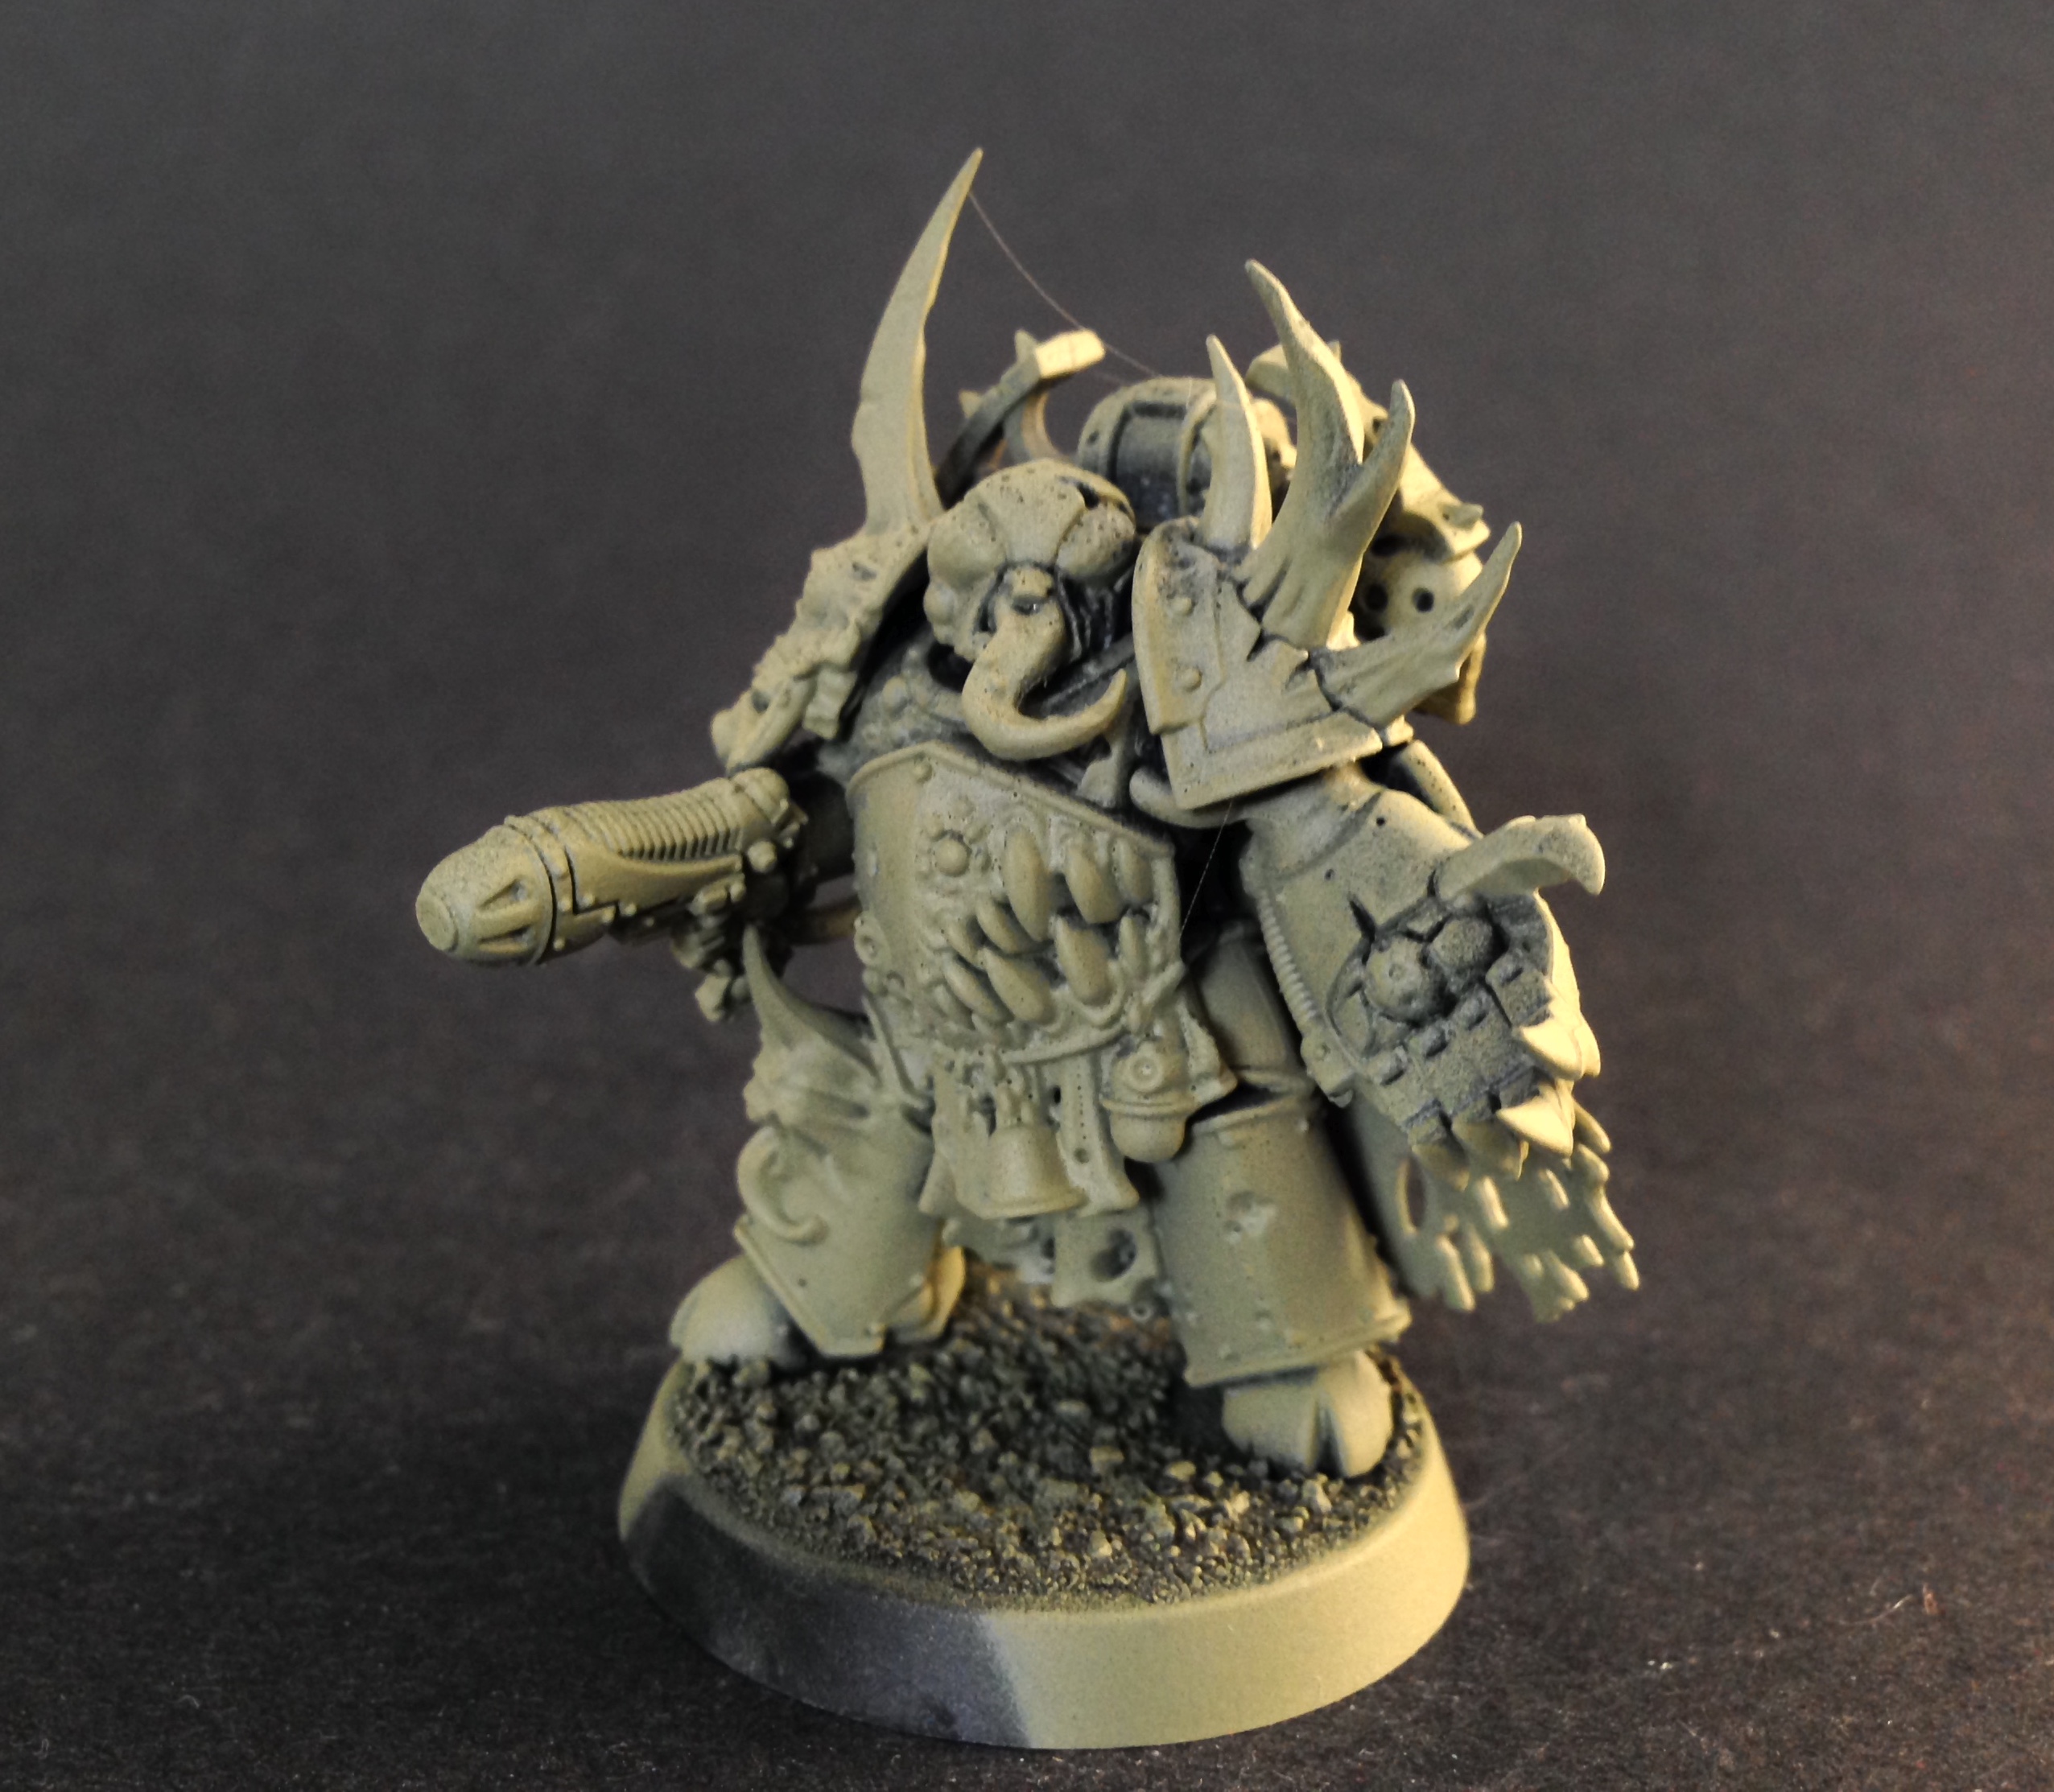
Next I picked out the metal bits choosing metallics that I knew would look good with the kind of washes I’d be putting over the green bits of armor as well. For this job I went with Balthasar Gold (a real gem in the paint line) and good old Leadbelcher. Quick note I like to black out the base early on, it really helps me get a feel for the color balance on the model.
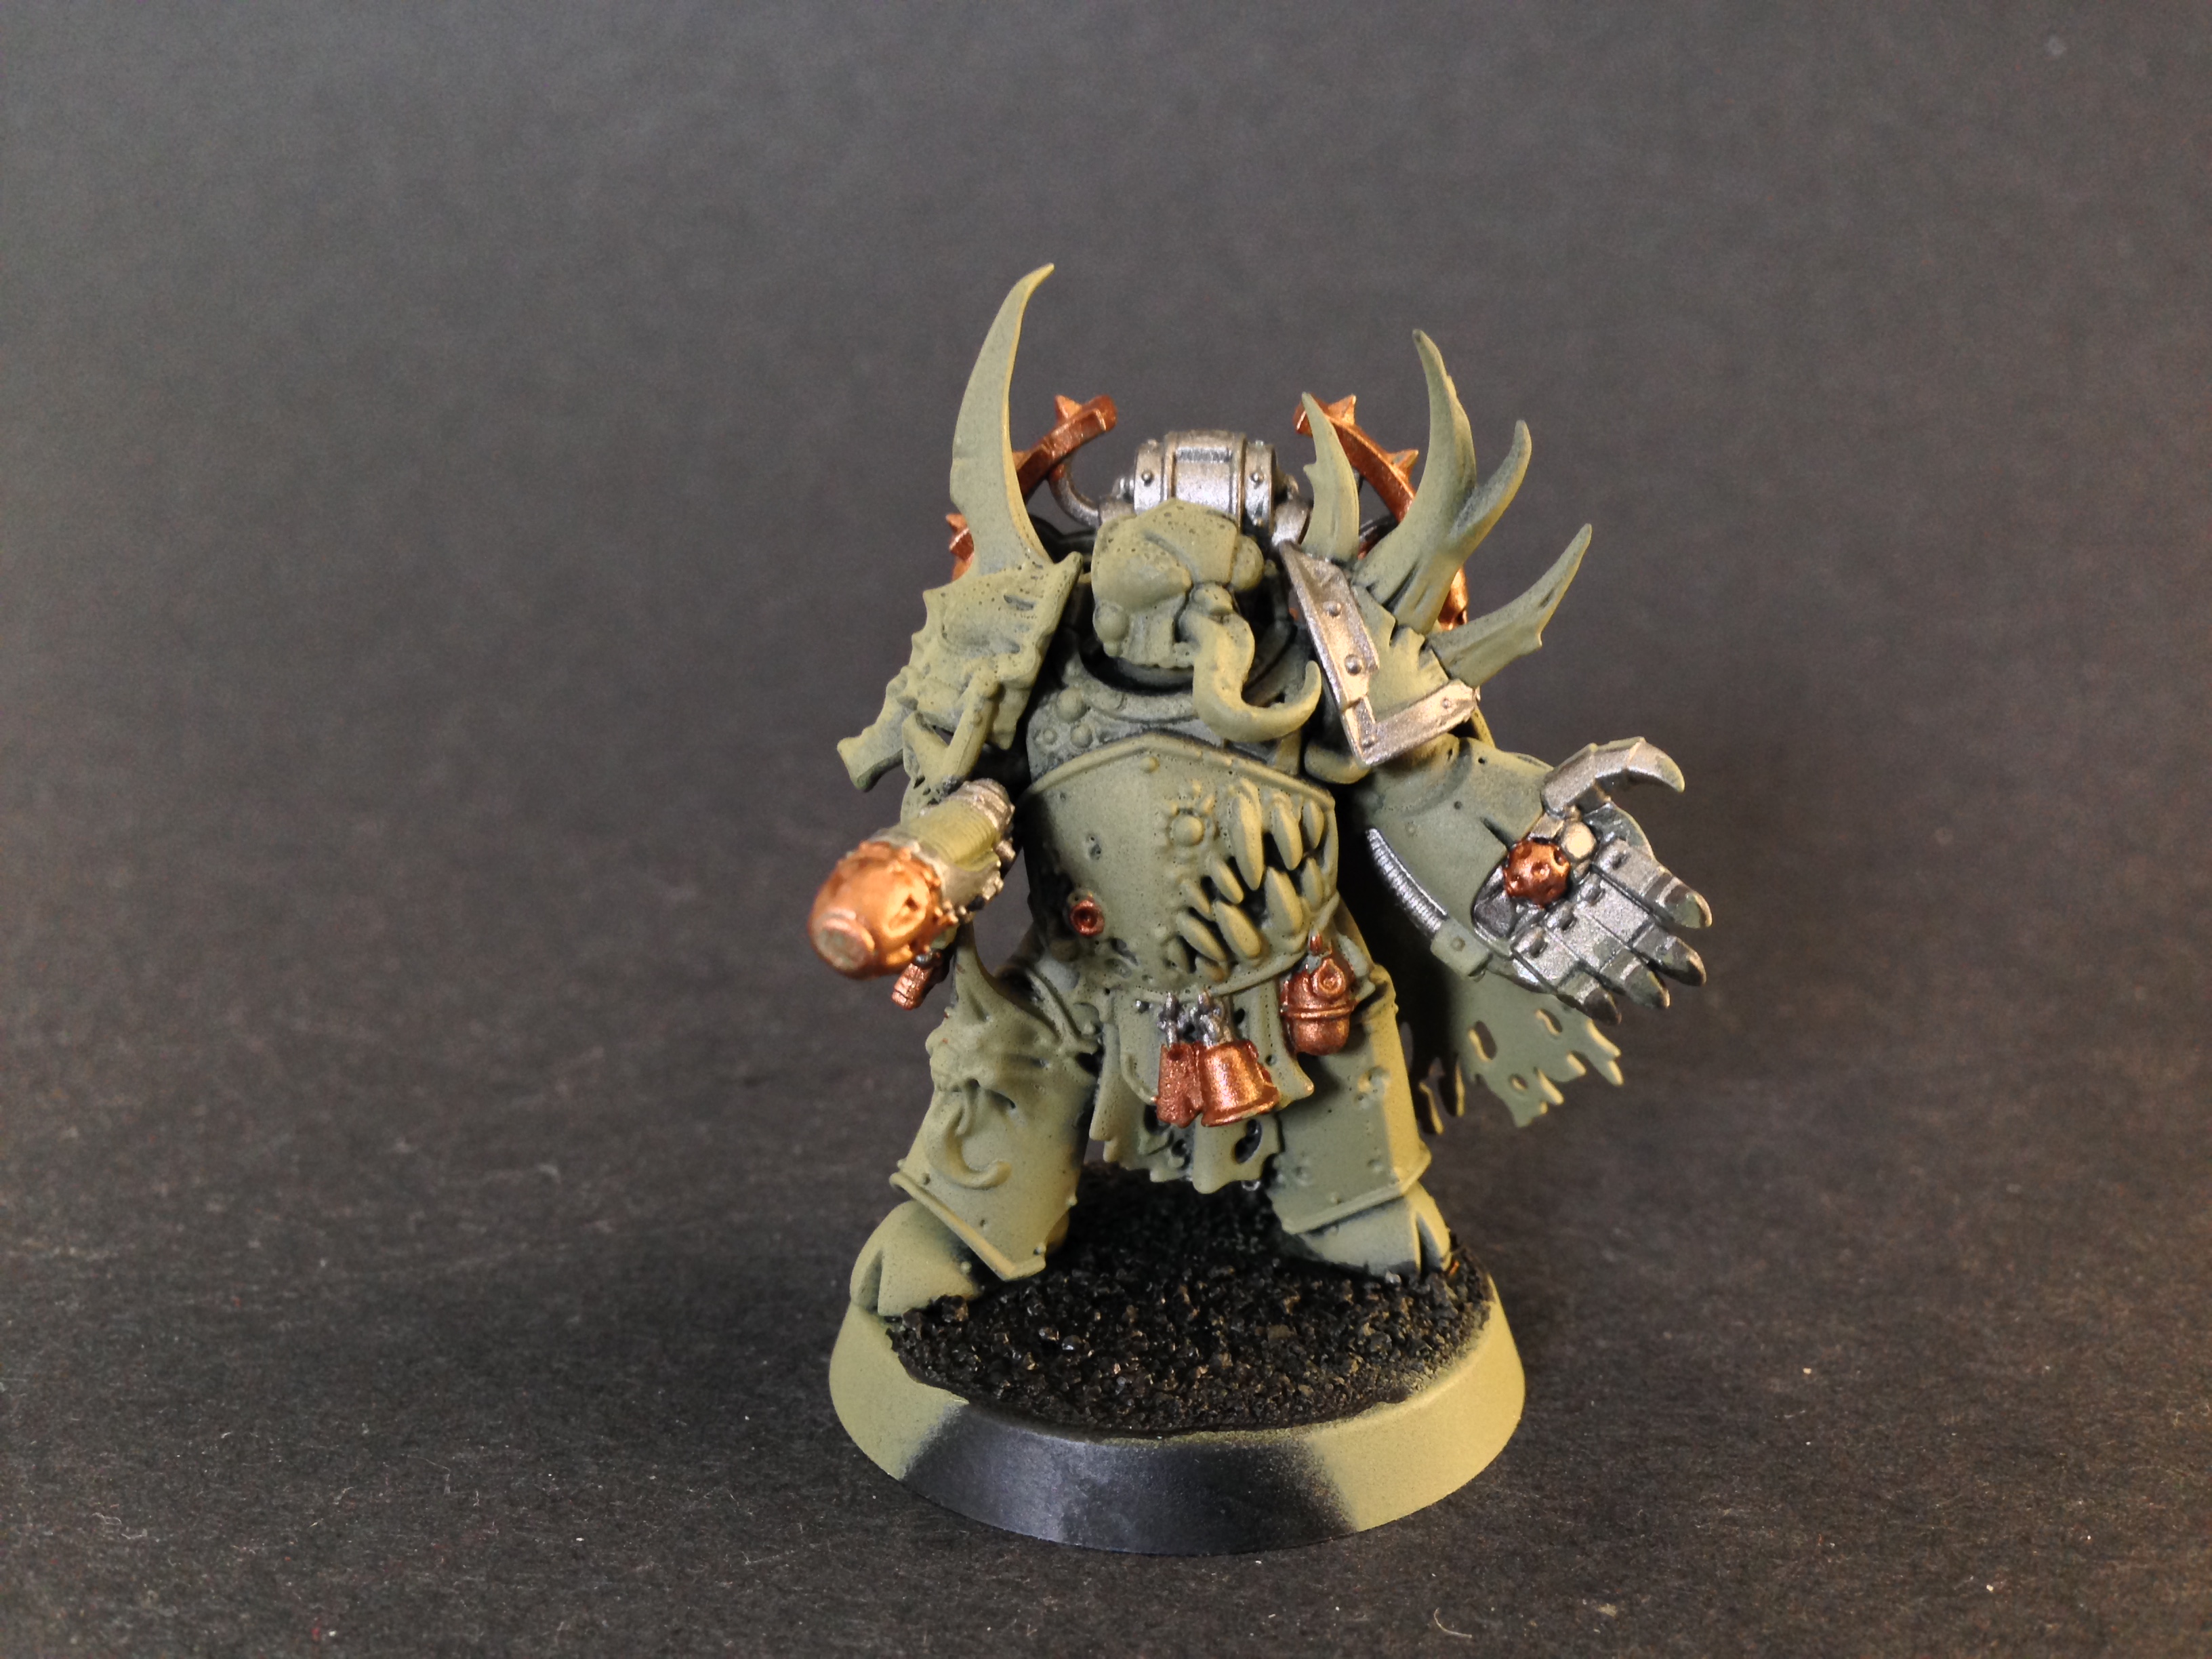
Next up I picked out the non-metallics using Rakarth Flesh on the horns and bone, Screamer Pink on the eyes and tongues, and Naggaroth Night on the tabard and cloak. Again these are all colors that I know wont be ruined with the washes I intend on using. This is a real time saver.
I then hit the model with a Nuln Oil wash. I allow it to fully dry and apply an Agrax Earthshade. This really starts to take that bright chalky green back into a more rotten earthy green.
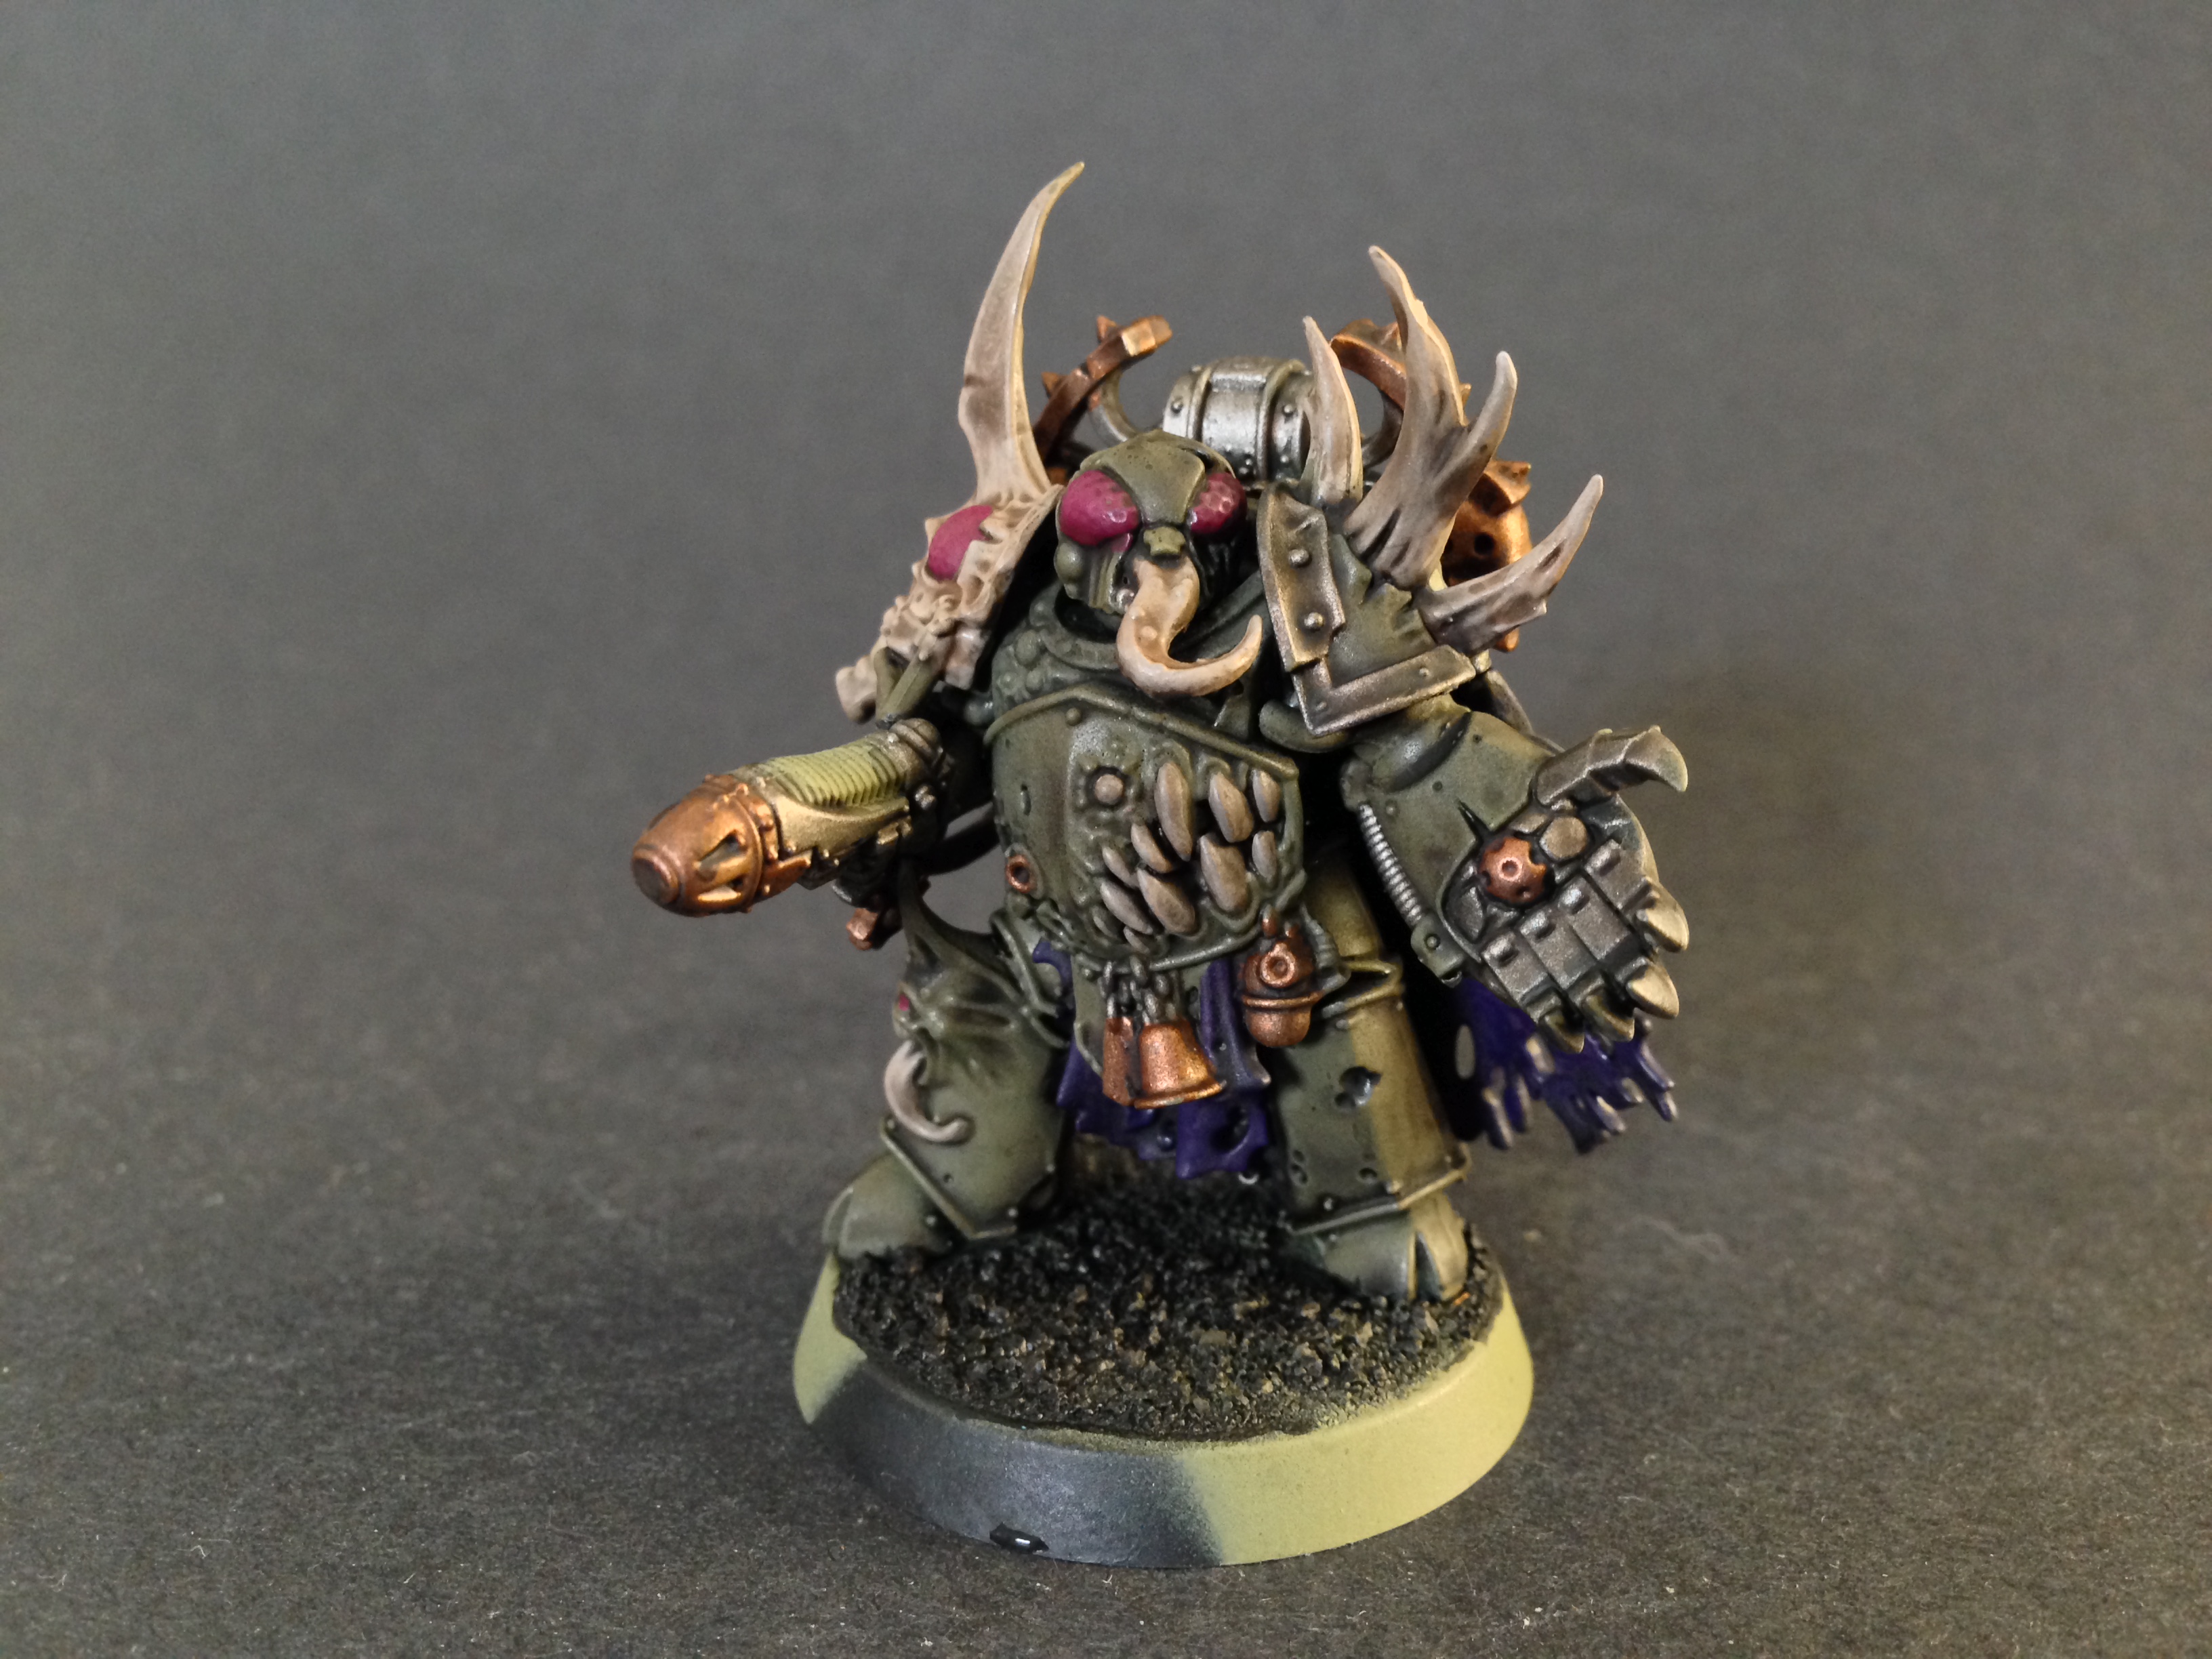
The next step is an awesome trick I picked up from the great StrikingScorpion82. I hit the whole model with Seraphim Sepia. This adds a sheen of yellow on the raised areas of green and brown in the recesses of the armor. While on the metallics it adds a rusty look to the Leadbelcher and a bit of luster back to the Balthasar Gold. I also put a little Carroburgh Crimson on the tongues, this gives a hideous wormy type look which I think is hilarious.
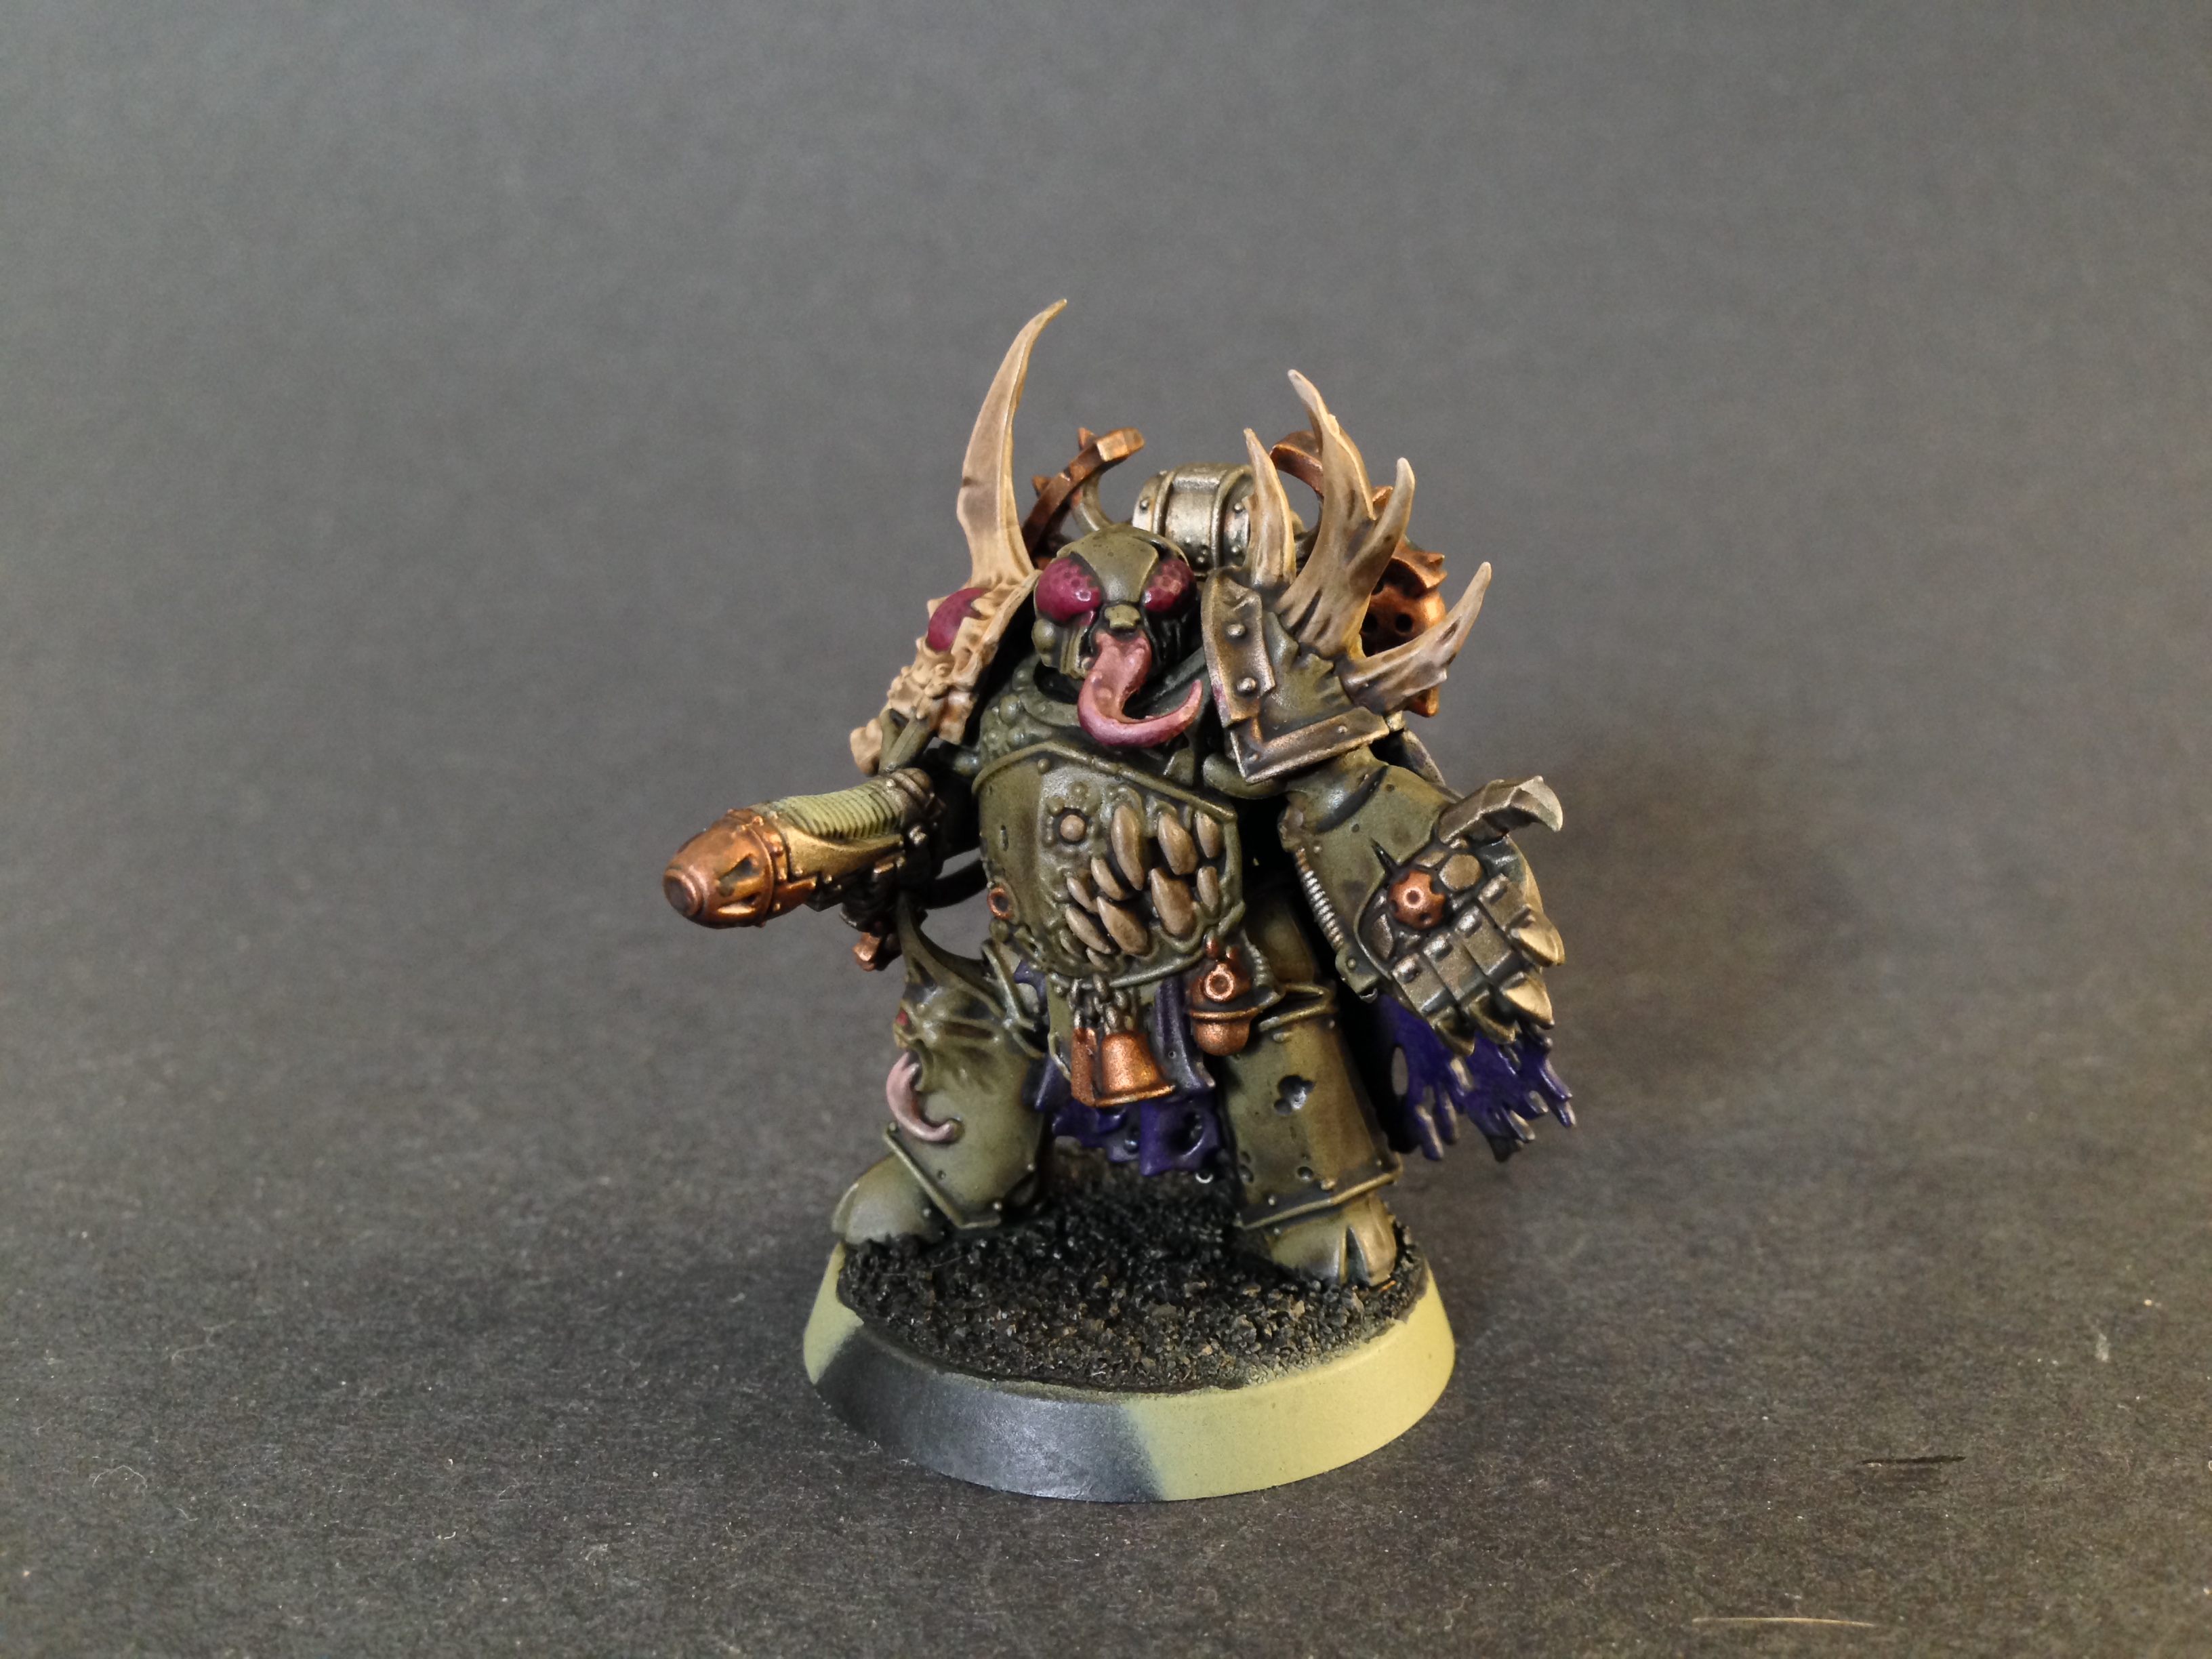
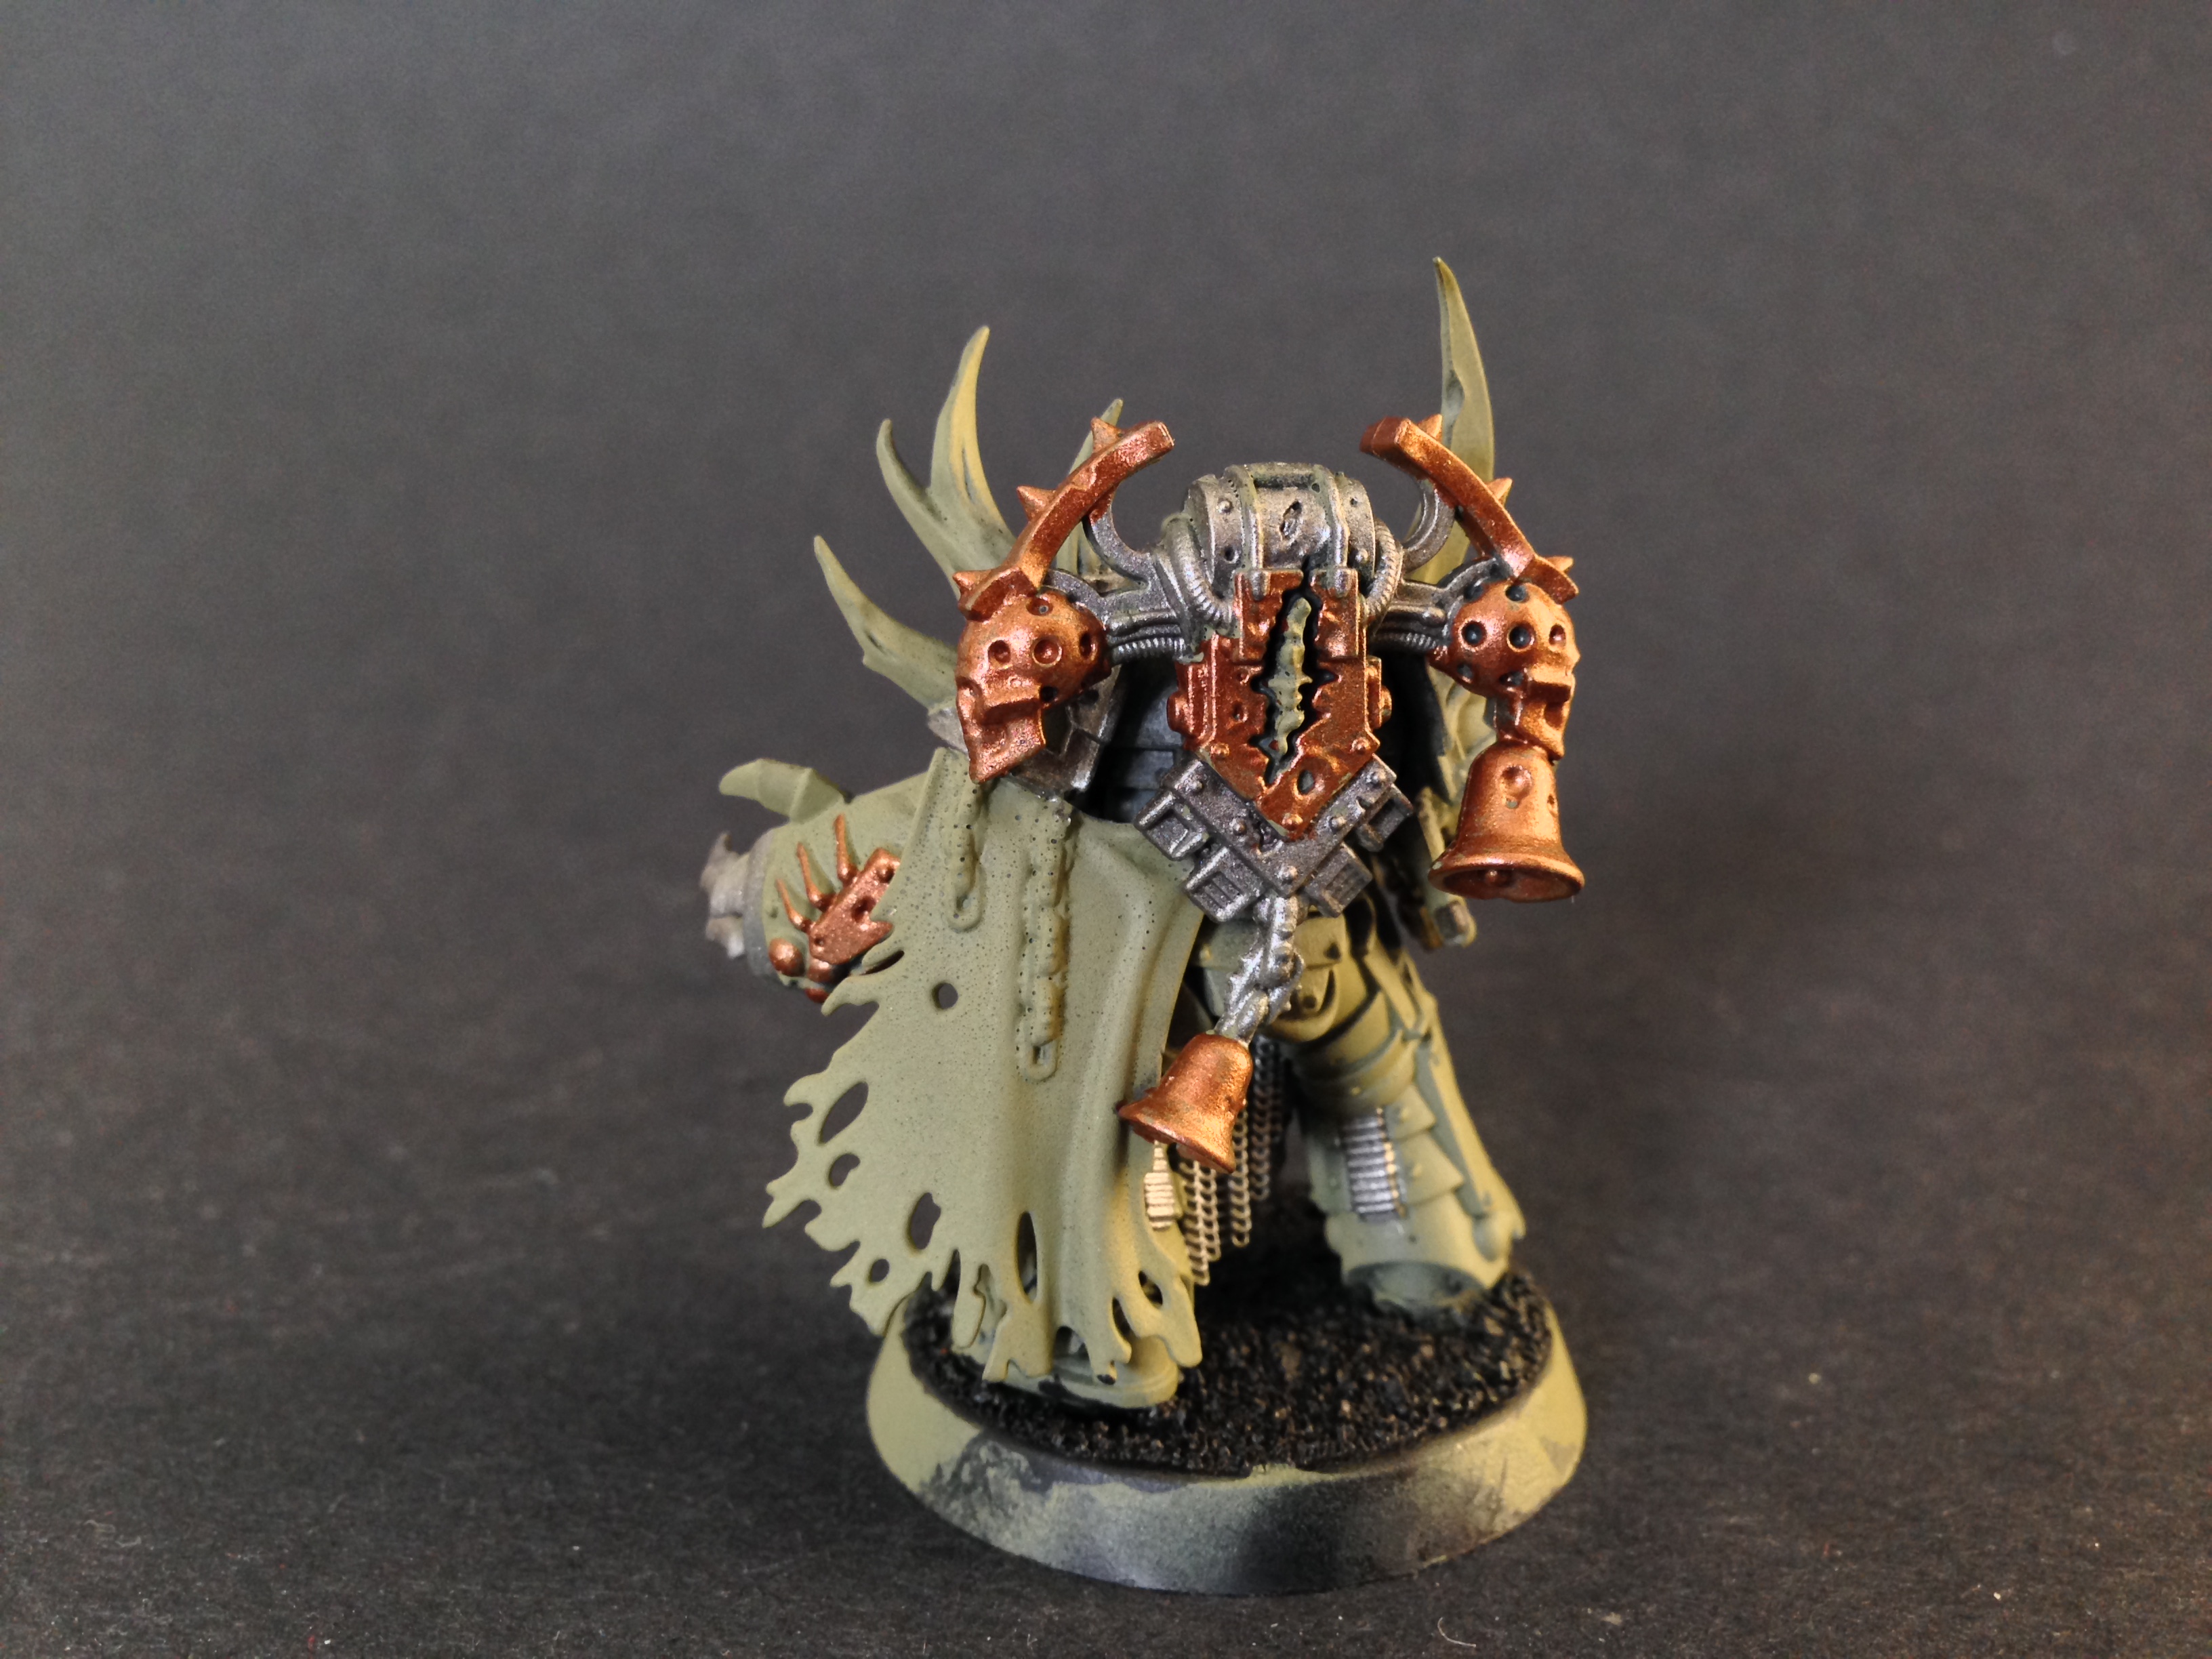
Now comes my secret technique! The base color of the model has drastically been changed by all those washes. A ton of yellow and brown has infused the greens, so I can actually go back and highlight everything with its original color. So Deathguard is highlighting Death Guard, Rakarth highlighting Rakarth, Leadbelcher highlighting Leadbelcher etc.
The only exception to that is the purple which needs a bit more love receiving a Xereus Purple highlight after a little clean-up with Naggaroth Night.
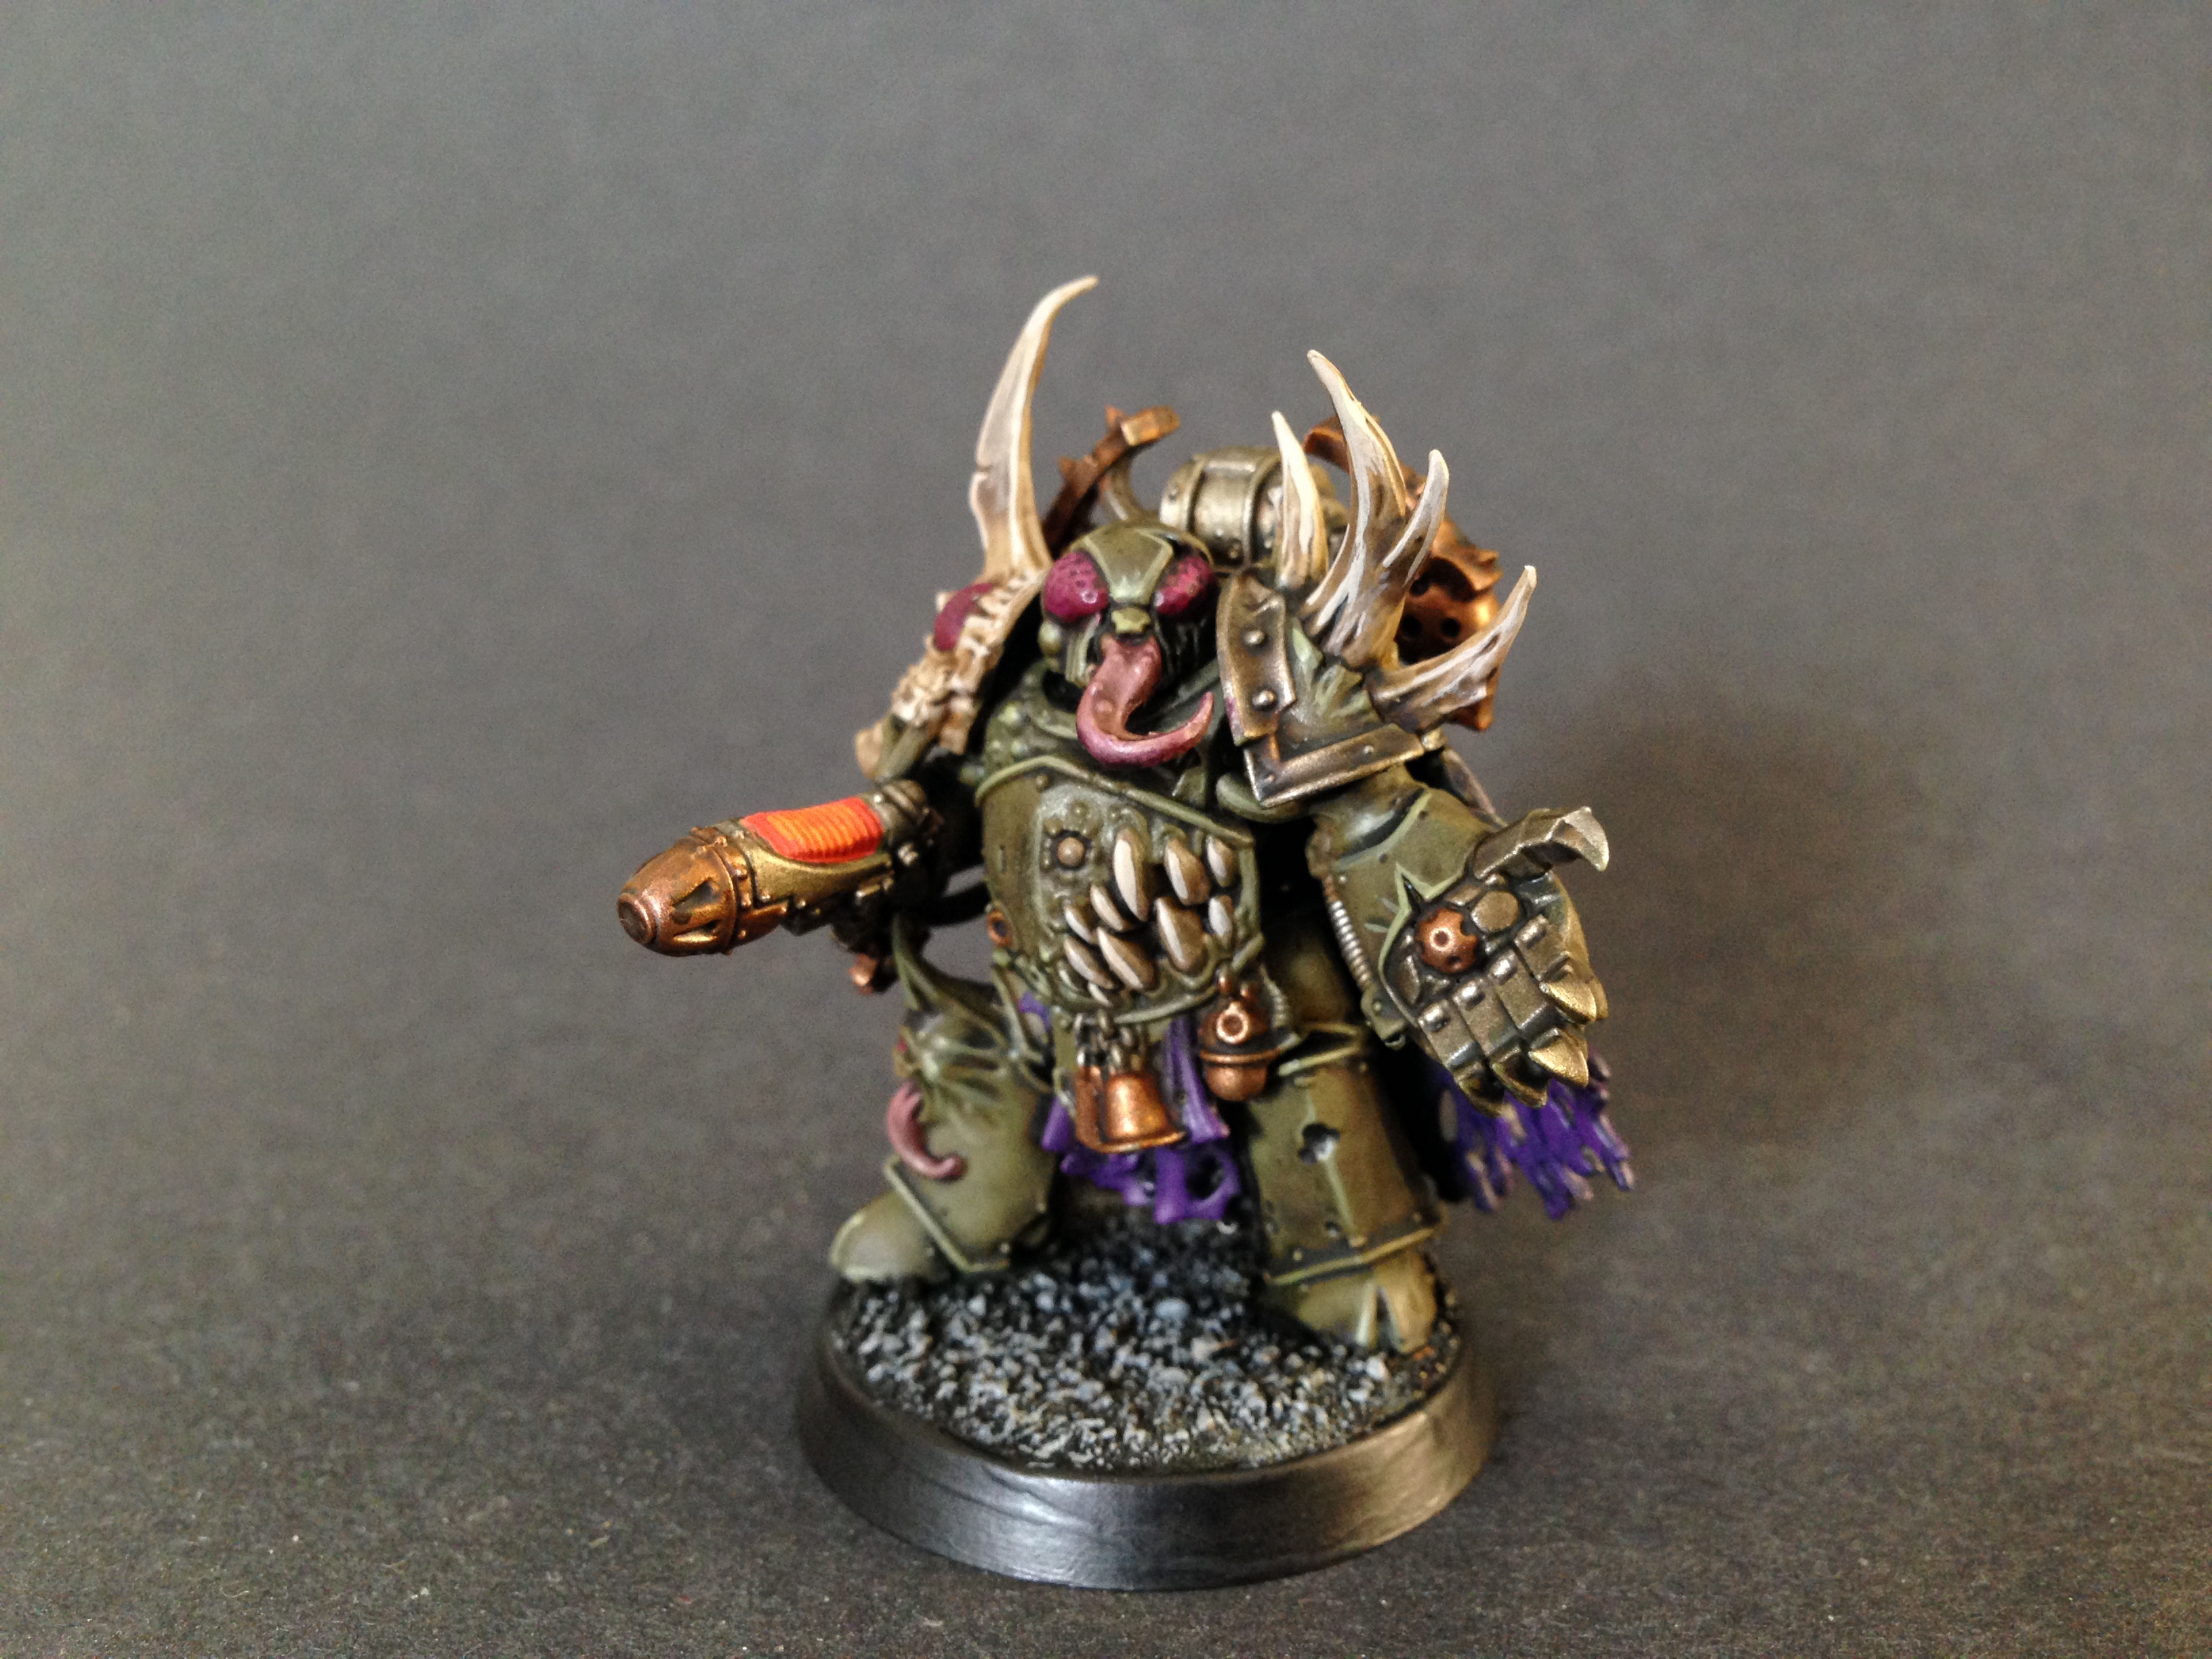
Here is how the technique looks applied to some of the other models and the entire squad.
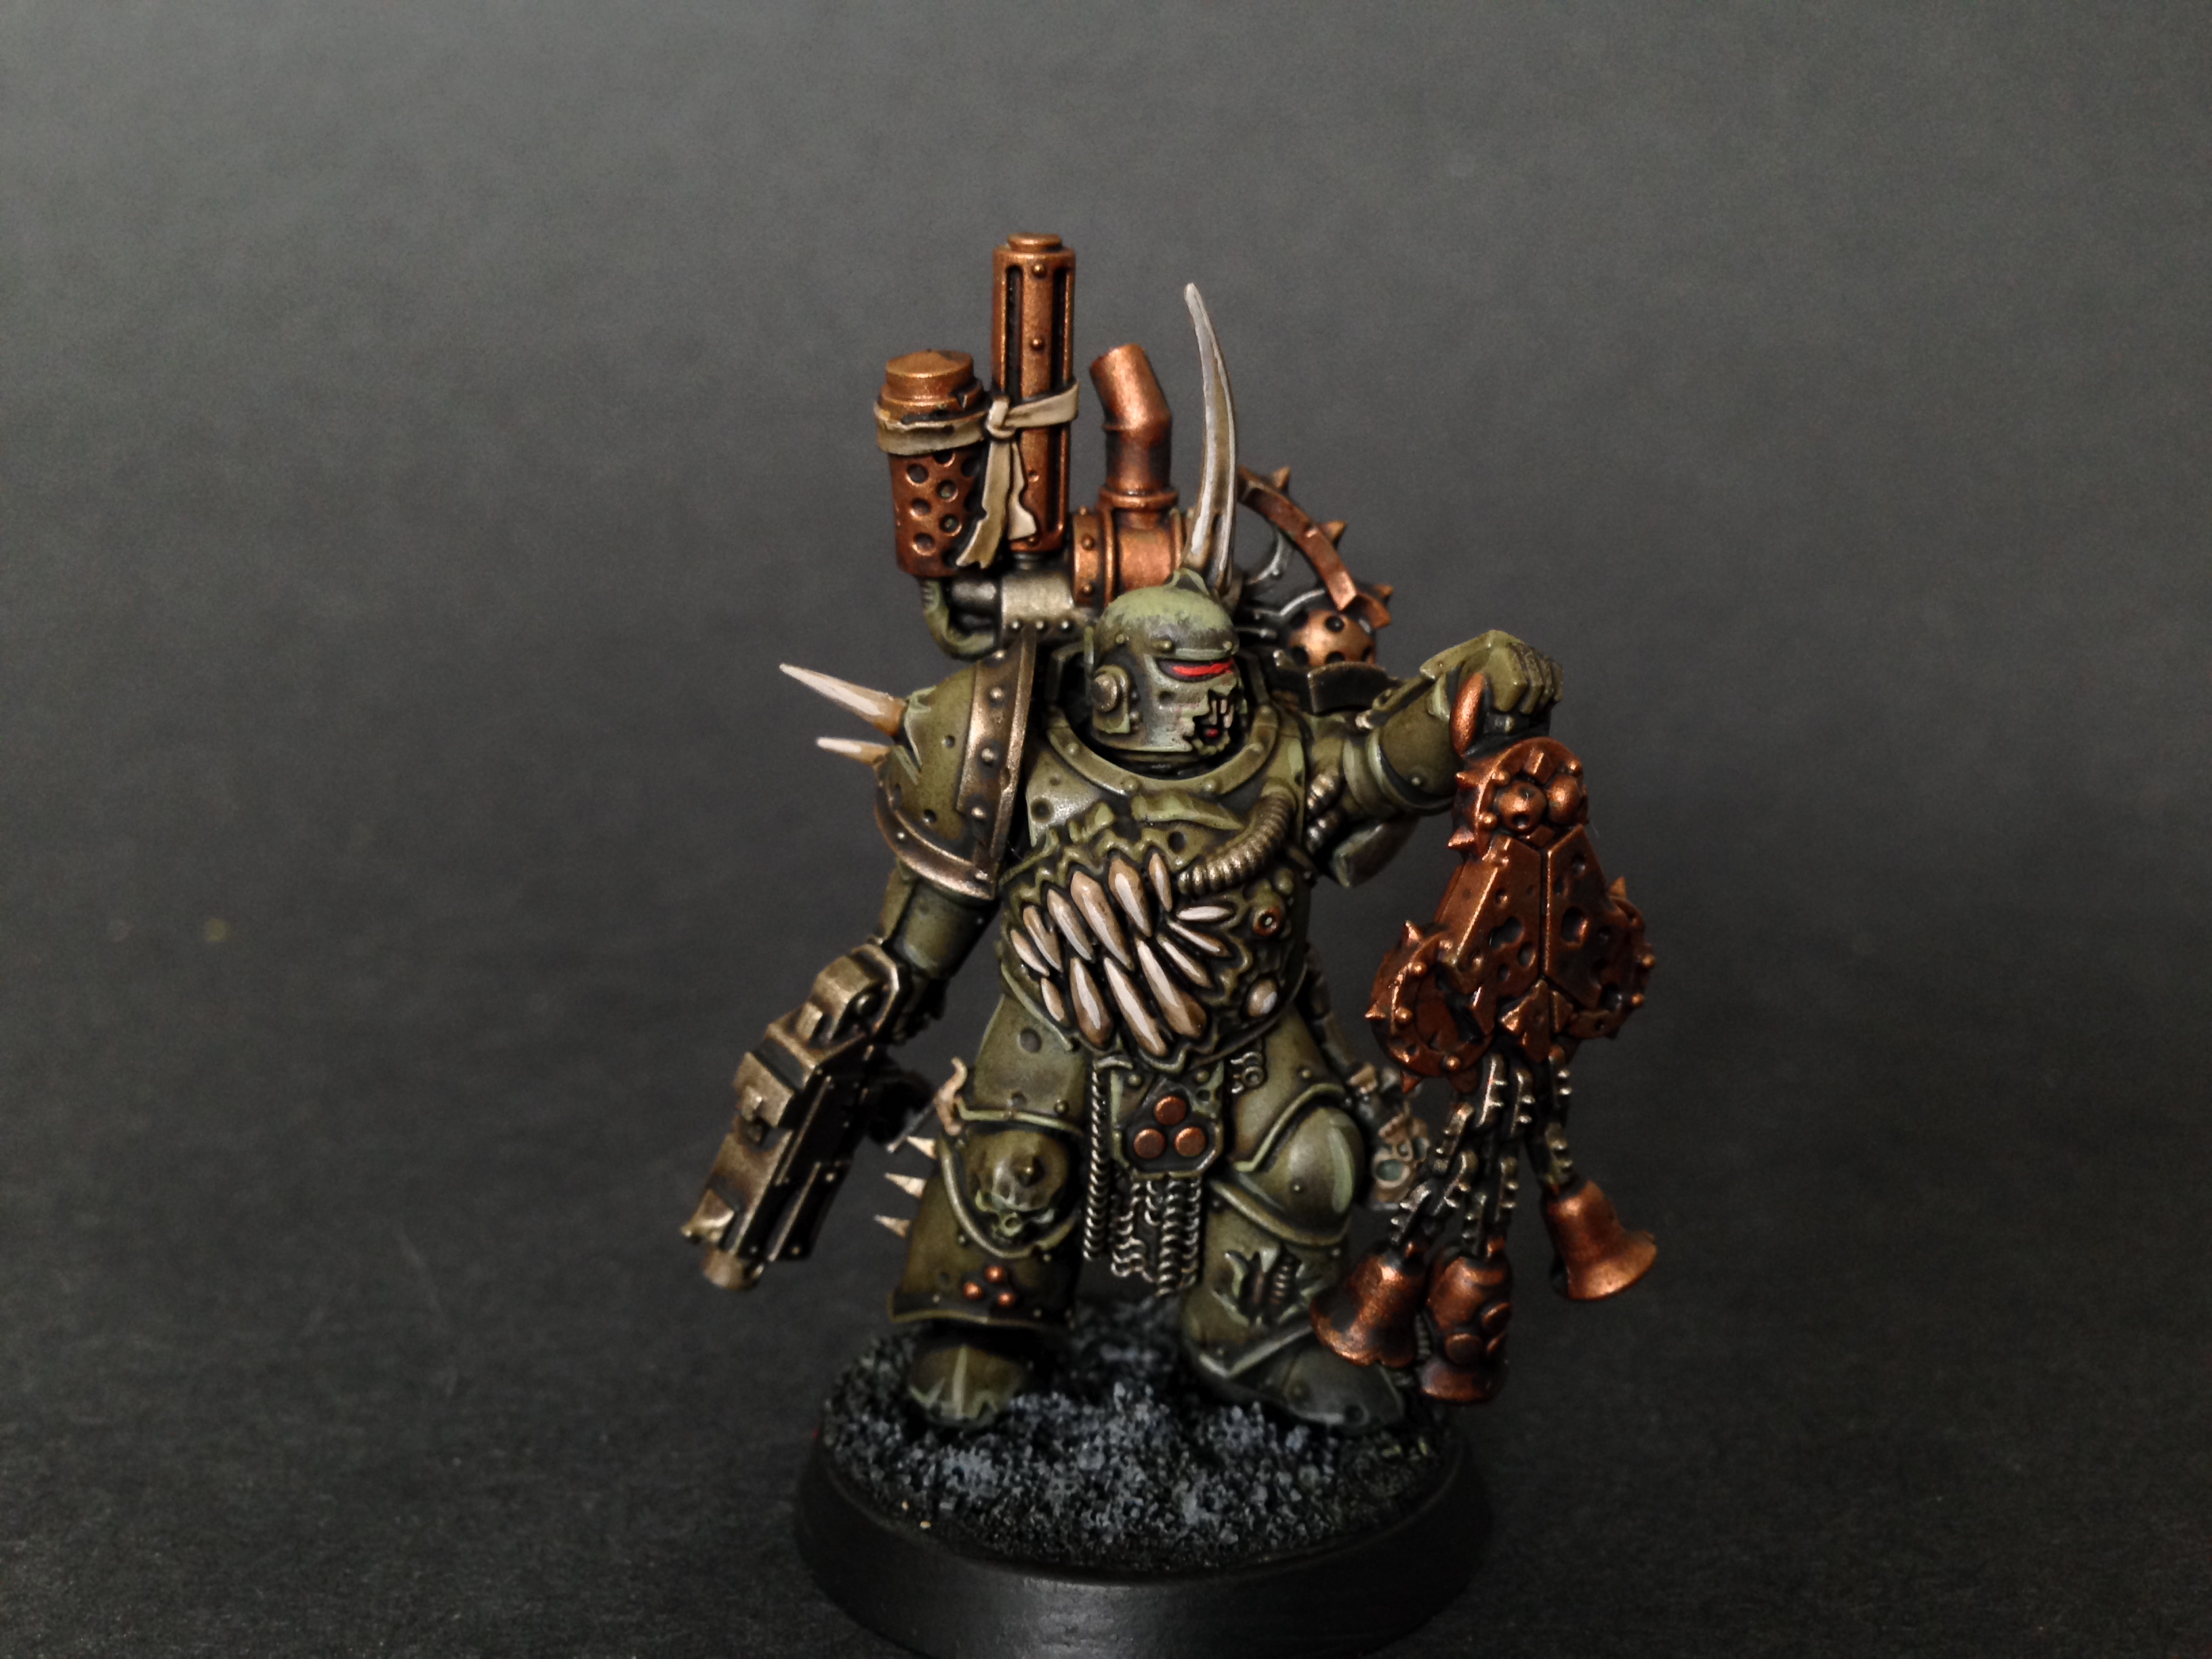

This also serves as a great foundation for more advanced paint jobs on models that have that grimy gritty look. It allows you to have a lot of depth in the range of color without making the paint scheme too bright.
Anyway I hope you guys liked the tutorial and found it helpful. Being limited by the commission to only a certain number of highlights always pushes me to develop myself, or learn from others, techniques that make for a bold presentation but that fit within the budget of the client. I find these techniques are great time savers that help people who feel that getting an army painted to a good standard is a laborious and insurmountable task. It can feel that way when you are painting in a vacuum without any advice, so I hopefully these articles fill the void for people looking for practical tips. Thanks for reading and stay tuned for more. If you have any requests on painting tutorials please hit me up, I’m always happy to help. Thanks!
And remember, Frontline Gaming sells gaming products at a discount, every day in their webcart!


