
Hey guys Cavalier here, commission painter for Frontline Gaming and co-host of Splintermind the Dark Eldar Podcast here with another in-depth painting tutorial. This time I’m going to break down how I tackled a Drukhari Venom that I just added to my collection.
The Drukhari have forced their way into heavy rotation in my army lists of late. In previous editions they were only a very small allied force with a nice spread of their iconic units like Incubi, Reavers, Wyches and Warriors. Yet with the brilliant addition of the Obsessions and Stratagems they truly fit my playstyle now so I found myself wanting to increase the number of core units like Warriors and Venoms to battalion strength. I had enough Warriors right off the bat, but I did need some additional Venoms to get them around, especially since I play them as Flayed Skull.
I had a brief interim in my commission work as my next project was being mailed to me, so I went crazy to bang this model out. To begin with I primed it Chaos Black and then airbrushed it Khorne Red.
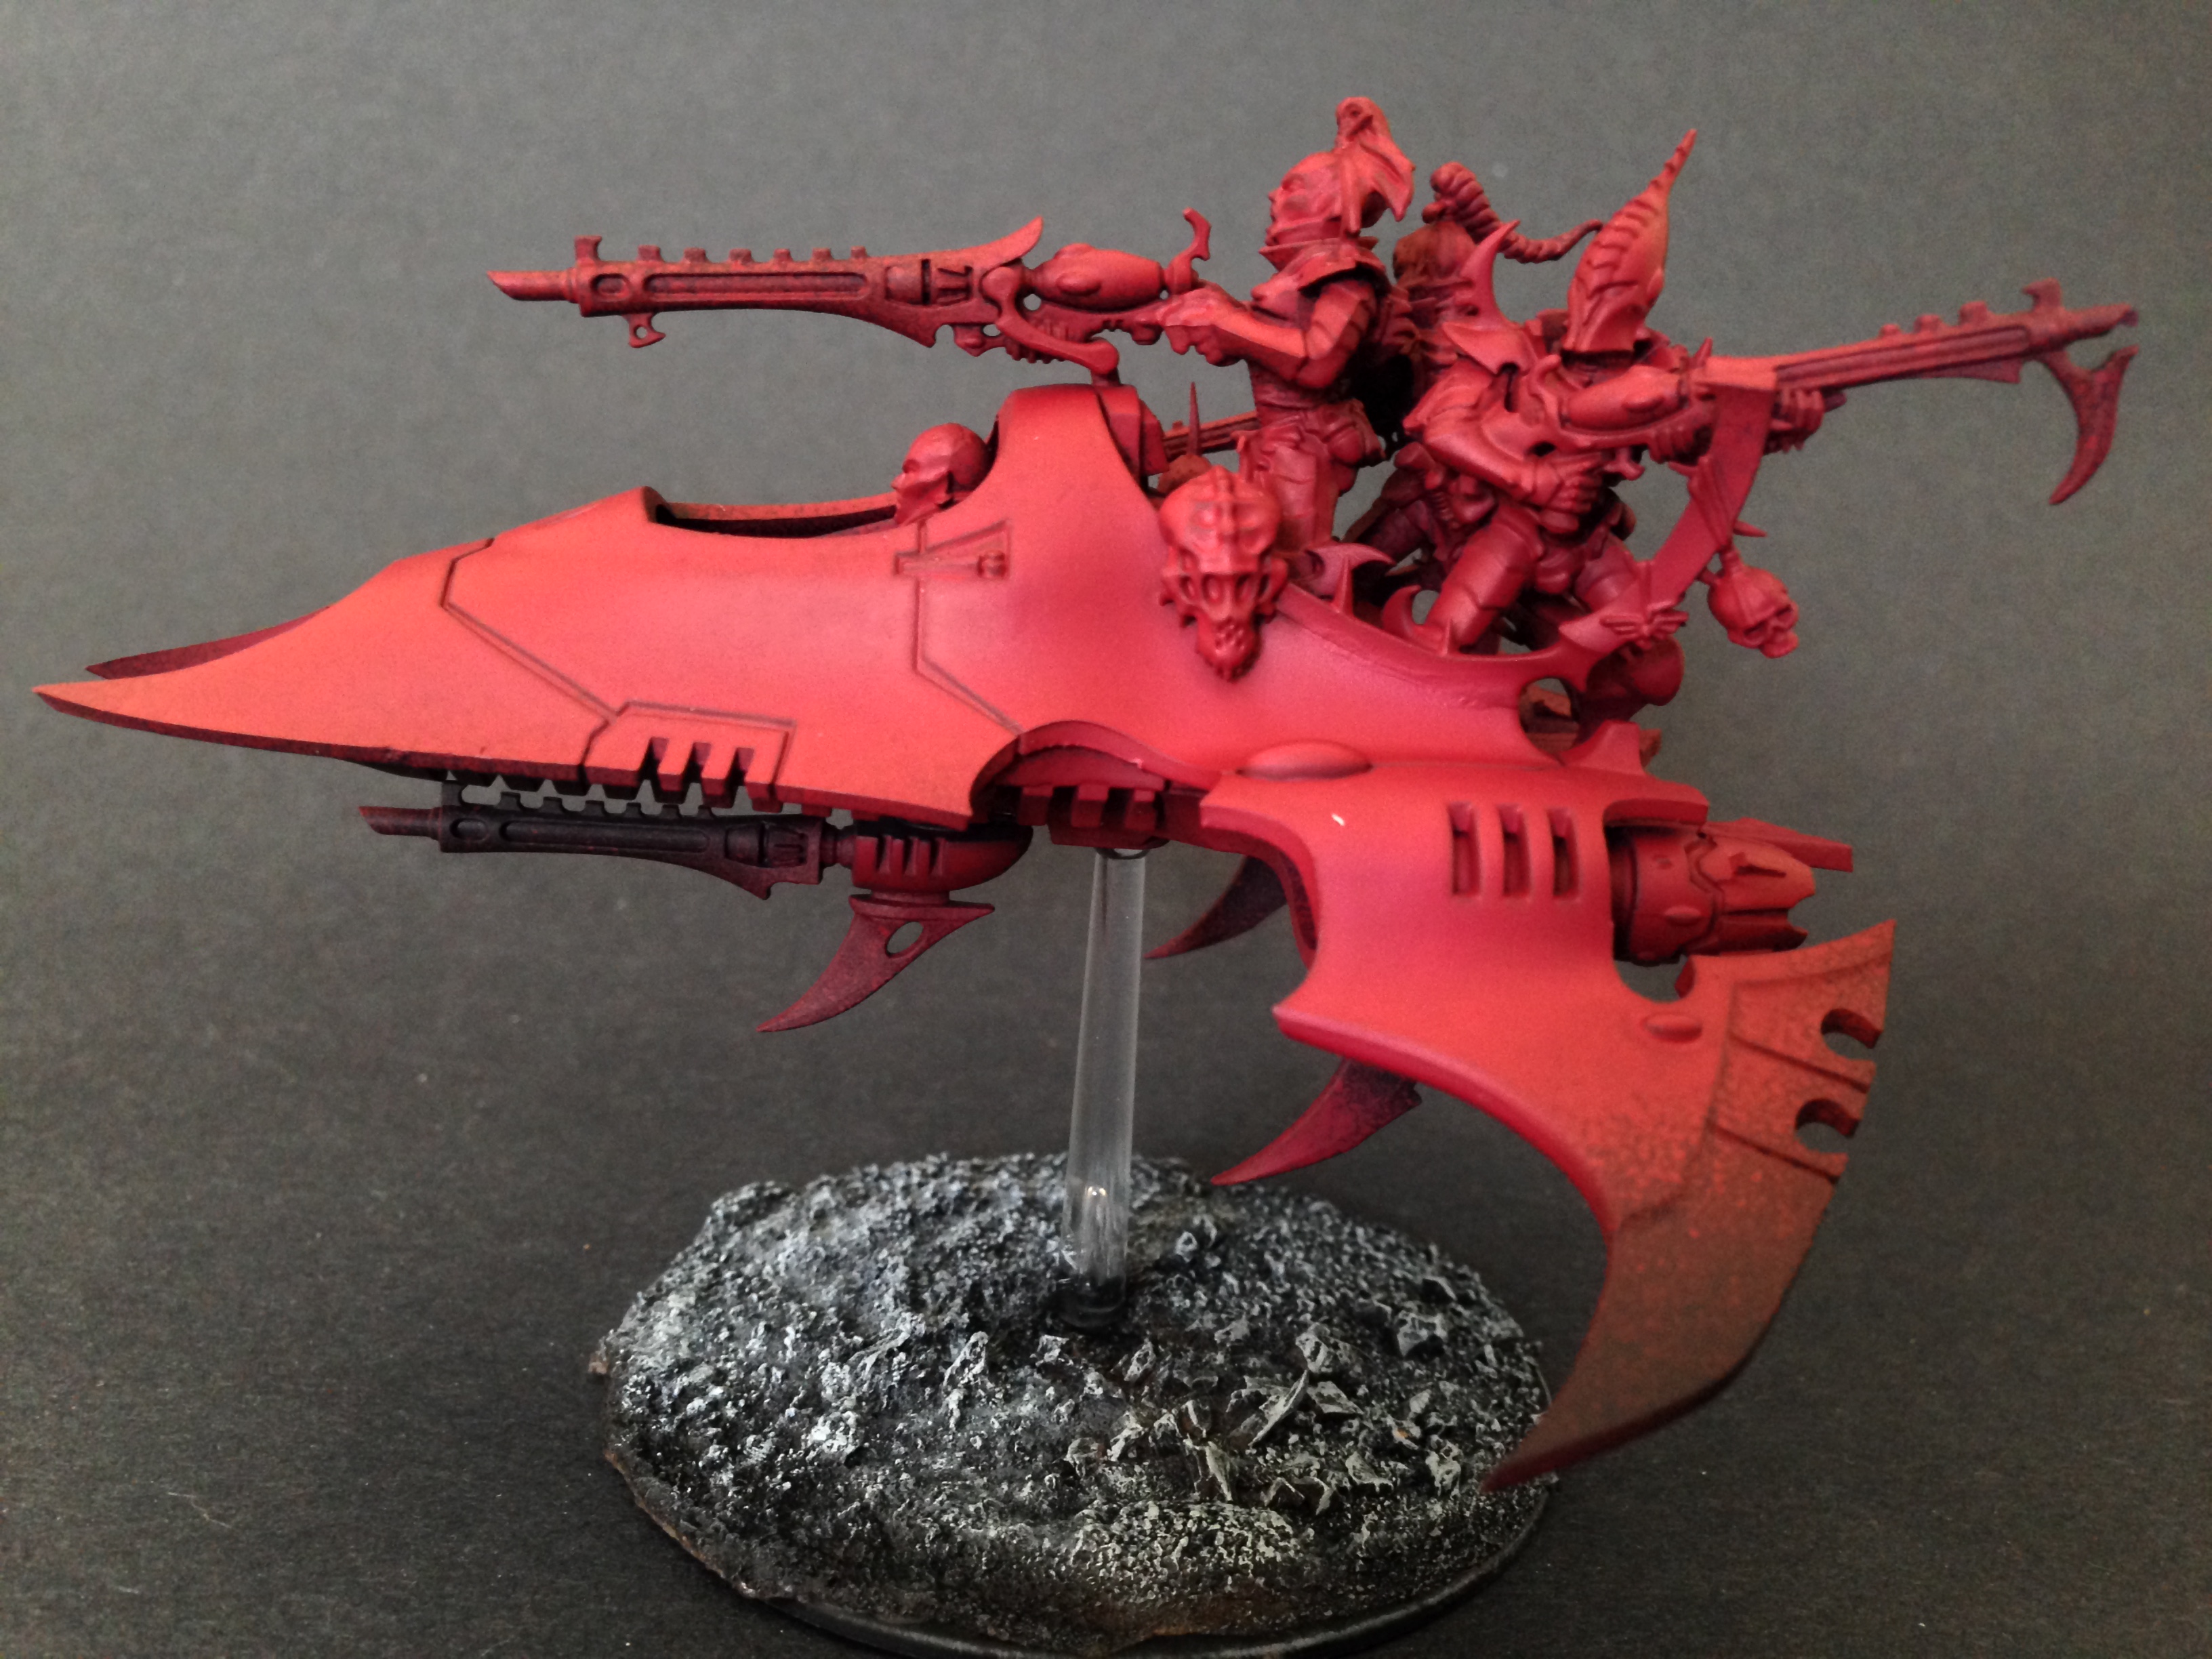
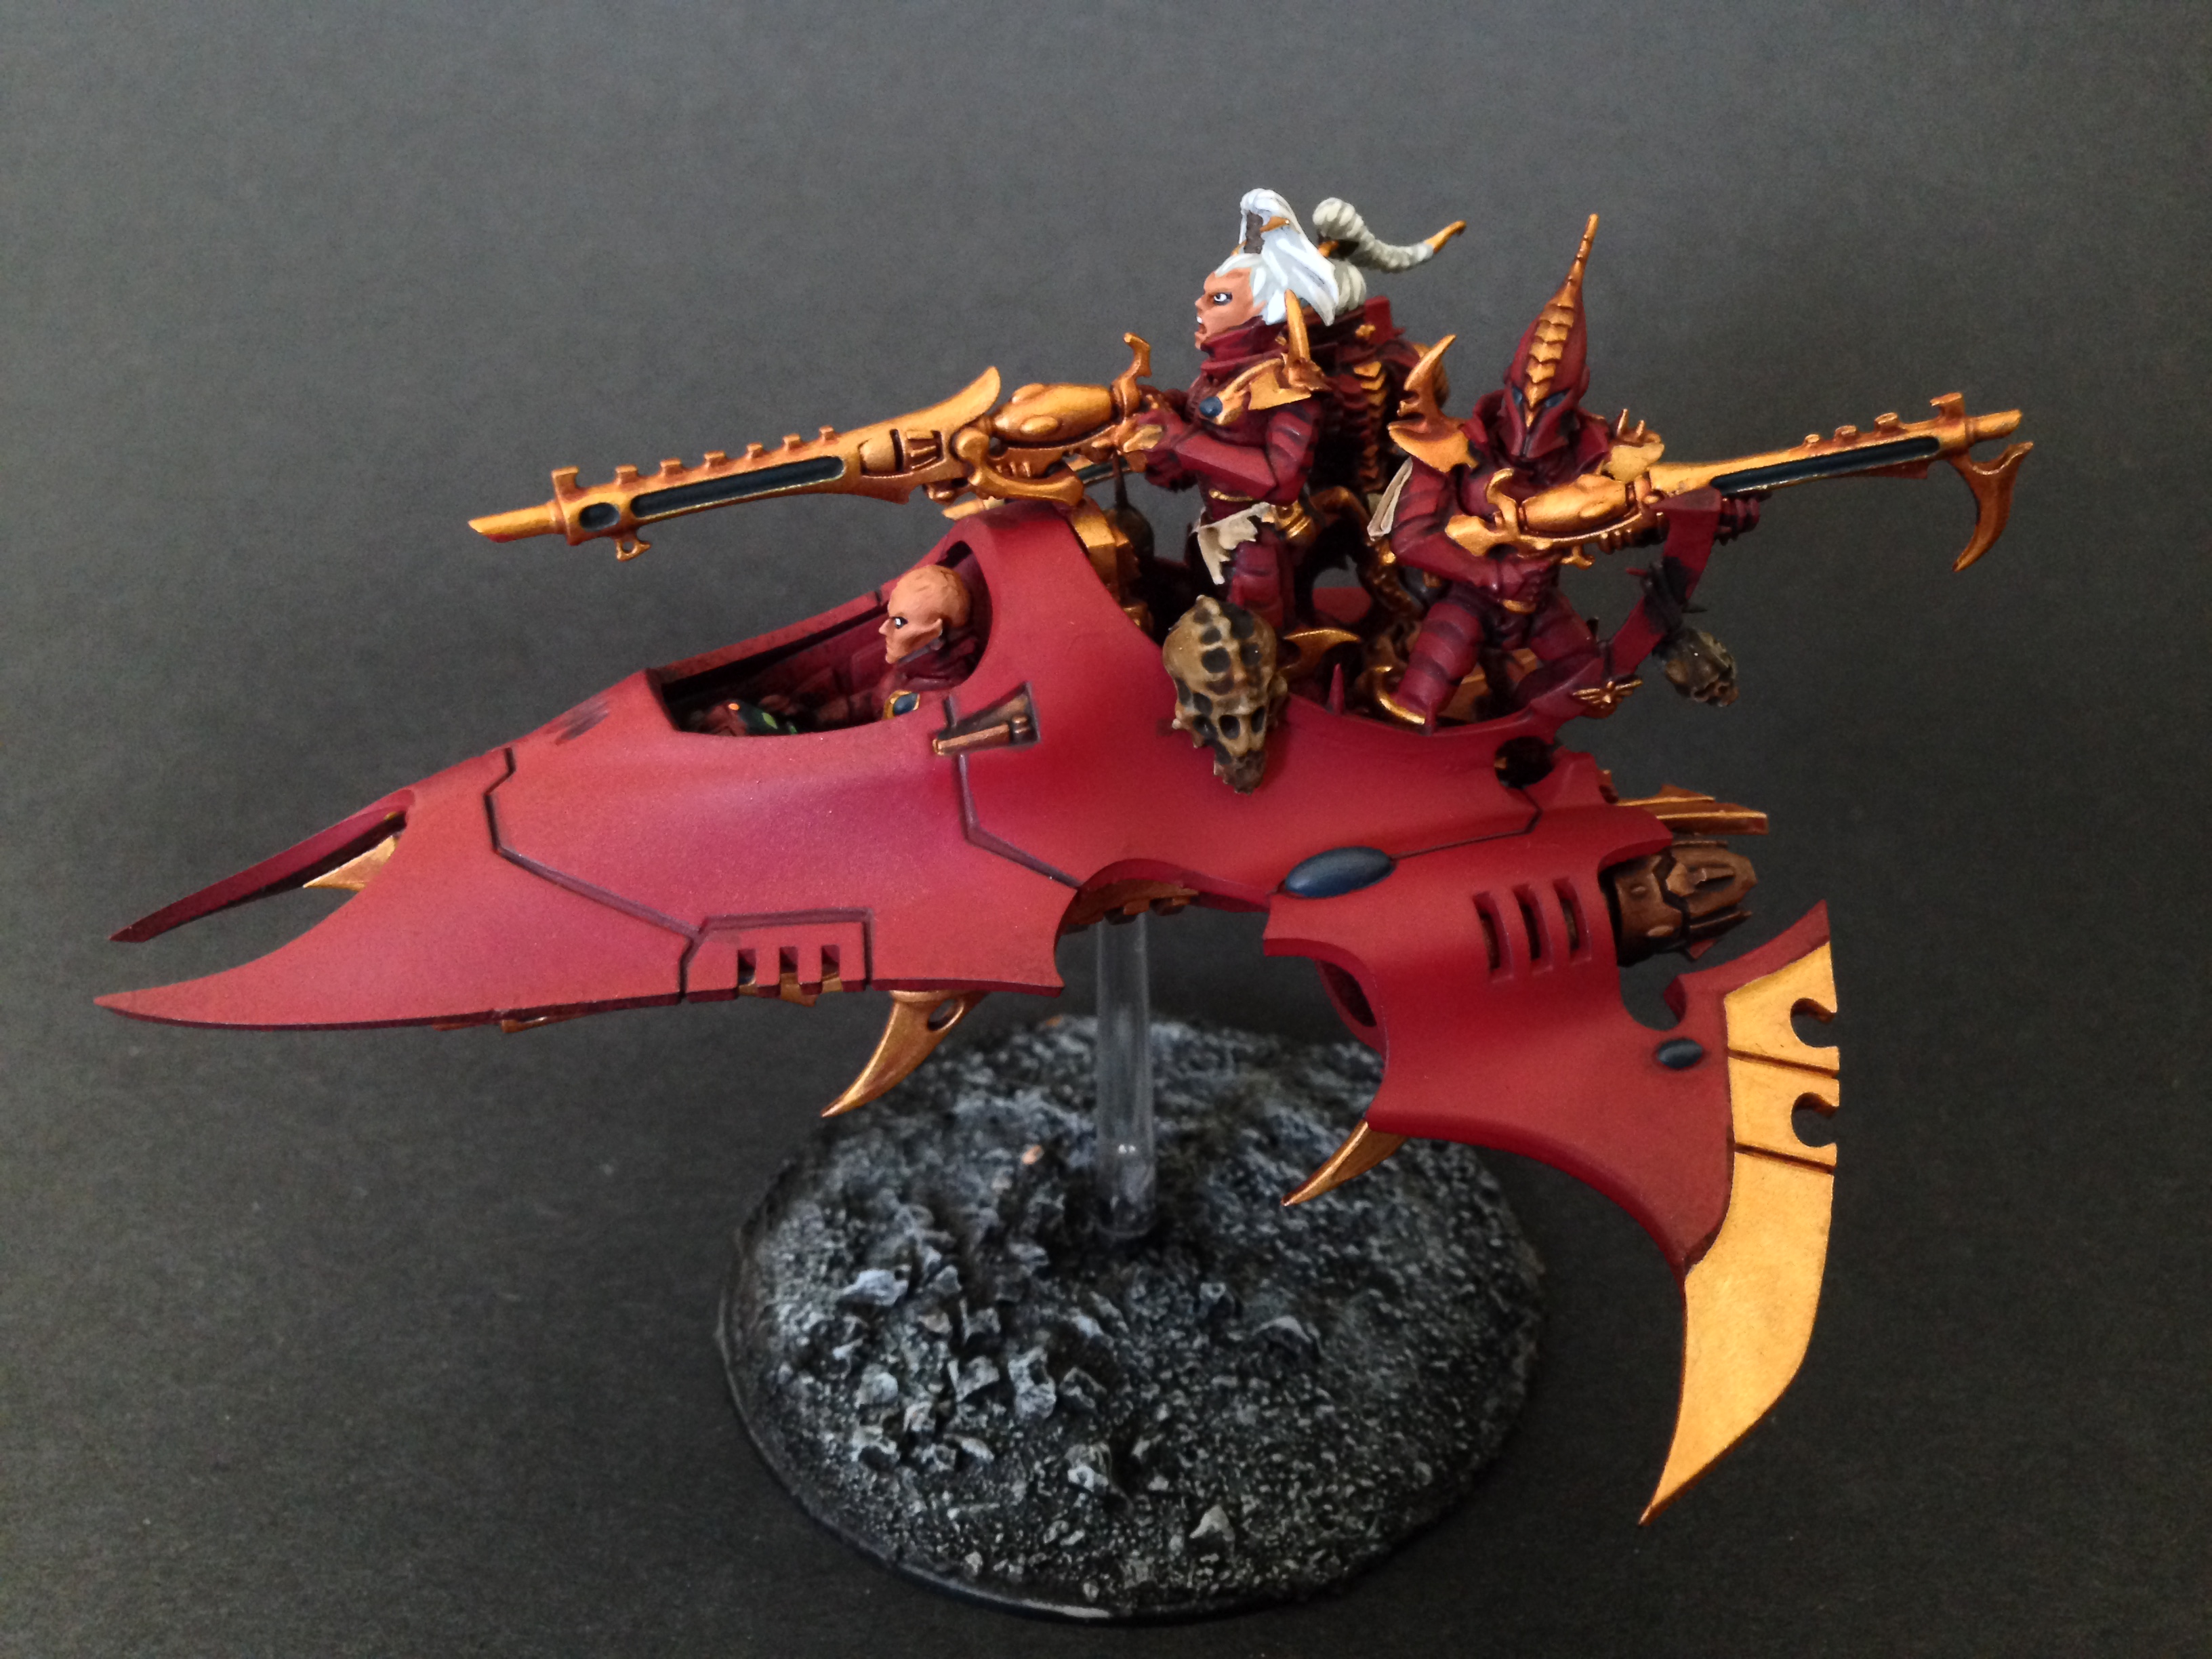
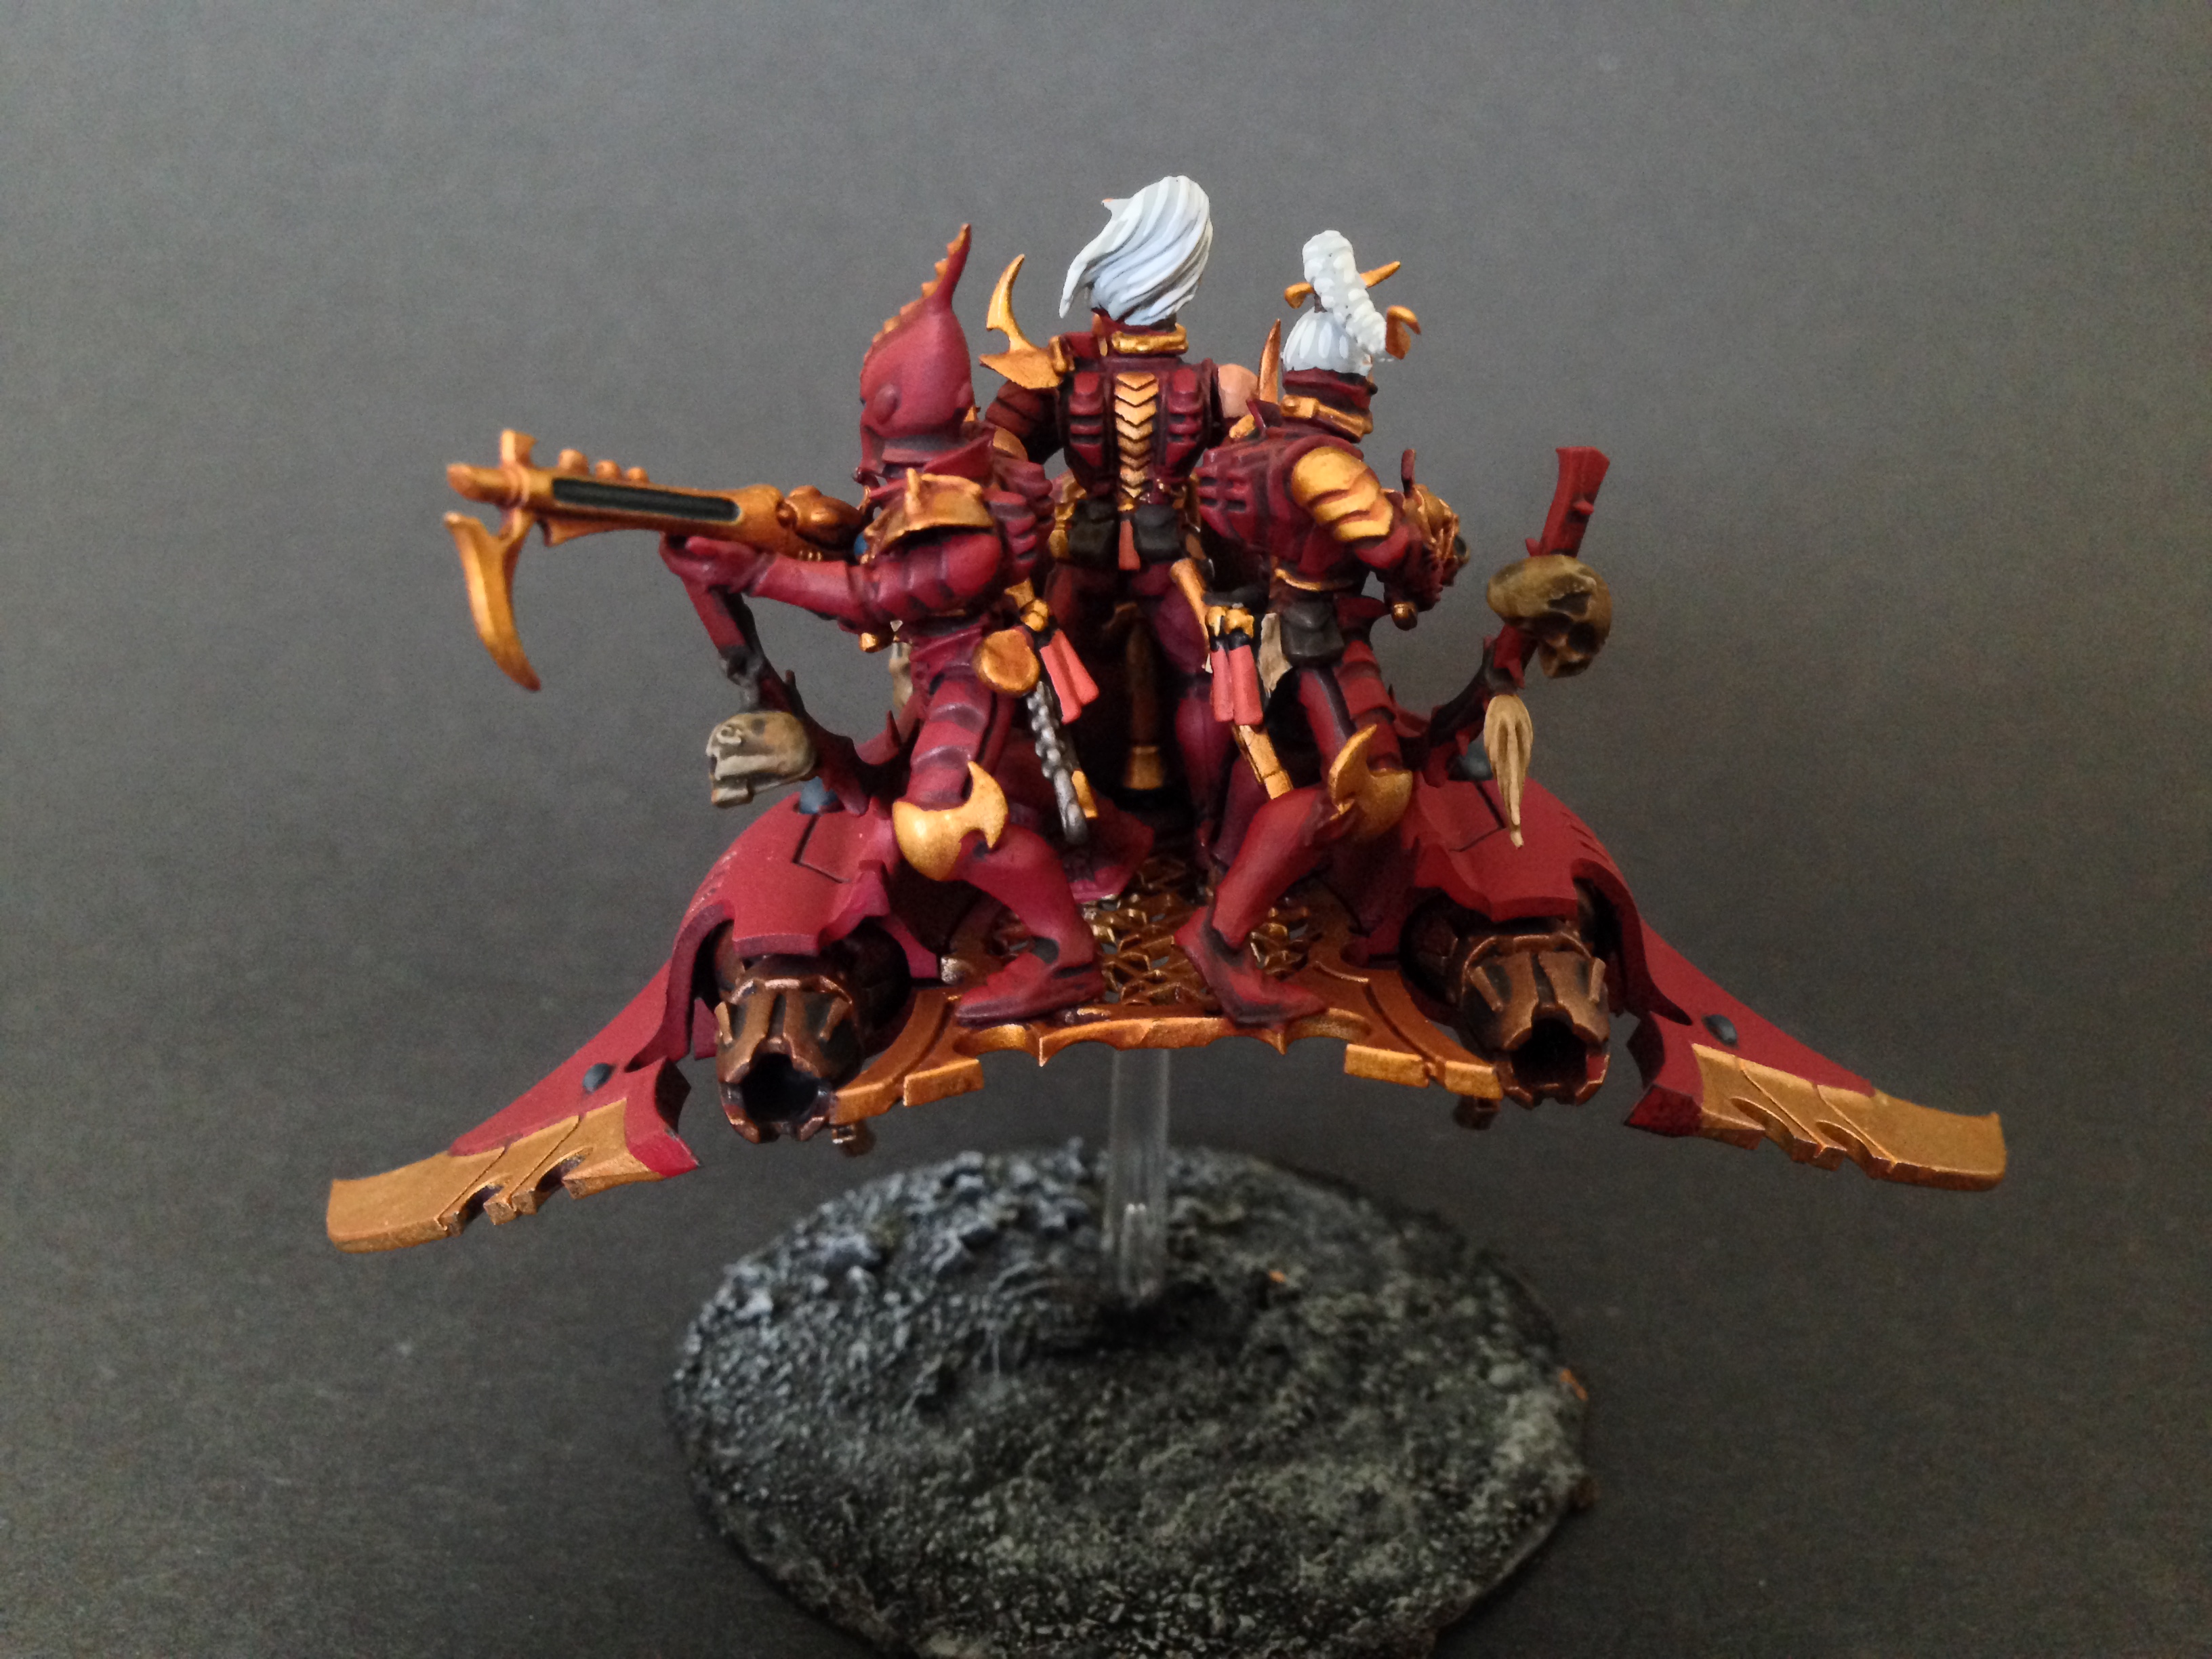
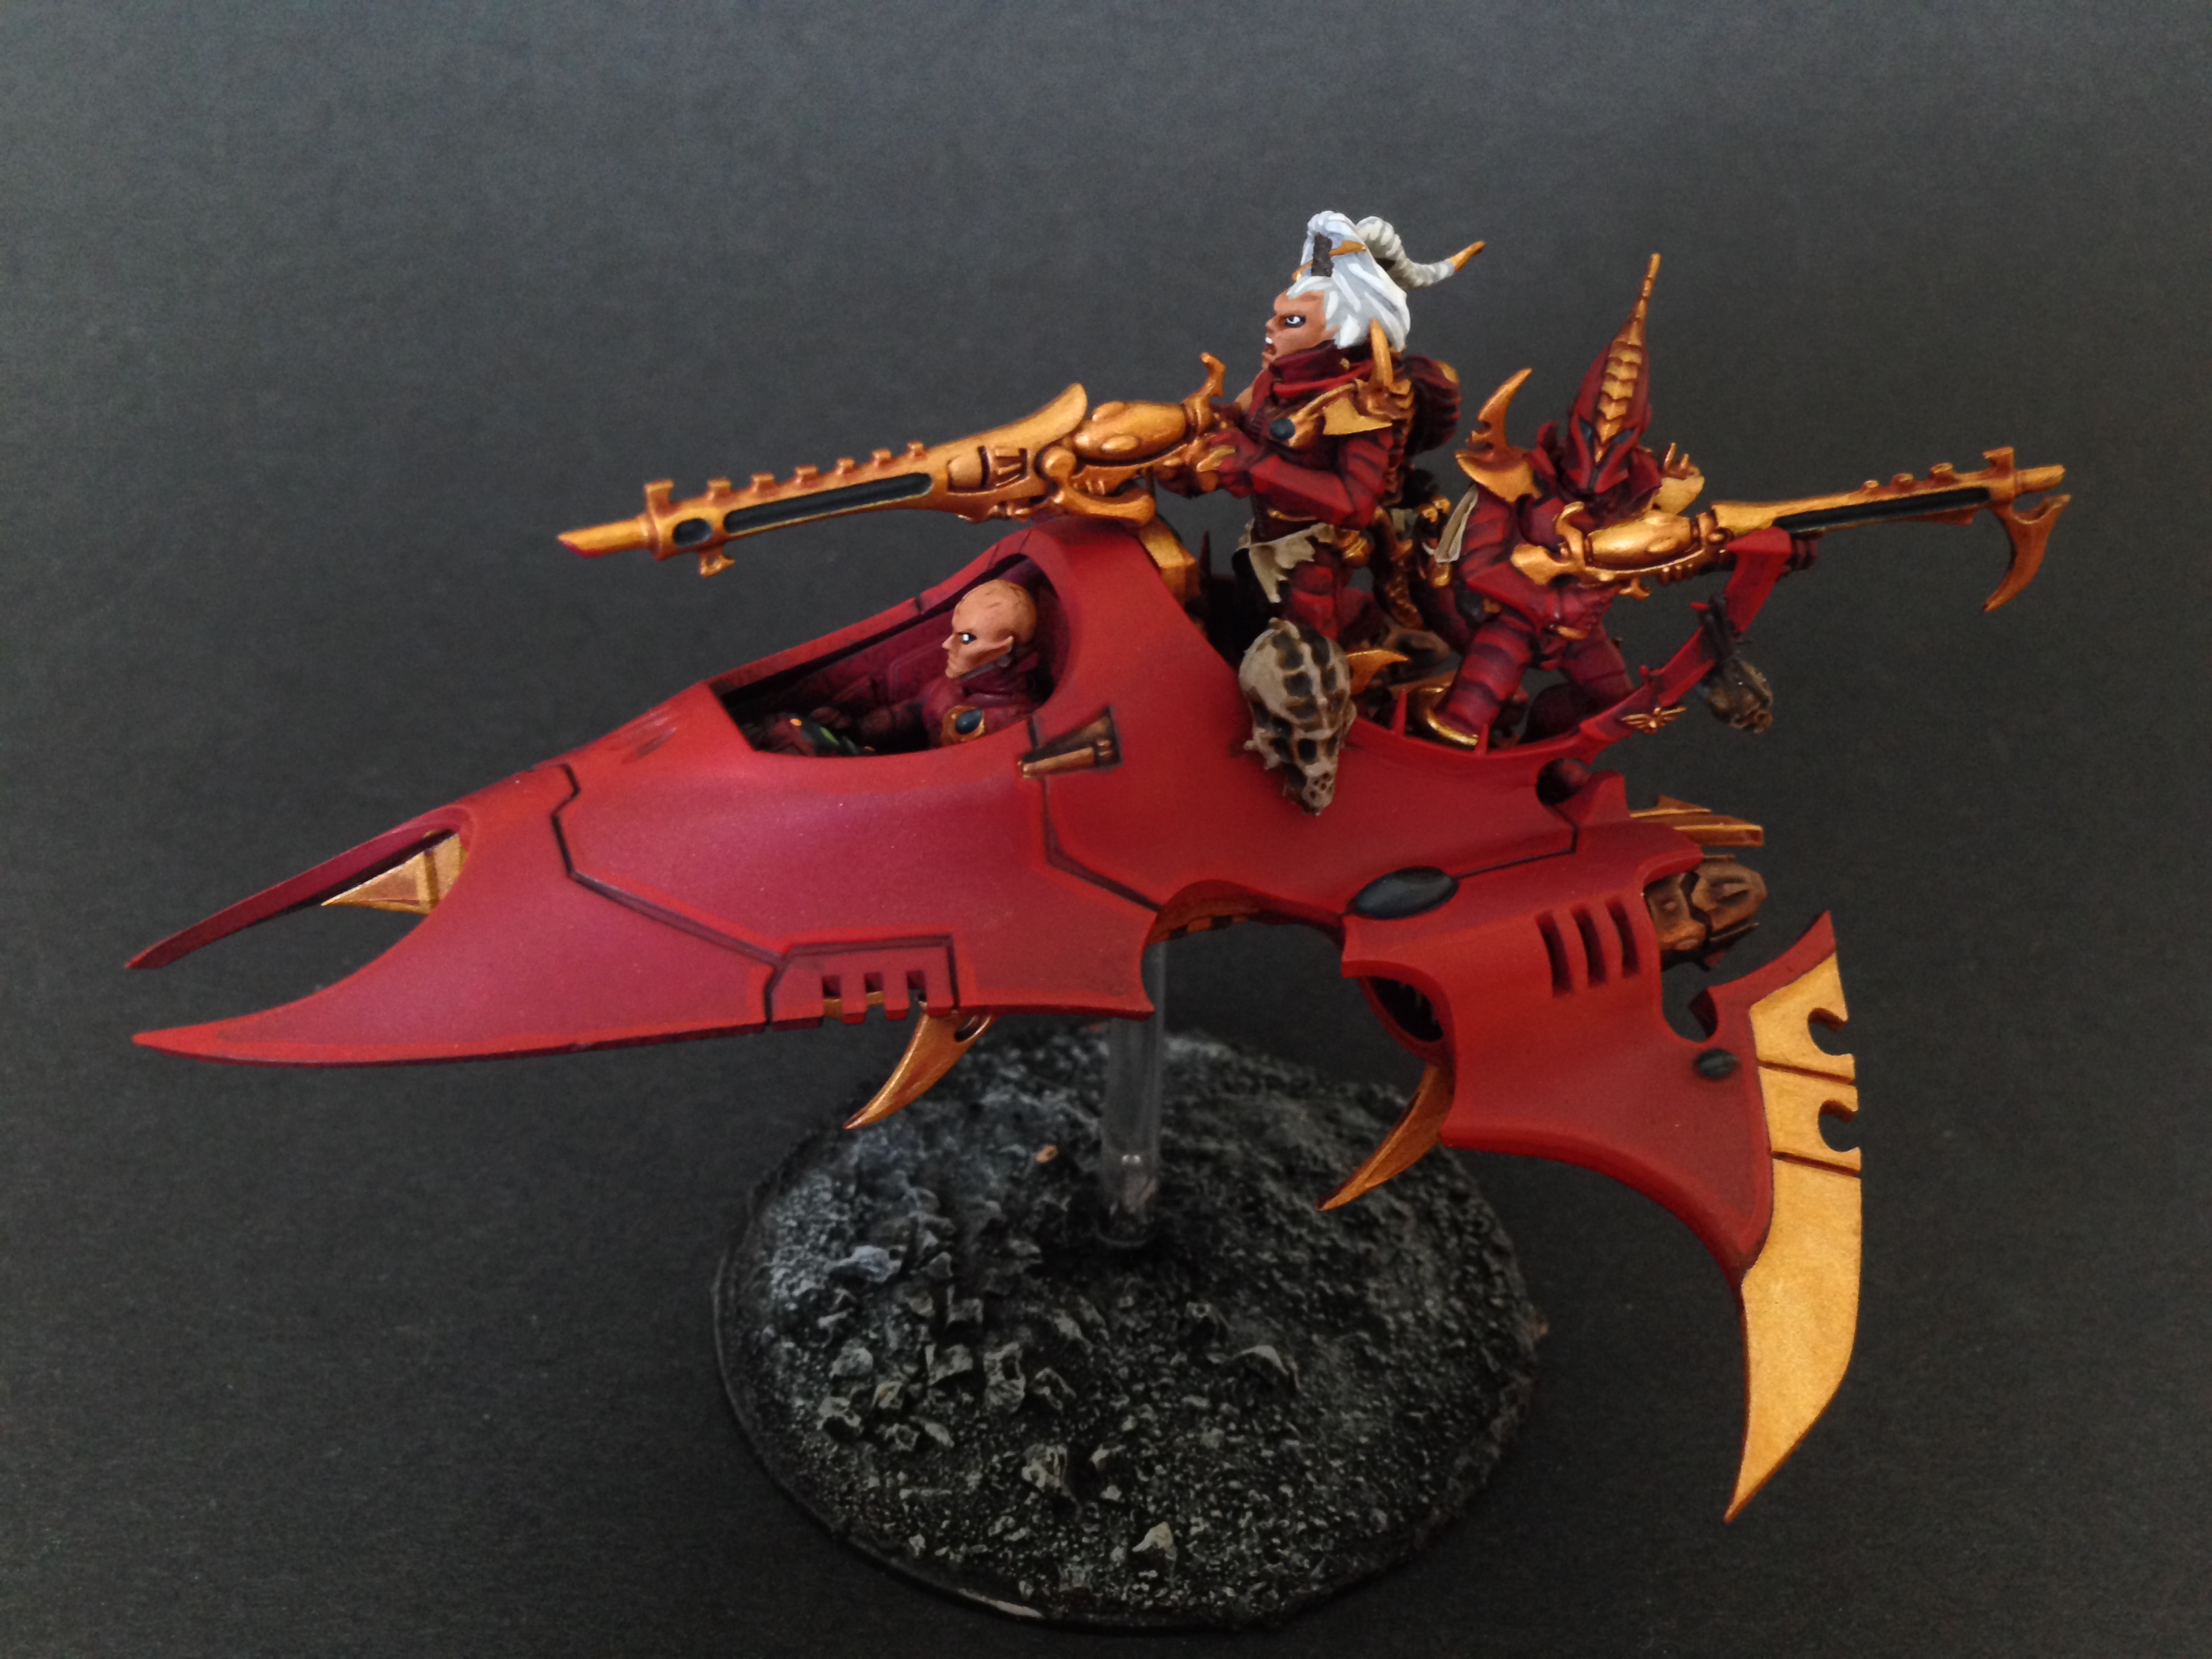
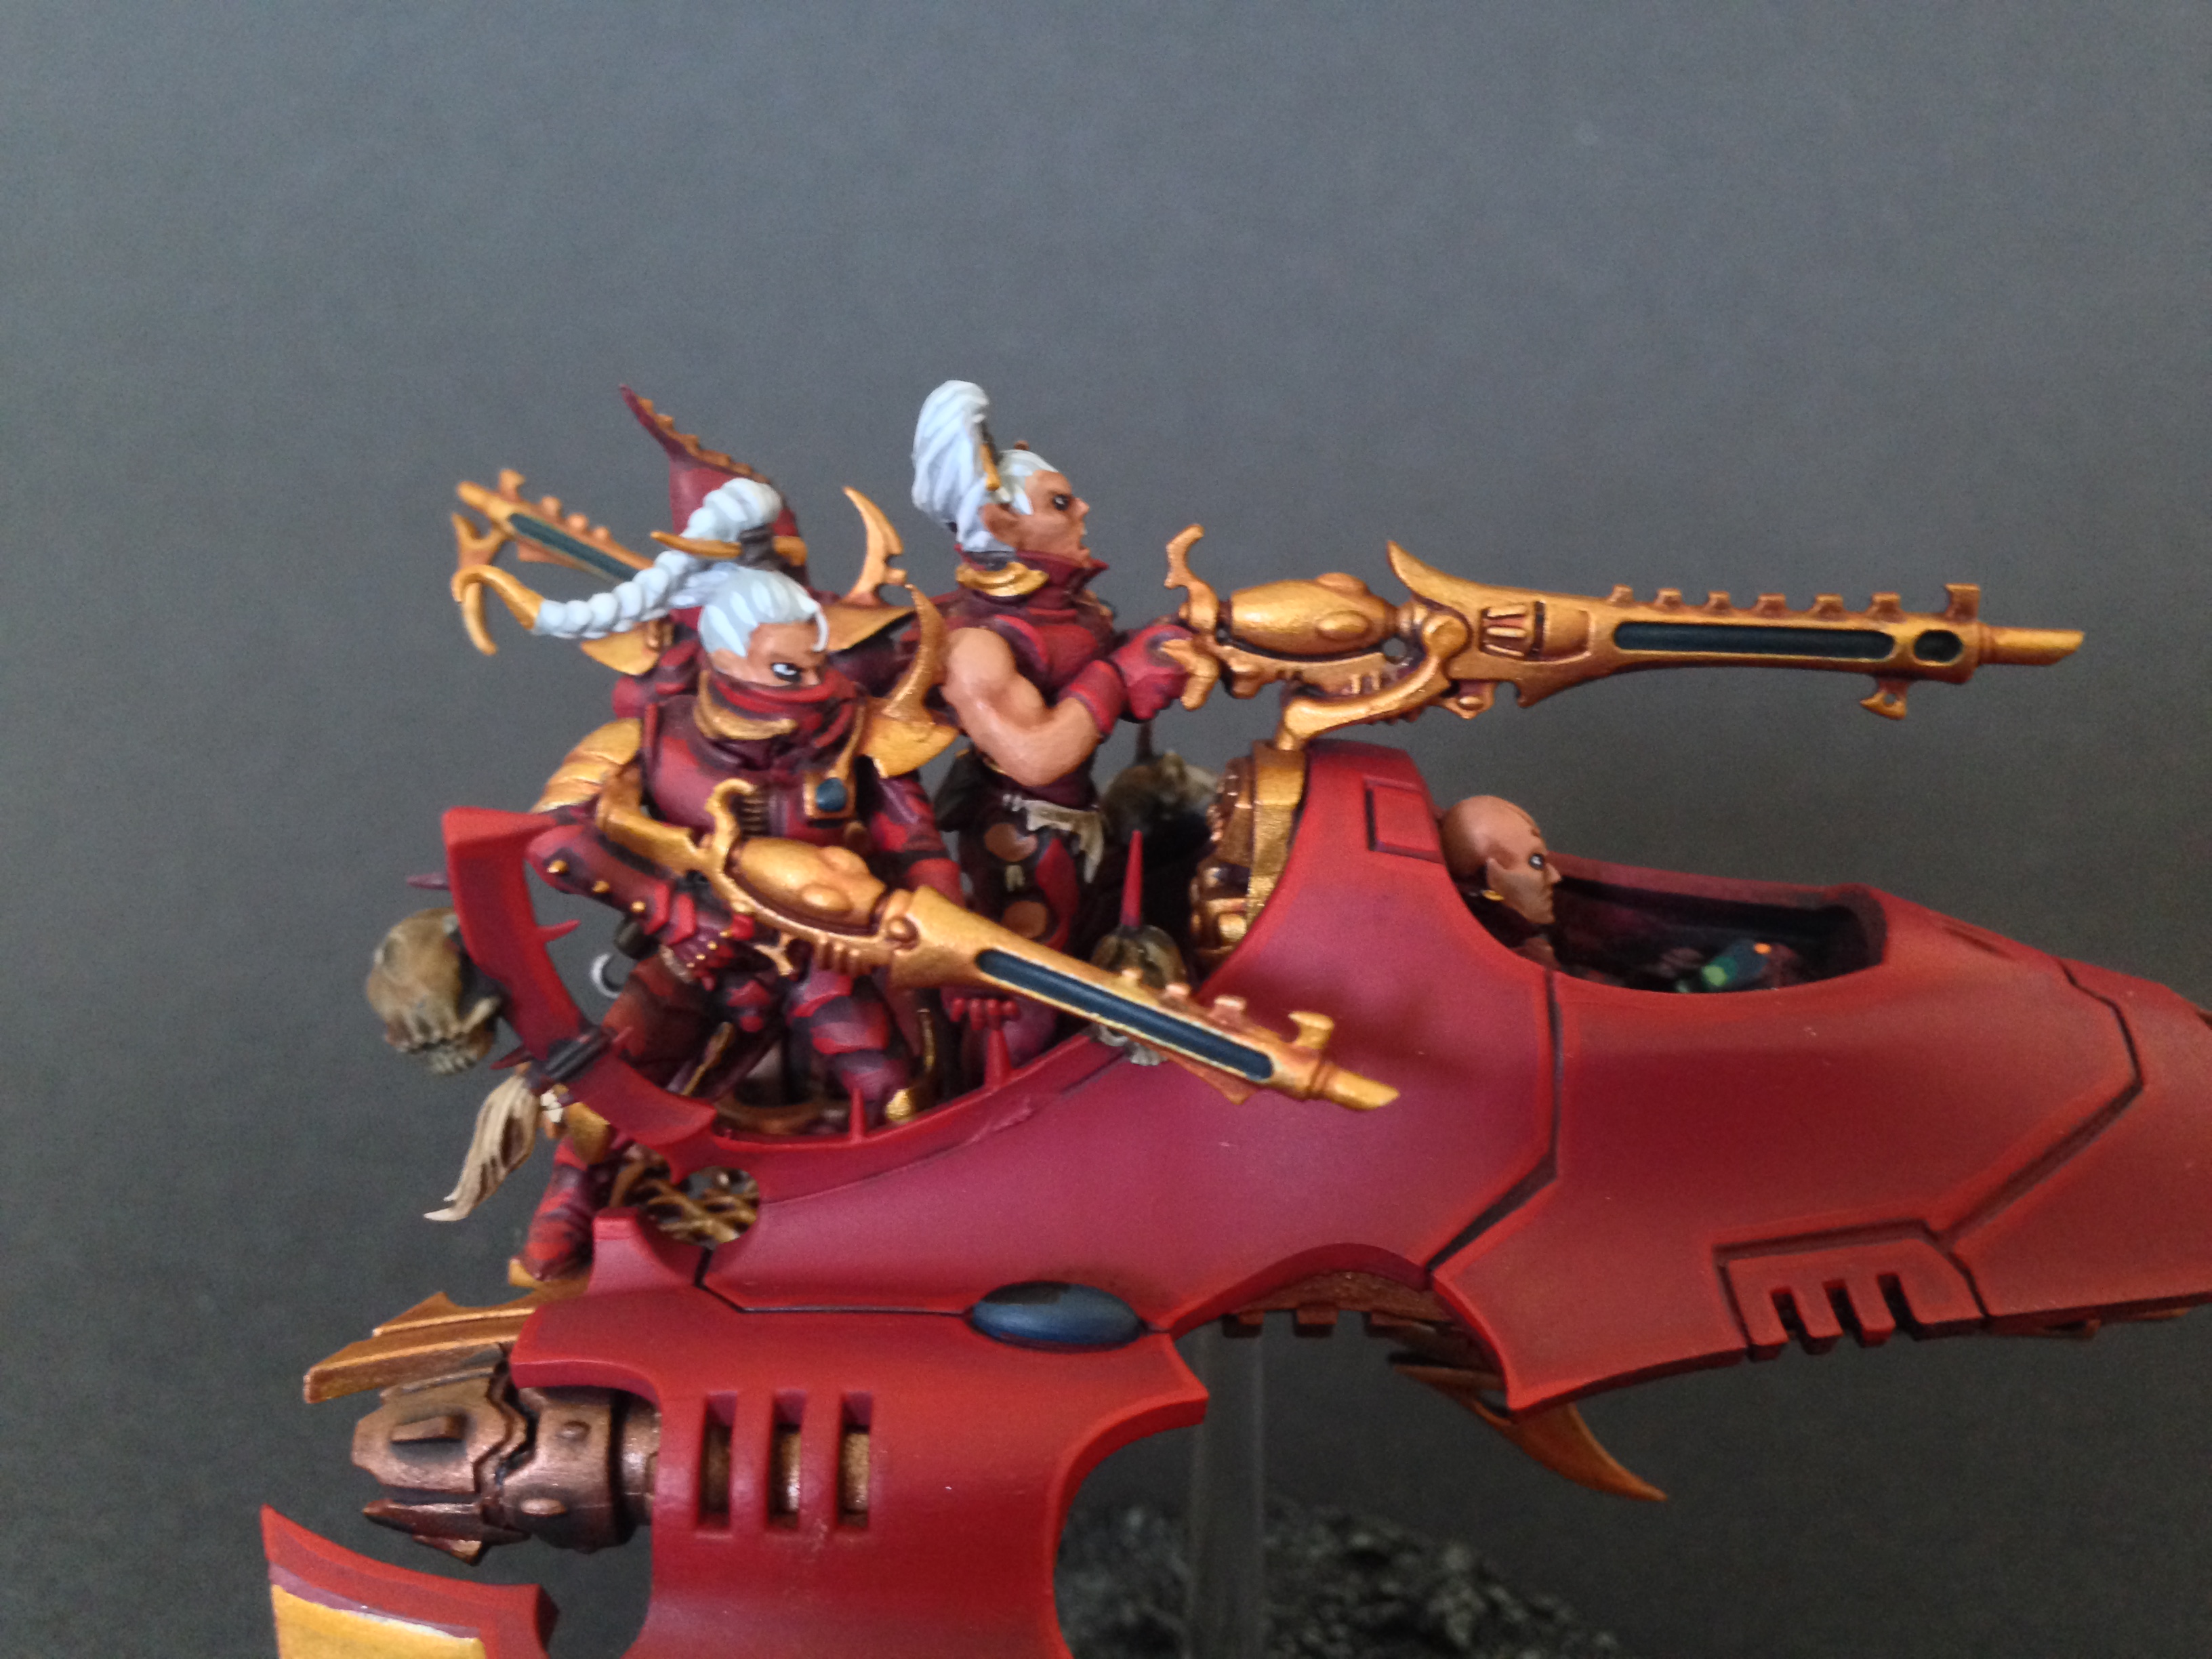
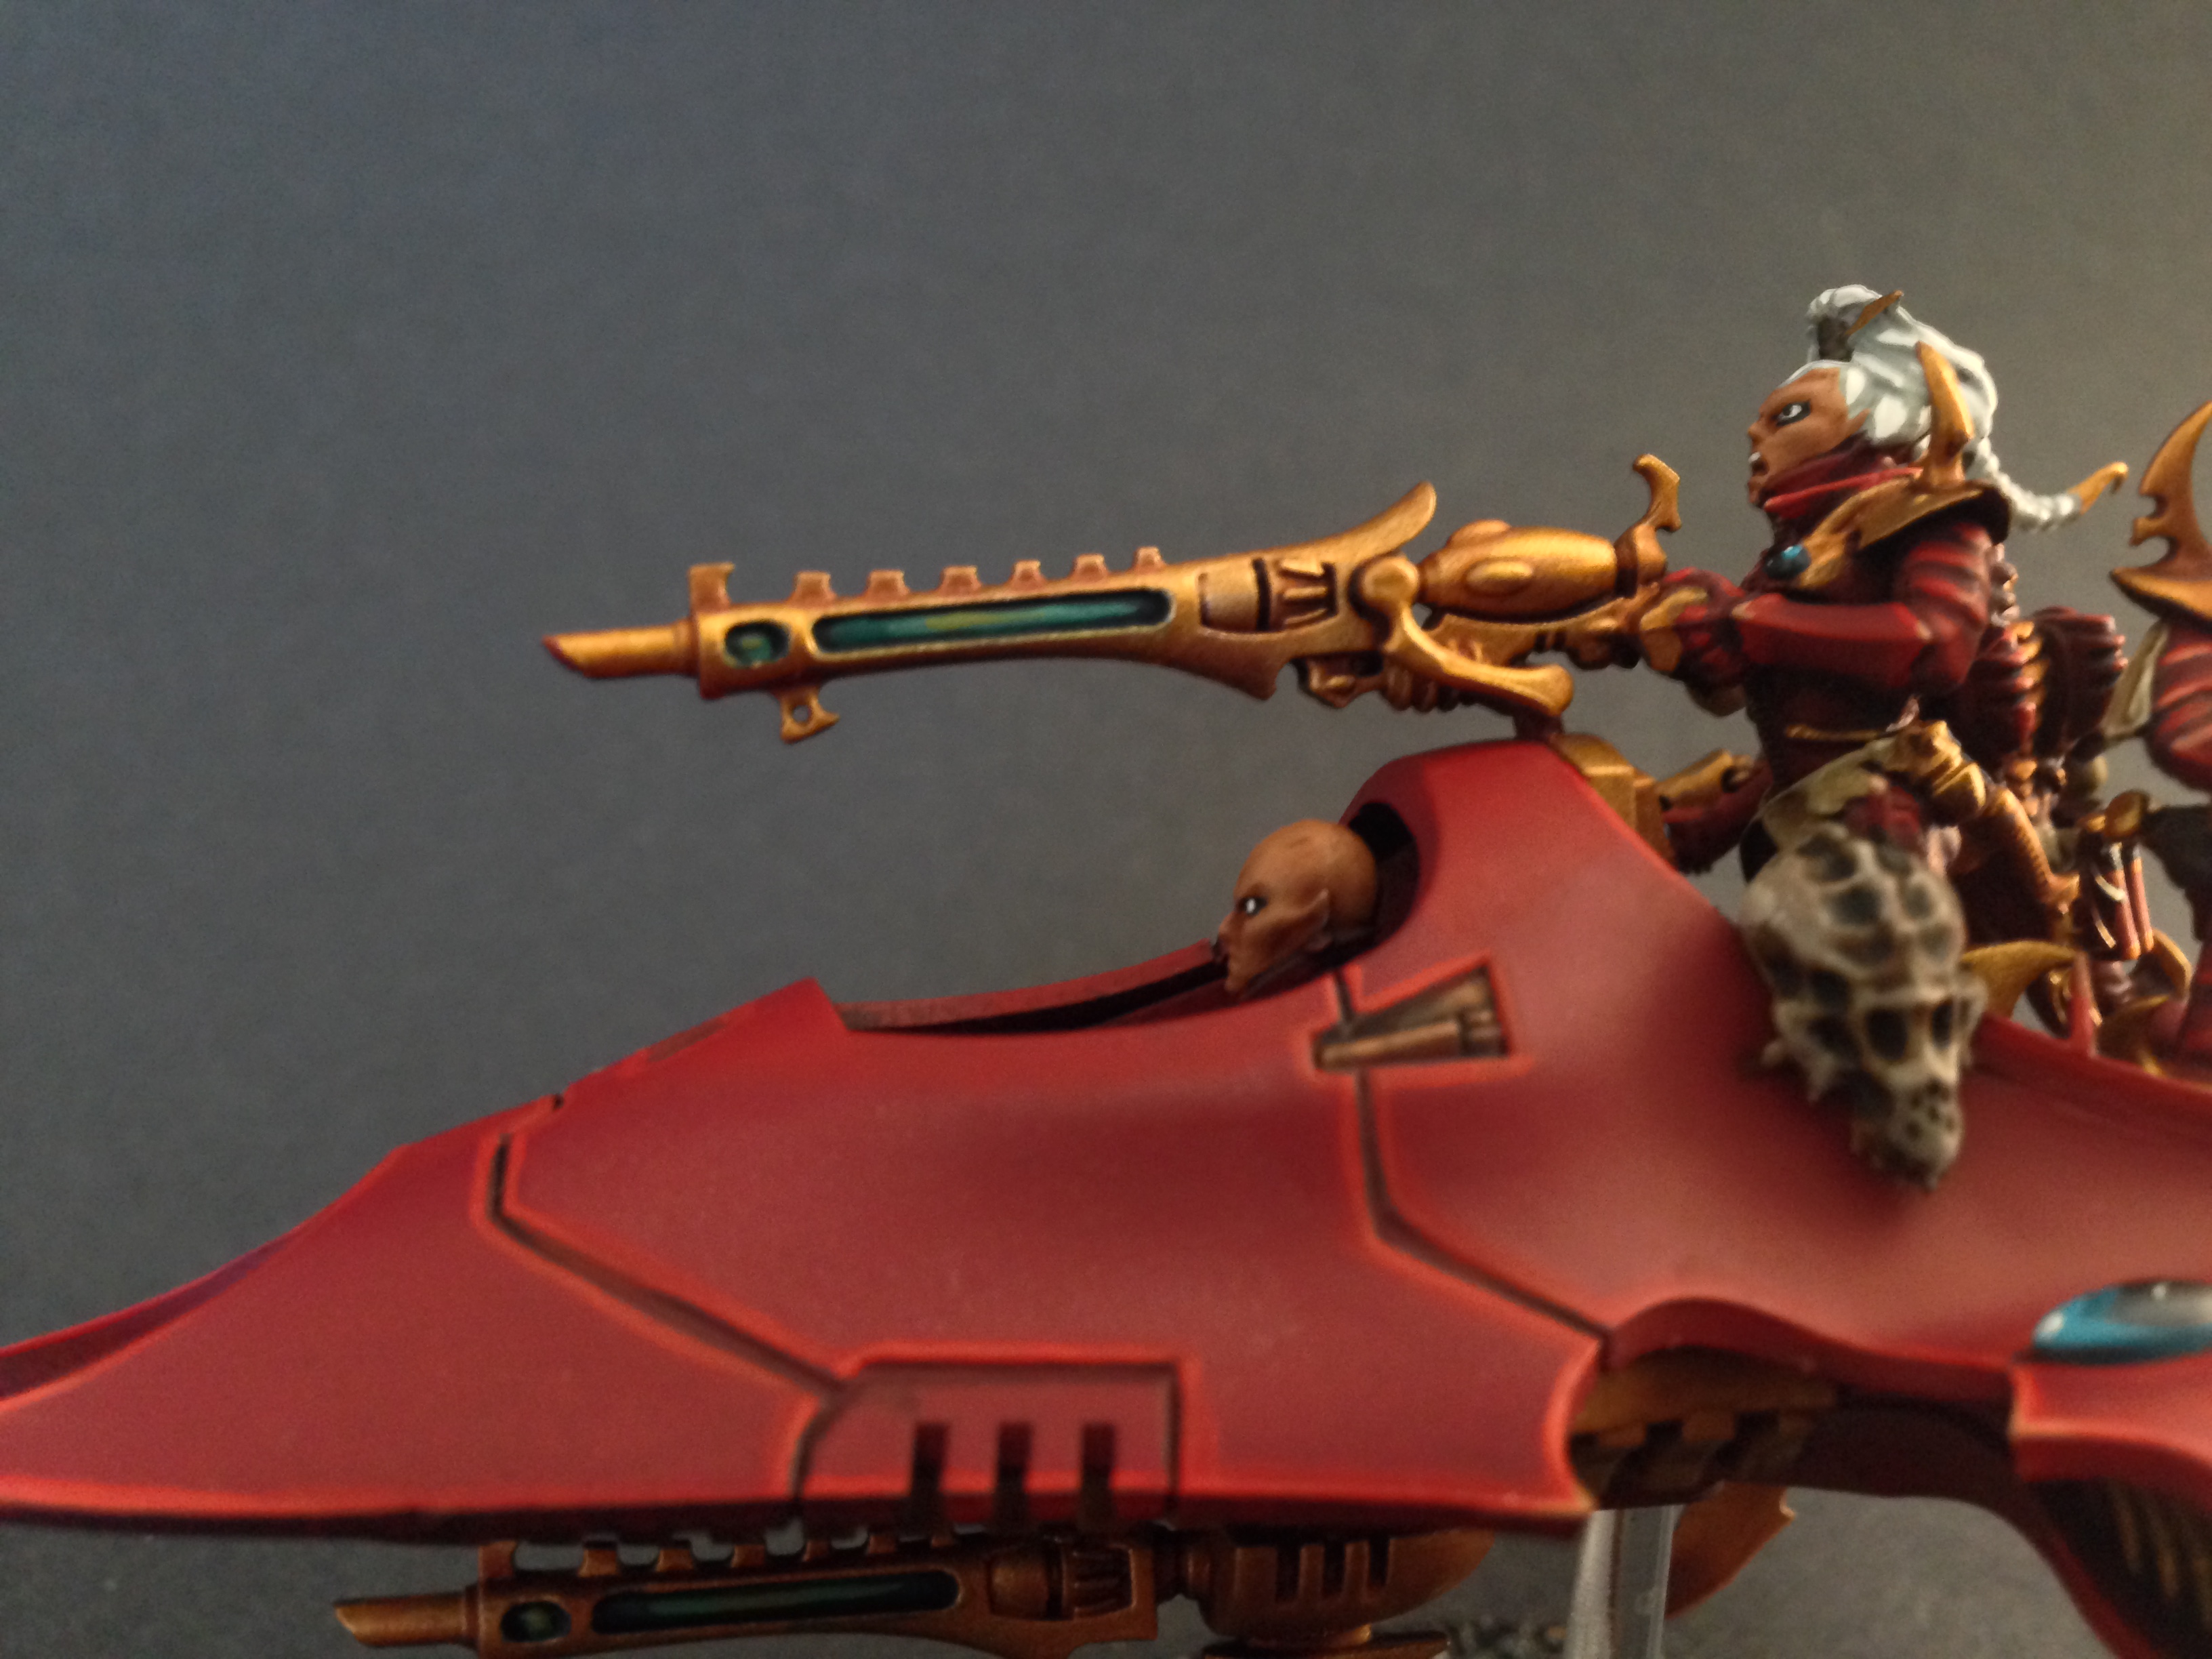
My older transports were a bit stripped down, as I wanted them to feel more like Corsairs than true Drukhari. Yet as of late I’ve found that everything felt a little too stripped down and that I needed a bit more grim dark in my life. To that end I decided to model up this Venom with Grisly Trophies and even include a few members of the Warrior squad on the transport deck. Man was I pleased with that decision. Even at this early stage I was very pleased with the results.
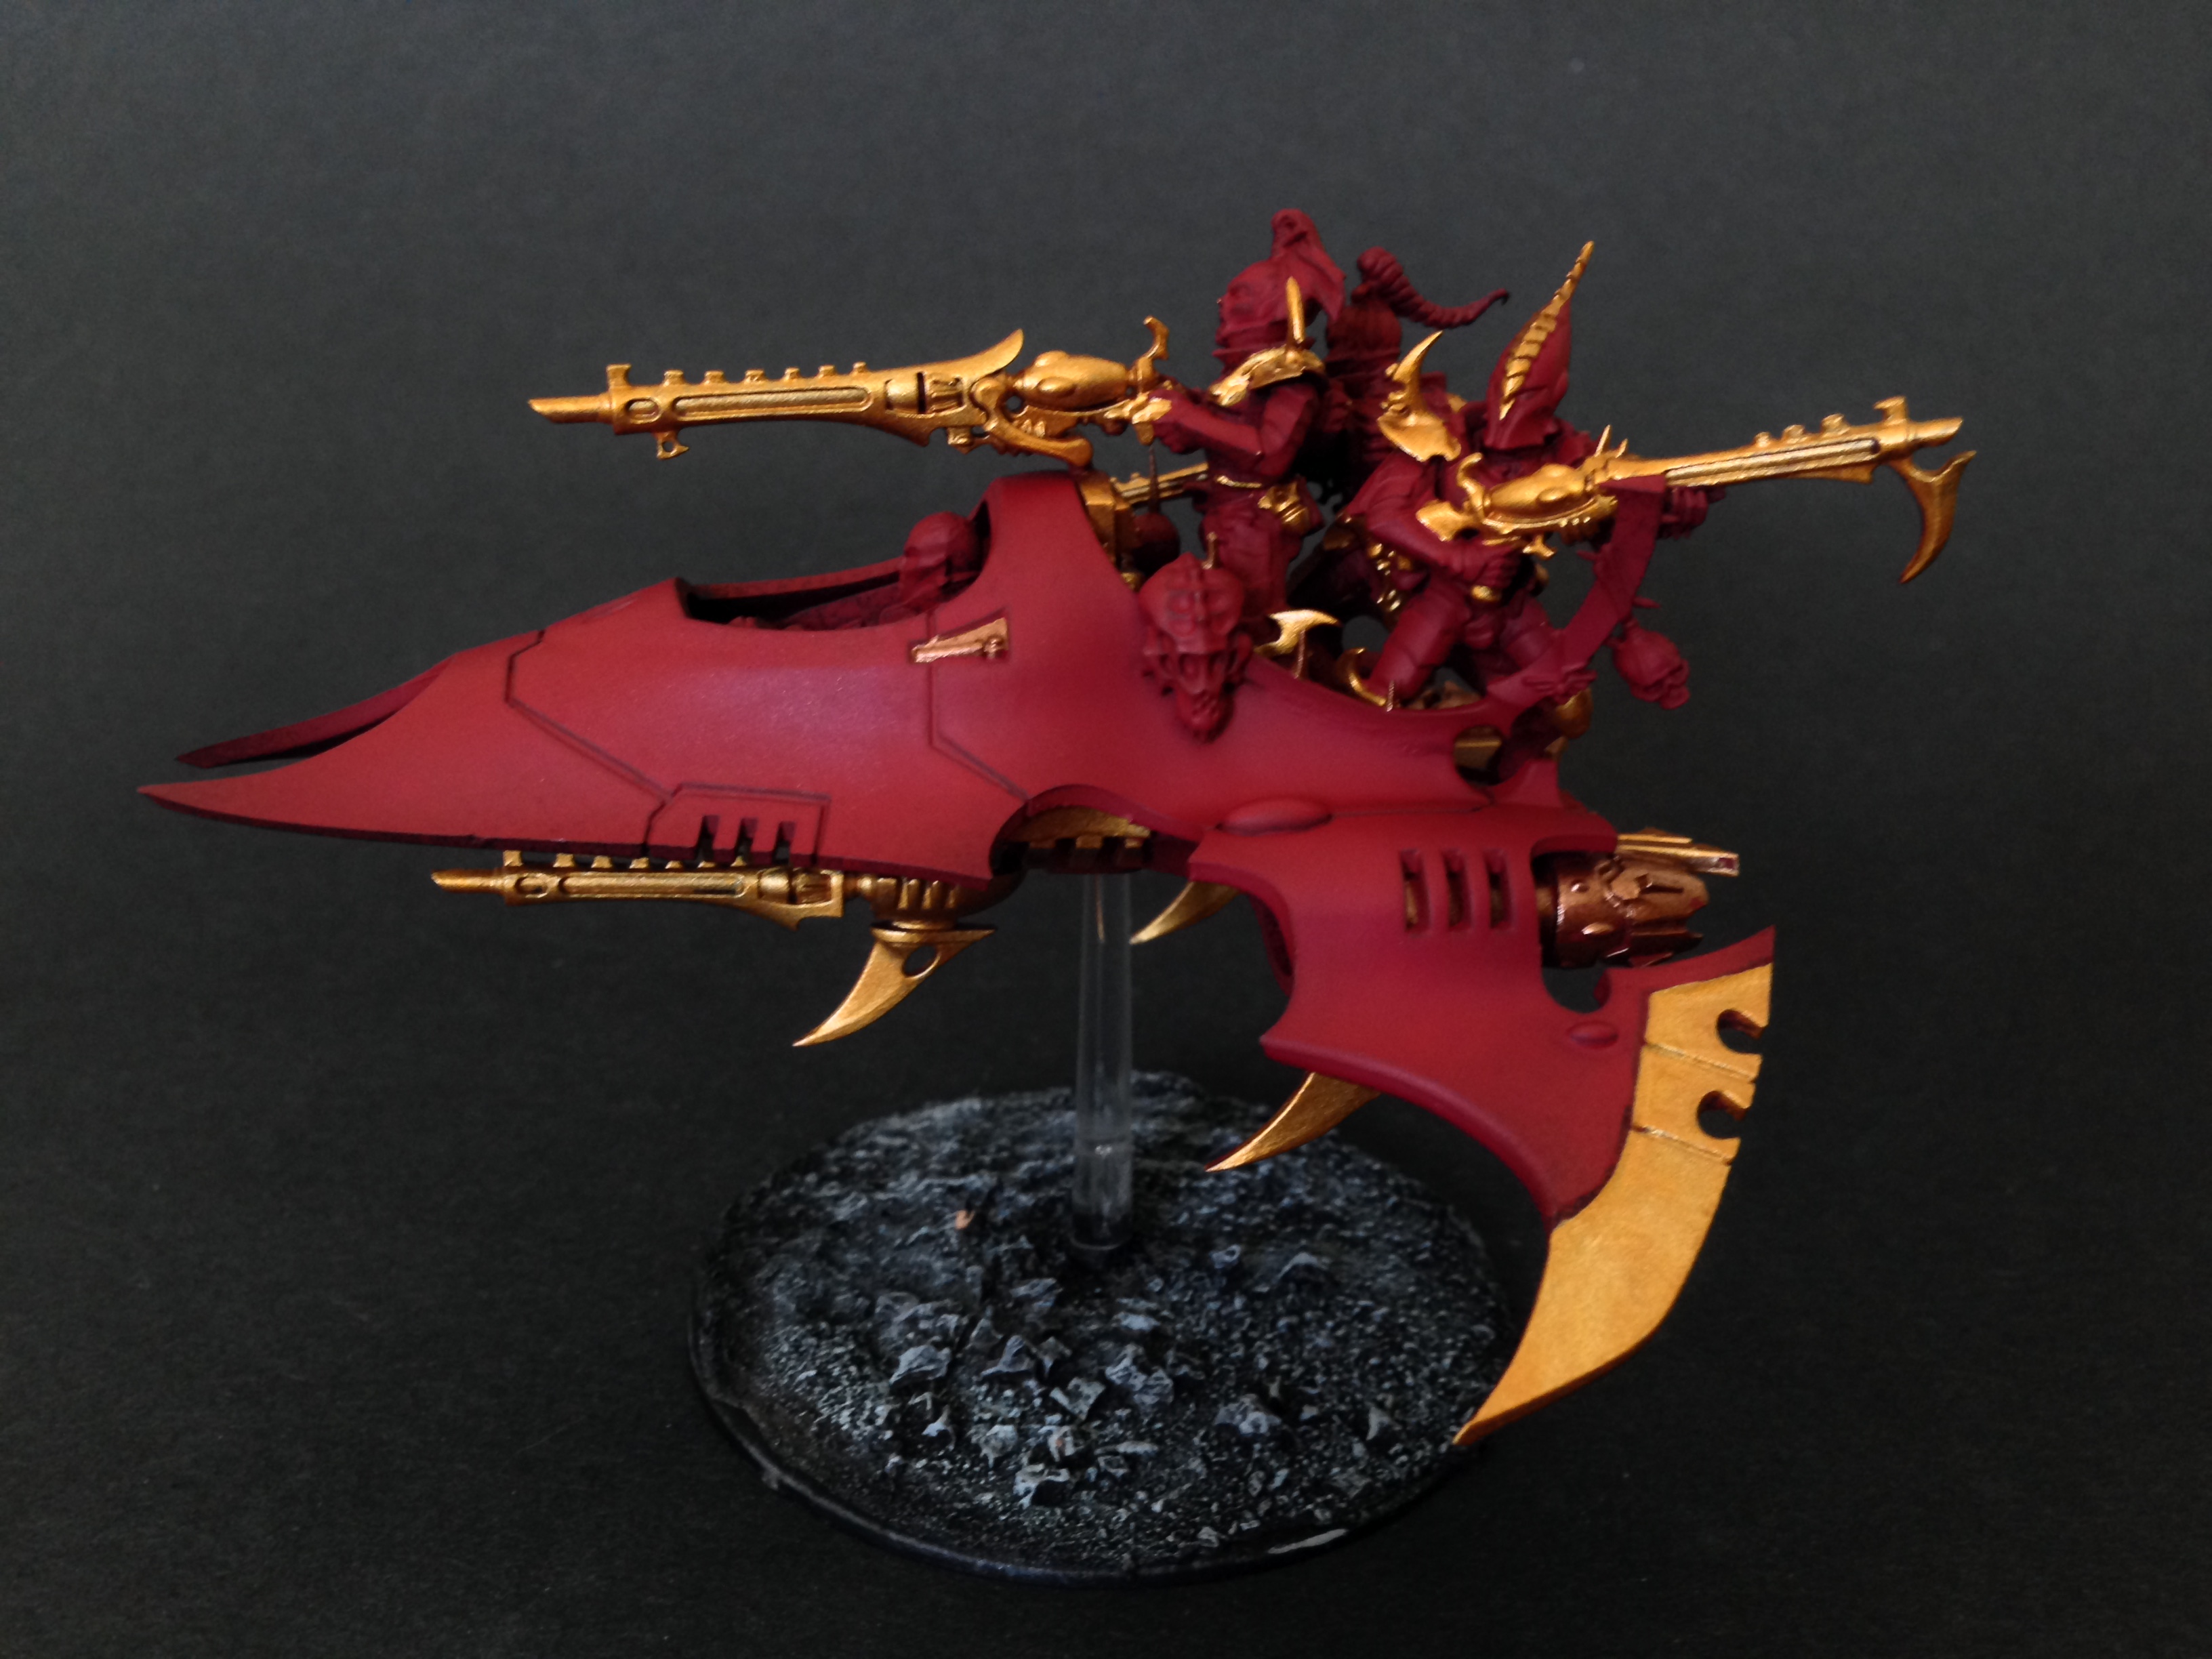
Next I hit all the areas I wanted gold with the excellent Retributor Gold. I like to do this early just to make sure I’ve got the right balance of red to gold, as I dont want this thing to look to blinged out.
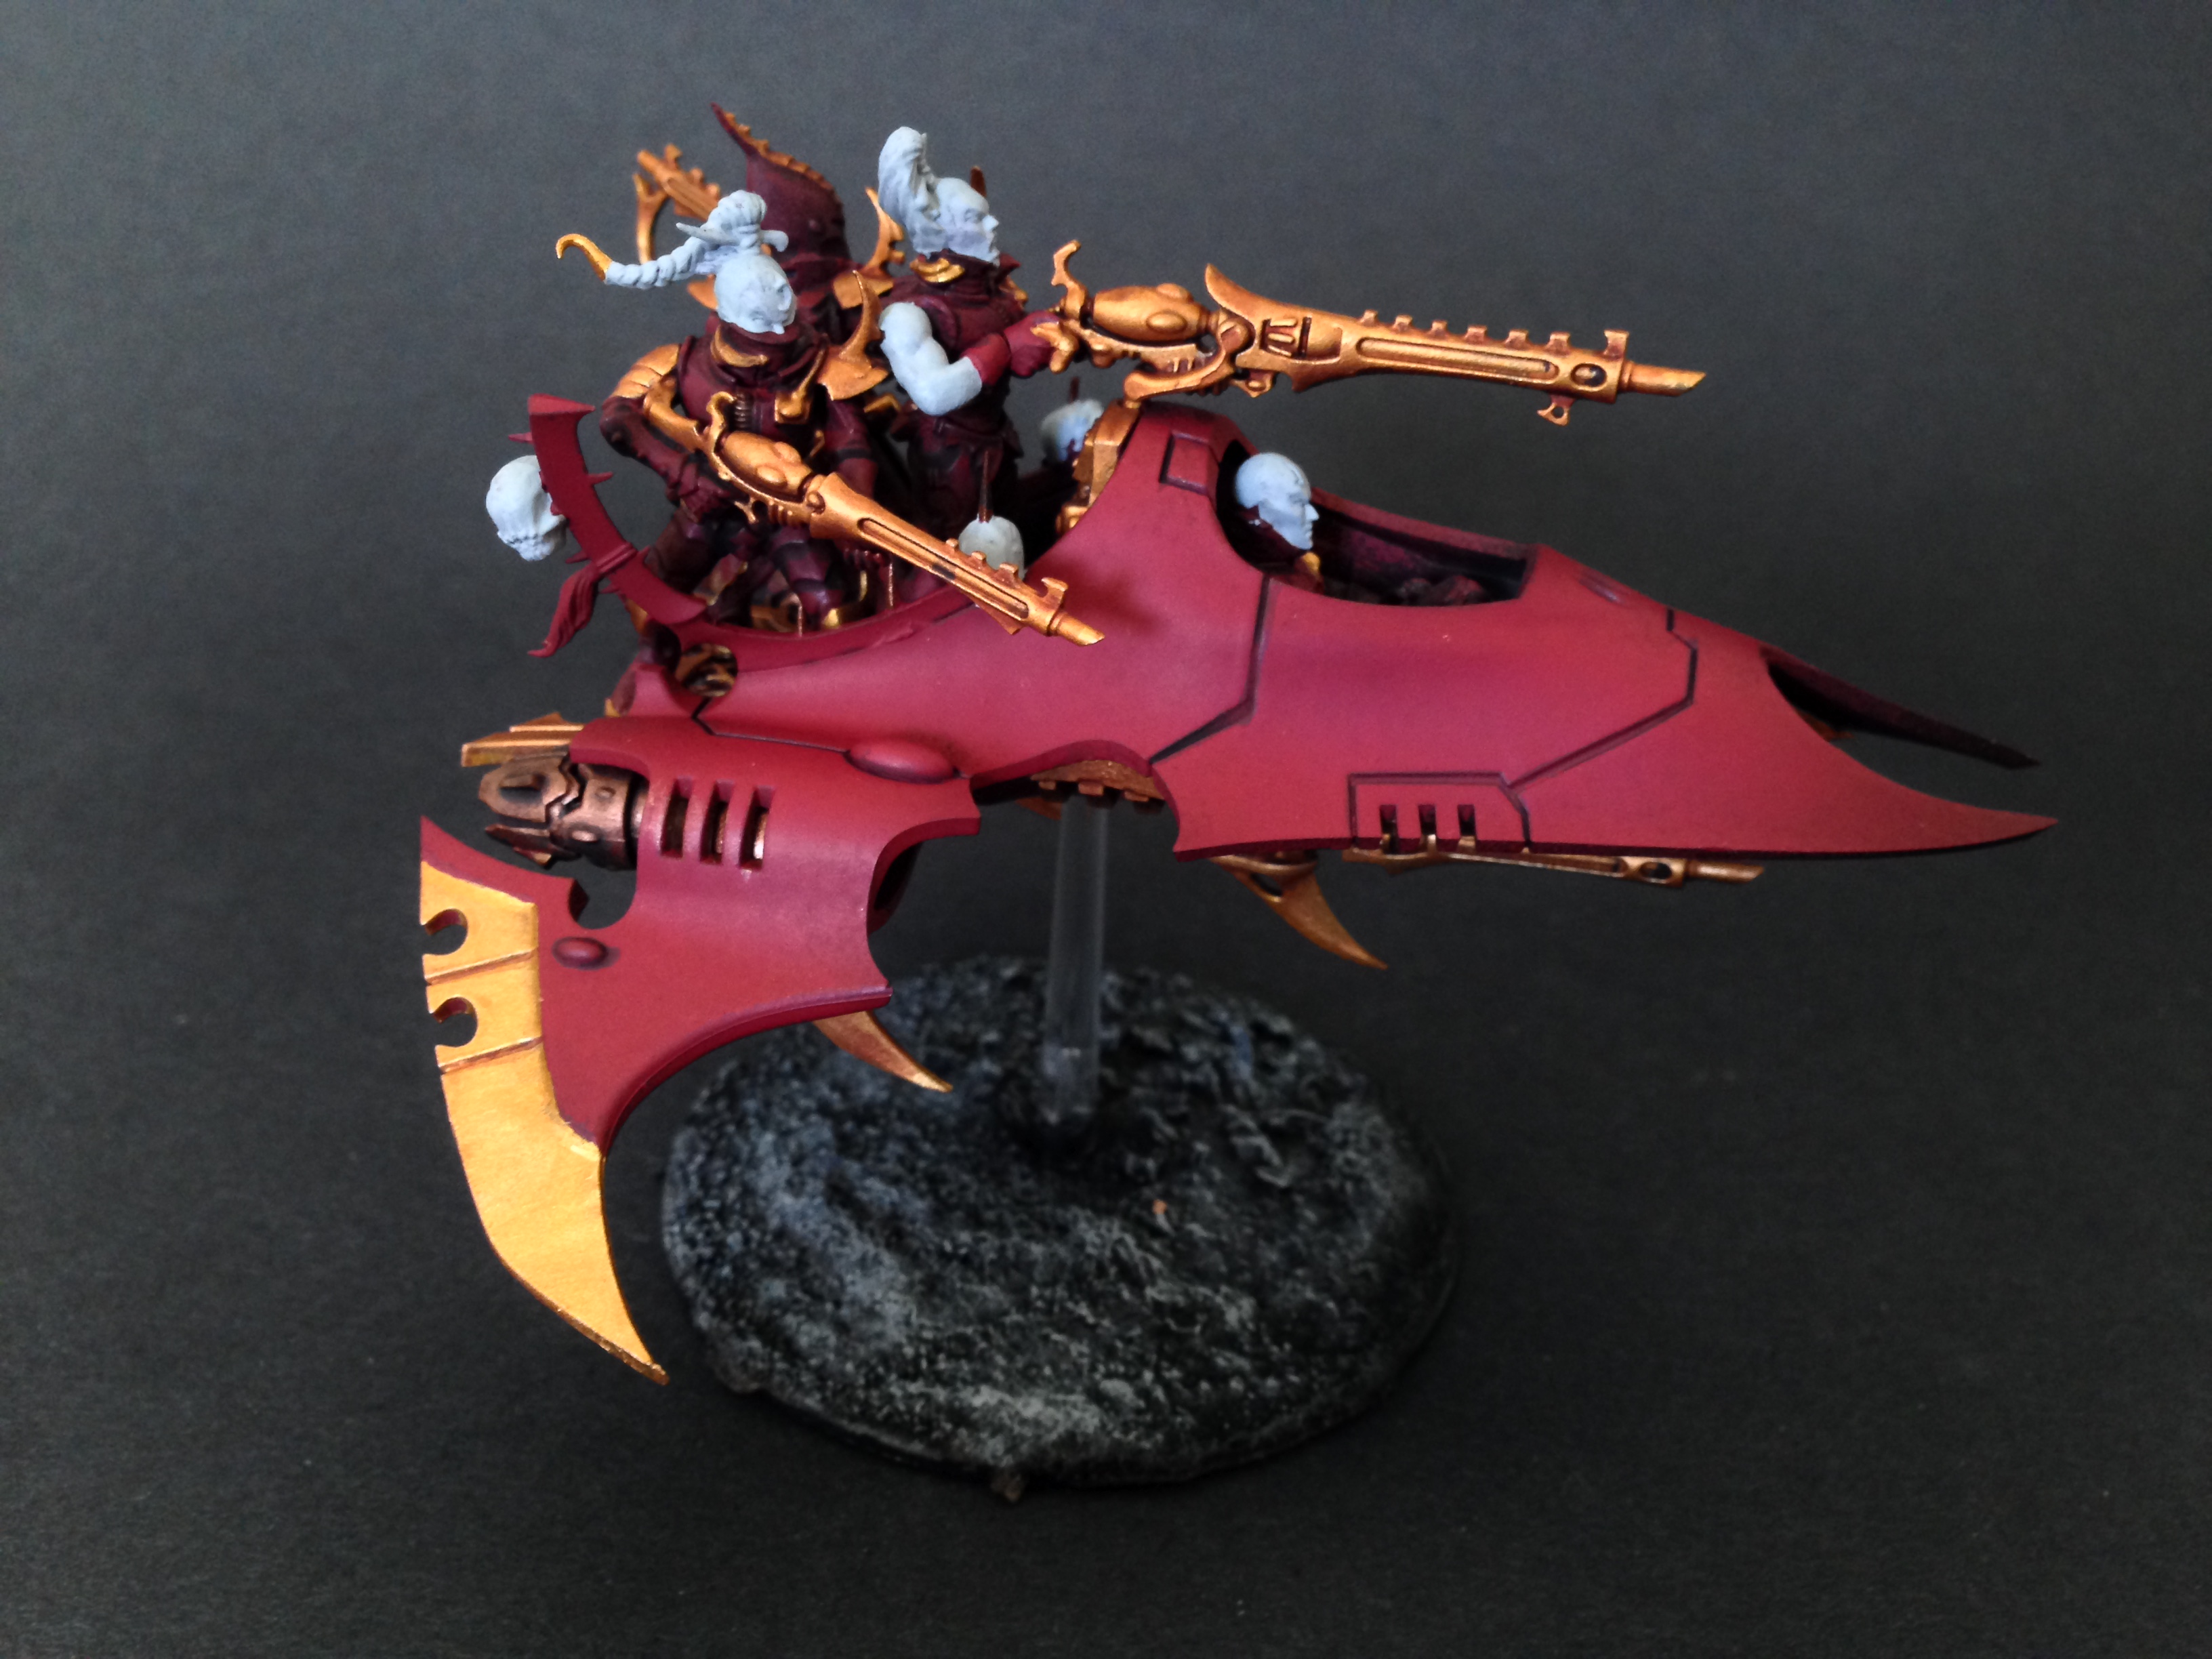
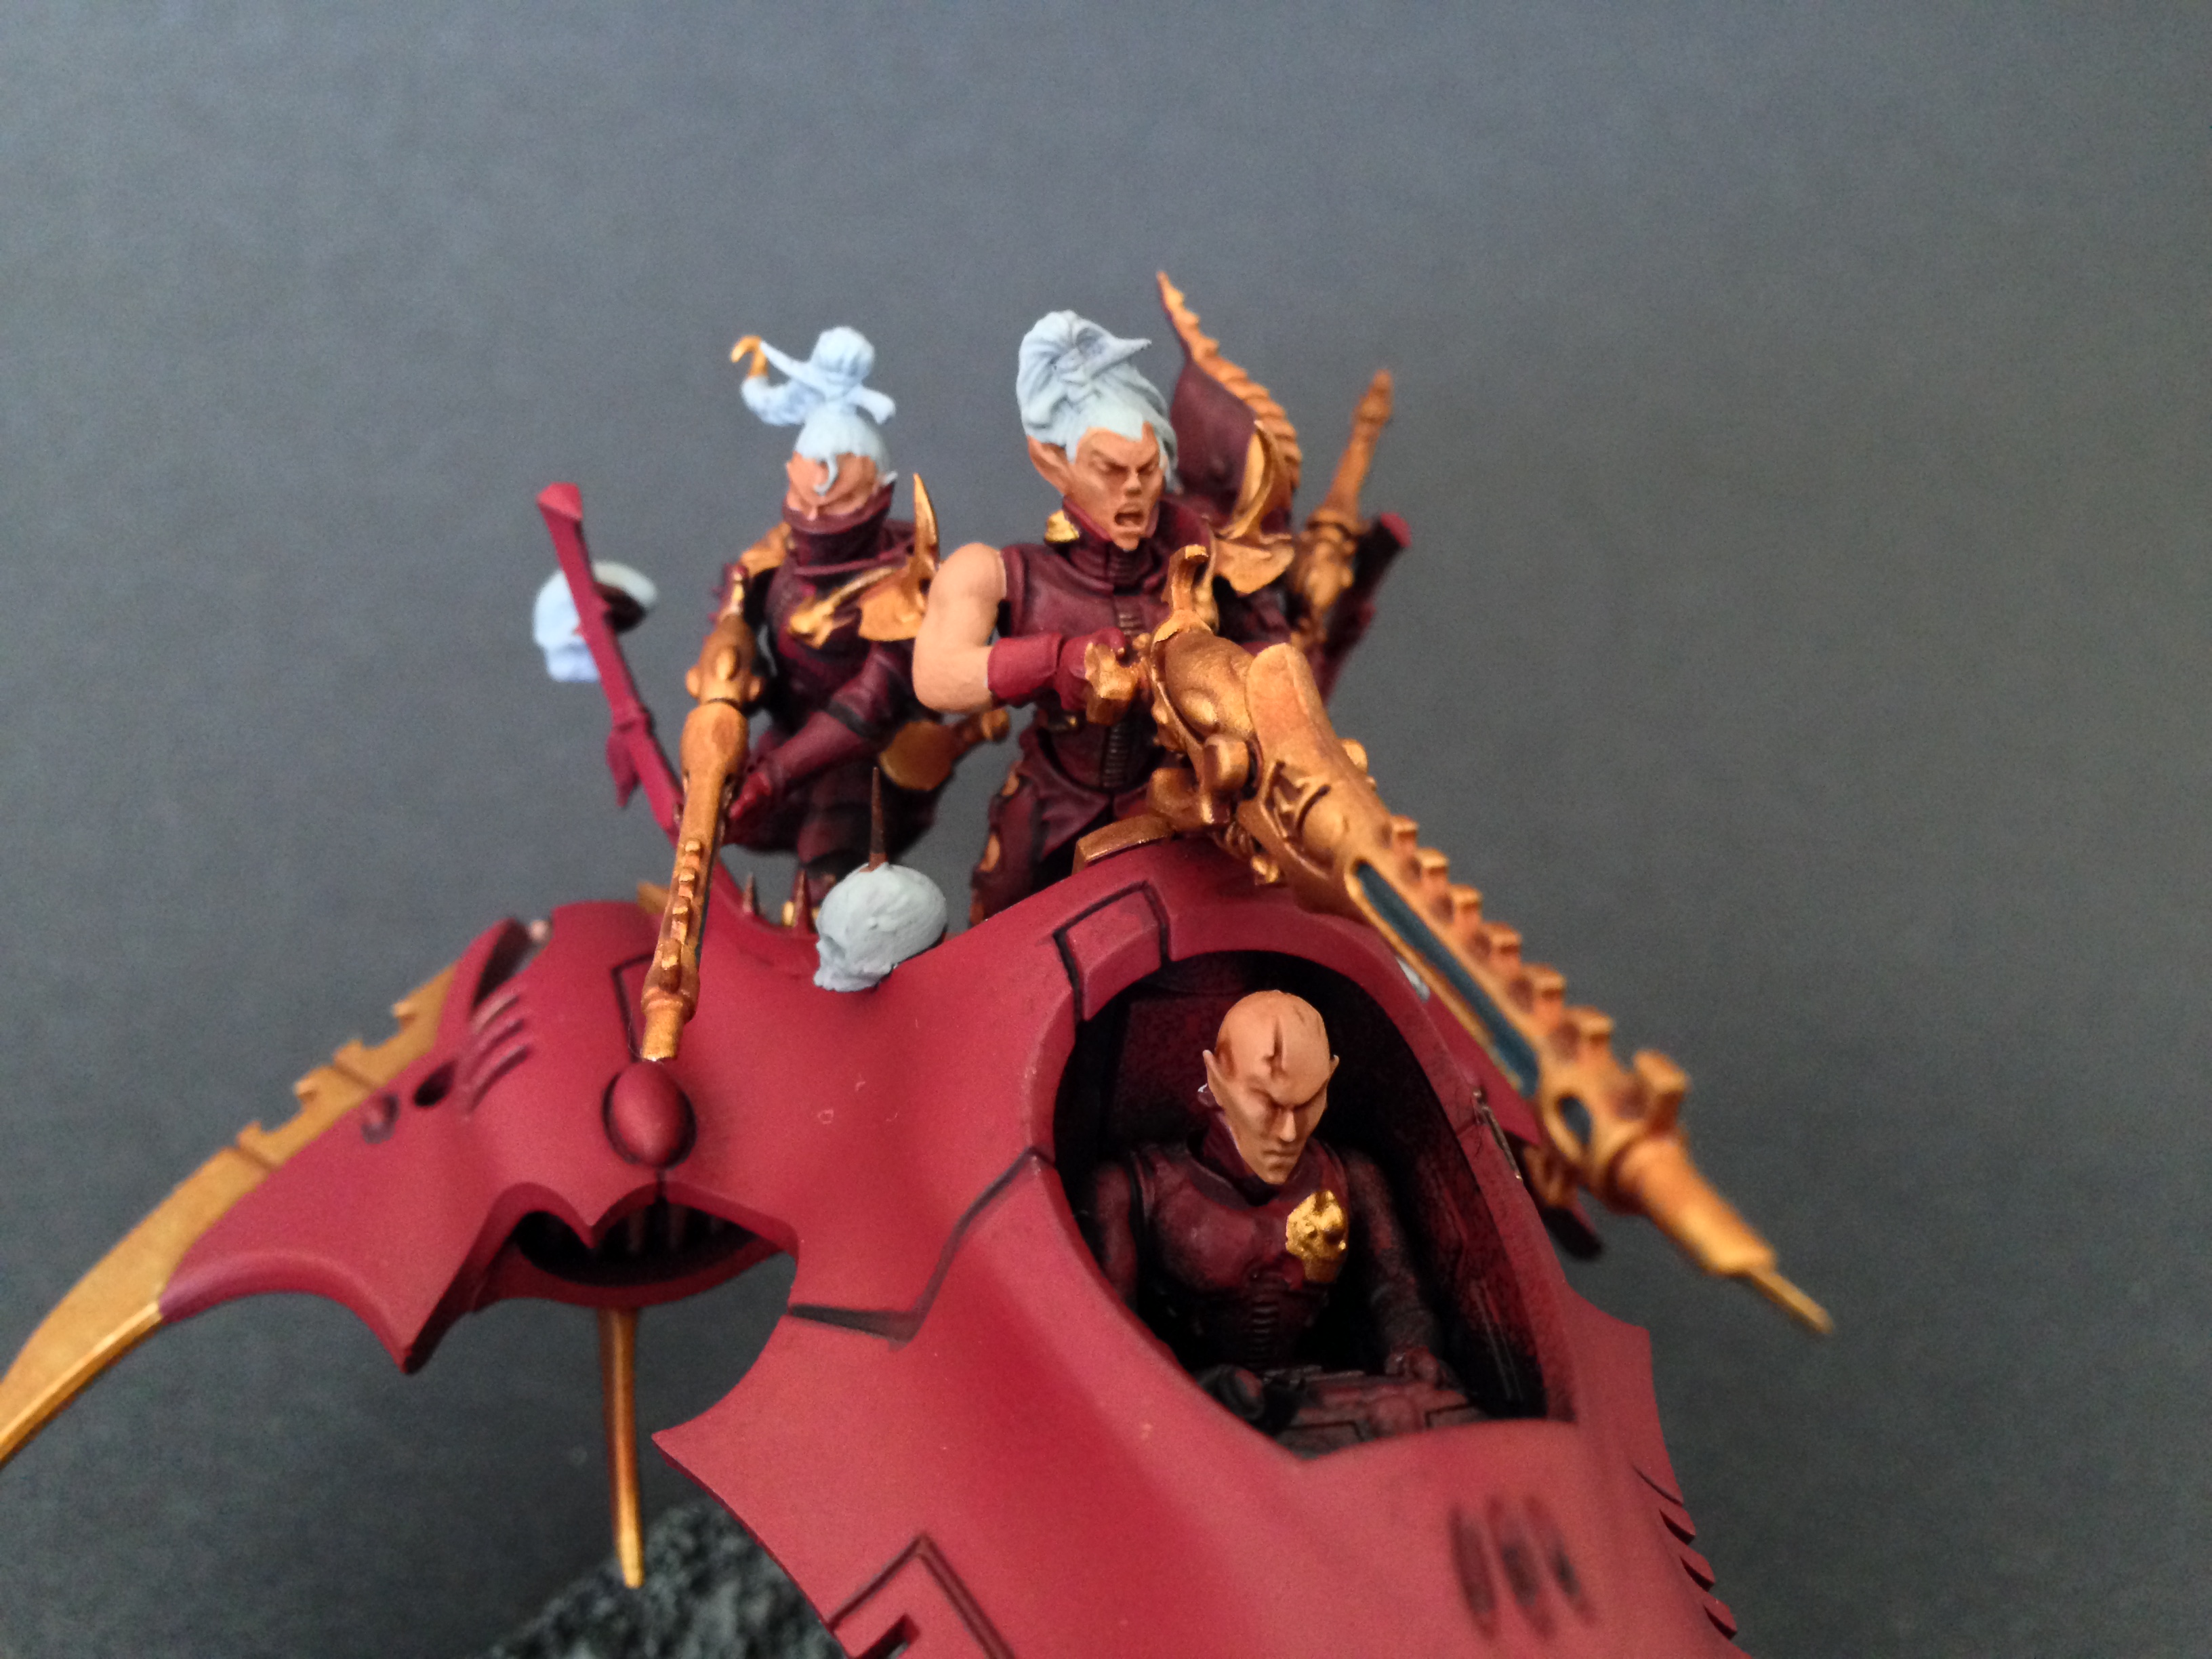
Next up I wanted to tackle the crew. This was the part I was really excited for. A lot of people would do sub-assembly here, but I prefer not to monkey around with glue on my painted models, especially my delicate Drukhari. So I just painted them on the vehicle itself.
The process is quite simple. First step is hit the crew (and the rest of the Venom) with Nuln Oil on their armor/body suits. You dont want any of that stuff getting on the skin tones. After it dries hit all the flesh, hair and even the bones on the trophy rack with Celestra Grey. This excellent paint makes the perfect foundation for your skin tones, hair and bones. After that hit the all the skin with a nice totally opaque layer of Cadian Fleshtone and close it out with a Reikland Fleshwash on both the flesh and the gold.
After that I like to do the eyes, even before I clean up the wash on the skin tone. The reason is that when defining those eyes, you seldom do it on a single take. Covering up the black from dotting the eyes can some times take a bit of paint, and even that one extra layer from cleaning up the Reikland Fleshwash can make the difference between a goopy looking model and a nice clean paint job.
So when I paint eyes, I dont hesitate to exaggerate them just a bit. I define the shape of eye with a almond shaped dot of Abaddon Black.
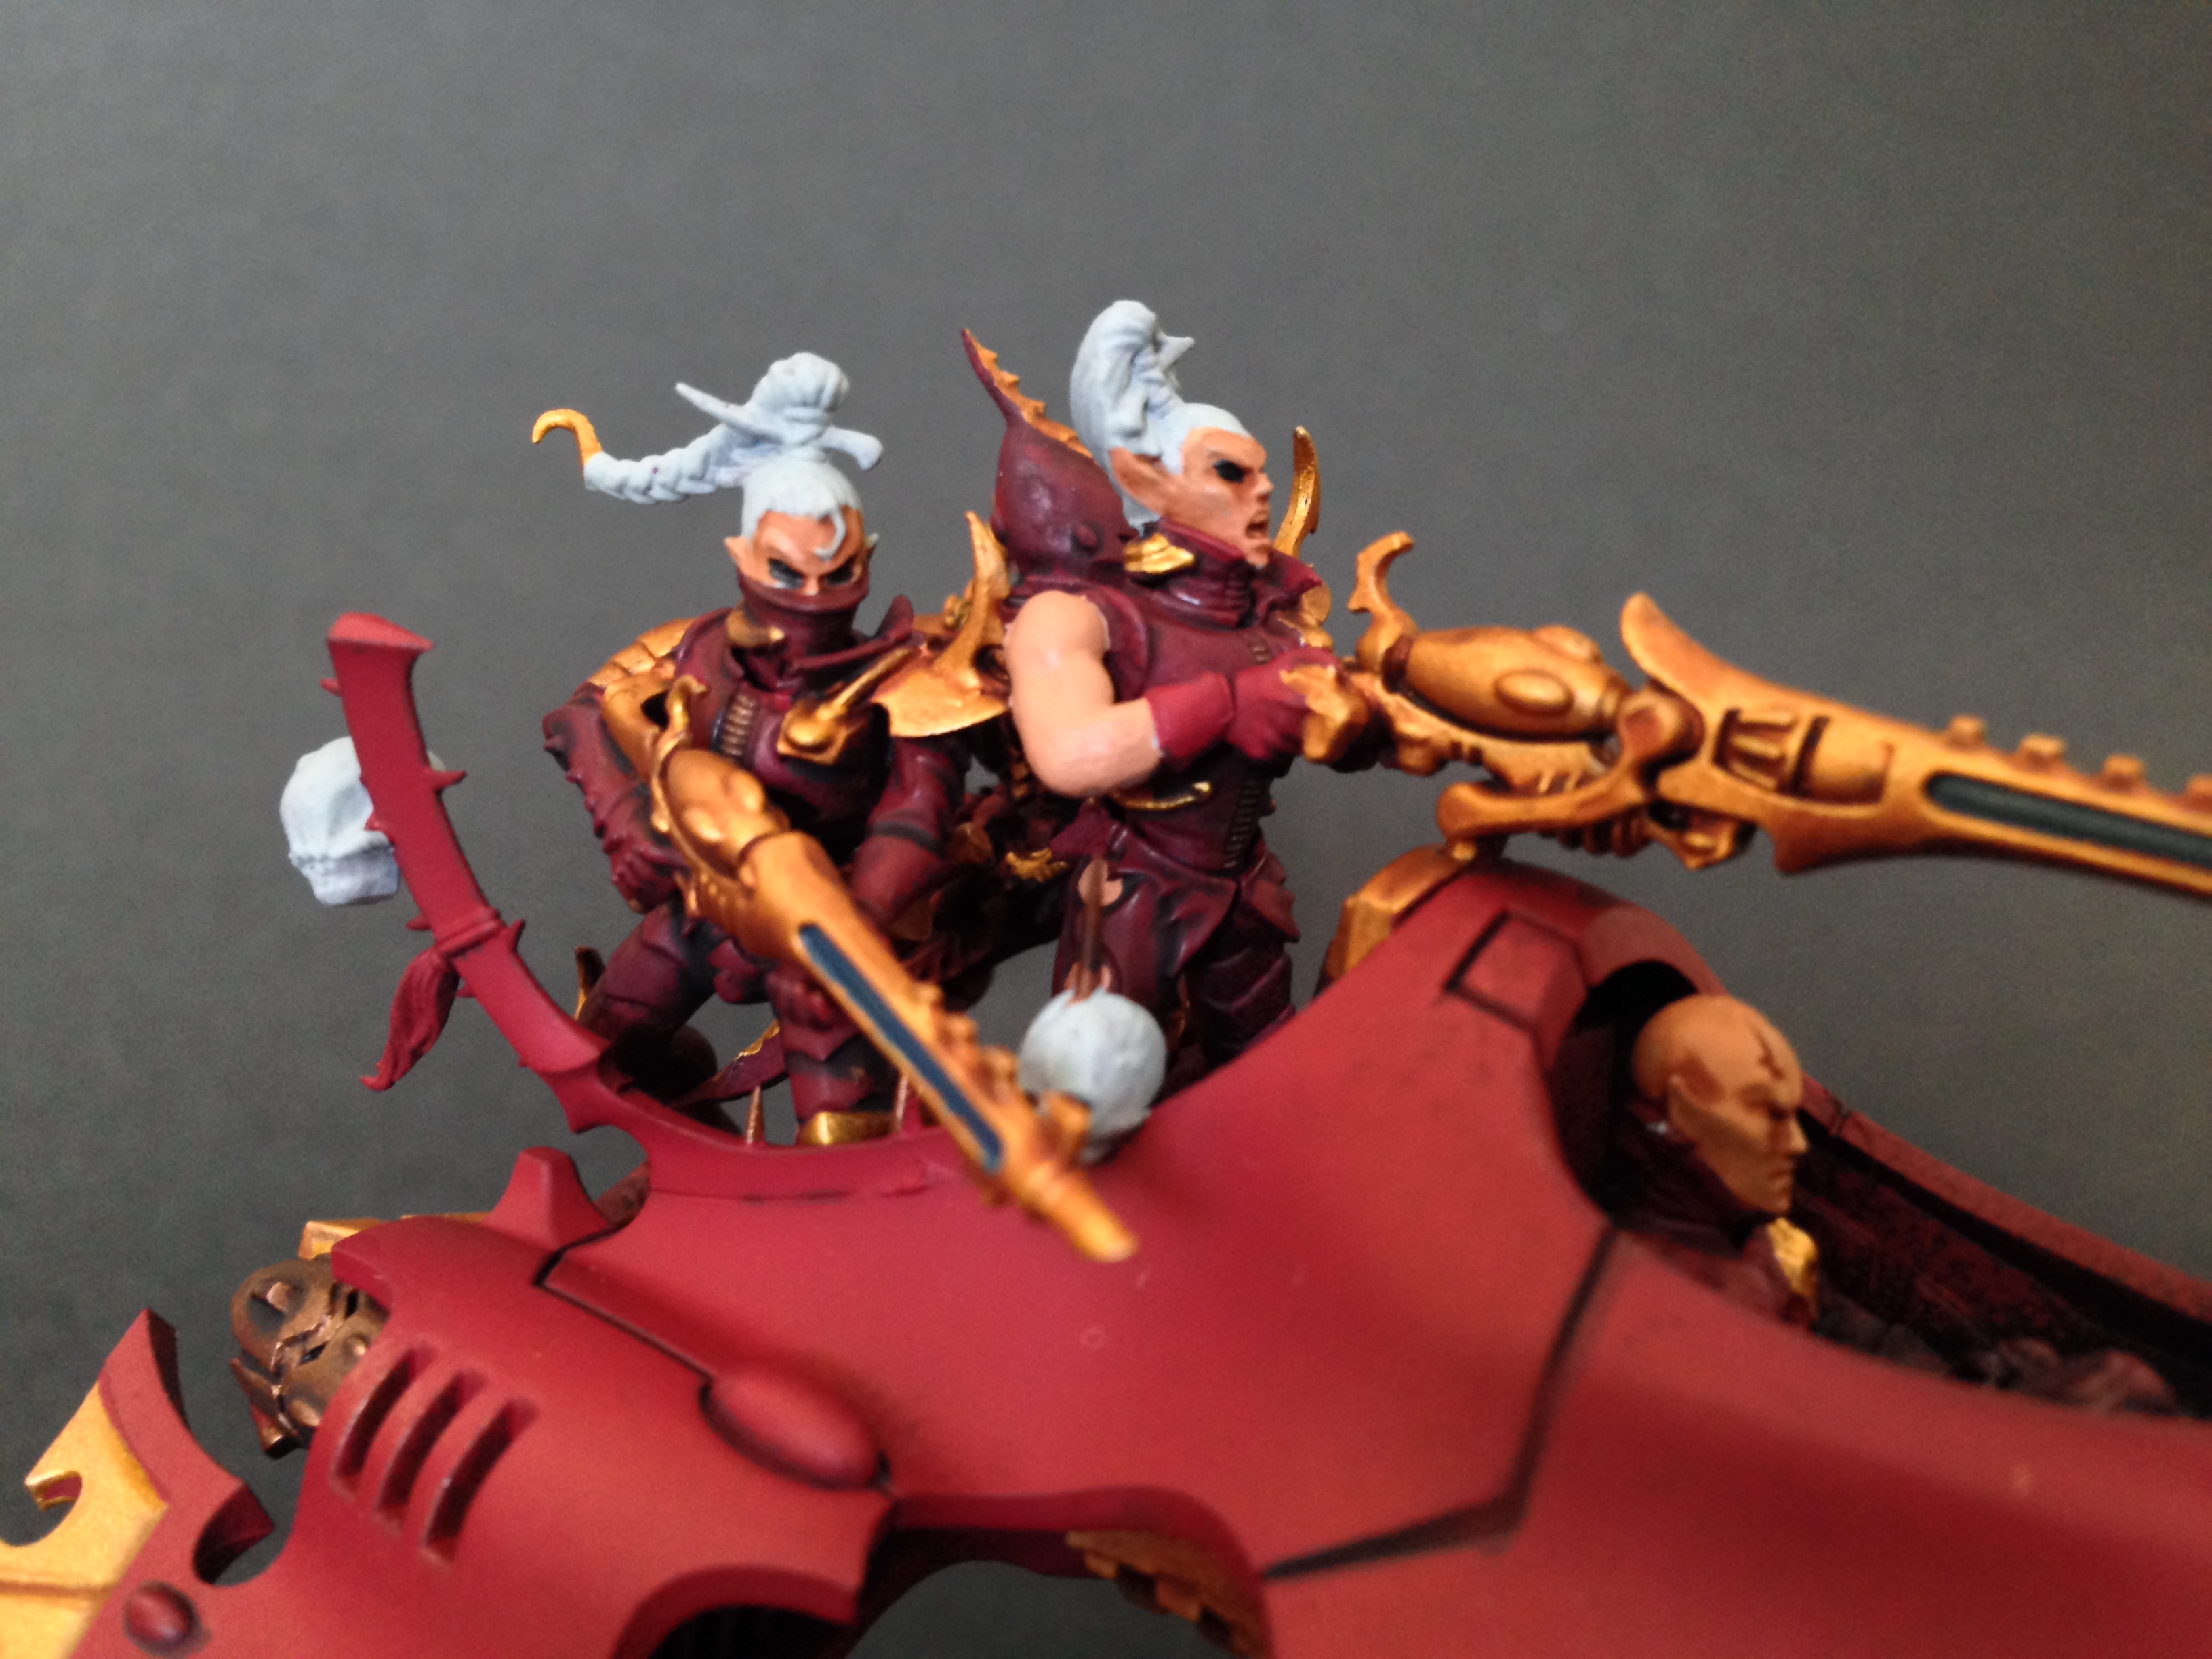
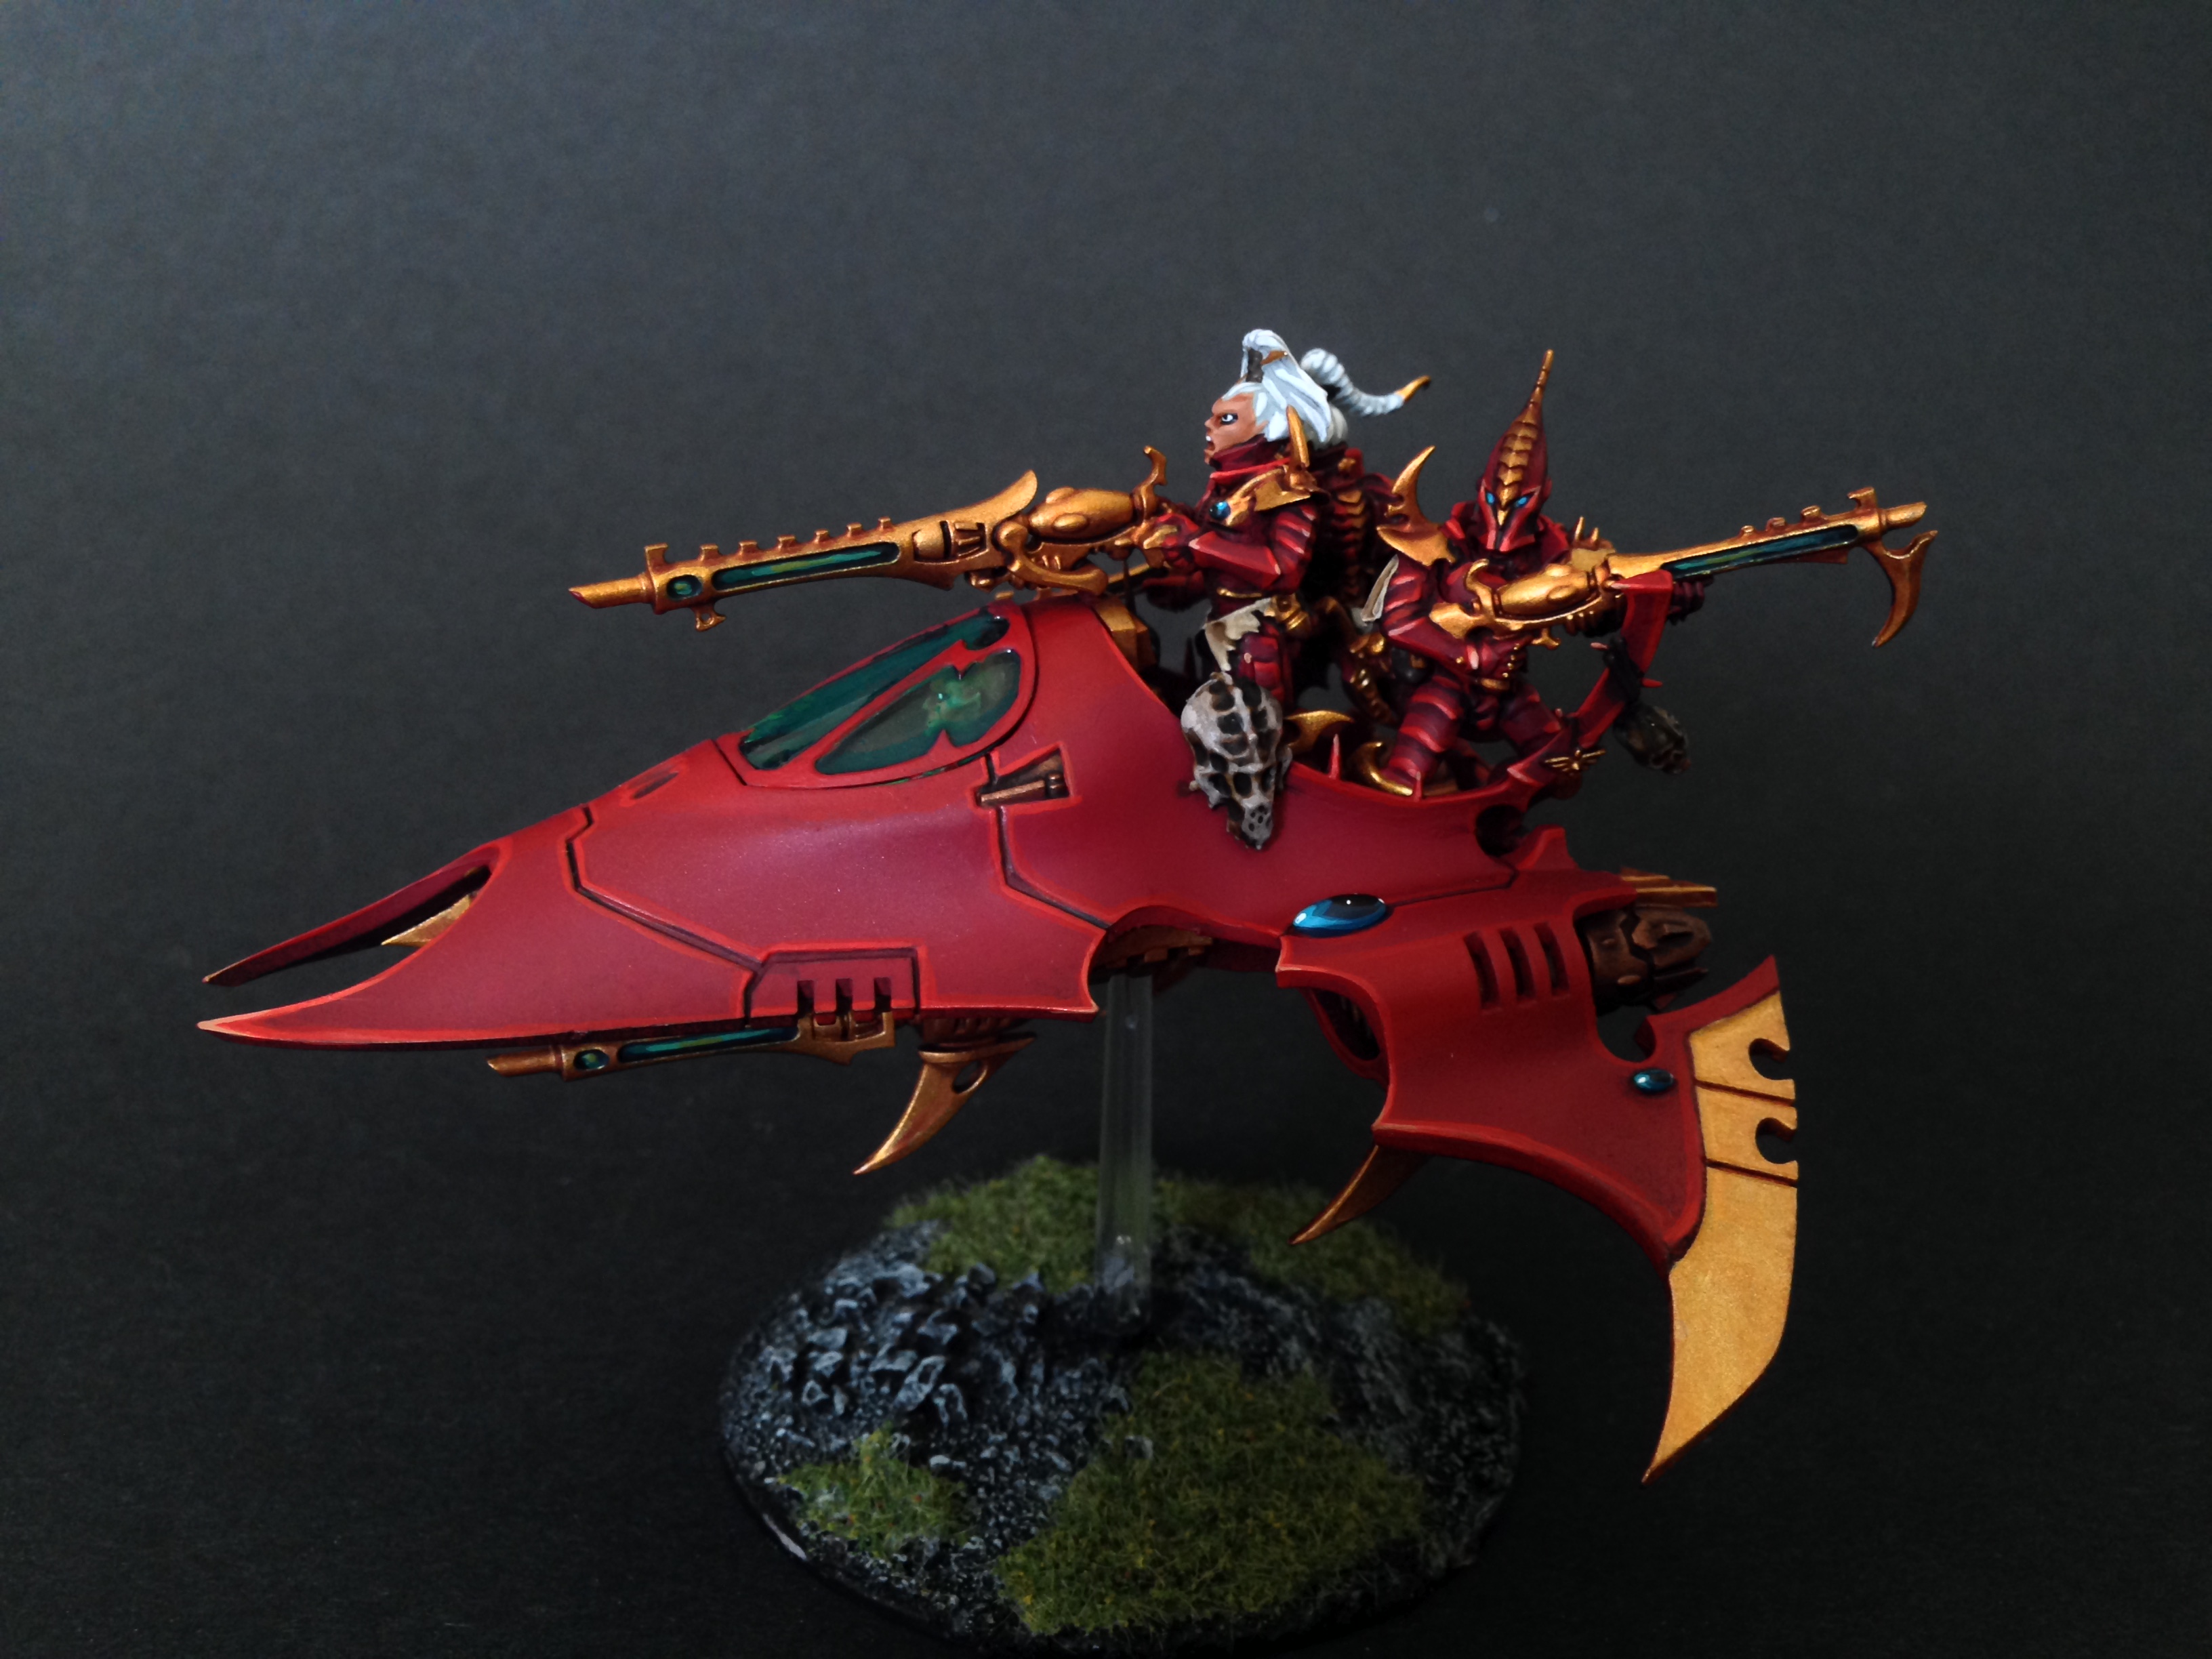
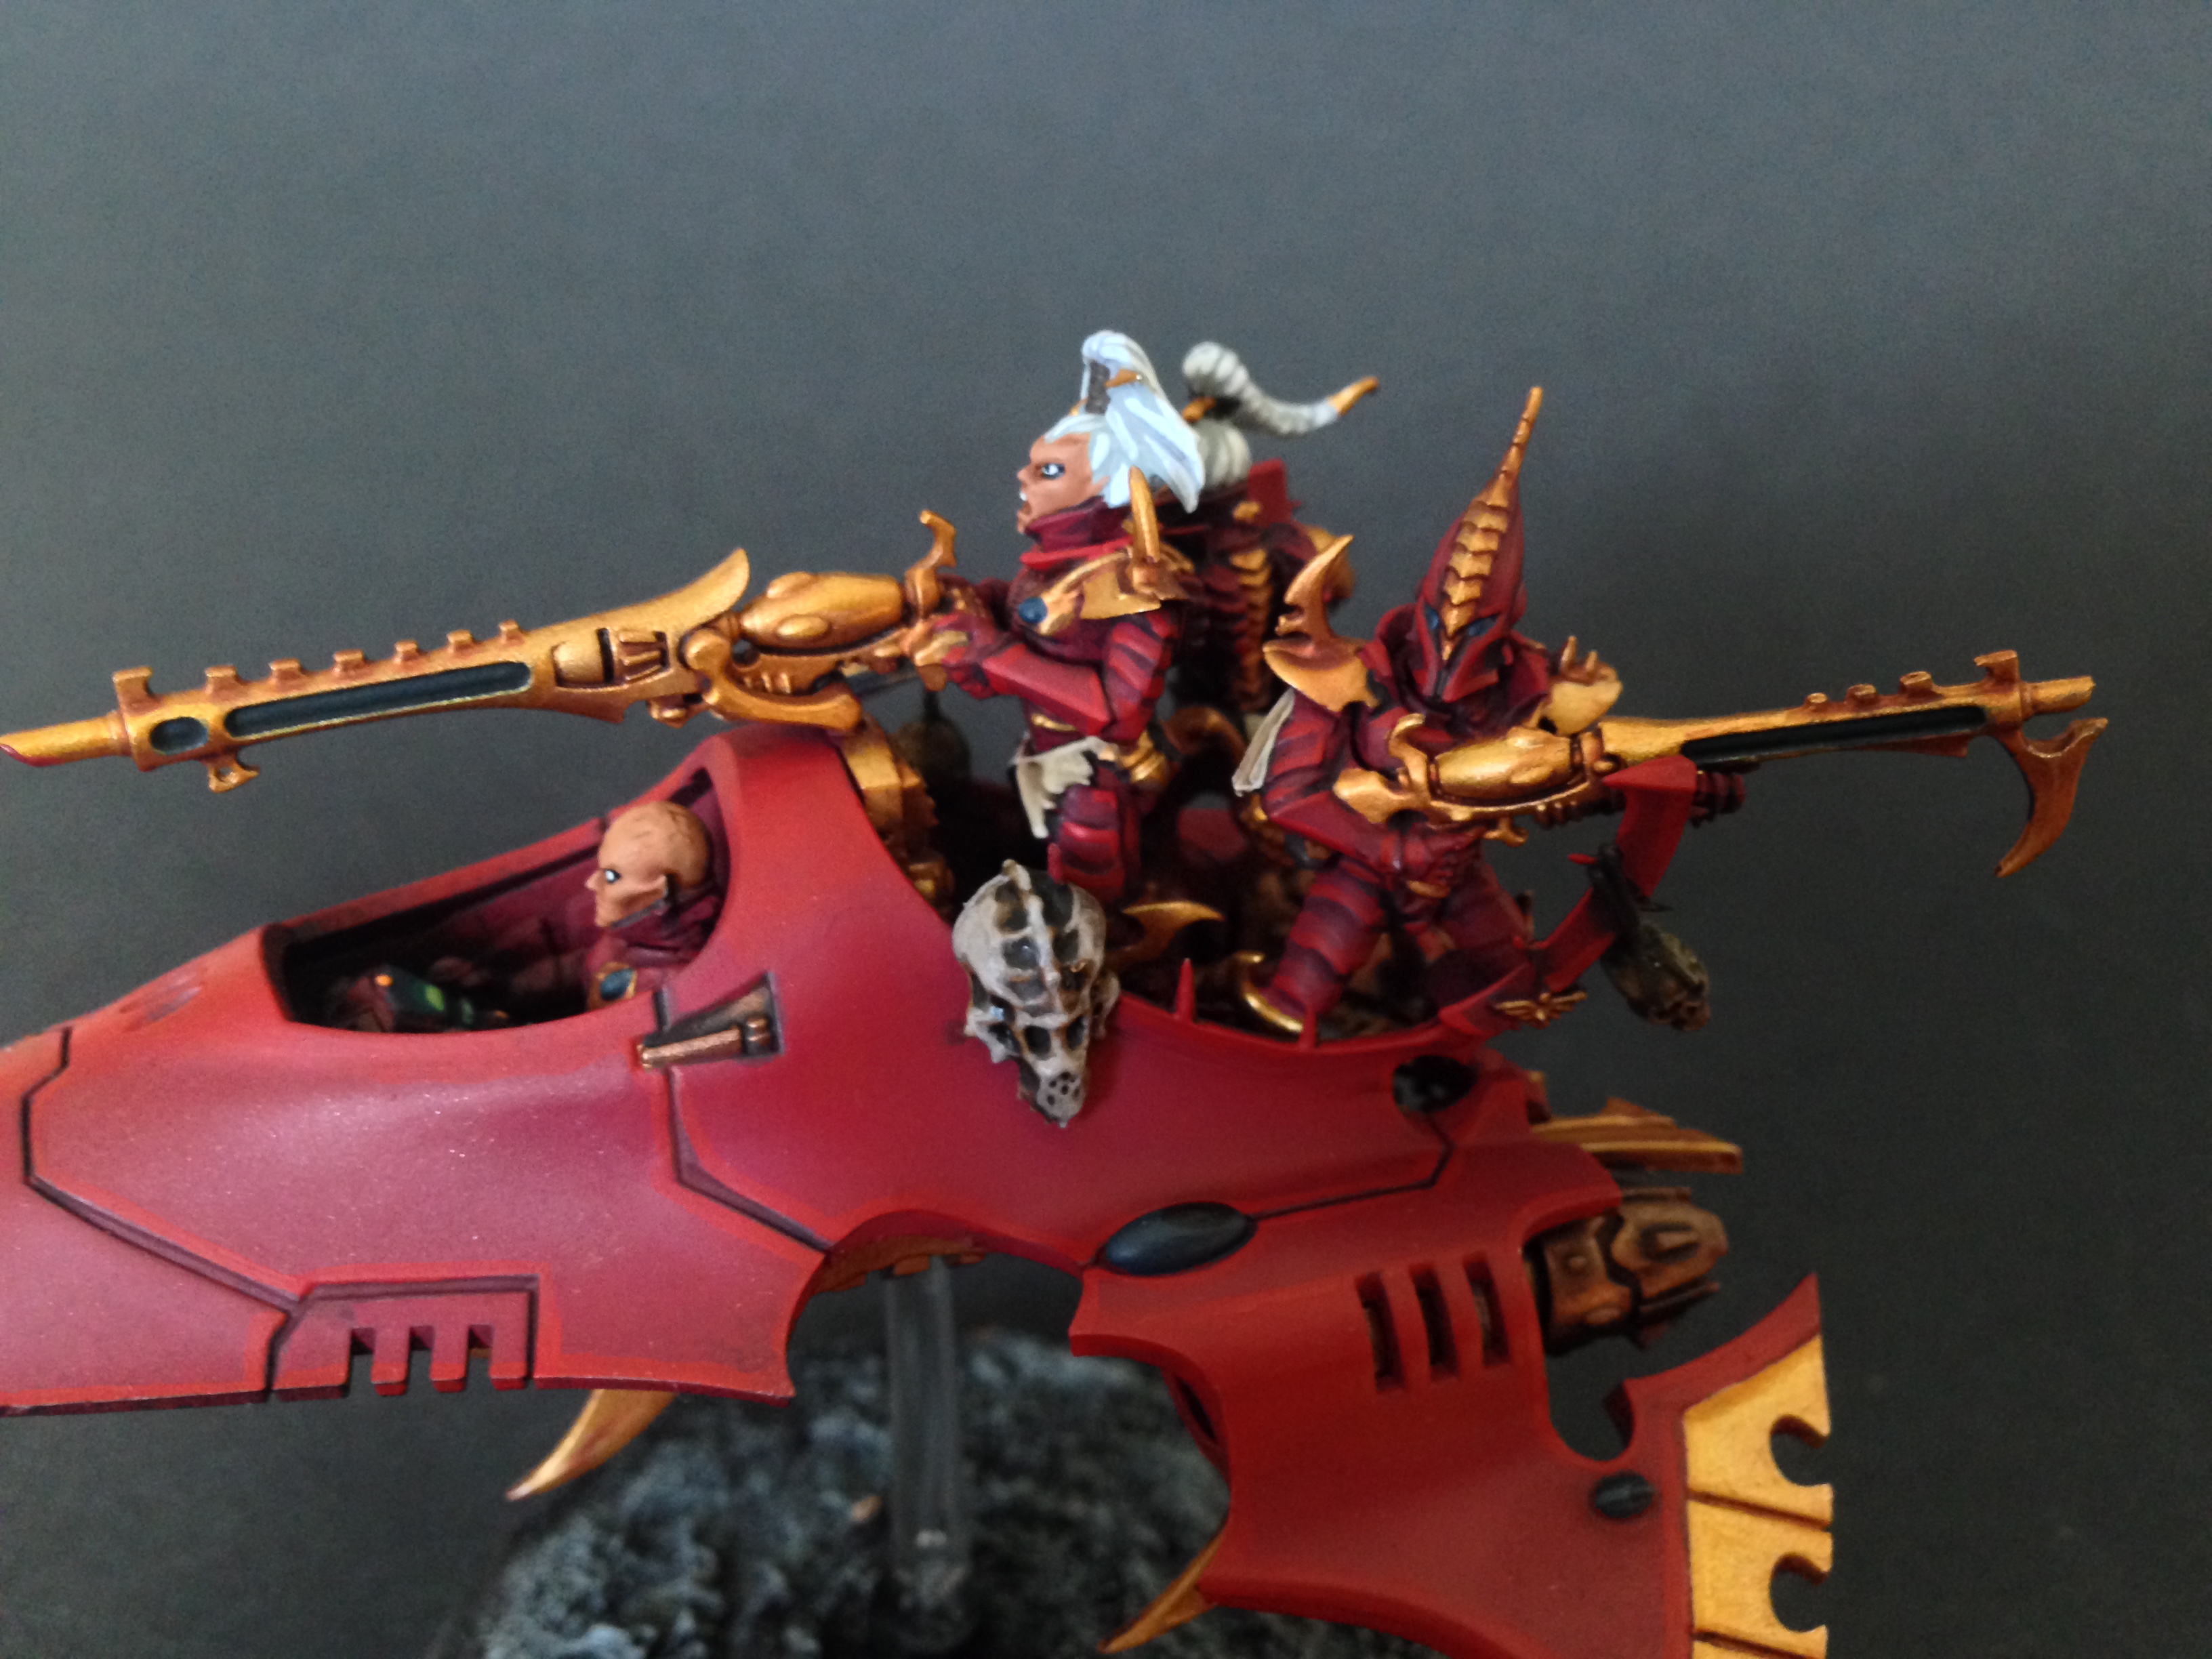
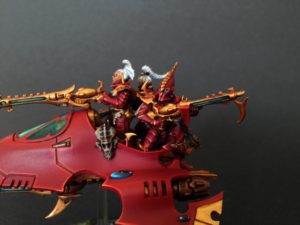
With that done, I then dot the eyes with white, then a super small dot of black to finish the eyes up. I then paint all the details on the hair and head. I highlight the strong Reikland Washed face with Cadian Fleshtone (the same color I used to define the skin originally) and then call it a day. This gives a nice blended look with minimal effort, that keeps the paint job nice and light on the face. I then highlight the pure Celestra Grey hair (which does not receive any kind of wash) with White Scar. Again this simple approach keeps the paint job nice and clean which is what I always go for with my Eldar. I paint the blades in the hair Retributor Gold, and the binding on the top knot Dryad Bark. To close it out I then clean up all the red on the armor/body suits of the crew and onboard Warriors with Khorne Red.
Next up I put the basic colors on the “details” meaning the poison chambers in the weaponry, the “spirit stones”, the combat drug vials etc. At this point it really helps to define the color balance of the model and to see if I need to add some more colors if its looking a bit boring.
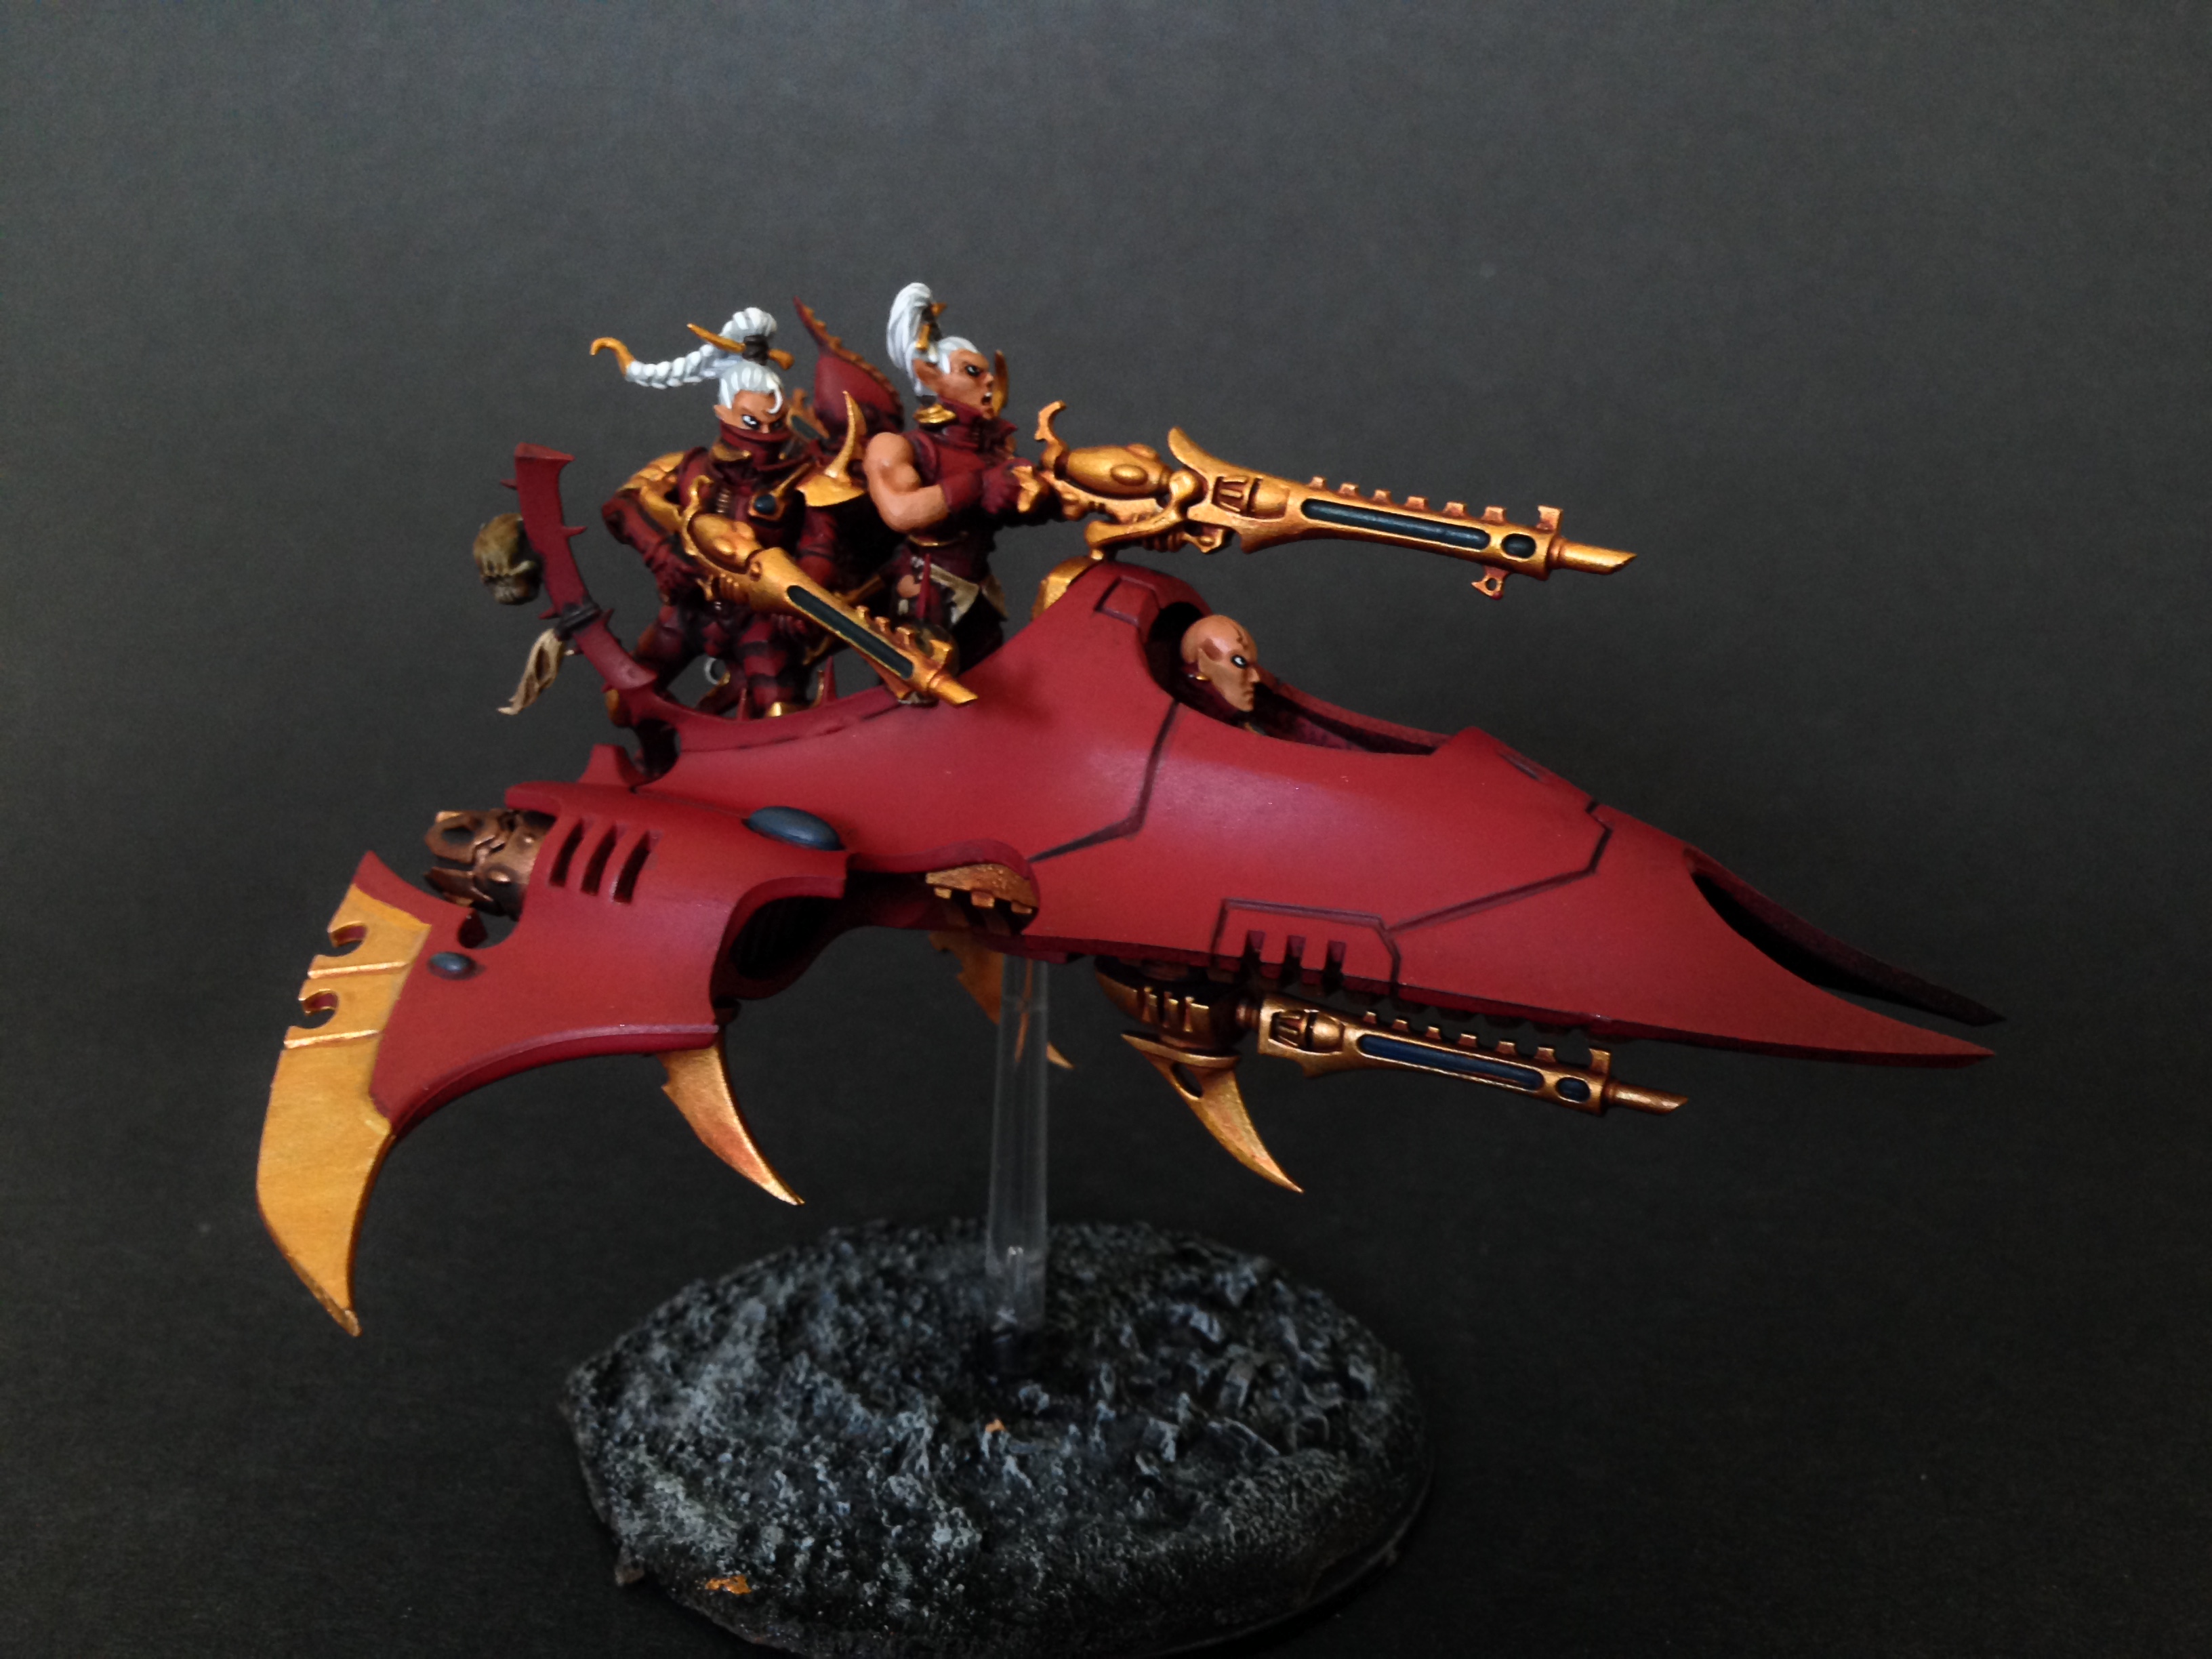
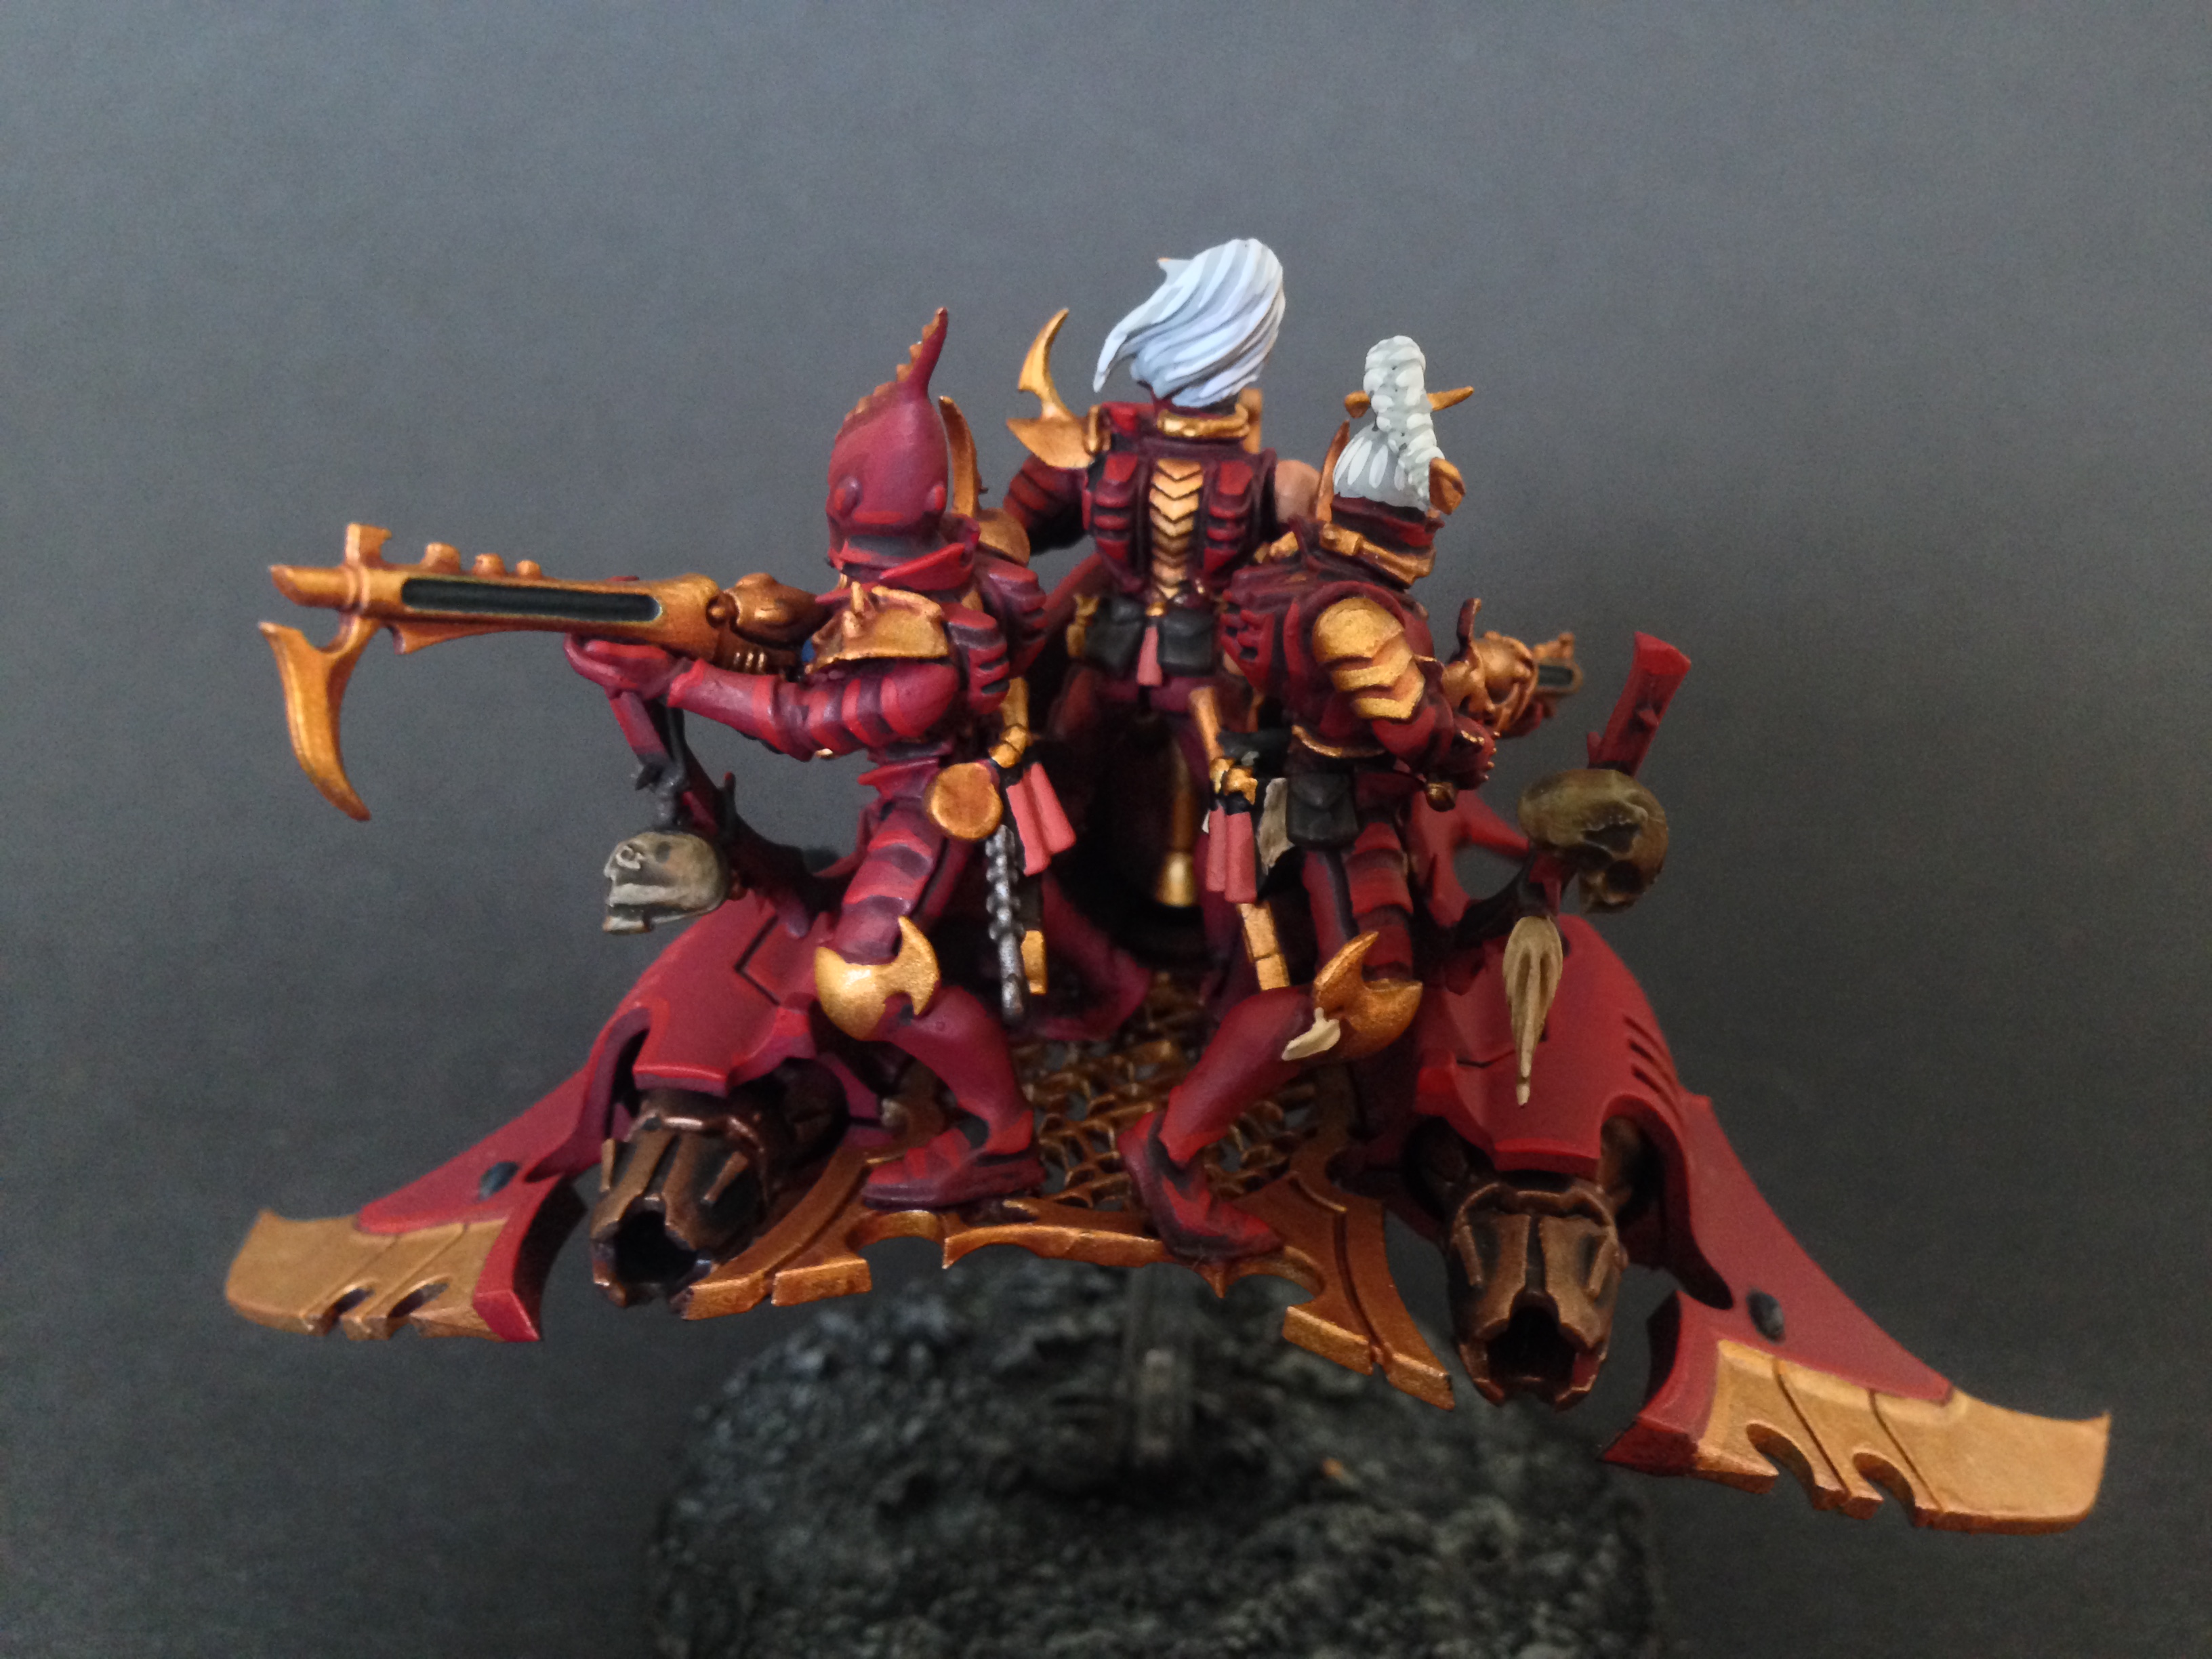
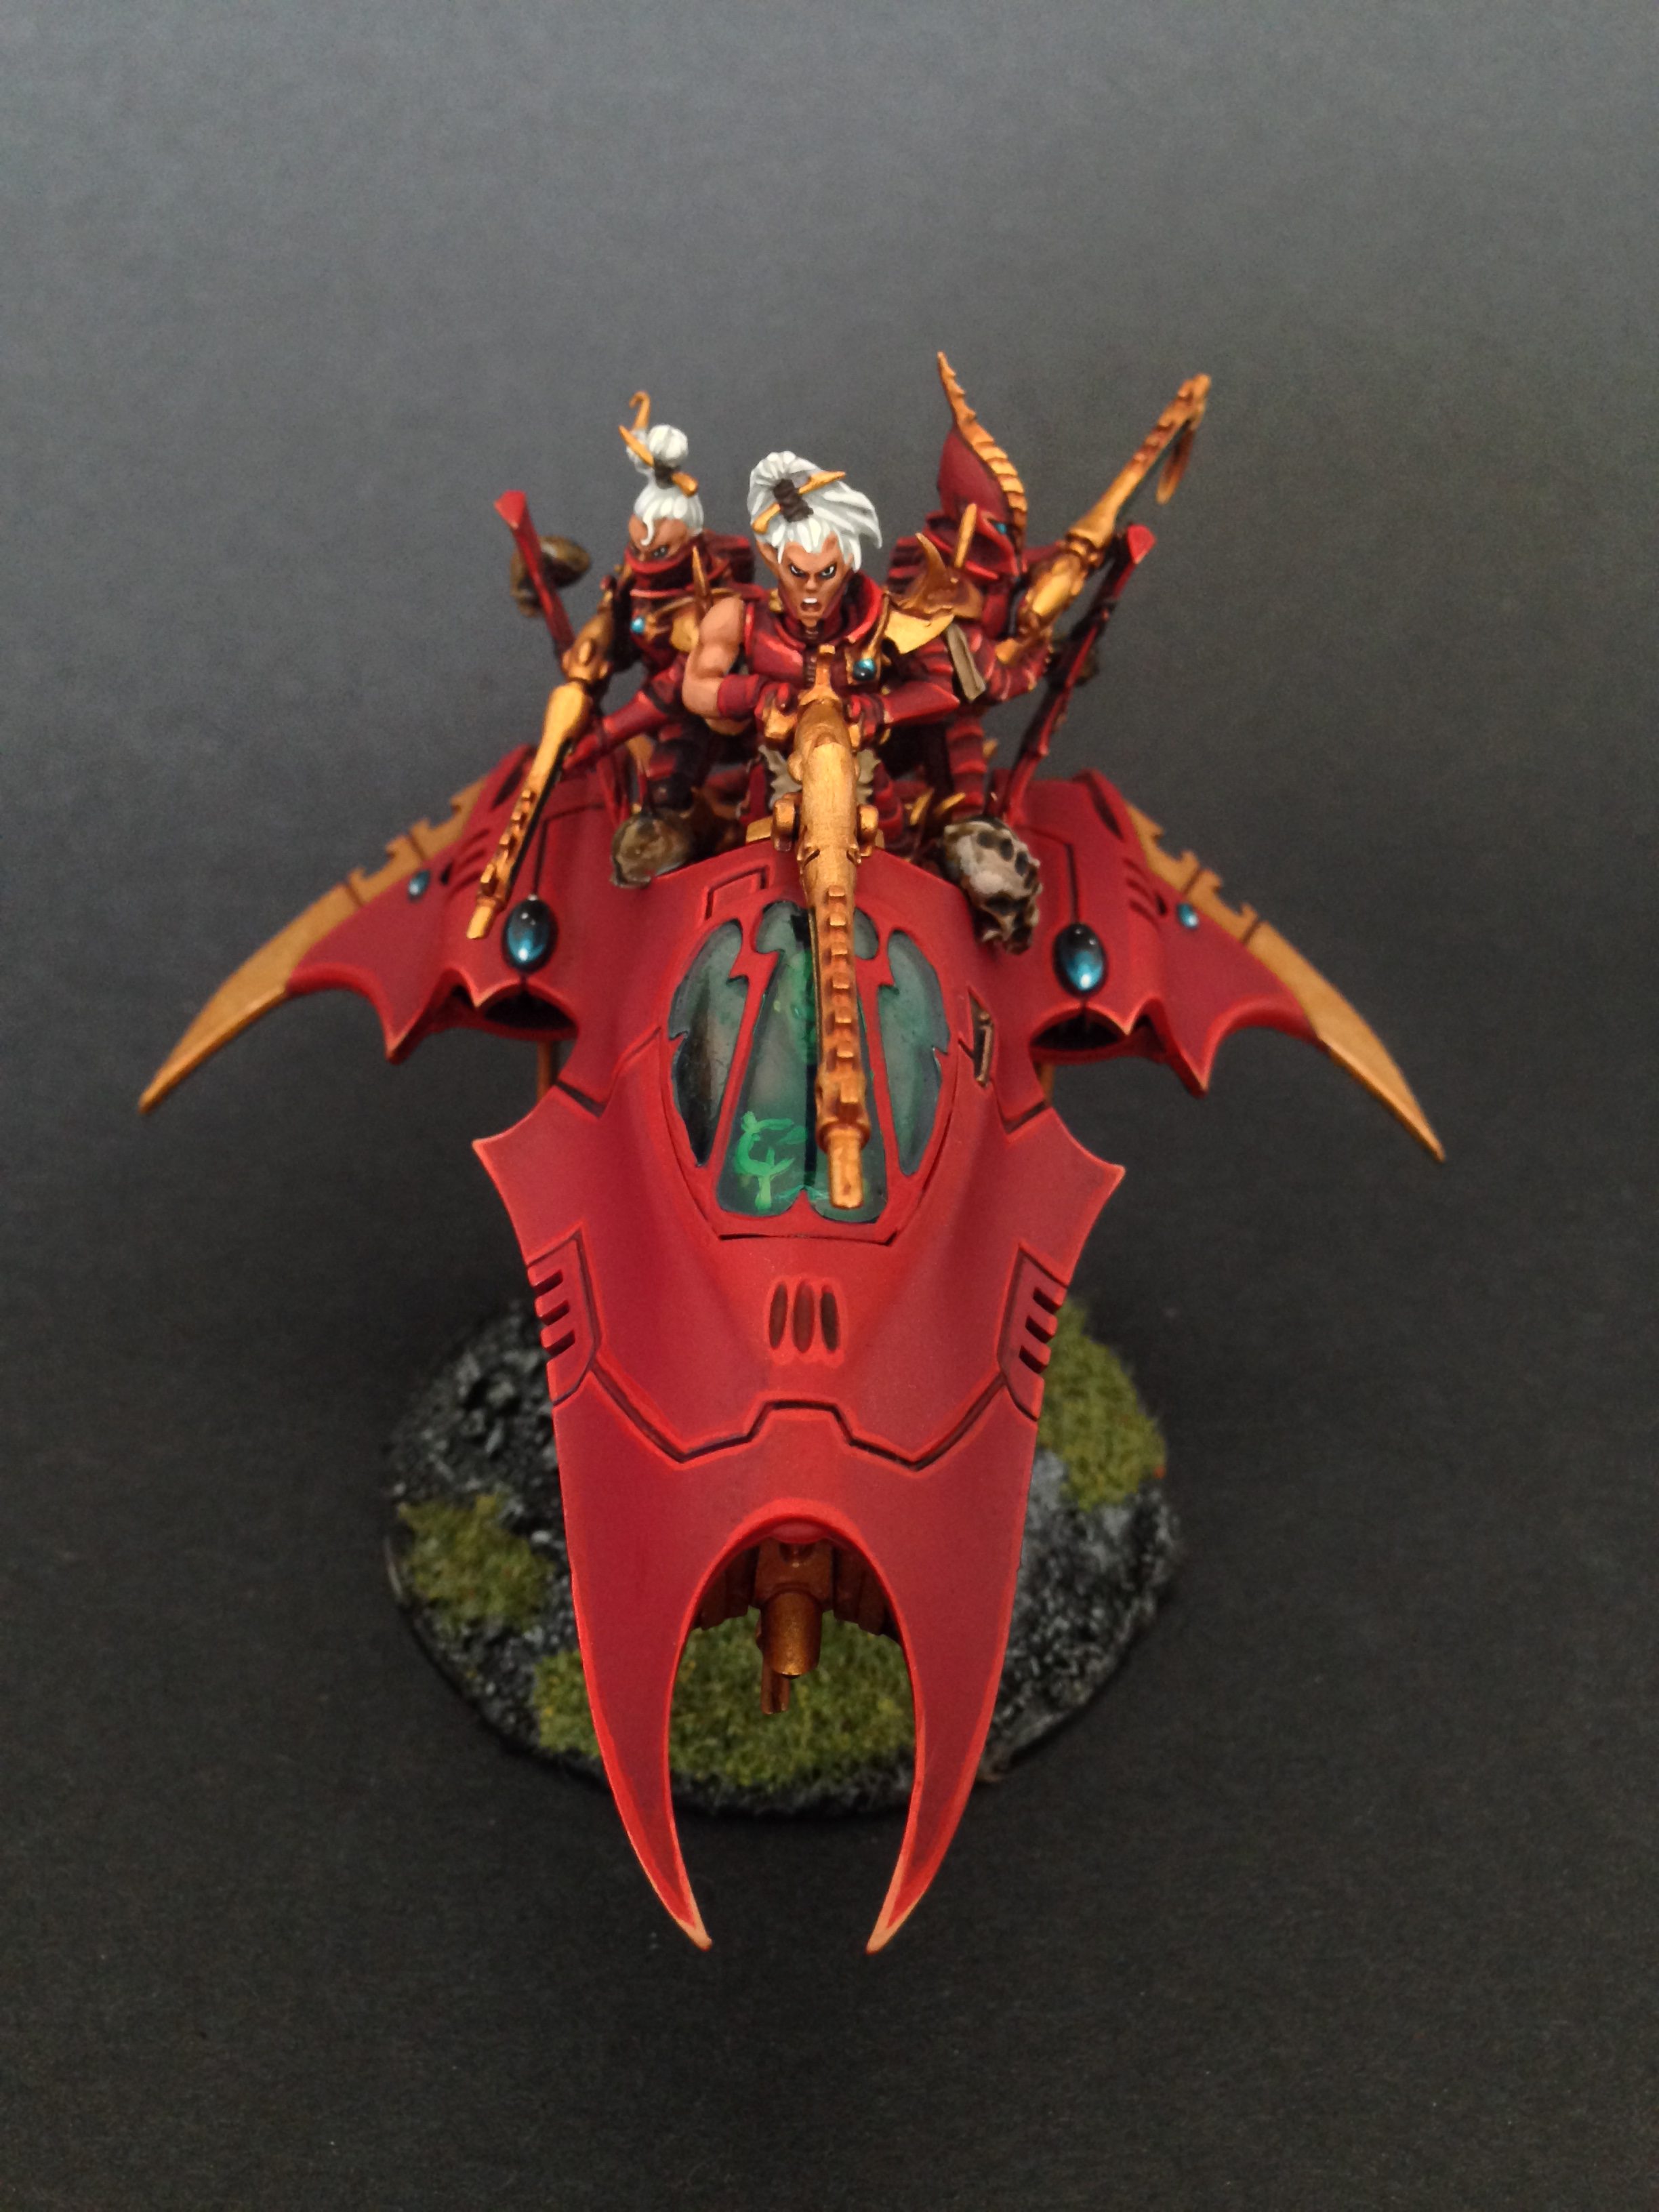
At this point I want to commentate on why I chose certain colors. There are 3 basic bits of lore I’m trying to communicate through my colors. The fact that my Drukhari are Corsair themed, members of the Y’nnari cult and that they drew their ranks from renegades of Flayed Skull. So to broadcast the fact they are Corsairs I wanted colors that were bold, striking and aggressive yet still retaining a sort of “good guy vibe”. For those familiar with 80’s cartoons which are my eternal inspiration… the red guys were usually the good guys! So even on the combat drugs I went for a Squig Orange color to keep with the fiery energetic vibrancy of the models. Yet since they are Corsairs they aren’t good-two-shoes so the blues/greens on the Spirit Stones are slightly off using Stegadon Scale for a base which will eventually be a nice turquoise color.

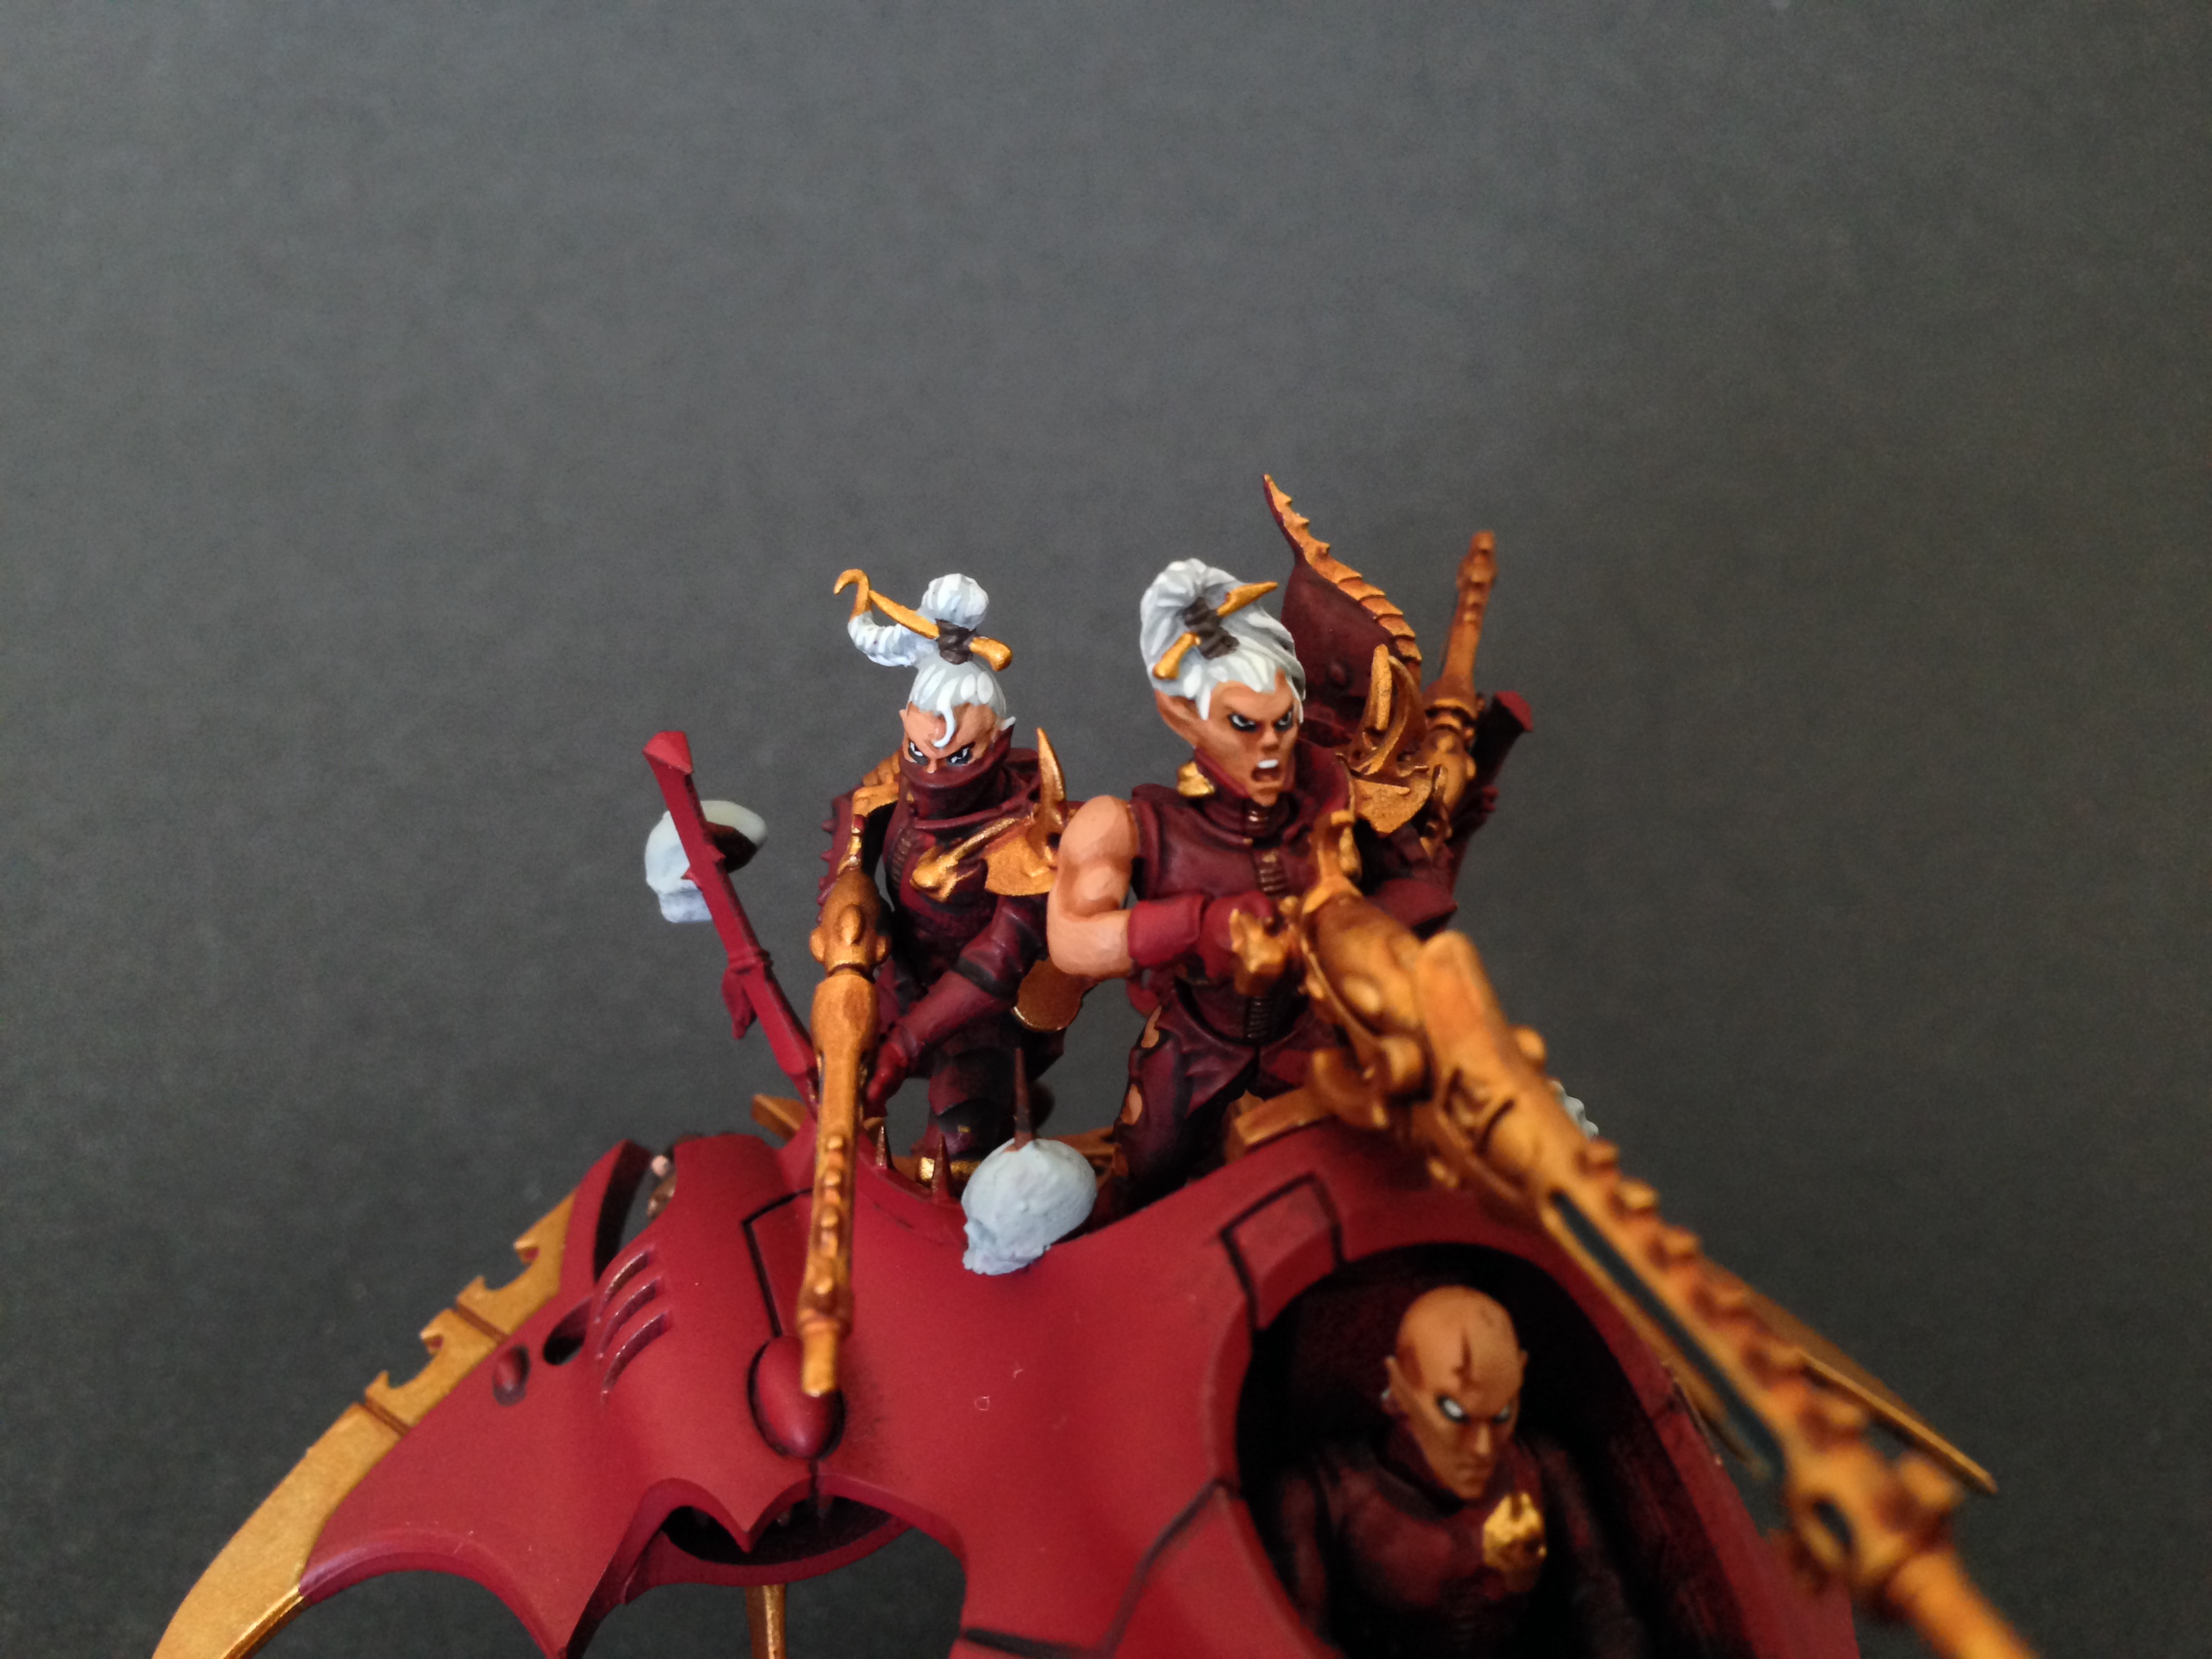
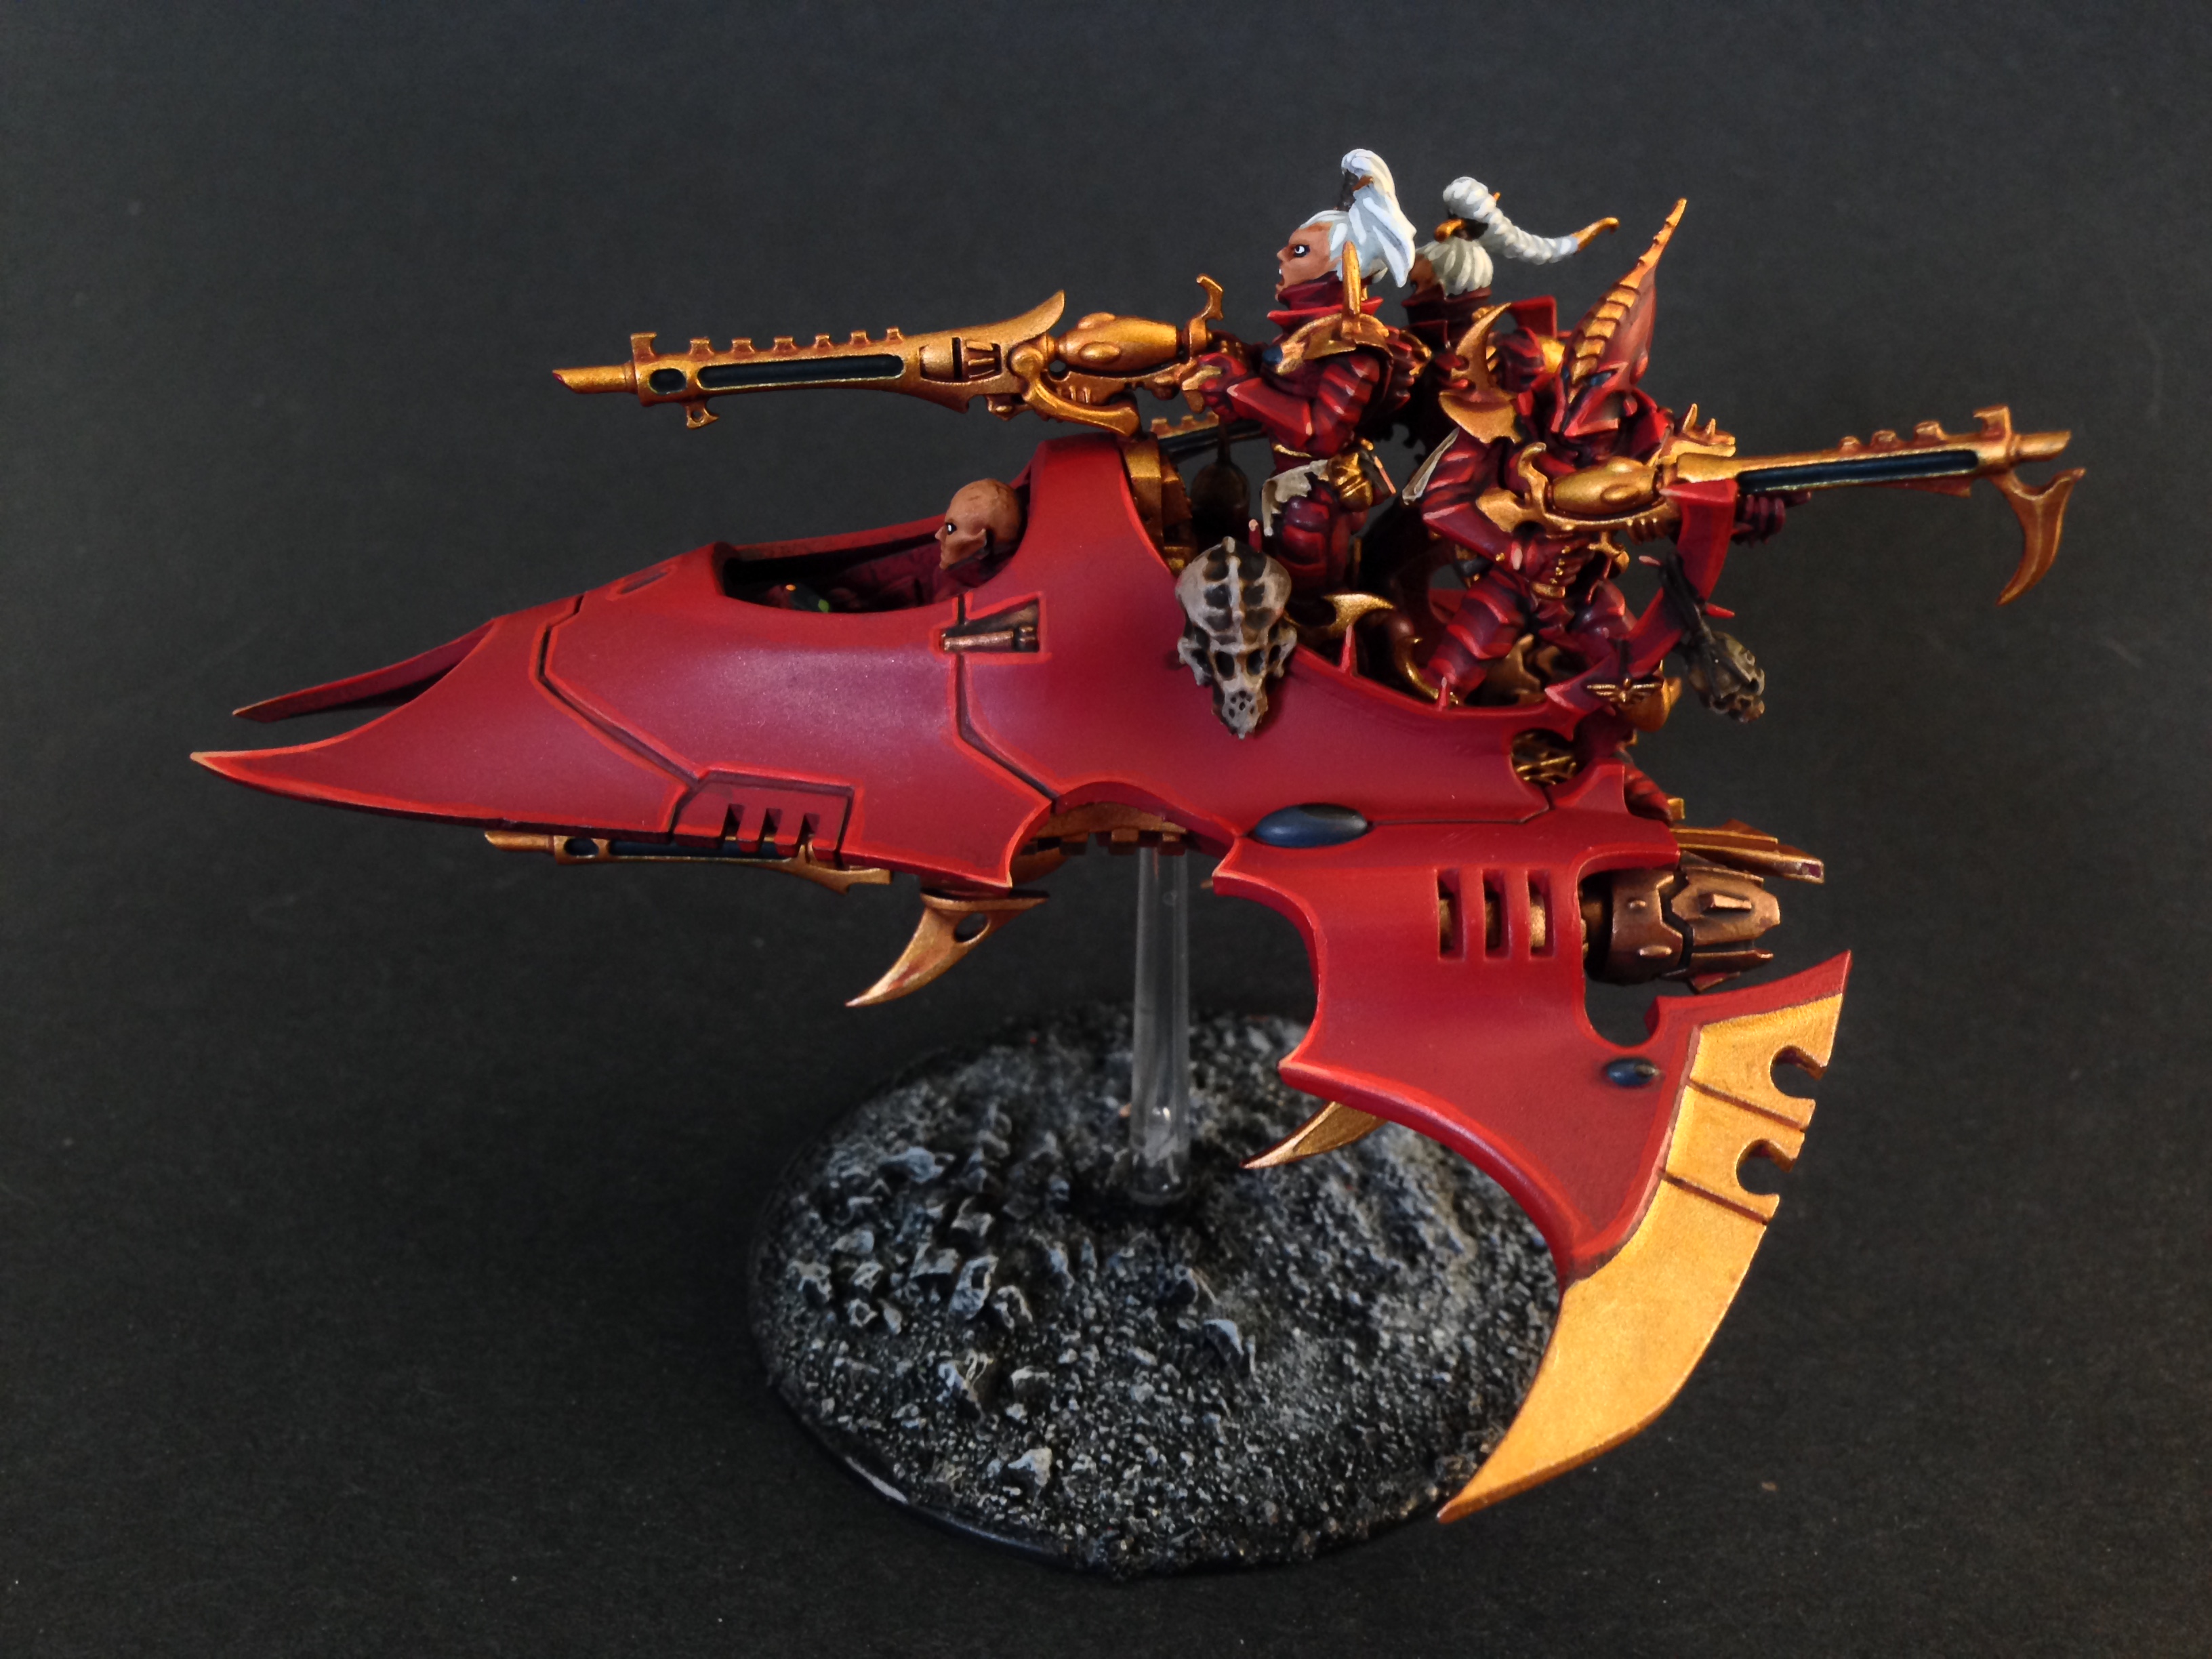
After that all the tedious stuff is done. I like to get all the painful stuff done first, then do all the real highlighting done knowing that I dont have to go back and do anything besides some fun details to polish off the model. Its just a little trick that helps me focus on the task at hand, and know that I dont need to go back and do anything annoying afterwards. So to begin with I highlight the entire model, crew, hull and all with Mephiston Red. I hit every edge, every vein and the protruding curves of the hull with Mephiston Red. Its a color that is SUPER close to Khorne Red but it provides a crucial transition color between Khorne and Evil Sunz which is a bit of a jump. I like to do this with a Flat Brush, particularity the raised areas on the hull.

Next up is Evil Sunz and Wild Rider. On my infantry I tend to skip Wild Rider as their usually isn’t that much room to transition between Wild Rider and the final step which is Cadian Fleshtone, yet on a vehicles its a must as the jump between Evil Sunz Scarlett and Cadian Fleshtone is pretty severe.
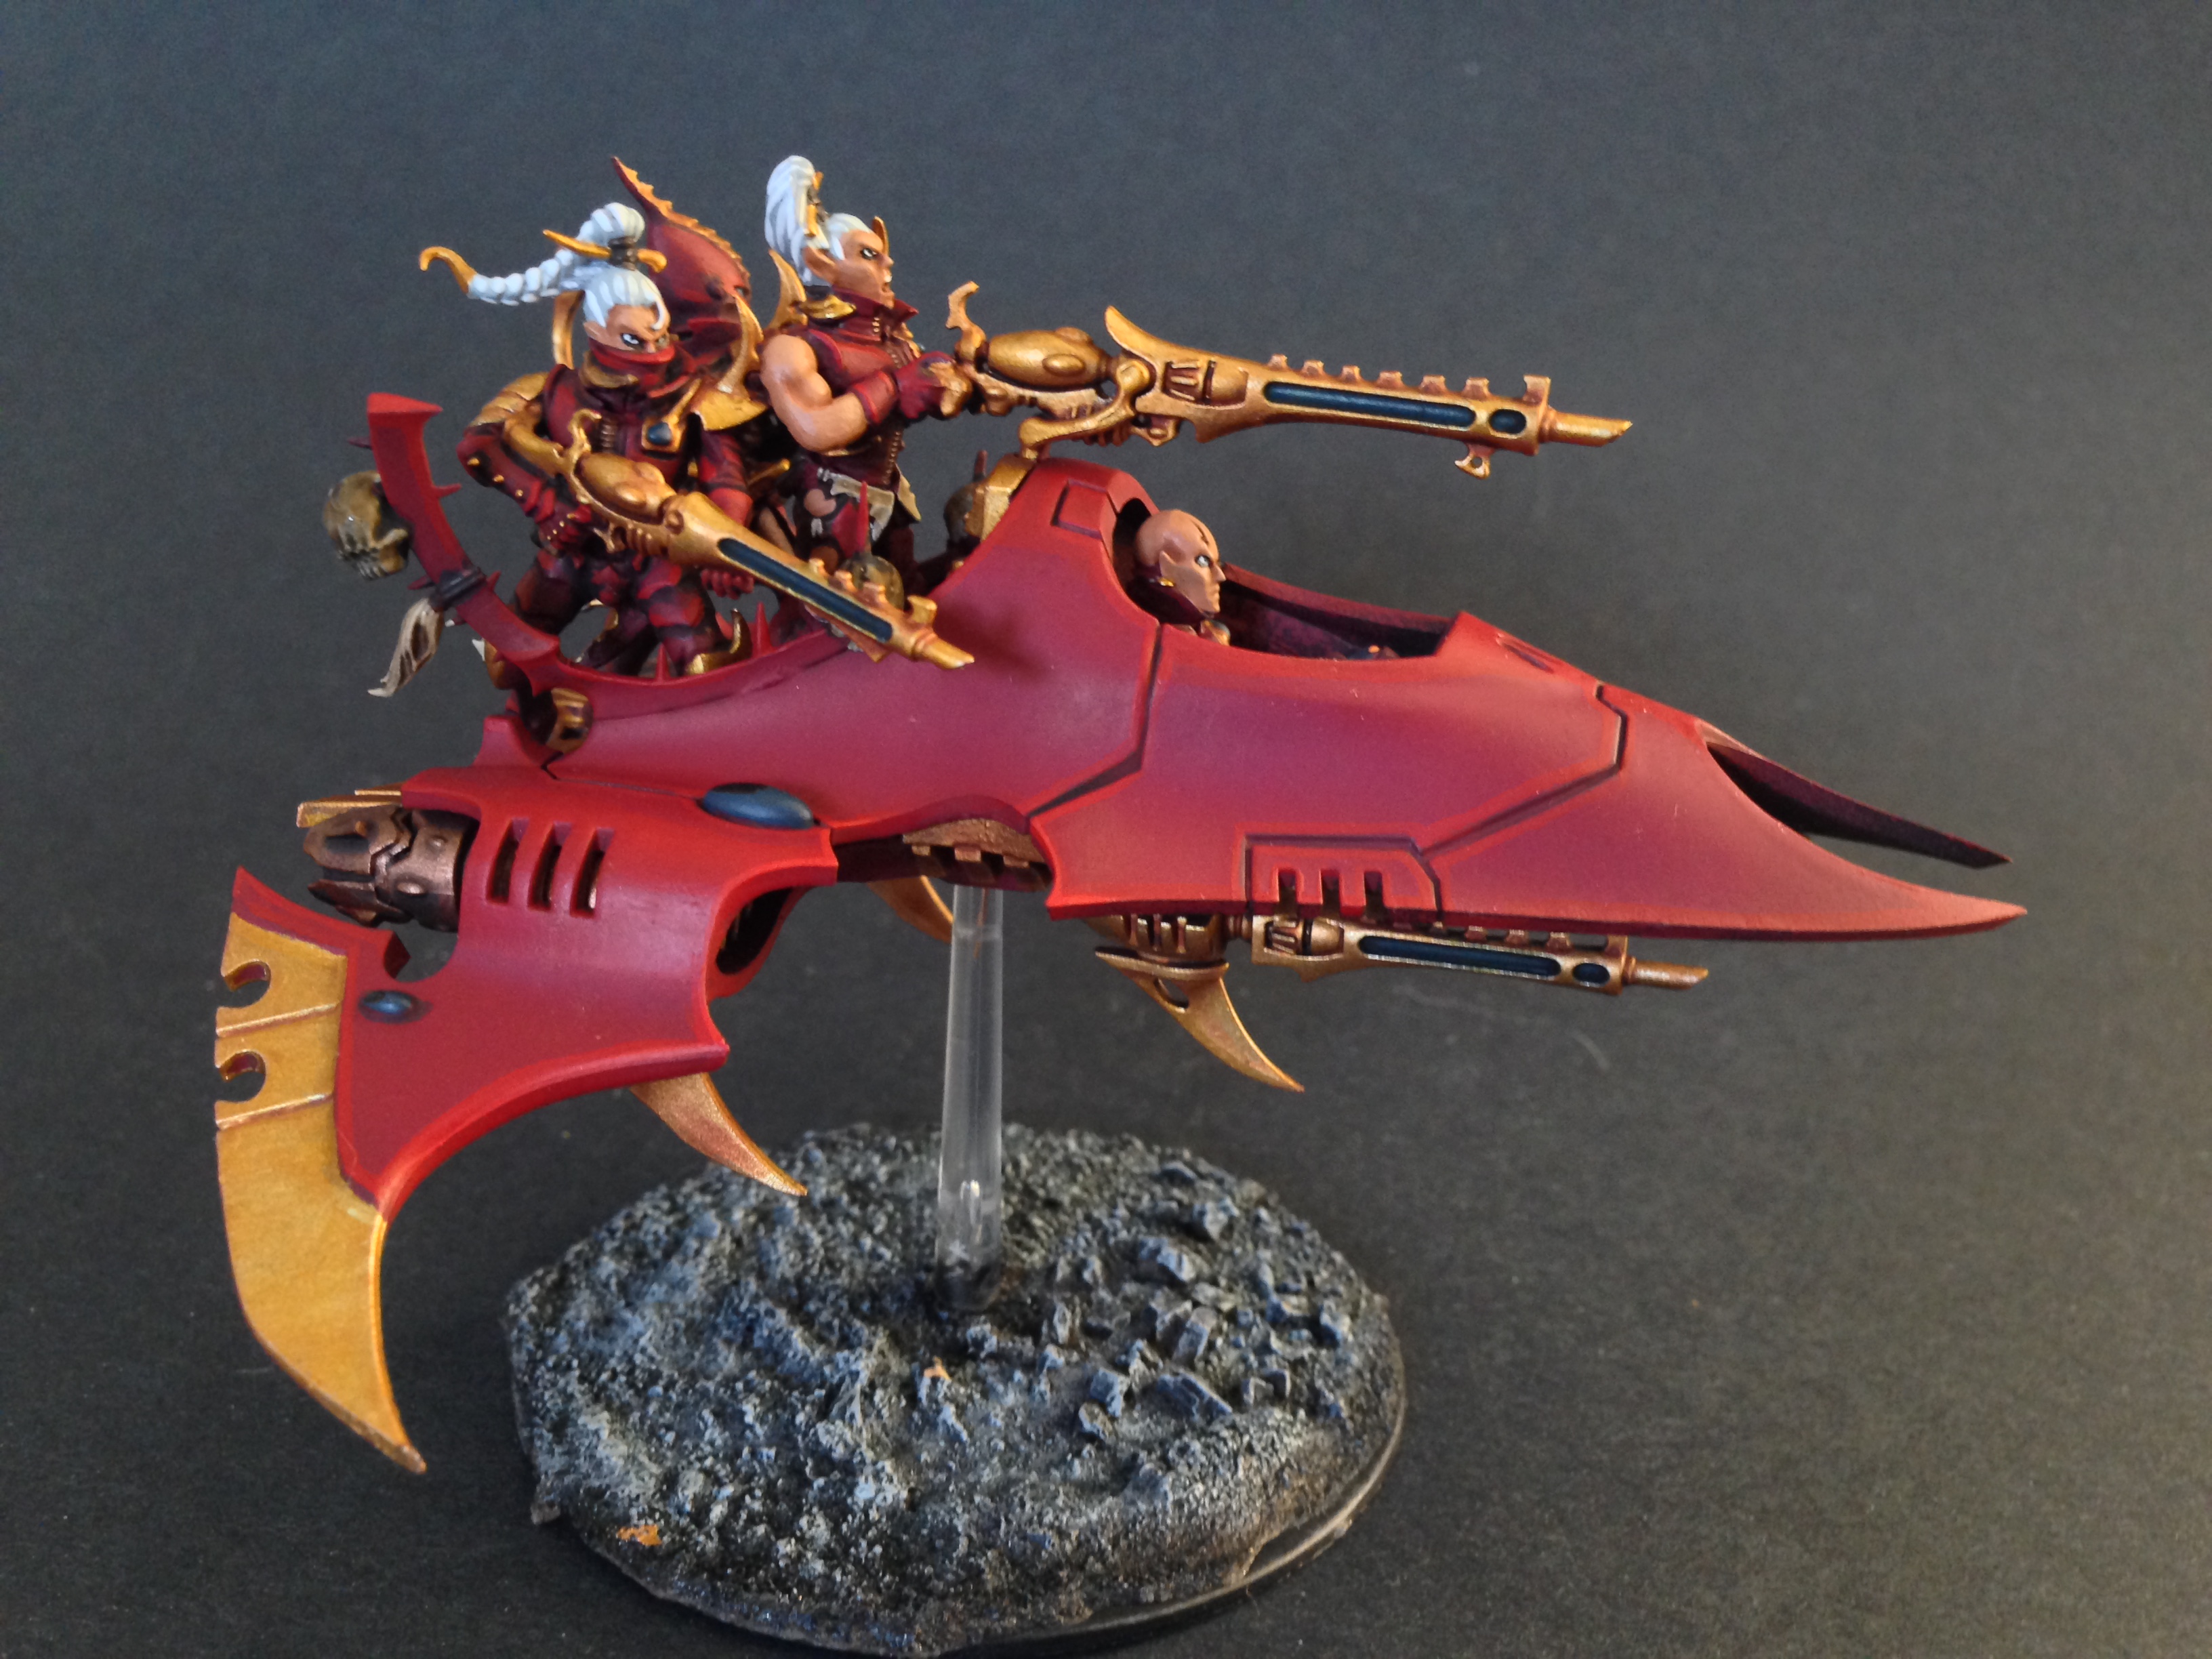
Now to finish off the red we do a Cadian Fleshtone highlight. This is the magic trick that really makes this model pop. In reality its a sort of neutral orange that walks the line between yellow and orange without reading as either. Its a very unique color and its cool to that skin tone of my models matches the final highlight of my reds. It just helps tie things together in a really nice way.
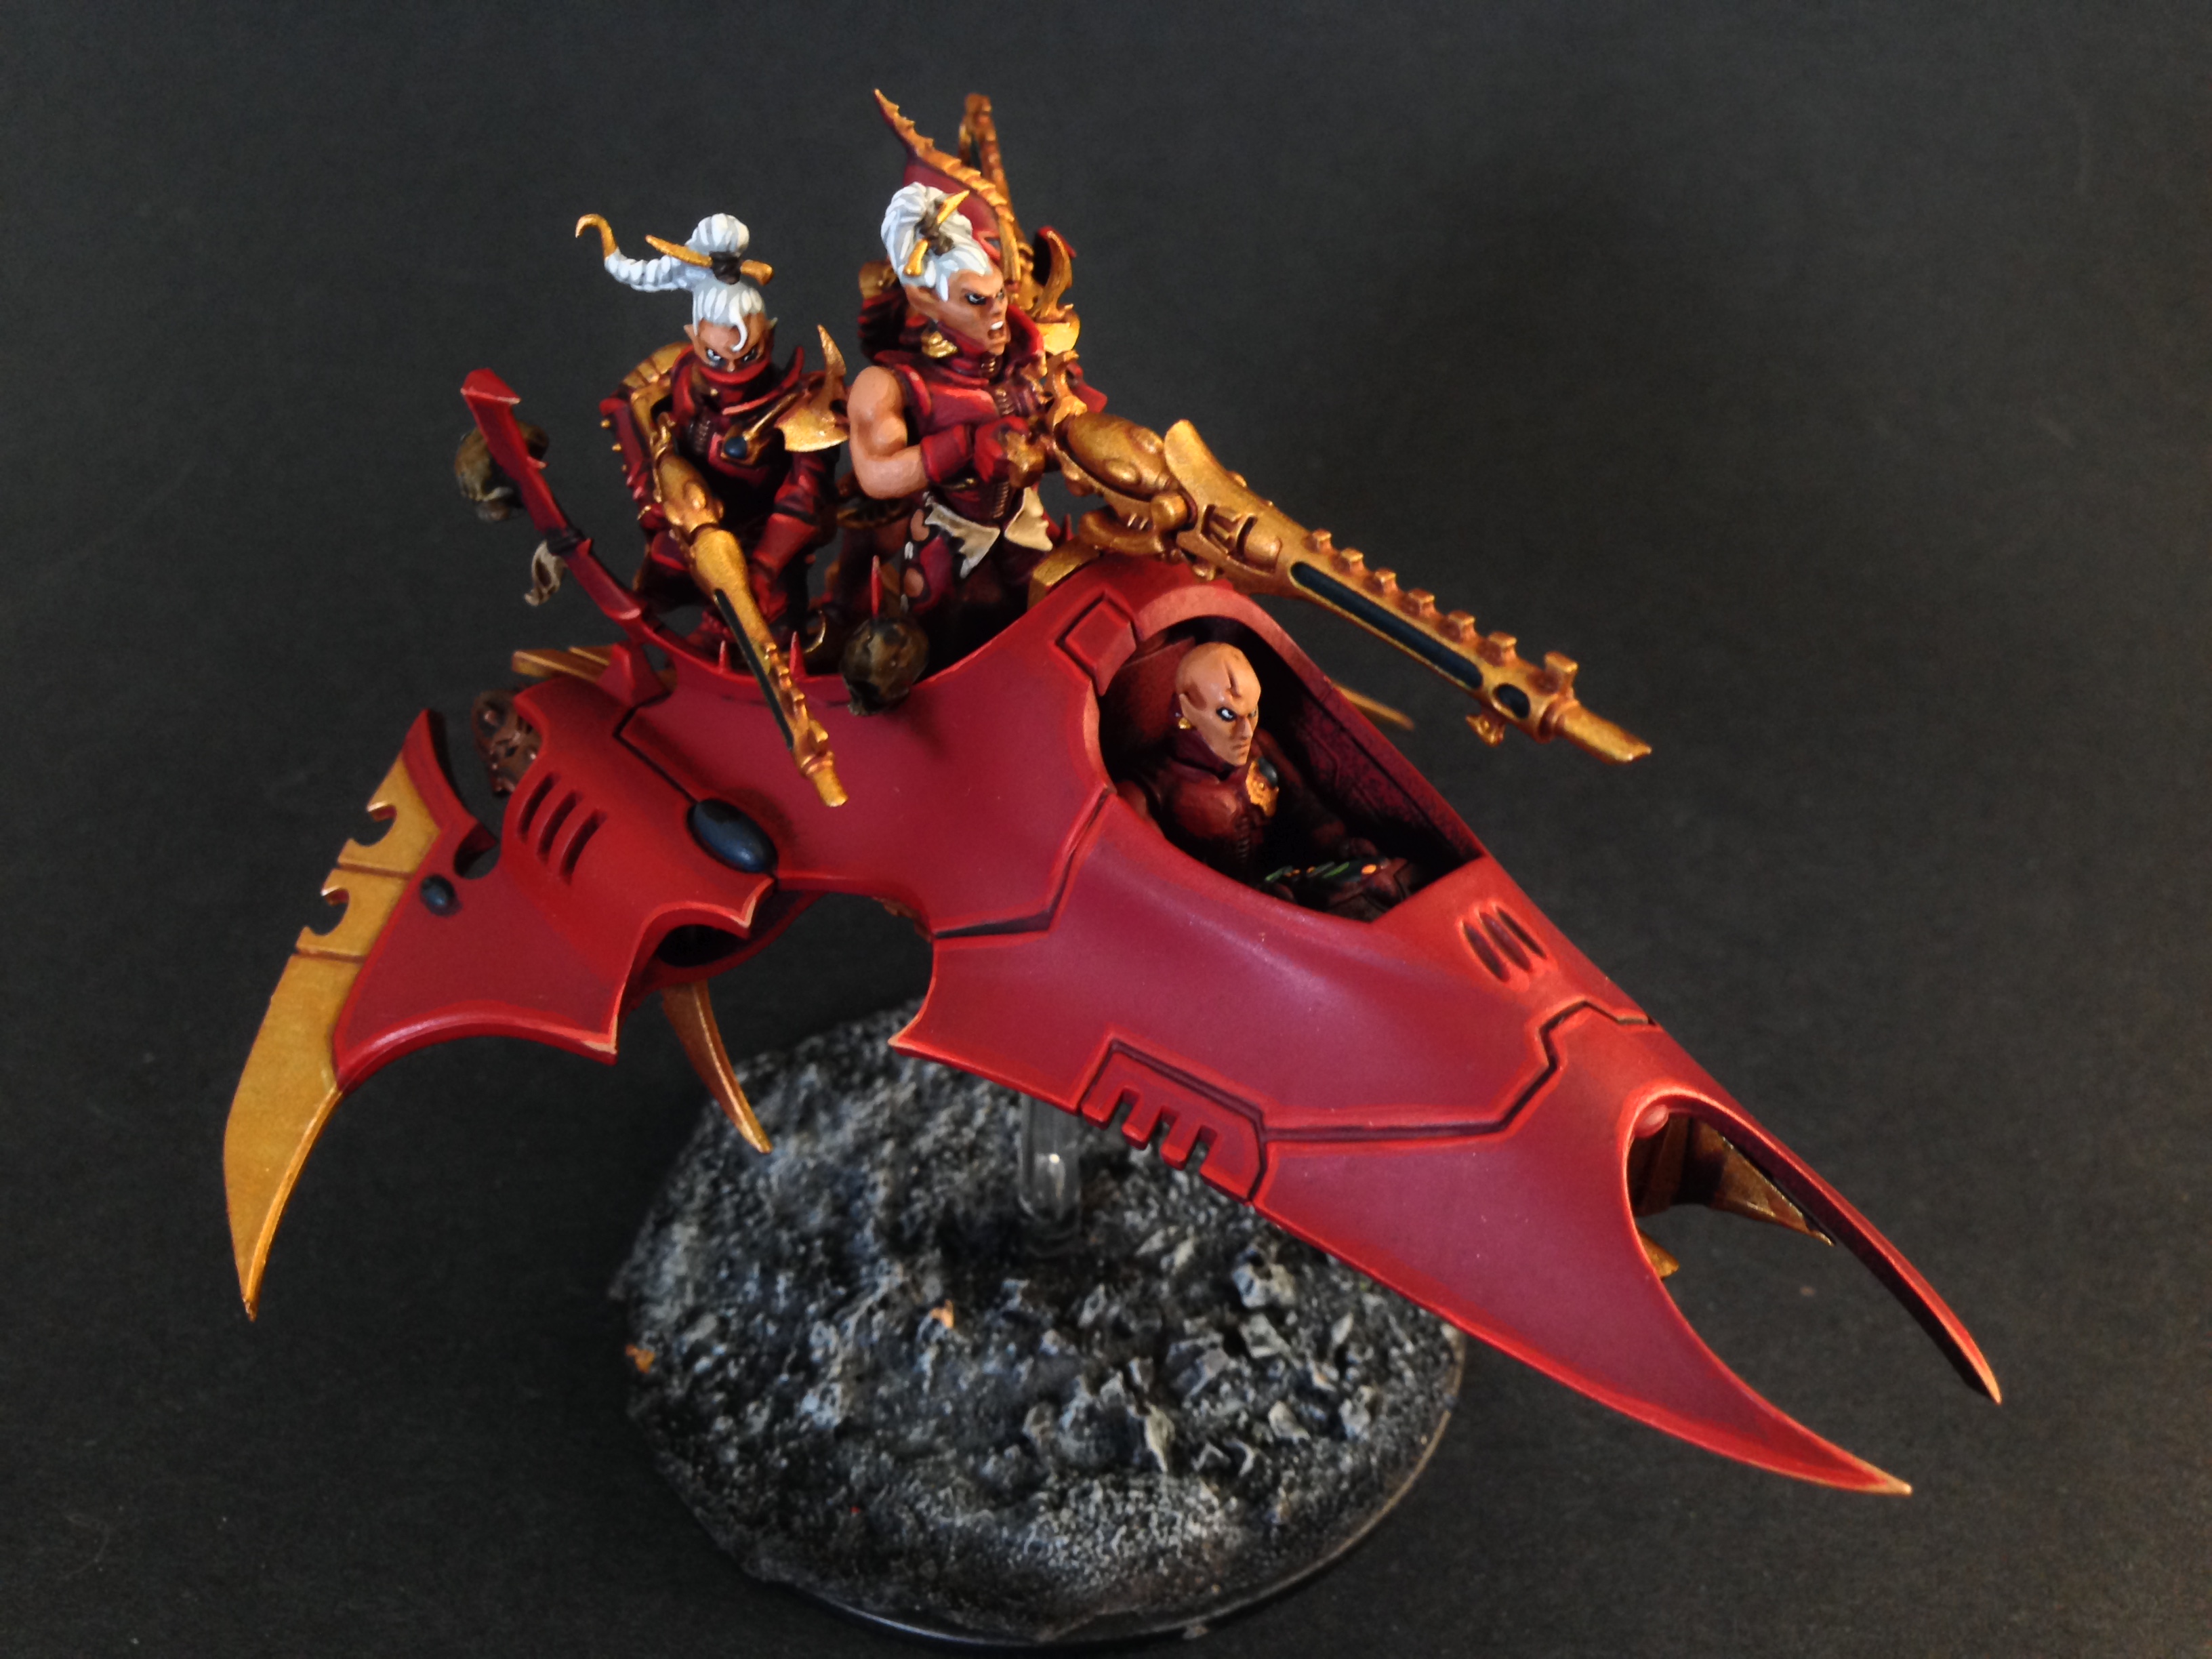


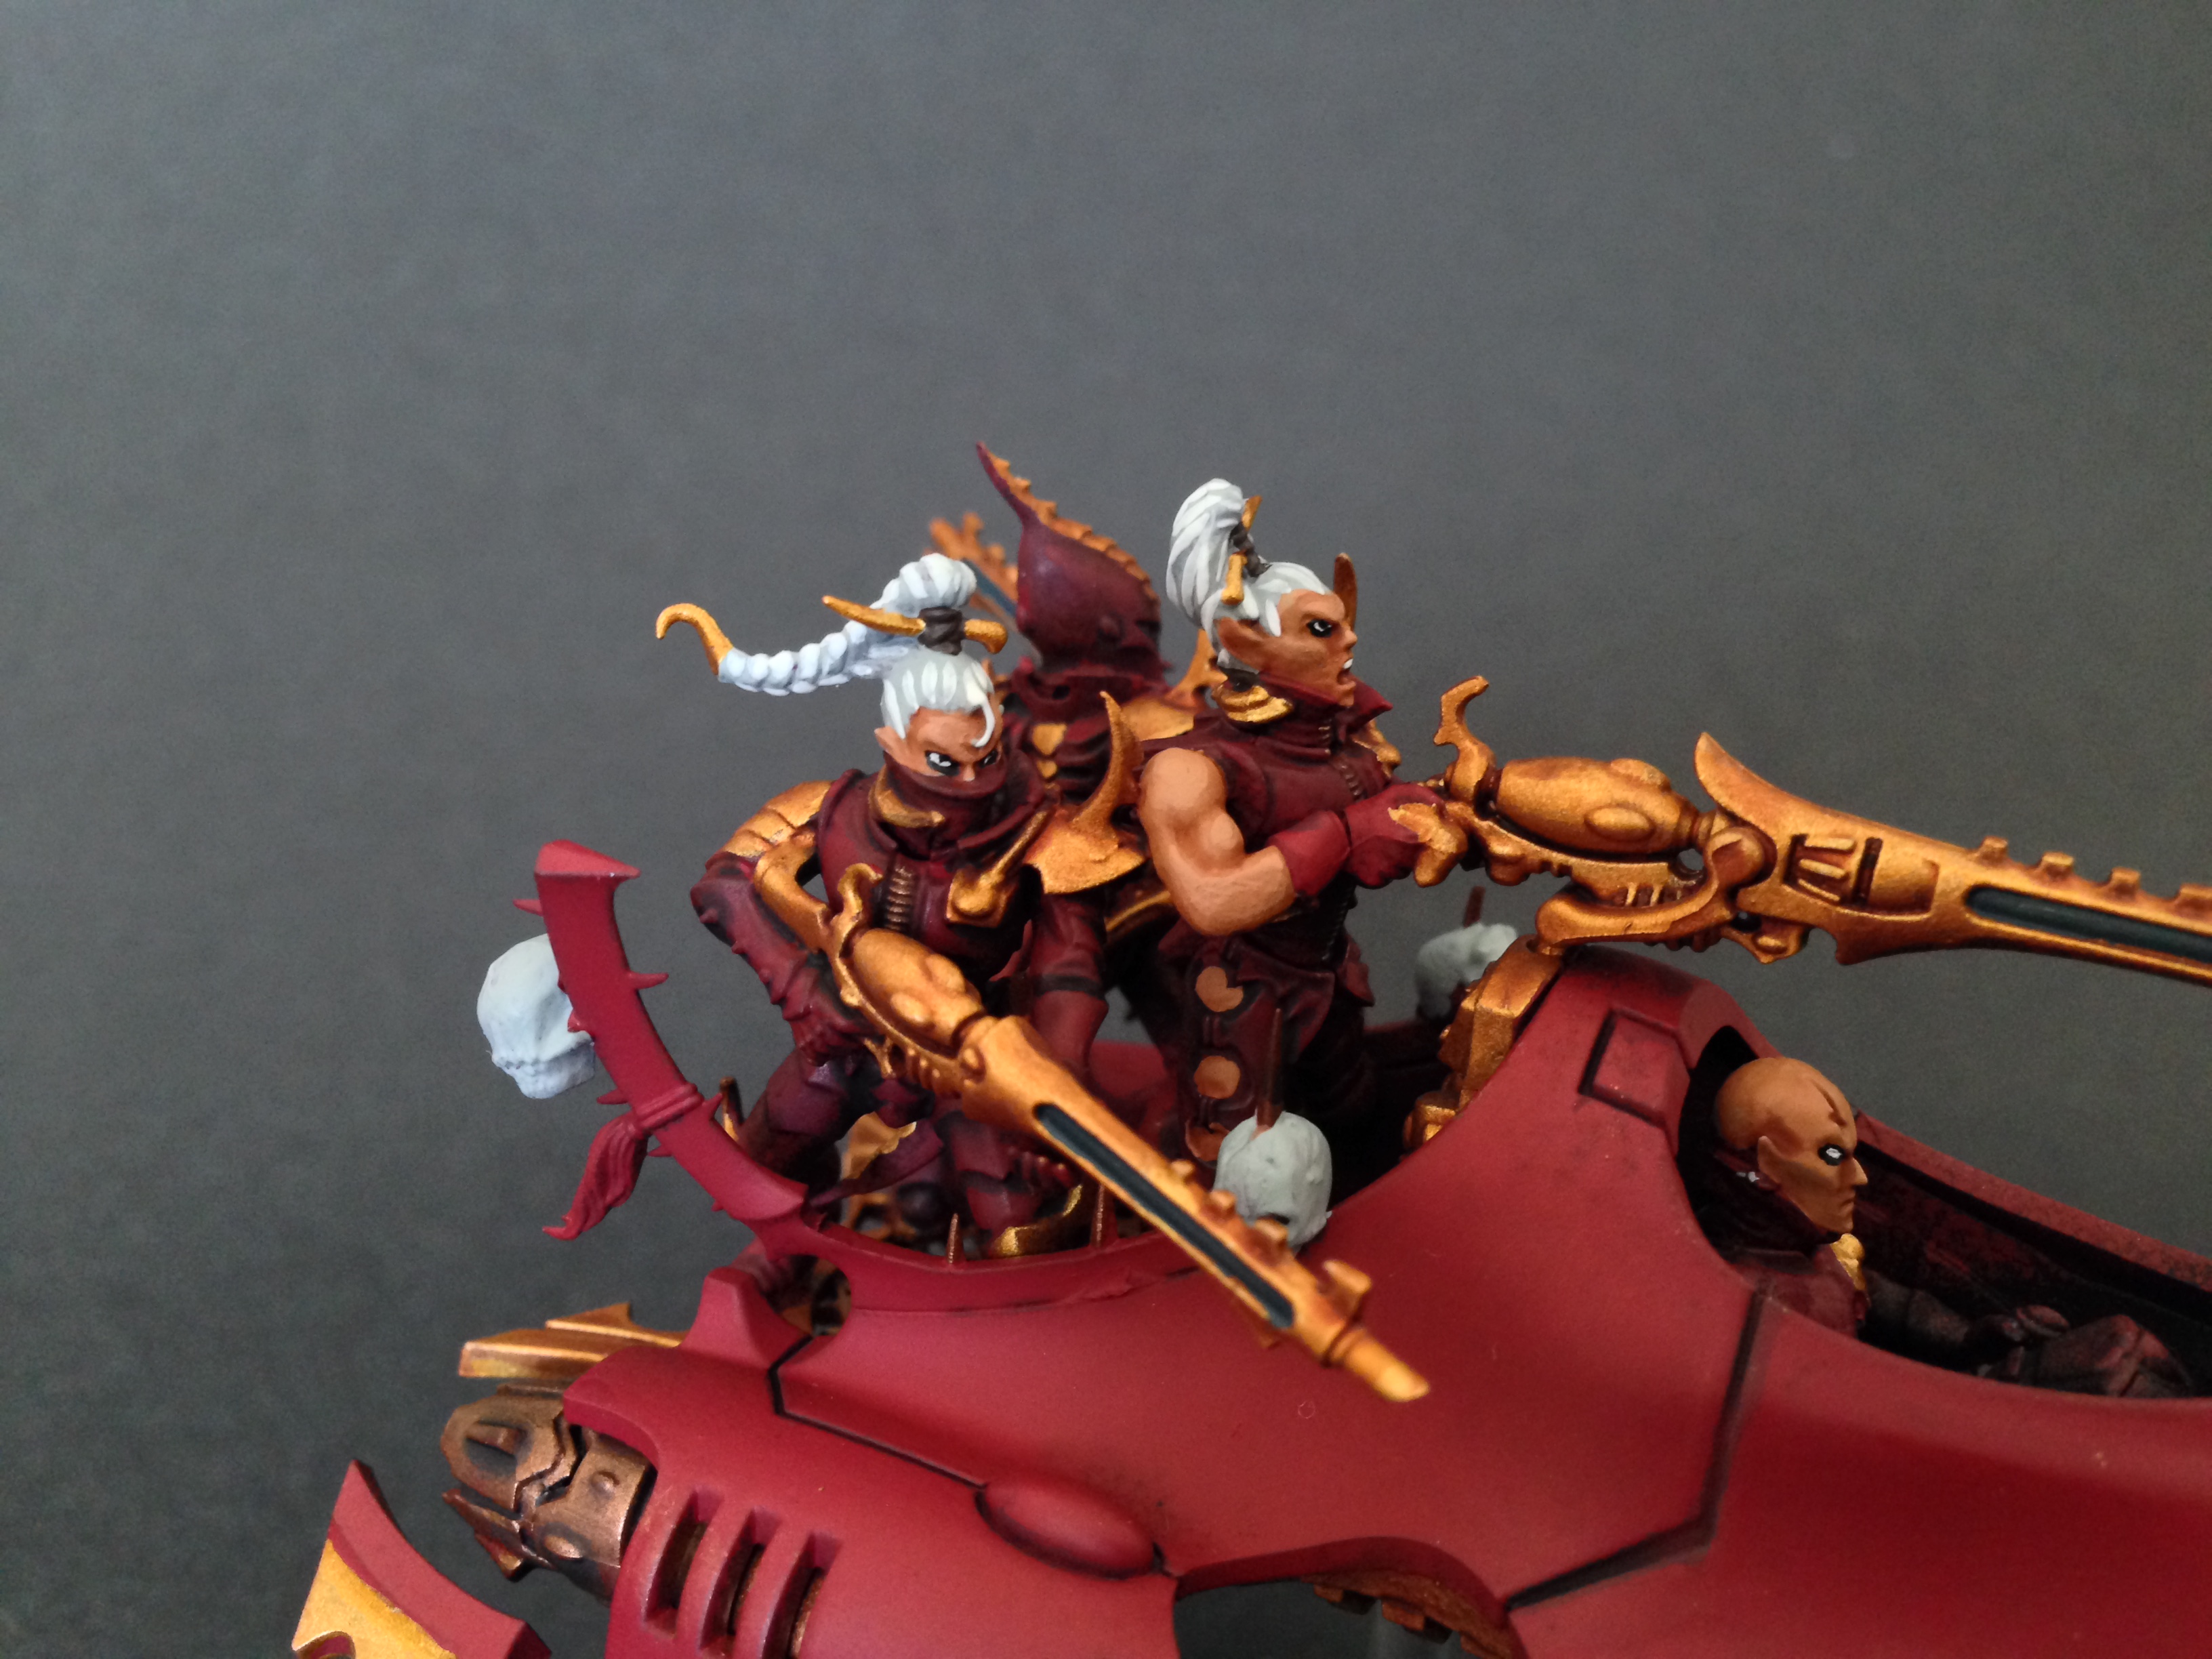
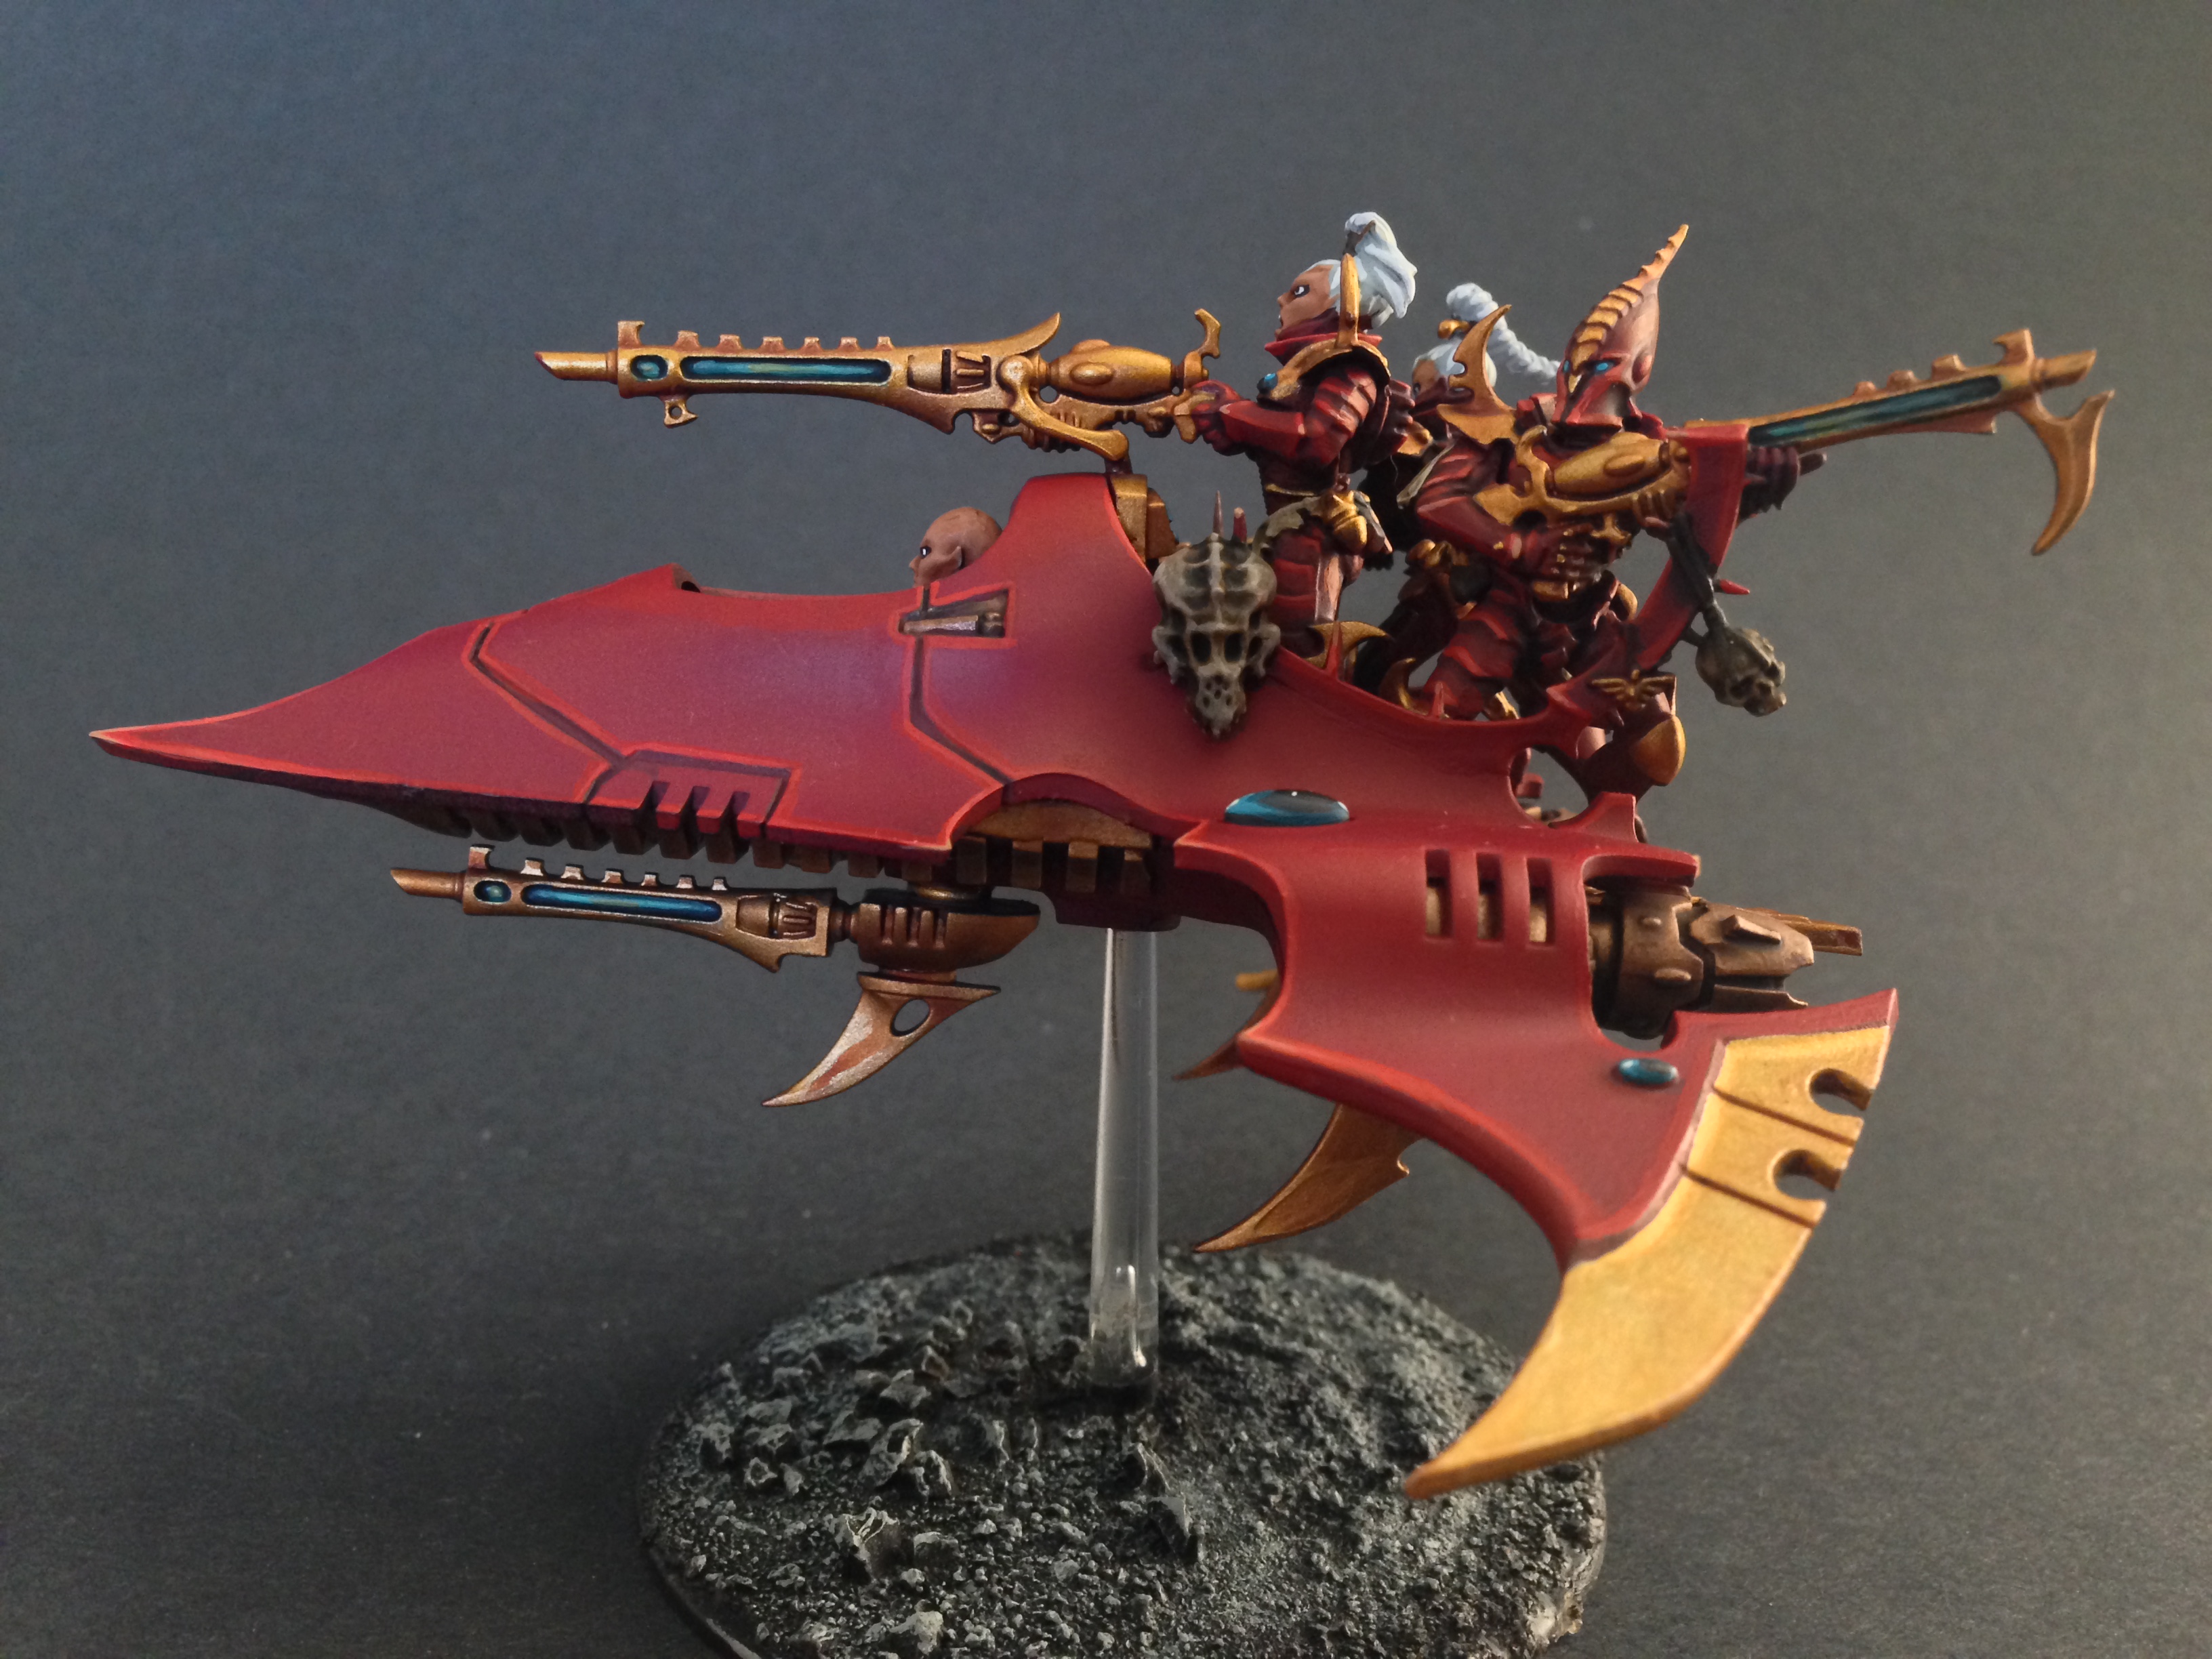
Second to last step! I paint the gems and the poison on the weaponry. To do this I use Stegadon Scale as the base for both. Then I diverge into the more greenish colors for the Poison, using Kabalite Green, Sybarite Green and then finally make a divergent choice just to give it a slightly unstable look by going with an Elysian Green to finish it off. Elysian Green has a lot more yellow in it and gives the poison a more translucent look which I really like. For the spirit stones I do crescent shaped highlights on the back and front of the gem using Sotek Green, Temple Guard Blue and a white dot on the front and back of the gem, with two little “sparkle” dots in the super dark core of the gem. I do this process on the eyes of my helmets as well.
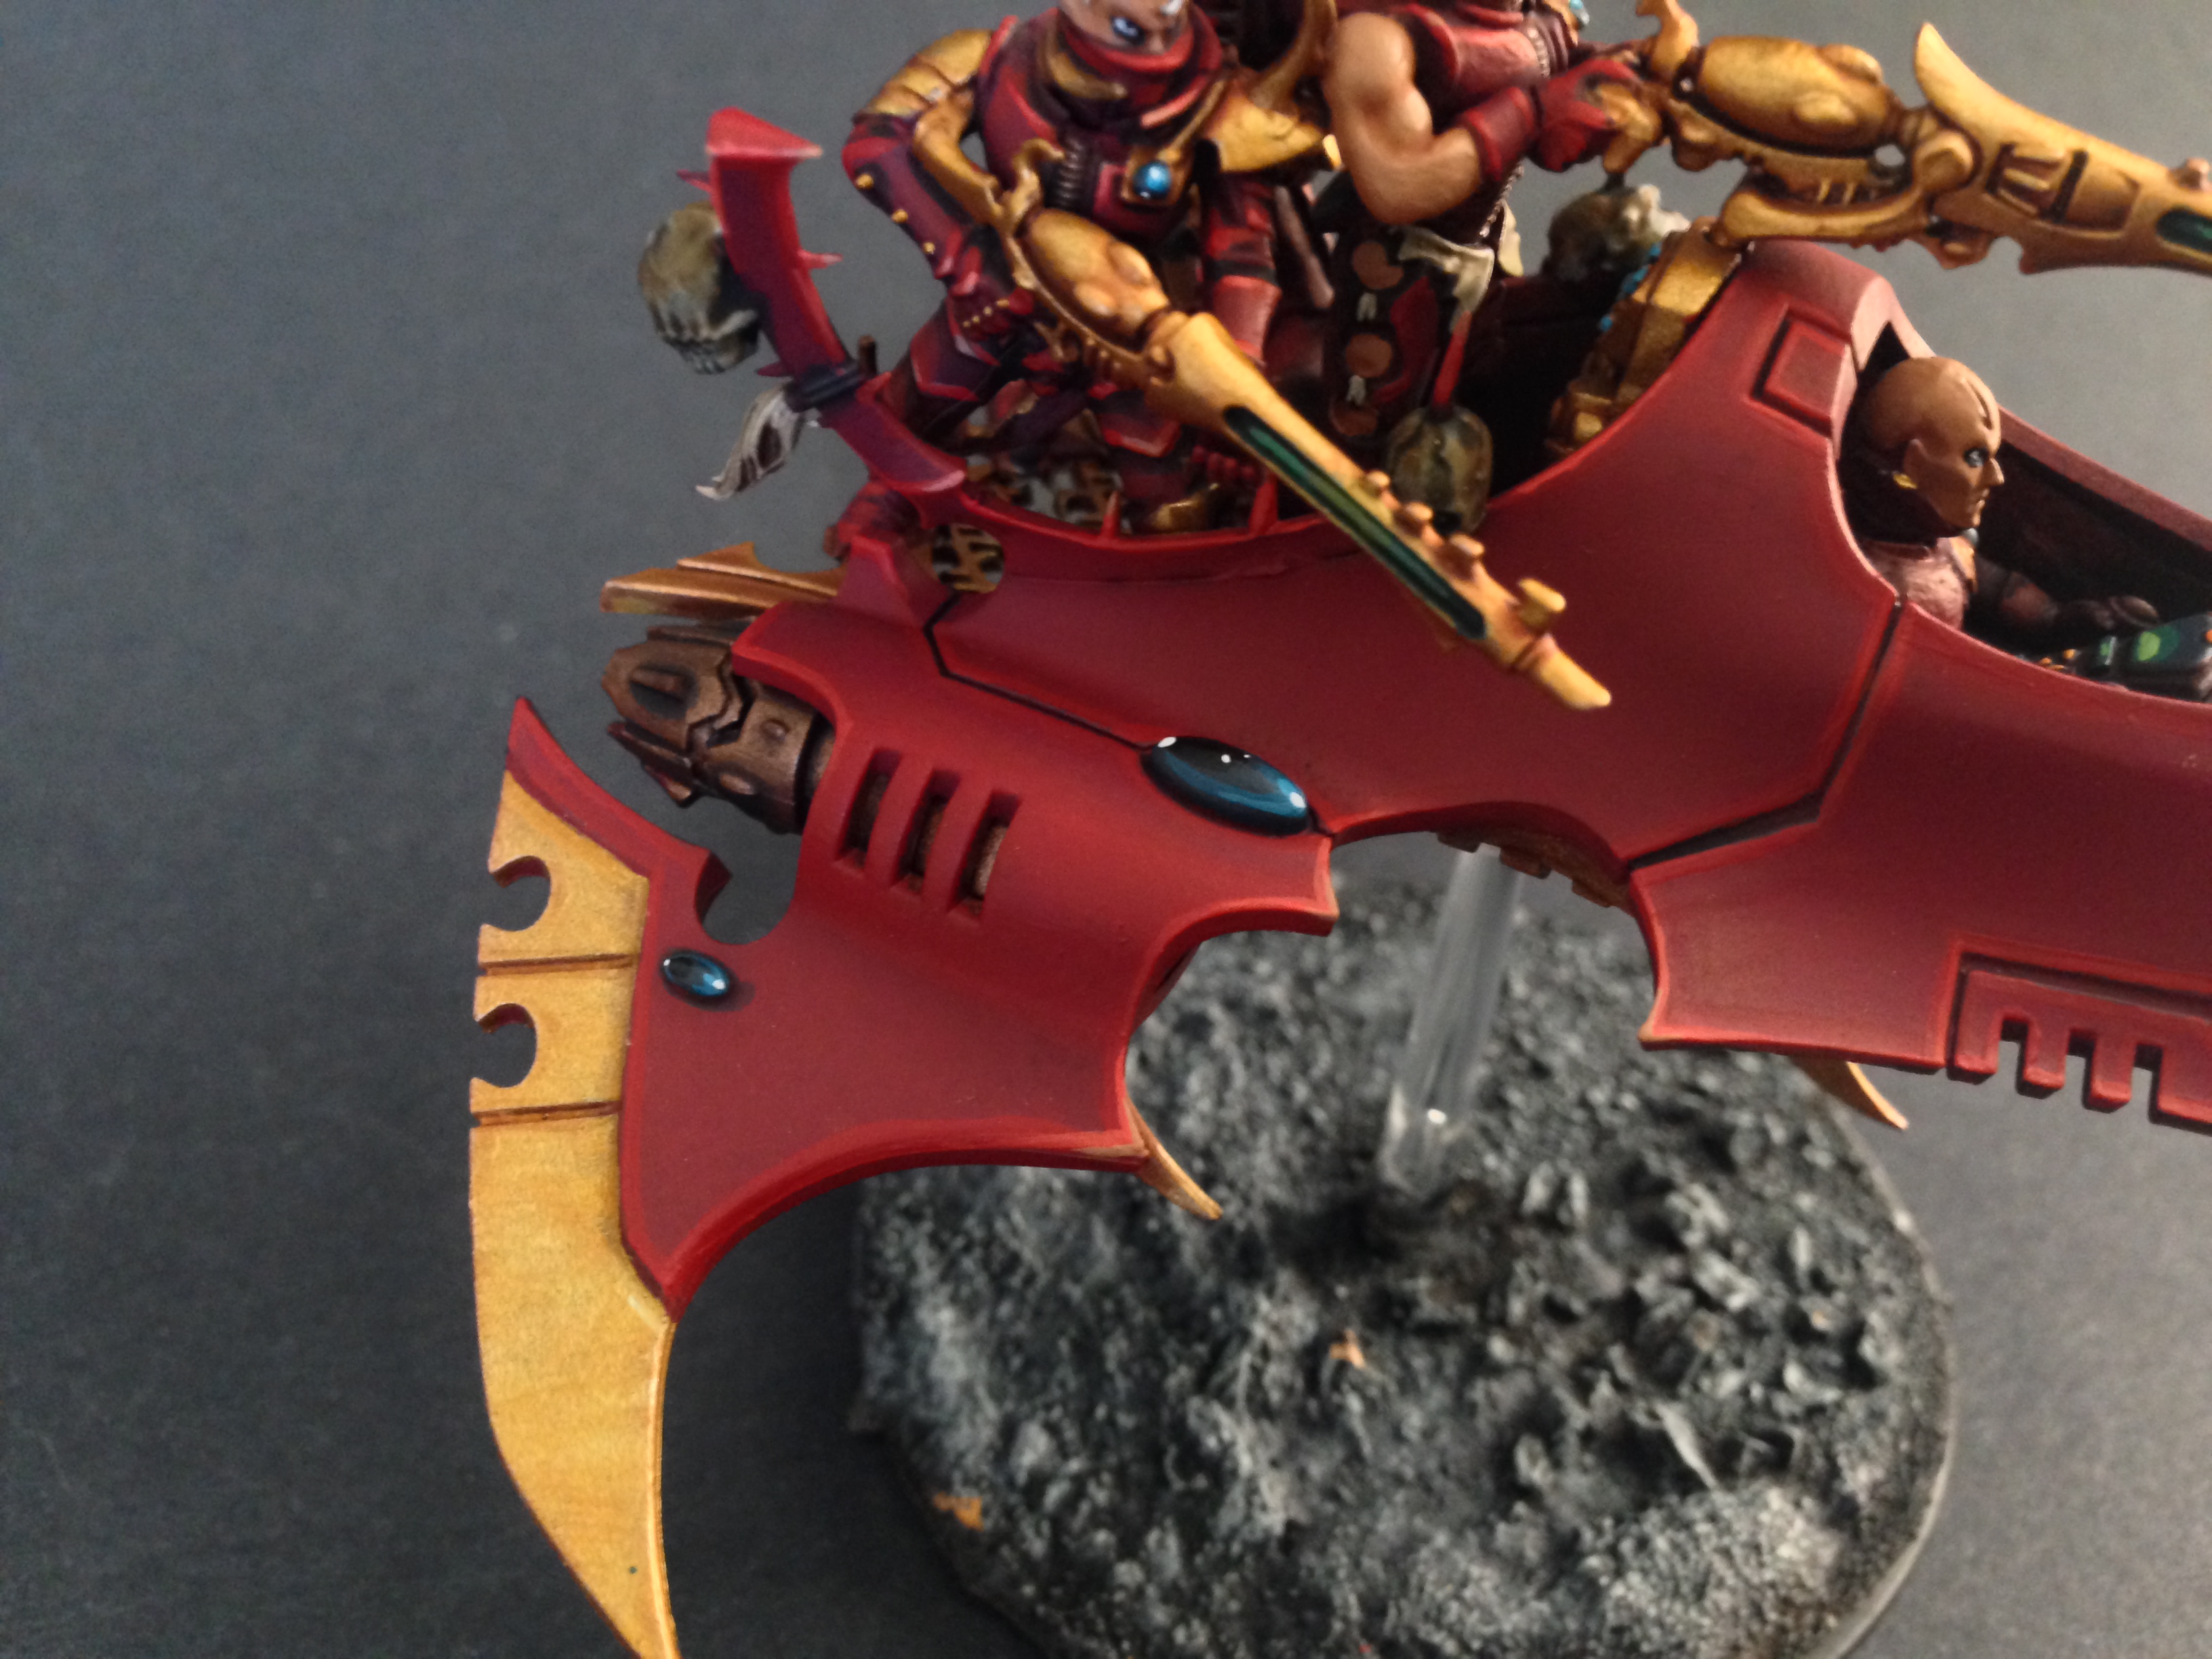
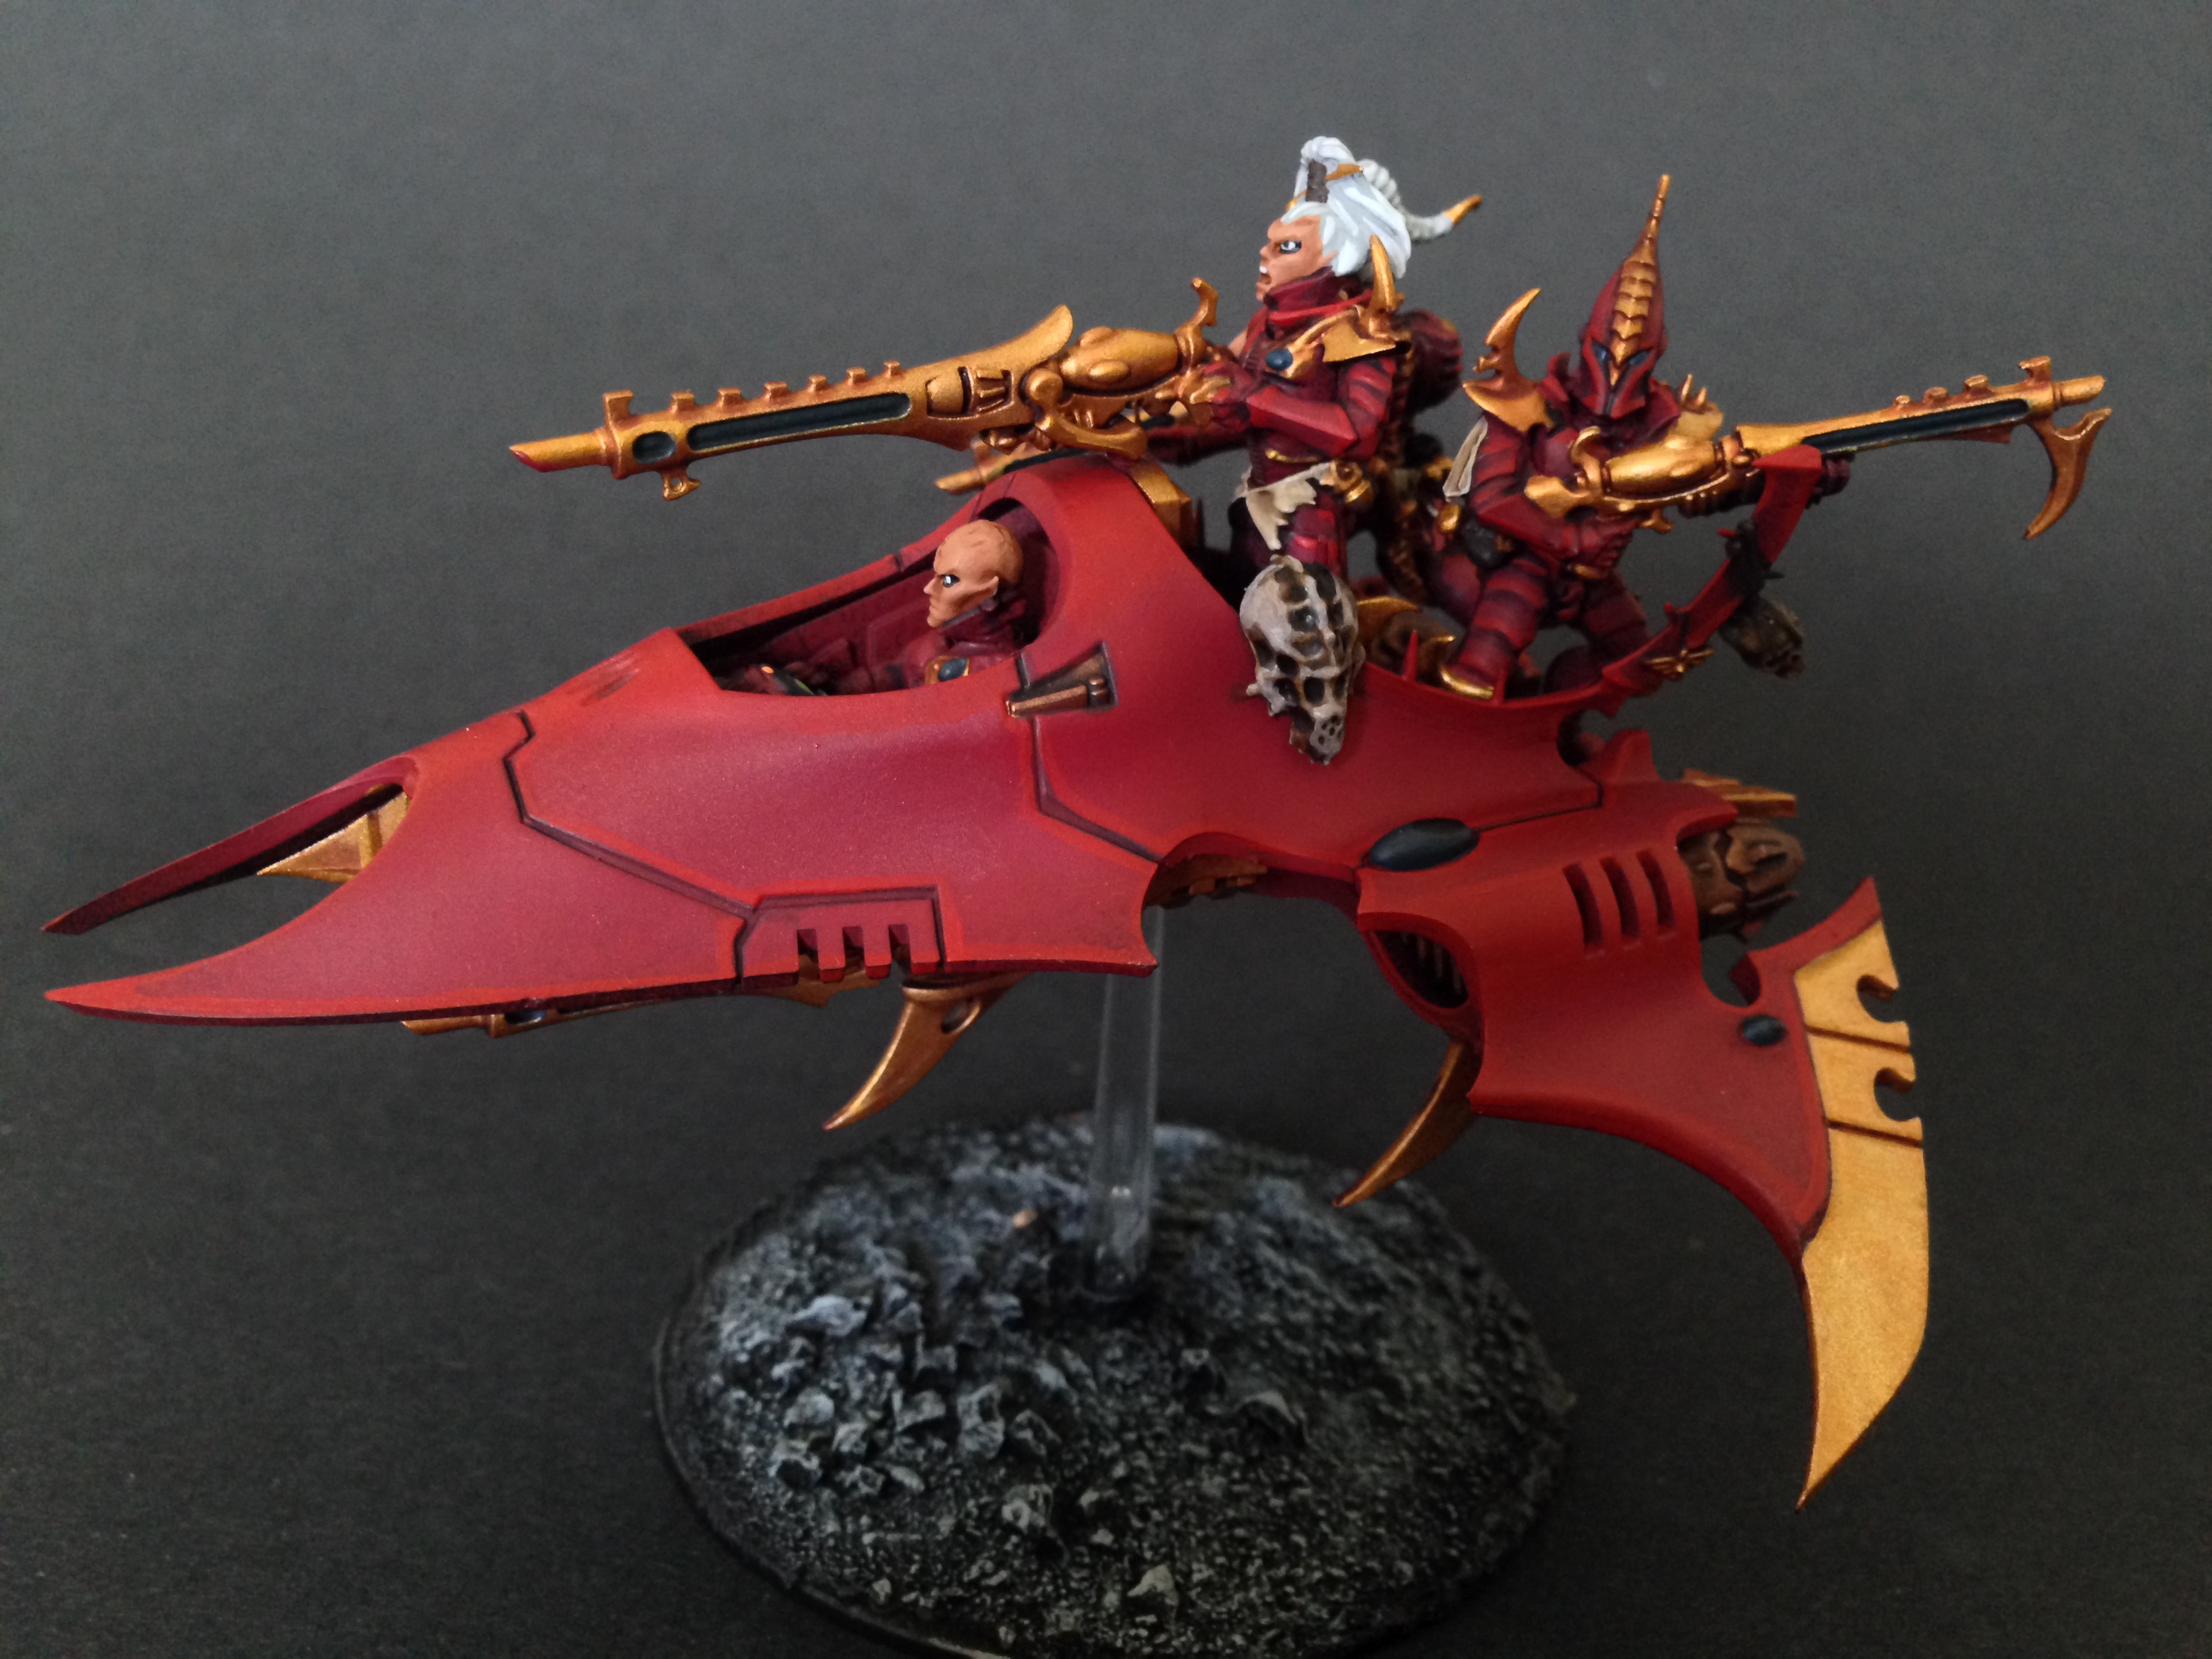
Now for the final step…. the canopy! Now this is a really striking technique that is insanely easy to accomplish. I spray the outside of the canopy with a Testors Wet Look Varnish. I mix Green P3 Ink with GW’s ‘Ard Coat and just paint it straight on to the canopy. Its important to use Ink and not wash, as the Ink stays nice and glossy giving off the tinted glass type vibe. I then paint the frame of the canopy with Khorne Red and highlight it with Mephiston and call it a day!

Concluding Thoughts
So in the end I was really happy with the standard to which these were painted. While quite involved they are painted to a point where I’ll never feel I need to back and do any of the basic stuff ever again, yet if I want to I can go back and add weathering, transfers or some free hand symbols in the future, I’ve got a nice clean paint job that’ll allow me to back in and dirty it up a bit or add some free hand without having to work through challenges of a model loaded with lots of layers of paint.
So I hope you found this article informative, if you have any questions or tips of your own please share down below, I’d love to know your thoughts!
Also if you are interested in exclusive Dark Eldar and all things Aeldari coverage check out our podcast Splintermind the Dark Eldar Podcast, where we have just concluded our indepth Codex Drukharii review. Thanks for stopping by!
And remember, Frontline Gaming sells gaming products at a discount, every day in their webcart!


