Hey guys Cavalier here, commission painter for Frontline Gaming and Co-Host of Splintermind the Dark Eldar Podcast, back again this time with a painting tutorial featuring the amazing Terrorgheist models!
I’ve not gotten a chance to paint to many Age of Sigmar models during my time with FLG. Yet when they do come along they are usually amazing. The Terrorgheist are truly impressive models. Big, imposing and gruesome and a joy to paint even when tasked with painting 3 of them!
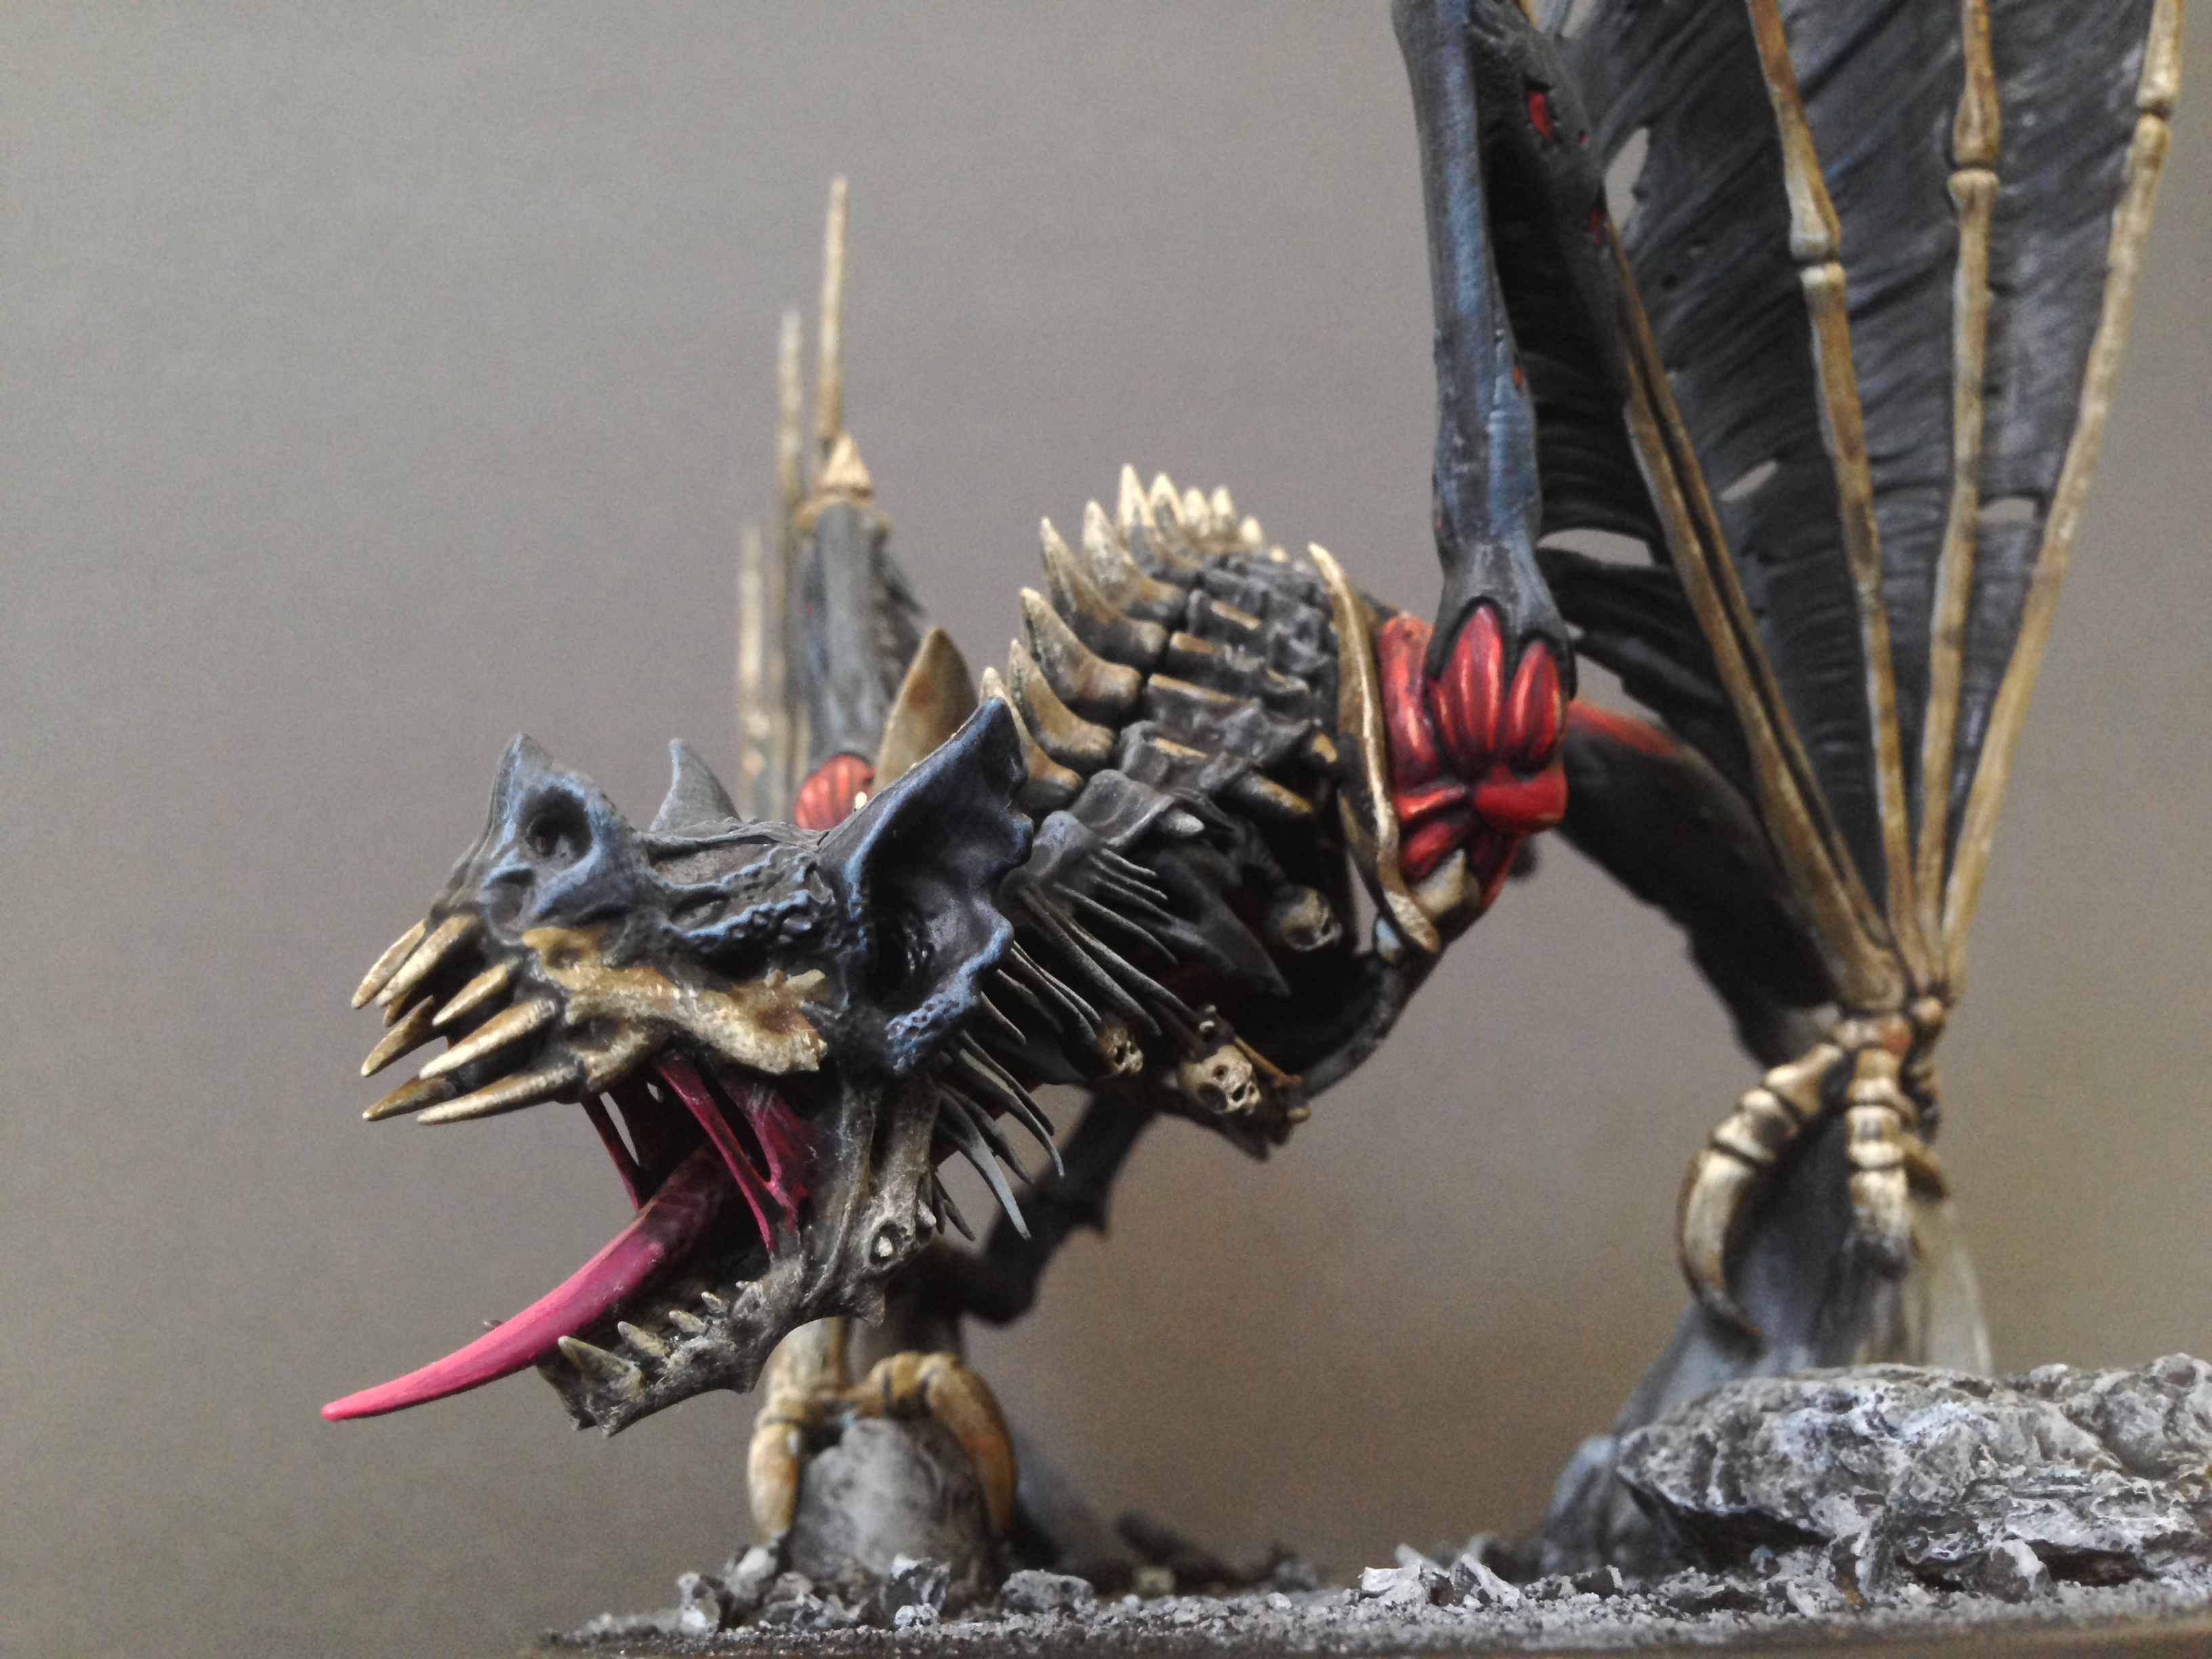
So with big models they need to look good from a variety of angles. With this model featuring 3 strongly contrasting areas of interest, the skin/scales, the bone and muscle I wanted to be able to apply washes to them that would work on all 3 areas. So I’ve recently fallen in love with creating a grimey bone type look that uses Nuln Oil and Seraphim Sepia and knew that not only would that make for a grotesque look on the bone, it’d be a wash that’d work on all the colors elsewhere on the model. So after deciding on my approach I began my work.
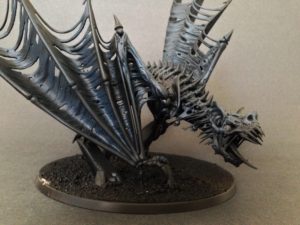
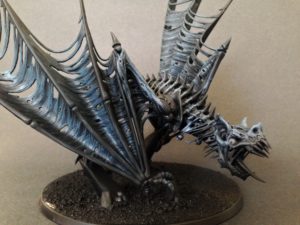
Step 1: First off I started with just a classic Chaos Black basecoat to give it the appearance of a black bat. I then gave it a dry brush highlight of Stegadon Scale, one of my favorite new “near black colors”. You could easily do Eshin Grey but there is something more undead about this super dark, greenish blue highlight as your first highlight.
Step 2: After that I do a dry brush highlight of Thunderhawk Blue over all the skin/scales of the model. This gives the model a very nice moldy grey/blue that play nicely off the tainted blue/green of Stegadon Scale.
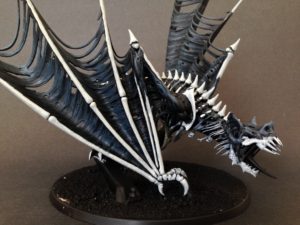
Step 3: After that comes a painter’s best friend. Celestra Grey one of the most amazing paints in the GW line. As you can see it reads as almost pure white against the dark hues of the model. It goes on with almost a single coat even over black primer. Celestra Grey is such an amazing paint and I’m not sure what I’d do without it.
Step 5: The next step is good old friend Khorne Red another amazing paint that goes on like a dream. Just a tip on this particular model, do not go too heavy with the red on muscles because the relief on the sculpt is a bit shallow and you could fill in all the little grooves that gives each muscle its definition and detail fairly easily.
Step 6: So with all your basic colors laid down, its time to hit this baby with Nuln Oil! Now you can hit every area of the model with this stuff, the blue/grey skin, the muscles and the bone. I like to go very heavy with this stuff as you want it to feel riddled with the grime and dust of ages.
Step 7: After the Nuln Oil dries start laying down the Seraphim Sepia. Unlike Agrax Earthshade which just gives a muddy, dirty brown look, Seraphim Sepia gives an aged yellow look to the model which gives it a more bone-like quality. Its yet another sort of off putting shade of color, like the greenish blue, grey blue that really gives that tainted look to the model.
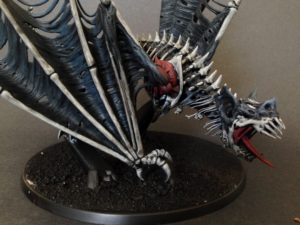
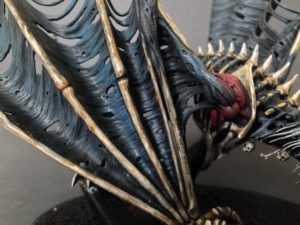
Step 8: After the Seraphim Sepia dries its time to start picking out those highlights. For this I re-highlight the skin/scales with Thunderhawk Blue doing a mix of drybrushing and classic edge highlighting. On the bone however I bust out Rakarth Flesh which gives yet another layer of color and almost texture to the bone giving the impression that the bones are scratched and battle worn. I use a mix of classic edge highlighting and a little bit of dry brushing here and there just to give a bit of randomness to it like you’d expect in nature.
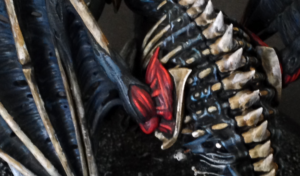
Step 9: Now its time to give definition to those muscles. I highlight the heavily washed Khorne Red with another coat of Khorne Red on the most pronounced muscle masses, then Mephiston and finish it off with Evil Sunz Scarlett.
Step 10: Here is the final step, highlight the base! I just do a quick drybrush of Dawnstone and finally old friend Celestra Grey on the rocky wasteland upon which the Terrorgheist is perched and with that we call it a day!
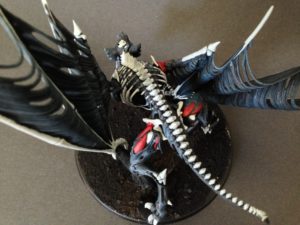
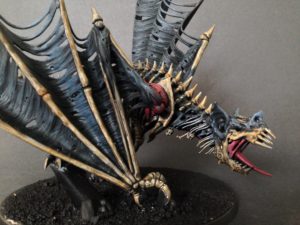
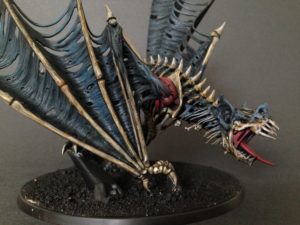
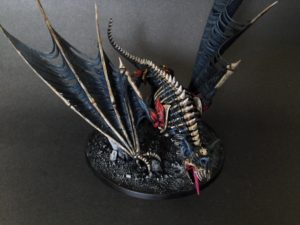
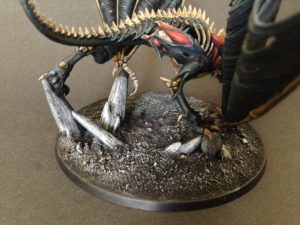
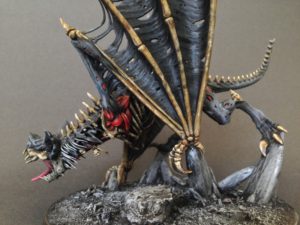
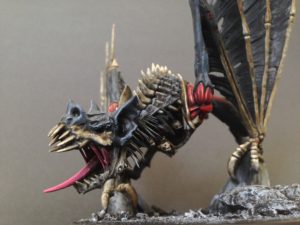
Conclusion: So here is the finished product!
I hope you found this tutorial encouraging. Though the model may be big, it doesnt have to be intimidating. Having a plan is always the first step in approaching any painting project. My basic rule of thumb is, if the primary colors of the model work well with your primary washes you’ve probably formulated a good approach to the model and will have a cohesive looking paint scheme that applies clean and even across the model, even a rotting abomination like the Terrorgheist!
Also if you are interested in exclusive Dark Eldar and all things Aeldari coverage check out our podcast Splintermind the Dark Eldar Podcast, where we have just begun our Codex Drukharii review.
And remember, Frontline Gaming sells gaming products at a discount, every day in their webcart!

I have been following this paint plan (up to the Seraphim Sepia wash at this point) and it has been going great! Thank you!
Glad you got some good tips from it!
Hey man, great tutorial it’s helping me a lot. I’m curious because it’s not on the picture what did you do with the insides of the Terrorgheist? Did you leave them black or did you paint them red?
I did em red, including the stringy bits under the throat. I found an angled paint brush to greatly help for a lot of this as I’d already attached him to his base. I never understood the angled brush before, but it really came in handy with some of those hard to reach spots like the inside & “guts”, under the neck, and the back of the jaw.
Hi!
First of all, thank you for the tutorial! It’s a great job and really really funny to follow! It gave me the strength to start up with this awesome model!
I am about to start shading and cannot wait! But I got a question:at the step 7 when you have to apply the seraphim sepia, you do it on the entire model or only on the bones?
Thanks again, dude!
Just seen your comment, I hat did you do in the end,? Just about to do that step myself.
Hi
Following this great tutorial today, Is the Seraphim Sepia all over the model or just on the bones ?