
Hey guys Cavalier here, commission painter for Frontline Gaming and co-host of Splintermind the Dark Eldar Podcast back again, this time with a terrain tutorial. Good terrain has never been more important and in this article I’ll take you through my approach to making it.

My approach to this is super easy and you can bang out the basic construction of an entire tables worth of terrain in a single sitting and get it painted to a tabletop standard just as quickly.
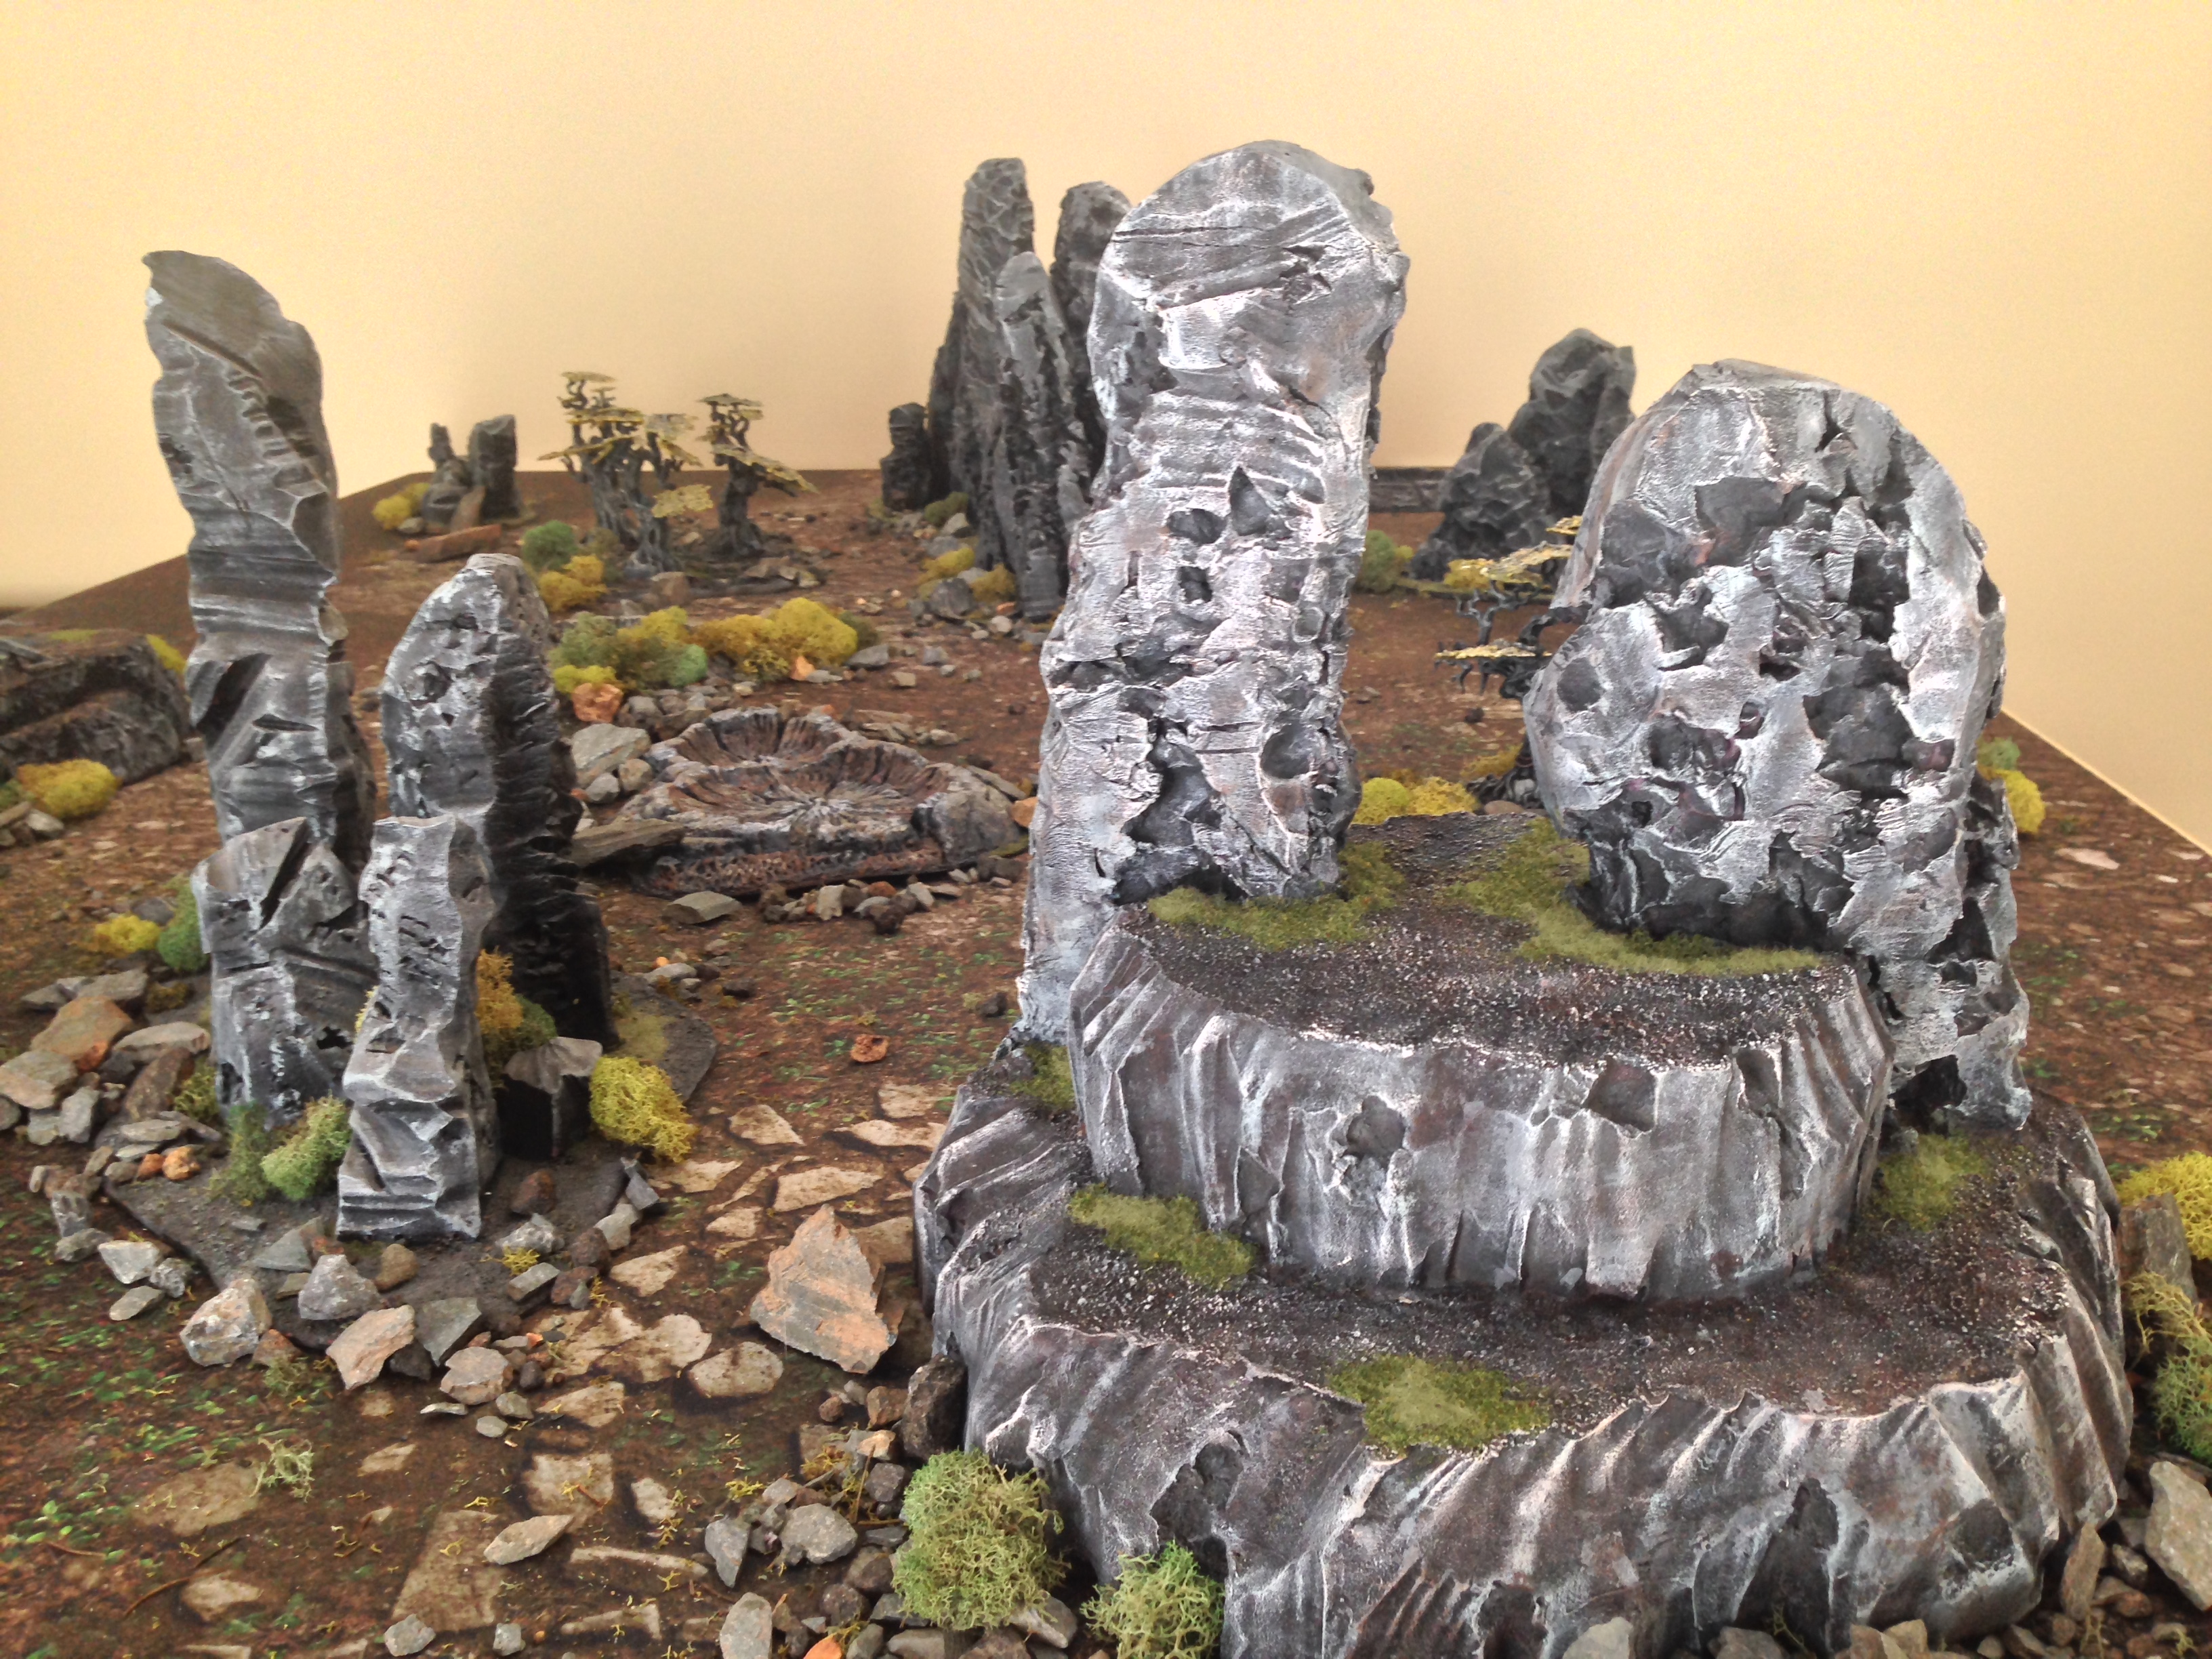
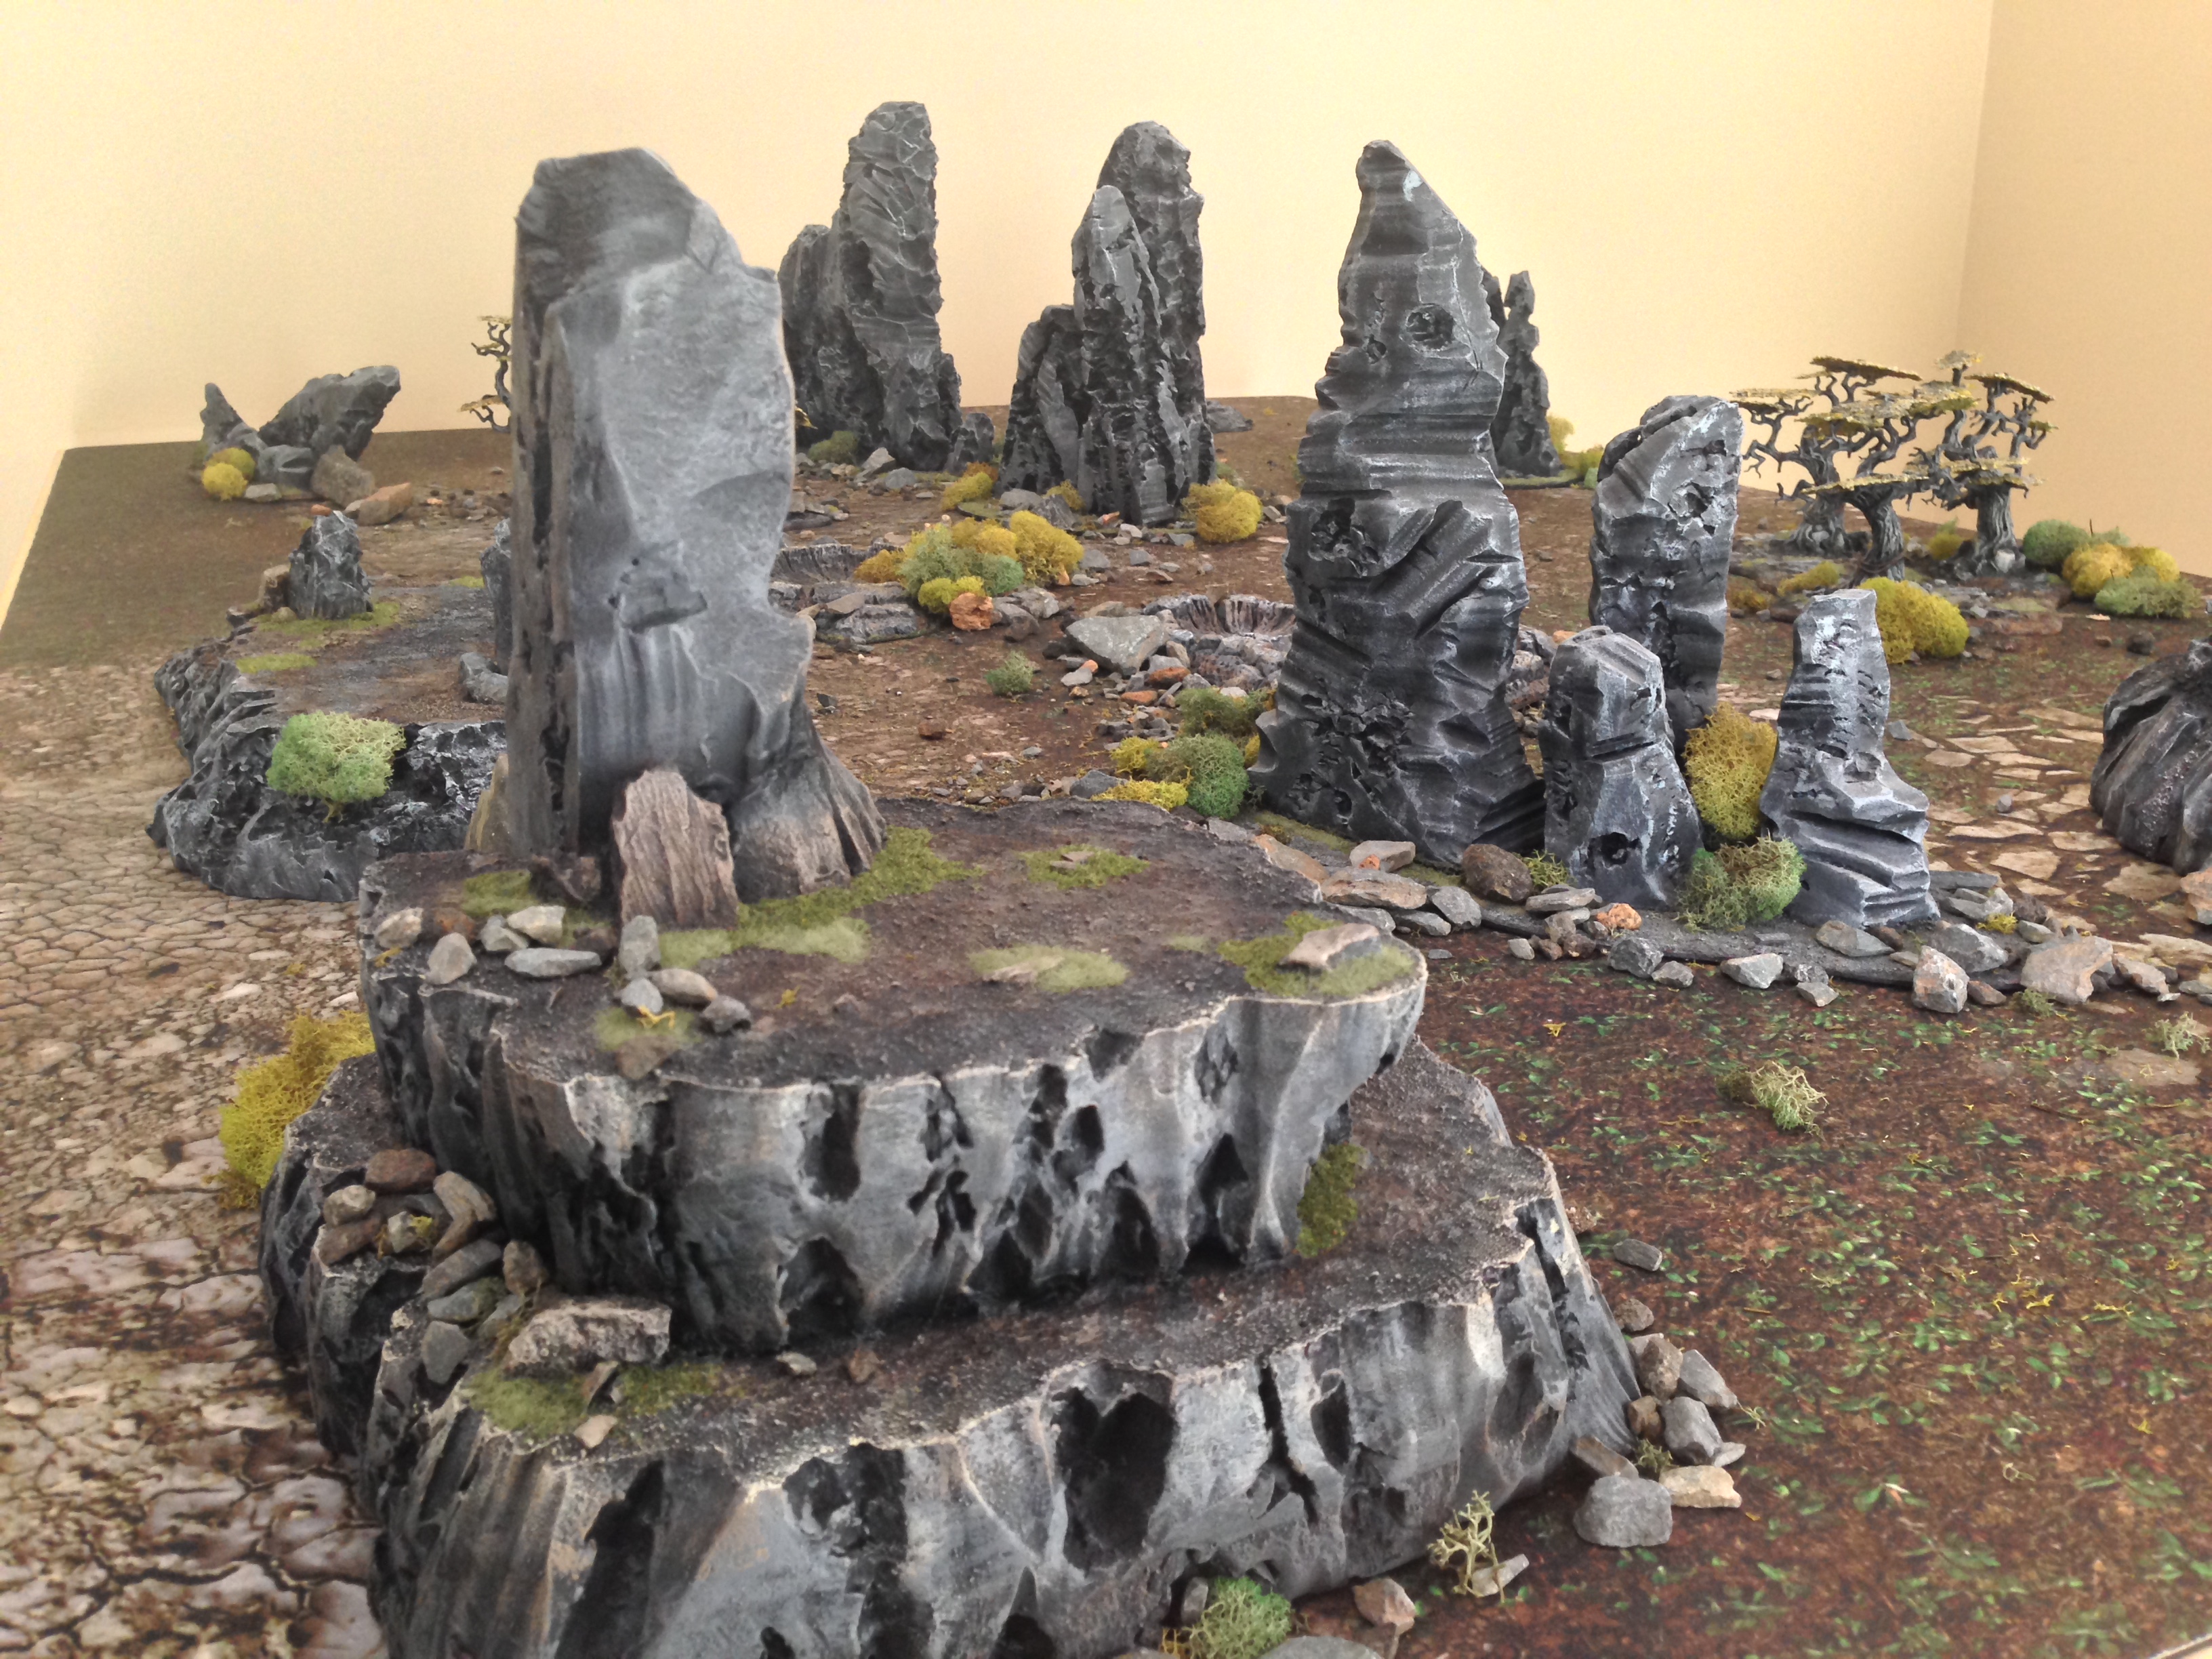
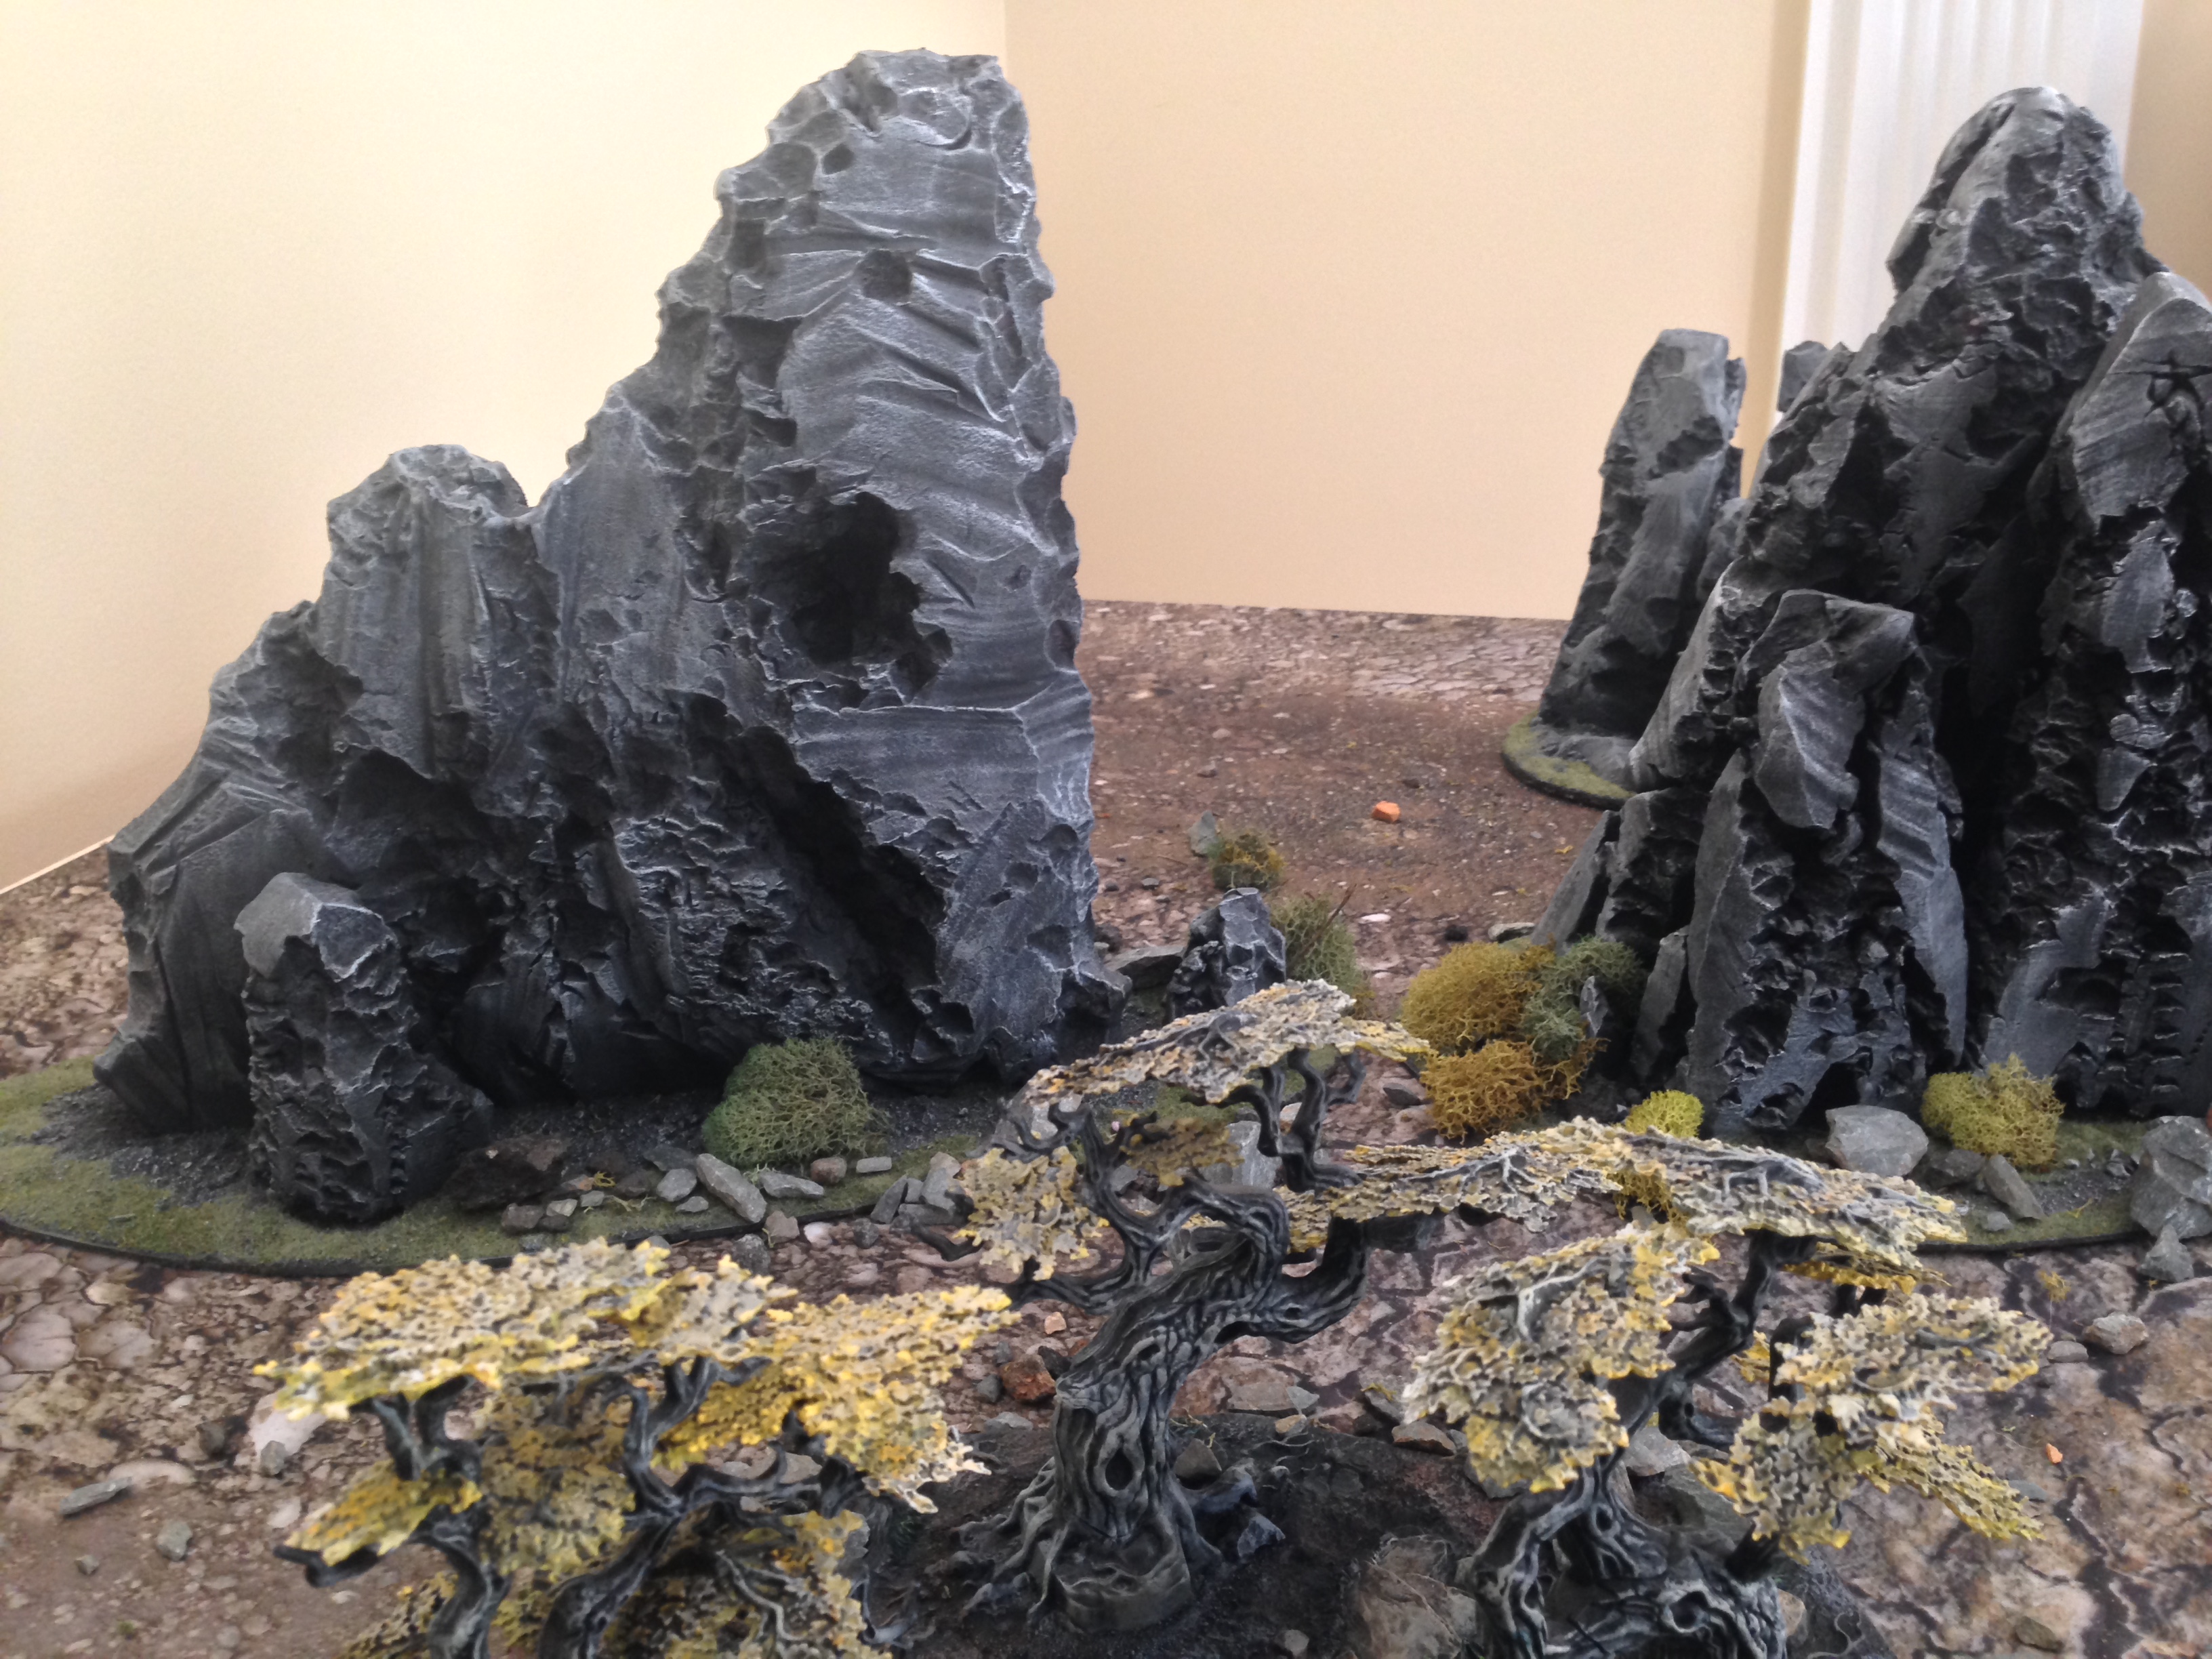
This particular piece I’ve made is to fulfill a need I’ve got for my home table to get more multi-level terrain onto my wilderness themed board. That being said its a pretty decent size line-of-sight blocker and all the techniques applied to this piece, can be applied to pieces of LOS blocking terrain as well. I’ll have an example of one of those pieces at the end thats so massive you can hide a Knight Titan behind it no problem and its actually a far easier piece to make… once you know how!
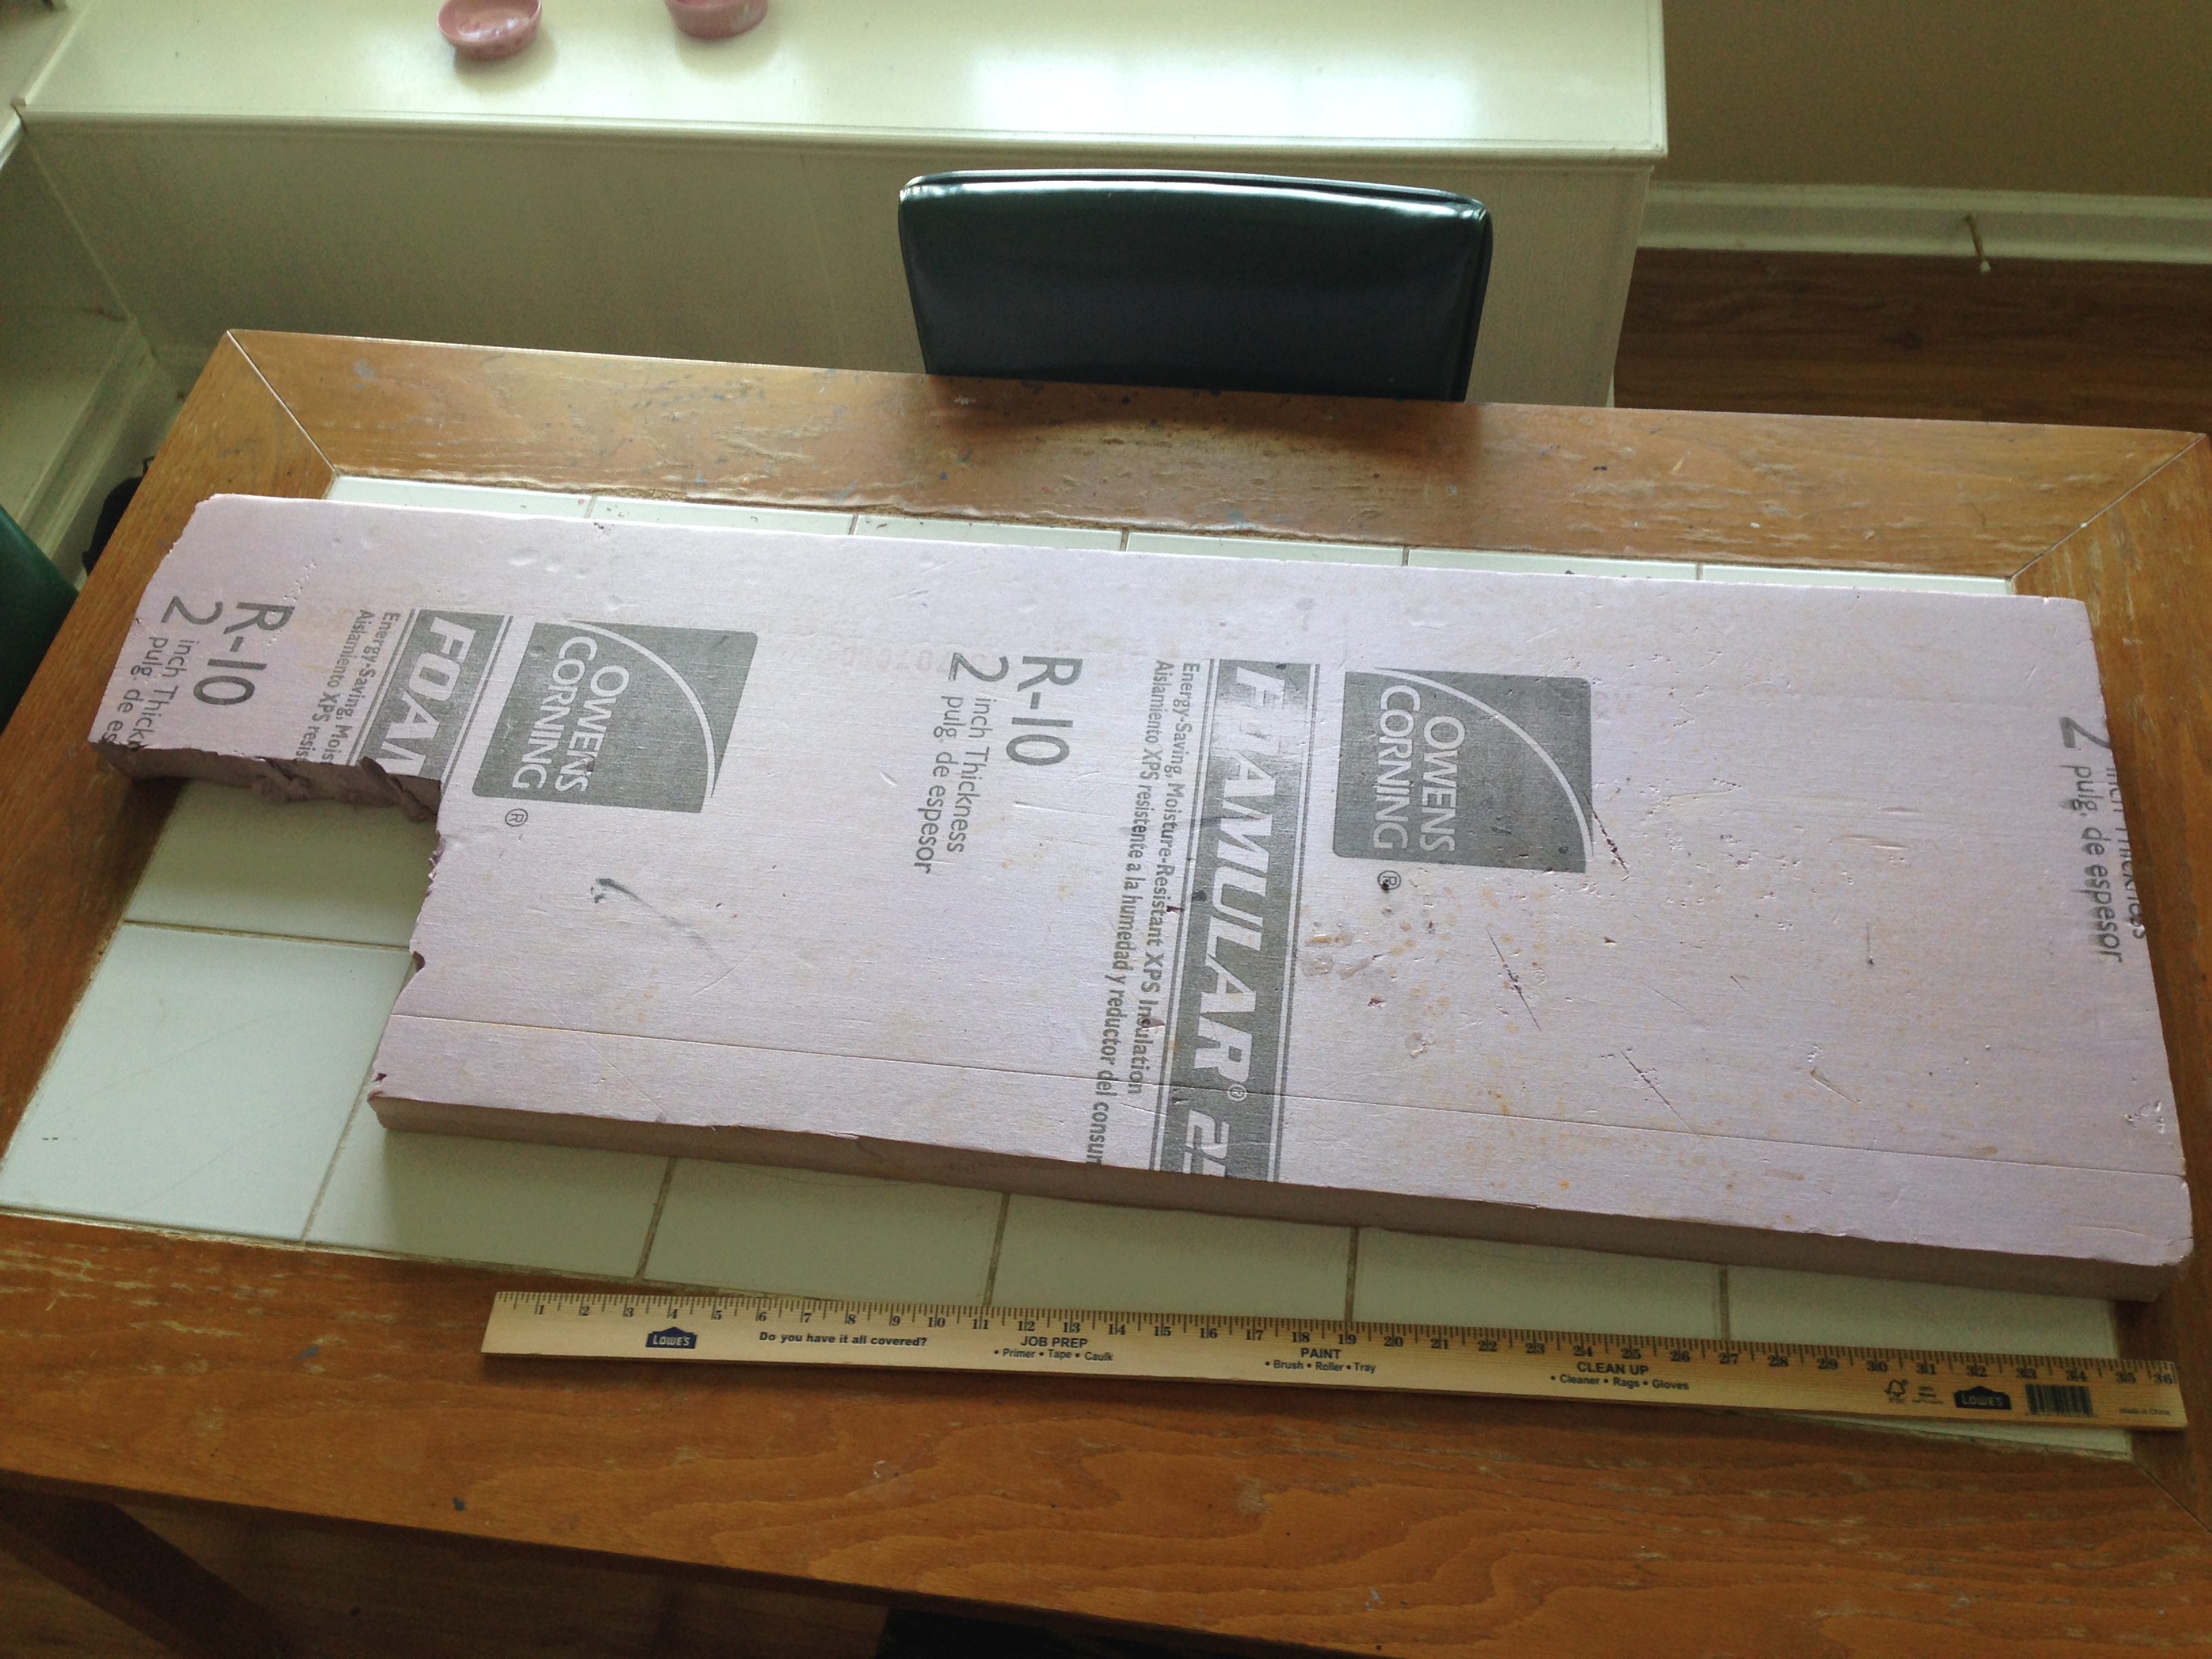
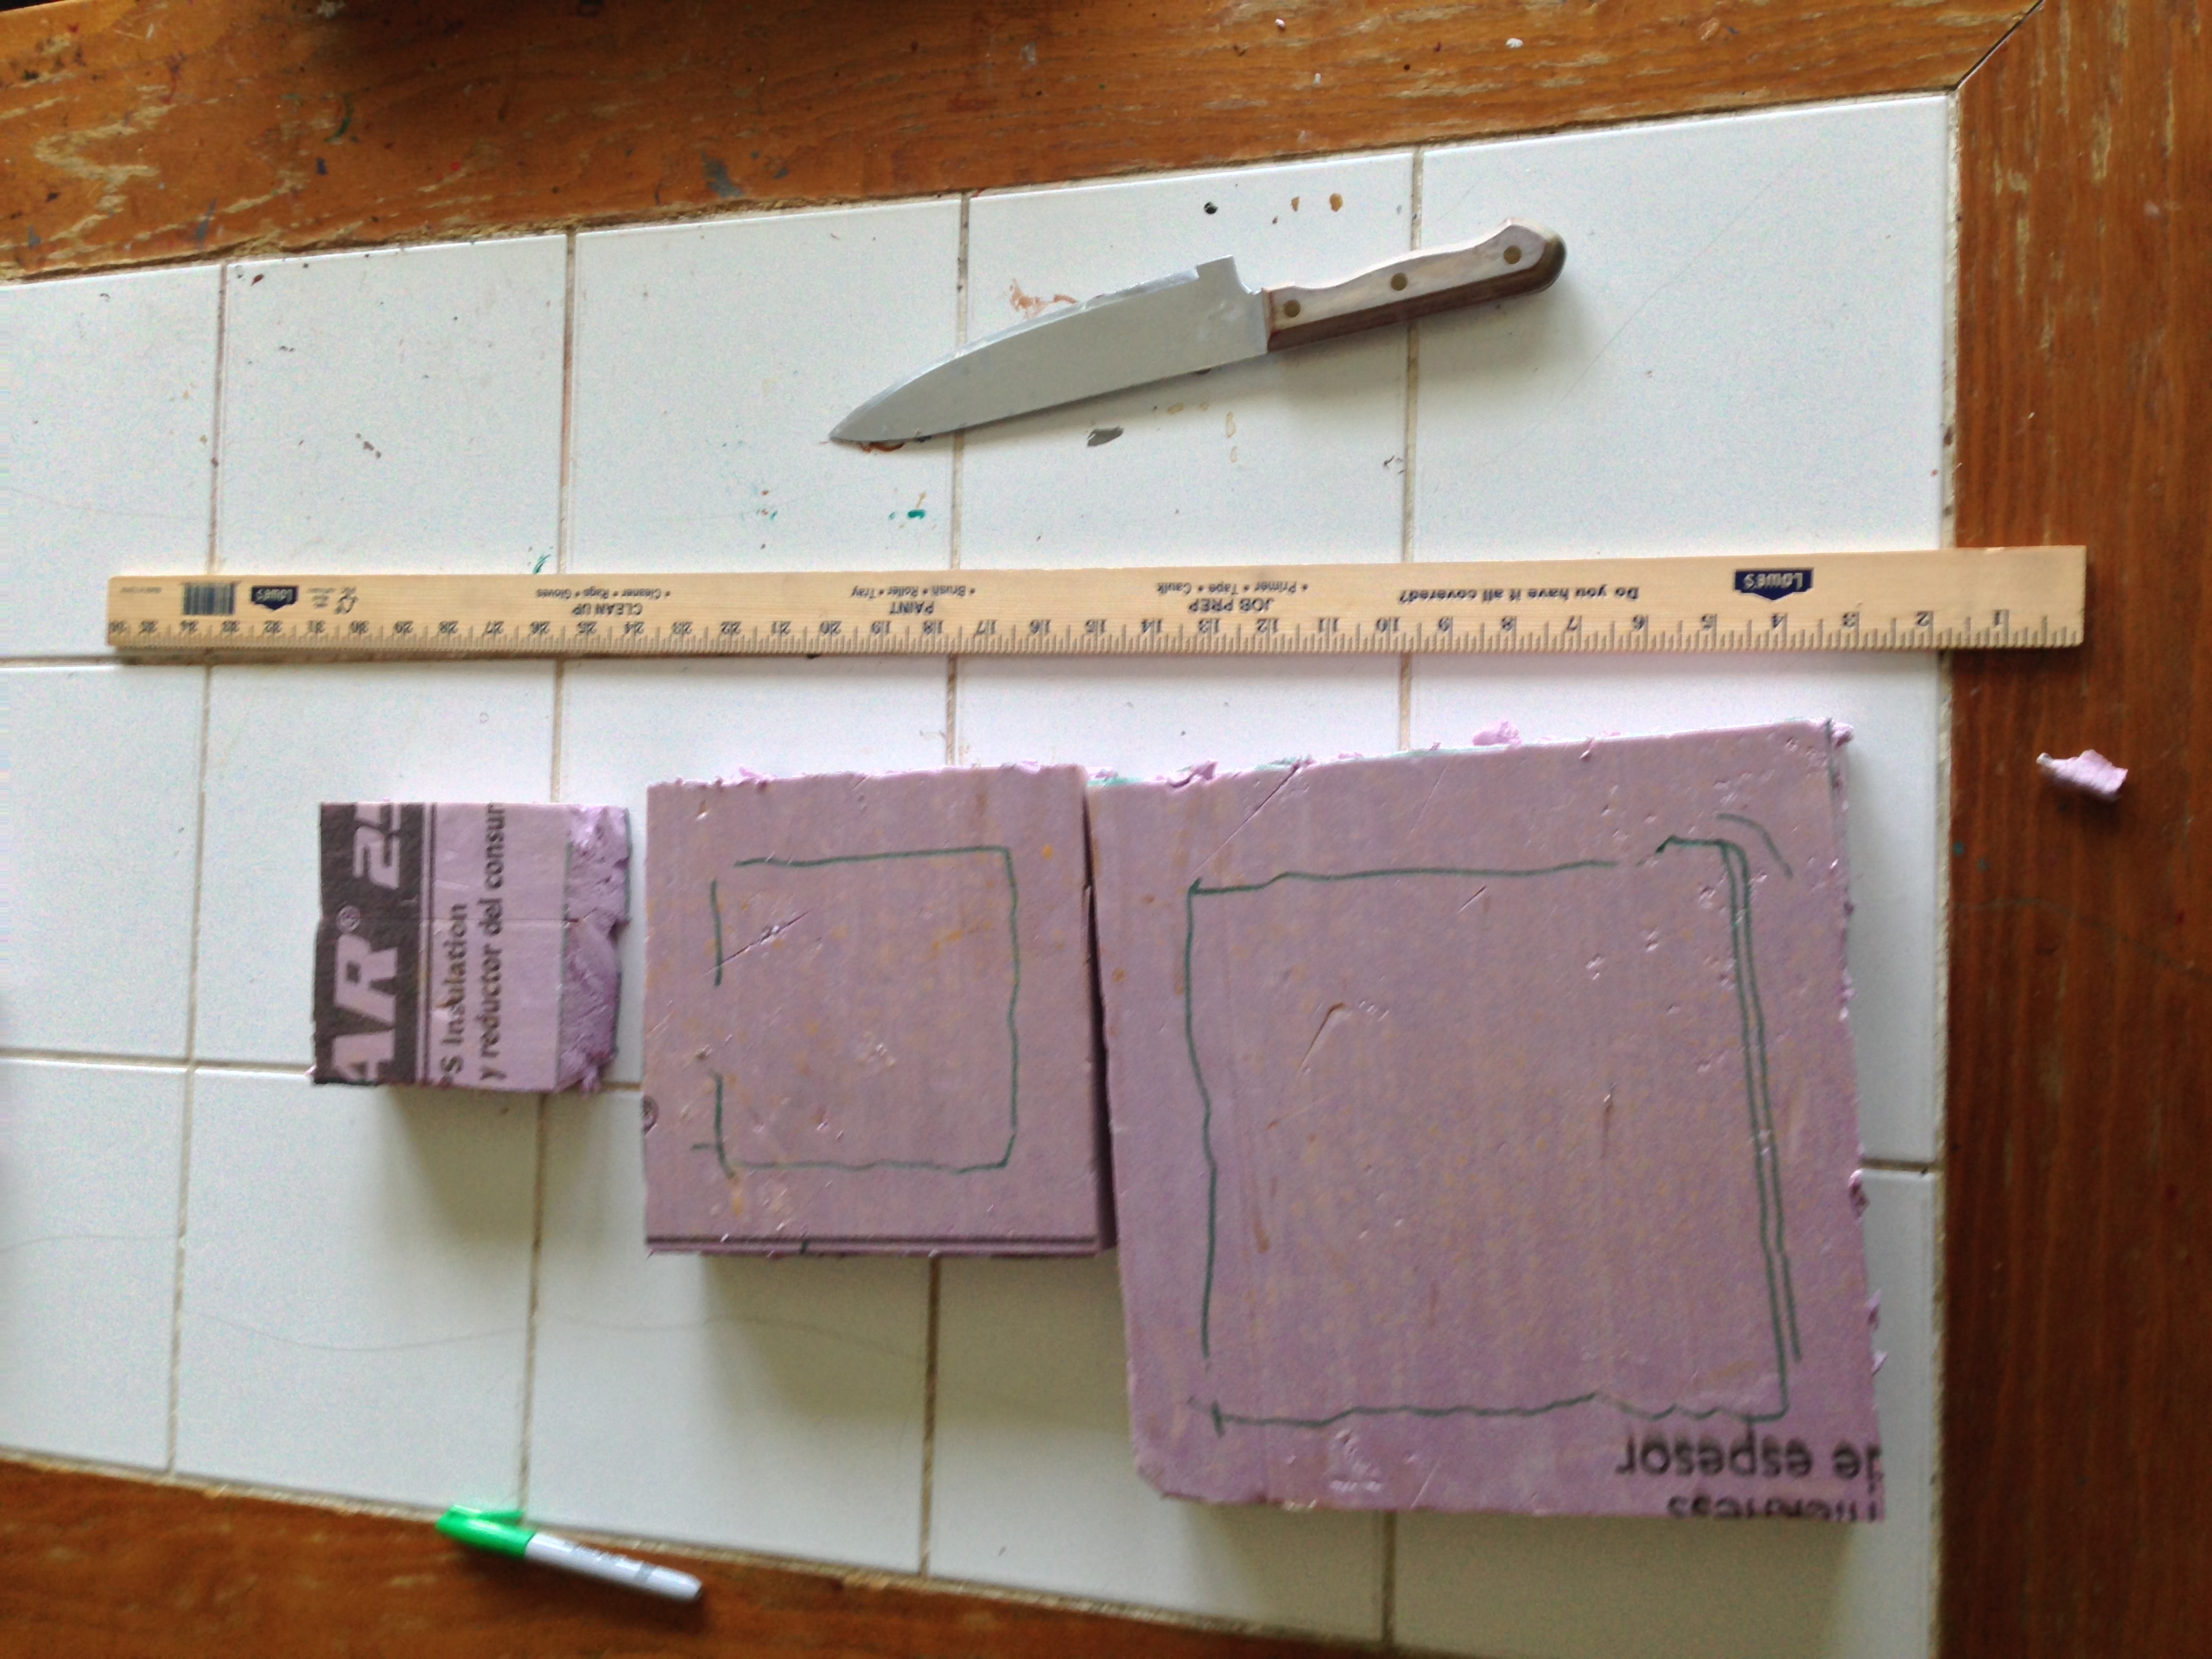
So we start off with some simple stuff, pink insulation foam board you can pick up from any big hardware store and a foam cutter! I also use a big knife to cut the pieces straight from time to time. Any old knife will do.
Note: Please click on the image for additional details at full res!
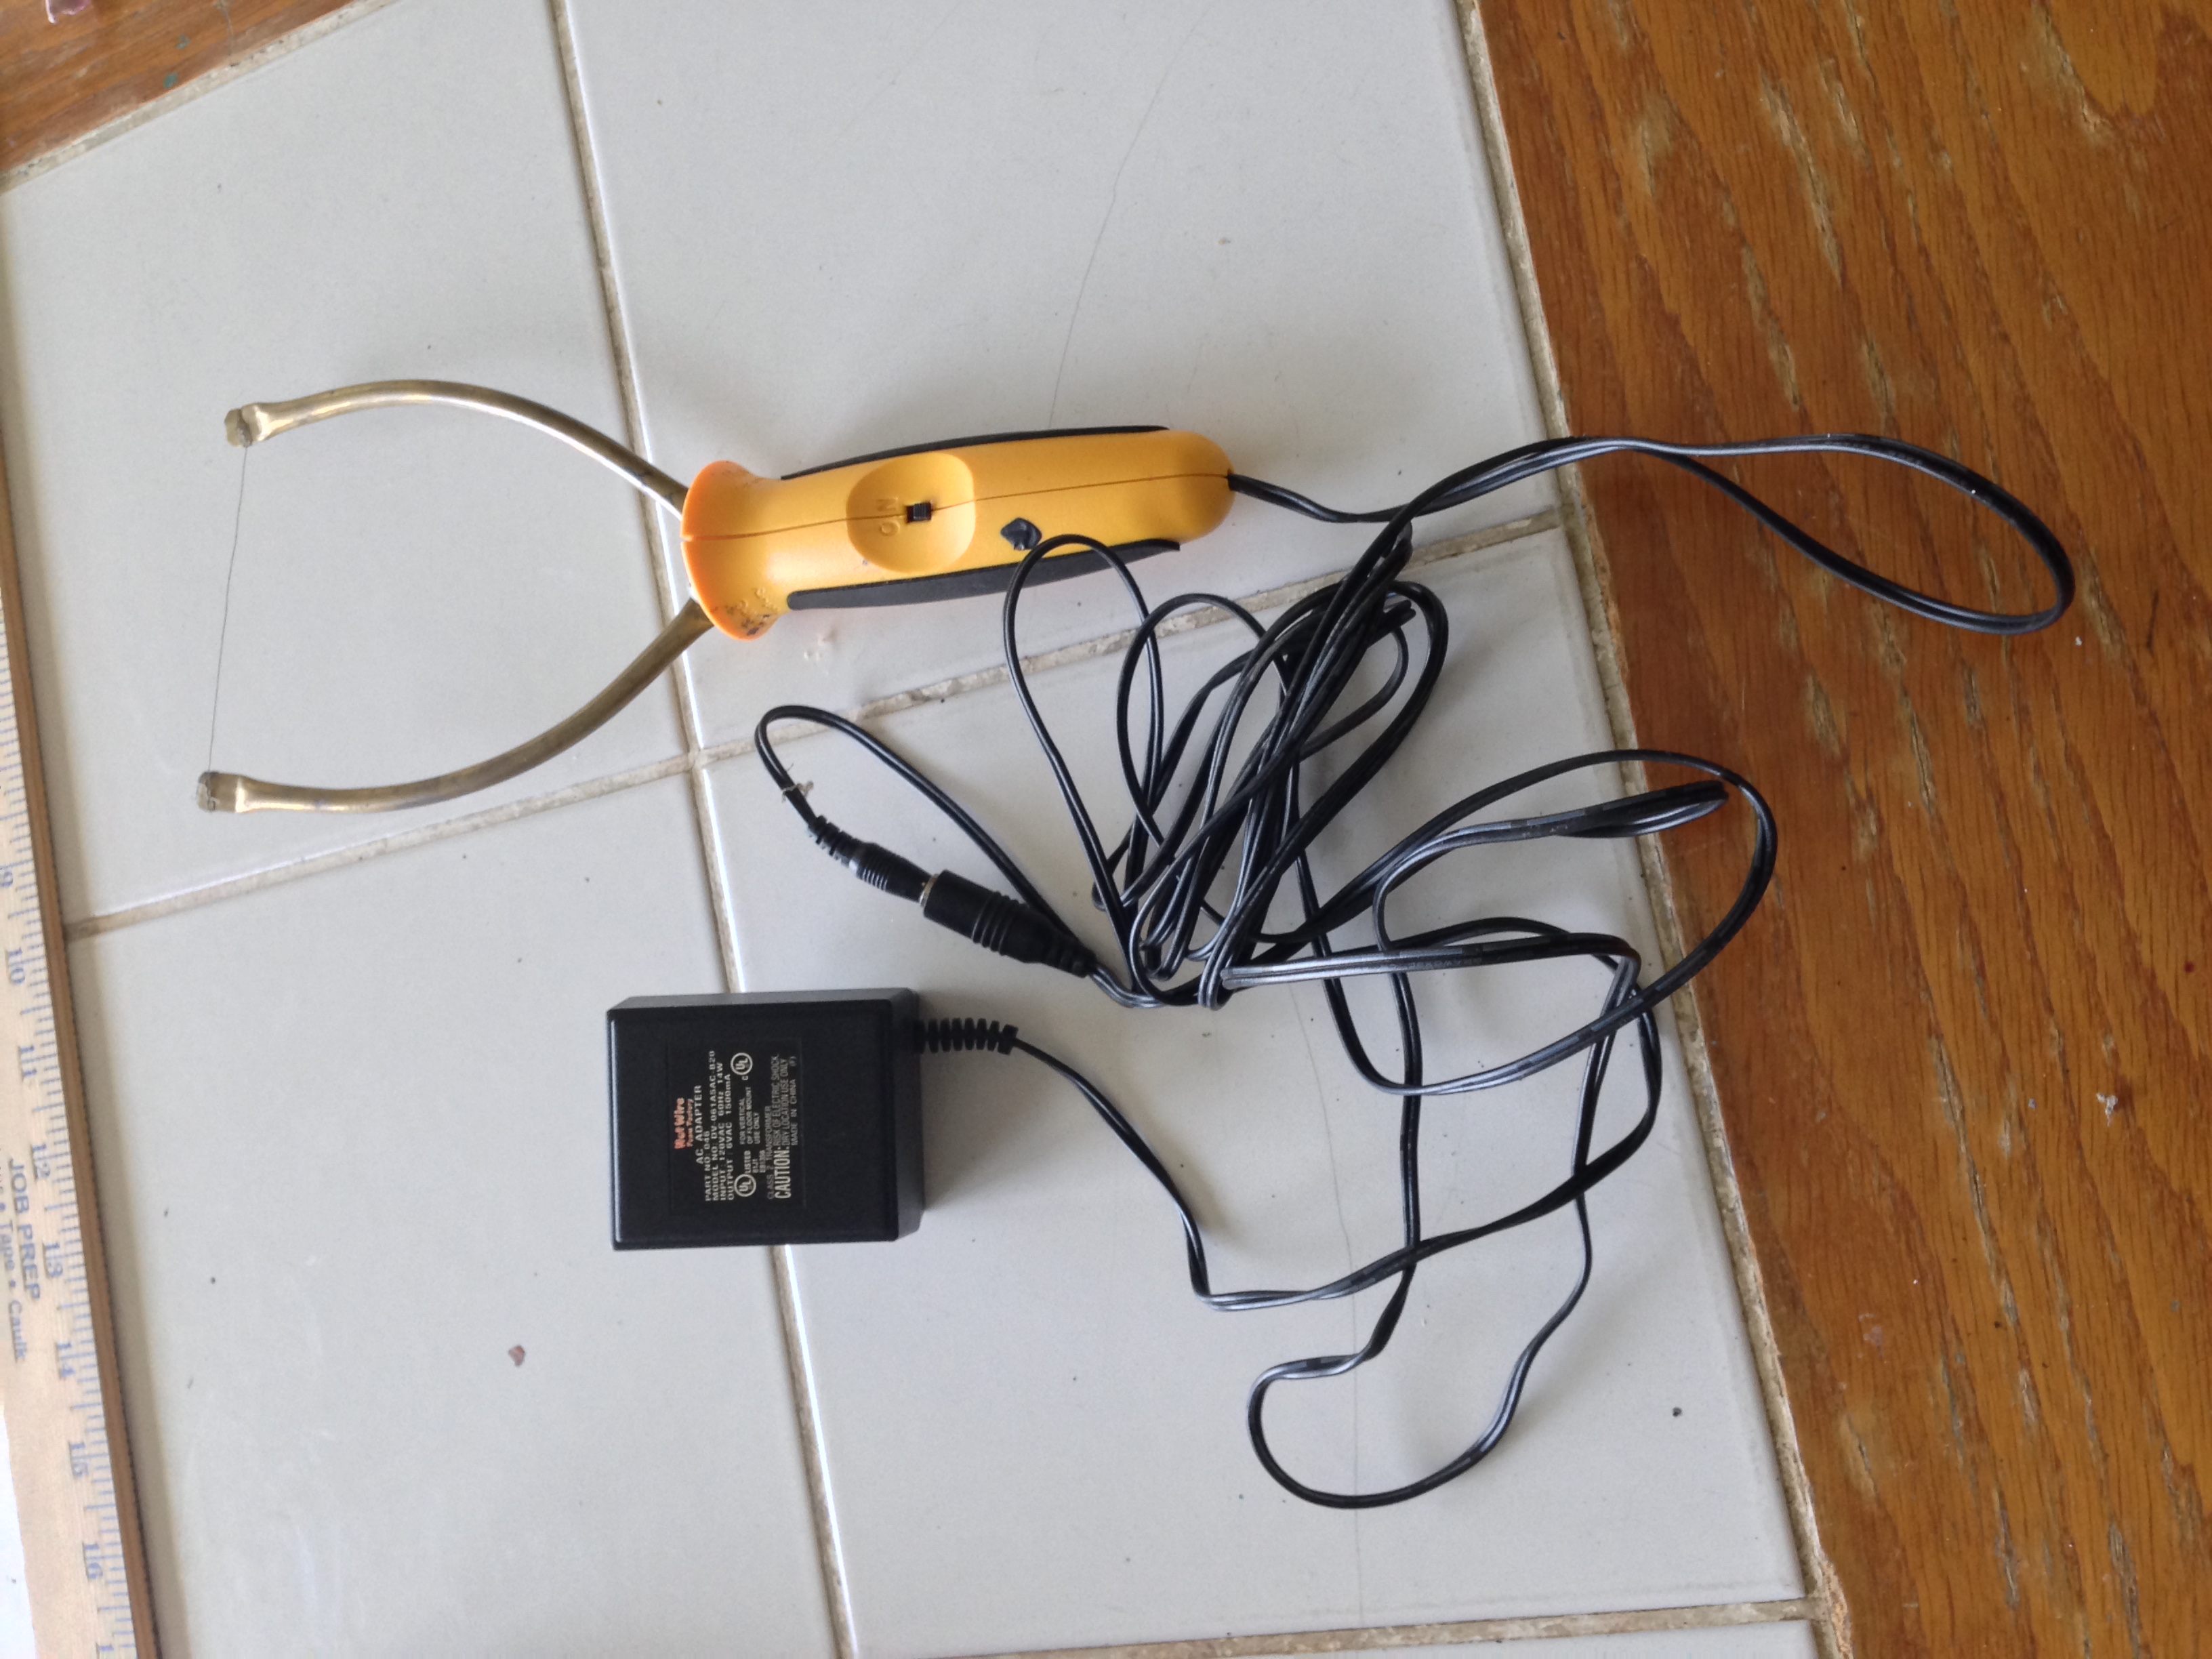
Here is the foam cutter I use as well. I love this guy, this particular model is really handy for cutting stuff at weird angles.
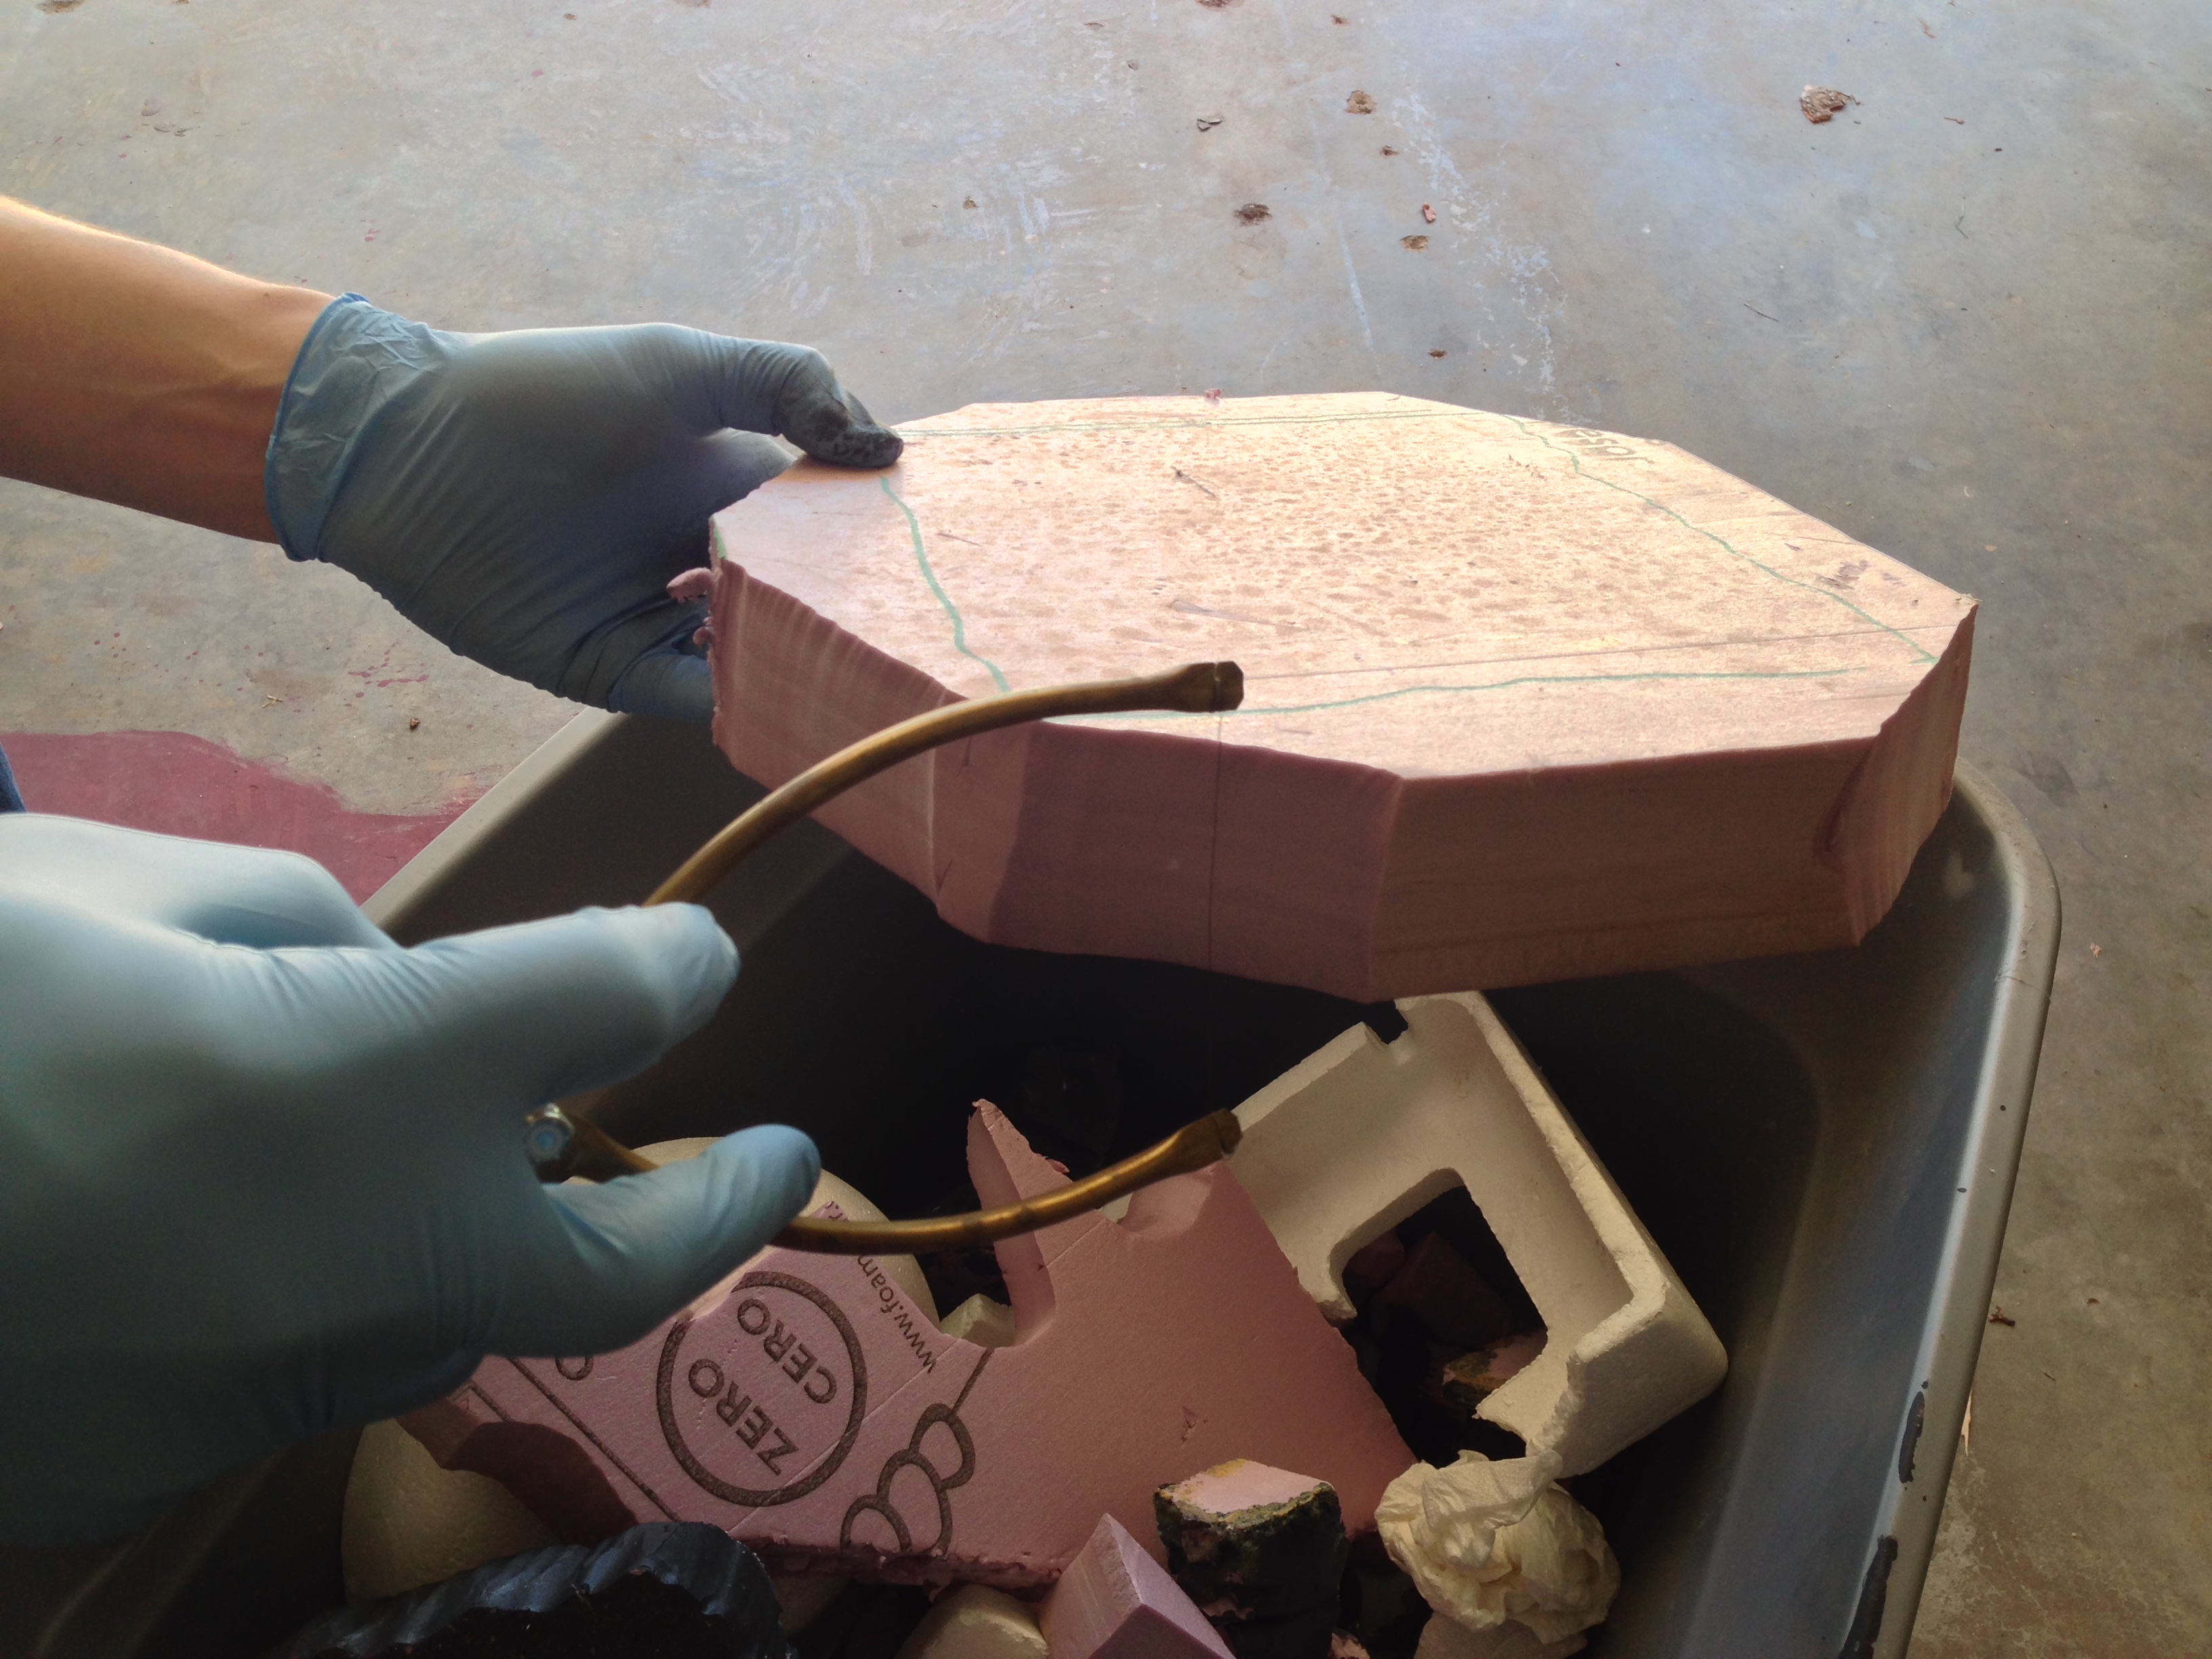
Then just take a marker and mark off the dimensions of the piece. A BIG tip is to make the initial footprint of the piece a good deal bigger than you want it to be in the end. In the process you’ll be hacking and cutting away at that footprint a good deal and your real estate can shrink up on you fast!
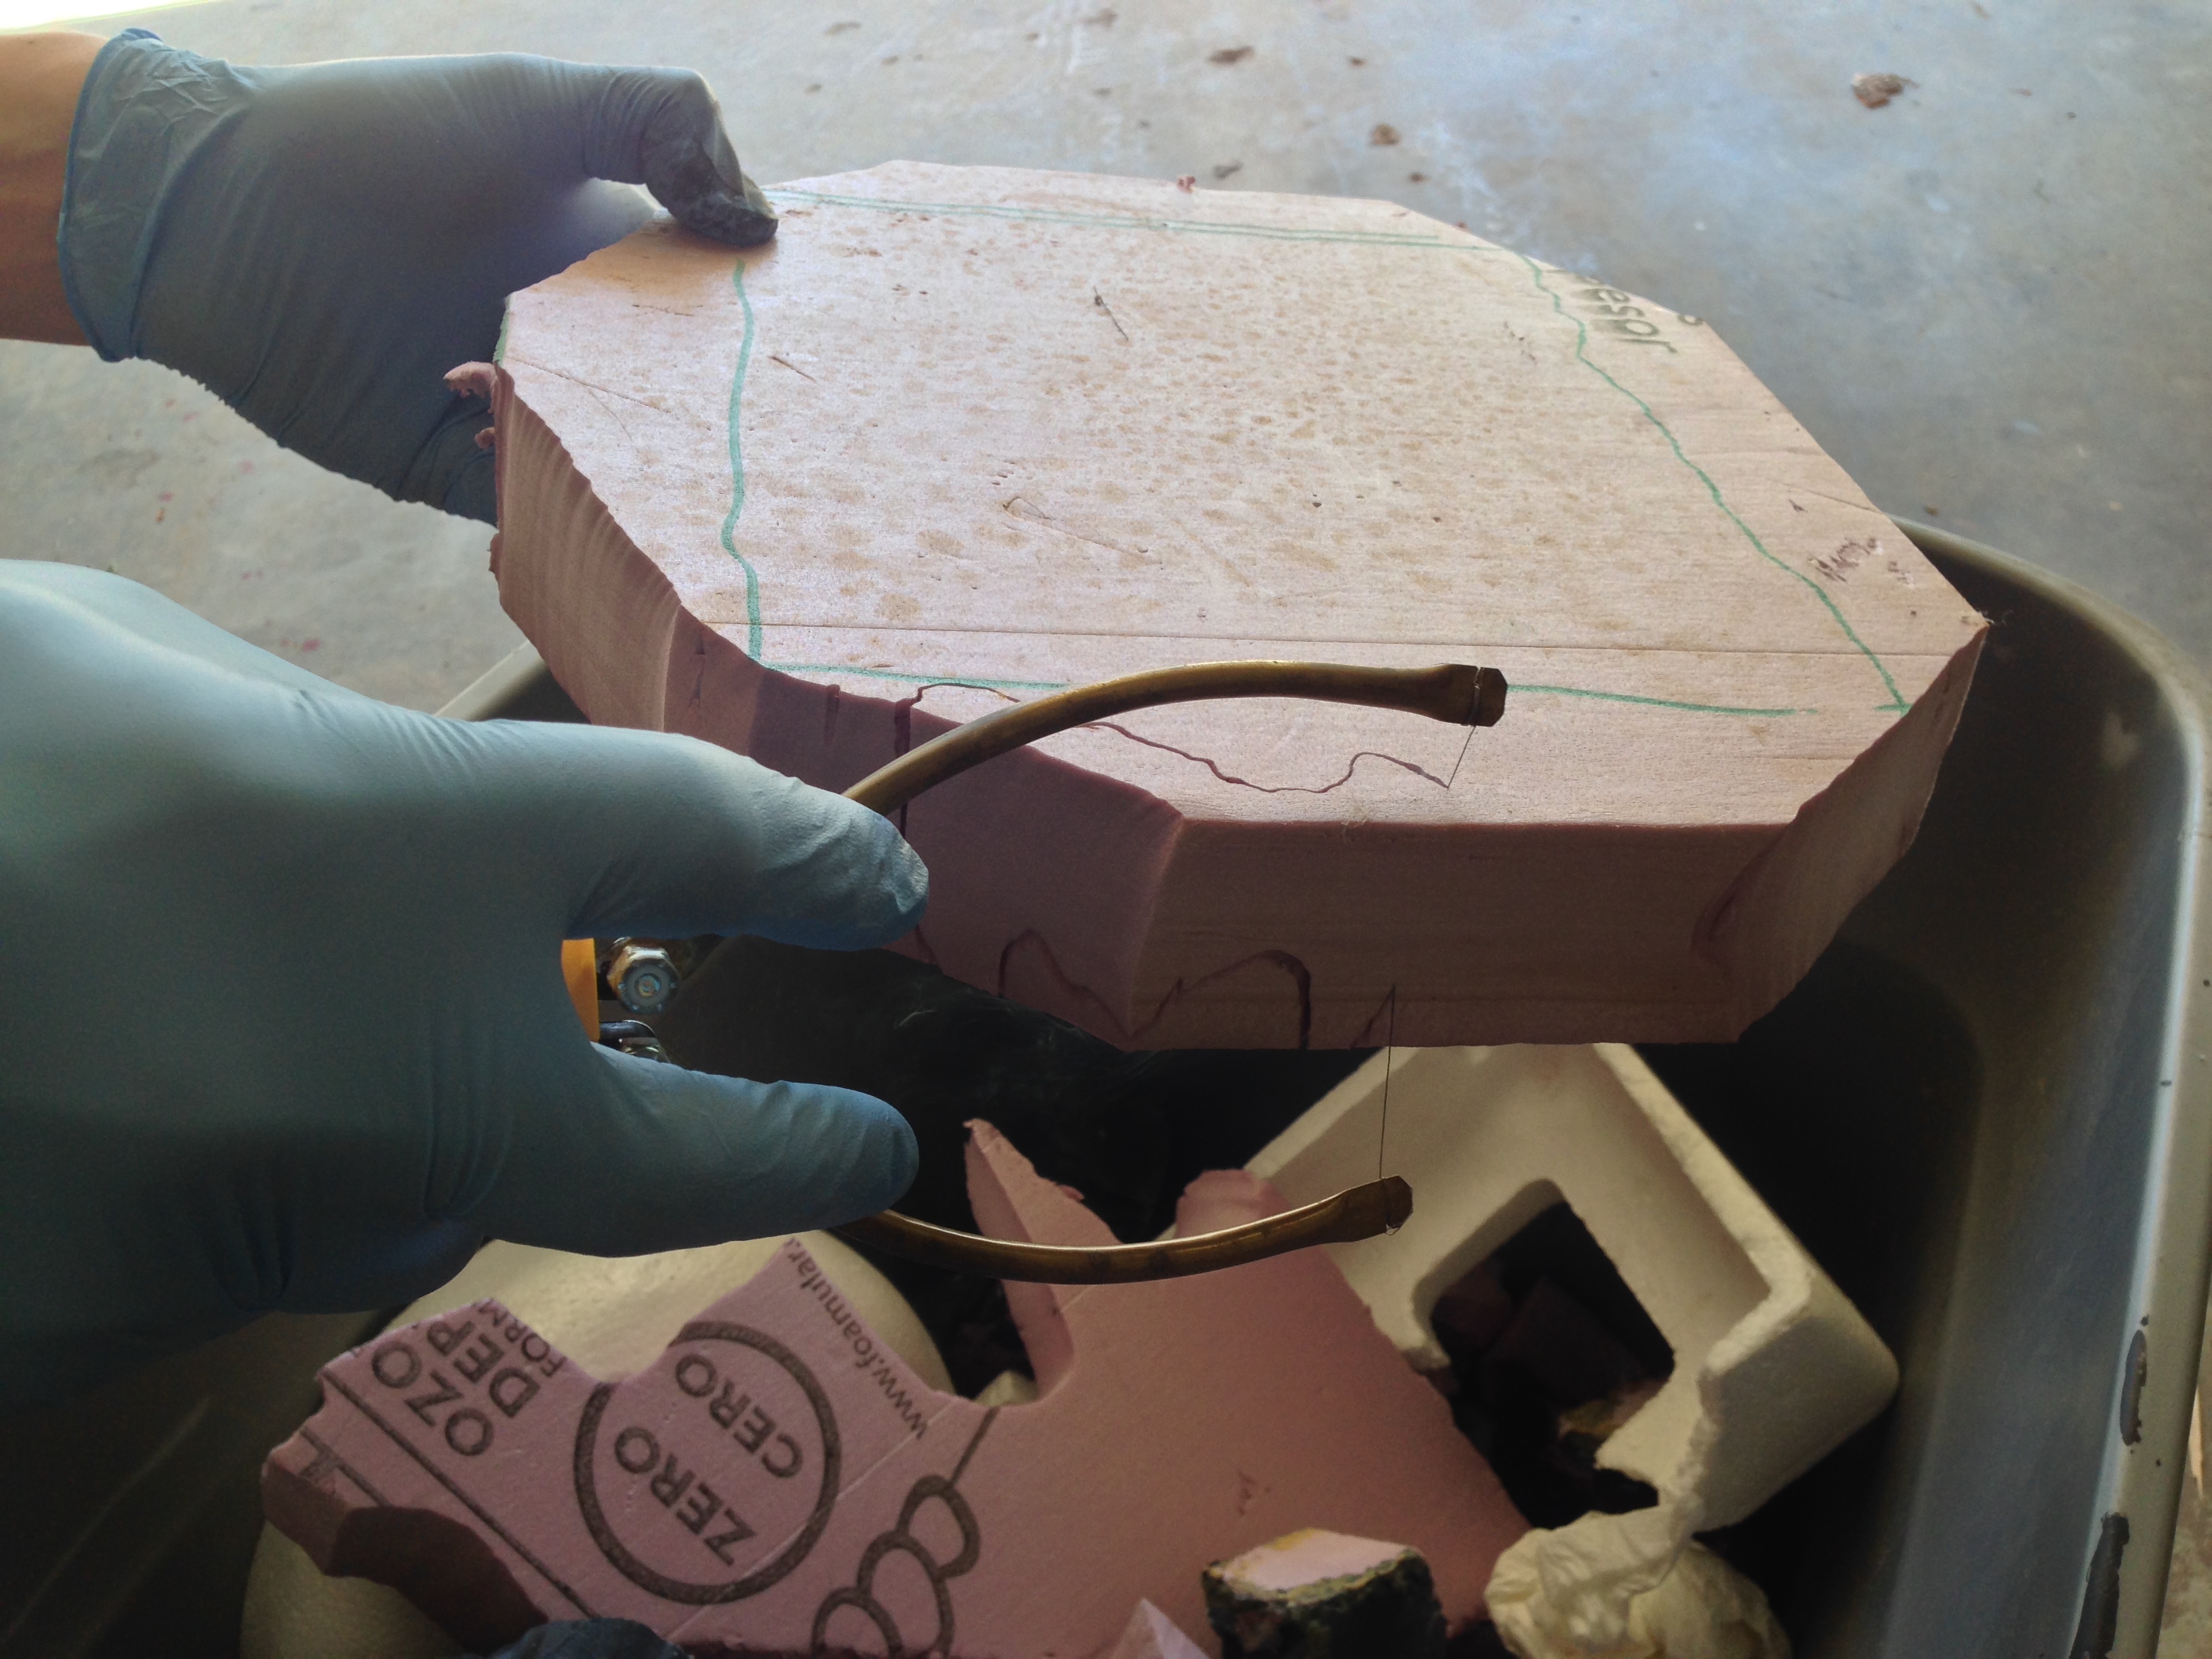
The next step is getting out there, firing up the old hot-wire cutter and attacking this bad boy. The key here is to take off all the sharp edges as you want this piece to look natural and 90 degree angles are super rare in nature.
After you get the basic shape down, you are going to do the first bit of weathering on this sucker. The key is to cut into the piece at an angle to make a natural sloping effect to it. You’ll lose a good deal of surface area at this stage so make sure you don’t go crazy!
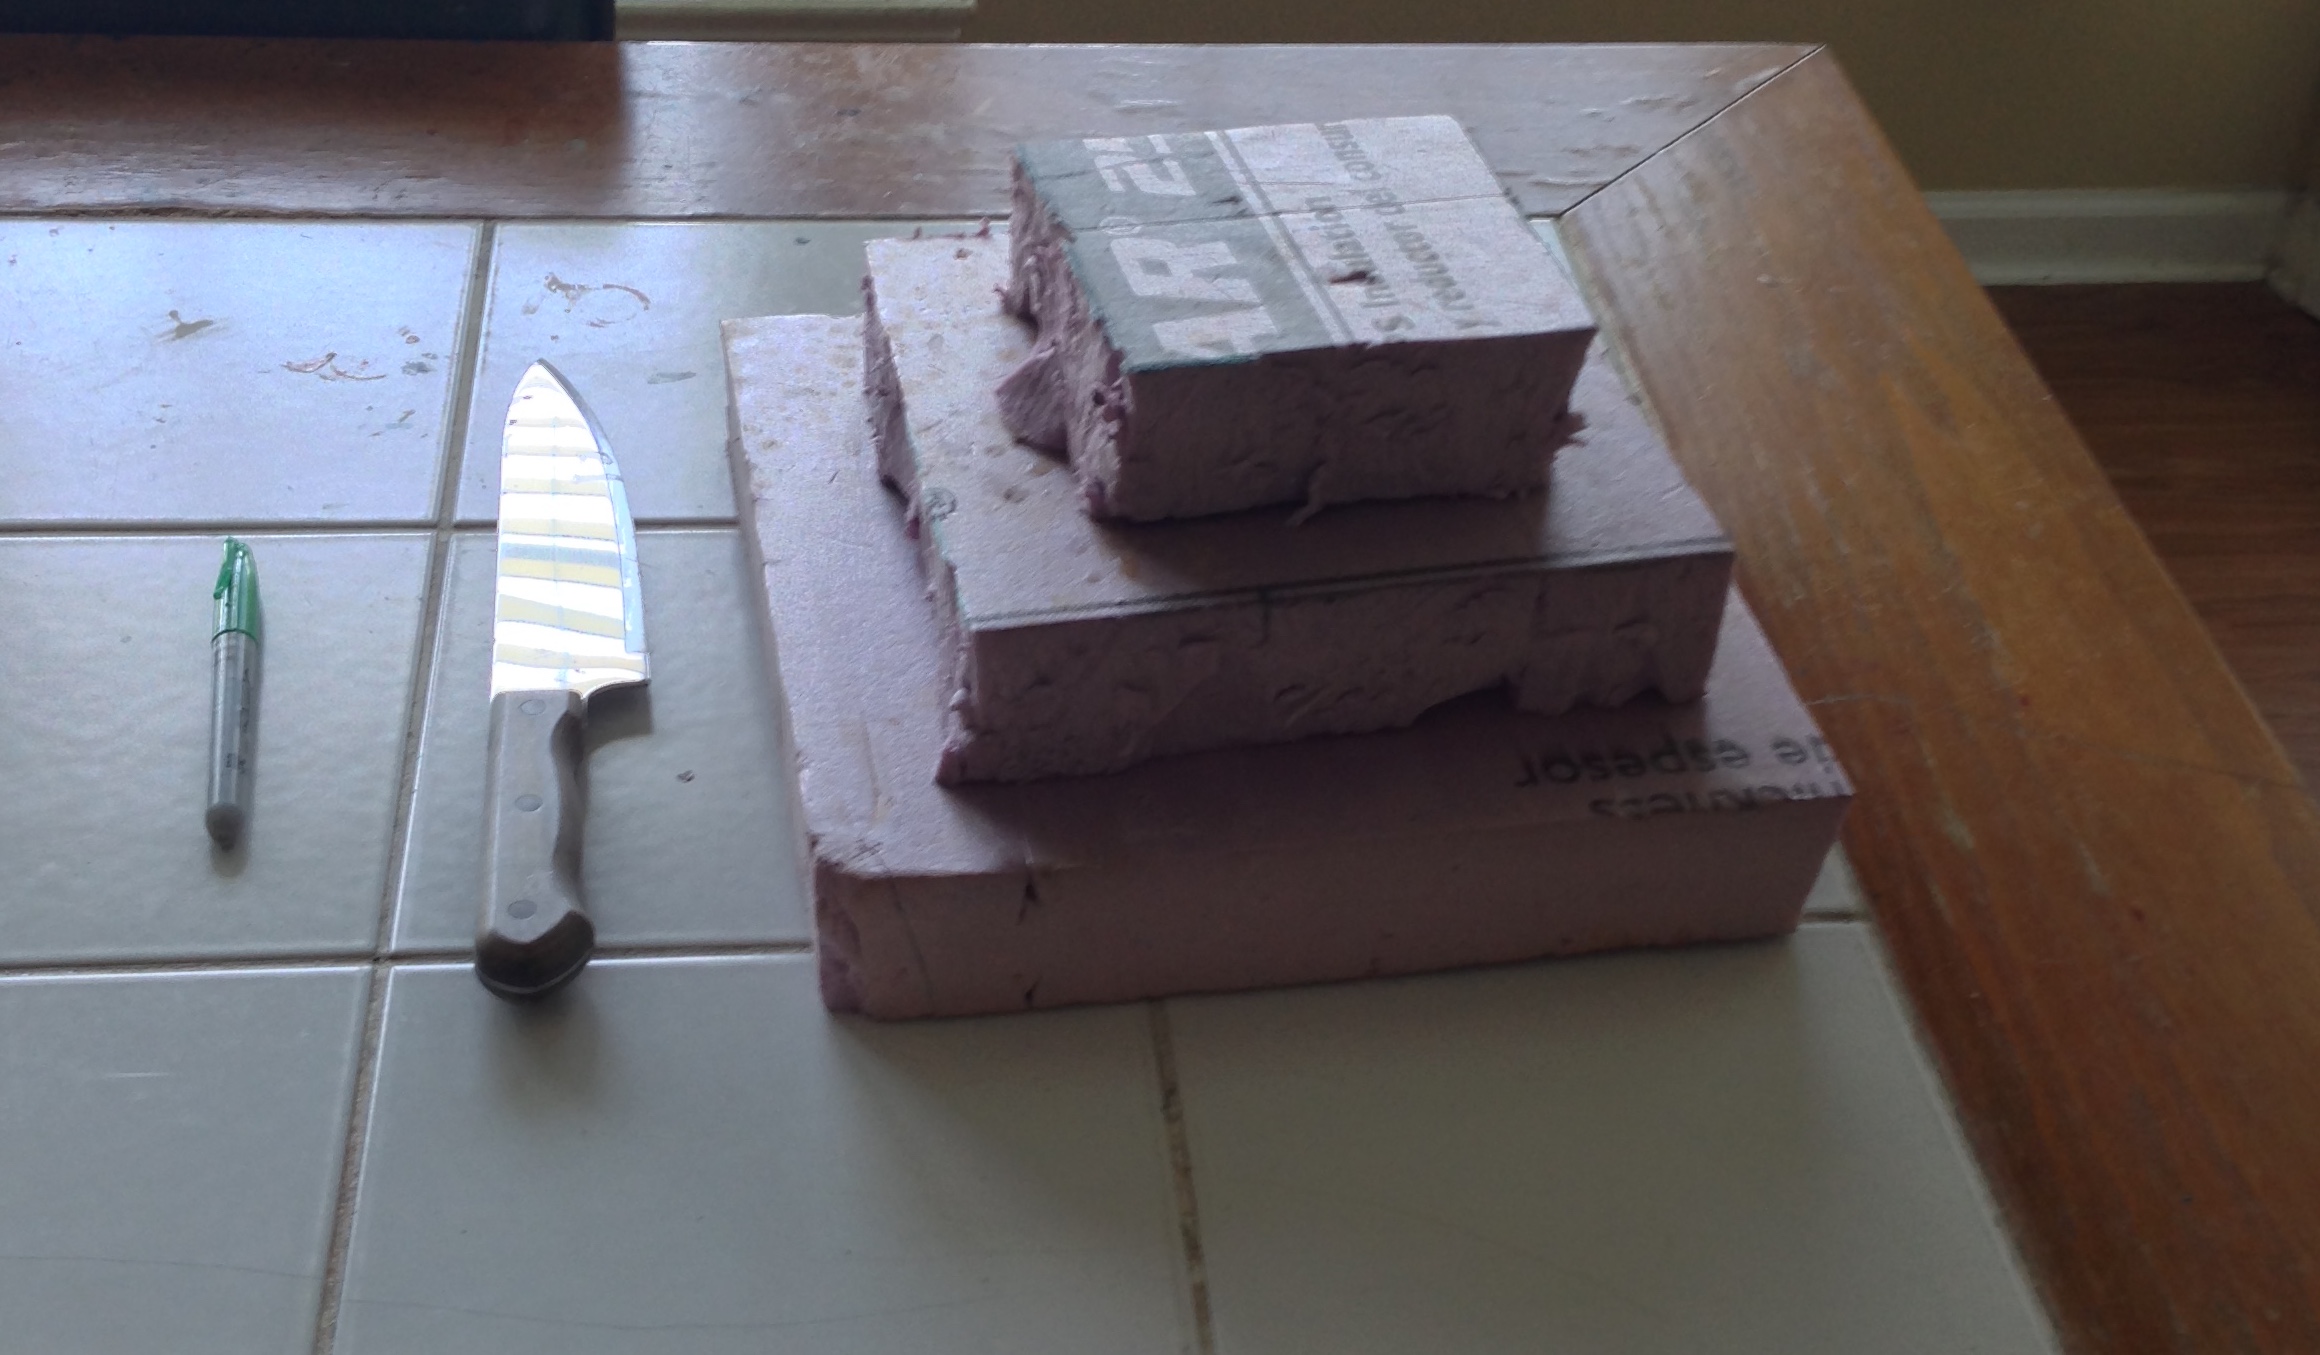
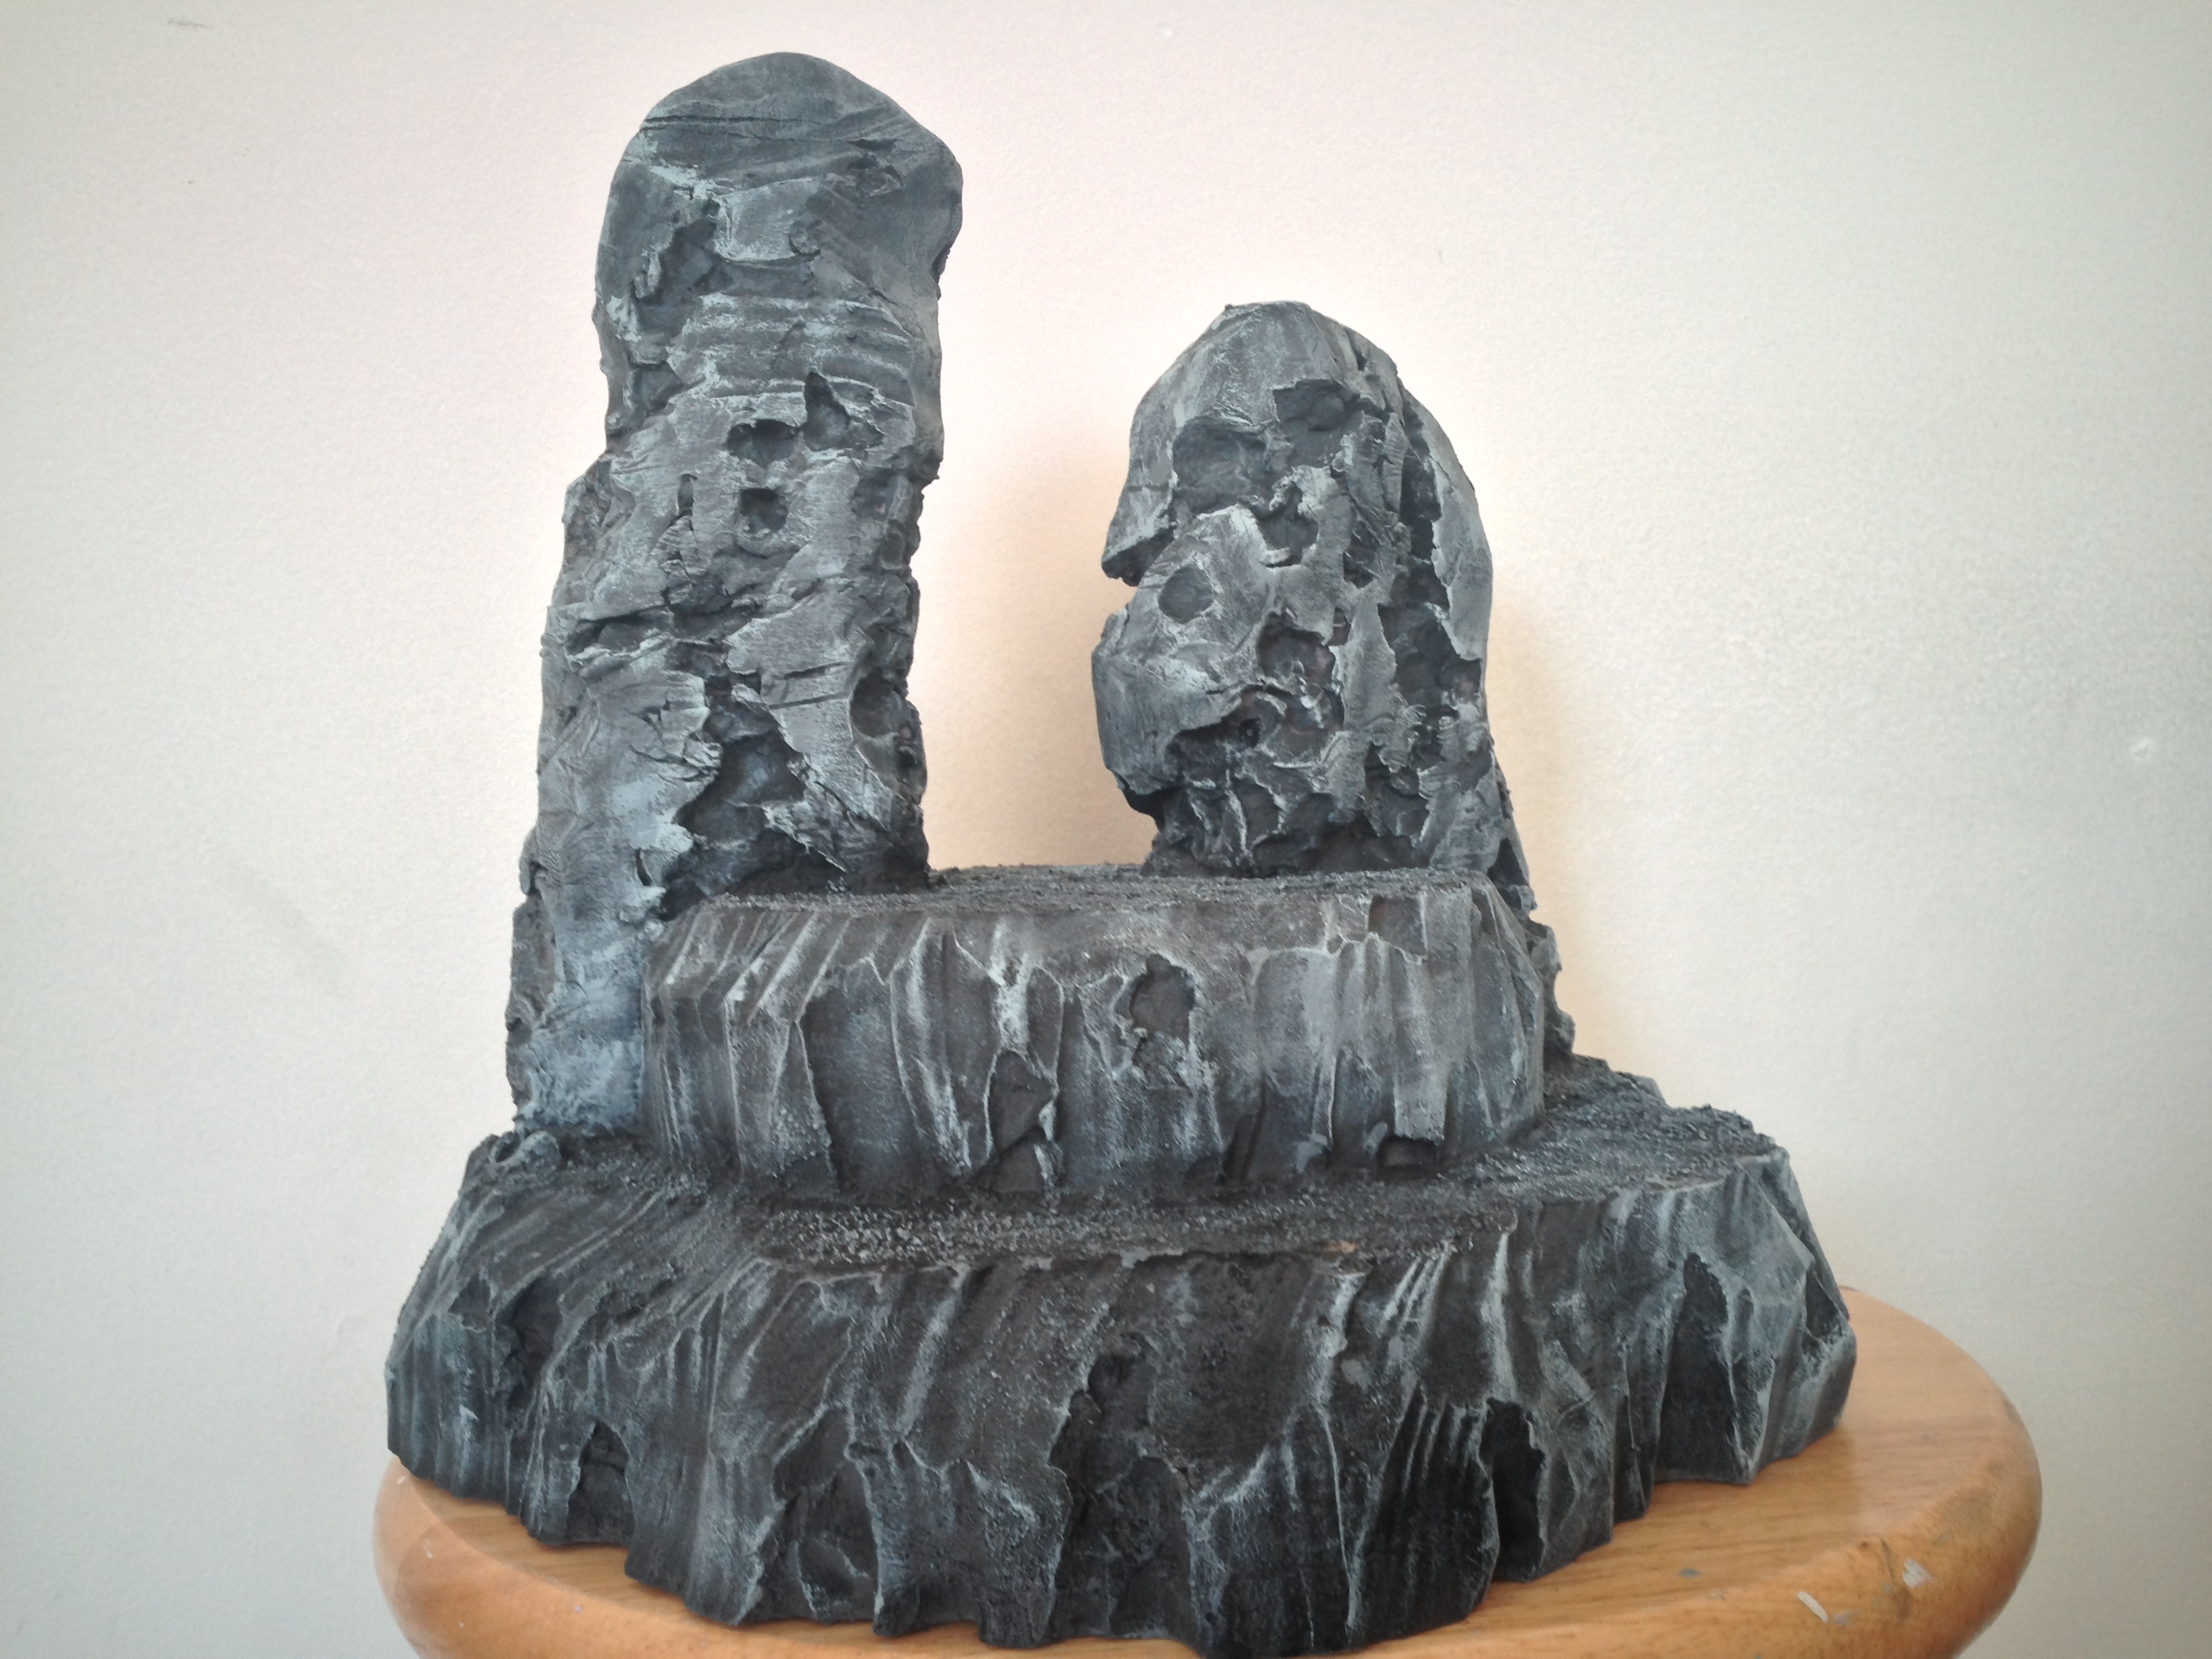
Here is how it looks applied to both levels of this mini-mountain. At this stage its important to note, its not all about aesthetics. You gotta put miniatures on these things so make sure there is enough room for your little dudes to get around!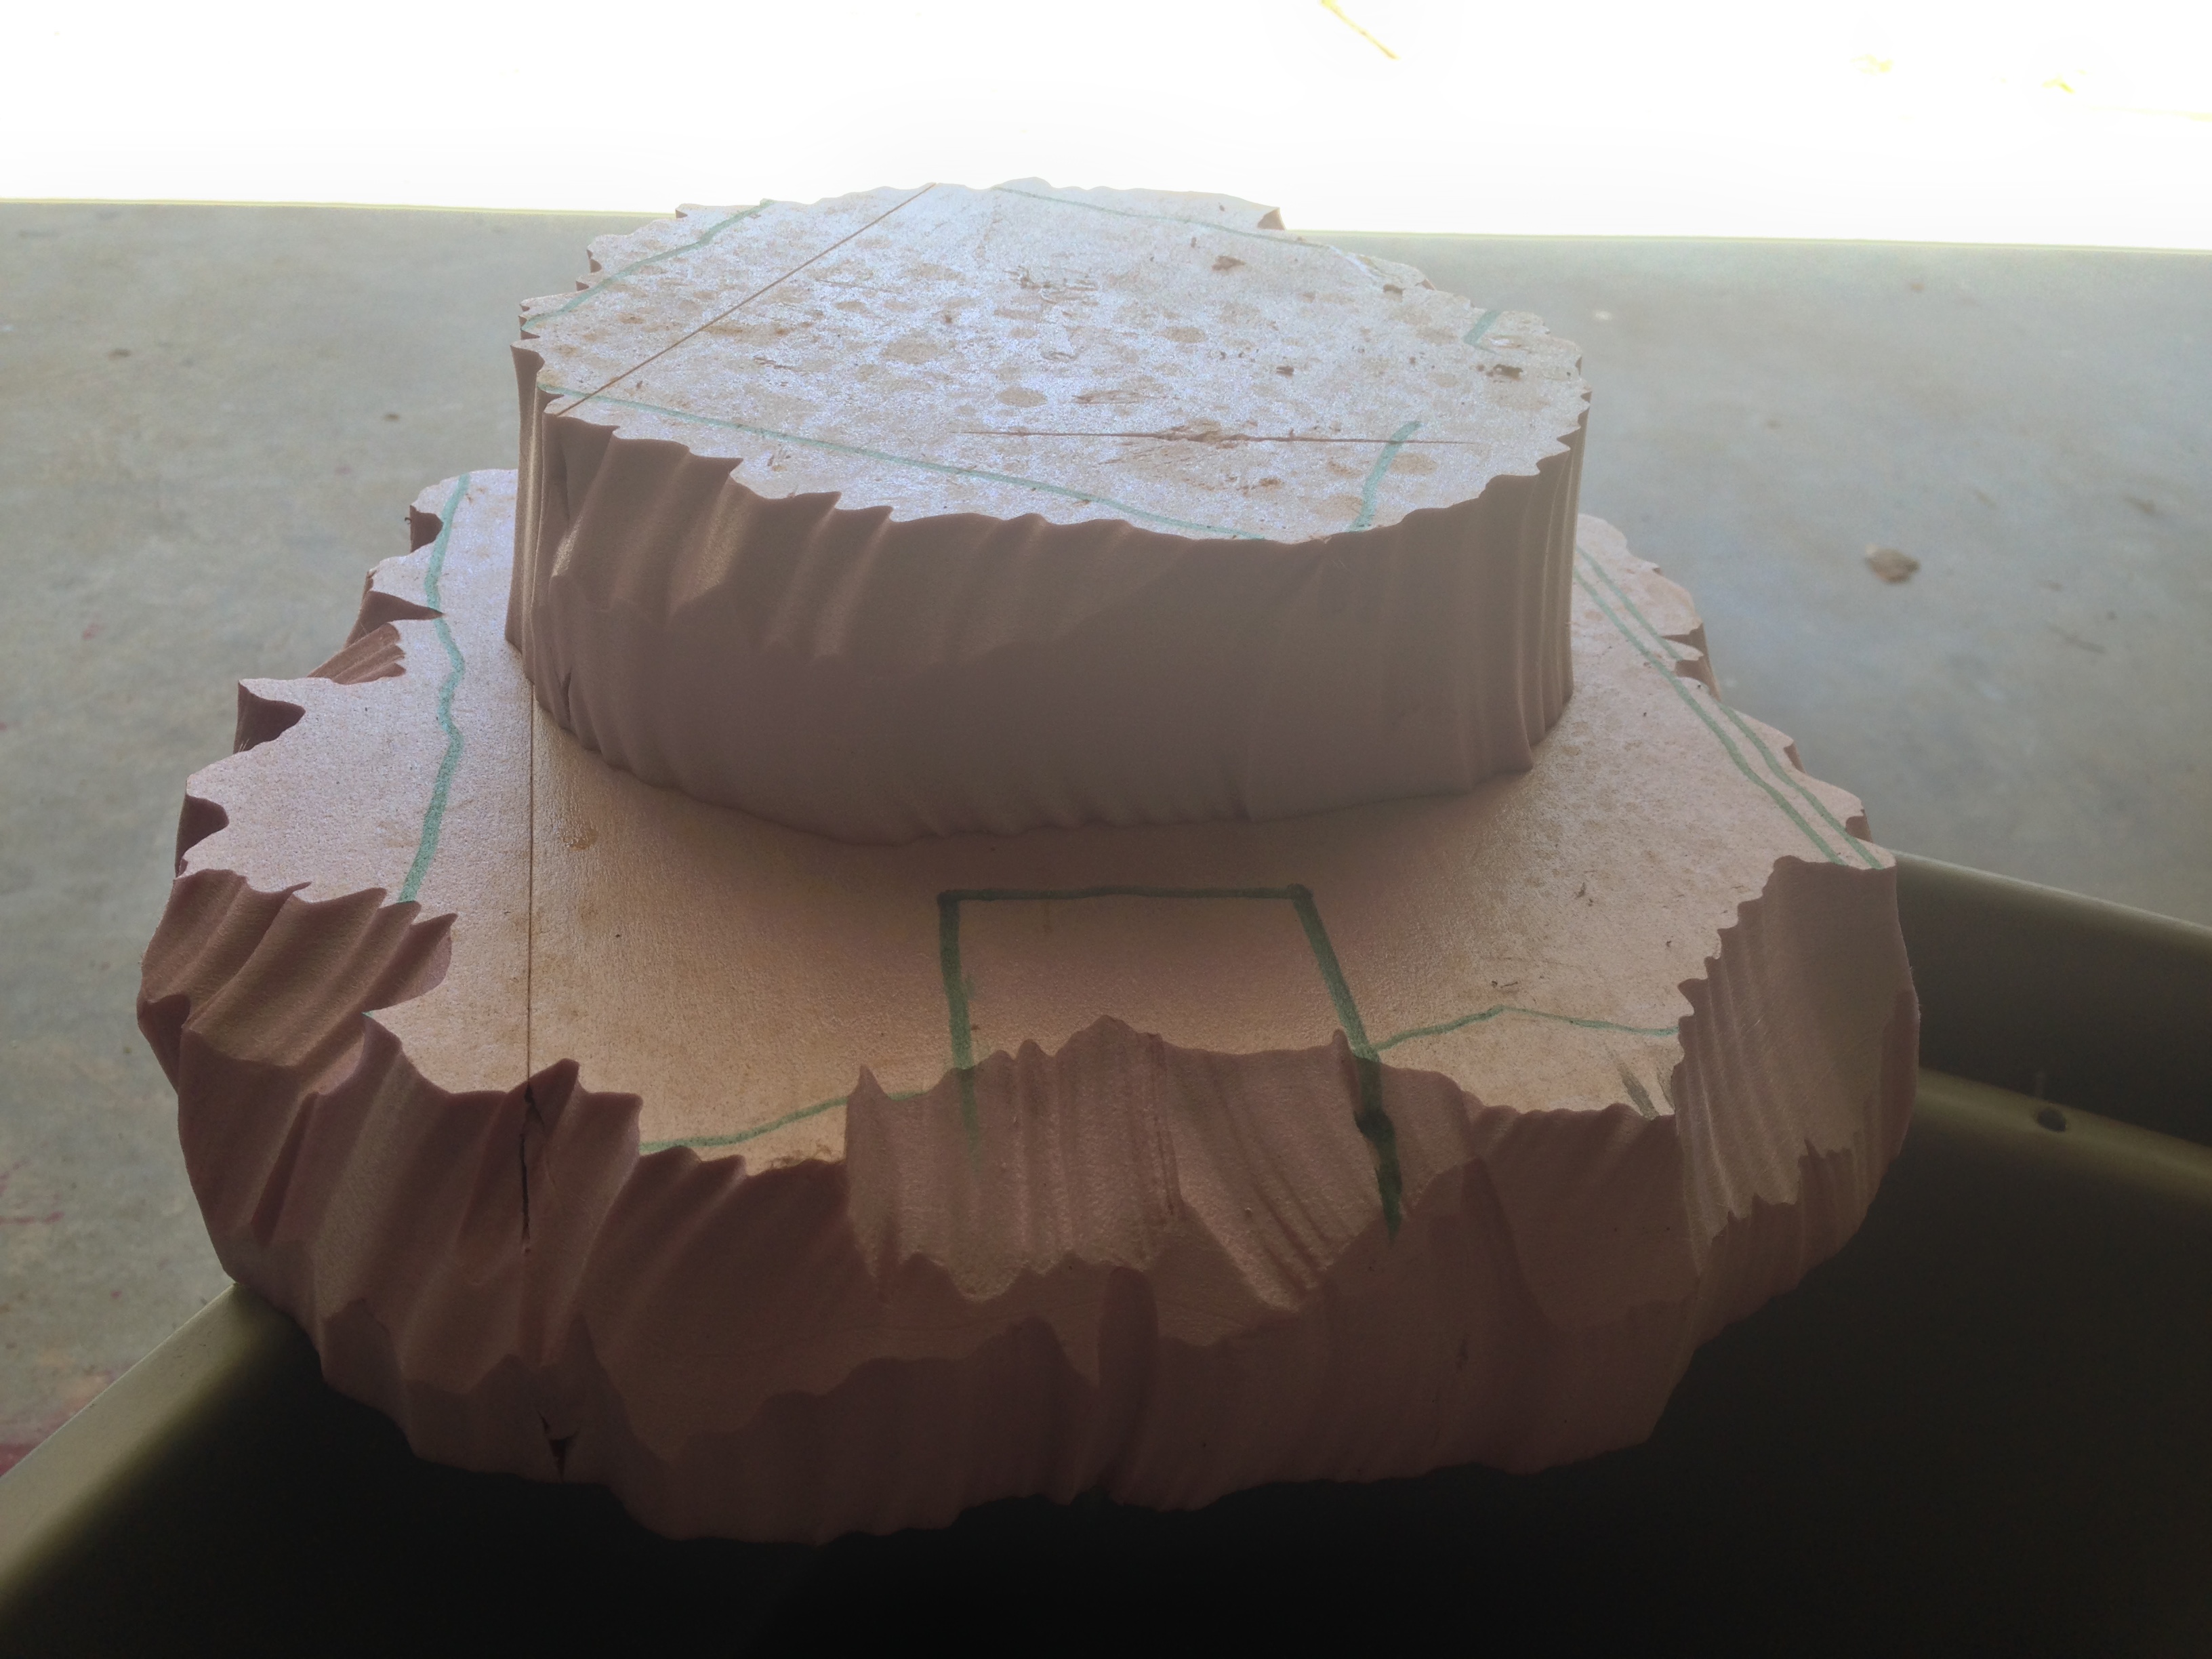
Now this piece is meant to be a match to another piece of terrain I’d made just recently. To do that my brother and I borrowed bits of rock we had carved up years ago on a piece of terrain that we hadn’t finished. I cut notches into the piece to fit the old terrain bits in there and just jammed the sucker in there.
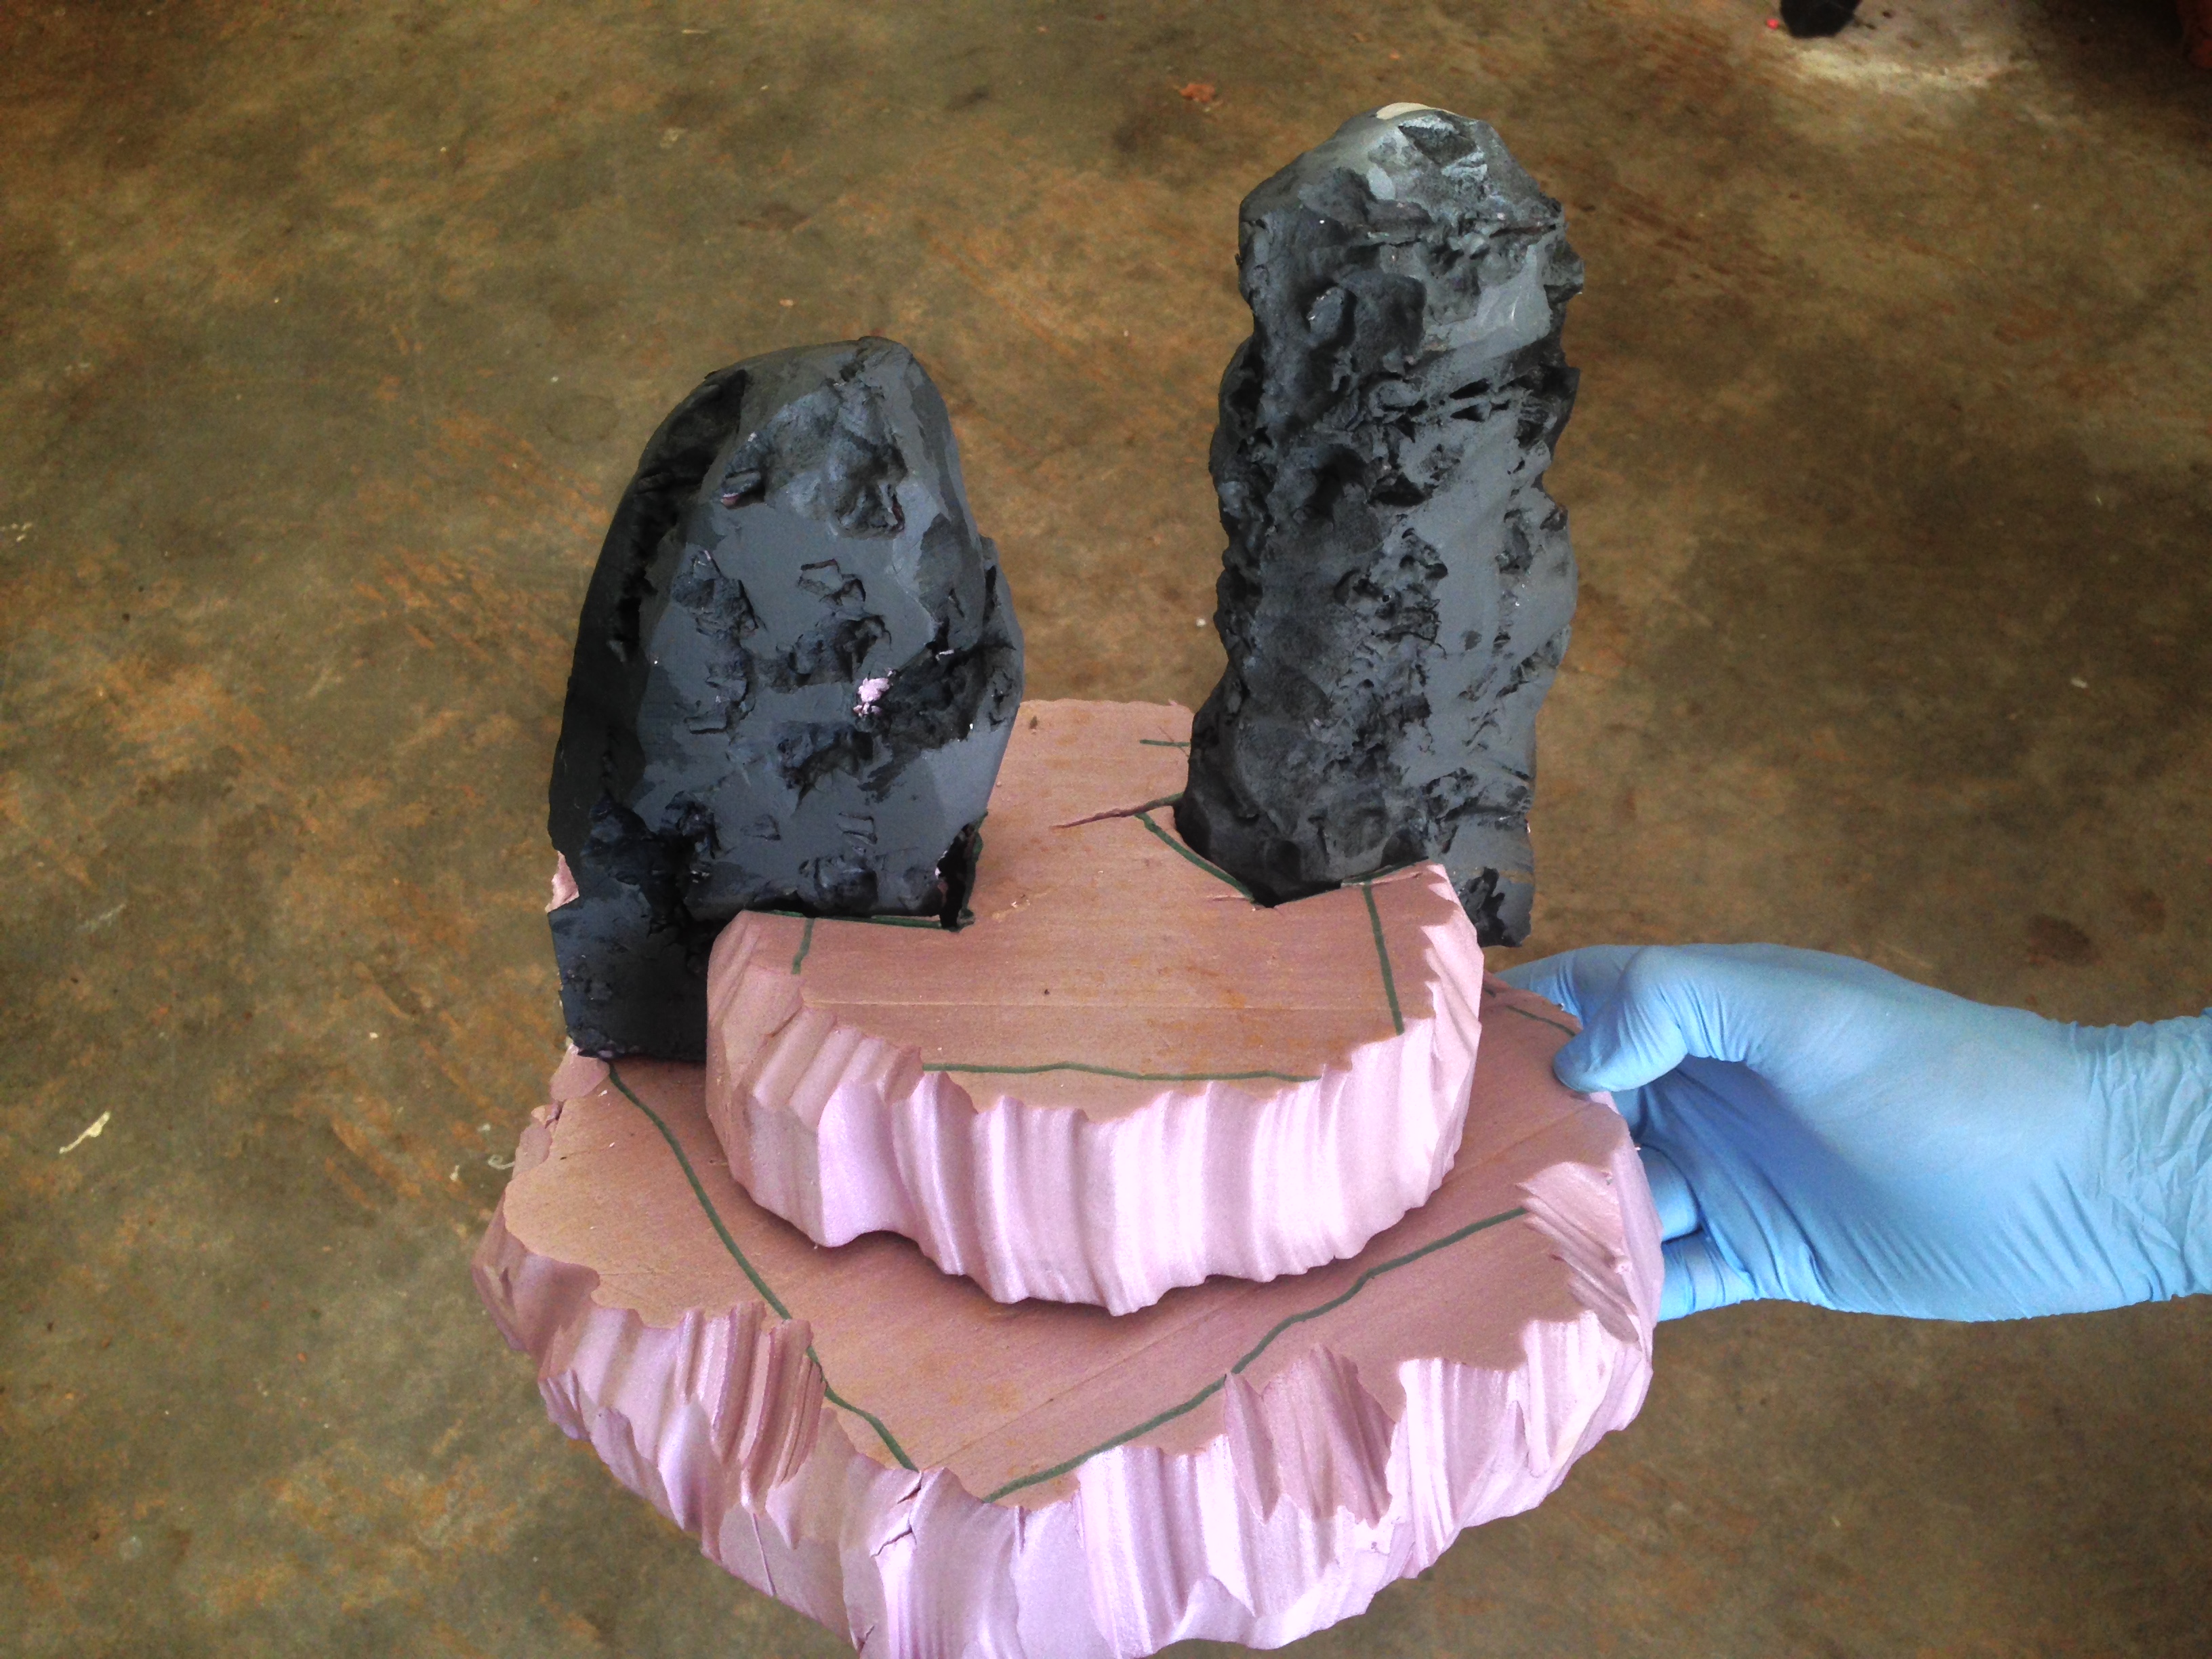
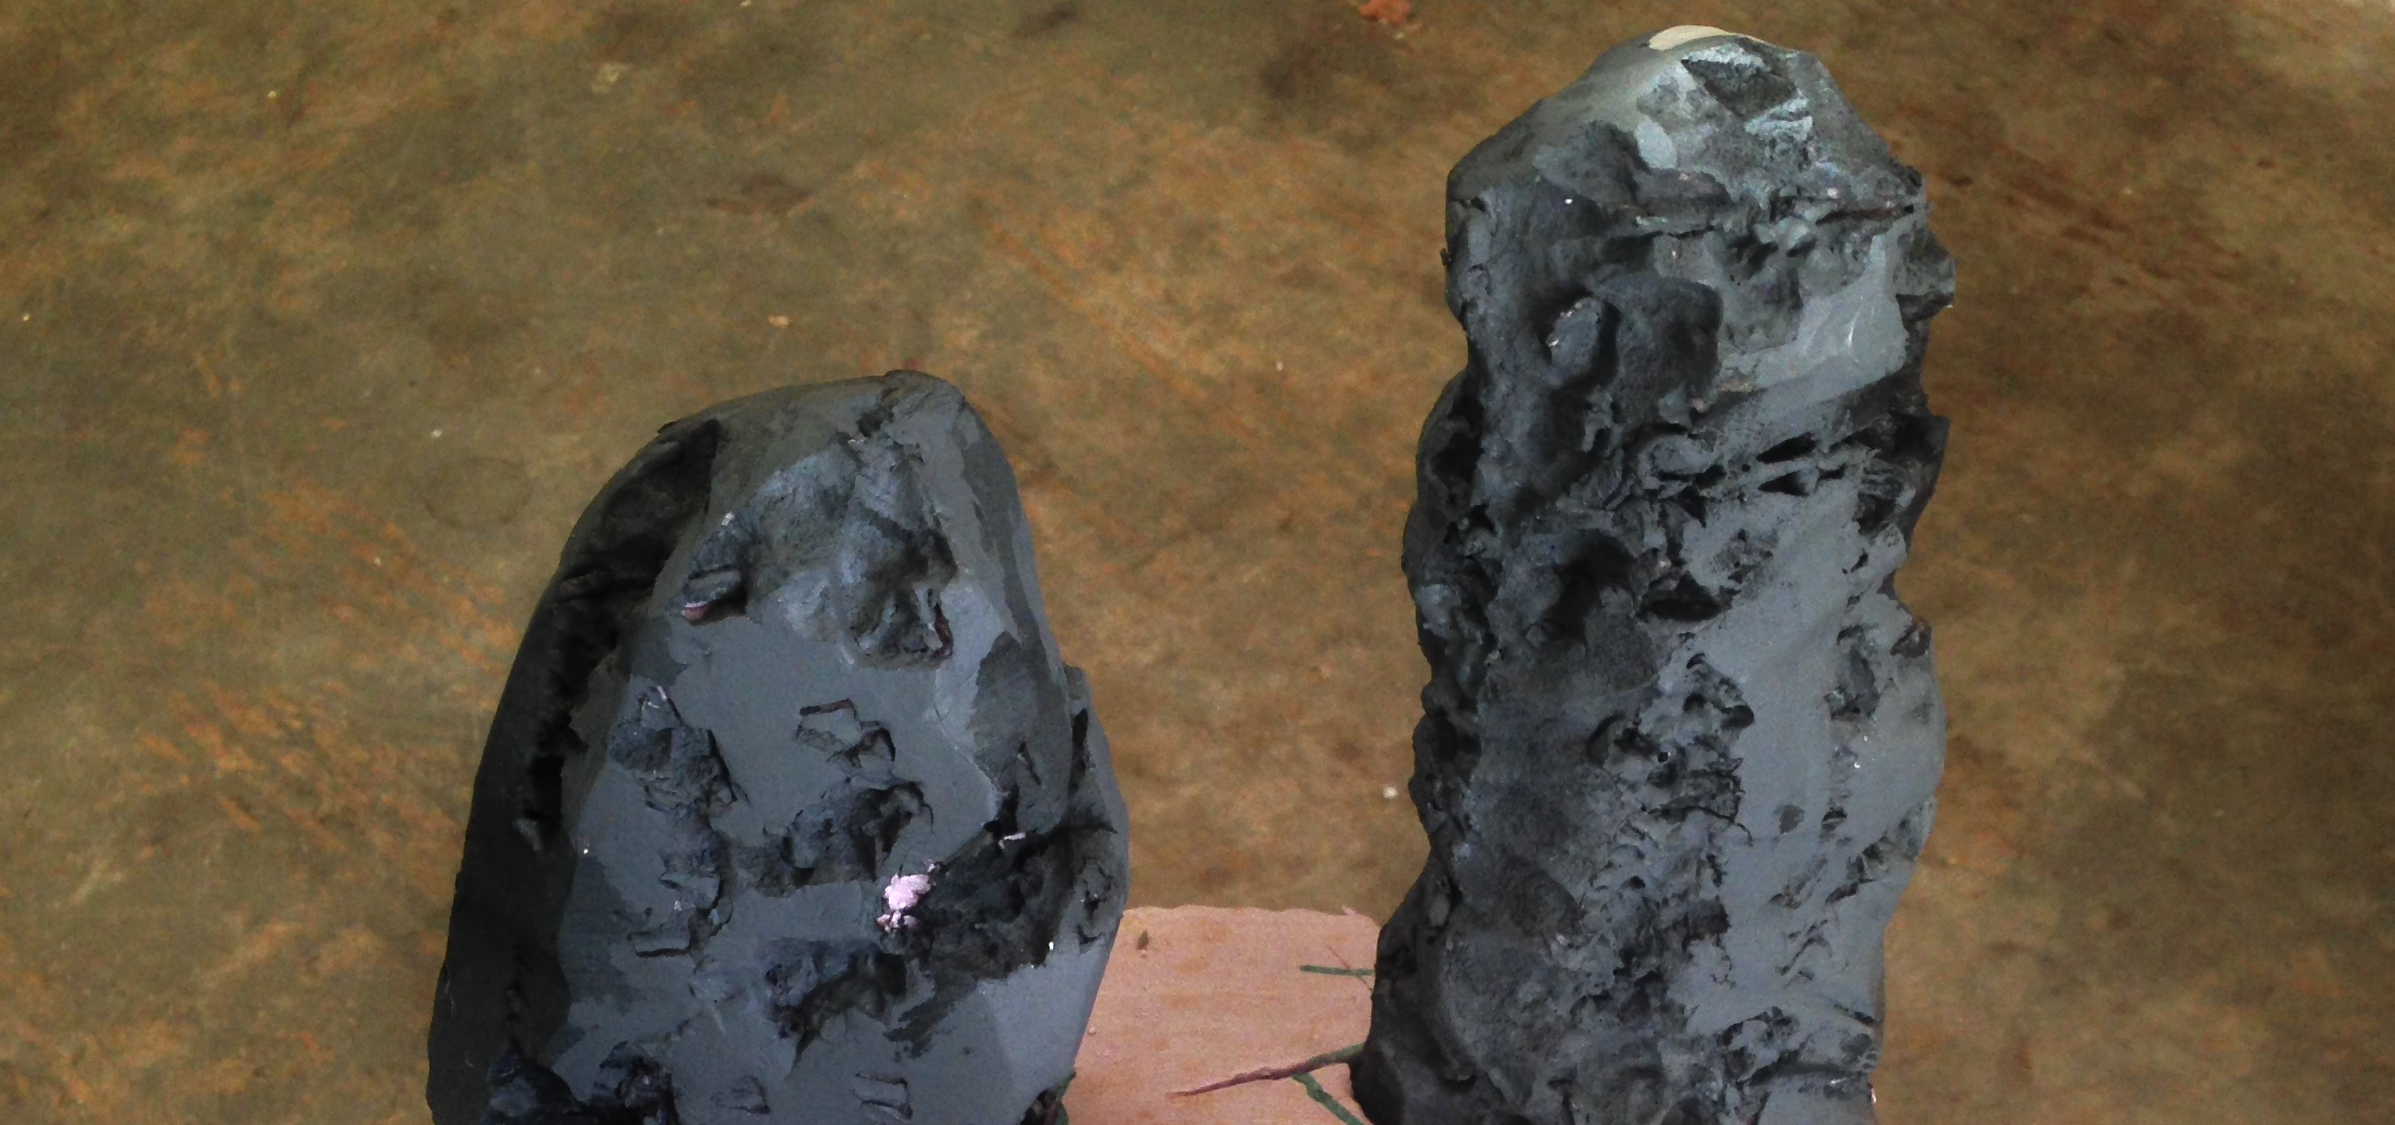
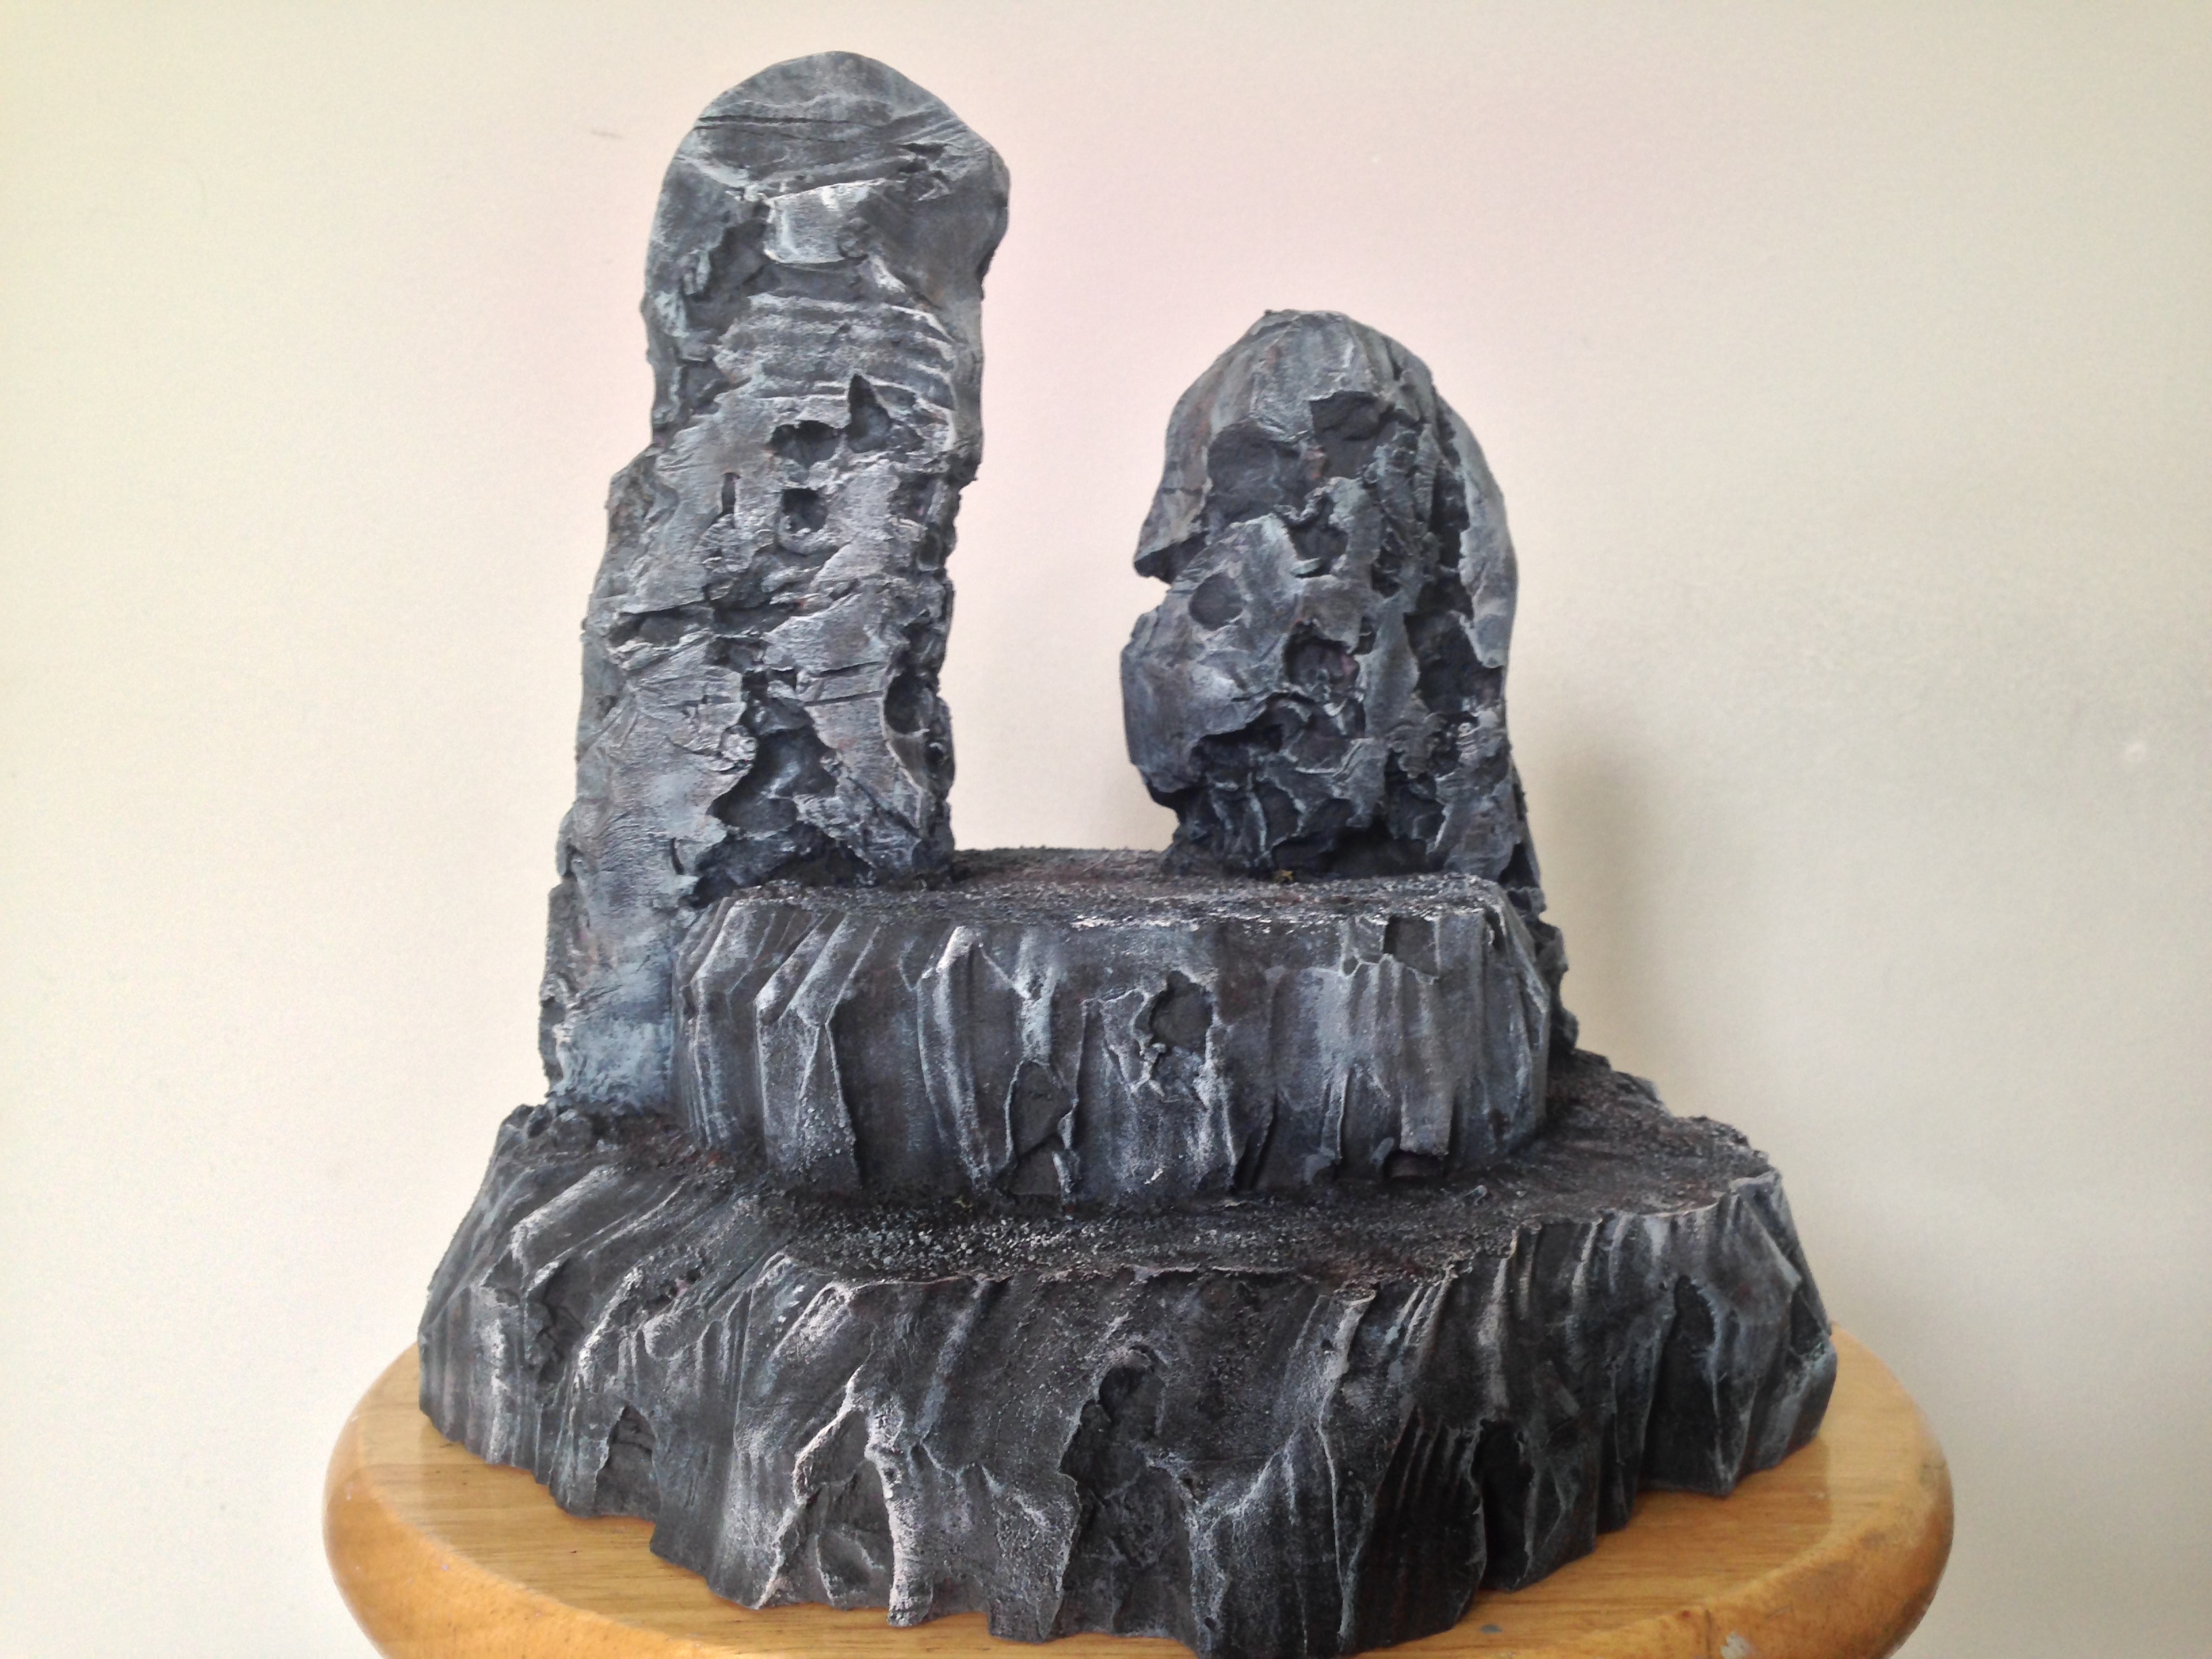
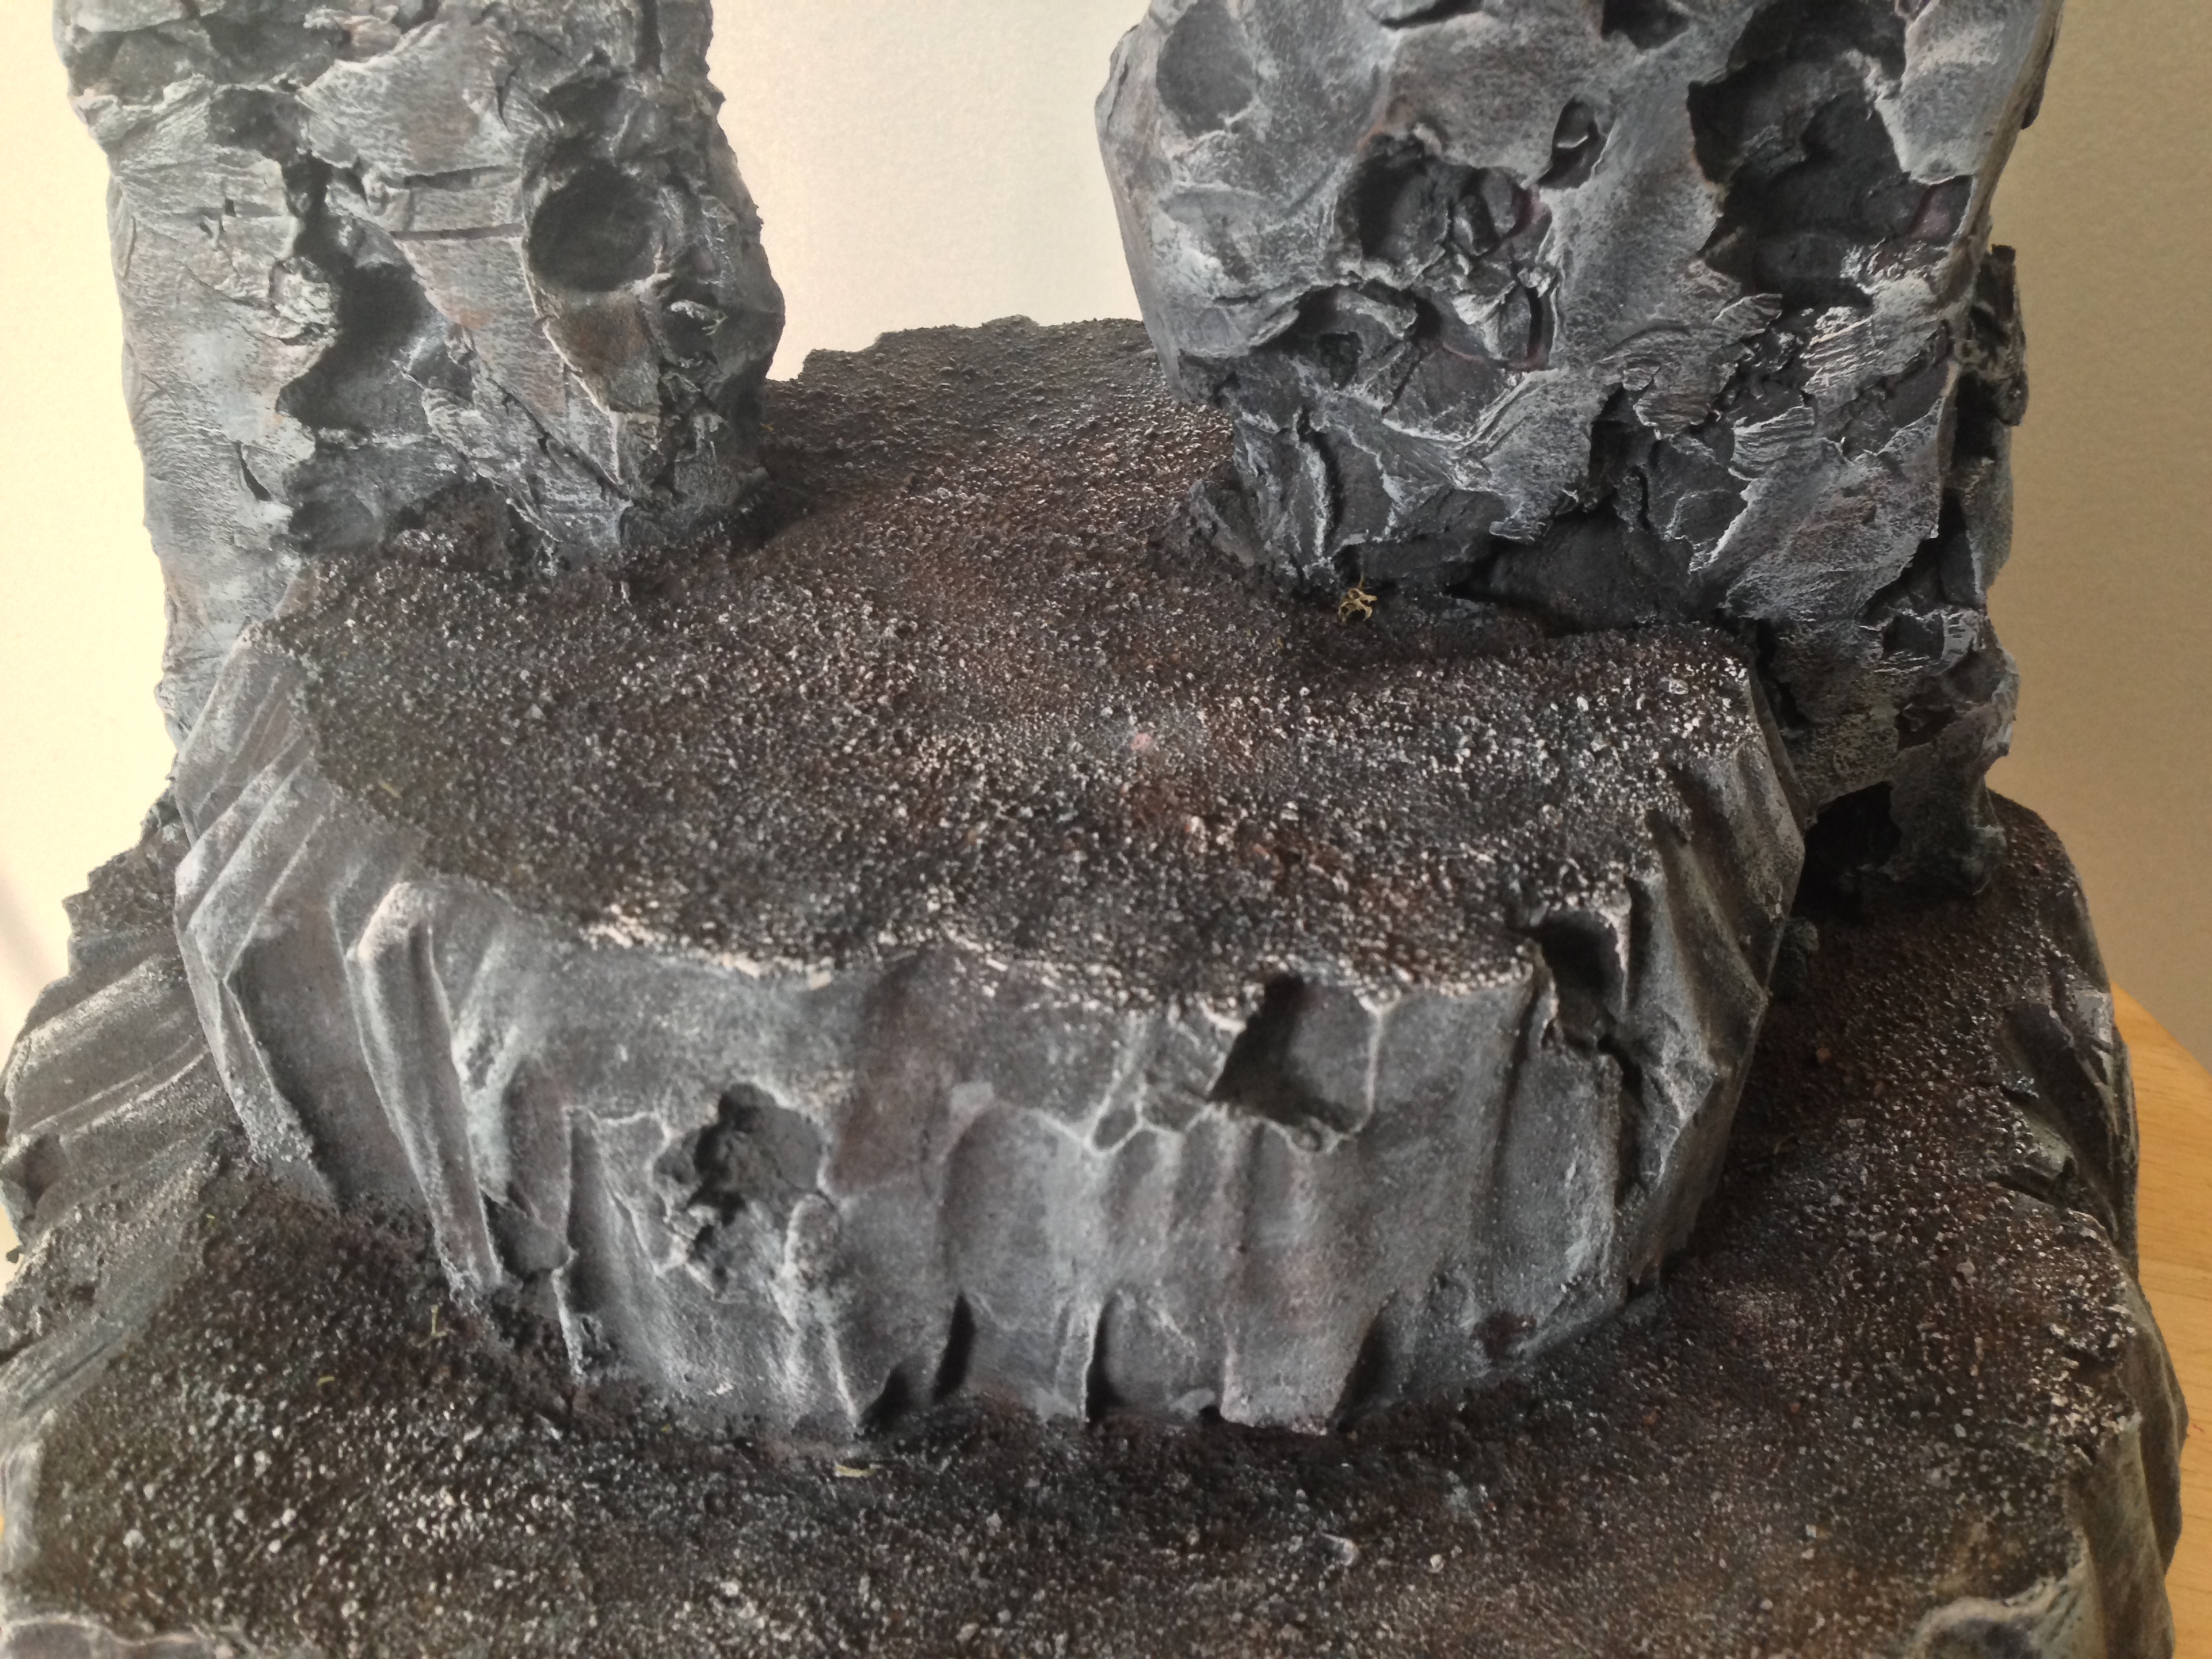
As you can see on those two top spires, they are super weathered. People have always asked me how I got those “damage patterns” on there and its my secret technique. But since I’m feeling generous today I’ll share! I just take an old screwdriver and hack the thing up. You can gouge into with a stabbing motion to get the little craters, or drag the flat edge of the screwdriver down the piece to create a crumbled, rubble type look, or just push the flat edge of the screwdriver hard against the foam to make unique cracked type areas of damage as well. I’ll zoom in on the above photo so you can see the details, but click on the image itself to see it in full resolution.
After you’ve done all just glue the thing together. A lot of people use some kind of Elmers type glue, but I like to use wood glue which you can pick up any store. I actually use wood glue on the basing for minis as well. After gluing the pieces together, slather that glue all over the flat surfaces of the piece as well, grab some sand, and scatter sand on each level like you were basing one of your own miniatures.
At this point you have to just let the piece sit and dry. I just stick it on a board in my garage and let it sit. Typically it only takes an hour or two for it dry enough so that you can put some spray paint on it. This’ll give you time to work on other pieces. Once the paint is dry just grab a can of cheap black spray paint and give the piece a moderate coat of black spray paint. Remember not to go too heavy otherwise you’ll lose the texture of the sand.
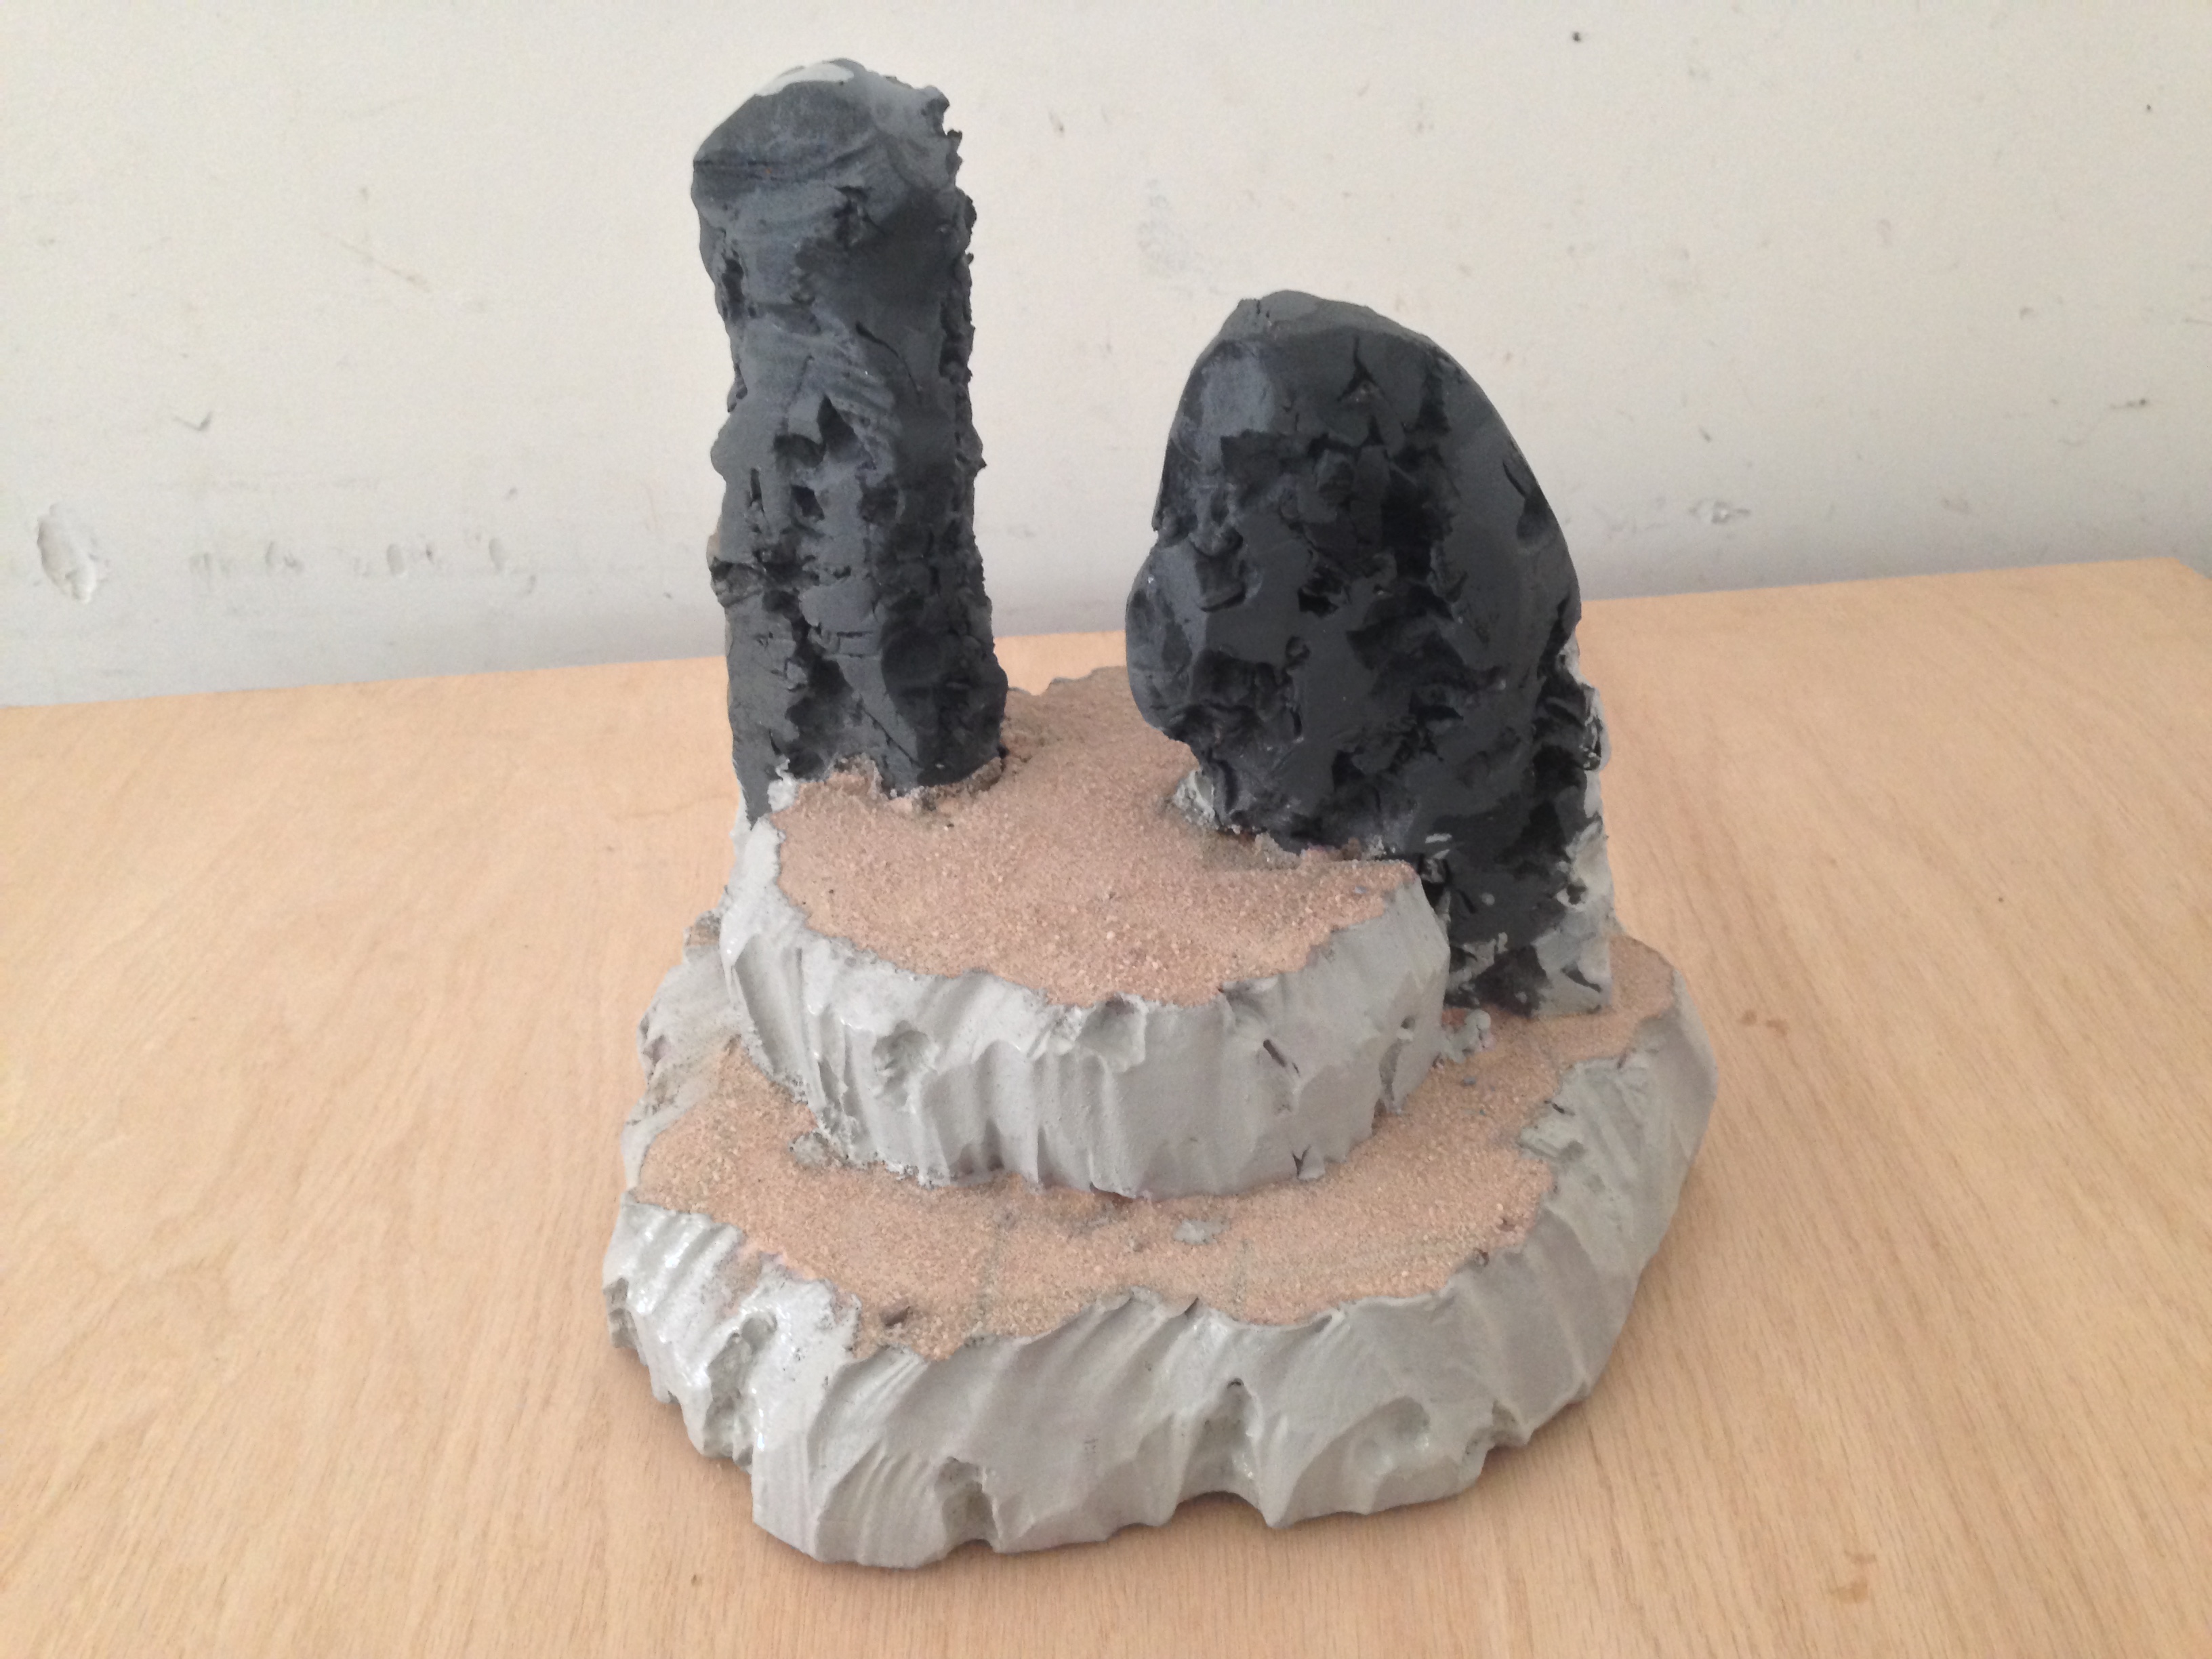
After it dries just a bit , you can immediately grab a bucket of house paint of any color and paint over all the foam bits. The color of the house paint doesn’t matter because we are going to spray paint this piece. This is what it looks like at this stage:
Now you have to let the piece sit overnight. The glue is miles away from being dry and you don’t want to mess up the sand or make any of big layers come loose. Not to worry though you are almost at the finish line and depending on what standard you want the piece painted there may be only one more step involved!
Painting
So after you’ve let the piece dry overnight get out a big old brush and just dry brush this sucker. I save my old pots of paint just for the sake of use on terrain. The first color I always use is Dawnstone Grey. Eshin Grey is the natural highlight above black, but its hardly visible at a distance. I like to jump up a level and do the terrain a bit bolder and brighter than I would on a miniature, simply because I throw a lot of colors on to each piece.
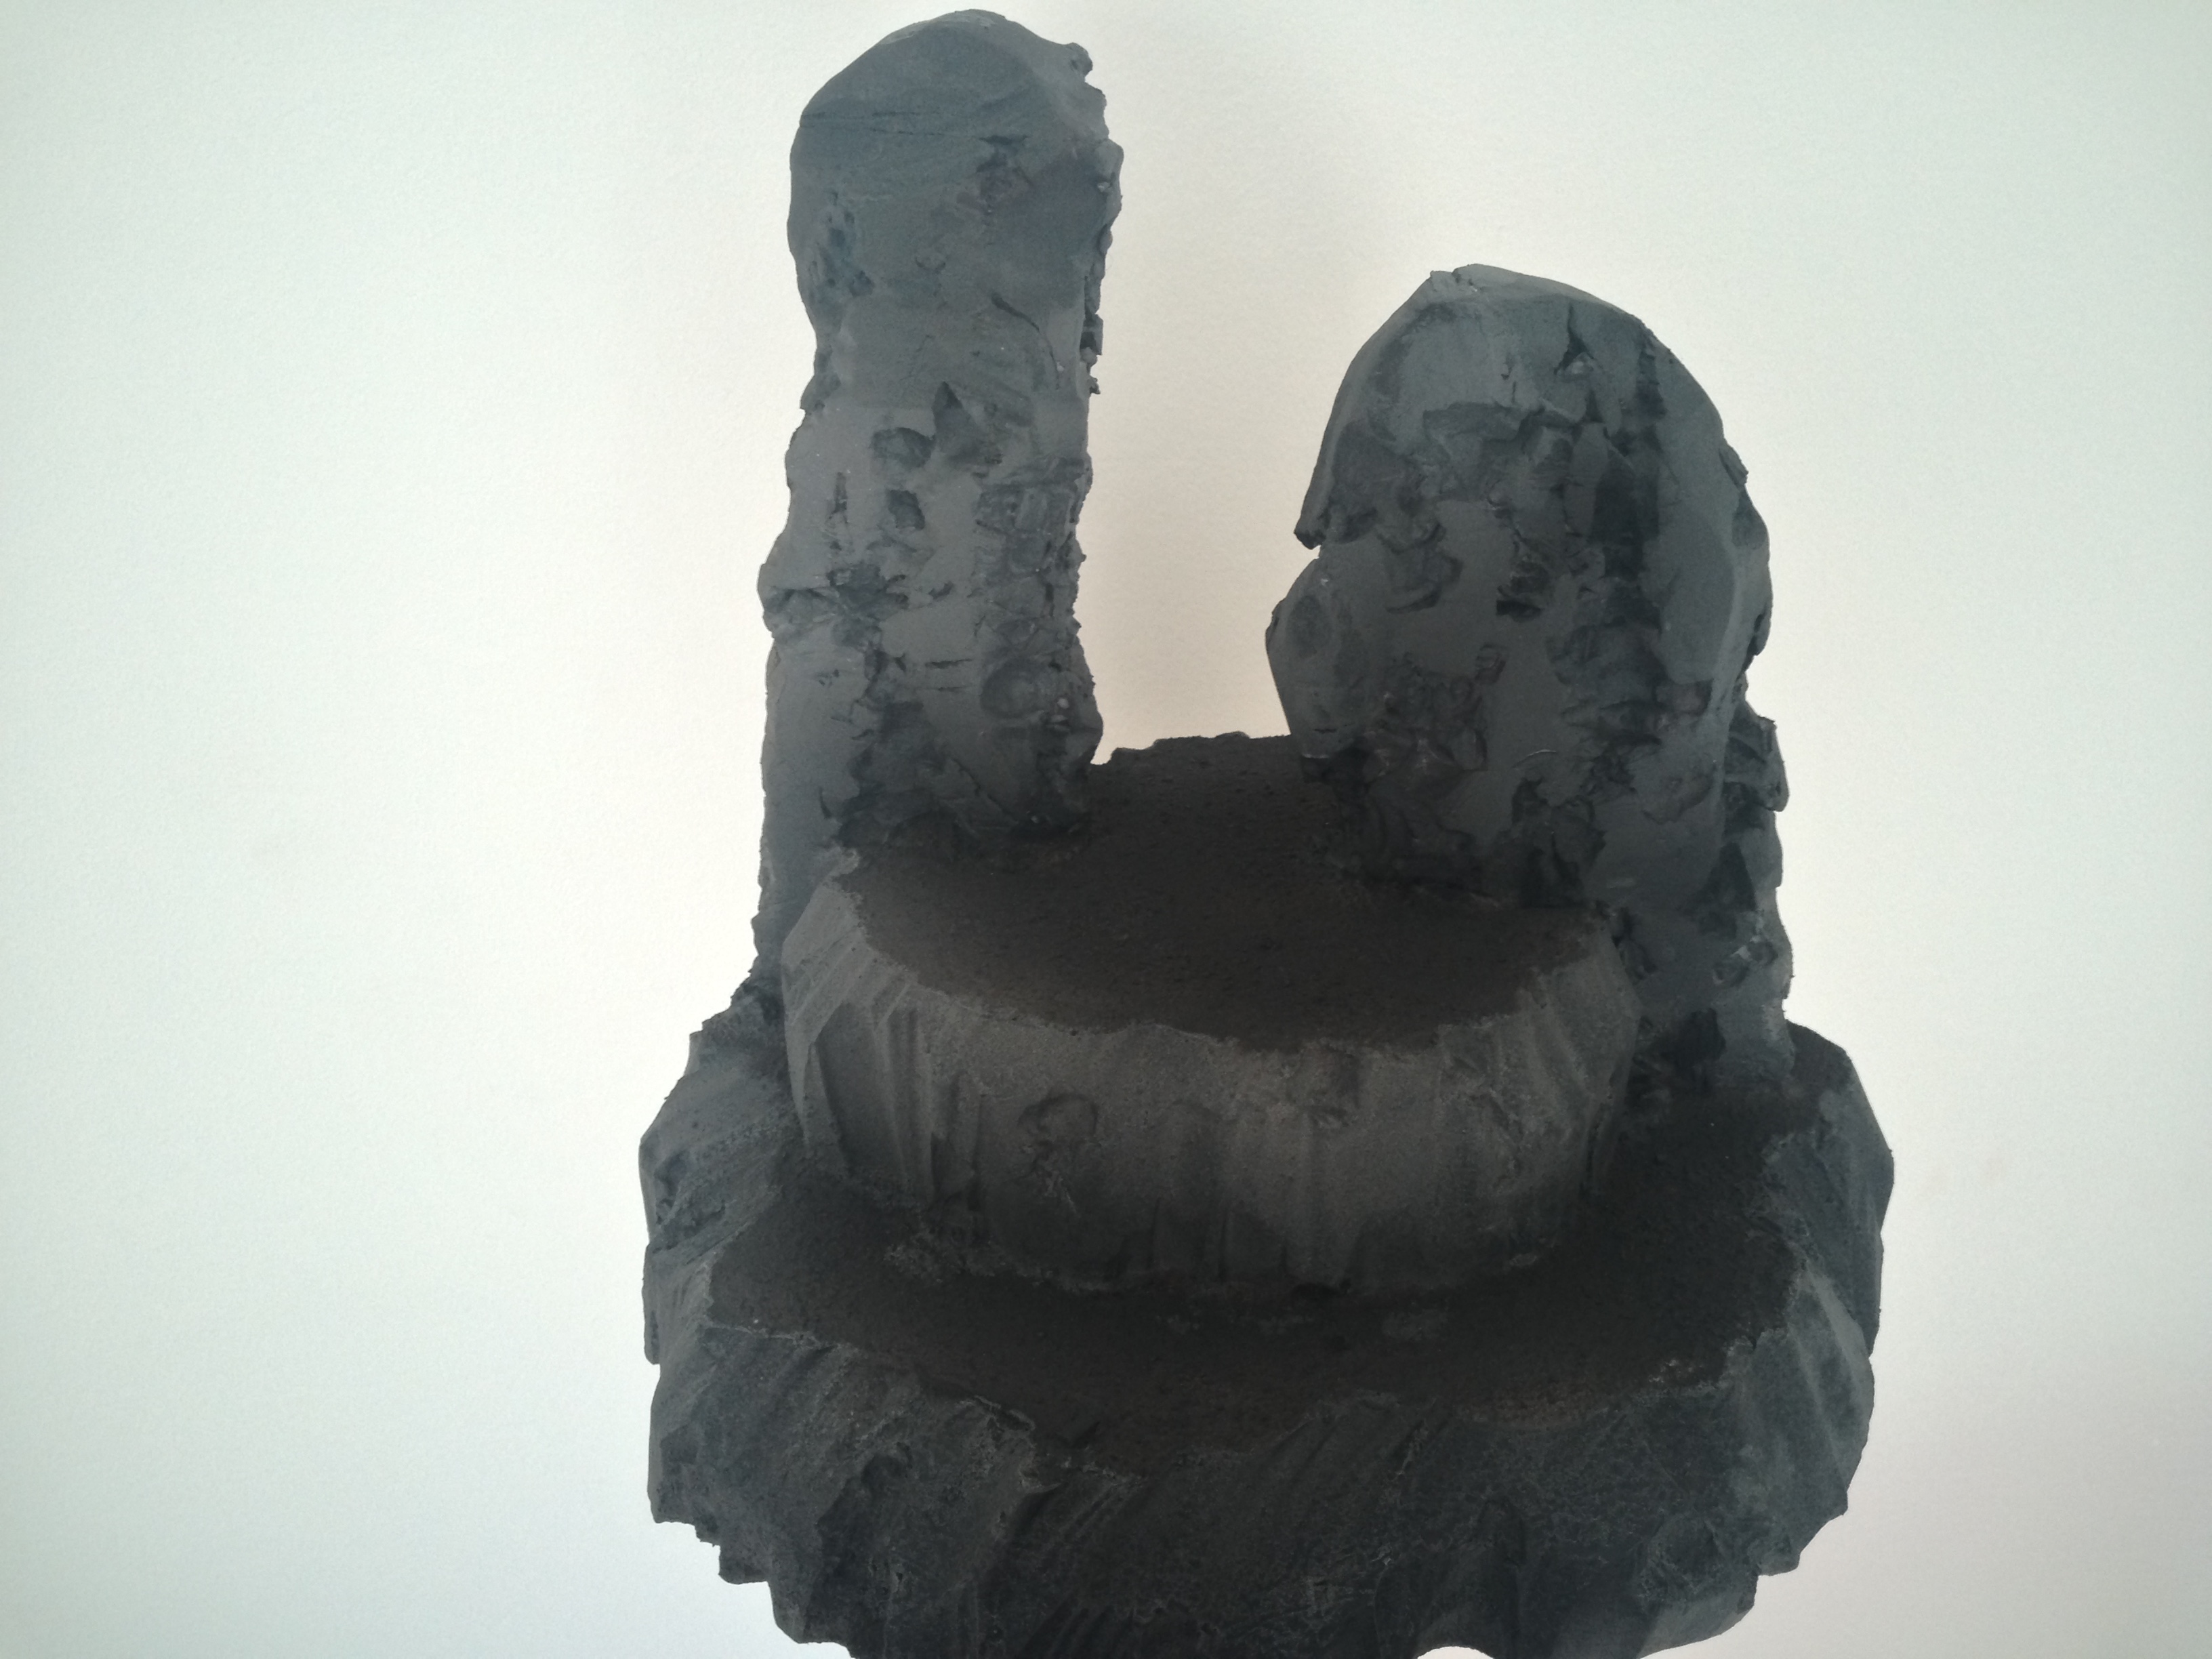
And this is what it looks like. Now if you are a TO or running a big narrative game and you are short on time, as you can see this looks very solid as-is with only a single layer of dry brushing. The weathering done during construction does most of your work for you and I’d have no problem playing on board of terrain painted to this standard, especially when the alternative is playing on Planet Bowling Ball which we all hate.
However, being an Eldar player I have certain aesthetic standards I’m obligated to live up to and thus we must go FURTHER! I’m gonna throw a number of other colors on here just to give it a more natural appearance. Mountains, hills and other geological formations are never all grey, or all brown. There are many shades that overlap and we are going to go for that look today.
Next up is the final highlight of grey… and one of my favorite colors of all time Celestra Grey! Celestra Grey is amazing. Its one of my favorite paints of all time. Its super opaque and requires no-layering to get an almost a pure white hue on a model. Again there is an in-between shade here, but its not necessary on terrain. The other colors will knock down the contrast later
As you can see its a dramatic improvement. Again this a stage at which you could simply call this piece complete. Yet I want to add some nice browns in there to make it look part of a living breathing environment.
For the sake of expediency I’ll show you how it looks with all the browns done. Its a simple combo of Dryad Bark (another amazing color I highly recommend), Mournfang Brown and Baneblade Brown. As you can see I don’t do brown all over the entire piece (that doesn’t sound right lol) I just do it in patches and swathes. This breaks this big hunking rock up a bit visually and softens the look.
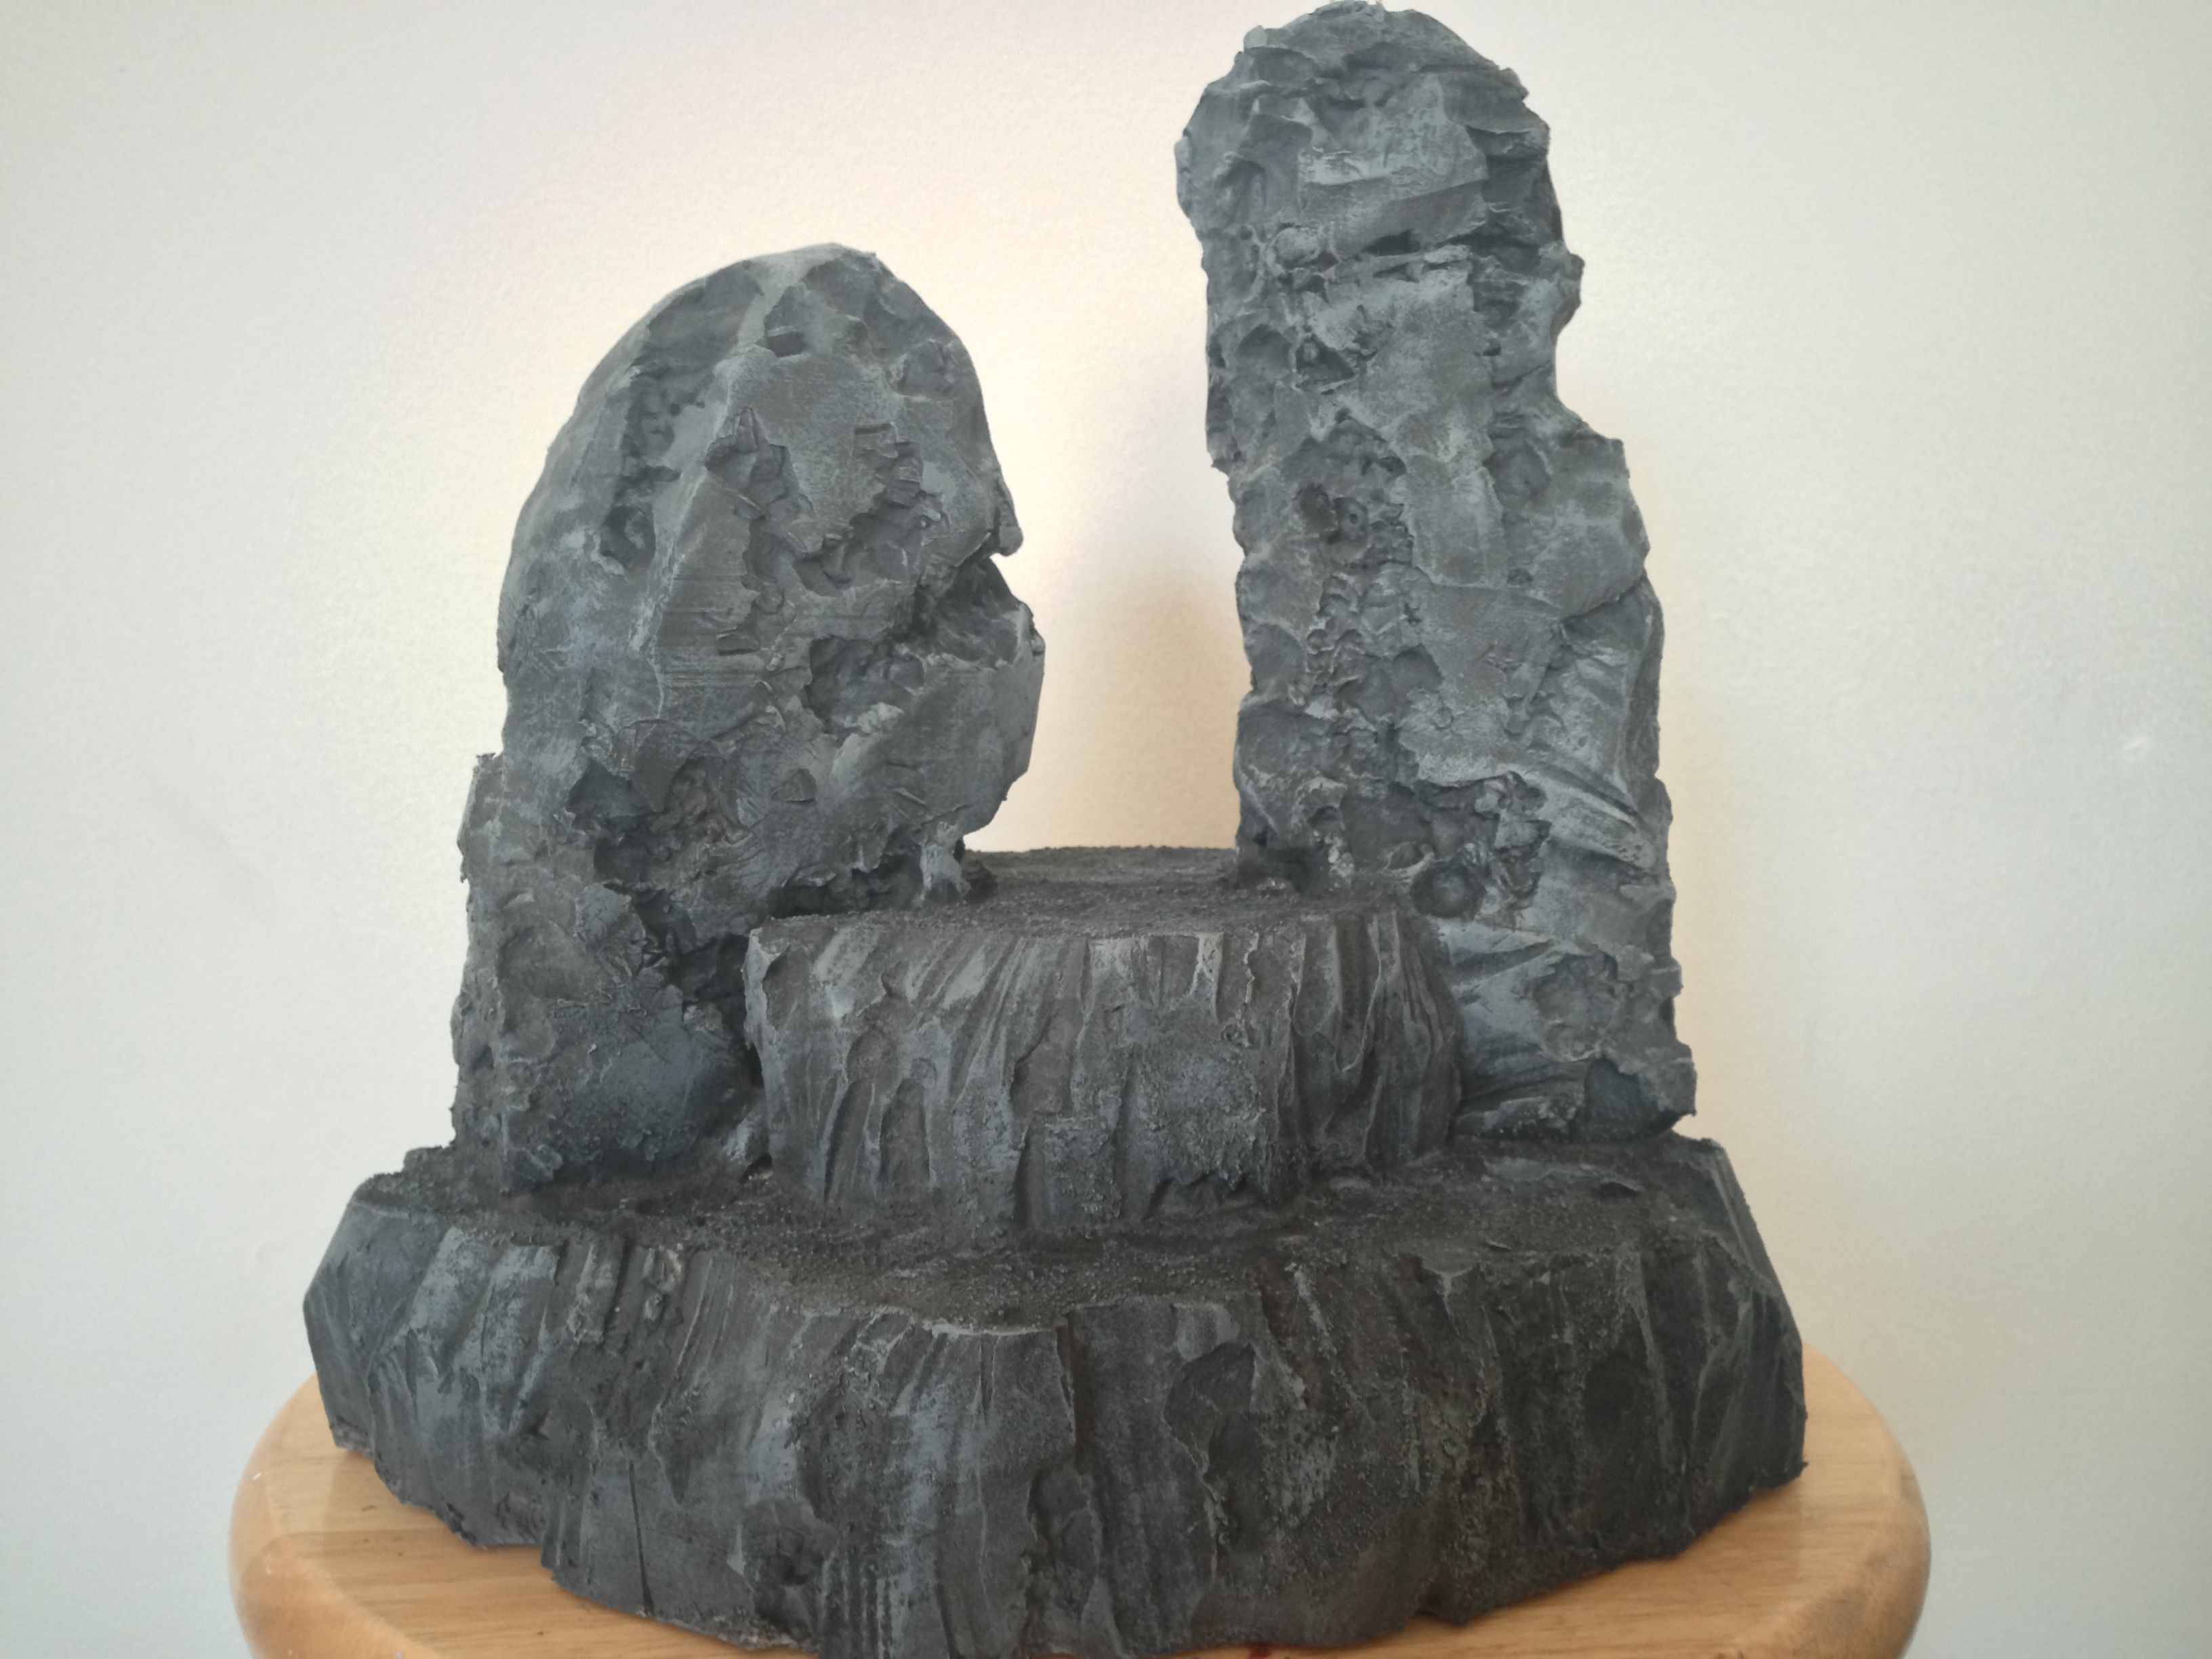
The final painting step is hitting it with Pallid Wych Flesh. I highlight this stuff all over the model, including the brown and grey areas of the piece. Its a beautiful final highlight that works on both the grey and brown. After that you are done painting this sucker!
Additional Love
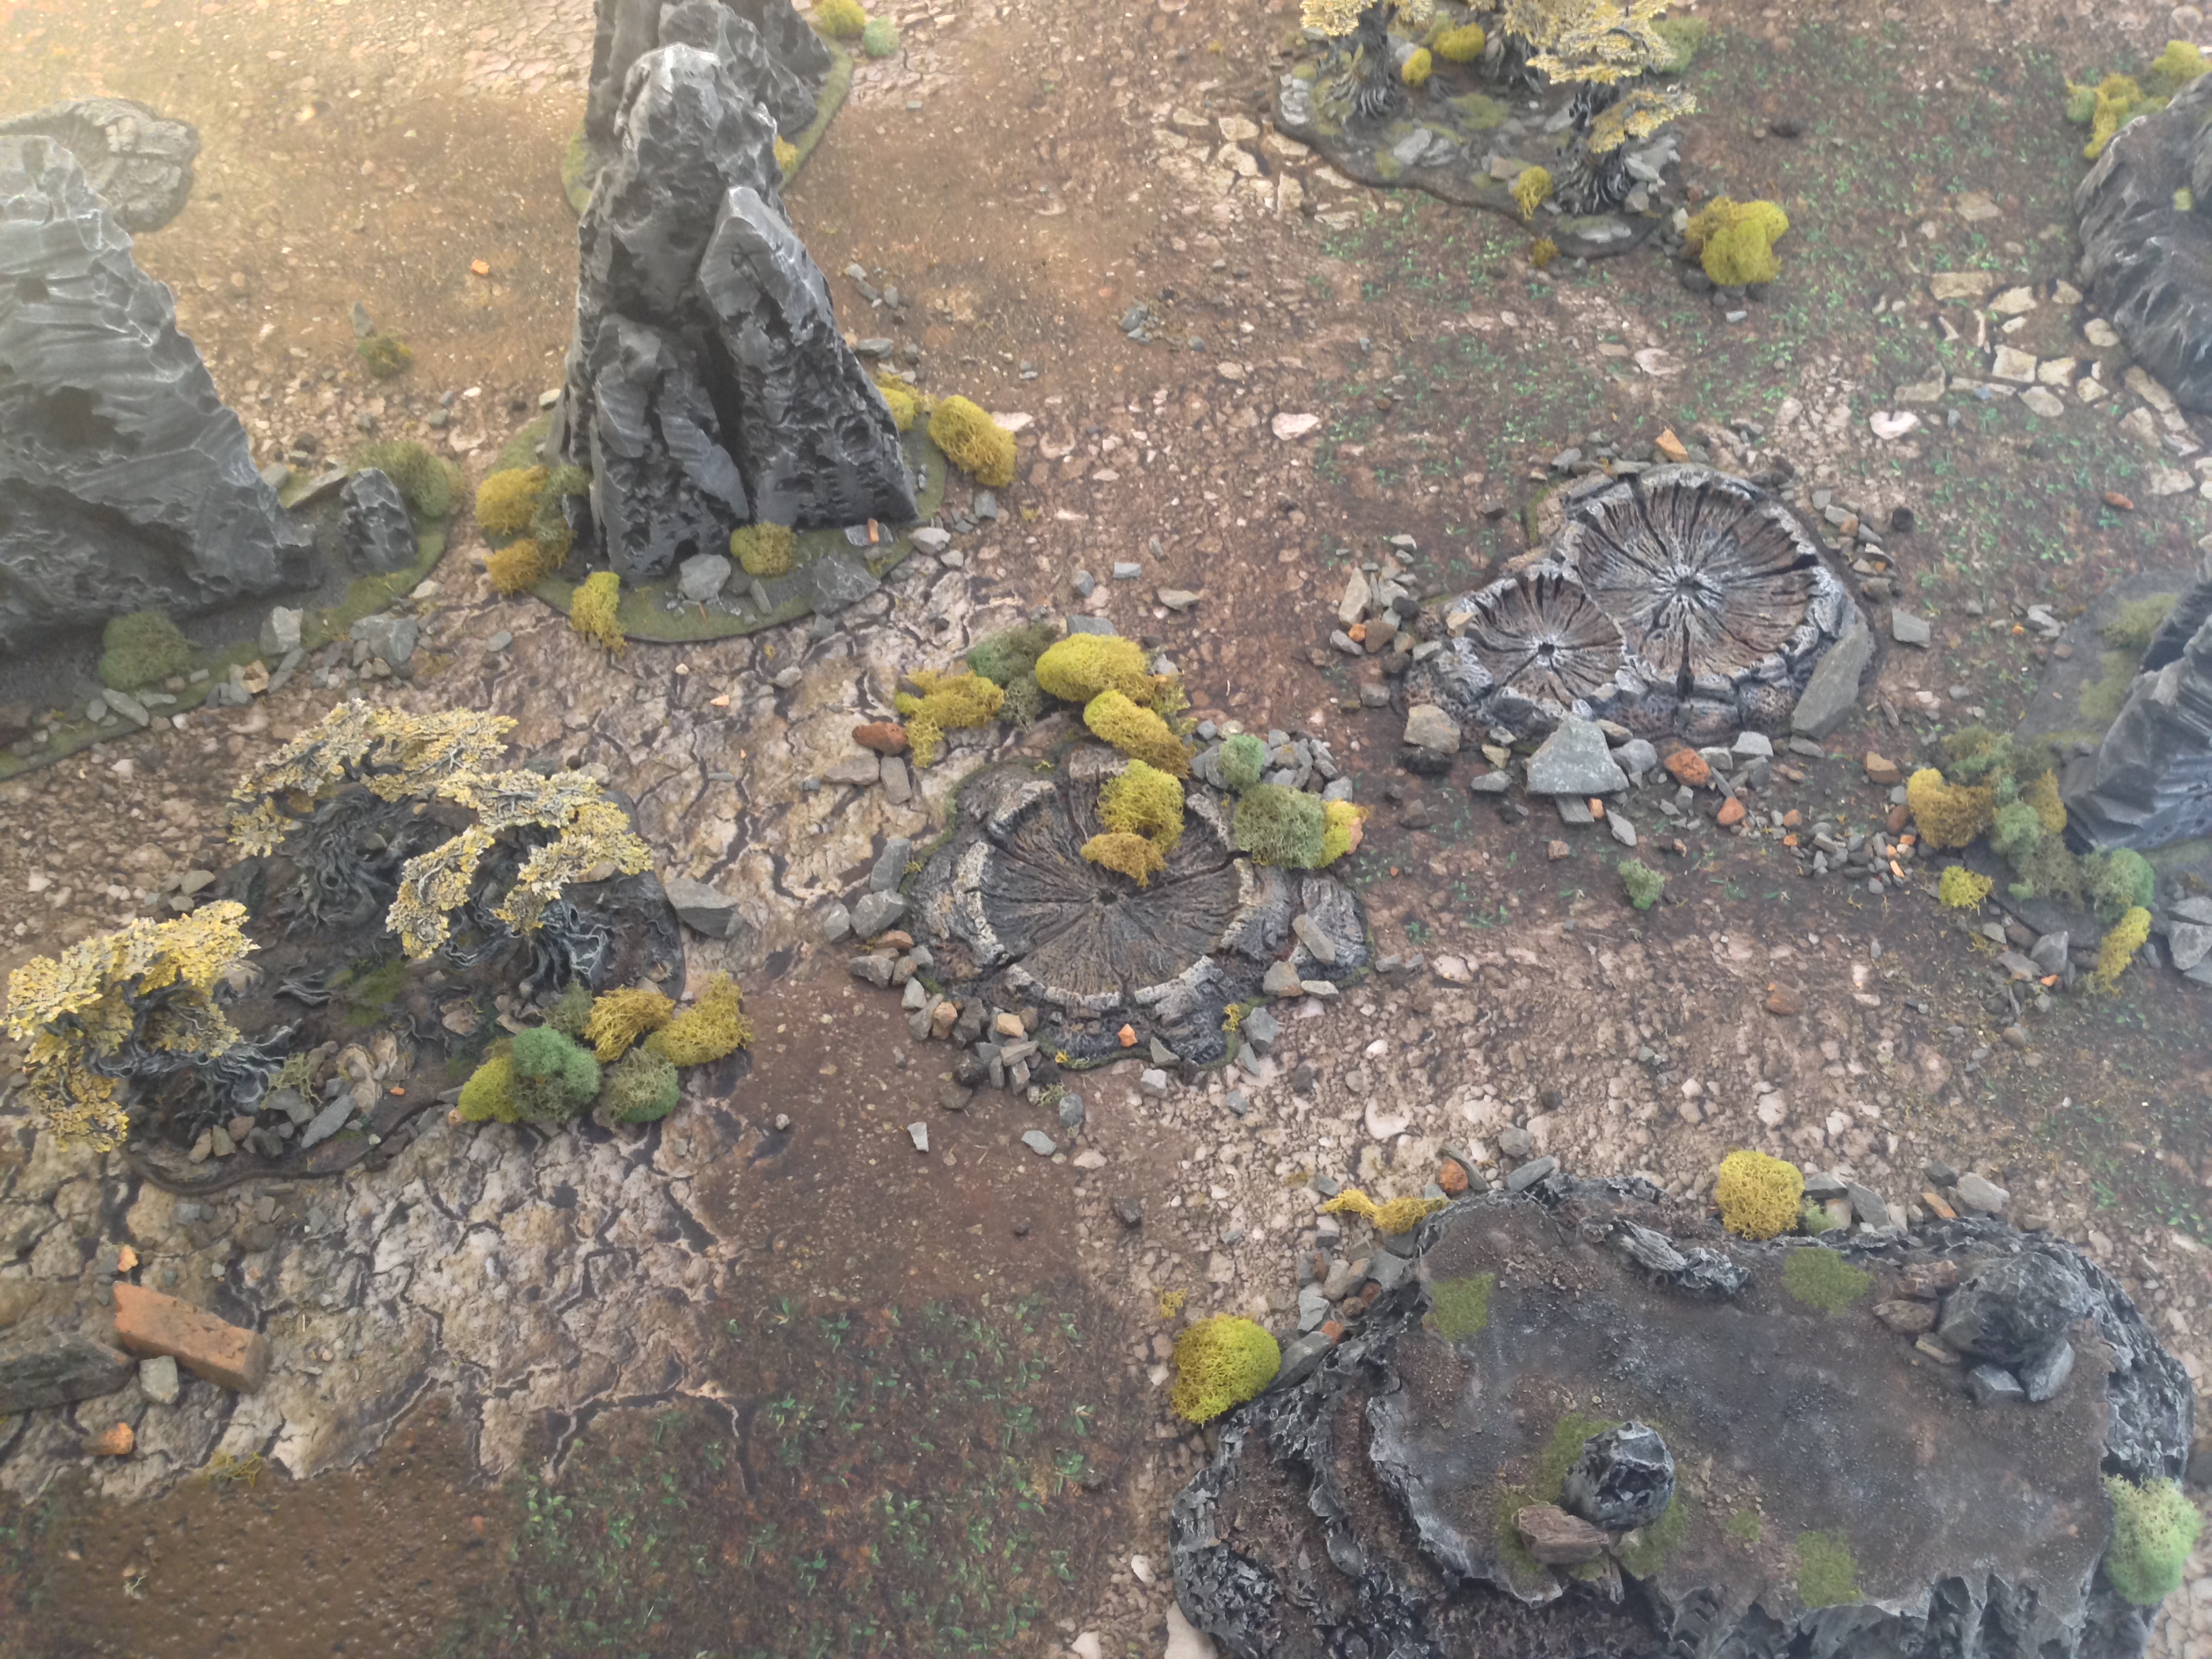
To close it out lets add some greenery to this guy and call it a day! Again I like to use a mix of static grass and classic green flock just to add a little variety to the piece.
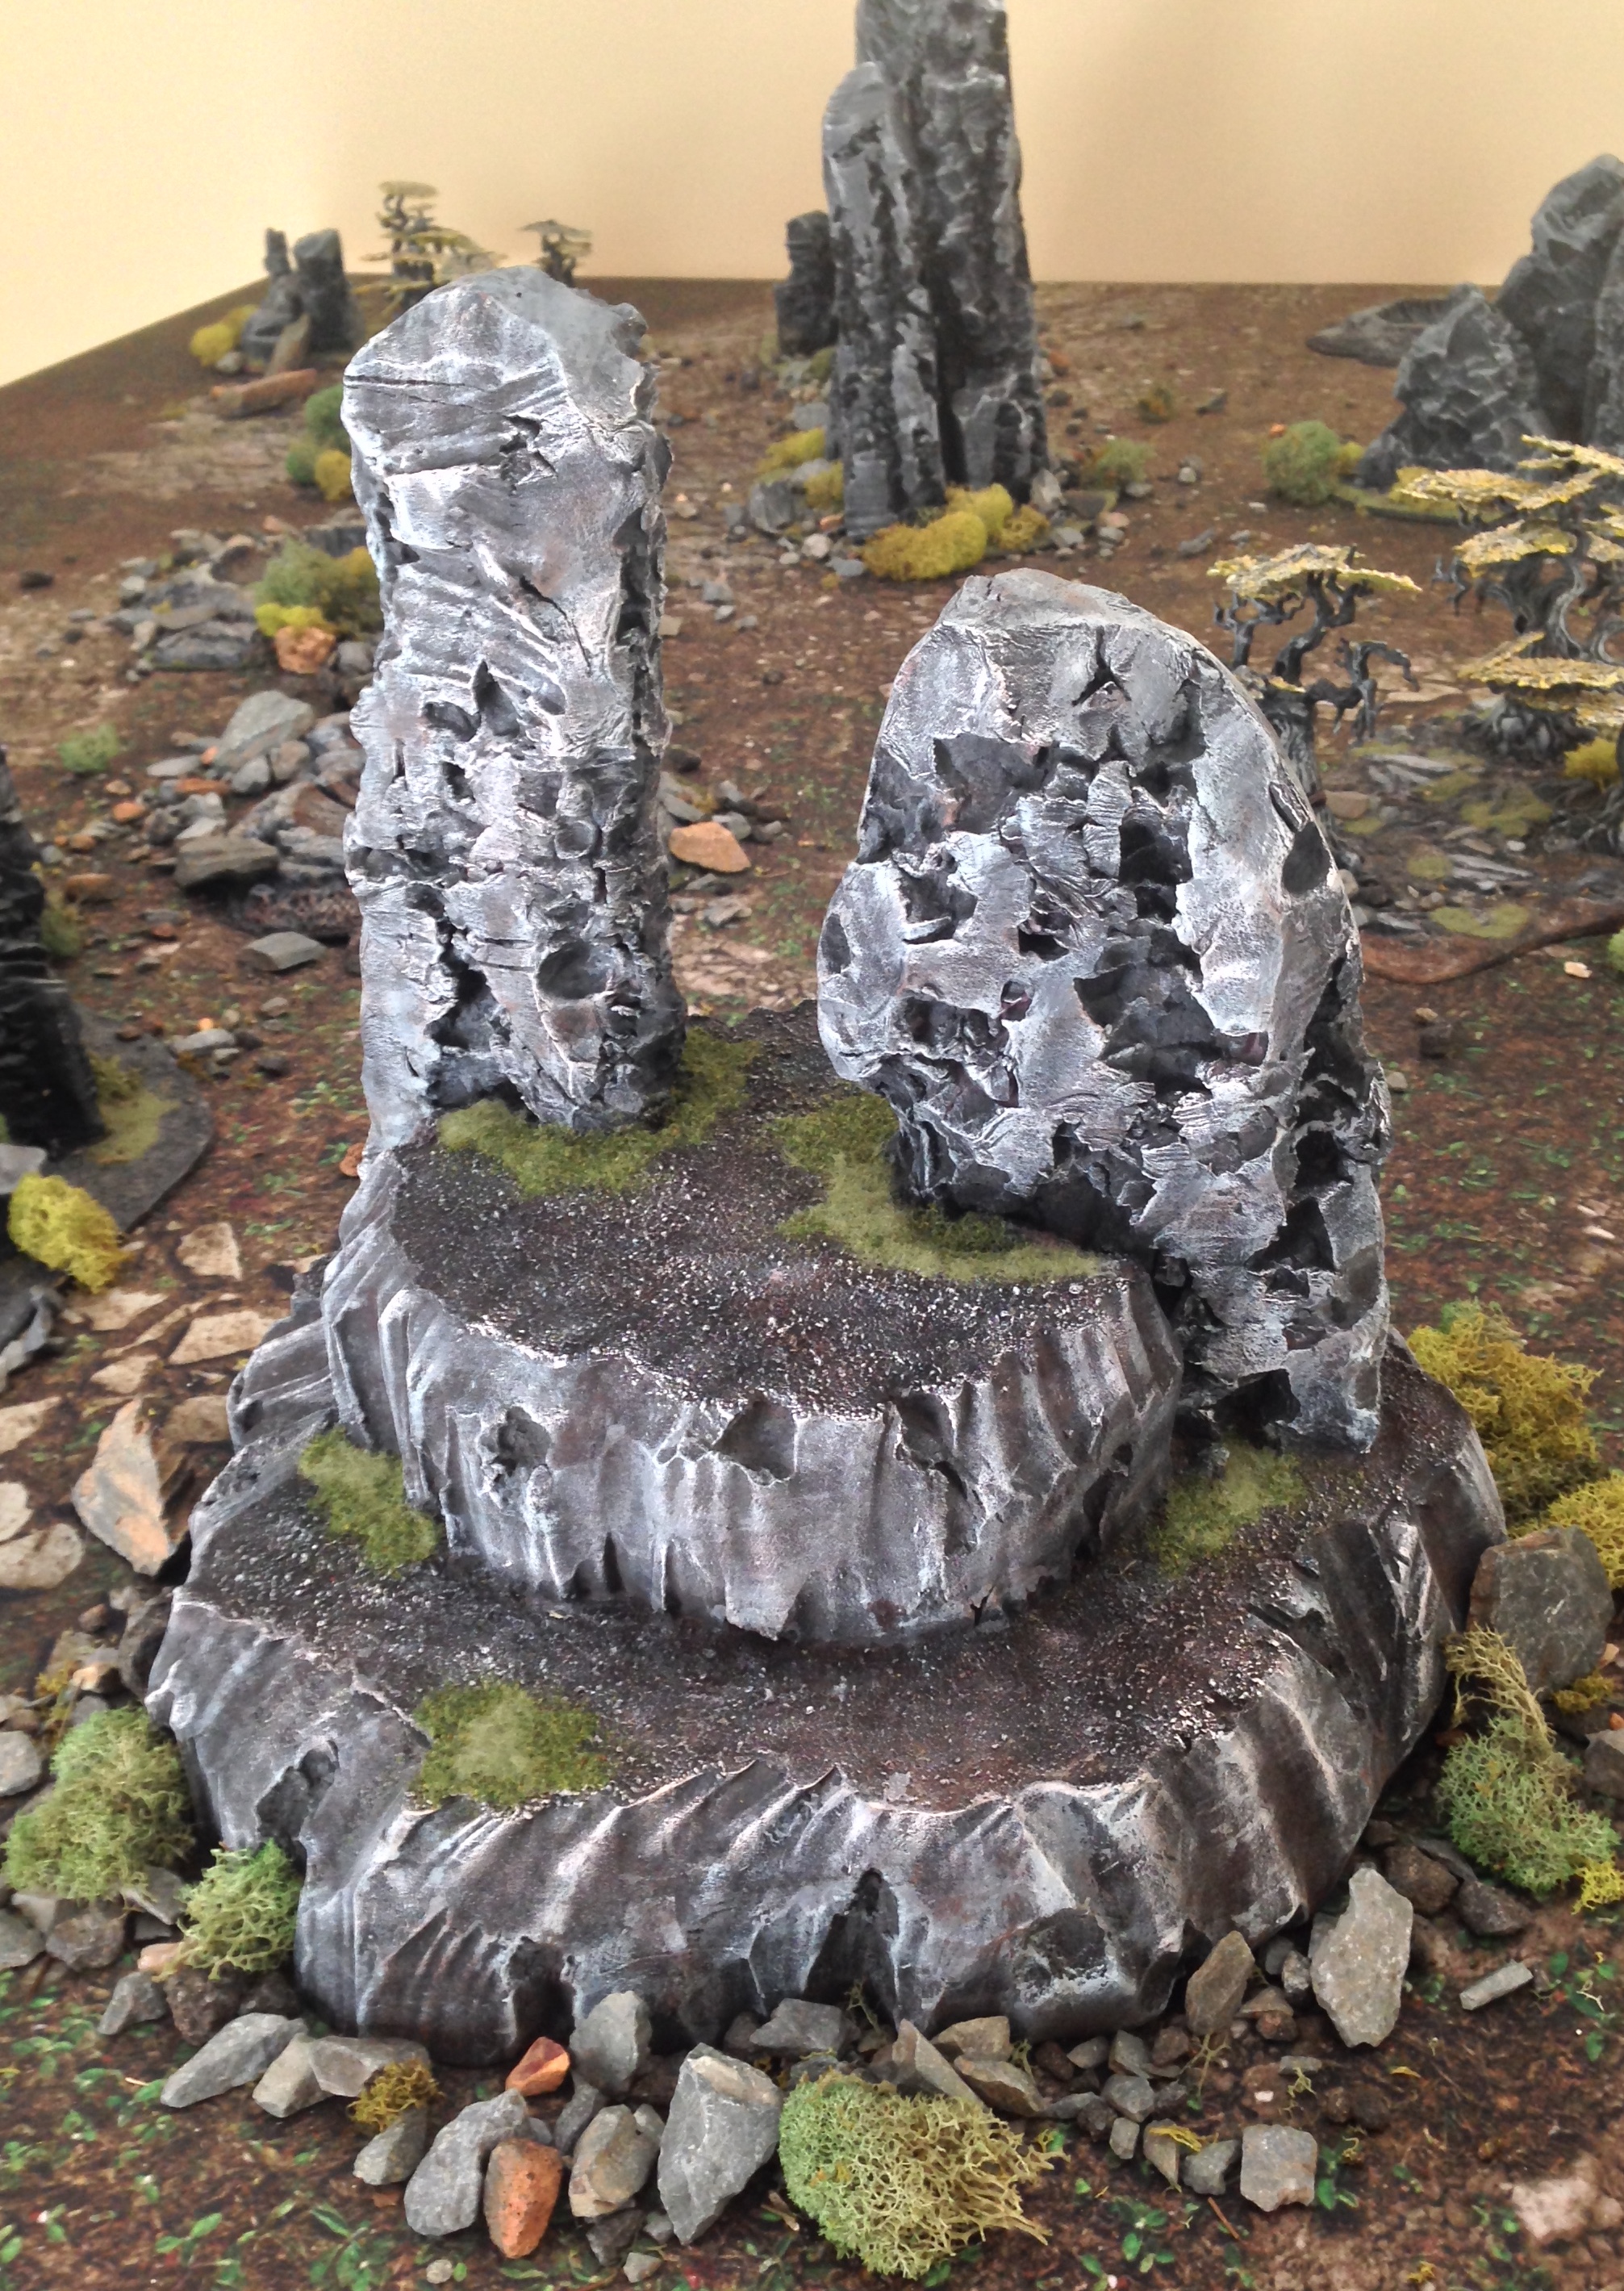
So now I’m happy to call this piece complete. Anything additional I may want to add on this piece I can do day of game using scatter terrain such as little rocks and lichen just to add a little more detail. In my games I use this as a piece of area terrain and for purposes of blocking LOS. It also allows you to have a pure wilderness themed board and have good multi-level magic for your snipers, heavy weapon teams, Devastators or Dark Reapers.
So guys hope you found this useful. With just some foam boards, a hot wire cutter, a screwdriver, sand and a little paint you make yourself an entire board worth of terrain.
Let me know your thoughts down in the comments below. Share any tips and tricks you may have and questions as well. Hopefully this inspired you to make some new terrain or emboldened you to perhaps run an event, or hook up your local game store with some nice terrain. Thanks for reading and stay tuned for more.
And remember, Frontline Gaming sells gaming products at a discount, every day in their webcart!


