


The new Codex: T’au Empire is a gamer’s toolbox, offering new army builds, new tactics and some cunning tricks to try on your friends. We enlisted Reecius – playtester, tournament organiser and all-round cracking chap – to share his insights into the new book. Here he shares some key principles when building your army and offers some great advice on list construction:
This article was originally published on the Warhammer-Community site. Check them out for more great content!
Hey everyone, Reecius here from the SoCal Open to talk T’au Empire tactics! Also, check the Tactics Corner for more great articles!
For those of you who follow us over at Frontline Gaming, you probably know that my partner in crime, Frankie, is the T’au Empire player on our team. However, with the release of the Codex: T’au Empire, I decided to start a new army and will be picking up my very own force for the Greater Good.
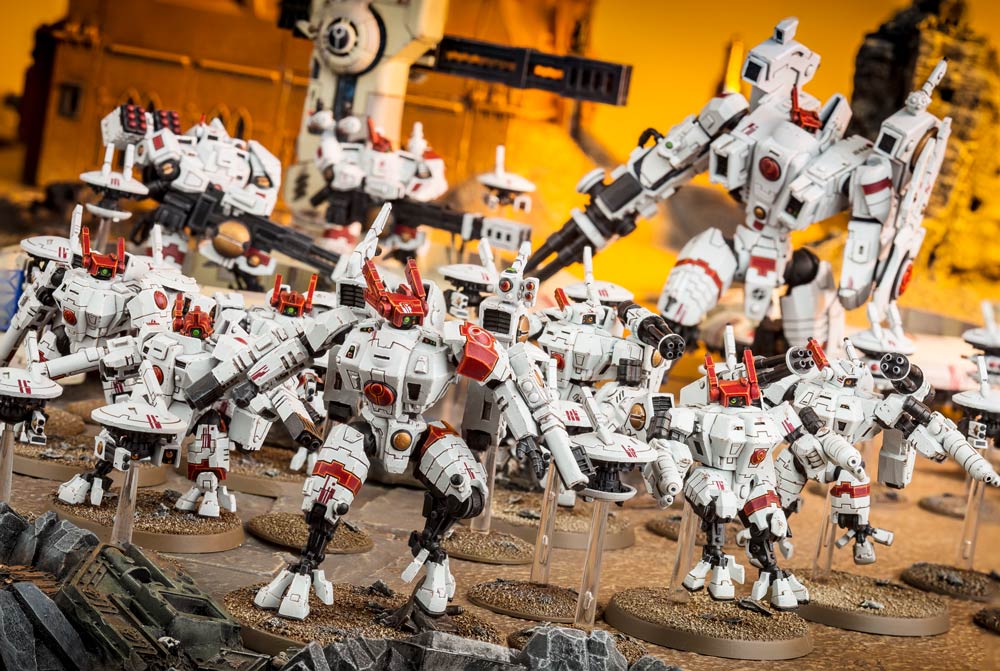
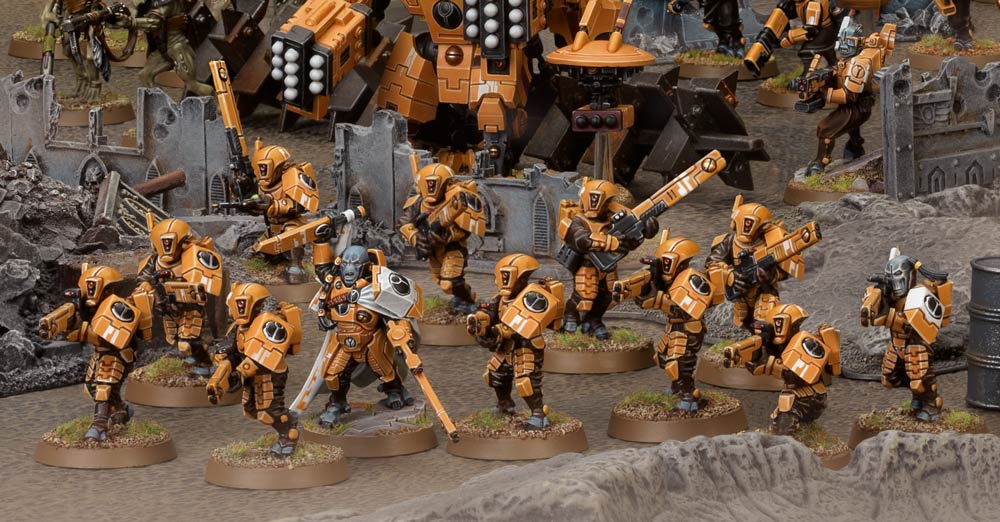
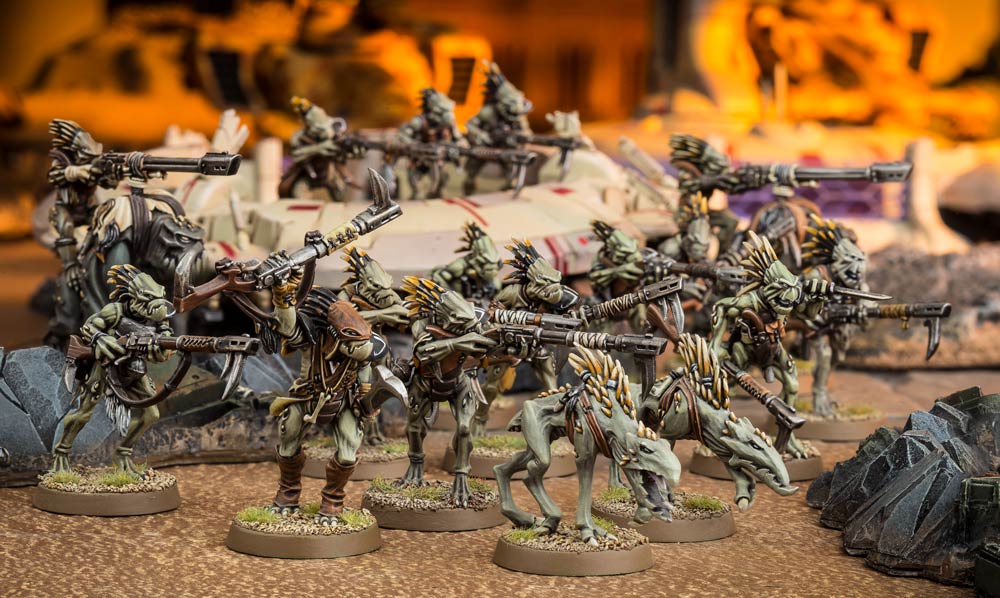
Frankie’s army is very battlesuit-heavy, with tons of Crisis Battlesuits, Commanders, Riptides and Stormsurges. I wanted to do something different and I’ve always loved the good old Fire Warrior, both in lore and the aesthetics of the models. I also remembered some great games back when the T’au Empire first appeared in the game and my friends would use the vaunted “Fish of Fury” tactic on me to great effect. For those of you who aren’t hoary old gamers like myself, that was a tactic using Devilfish to deliver Fire Warriors into optimal range but also shielding them with the Transport.


Generally speaking, I tend to prefer infantry armies. So, this led me to thinking: could I make a competitive and fun T’au Empire force relying largely on their infantry units? Could I use some of these older tactics in the current Warhammer 40,000 environment? Typically I see armies like Frankie’s, with loads of battlesuits, which makes sense as they’re beautiful models and uniquely T’au. So I set out on a journey to do something different and hopefully quite effective, too!
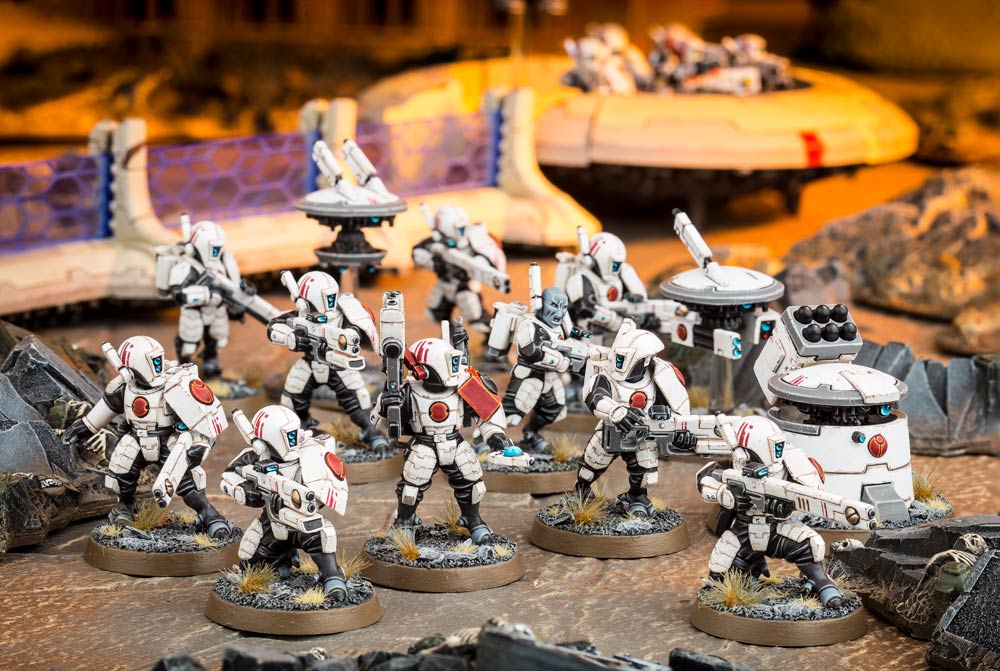
When writing a list, I tend to begin with the Troops section, as I love fielding the basic troopers in most armies. To me, it feels right to do so and I enjoy finding ways to get the most out of them. To maximize their strengths, I then looked at what special rules and Characters would boost them up to get maximum punch.

I decided to choose my sept next, as that would give me some great guidelines as to how my list would play. I read them all carefully and decided on Bork’an for my first Detachment. That means my Fire Warriors’ pulse rifles would extend out to 36″ range! Not bad at all. However, upon looking at some of the other units, I noted that Pathfinders had a drone – the Pulse Accelerator Drone – that increased the range of pulse weapons by an additional 6″… nice! That means, with a bit of tactical deployment, I could have Fire Warriors with 42″ range pulse rifles, which is fantastic on a model that only costs 7 points. I also wanted to take a few Guardian Drones to provide an invulnerable save for nearby units, as even one of them, when deployed carefully, can provide a significant defensive boost to most or all of my Fire Warrior units for a very low points investment.

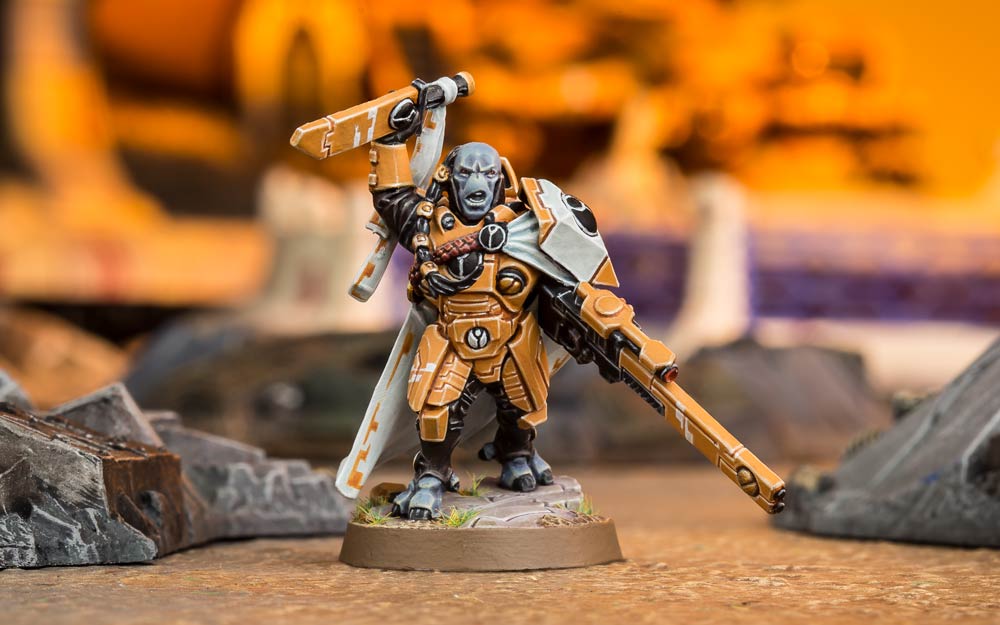
My Fire Warriors are further boosted in power by the inclusion of a Cadre Fireblade, who gives friendly units an extra shot on their pulse rifles, carbines and pistols when firing within half range. Well, for my buffed-up Fire Warriors, that was now a formidable 21 inches! Additionally, the BS 2+ markerlight the Cadre Fireblade has is highly accurate, and he’s protected by his Character keyword. He is a great tool for using the Uplinked Markerlight Stratagem as well, to get more mileage out of each markerlight hit.
And if that weren’t enough, I can also let stationary Fire Warriors re-roll 1s to hit with an Ethereal’s Storm of Fire ability. Conversely, if I needed to boost up their defence, the Ethereal could give them a 6+ roll to stop wounds with his Sense of Stone ability. And for an added benefit, the Ethereal also allows nearby friendly units to use his Leadership of 9, which is great for avoiding additional Morale test casualties.
The great thing about all of these list elements is that they are very cheap. I could build out a backfield with LOADS of Fire Warriors with accompanying support Characters for next to nothing. The pure volume of fire you can put out, particularly at Rapid Fire range, is fairly staggering, especially with additional markerlight support. This helps to compensate for all kinds of potential hurdles you may face in a game and helps to combat the ‘-1 to hit’ armies that are so prevalent at the moment. Six units of ten Fire Warriors firing at half range with these buffs would put out 180 Strength 5 shots! That melts just about anything quickly. I’m also a fan of the markerlight for the Shas’ui, as it’s protected by the unit it leads. Also, the Tactical Support Turret is a solid choice to provide some long-range firepower on a model that, like the Shas’ui, is protected in the unit. The missile pod, while a little pricey, is my favourite for its solid damage output, but the smart missile system is great for hitting units that are hiding out of Line of Sight. Being Heavy, the latter also benefits from the increased range that the Sept Tenet provides.
If you want to crank this up even more, opt for the Through Unity, Devastation Warlord Trait. Like the Storm of Fire Warlord Trait for Space Marines (my personal favorite!), it provides a buff that, on a 6+ to wound an enemy unit in line of sight of your Warlord, grants nearby units an additional -1 AP for their weapons. It may seem subtle at first glance, but in practice, I have found it to really increase the number of wounds that stick, and it’s perfect for this style of play.

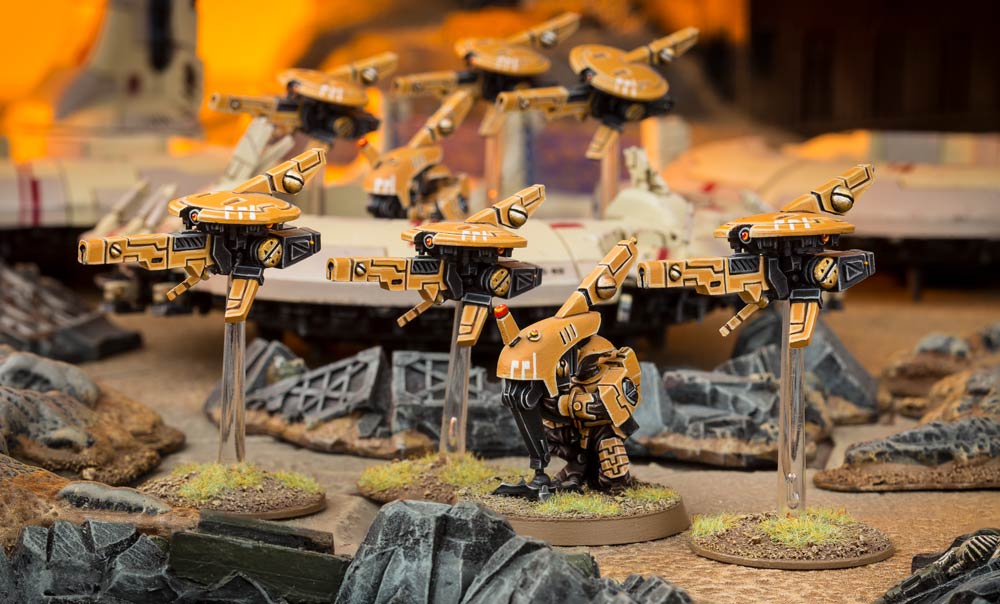
Furthermore, I am a huge fan of Sniper Drones. They’re very effective sniper units at a reasonable price point. Their range gets pushed out to 54″ with the Bork’an Sept Tenet and, combined with the buffs provided by support Characters, this makes them deadly to most enemy Characters. With a Firesight Marksmen to give them a boost (and don’t forget that one Marksman can affect ALL of your Sniper Drones!), they put out very solid firepower. Additionally, that Marksmen also gives you another accurate markerlight, and on a Character model to boot. Enemies are at -1 to hit the Drones when firing from more than 12″ away, and the Marksman gains +2 to his save while in cover, making them quite tricky to take out.
To boost all of this considerable firepower even further, I chose to include some Pathfinders. Marker Drones are typically the go-to choice for many T’au Empire players, but as is the theme with my strategy here, I want to do things a bit differently. By taking several small units of Pathfinders, I find you can get not only the markerlights you need but can also take advantage of their considerable firepower with their unique weapon options. The ion rifle and rail rifle are both very cool weapons, and when backed with the various support we’ve described above, you can put a lot of firepower downrange on the very cheap Pathfinder model. They also provide some fun Drone options, such as the aforementioned Pulse Accelerator Drone, but also the Recon Drone, which lets you ignore cover, or the Grav-inhibitor Drone, which reduces enemy charge ranges by D3″ if they begin their charge within 12″ of it. Also, I love the Pathfinder models, they look so cool!
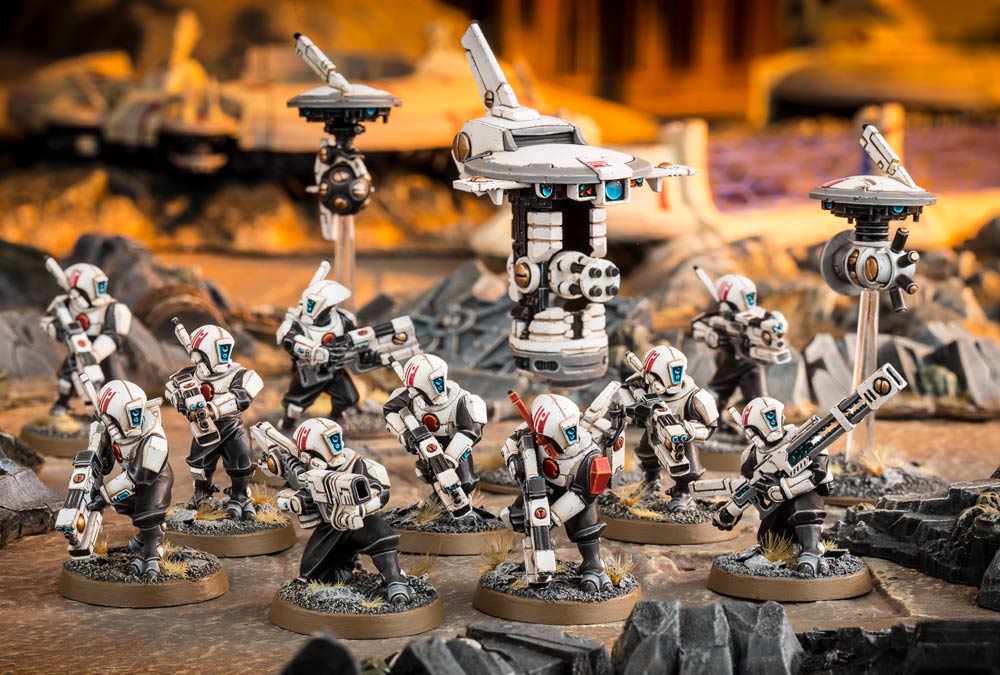
In a pinch, you can also use their Vanguard ability to move up to 7″ before the game starts, getting out into no-man’s land and push back enemy reserve units. This can impede units entering the game via Teleport Strike or similar abilities, and help create space between your lines and enemy units. However, our next unit is even better at that.

Now, all of these awesome Fire Warriors, Pathfinders, Characters and Sniper units, while deadly at range, are still vulnerable to melee (even with the awesome For the Greater Good rule). So, we call on the trusty Kroot to act as a defensive picket unit, forming screening lines of models to block those nasty enemy melee units. These gents are cheap at 5 points per model. They’ve got decent damage output, too, especially when backed with a Kroot Shaper for re-rolls of 1s to wound. Additionally, with their Stealthy Hunters rule, they can move forward up to 7″ before the game begins to create a buffer zone between your backfield units and enemy reserves, as we discussed above.
Between all of these infantry units, you can occupy enough space to deny enemy reserves the ability to deploy on your flanks or behind you – keeping your backfield secure like this is extremely useful.

I also really like the army’s Fortifications. They’re cheap, can be moved, and models embarked on them can shoot! They also help you deploy faster, increasing your odds of going first, and keep Characters safe from things like snipers, which are quite a threat to fragile Infantry Characters. The Droneport is my favourite, as if you attach a unit of 4 Marker Drones to it, and embark a Cadre Fireblade to control them, they fire using his Ballistic Skill of 2+ which is awesome for getting accurate markerlights downrange. And again, as Bork’an, they get +6″ range to their markerlights, too.
That covers our defence, but that’s just half of the battle. How do we go forth and conquer with a relatively fragile Infantry army? Read part 2 of this series, here.
And remember, Frontline Gaming sells gaming products at a discount, every day in their webcart!


