


Hey everyone, Reecius here to relate my experience at the Rise of the Primarch GT at the Imperial Outpust game store in Glendale, AZ which is a great store. Check it out if you are in the area!
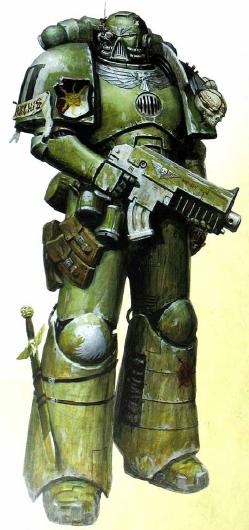
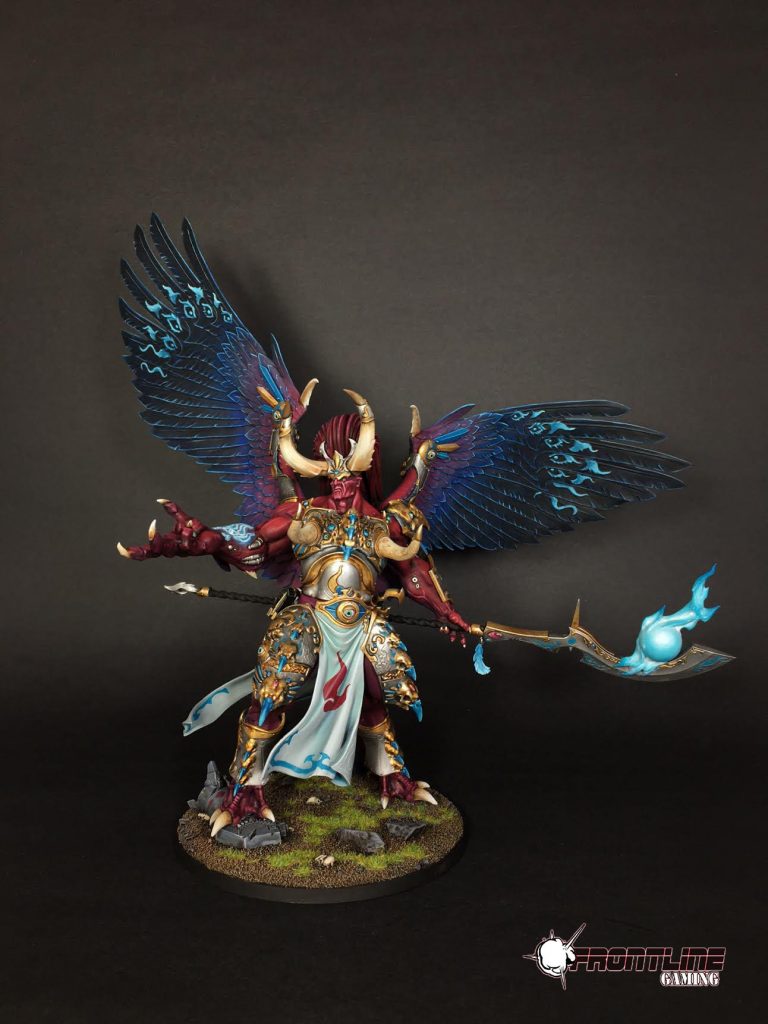
I again brought my super fun Raptors Space Marines army similar to the one I ran at the NOVA Open (read that report, here). In the face of so much Smite and psychic shenanigans that currently are popular in the meta, I made a few adjustments to my army to compensate.
| Unit | Force Org | Cost | # | Total | Weapons | Cost | # | Total | Total | Notes |
| Brigade | Raptors | Command Points | 9 | |||||||
| Lias Issodon | HQ | 195 | 1 | 195 | 0 | |||||
| Lieutenant w/ Jump Pack | HQ | 78 | 1 | 78 | Master Crafted Bolter | 3 | 1 | 3 | ||
| 0 | Power Axe | 5 | 1 | 5 | ||||||
| Captain w/ Jump Pack | HQ | 93 | 1 | 93 | T.Hammer | 21 | 1 | 21 | ||
| 0 | Storm Shield | 15 | 1 | 15 | ||||||
| Company Ancient | Elites | 63 | 1 | 63 | Storm Bolter | 2 | 1 | 2 | Banner of the Emperor | |
| Sternguard | Elites | 16 | 10 | 160 | Special Issue Bolter | 2 | 10 | 20 | ||
| 0 | Power Axe | 5 | 1 | 5 | ||||||
| Vanguard Vets with J.Packs | Elites | 18 | 5 | 90 | 0 | |||||
| Scout Bikers | Fast | 23 | 3 | 69 | Twin Bolters | 2 | 3 | 6 | ||
| 0 | Storm Bolter | 2 | 1 | 2 | ||||||
| Scout Bikers | Fast | 23 | 3 | 69 | Twin Bolters | 2 | 3 | 6 | ||
| 0 | Storm Bolter | 2 | 1 | 2 | ||||||
| Scout Bikers | Fast | 23 | 3 | 69 | Twin Bolters | 2 | 3 | 6 | ||
| 0 | Storm Bolter | 2 | 1 | 2 | ||||||
| Scouts | Troops | 11 | 5 | 55 | 0 | |||||
| Scouts | Troops | 11 | 5 | 55 | 0 | |||||
| Scouts | Troops | 11 | 5 | 55 | 0 | |||||
| Tactical Marines | Troops | 13 | 5 | 65 | H.Bolter | 10 | 1 | 10 | ||
| 0 | Storm Bolter | 2 | 1 | 2 | ||||||
| Tactical Marines | Troops | 13 | 5 | 65 | H.Bolter | 10 | 1 | 10 | ||
| 0 | Storm Bolter | 2 | 1 | 2 | ||||||
| Tactical Marines | Troops | 13 | 5 | 65 | H.Bolter | 10 | 1 | 10 | ||
| 0 | Storm Bolter | 2 | 1 | 2 | ||||||
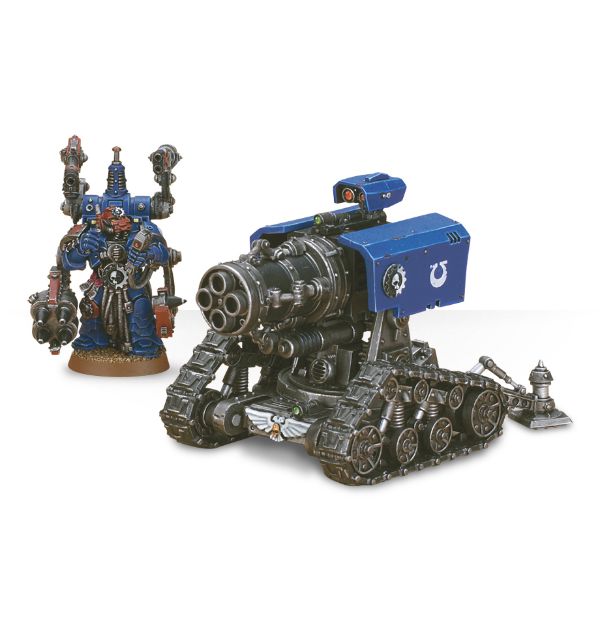
| Thunderfire Cannon | Heavy | 55 | 1 | 55 | Plasma Cutter | 7 | 1 | 7 | ||
| Thunderfire Gunner | 26 | 1 | 26 | Servo Arm | 12 | 2 | 24 | |||
| 0 | Flamer | 9 | 1 | 9 | ||||||
| Devastator Squad | Heavy | 13 | 7 | 91 | Las Cannon | 25 | 3 | 75 | ||
| 0 | Storm Bolter | 2 | 1 | 2 | ||||||
| 0 | Missile Launcher | 25 | 1 | 25 | ||||||
| 0 | Cherub | 5 | 1 | 5 | ||||||
| Devastator Squad | Heavy | 13 | 7 | 91 | M.Melta | 27 | 4 | 108 | ||
| 0 | C.Plasma | 15 | 1 | 15 | ||||||
| 0 | Cherub | 5 | 1 | 5 | ||||||
| Auxiliary Detachment | Imperium | Command Points | -1 | |||||||
| Culexus Assassin | Elites | 85 | 1 | 85 | ||||||
| Totals | 74 | 1594 | 406 | 2000 | ||||||
| Command Points: | 11 | Detachments: | 2 |
So I dropped the Drop Pod to make room for the Culexus which meant making some changes to the way my army functions. I slapped a Jump Pack on the Lt. so he could deep strike on his own, and then swapped out a Devastator Squad for a Thunderfire Cannon as I really wanted to take advantage of the Tremor Shell stratagem. This also meant one less unit dependent on Issodon to be delivered into combat.


Game 1
- Mission: ITC Scenario 6: Secure and Control
- Deployment: Spearhead Assault
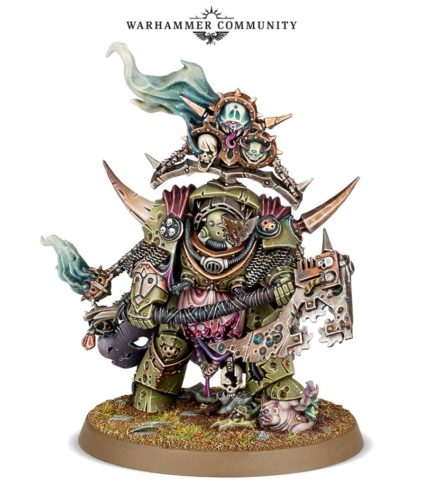
- Opponent: Death Guard
My opponent’s list:
- Death Guard Spearhead Detachment
- Lord of Contagion: Plaguereaper, Suppurating Plate
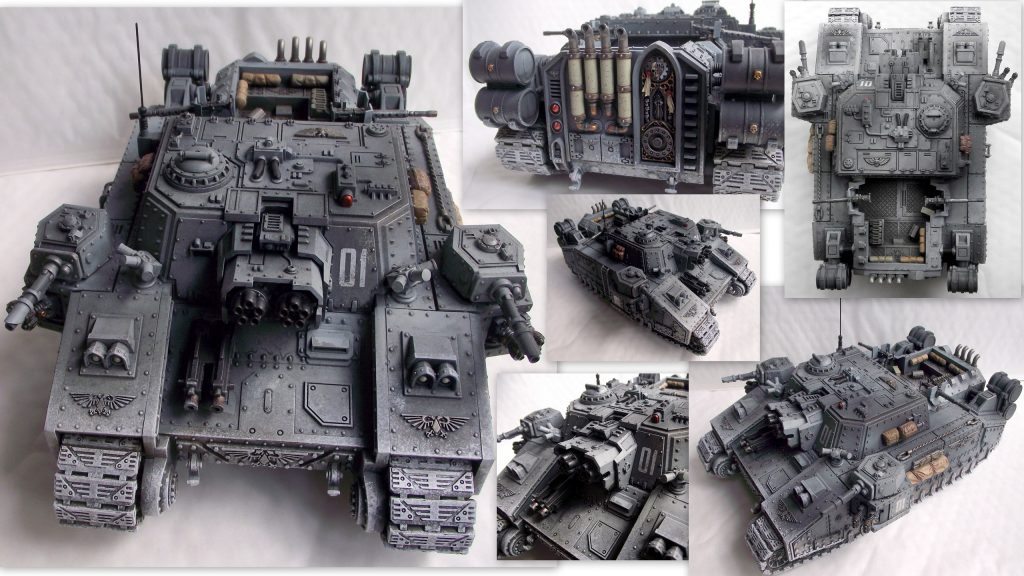
- Plagueburst Crawler: Mortar, Heavy Slugger, Plaguespitter x 2
- Plagueburst Crawler: Mortar, Heavy Slugger, Plaguespitter x 2
- Plagueburst Crawler: Mortar, Heavy Slugger, Plaguespitter x 2
- Plagueburst Crawler: Mortar, Heavy Slugger, Plaguespitter x 2
- Plagueburst Crawler: Mortar, Heavy Slugger, Plaguespitter x 2
- Plagueburst Crawler: Mortar, Heavy Slugger, Plaguespitter x 2
- Death Guard Battalion Detachment
- Lord of Contagion: Plaguereaper
- Lord of Contagion: Plaguereaper
- Pox Walkers x 10
- Pox Walkers x 10
- Pox Walkers x 10
- Death Guard Super Heavy Auxiliary Detachment
- Mortarion: Miasma of Pestilence, Plade of Putrefaction, Curse of the Leper
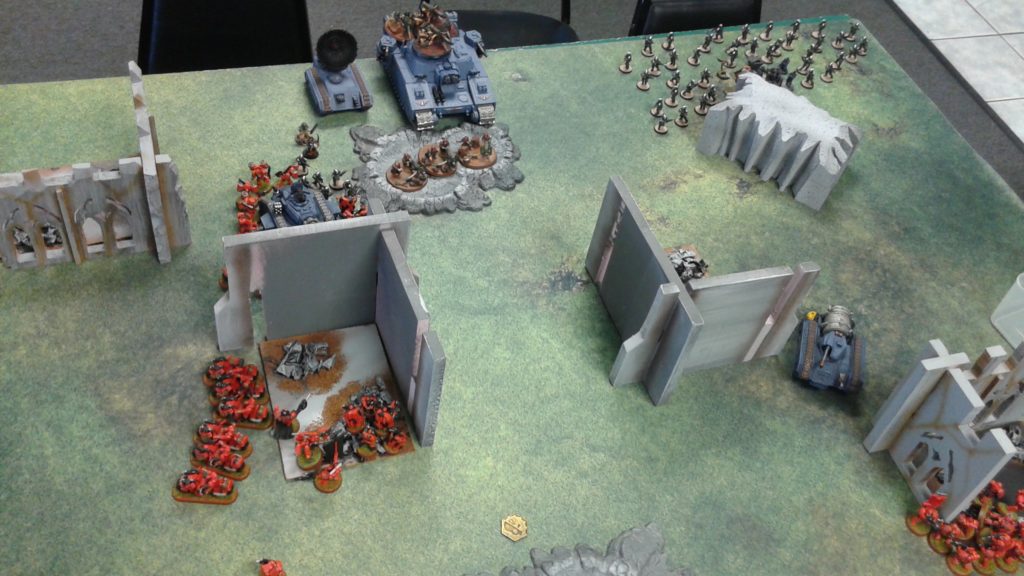
This was the first time I had seen someone use the Plagueburst Crawlers en masse and I have to say: I was very impressed. That is a fantastic tank. It is extremely tough, hits hard and is versatile. If it were not for the tried and true combo of Raven Guard Chpater Tactics and cover, I would have been getting creamed. However, with them them I was able to withstand their bombardments better than most armies. And please note, as the models are not yet available, my opponent was using Vindicators as proxies.
At any rate: the game! My opponent got first turn and took it. I was trying out using the Raven Guard infiltrate stratagem as I had one extra unit I would normally deep strike that I couldn’t in my new list so I was working out the kinks. I chose the Las Cannon Devs and as I went second, placed them in a good firing position in my deployment zone. However, my opponent focused on them and was able to deal quite a bit of damage to them. I quickly realized I should just always Deep Strike them as they are too high value a target.

However, as stated I was able to largely weather the storm but made a second big deployment mistake as I had left a few slivers of real-estate in my backfield and my opponent wisely took advantage of it, dropping his Lords of Contagions behind my lines. Doh! These are some tough hombres, and if I did not deal with them, they would wreck my backfield.
So, I was forced to drop in my assault force in to my backfield to kill them and I did, but just barely! What saved my bacon though, was the Tremor Shell stratagem as I nailed the last Lord with it and denied him the ability to charge despite being only 10″ away from me at the start of his turn! Halving move, advance and charge rolls is bananas good. What would have been an almost certainty become an impossible charge. This bought me the time I needed to shoot him again, preventing him from getting into another of my shooting units and killing it.

However, this had me on my back foot. I countered by dropping my Vanguard, Captain and Culexus in my opponent’s backfield, forcing him to send units back to deal with them, including Morty, as otherwise, they’d go and tag his tanks in melee and prevent them from shooting. While they did all eventually die, they kept my opponent busy long enough to buy me time to focus on winning the Maelstrom mission. As my opponent came back to assault my home objective in turns 4 and 5, I had moved my forces up to block him and again, the Tremor Shell was keeping his lead tanks moving at a crawl. What an incredibly powerful ability!
In the end, I did barely any damage to my opponent, killing none of the tanks and not even wounding Morty, but won on the Maelstrom and tied on the Eternal War objective to win a close game, 12 to 5.
Result: Raptors Victory!
Game 2
- Mission: ITC Scenario 5: Big Guns Never Tire
- Deployment: Frontline-Assault
- Opponent: Astra Militarum
My opponent’s list:
- Astra Militarum Brigade Detachment
- Lord Commissar: P.Sword P.Pistol
- Company Commander
- Tempestor Prime: Command Rod
- Commissar: Power Sword
- Salamander Command Vehicle
- Scion Command Squad: Melta Guns
- 50 Conscripts
- 40 Conscripts
- Scions: Plasma Pistol, Plasma Gun x 2
- Scions: Plasma Pistol, Plasma Gun x 2
- Infantry Squad w/ Plasma Gun, Auto Cannon
- Infantry Squad w/ Plasma Gun, Auto Cannon
- Artemia Hellhound: H.Flamer
- Scout Sentinel: H.Flamer
- Scout Sentinel: H.Flamer
- Heavy Quad Launcher
- Heavy Weapons Squad: H.Bolter x 3
- Leman Russ Conqueror: H.Flamer x 3
- Heavy Weapon Squad: Lascannons x 3
- Astra Militarum Super Heavy Detachment
- Stormlord: Twin Heavy Bolters x 3, Lascannons x 2
I love this list! Awesome Astra Militarum army and also, nicely painted too, which is always a treat. Looks aside, this is a scary army for me, lol! The Stormlord is beastly especially backed by the Salamander Command Vehicle which gives it a +1 to hit. That thing will nuke multiple squads at a time!
My opponent won the roll to go first (I lost every time this tournament, lol!) and this time, I learned from my previous game that I had to use Lias to keep my best units off of the table and instead infiltrated my Company Ancient. As I got second turn, I then simply placed him where I wanted to deep strike everything, hidden by Scouts.
I was able to largely keep out of sight and so the first turn wasn’t so bad. My opponent wisely kept his Scions off the table, waiting to see where I would go. However, interesting to note: the Forgeworld Hellhound explodes on a 4+ doing D6 mortal wounds to every unit within 6″! Holy $#!t! He bummed rushed my Tactical Marines with it and his Sentinels. This put me on the defensive on my flank, pulling back a bit to avoid getting blown up, lol. But, I pressed hard on the opposite flank, going up with Scout Bikers, my drop elements and Lias. Again, using the amazing Tremor Shell stratagem from the Thunderfire Cannon, I was able to prevent his Leman Russ from moving into position to actually see anything to shoot. I am falling in love with that thing! It is amazing.

He dropped down his Scions though, and promptly nuked it as I again stupidly left a little sliver of land for them to drop down on =( Damn, lol, but I avenged him with Scout Bikers who blasted them to bits. He dropped his other Scions on the same flank as the Hellhound, pressing my Tacticals hard. They got into a vicious gunfight but the Plasma chewed through them. I dropped my Sternguard to counter, but my opponent was rolling red hot saves and I lost the fight. This is the first game I have lost all of my Tactical Marines! That also meant that that flank collapsed and my objective was gone but the sacrifice of the Sternguard had prevented my opponent from threatening my other objective as they had too few men left and the Hellhound was destroyed using the masterful Marksmen stratagem. I have actually found the Sternguard to be quite good at killing tanks with that application of that excellent stratagem.
Luckily though, I had swept his flank and taken his objective as well with my Scout Bikers, Vanguard and Captain. They continued to press, ripping through his Conscripts and then wrapping tanks in melee to avoid getting shot. Double Chainsword Vanguard are just buzz saws, and performed extremely well in conjunction with the Captain as they had in previous games. The Captain just smacks the snot out of anything he touches with his Thunder Hammer and was crushing tank after tank.
The Stormlord eventually got into position and started mowing through my infantry with brutal ease, but not fast enough to keep me from pulling ahead on Maelstrom. I had held my Multi-Melta Devs off table until the right time and then dropped them down to attack the Stormlord once the conscripts had been cleared away and with support from my characters, they took a vicious bite out of it. They died in the process but with the Banner letting them shoot again in death they weakened it enough to allow me to take it out with Las Cannon fire on turn 5! This secured victory for me as it prevented my opponent from being able to press back on to his second objective with it, leaving us tied on the Eternal War mission and him unable to catch up on Maelstrom.
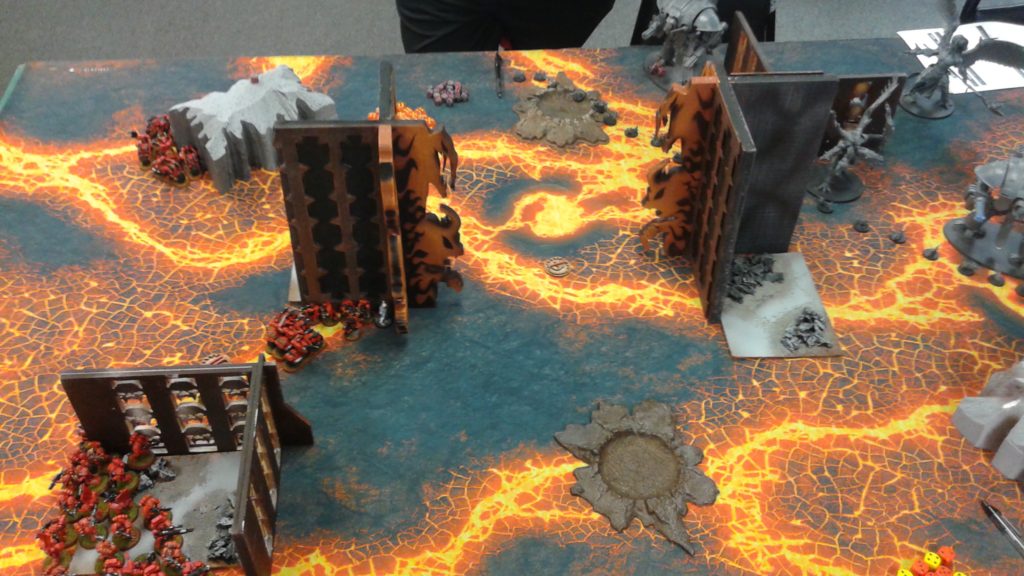
The terrain was massively instrumental to me being able to compete in this game. Having large, LoS blocking terrain is critical to a good game and I cannot stress enough how important it is.
Result: Raptors victory!
Game 3
- Mission: ITC Scenario 3: No Mercy
- Deployment: Vanguard Strike
- Opponent: Chaos Soup
My opponent’s list:
- Chaos Super Heavy Detachment
- Magnus: Warptime, Weaver of Fates, Death Hex
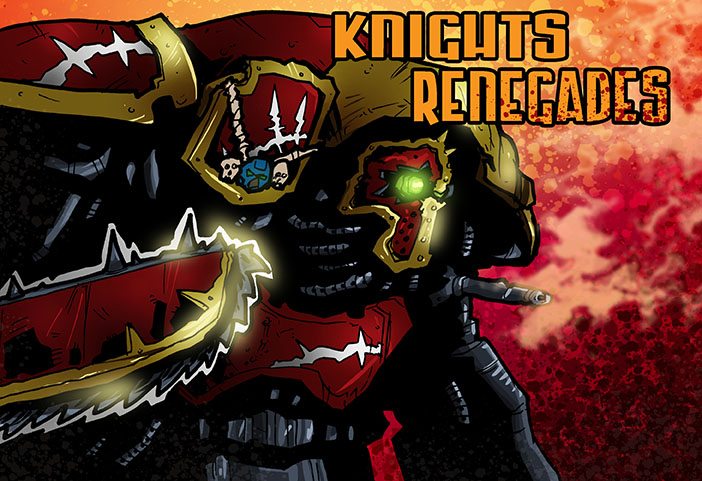
- Renegade Knight: Avenger Gatling Cannon x 2
- Renegade Knight: Avenger Gatling Cannon x 2
- Chaos Patrol Detachment
- Fateweaver
- Brimstones x 12
- Brimstones x 12
Holy smokes, lol. This is possibly the worst match-up I could get in Kill Points! A super heavy army with massive damage output….yikes. This was going to take some fancy footwork to have any chance of victory.
My opponent won the roll for first and gave it to me as I had deployed my entire army out of range of him apart form a Warptime’d Magnus who if he advanced twice, would be in range to hit me with some psychic damage. However, I had positioned my Culexus so that he would be the closest model if Magnus did this, making it a moot point. This allowed me to avoid giving up First Strike, thankfully, which I knew would be a swing point.

I played extremely cagey but what saved my bacon–again–was the Termor Shell stratagem. My opponent had screened his Renegade Knights with Brimstones which kept my Multi-meltas out of Melta range but it did mean that while the Tremor Shell wouldn’t work directly on the Knights (doesn’t work on Fly or Titanic keyword models) I could slow down the Brims and therefore also jam up the knights! I did so, allowing me time to pull ahead on the Maelstrom while my opponent tried to get in to range.

I had another stroke of luck when my opponent moved to commit Magnus and failed the 3++ spell! Nice one. This meant he had a tough choice of either committing to the attack without that defense or falling back to try and wait another turn. My opponent decided to play defense, staying out of range of some of my weapons. I pressed the attack with what resources I could bring to bear though, and took Magnus down to 6 wounds! The Flakk Missile and Hellfire Round stratagems were clutch, here, putting mortal wounds on him.
As we came in to the end game, I was clearly winning on Maelstrom but my opponent had me smoked on Kill Points. This meant it was all about the bonus points. Magnus and Fateweaver came in with the Knights and started wreaking havoc on me, trying to clear out the center of the table for King of the Hill. I countered and was able to destroy Magnus with more Flakk Missiles and Hellfire Rounds. I’d also be remiss not to mention how useful the Culexus was in preventing key powers, too. A very tactically advantageous model. Also, once again, the Shield Eternal saved my butt as it allowed the Captain to tank Magnus in melee for a turn (I positioned him well to Heroically Intervene on Magnus, pinning him down), blunting my opponent’s assault. He then bailed out, leaving Magnus to get gunned down before he could destroy any more of my units.

My Devs dropped a Knight and Fatey went down to the Captain with Thunder Hammer and small arms fire from Scout Bikers, Scouts and Tactical Marines. I had smoked the Brims, too, to make sure my opponent would have a tough go of it with King of the Hill. On turn 5, I was holding the center and had Slay the Warlord, meaning I had a two point lead! However, we rolled for it and went to turn 6 and his last model, a wounded Knight, was able to come in and punt my poor Captain, killing him and taking me off of the center of the table! We rolled for 7 and it ended, leaving me no chance to counter and probably tabling my opponent. Great game, very tactically challenging but good fun.
Result: Tie game!


I ended up dropping day two as I was not feeling well which stunk as I was in excellent position to get second place. Thus this being a Tournament Report….Sort of. Oh well! Frankie and James–a Chaos player–ended up playing on the top table and Frankie lost it, but did very well with pure Sisters.
What I learned from this event was that the changes I made to my list were largely positive. The Culexus is very useful in the current meta for toning down psychic powers, stopping Smite and for just being super annoying and picking up linebreaker, etc. The Thunderfire Cannon was just ridiculously useful. It barely did any damage, but slowing things down is a thing of beauty. Just a clutch ability all around and game winning against some opponents or in certain situations such as end game when everyone is scrambling for objectives.
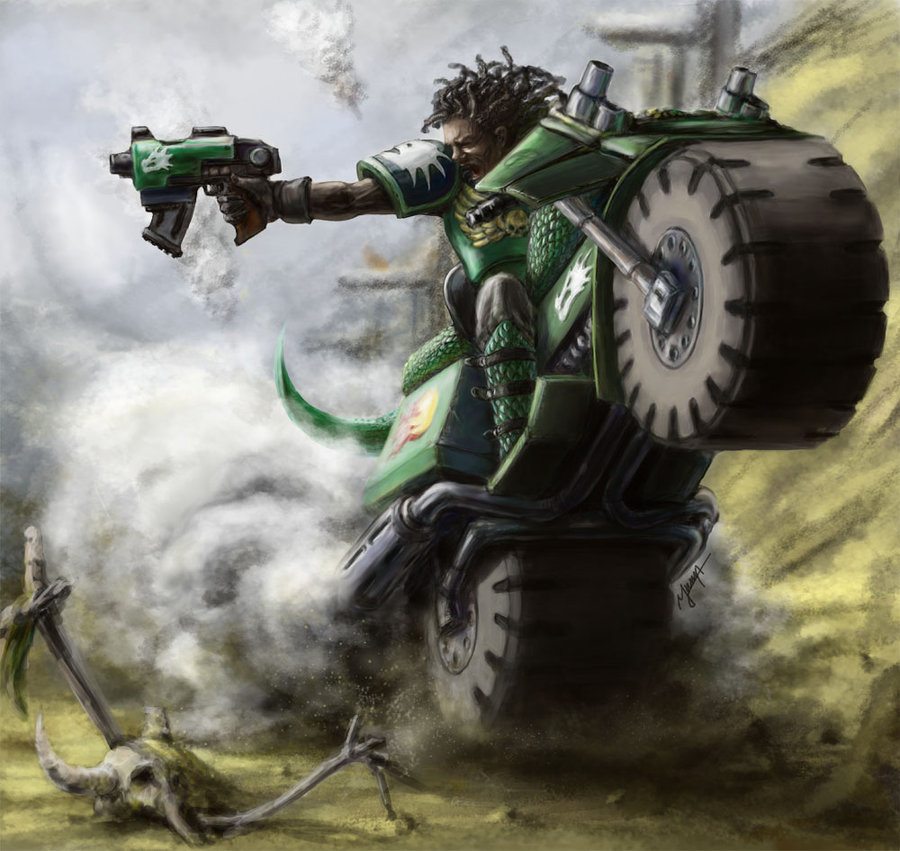

Again, the Scout Bikers were champions and generally rock-star units. They plow through screens, are fast for grabbing objectives, are reasonably durable and generally kick ass. The Captain with Vanguard continue to be brilliant as well, and the double Chainsword load-out on them remains my favorite. They do respectable damage with 21 attacks from 5, lol, but really they serve to deliver the Captain who is deadly once he gets in to melee. The Devs + Lias +Lt. are murder as well, but that needs little explanation.
Generally speaking, I love my army. It is so versatile, so flexible I feel like I can take on anything and have a very good chance of winning. As you see though, my army doesn’t typically smash people to bits (although it certainly can!) but wins the mission which is my preferred play-style. I like having a wide variety of tools to choose from as I do in this army. Also, I lost the roll to go first every game and it did not matter at all. The ability to go second with an army is huge and critical to success in this edition, IMO.
Thanks for reading and thank you to all of my awesome opponents as I had 3 very fun games.
And remember, Frontline Gaming sells gaming products at a discount, every day in their webcart!


