
Hey everyone, Josh here to discuss the units that are available in the Blades of Khorne. This time we’ll be discussing one of my favorite Bloodbound leaders, Slaughterpriest. For more tactics articles, check out the Tactics Corner!
Slaughterpriests tower above mere mortal men. These unholy warriors of the Khorne are blessed with daemonic powers that allow them to manipulate the red fluid their God craves. They have the power to boil the blood of their enemies or send those who are holding the line into an insatiable bloodlust and break their ranks.
Zoning units are those which threaten your enemy if they commit units to an area of the battlefield within range of their abilities. Prior to Blades of Khorne Slaughterpriests were a zoning unit. Without the Khorne allegiance Blood Blessings, this is still the case. They can typically be found behind the front line threatening units that come within range of their prayers. Blood Blessings completely change the role of this unit. So, make sure you check out the next review for all your Blood Blessing needs.
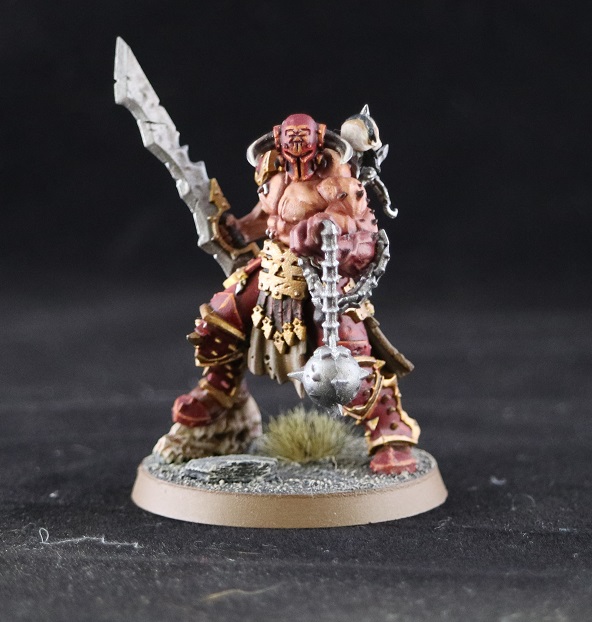
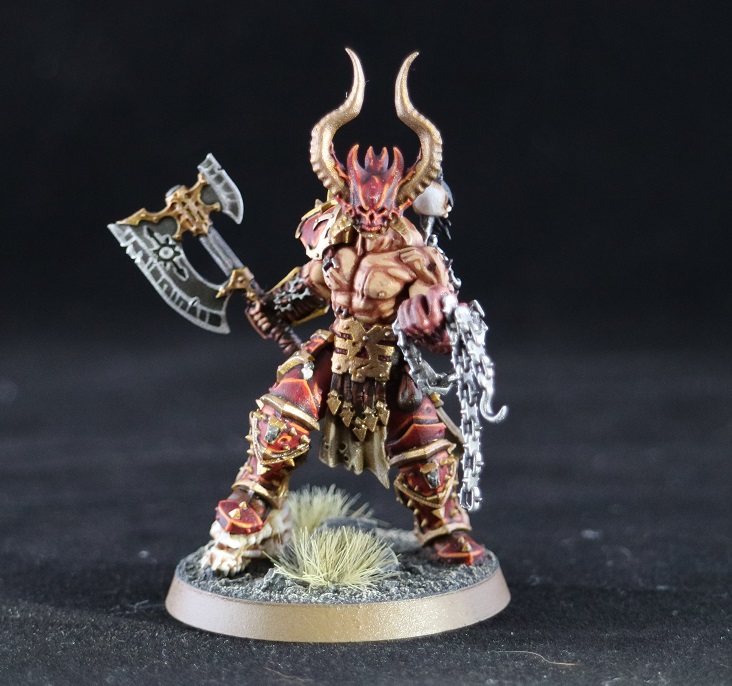
Slaughterpriests come in two flavors. The only difference between them is their attack profile. One carries a large axe while the other wields a blade and flail. Statistically speaking the axe is better. The axe deals double the damage of the blade or flail. The axe just as accurate as the blade and more accurate than the flail.
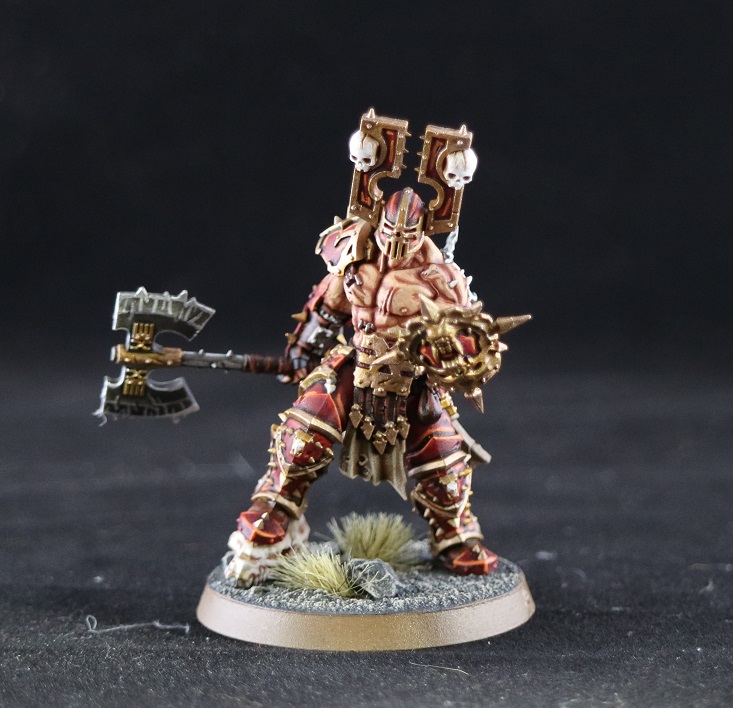
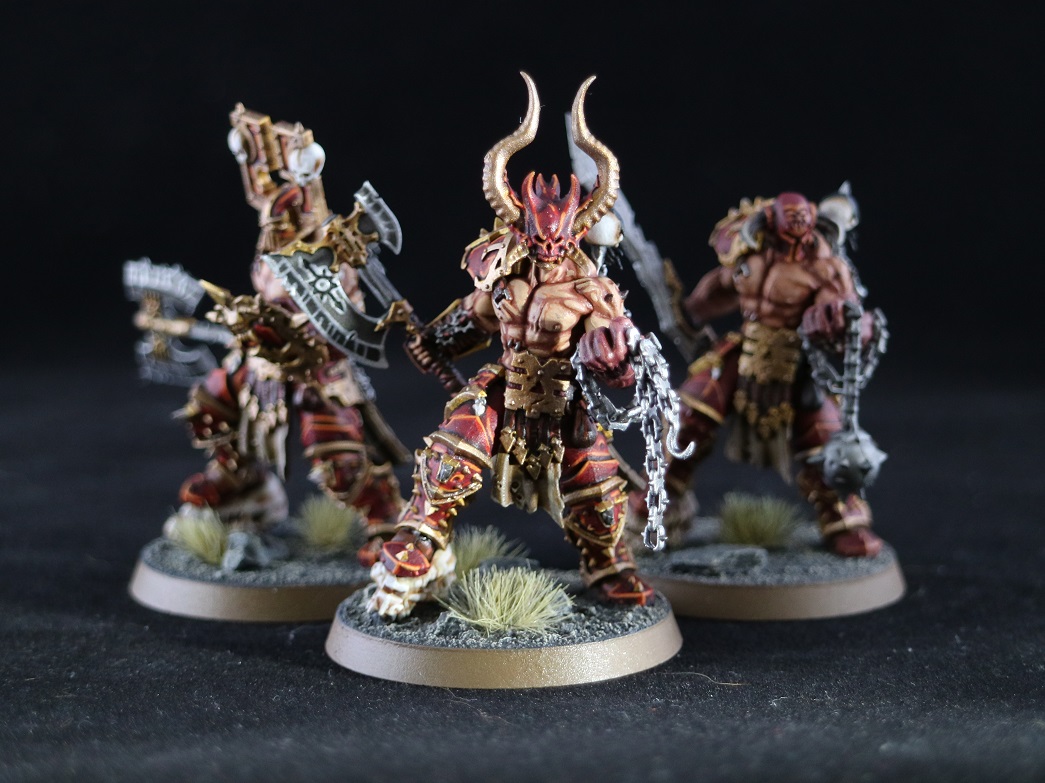
Both versions of the Slaughterpriest are so cool looking. They are some of my favorite models in the army of Khorne. These guys are gigantic when compared to any other Bloodbound hero. Don’t worry if you purchased or received the “wrong” slaughterpriest. The Hackblade and Wrath-Hammer model is very easy to kitbash into an Axe wielding monster.
Unit Characteristics
- Wounds: 6
- Save: 5
- Move: 6
- Bravery: 8
- Points: 100
- Min Unit Size: 1
- Max Unit Size: 1
Weapons (Range/Attacks/To Hit/To Wound/Rend/Damage)
- Slaughterpriest with Hackblade and Wrath-Hammer Attack Profiles
- Hackblade(1/3/3/4/-/1)
- Wrath-Hammer(3/D3/4/4/-/1)
- Slaughterpriest with Bloodbathed Axe
- Bloodbathed Axe(2/3/4/3/-/2)
Abilities
- Scorn of Sorcery – can unbind a spell in the same manner as a wizard
- Blood Fuelled Prayers – pick a prayer (Blood Boil or Blood Bind), roll a D6 (+1 if slaughterpriest killed models in the prior turn), on a 1 take D3 damage and on a 4+ the prayer succeeds
- Blood Boil – Target unit within 16” suffers D6 mortal wounds
- Blood Bind – Target unit within 16” must make a run roll towards the nearest enemy unit
Keywords
- Chaos
- Mortal
- Khorne
- Bloodbound
- Hero
- Priest
- Slaughterpriest
Tactics
Prayers are the best part about the Slaughterpriest. Blood Boil is excellent for threatening damage. It’s an especially powerful zoning tool when you’re taking the second half of a combat round and you you have a shot at a double turn.
Blood Bind is much better than players give it credit. Again, it’s much better when you are set to take the top half of a battle round and threaten with a double turn. Pull enemy units out of cover, disrupt defensive abilities that trigger while enemy units remain stationary, create a hole in your enemy’s defensive line so that you can strike the heart of their forces or simply pull an enemy unit closer for an alpha still. With multiple Slaughterpriests, you can often pull your enemy closer with one priest to bring an enemy unit within range of another.
The Rules Lawyer : Prayers do not require line of sight. Feel free to position your Slaughterpriest out of sight while using either of these powerful abilities. Just keep in mind, Blood Bind does not need line of sight to determine proximity for opponents units either.
Slaughterpriest is fast and can even keep up with Skull crushers. In fact, positioning this unit behind a resilient unit like Skullcrushers or Khorgoraths is a great strategy for piling on the damage while keeping out of harm’s way.
Slaughterpriest has a reasonably high wound count.He can usually handle a round of combat from most battleline units. Just be cautious about your positioning and don’t give your opponent a chance to pile too many models into him.
My Top 5 Unit Synergies (Keep in mind, these will change depending on Blood Blessings chosen.)
- Khorgorath – Largest tarpit in the Khorne army, good for tieing up units while you shower them with boiling blood
- Skull Reapers – Most efficient unit in terms of points per wound and save, good for tieing up units while you shower them with boiling blood
- Skullcrushers – Again, good for tieing up enemies units while you shower them with boiling blood (deal additional mortal wounds with with Brass Stampede)
- Bloodwarriors – Good for defending while you shower enemies with boiling blood
- Fleshhounds – Good for alpha striking while you shower enemies with boiling blood
My Top Artefact Synergies
- The Brazen Rune – It’s hard to ignore items that auto-counter spells at any range. I usually run at least one of these if I’m playing against a spell heavy army.
- Talisman of Burning Blood – Pumping the charge and run rolls is always a huge bonus in the armies of Khorne.
Cons
Without the Blood Blessings in the Blades of Khorne, Slaughterpriest is a reactive unit. Khorne is typically an aggressive army. If you’re playing a reactive game with Khorne then you’re probably losing, however building a reactive army with Khorne is challenging and fun (be prepared to lose… a lot).
Abilities with 16” range that target your opponent’s units and occur before movement require a lot of commitment. A missile meta is going to ignore your commitment and shoot you from a distance until your units are soft and Slaughterpriest is no longer relevant. If you are taking this unit without Blood Blessings, make sure you know what you’ll be up against.
Slaughterpriest has a low save. Don’t expect him to survive a charge, and don’t expect him to survive multiple rounds of combat. Keep him safely behind your front line.
Prayers only work 50% of the time. Don’t count on them working 100% of the time. Instead expect that 50% of the time your Slaughterpriest will do nothing and 18% he will kill himself. You can mitigate some of the risk by using the Blades of Khorne Allegiance with the Gore Pilgrims battalion, or committing to situations where you can potentially score a double turn. I’ll talk about the Gore Pilgrims battalion in a later review.
And remember, Frontline Gaming sells gaming products at a discount, every day in their webcart!

