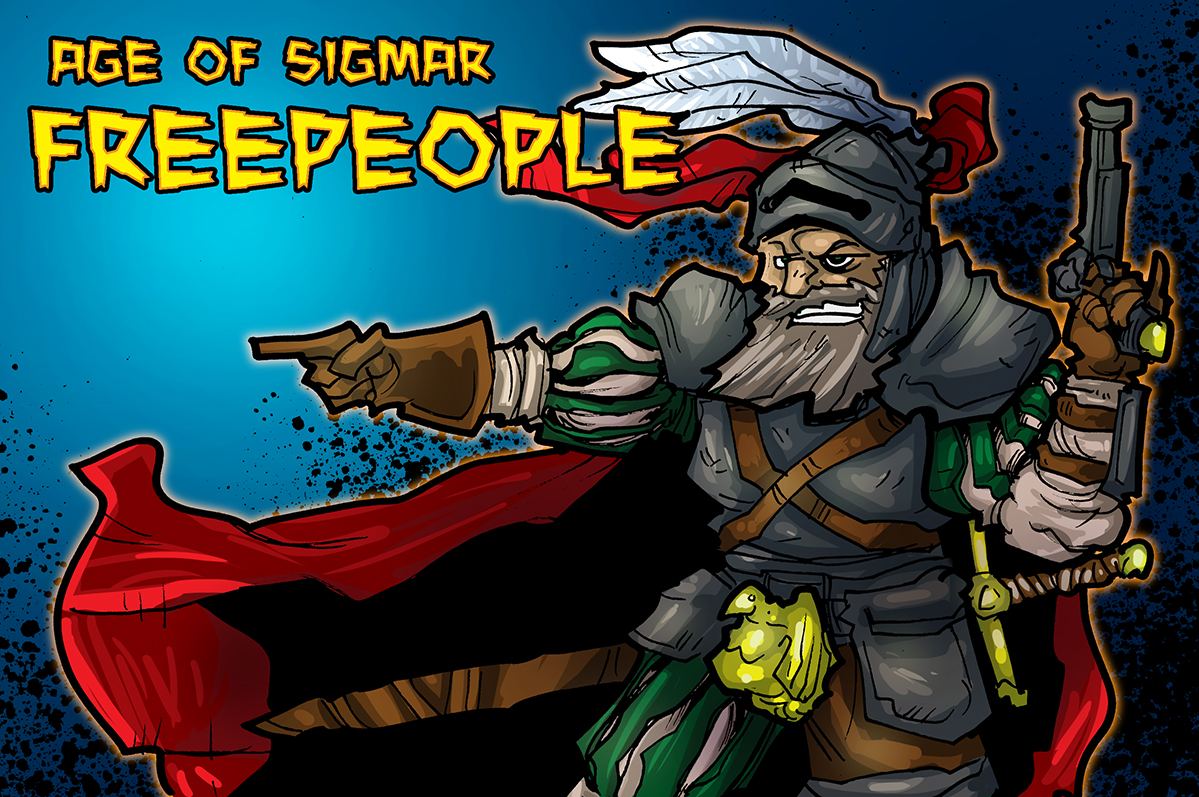

The Free Peoples ride again! This time at the Broadside Bash GT in San Diego, CA.
Sorry for some of the blurry pictures, my cell phone is not the best camera…or I am simply not a good photographer! haha

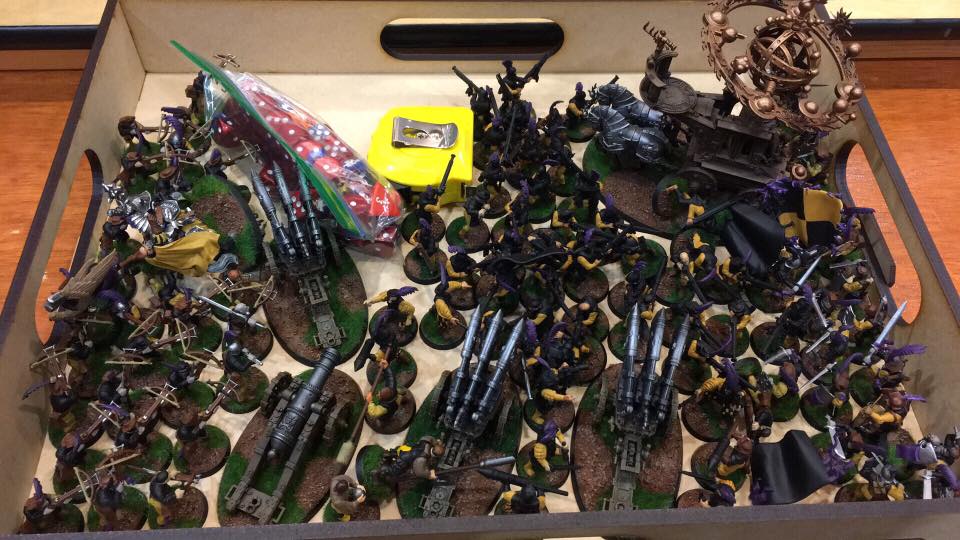
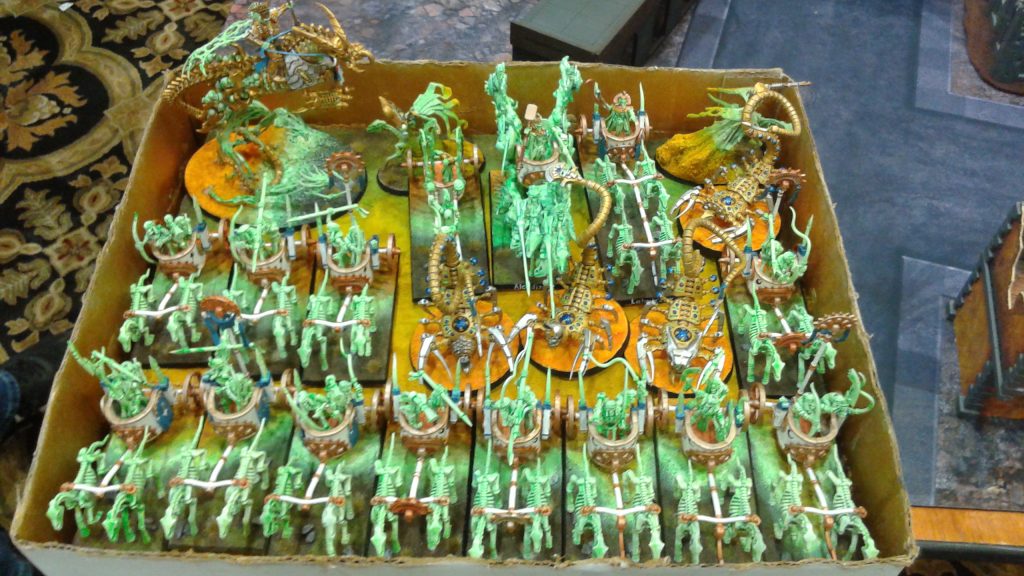
Hey everyone, Reecius here again to discuss the latest outing of the Free Peoples. Here’s the current list:
Allegiance: Order
Leaders
Celestial Hurricanum With Celestial Battlemage (320)
– Artefact: Phoenix Stone
Freeguild General (100)
– General
– Stately War Banner
– Trait: Inspiring
Battleline
20 x Freeguild Guard (160)
20 x Freeguild Handgunners (200)
20 x Freeguild Handgunners (200)
30 x Freeguild Crossbowmen (300)
War Machines
Helstorm Rocket Battery (180)
Helstorm Rocket Battery (180)
Helstorm Rocket Battery (180)
Cannon (180)
Total: 2000/2000
So, a complete nut puncher Free peoples army, no doubt about it. Four artillery pieces is savage and Free peoples infantry, when properly supported, are very good. When not, they are pretty terrible, haha. And the Celestial Hurricanum is just ridiculous as everyone knows as this point, probably to be (deservedly) nerfed in the General’s Handbook 2. The only downside here is that I do not have any Battalions, meaning I will almost always finish deploying second, meaning I do not get to choose who goes first or second on turn 1 and my Battleshock mitigation is half as effective as it was with my Battalion. I was curious to see how these changes would impact performance at a GT.
Game 1
Opponent’s list from memory:
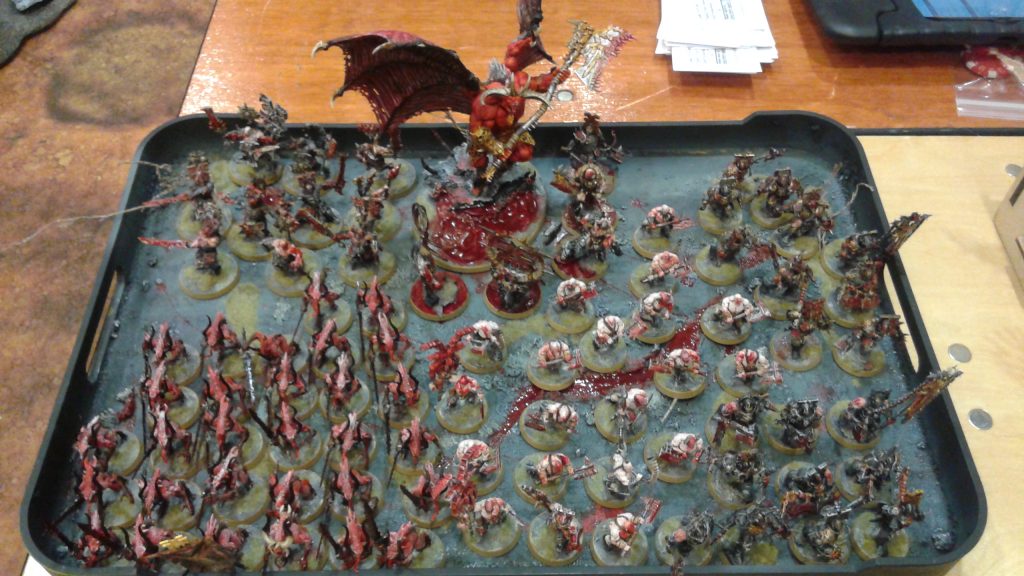
- Lord of Change
- Gaunt Summoner
- Tzaangor Priest
- Tzaangor Priest
- Lord of Change
- LOTS of Tzaangors on disks, both Skyfires and Enlightened.
- Marauders
- Marauders
- Marauders
- Balewind Vortex
- Herald of Tzeentch
I may be missing a few items from Chris’ list, but it was nasty. He had a Battalion allowing his Skyfires to move in the Hero phase, making them mega fast. He had first turn and took it and summoned the Balewind Vortex with the Gaunt Summoner, one of the most potent combos in the game, and nuked 15/30 Crossbow men off of the map, and the rest fled due to a very unlucky Battleshock test…ouch. That brought out the salt in me a bit, lol. The Balewind Vortex is a bit much as I will tell anyone that sits still long enough to listen, haha. It is the only model in the game banned from most tournaments. I knew I had to endure one turn of that though, as I then blasted the Gaunt Summoner with some artillery to end his reign of destruction. Some armies don’t have that option though, and just get rocked by him.

However, I made a big mistake. I thought the Gaunt Summoner’s spell hit every model in the unit, but it is every model in range. Big difference. Now, with the Balewind Vortex that 36″ range is hard to avoid but had I known that I could have deployed so as to mitigate the damage. But, alas, I did not. Lesson learned. I also deployed one Helstrom Rocket poorly and Chris was wise enough to catch him in a crazy long charge with his Enlightened who–on the top of turn 1–were touching my deployment edge, lol. They are pretty nasty. Thanks to some LoS blocking terrain (which I feel is critical to making AoS fun in the current meta) his Skyfires weren’t able to snipe out my remaining artillery.
My counter attack was brutal though, and I killed nearly all of the Enlightened. Chris attempted to bring some back to life but rolled an unlucky 1, and the rest of the unit evaporated. In the meantime, my Handgunners took out any units that came close to try and contest my objective while my Helstorm Rockets pummeled all of the Marauders on his objective, killing them and leaving him with no units to score points. Chris conceded at this point. Stand and Shoot for the Free peoples is one of their most powerful abilities and it really served me well, here. It is what makes them unique and really makes up for their otherwise mediocre stats. I think it may be fair to give it a -1 to hit though, as it is very powerful. Chris was a great opponent though, with a solid list.
Free Peoples major victory.
Game 2
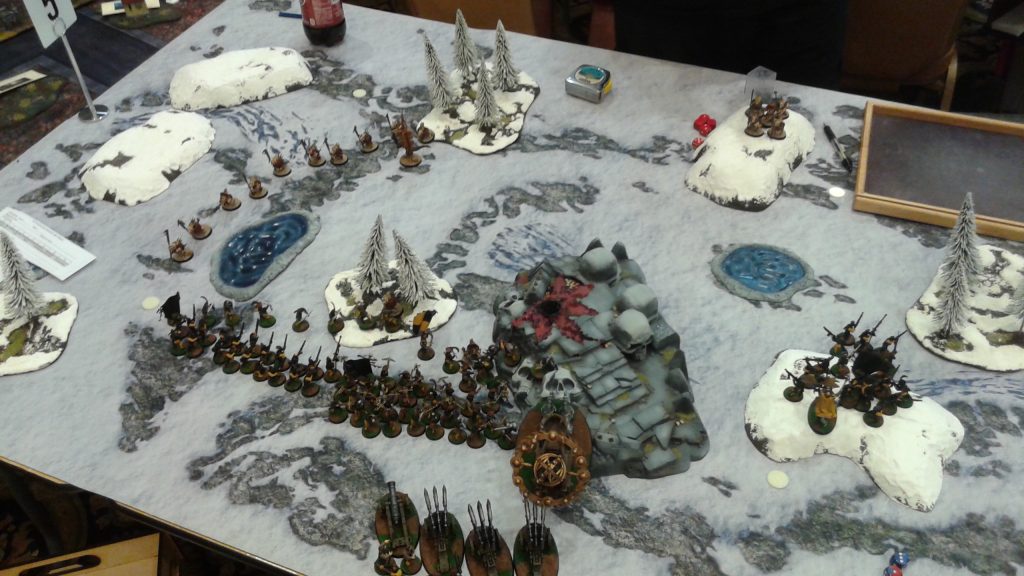
Opponent’s list from memory:
- Stonehorn
- Thundertusk
- Thundertusk
- Kunnin Rukk
- Savage Orruks x 10
- Moonclan Grots x 20
- Moonclan Grots x 20
- Moonclan Grots x 20
A BRUTAL army and one that is very popular in the meta at present. My opponent, Ryan, was a solid dude and shared his beer with me which is always appreciated! What helped me more than anything in this game was the deployment and terrain. Escalation forces you to put your nasty stuff further back in your deployment zone, which for my artillery is no big deal but for the Thunderstusks and Stonehorns definitely is. Plus, there were big, giant walls in the middle of the table that really hurt his Kunnin Rukk. Ryan decided to run around a flank to get to me which took a while (despite how crazy fast Destruction is) and while he did eventually get to me, I had time to reposition to face his oncoming attack and back away, buying more time for to rain rockets down on him and rack up objective points. It also allowed me to kill all his Goblins who were going after Objectives. The game came down to the last turn, but he had so few guys left that he didn’t have the momentum to break though my infantry screen to deny me the last objective points I needed to win the game.
Brutal game but very fun! Ryan was a great opponent and got a dealt a tough hand due to the mission vs. my army.
Free Peoples major victory.
Game 3
Opponent’s list:
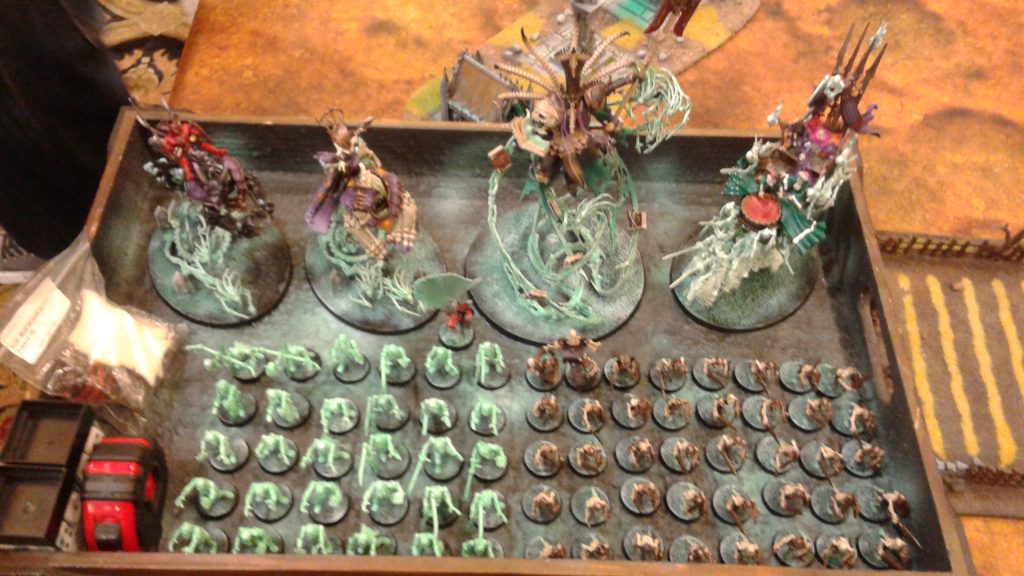
- Host Duplicitous
Lord of ChangeChangehost
Lord of Change
Changeling
Blue Scribes
Herald of Tzeentch
10 Pinks
10 Pinks
10 Pinks
10 Blues
10 Blues
10 Blues
10 Brimstones
10 Brimstones
20 BrimstonesGaunt Summoner
Balewind Vortex
The rubber-match I was looking for from James, whom I played at the last tournament which you can read about, here. James is a very good player with a positively nasty Tzeentch list. He uses the Changehost to swap models around which combined with the Changeling (who can deploy in the other player’s deployment zone) creates some really crazy potential combos. Per RAW, you can apparently swap the same unit twice as long as the other unit in each swap is different, allowing you to bounce a model from one end of the board, blast someone with magic, then bounce back leaving only a throwaway unit in their place (like Brimstone Horrors). I don’t think that is RAI (although I could of course be wrong) as the wording two pairs of models to me means 4 different units, but technically swapping unit A and unit B, then unit A again with unit C is two different pairs. So, for the time being, be aware of this very nasty combo.
I deployed in a crazy semi-circle to avoid his Gaunt Summoner/Balewind Vortex combo (again, gah!). I also baited his Changeling with my Swordsmen, which he took, then counter-deployed on the other side of the table to deny him the ability to pop his Lord of Change over to wipe out some of my best units with Magic. However, he bypassed my trickery a bit by using a Herald of Tzeentch to summon the Balewind Vortex which then nuked two Helstorm Rockets….ouch. However, due to minimizing the amount of damage he did with his Alpha strike, I was able to hit back very hard. I nuked the Herald off of the Vortex, and got the double turn allowing me to also kill his Lord of Change which enabled the unit swapping ability. I now had James on his back foot. I was fighting him back into his deployment zone and had three chances to win the game, but two went sideways due to bad luck, the other to me overestimating his offensive output.
The first was the ability to kill his Gaunt Summoner for bonus points, hit him in the face with two rockects, needed to roll a 5 or hire on 2d6….and up come snake eyes, lol. Gah! James then wisely retreated to the back corner to avoid tempting fate like that, again. The second opportunity came when I was able to try and kill the Changeling in my deployment zone to deny James bonus points and I fired my Cannon at him twice, and went 0/4 on hits, lol. Son of a $!$#@! The third missed opportunity was when I decided not to put my Hurricanum on his objective last turn to deny him a point and win me the game. I had rushed it with Handgunners but I left the Hurricanum back a bit to pick up bonus points for being in his deployment zone. I thought he’d be able to take both units out so I played it safe. As it turns out, he threw everything at me and did kill the Handgunner, but wasn’t able to kill the Hurricanum. Had I gone for the Objective and not Linebreaker, I’d have won. Oh well! Great game. James went on to win the tournament, so congratz to him!
Free Peoples Tie Game.

Game 4
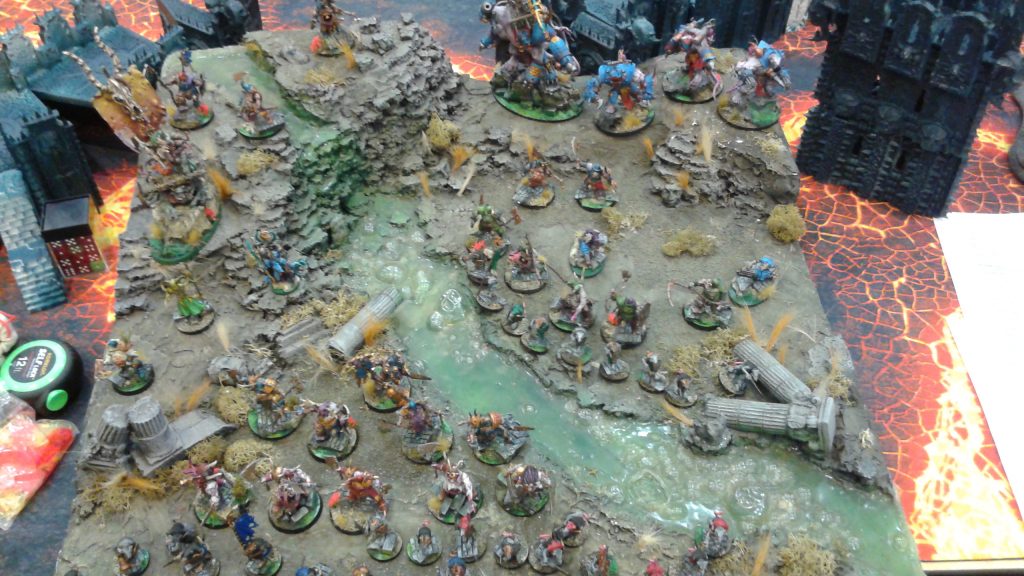
Opponent’s list:
- Branchwych: Silverwood Circlet, Verdant Blessing
- Drycha Hamadreth: Regrowth
- Treelord Ancient: Gift of Ghyran, Briarsheath, Regrowth
- Celestial Hurricanum
- Kurnoth Hunters x 3: Bows
- Kurnoth Hunters x 3: Swords
- Kurnoth Hunters x 3: Sycthes
- Dryads x 10
- Tree-Revenants x 5
- Tree-Revenants x 5
- Gnarlroot Wargrove
- Household Battalion
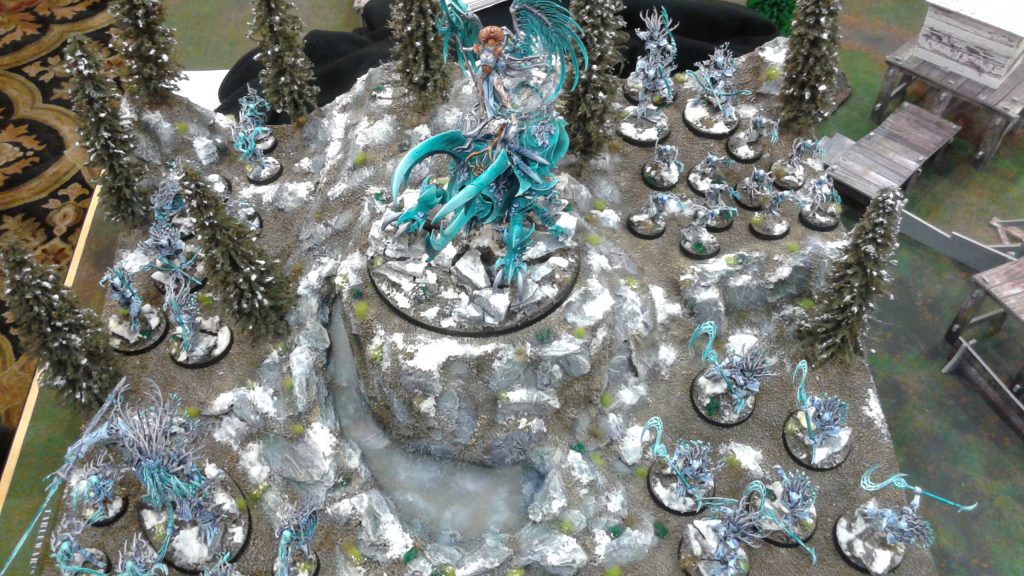
A Sylvaneth army is a tricky beast to tackle. They’re so dang mobile, it’s crazy. Plus, Vlad had Drycha, who packs an absolutely devastating punch. She has an attack that hits all models from a unit within 10″, doing a mortal wound on a 3+….so savage. For armies like mine with high model count units, that is devastating. She had to get turned into kindling with a quickness.
So, I played very aggressively, deploying my artillery forward and taking first turn (Vlad chose not to deploy his Battalion at once in order to see where I deployed). This allowed me to alpha-strike she and the Branchwych off the table turn 1, which was awesome. however, it left me very exposed for a counter attack should Vlad get the double turn, turn 2….which he did!
My main mistake though, was getting greedy with the Hurricanum. I moved it up to kill a Kurnoth Hunter but left it exposed to counter attack as they warped forward and swung through my Swordsmen. As Vlad got the Double turn, this let him finish it off before I could fall back. Ouch. I needed the Hurricanum alive, and I left it exposed. Vlad also took out 3 artillery pieces over the course of the double turn, which left me on my back foot.
I was still in the game though as I got the next double turn and killed almost all of Vlad’s army but his Tree-Revenants warped forward and both made 9″ charges to get into my Handgunners, helping to kill them off of an objective. I failed to shoot his Dryads off of an Objective with my remaining Rocket in two turns which when he got the final double turn on turn 4, meant he jumped ahead on points before I got my last shot at them with the Rocket to get me back in the game. I conceded at this point as mathematically I could not score enough points to win. Had he not gotten the double turn and I was able to kill the last 3 Dryads, I could have come back.
Good game, I learned a lot. Had I been conservative with the Hurricanum, I think I would have won as it’s firepower would have kept the heat off of my infantry and allowed me to take an objective late game as it is a speedy little wagon, but alas, I did not.
Free Peoples minor loss.

Game 5
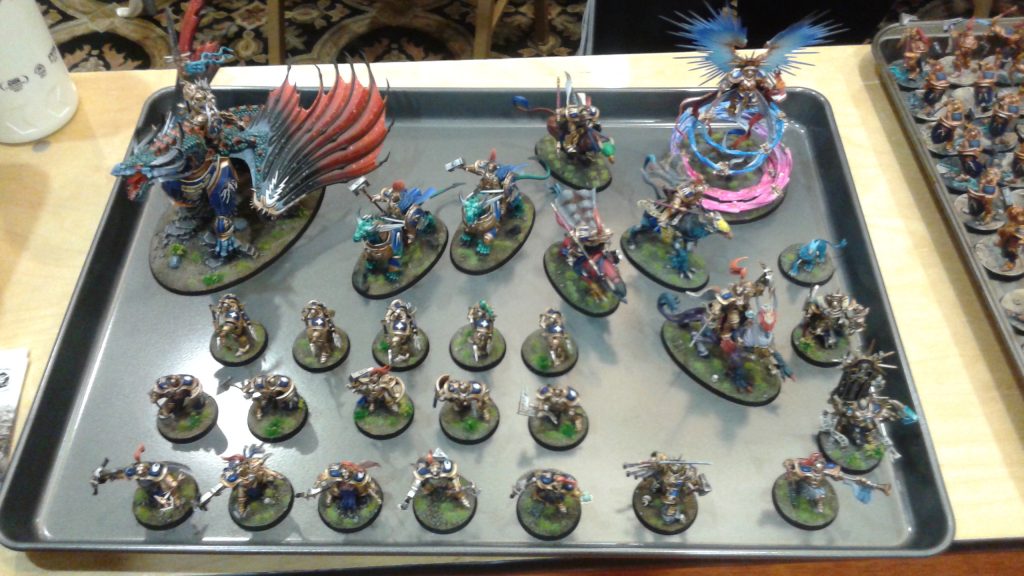
Opponent’s list:
- Engine of the Gods: Phoenix Stone
- Saurus Astrolith Bearer
- Saurus Eternity Warden: Phoenix Stone
- Skink Priest
- Skink Starseer
- Saurus Guard x 10
- Saurus Guard x 10
- Saurus Guard x 5
- Salamander
- Eternal Starhost
- Dread Saurian
A very cool Seraphon list! Some crazy combos in here, the Saurus Guard in the Eternal Starhost get a total of a 2+ save ignoring rend -1 with a reroll from the Skink Priest’s prayer…wow! That’s bonkers, lol. My opponent made a mistake though, and underestimated the power of the Free peoples’ shooting. He chose not to take Lord Kroak and instead used his Dread Saurian from his sideboard (although, lol, that thing is brutal, too!) and took first turn against me, bum rushing up the table. In my first turn, I fired everything at the Dread Saurian and dropped it in its tracks. To make matters worse, I got the double turn and the picked off two of his critical support characters, taking away many of his abilities to get rerolls.
This pretty much decided the game in all honesty as his army was just too slow to close the gap. He did hit my lines but Swordsmen with Mystic Shield are tough to kill and they took the Saurus charge like bosses, allowing me to then pick off the rest of the support characters which left the Saurus Guard much, much easier to deal with as they tired to chew through the Swordsmen screen. My opponent conceded here, as he knew the firepower of all of my Handgunners and Crossbowmen would shred his remaining lizards.
Free Peoples major victory.
End result: 6th place out of 32!
So, a great event and I learned a lot. Not having the Battalion was a bit of a bummer as I would have gotten the initiative on the first turn much more frequently and the bonus to both hit and Battleshock mitigation it grants is awesome. The extra Cannon was cool, but certainly not a game changer. I honestly would prefer to have my old Battalion back. All that said, the army is savage. If you really wanted to be nasty, drop the Cannon for a 4th Rocket battery. Those things are simply mean, and probably a bit under-costed (or the cannon is over-costed). The Free peoples continue to go up against lists that the interest says I should lose to but I have honestly never felt truly outclassed. When I lose, often it comes done to dumb luck or a mistake I made. That is why I love AoS so much: I never feel like I simply don’t have a chance (like when I play my Orks in 40k vs. a Deathstar…don’t bother, lol).
Thanks to all my awesome opponents and to Scott for running a great event!