
Michael here with my second battle report from a recent tournament I attended. This game sees my Deathwatch take on a White Scars Bike army. For more reviews, analyses and battle reports, check out the Tactics Corner.
The second game of Birthday Bash saw me facing off against Robert Nathan and his White Scars army.
Robert is a regular reader and commenter on my blog, so it was great to finally meet him and play against him. This was likely to be a tough match up for me. I know from my own White Scars army how good they are in maelstrom games, and Robert’s army seems to be set up for maelstrom missions very well.
We were playing the Cloak and Shadows mission with Hammer and Anvil deployment. In this mission, you draw 3 maelstrom cards per turn, but keep them hidden from your opponent. This makes it hard predict what your opponent will do and how to best block them scoring in the game.
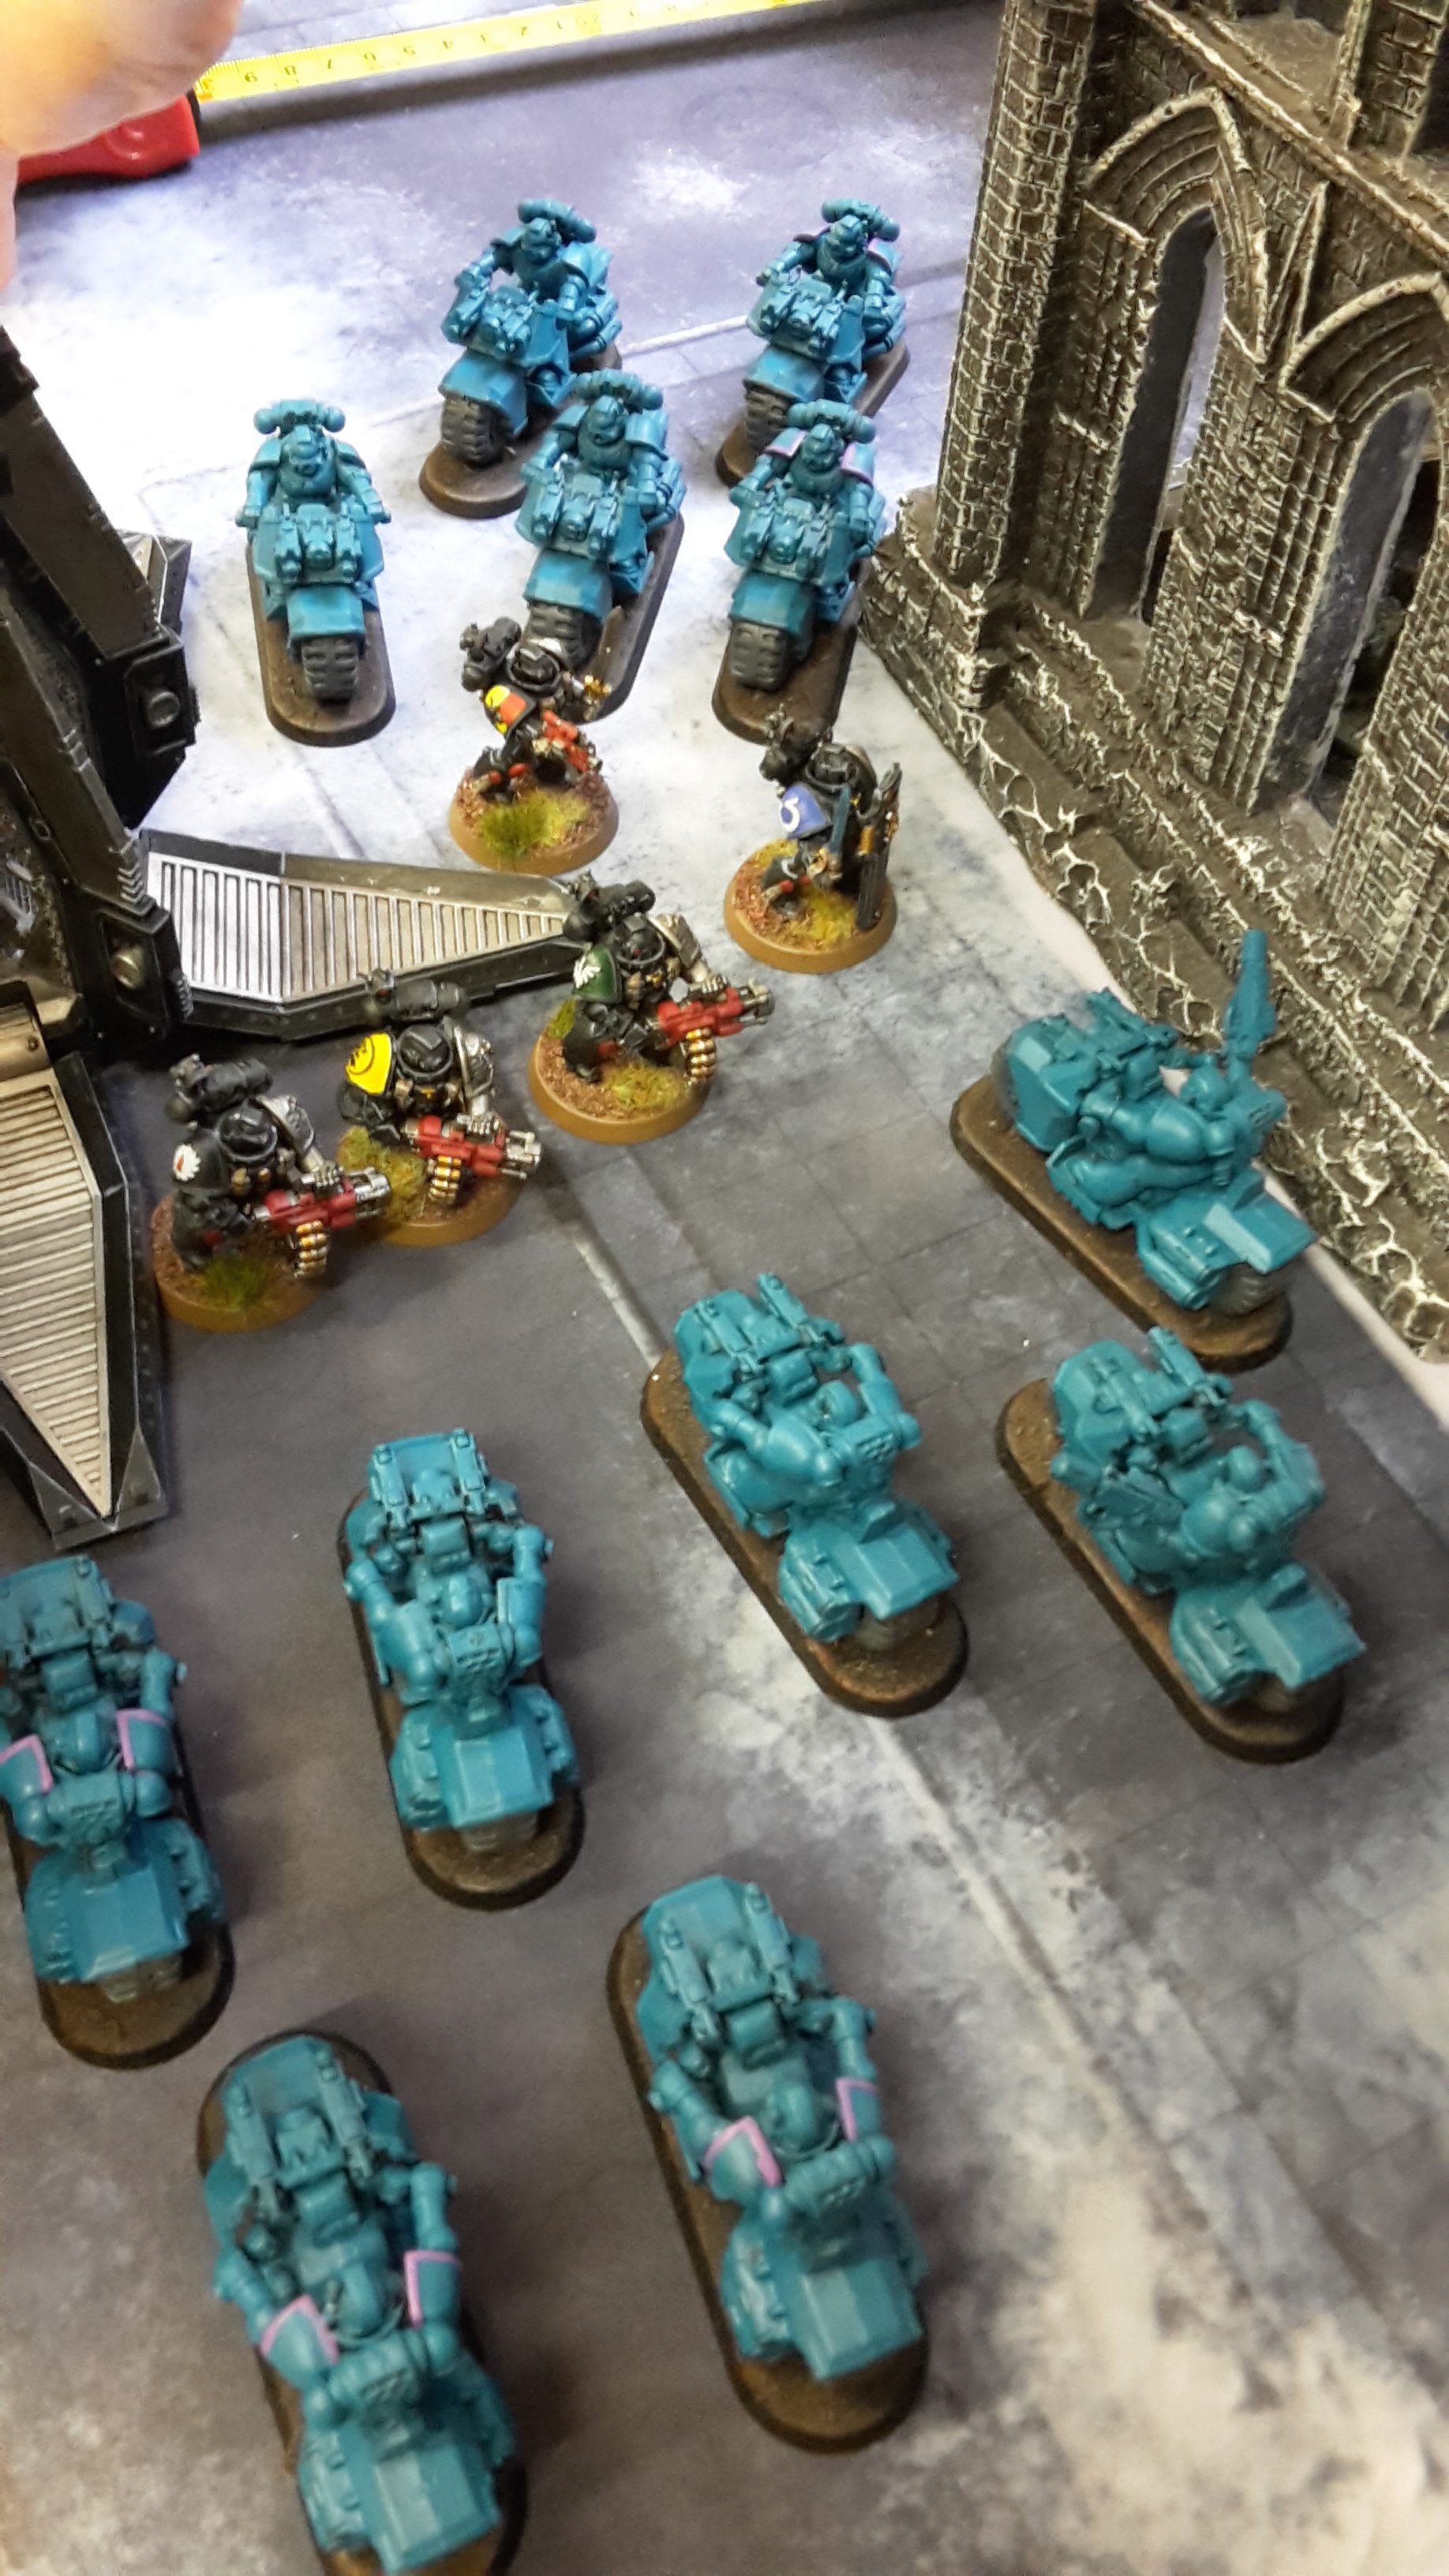
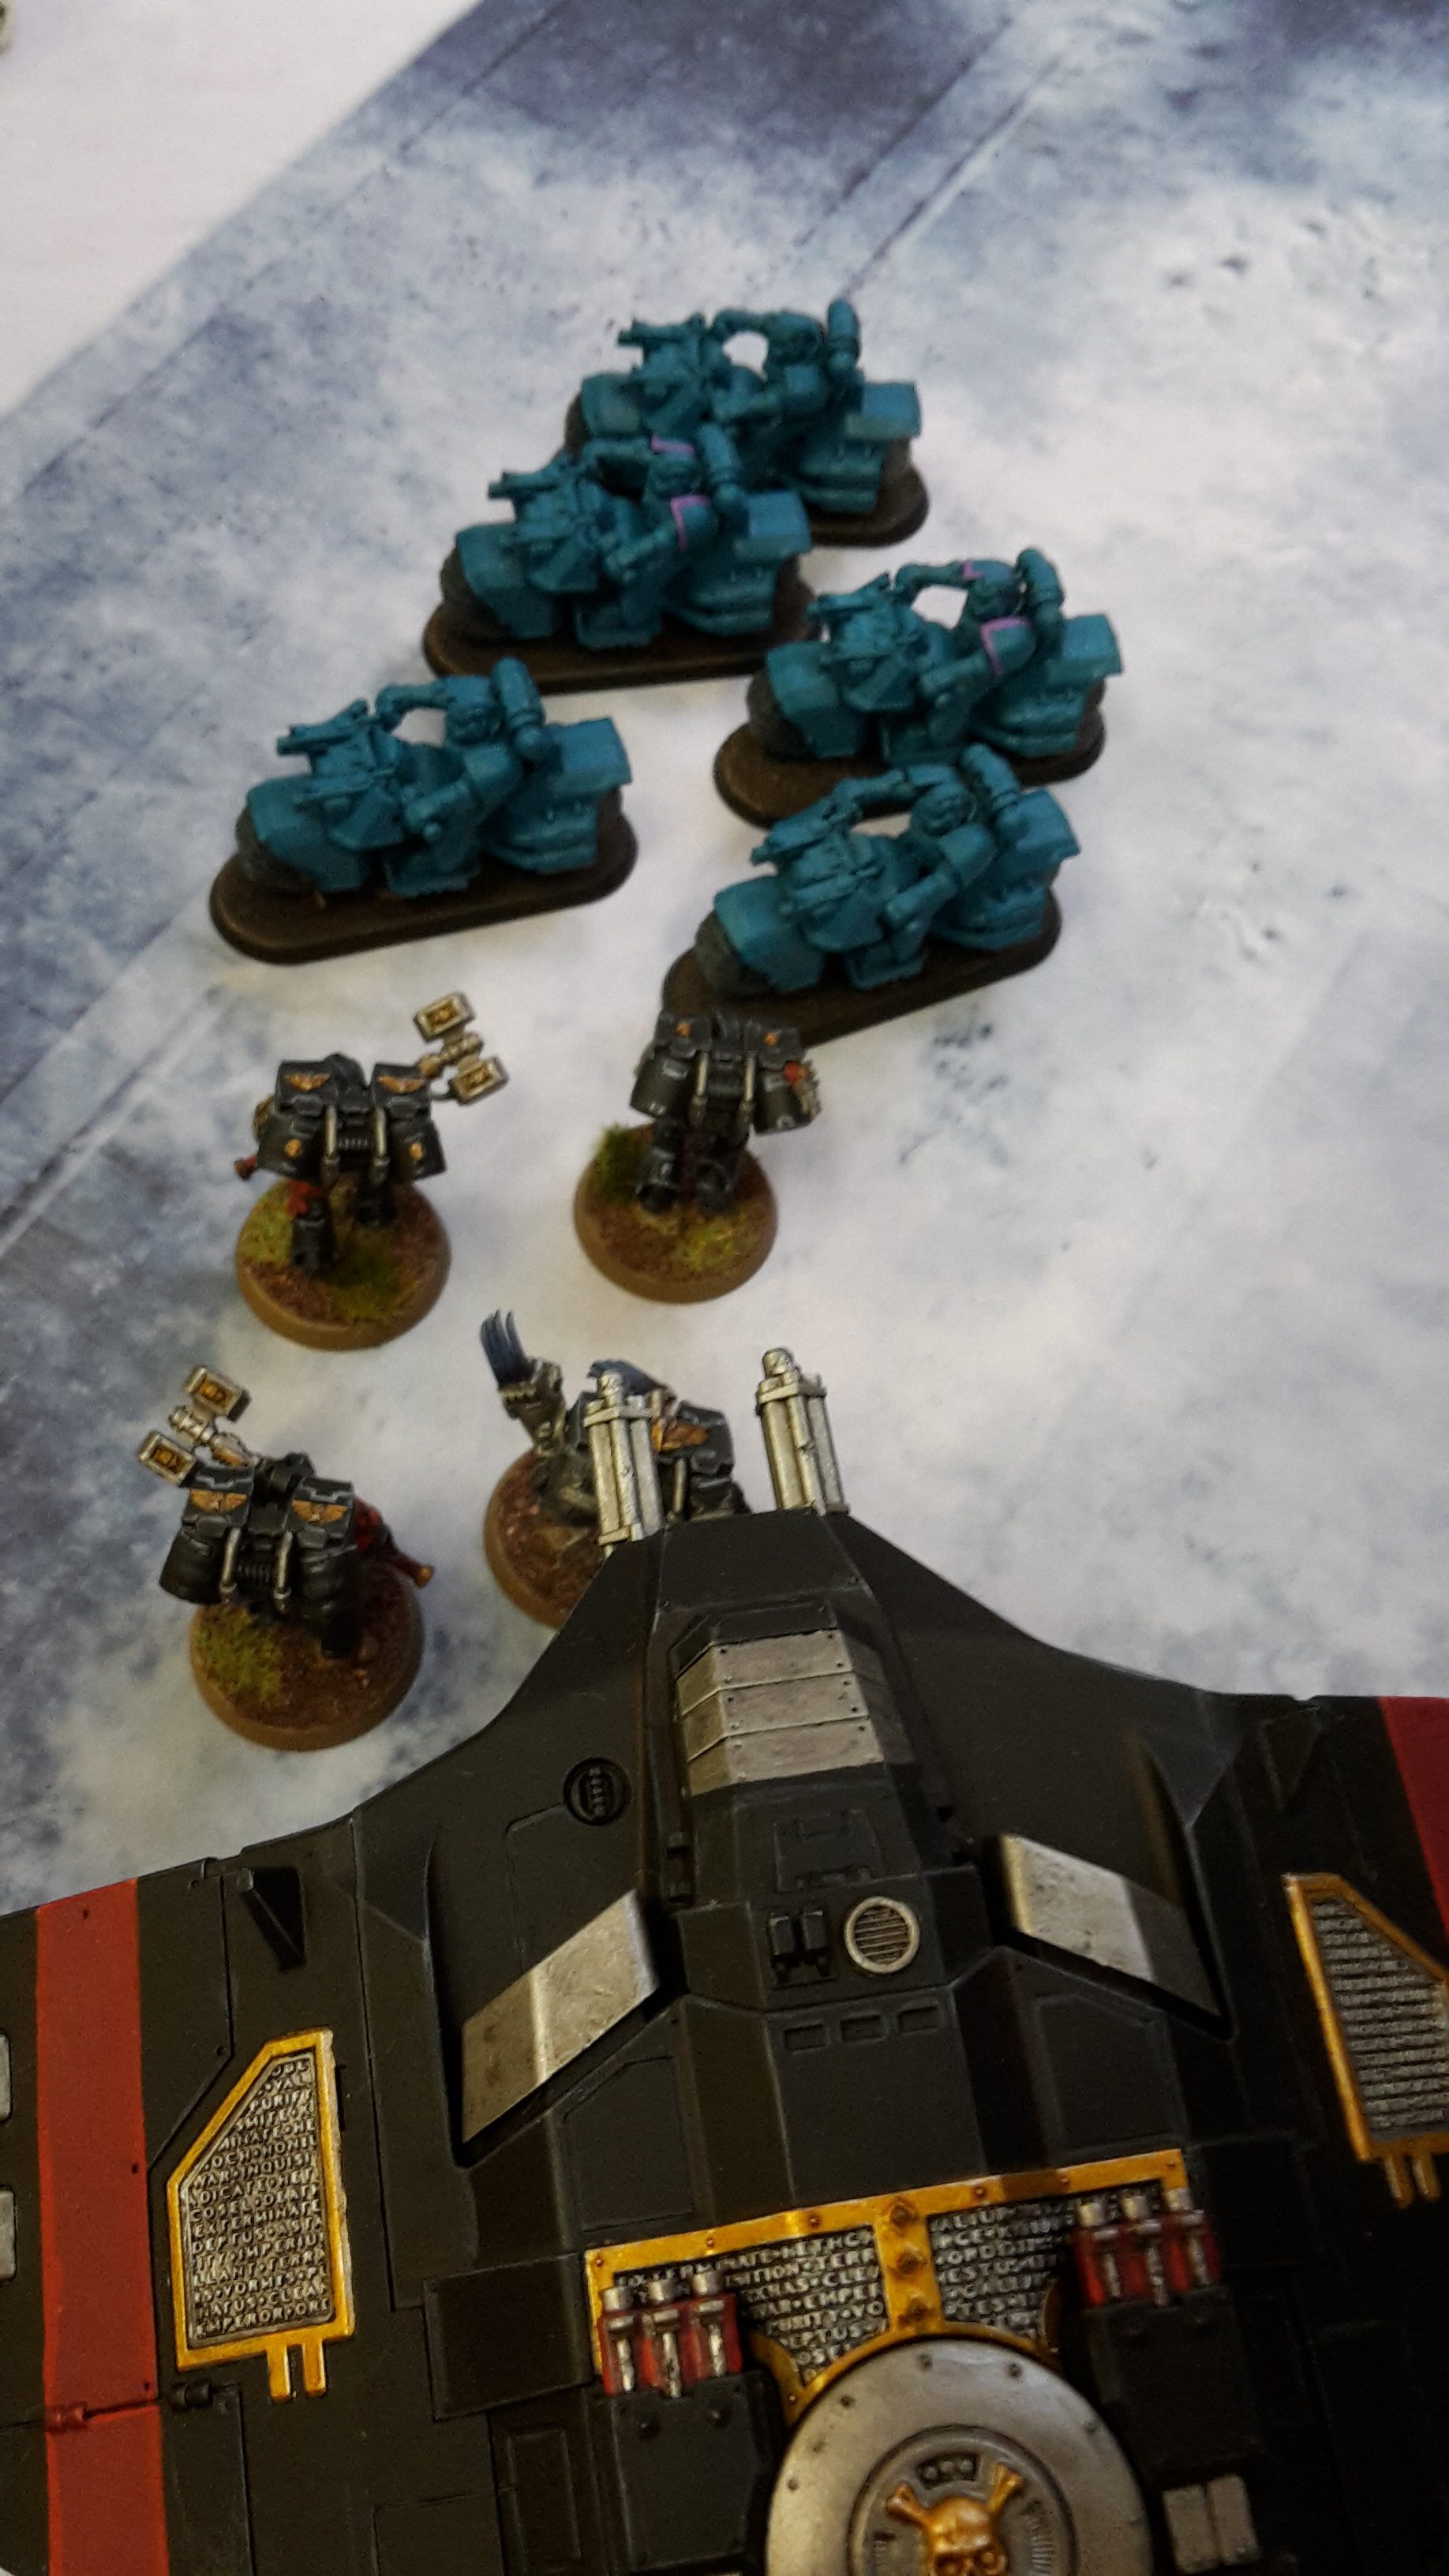
My army consisted of:
- Watch Captain Artemis (with V3)
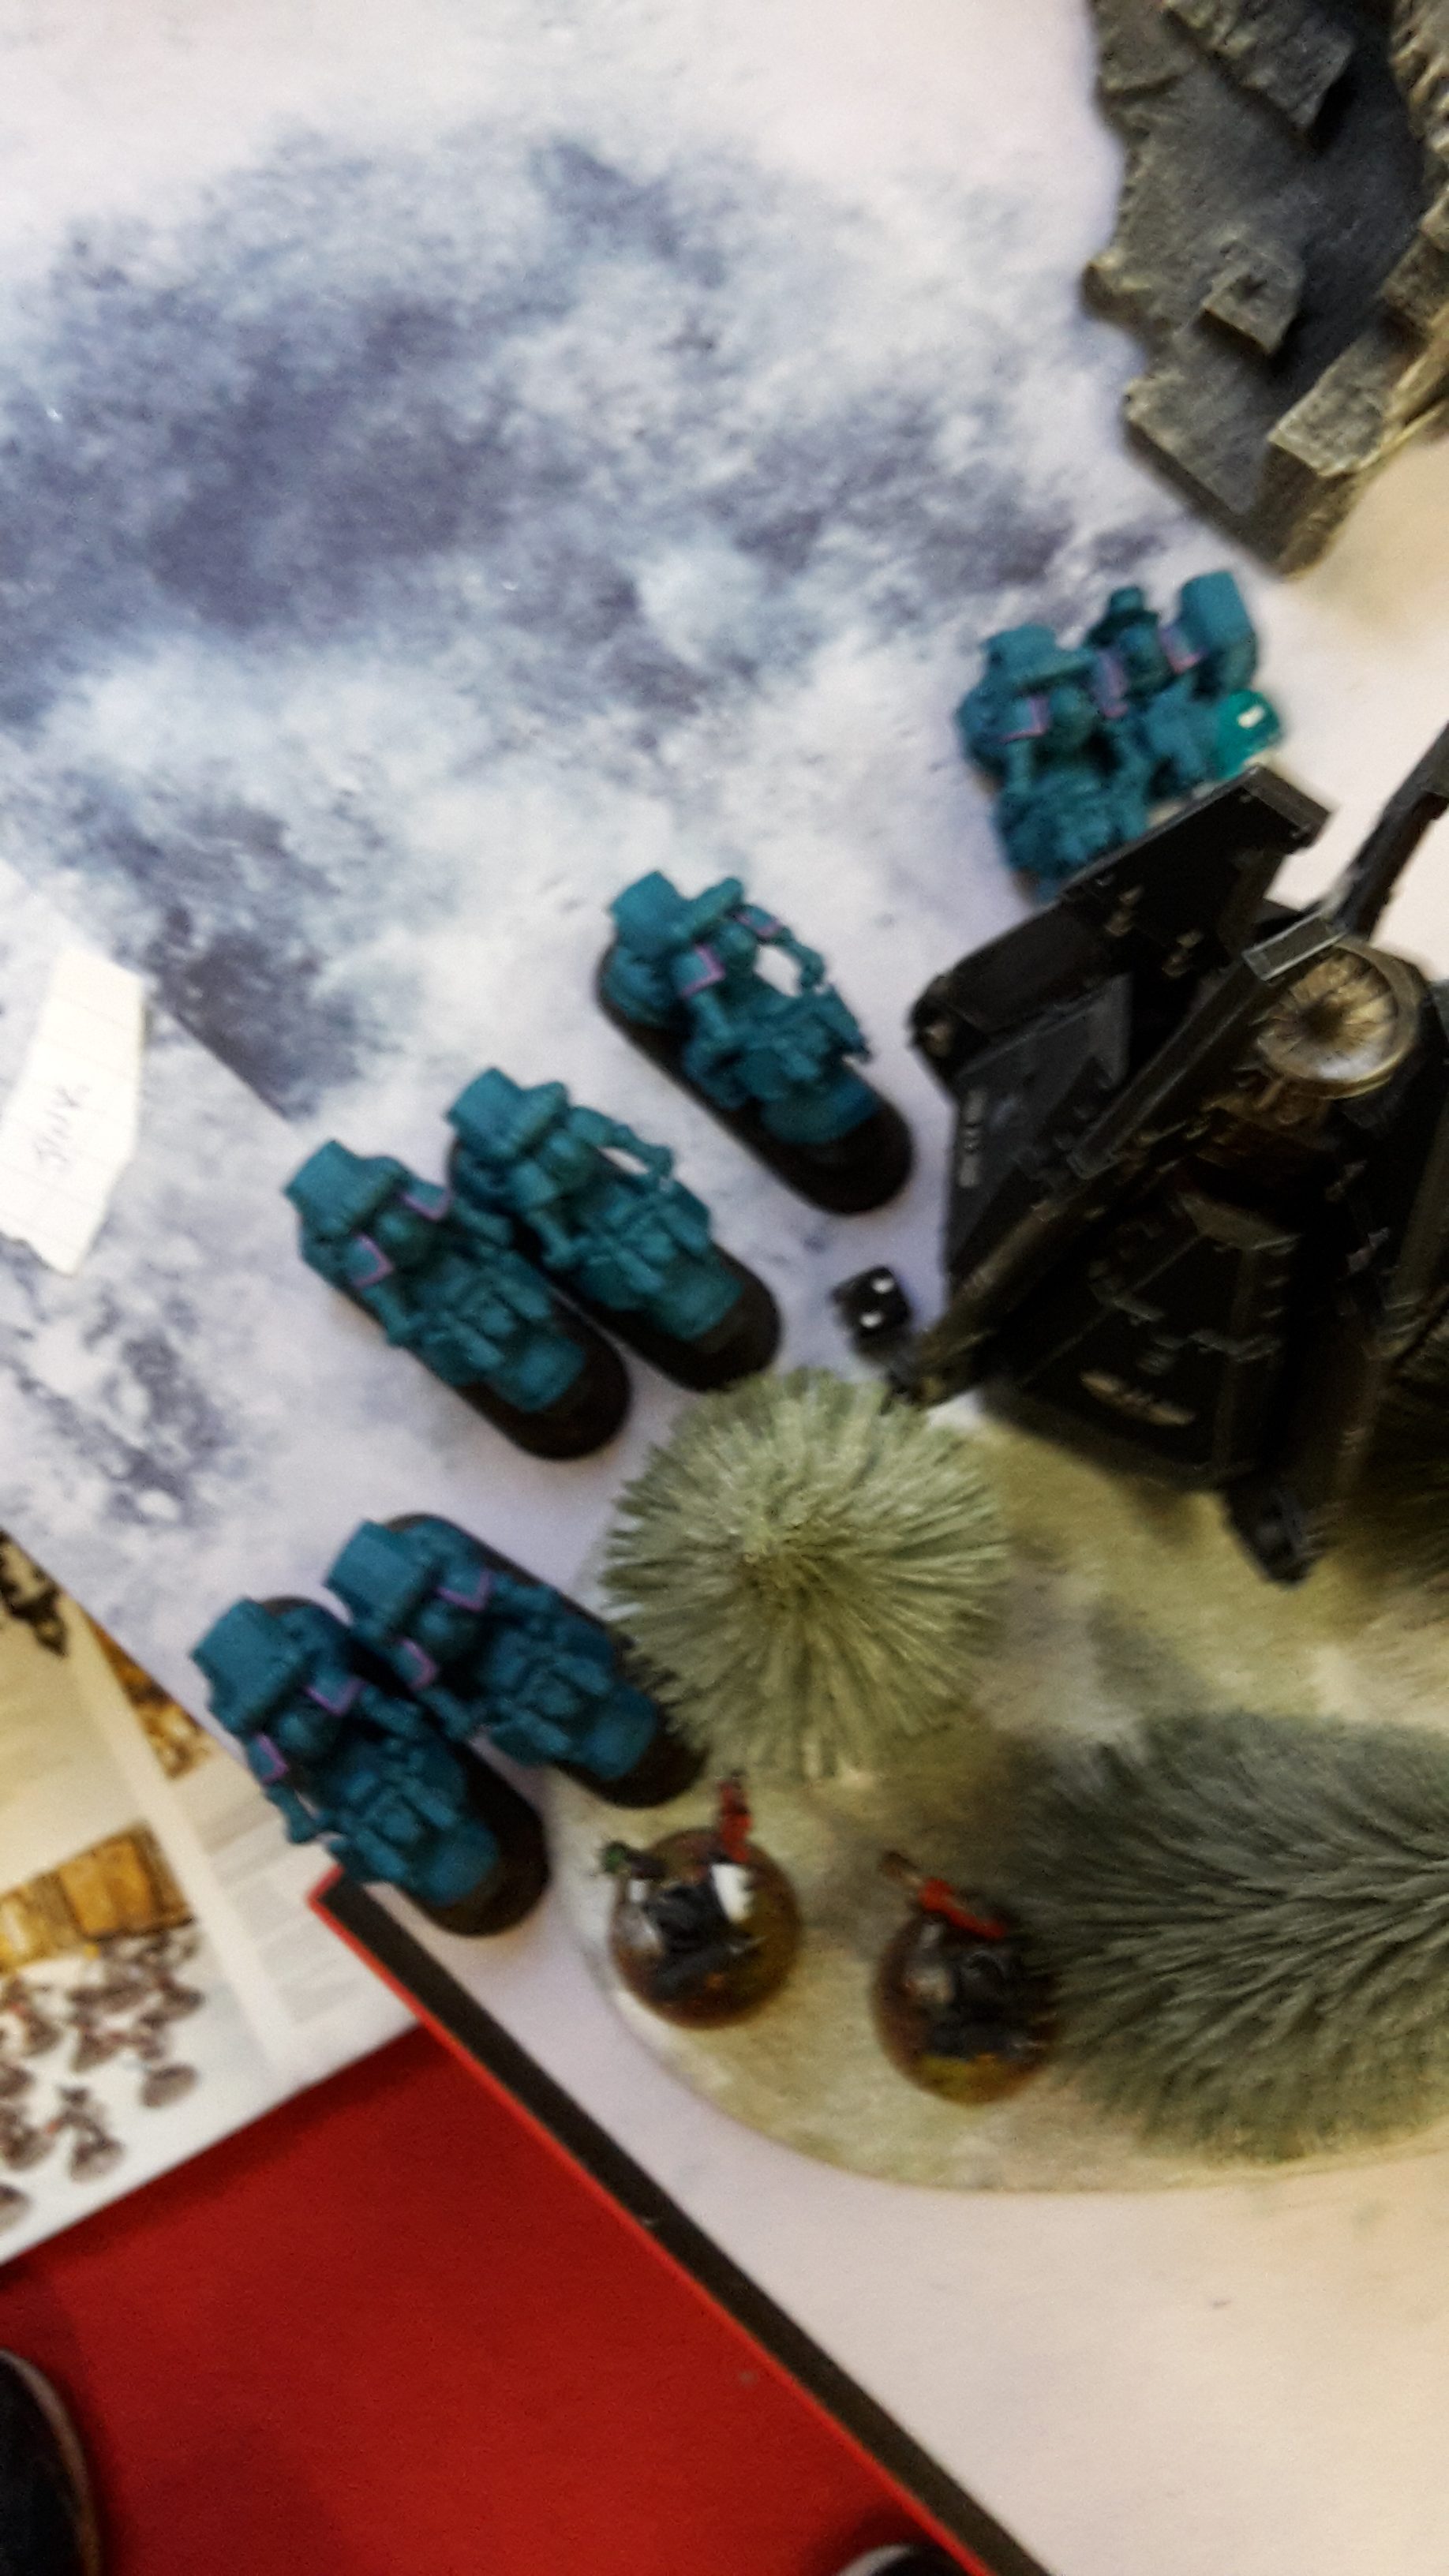
- 5 Veterans- 3 Frag Cannons, Storm Shield (V1)
- Drop Pod (DP1)
- 5 Veterans- Meltagun, 2 Combi-meltas, Auspex (V2)
- Drop Pod (DP2)
- 5 Veterans- 5 Deathwatch Shotguns, Storm Shield (V3)
- Drop Pod (DP3)
- 5 Veterans- 5 Stalker Pattern Bolters (V4)
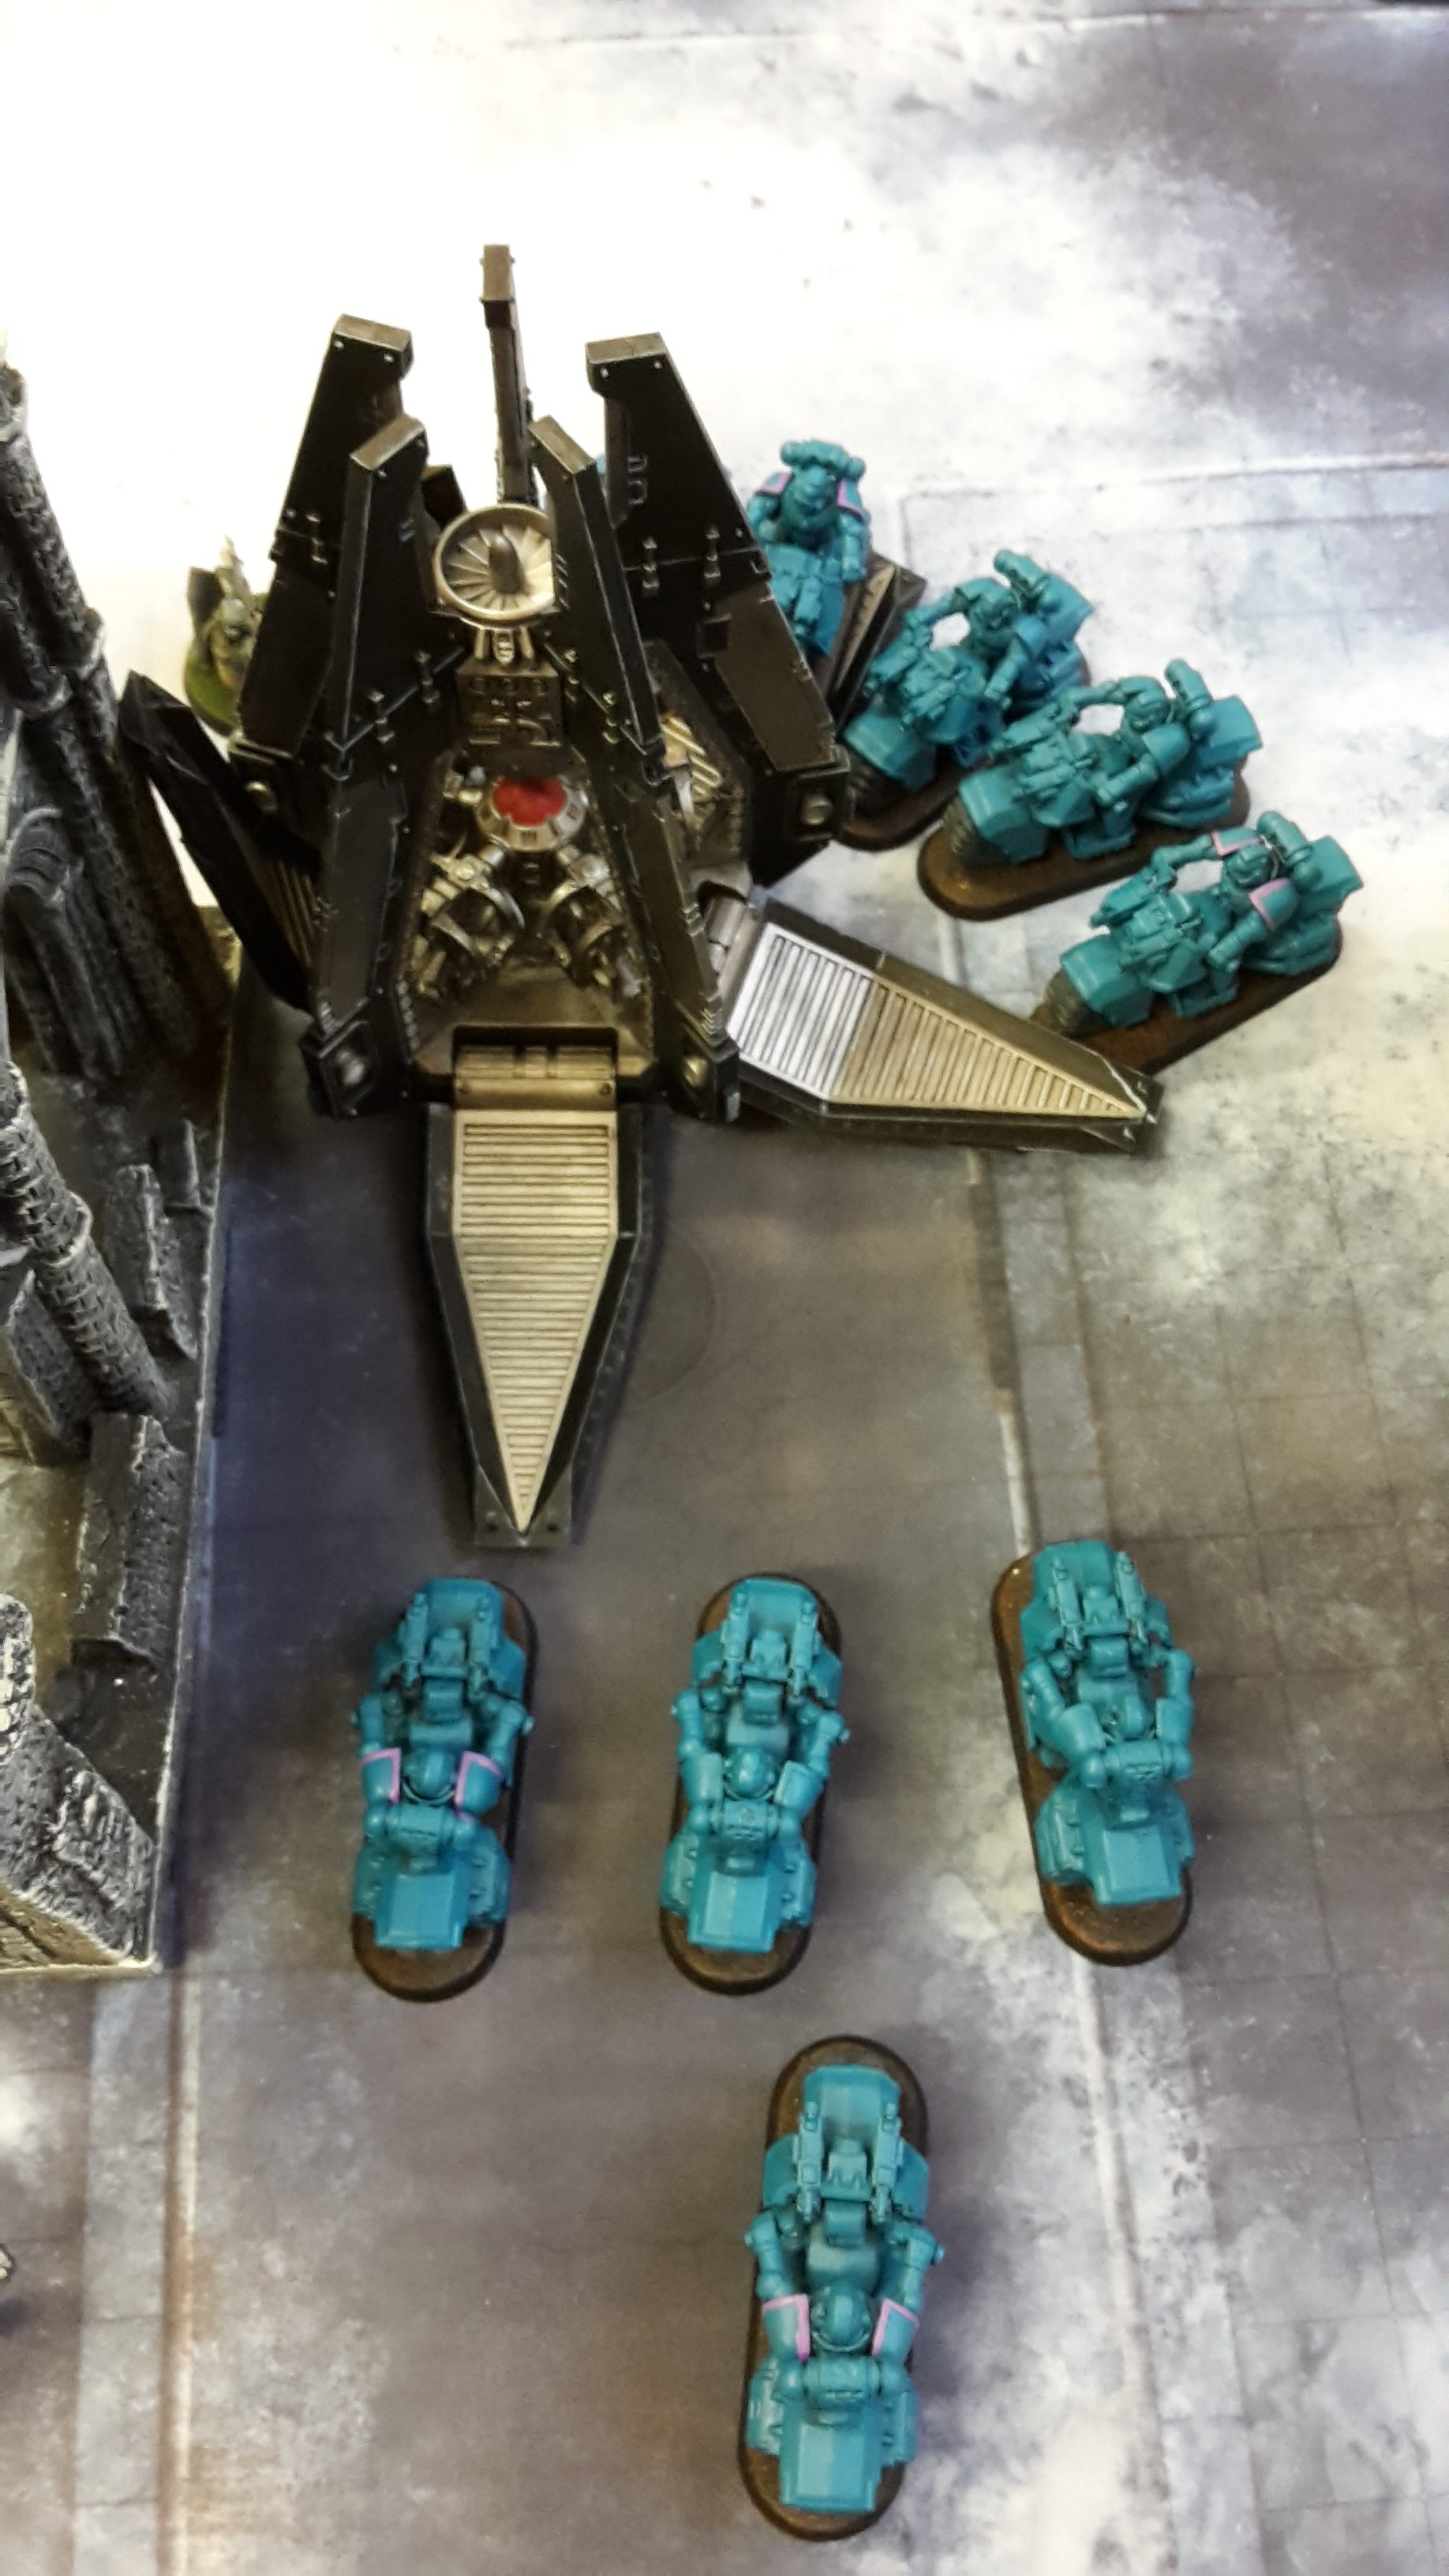
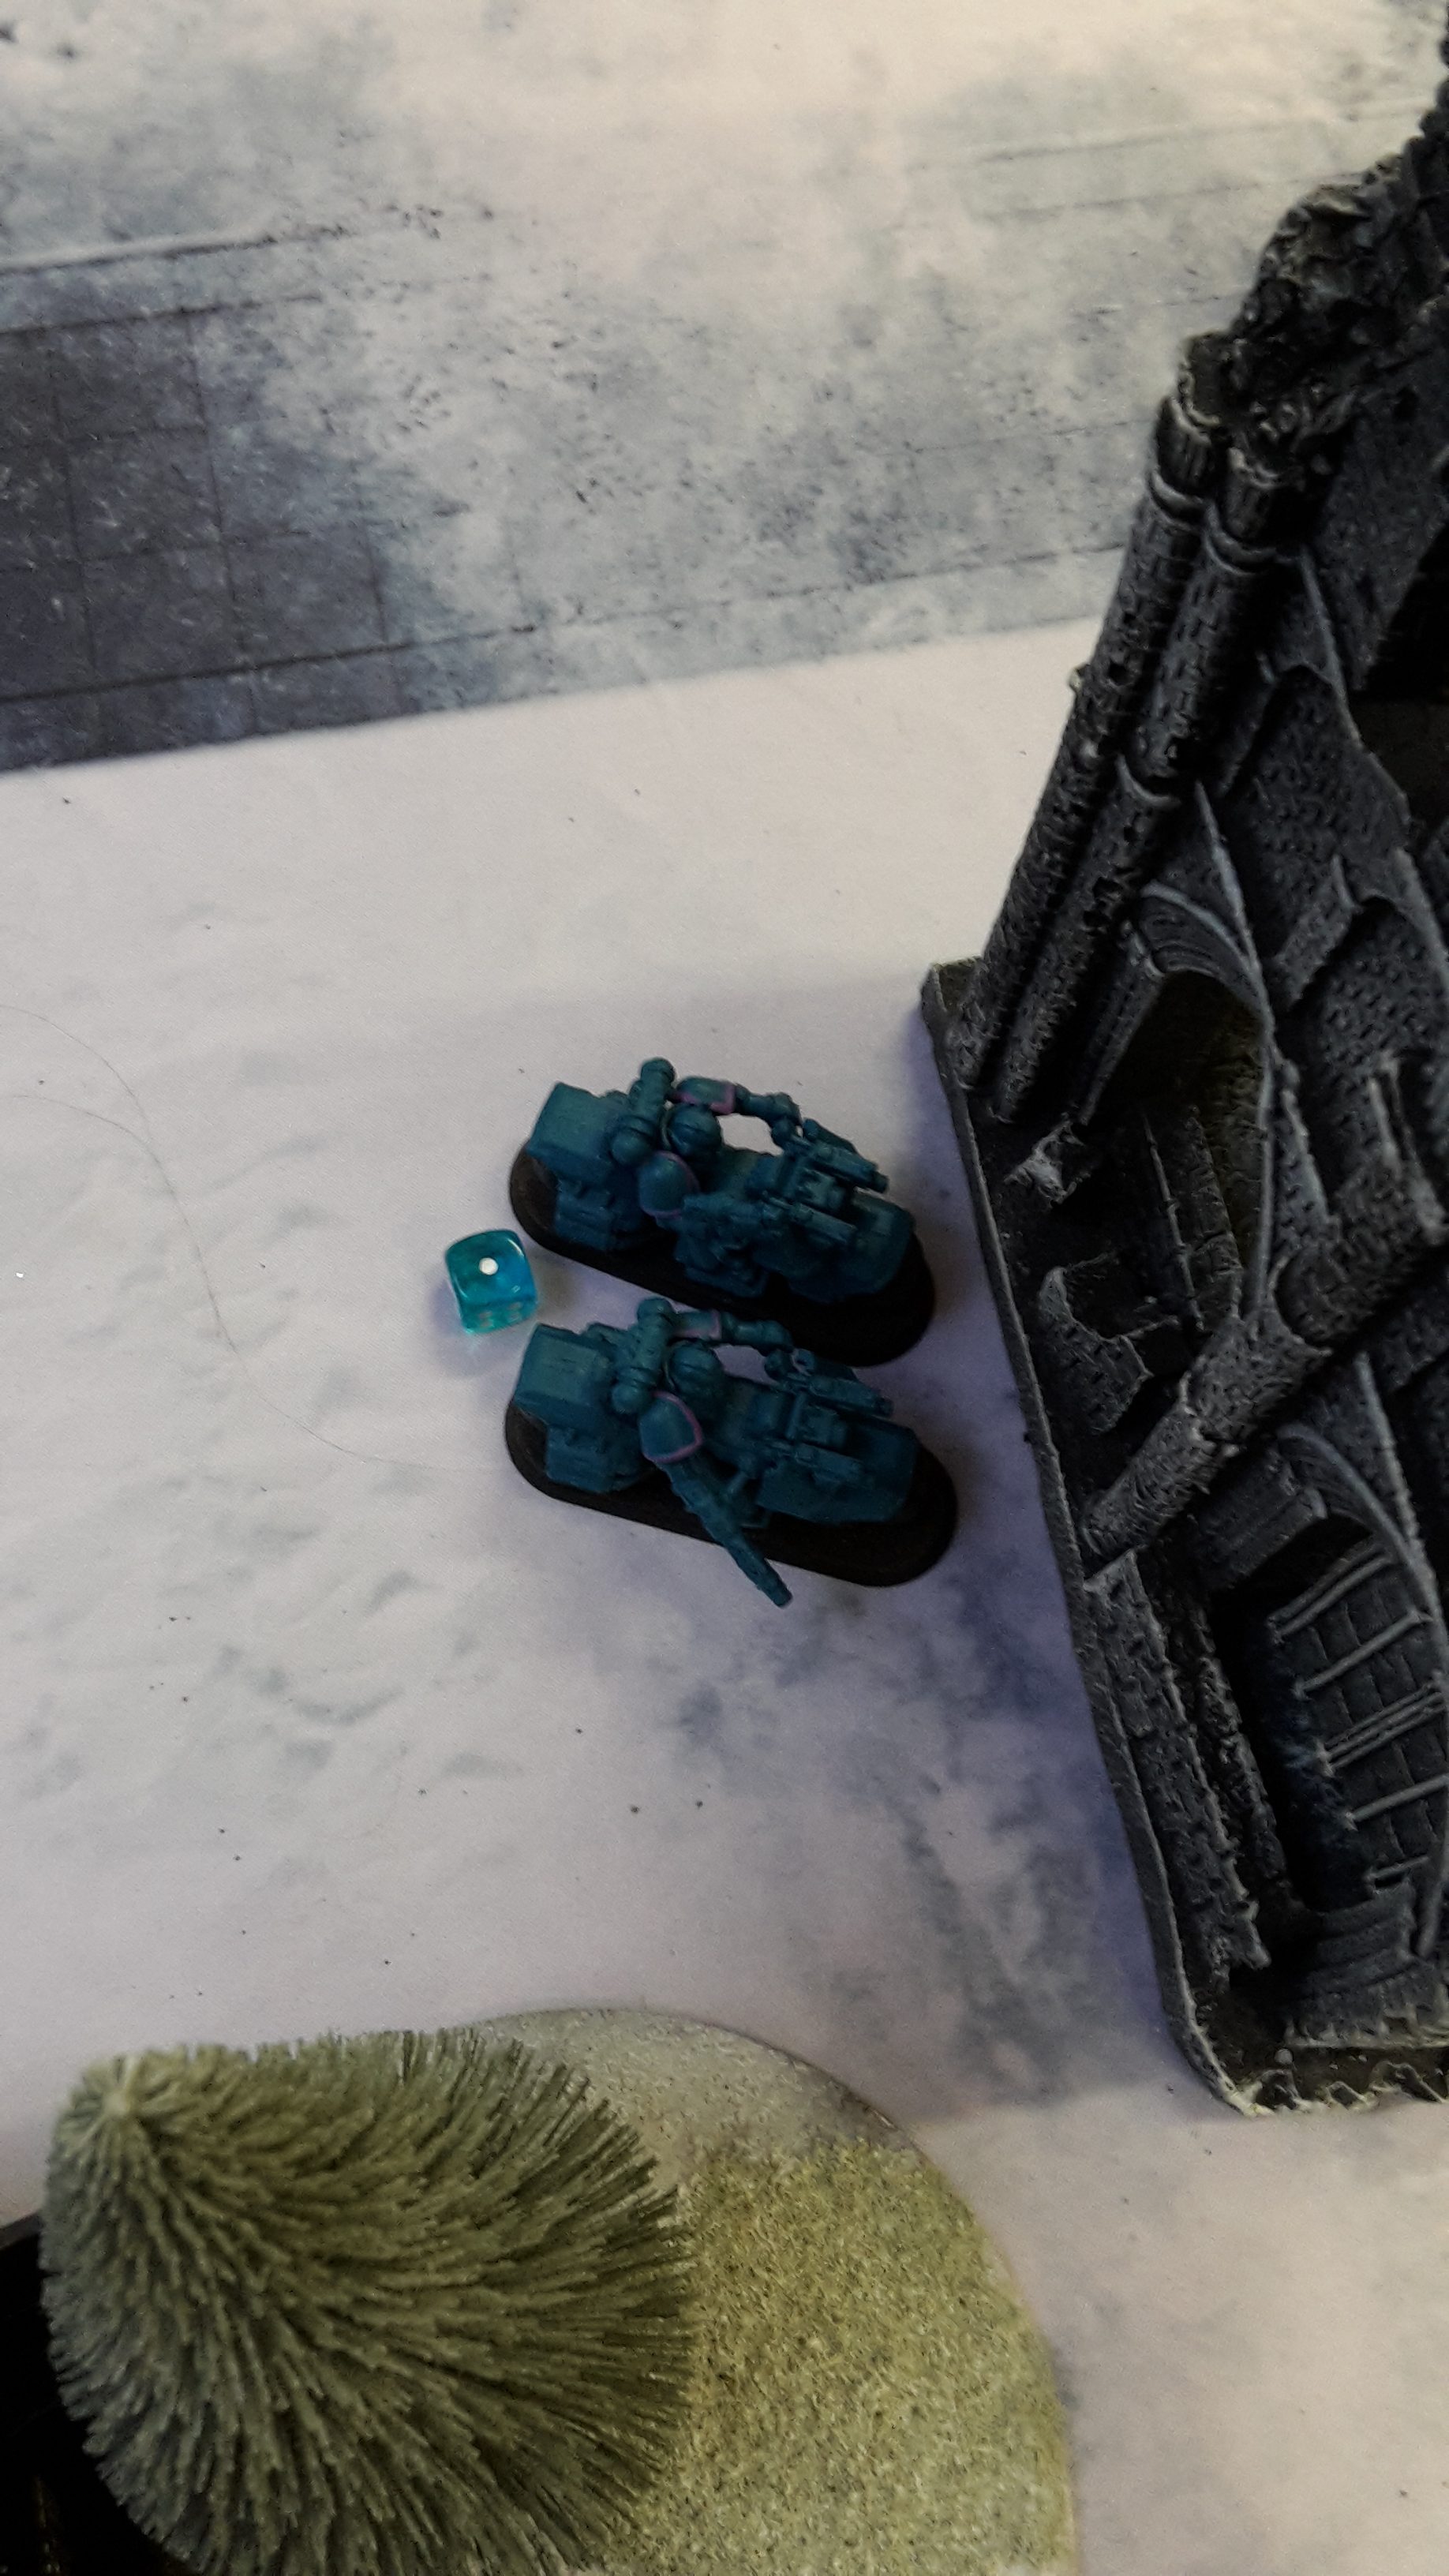
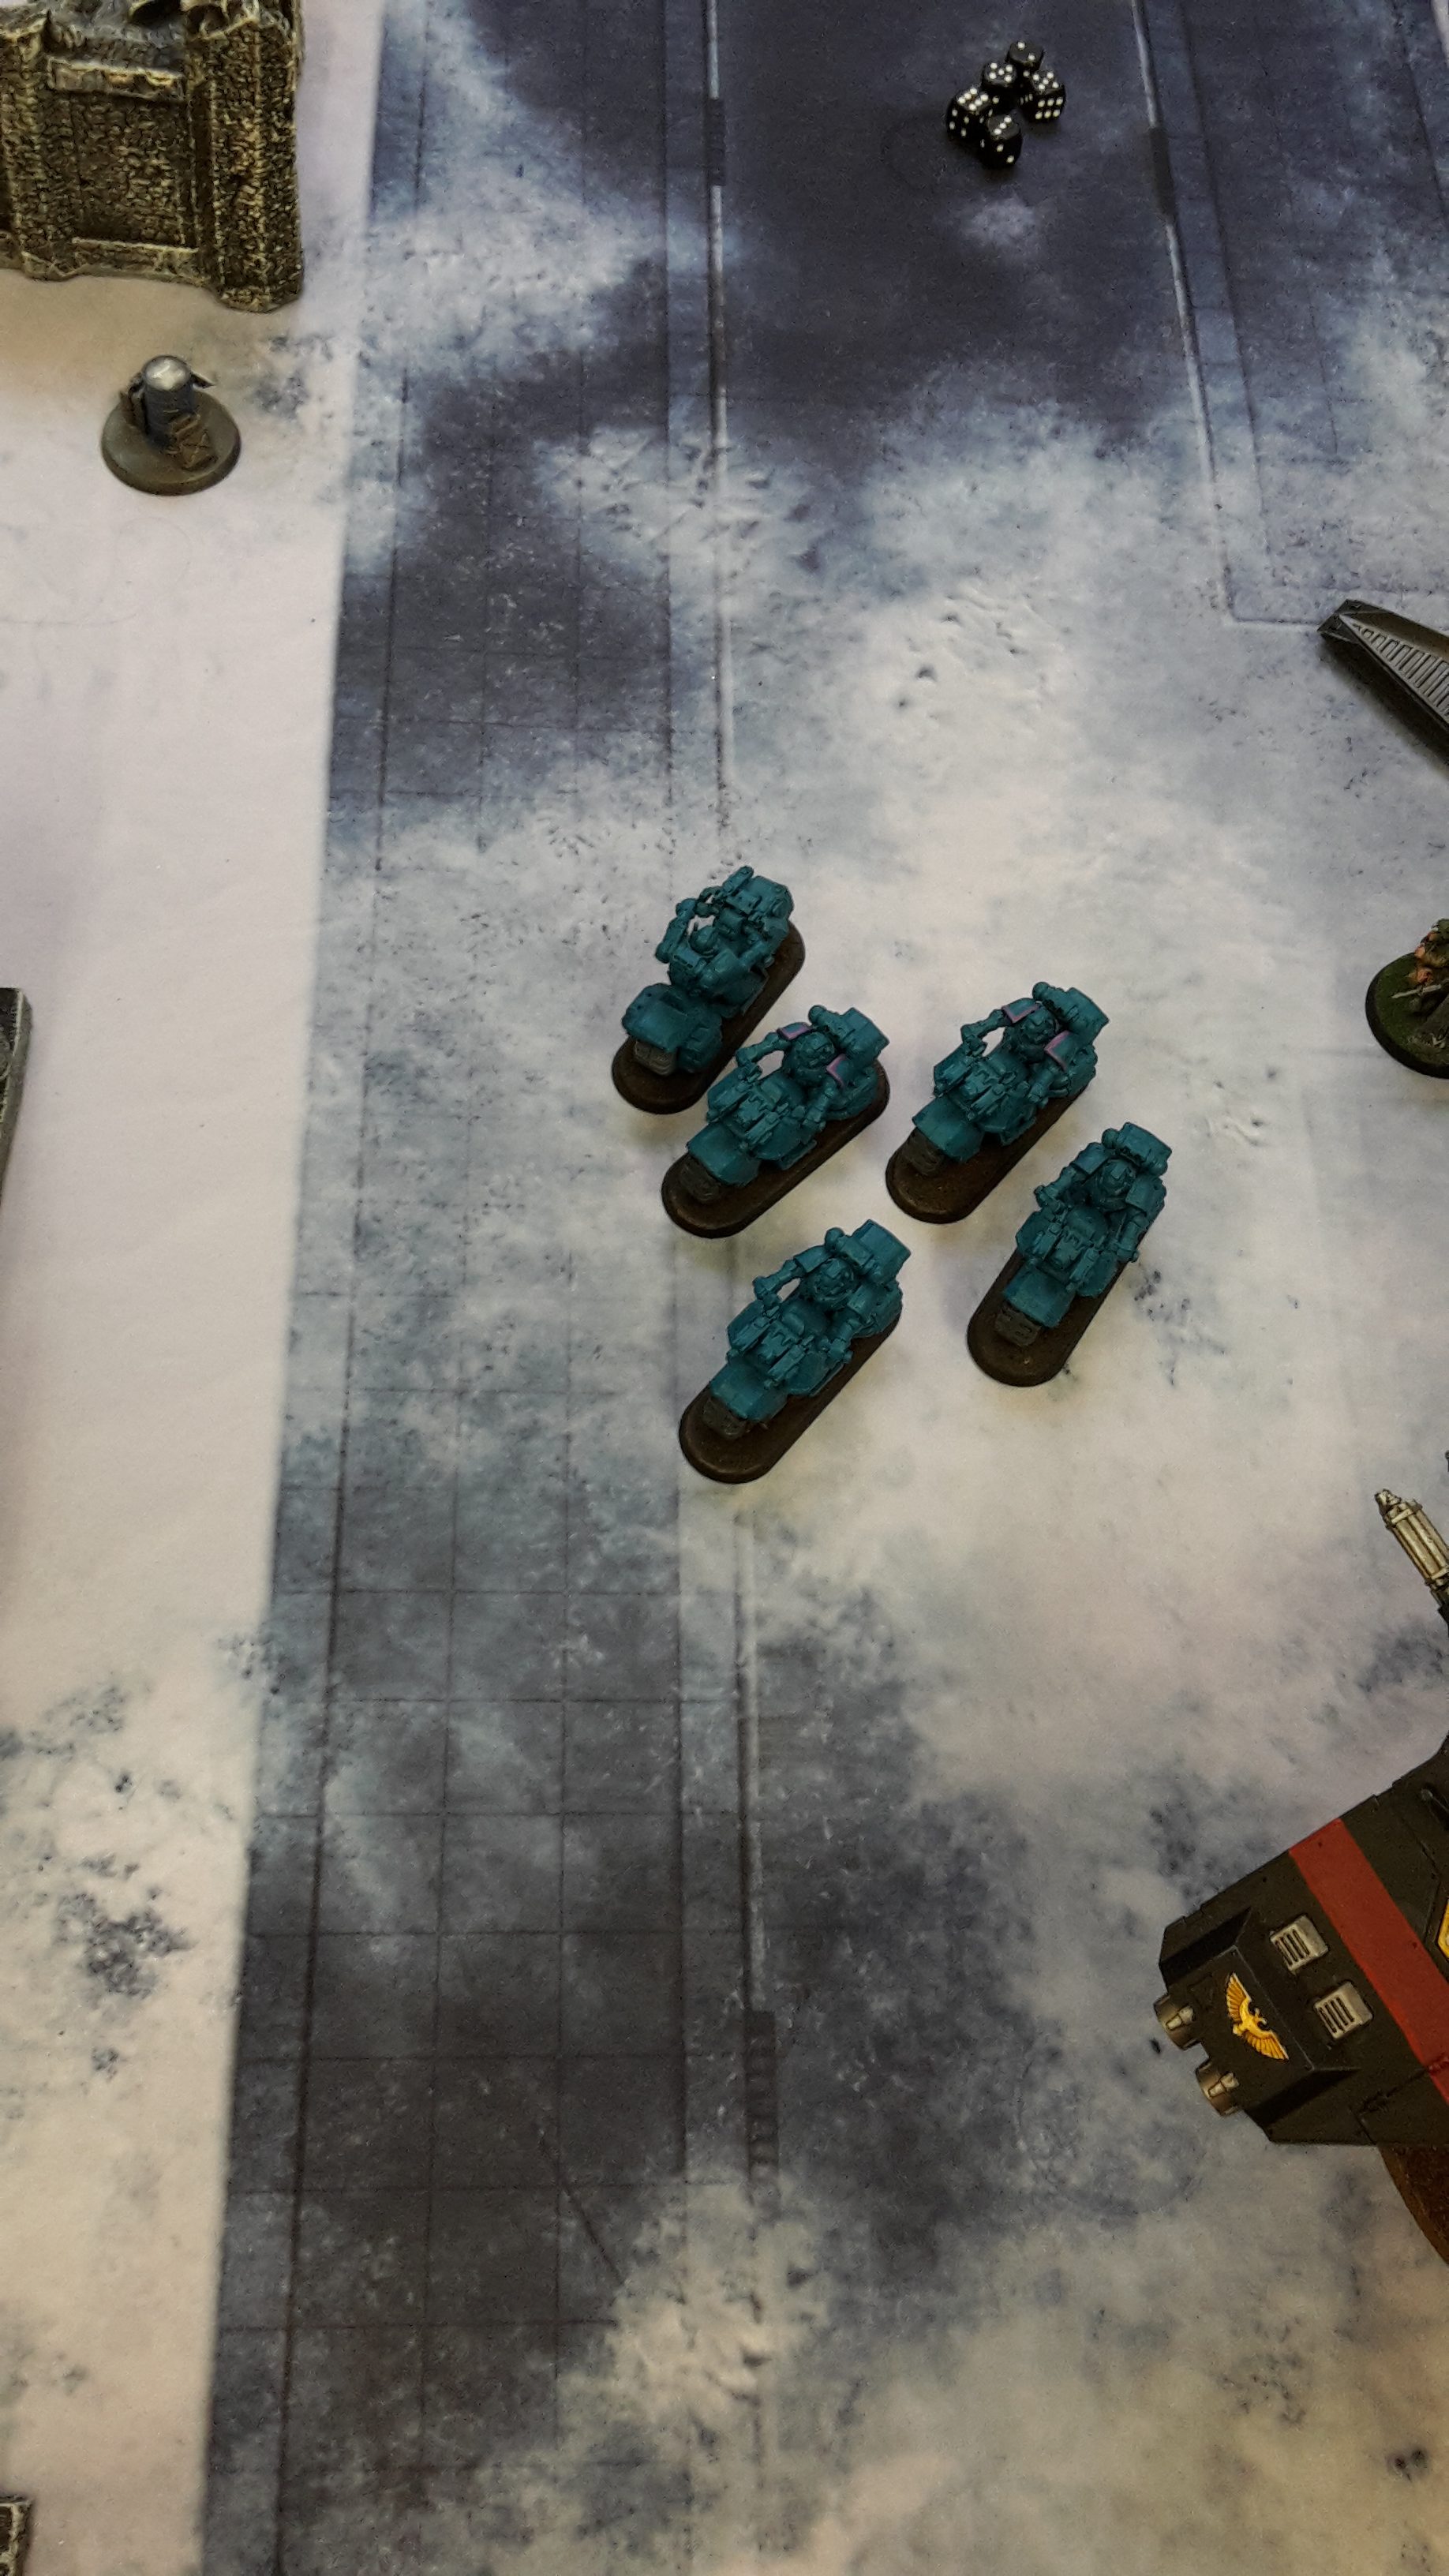
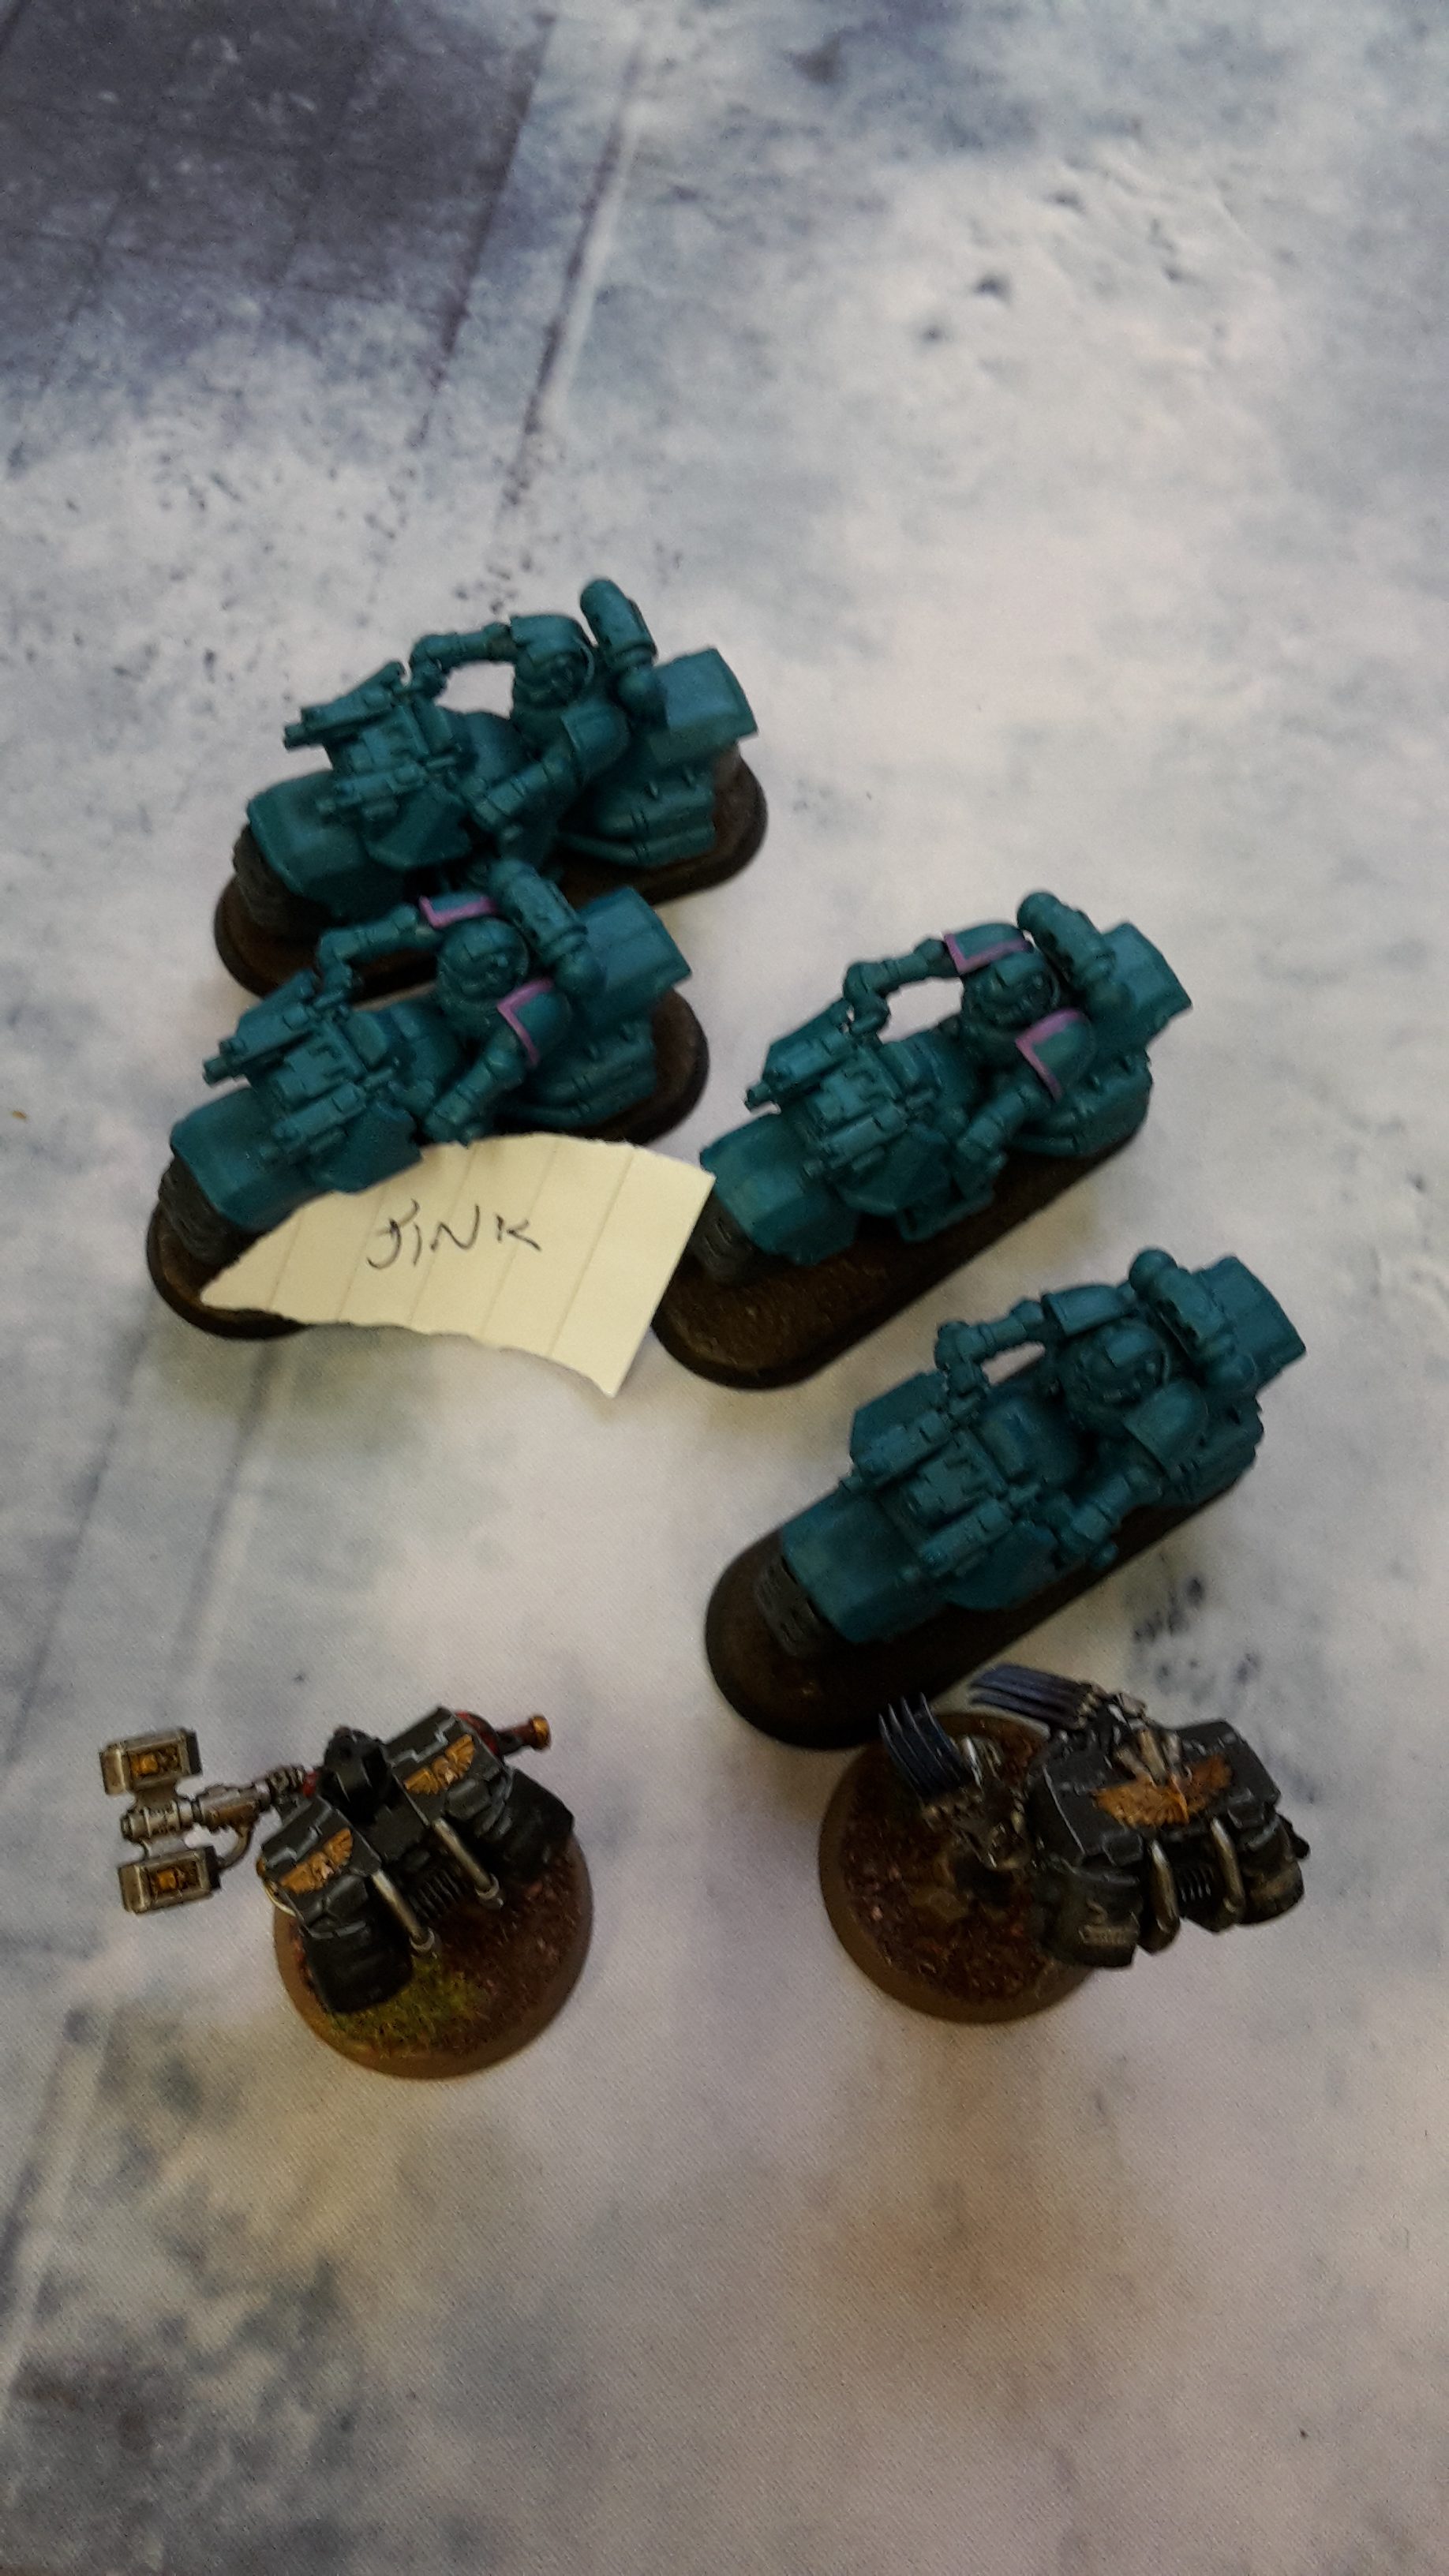
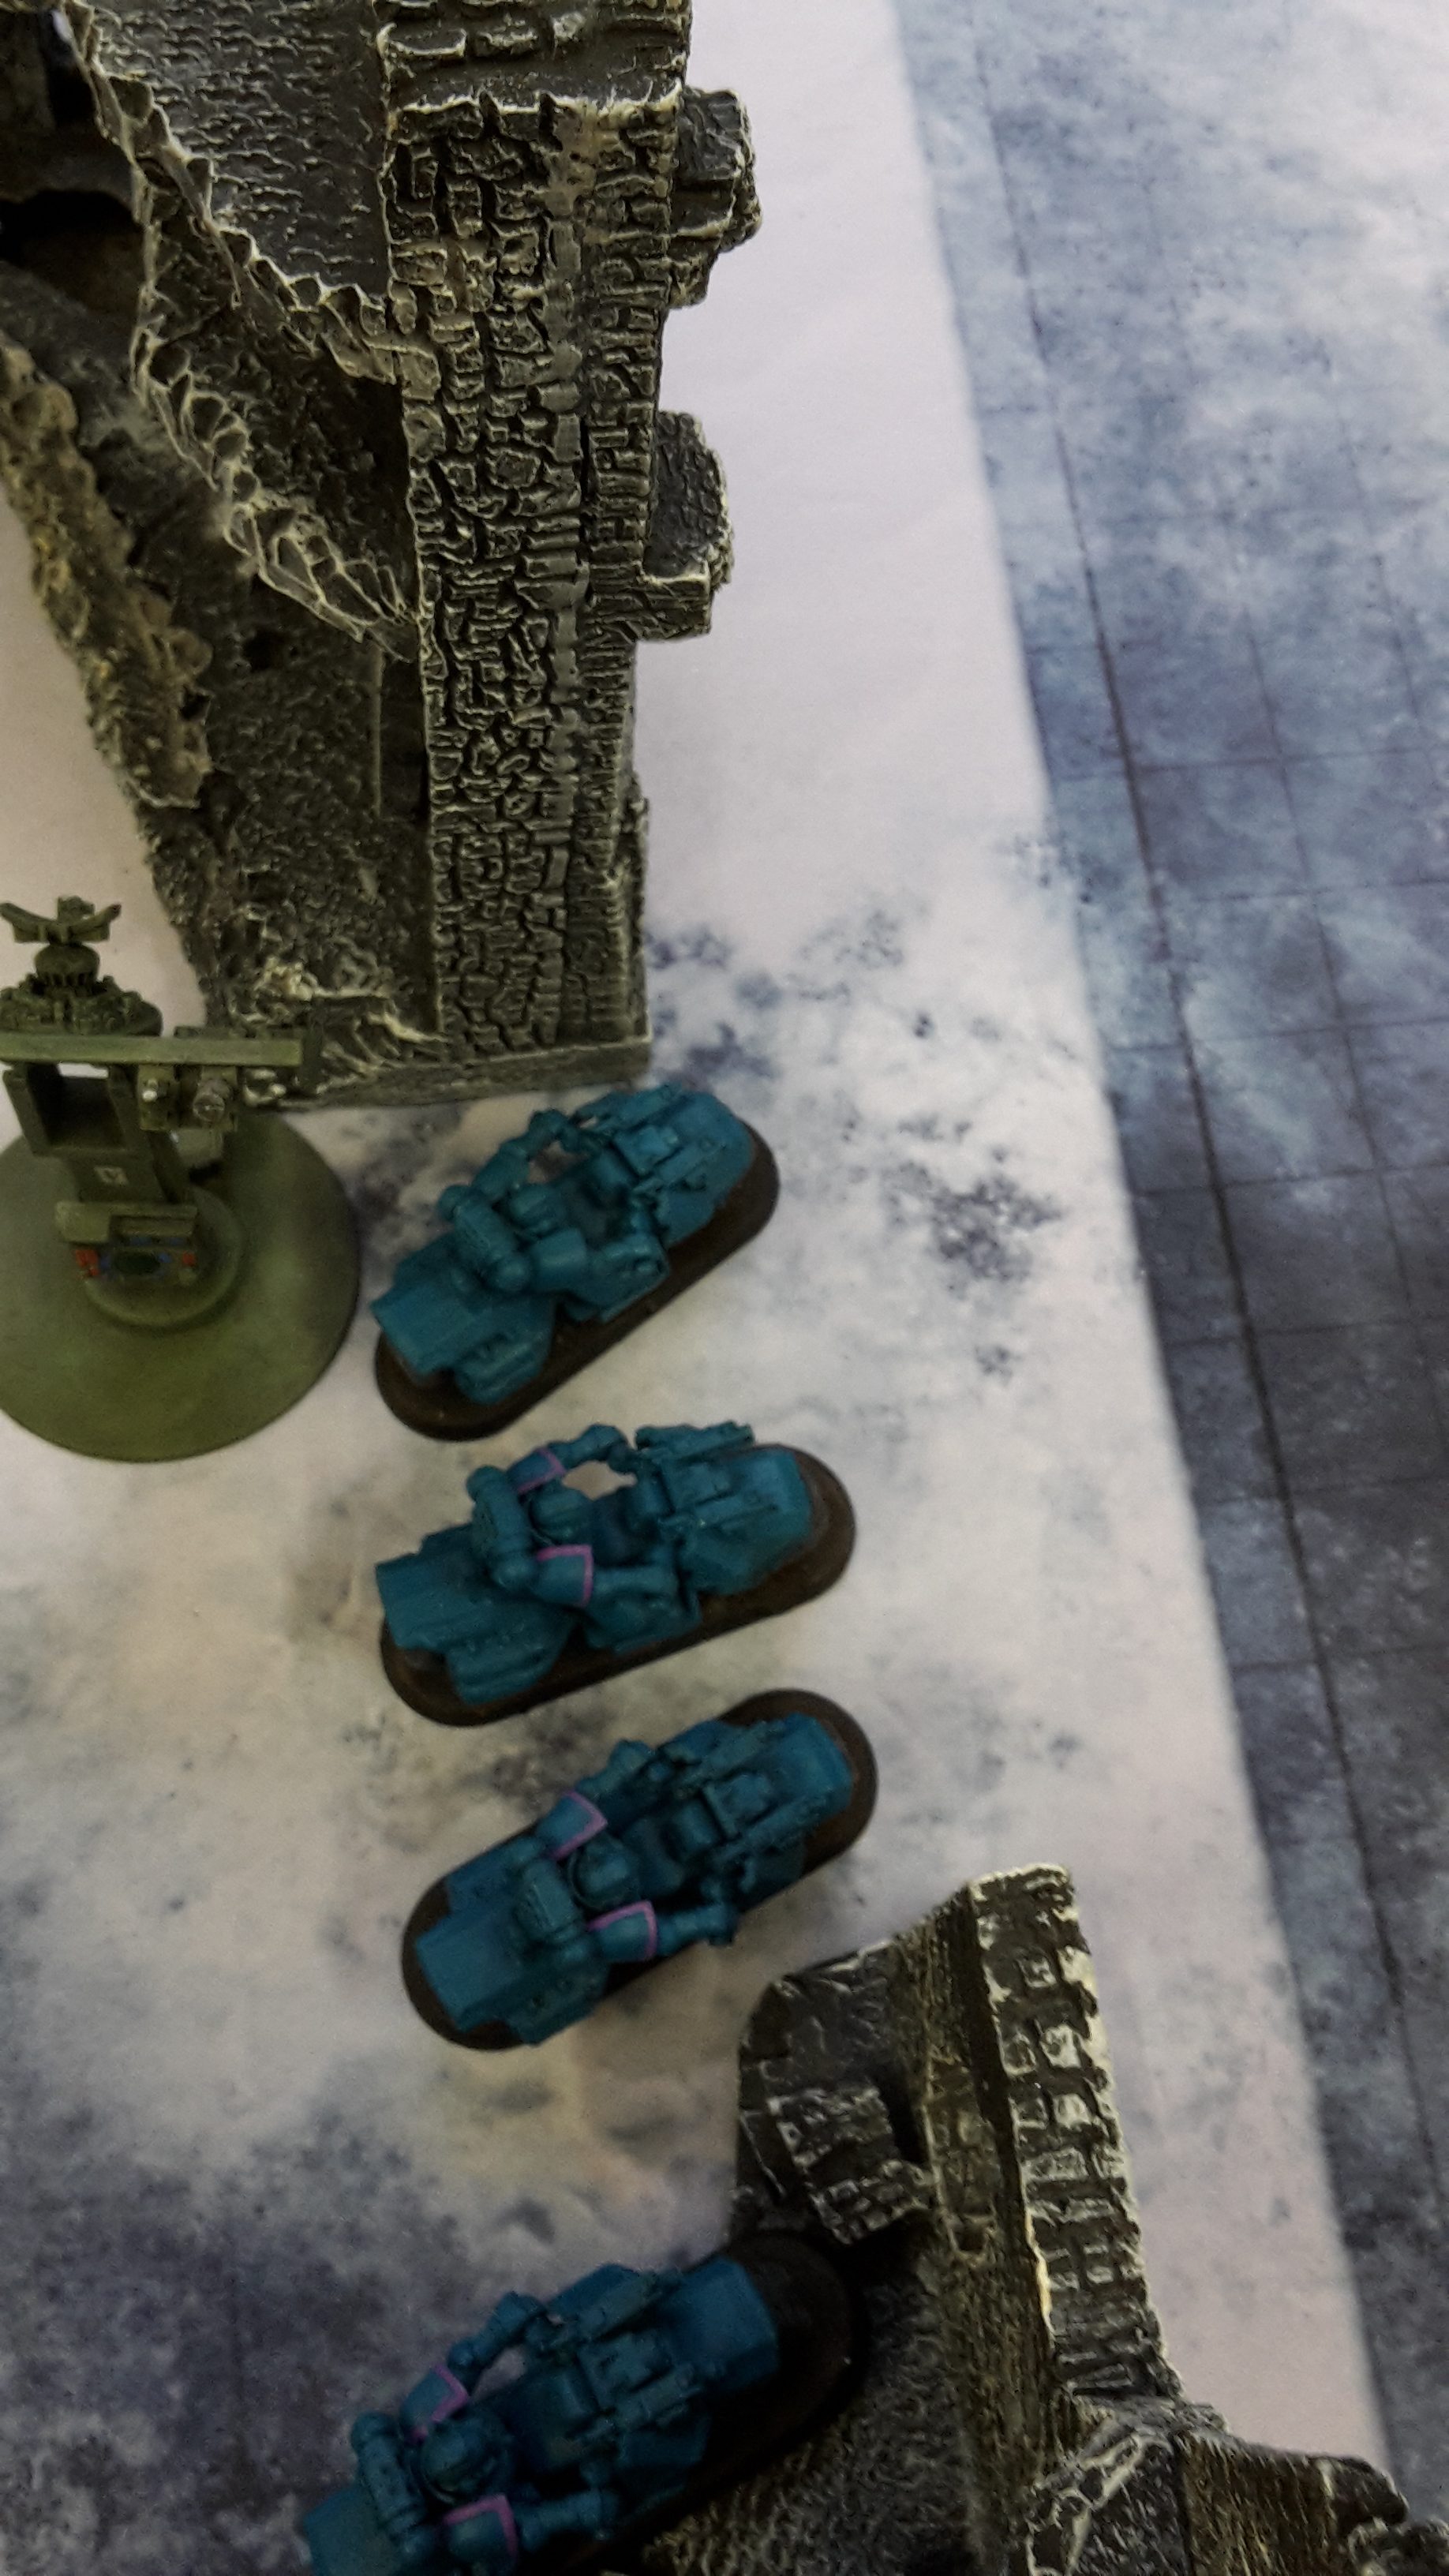
- 4 Bikers- Power Weapons, Meltabombs (B1)
- 4 Bikers- Power Weapons, Meltabombs (B2)
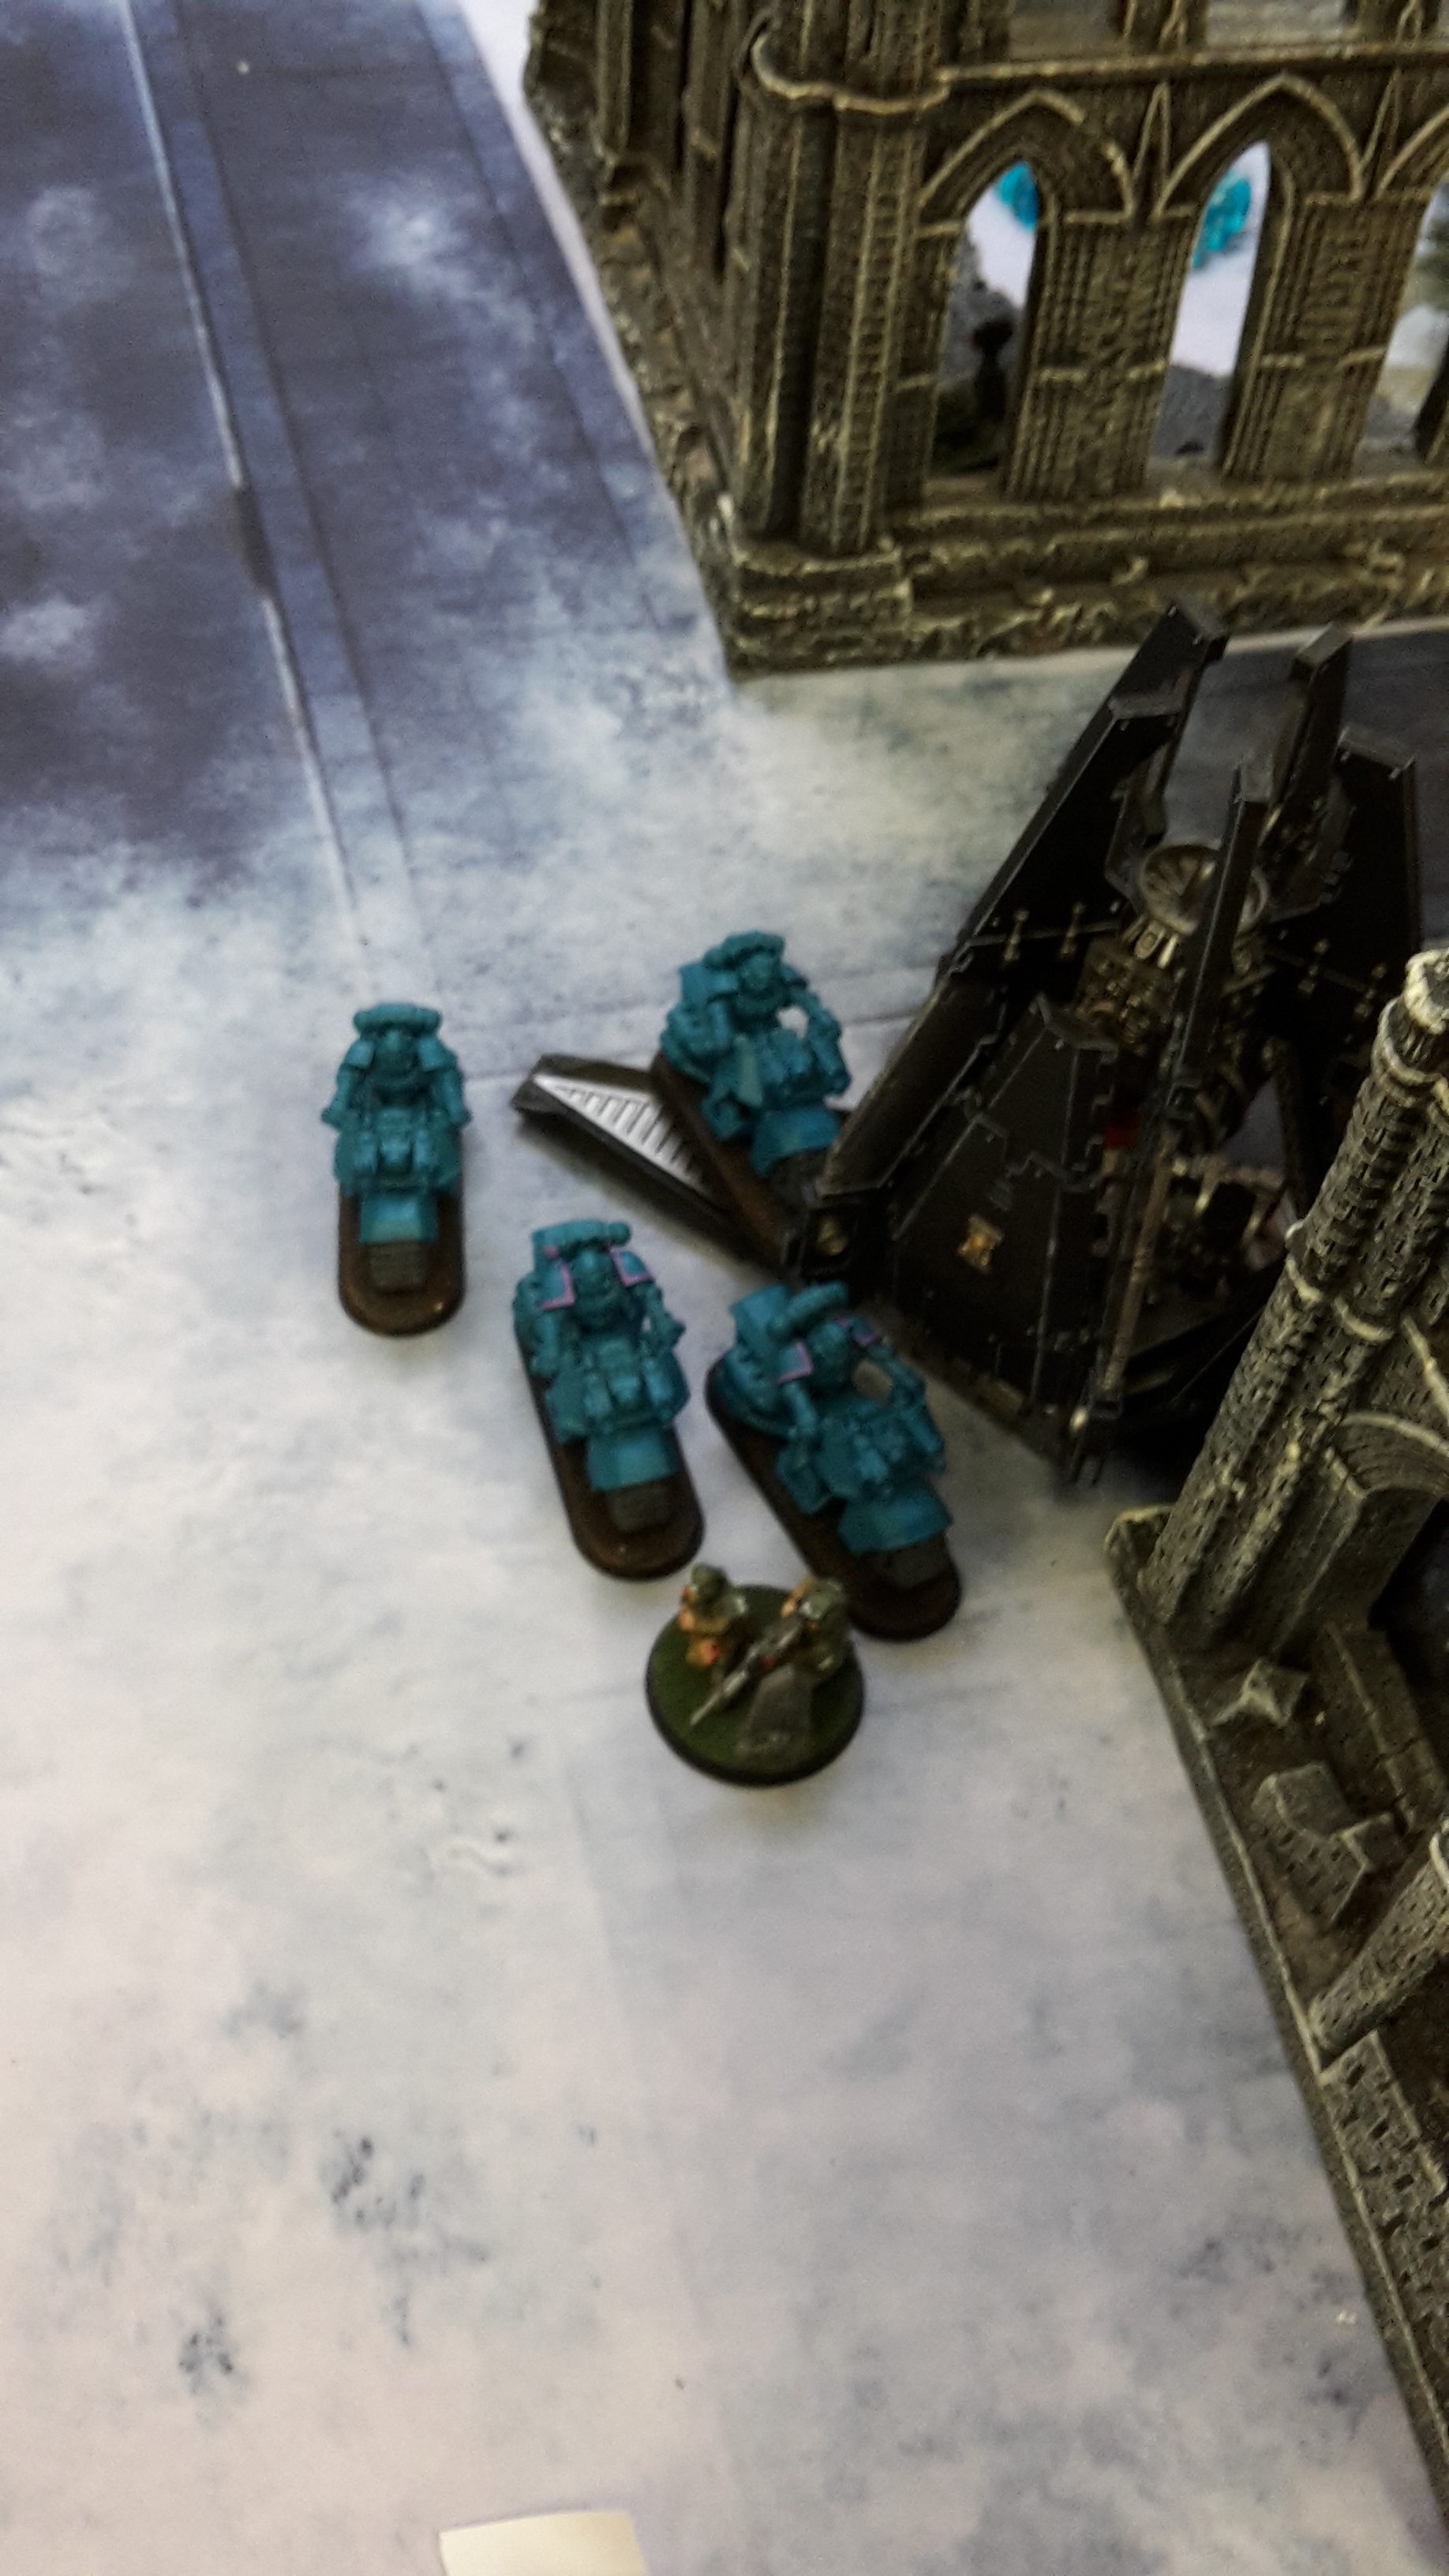
- 4 Vanguard Veterans- 2 Heavy Thunder Hammers, 2 Pairs of Lightning Claws (VV)
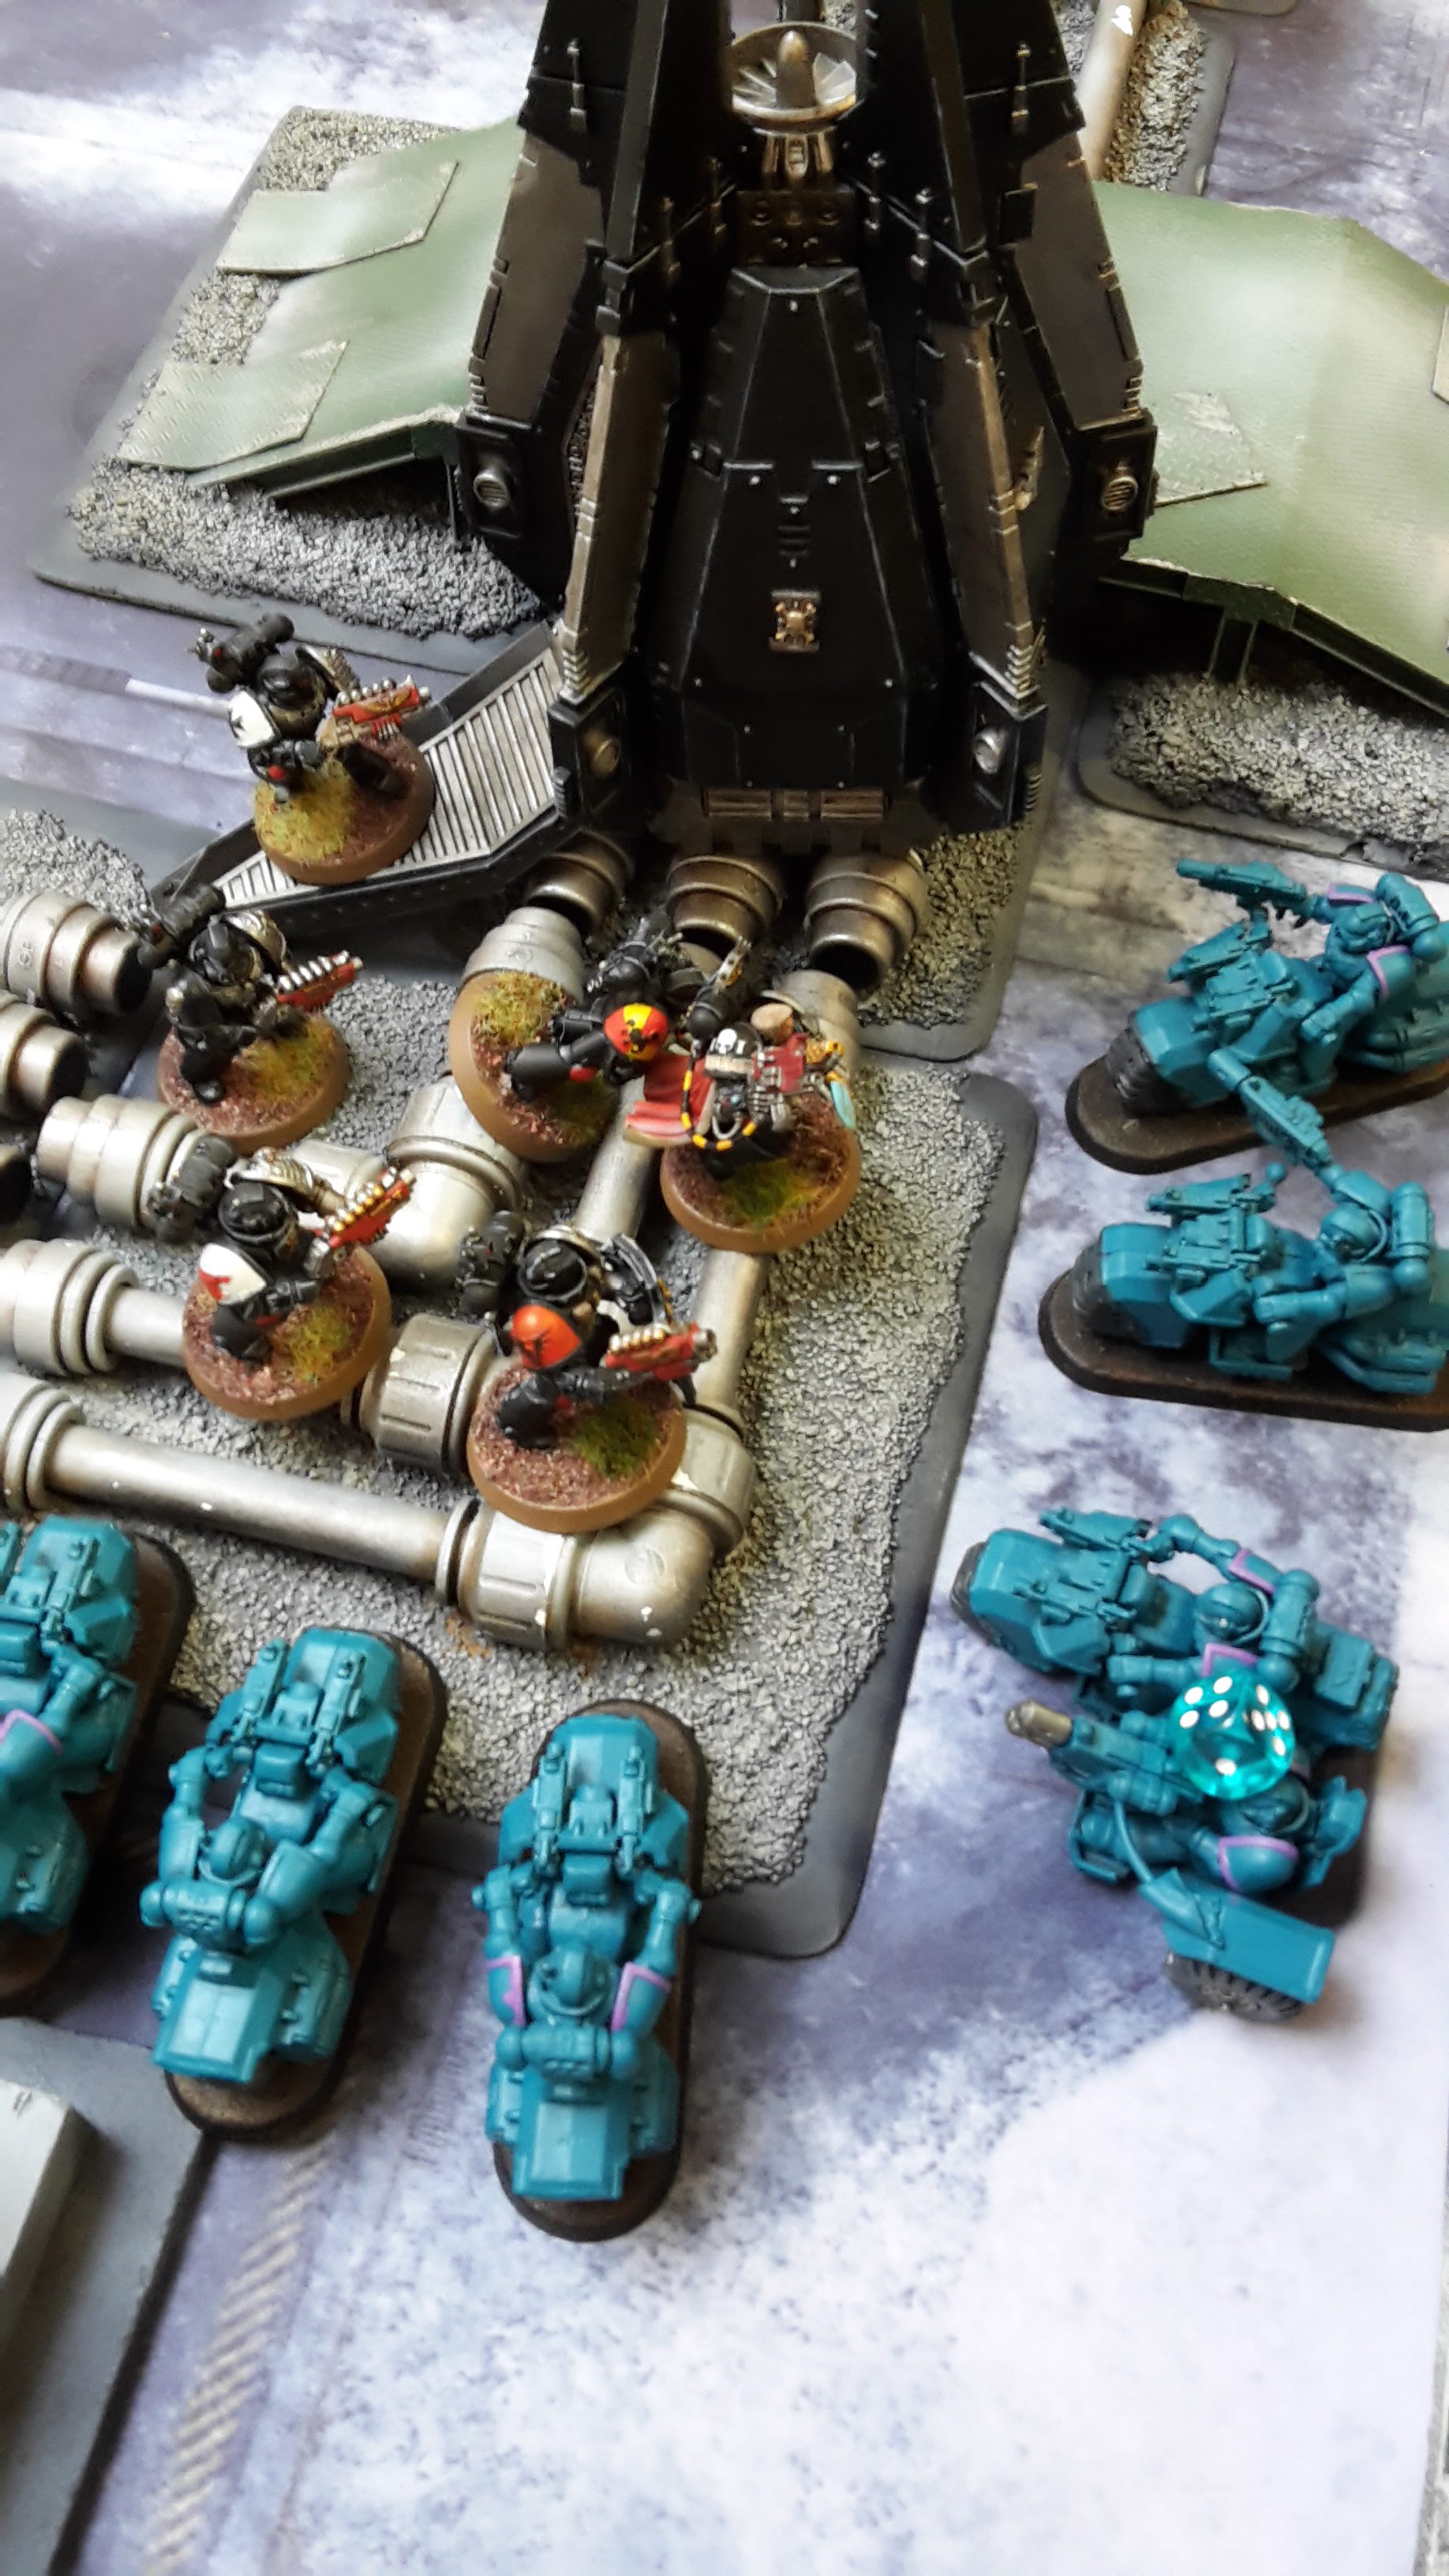
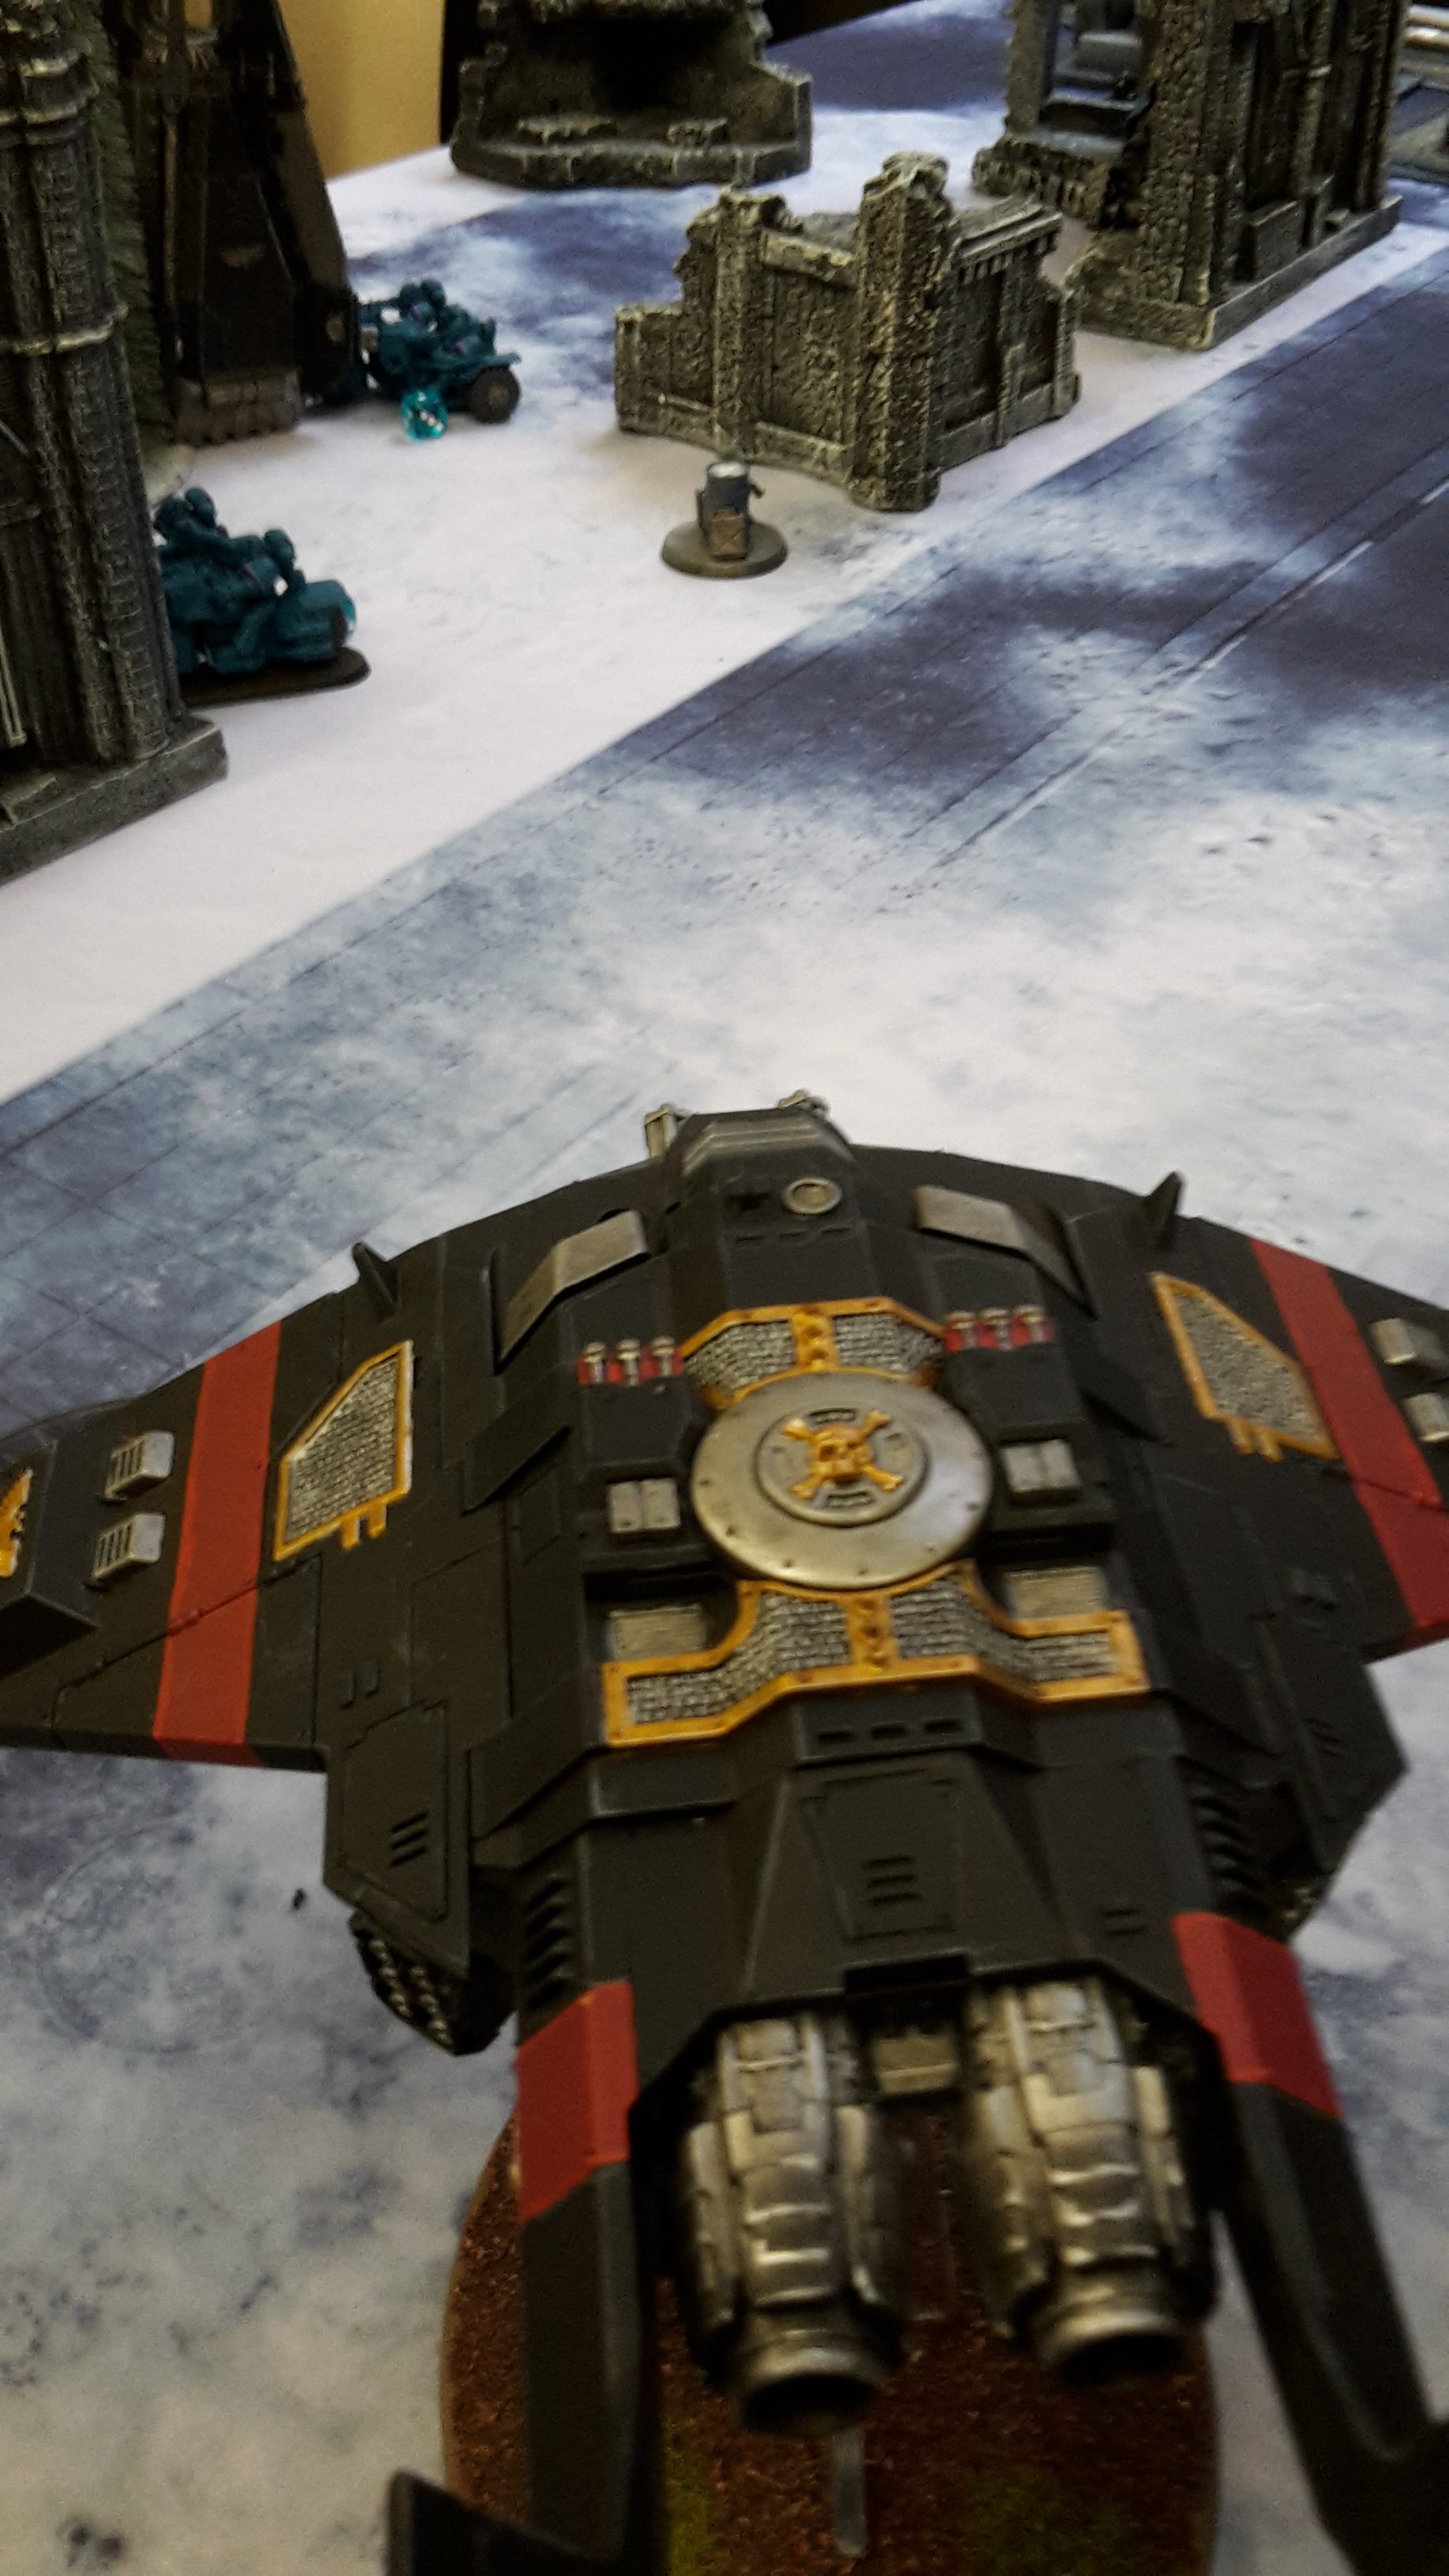
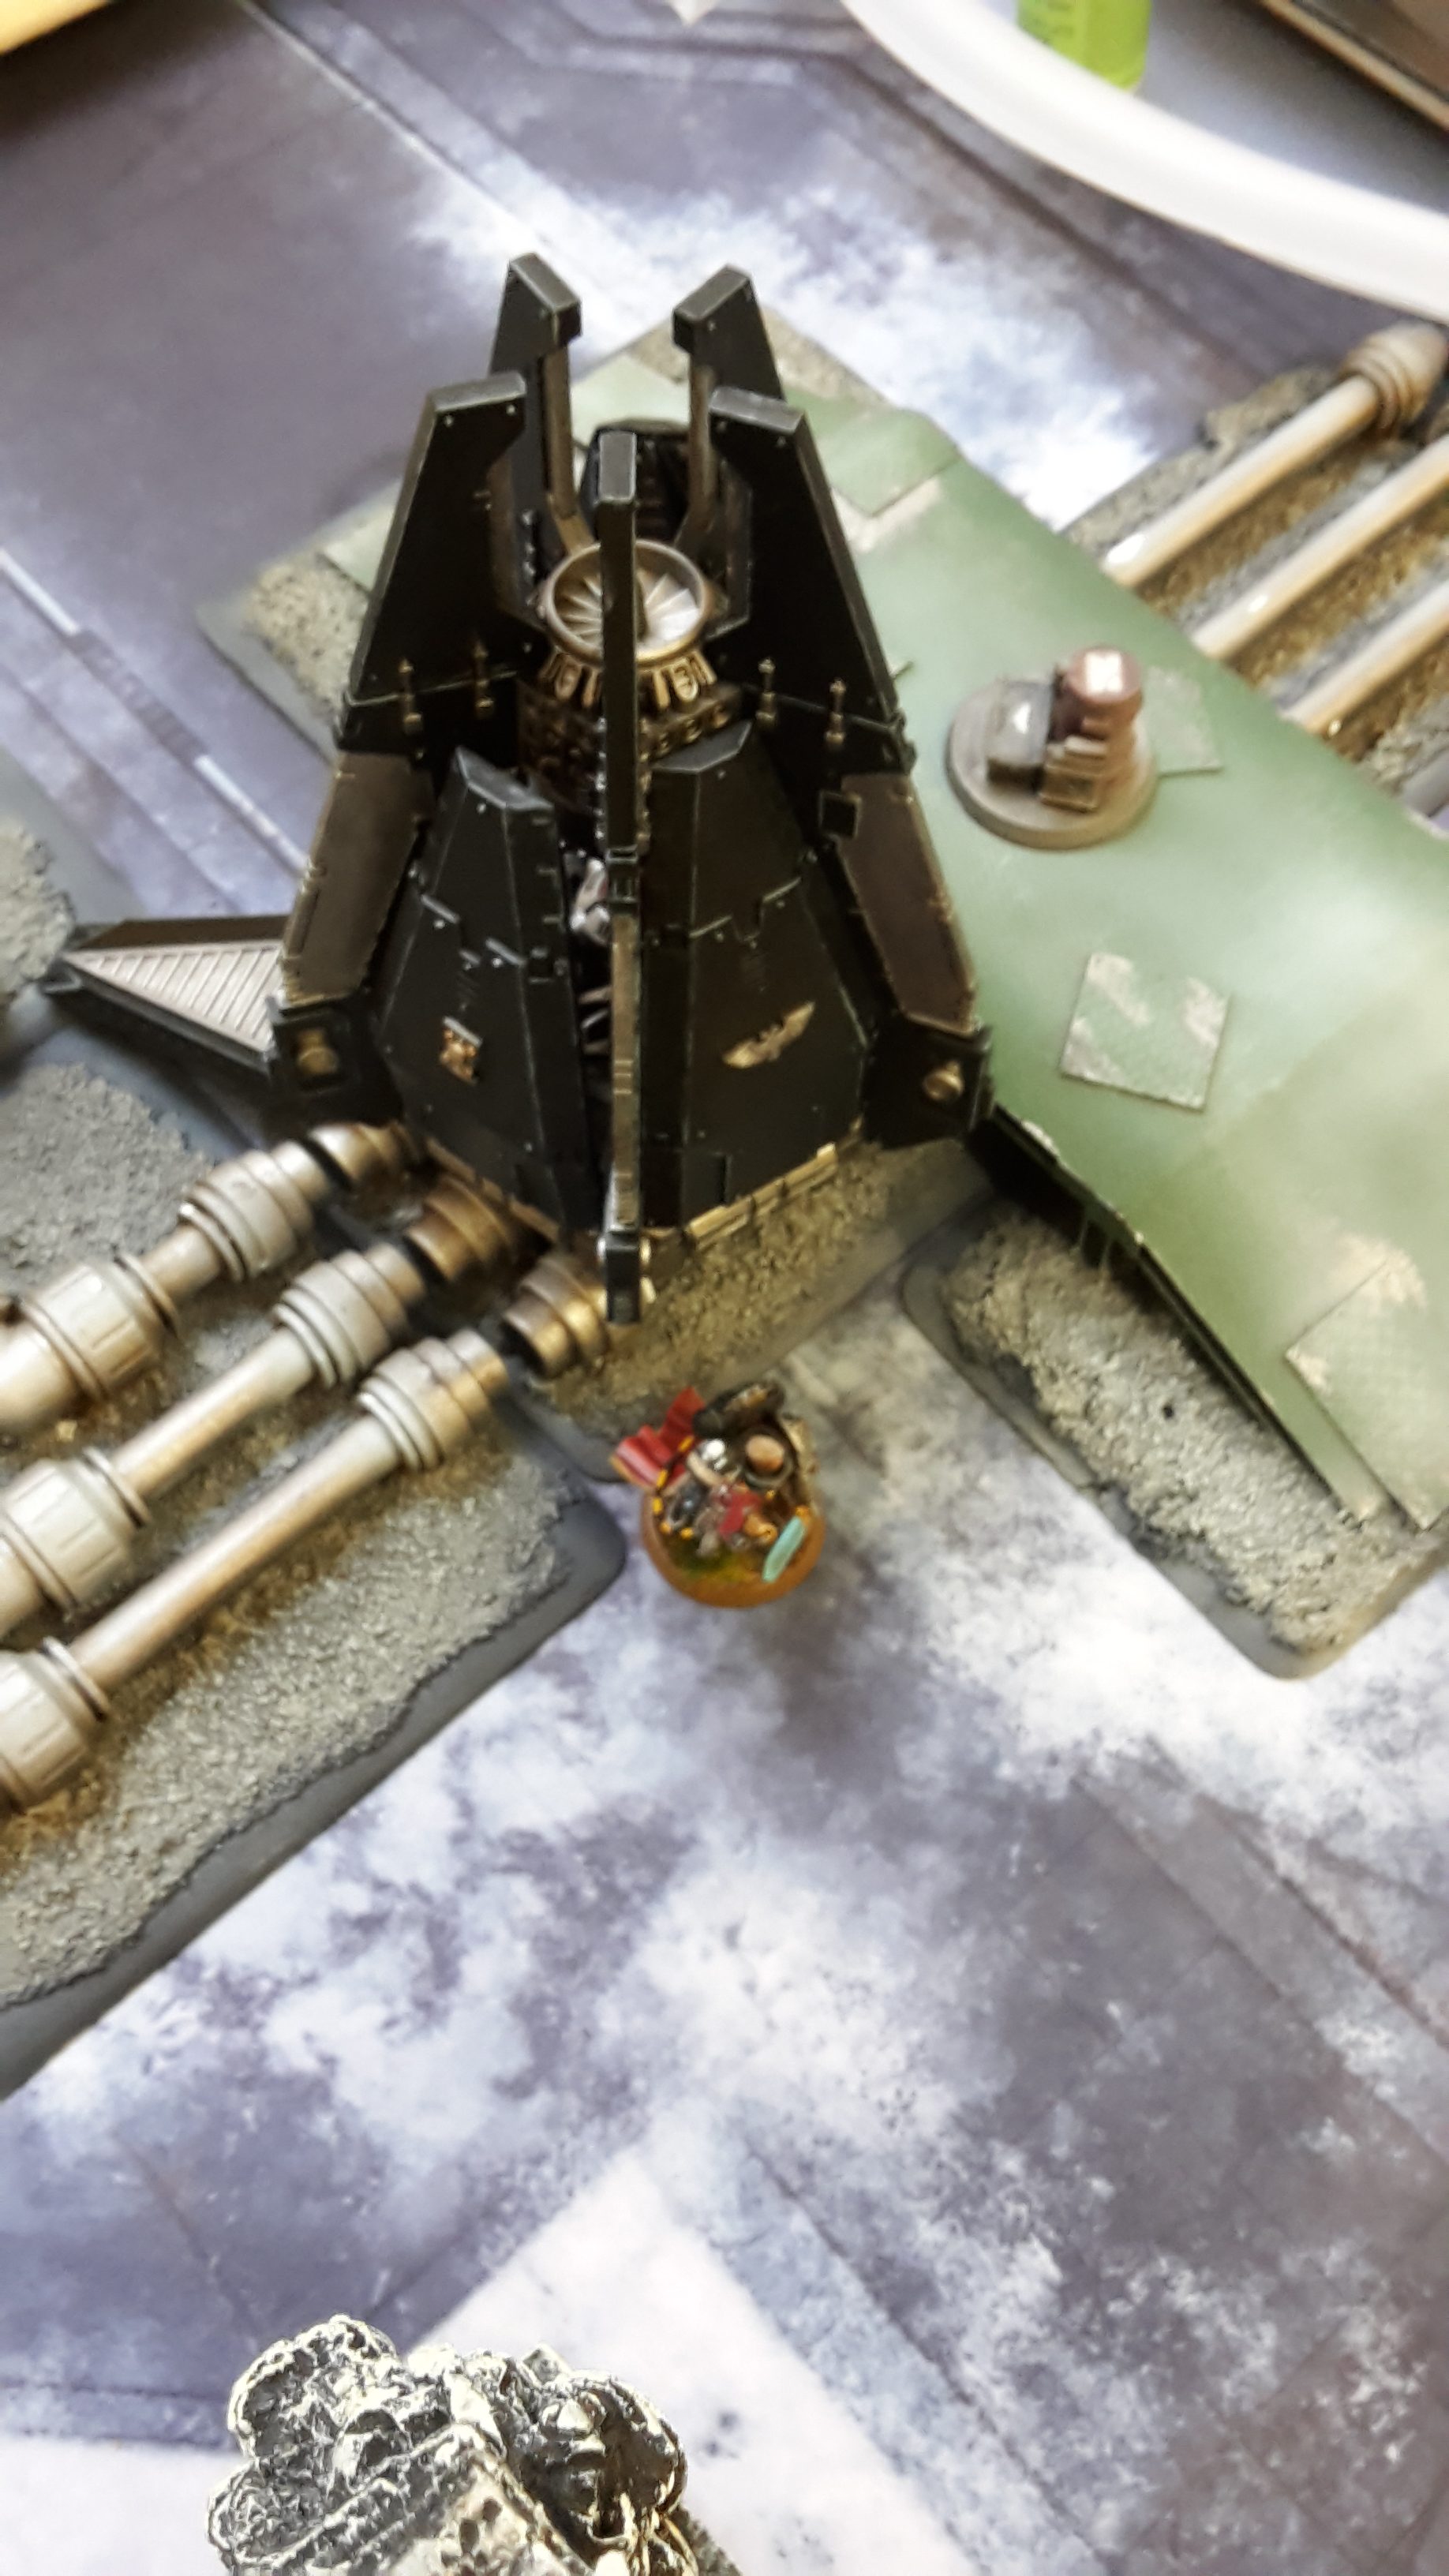
- Corvus Blackstar- Inferno Halo Launcher (CB)
Artemis was my warlord and his warlord trait would grant me one extra change to my Mission Tactics (so two in total). Once again, I put him with the Shotgun Veterans in the Drop Pod.
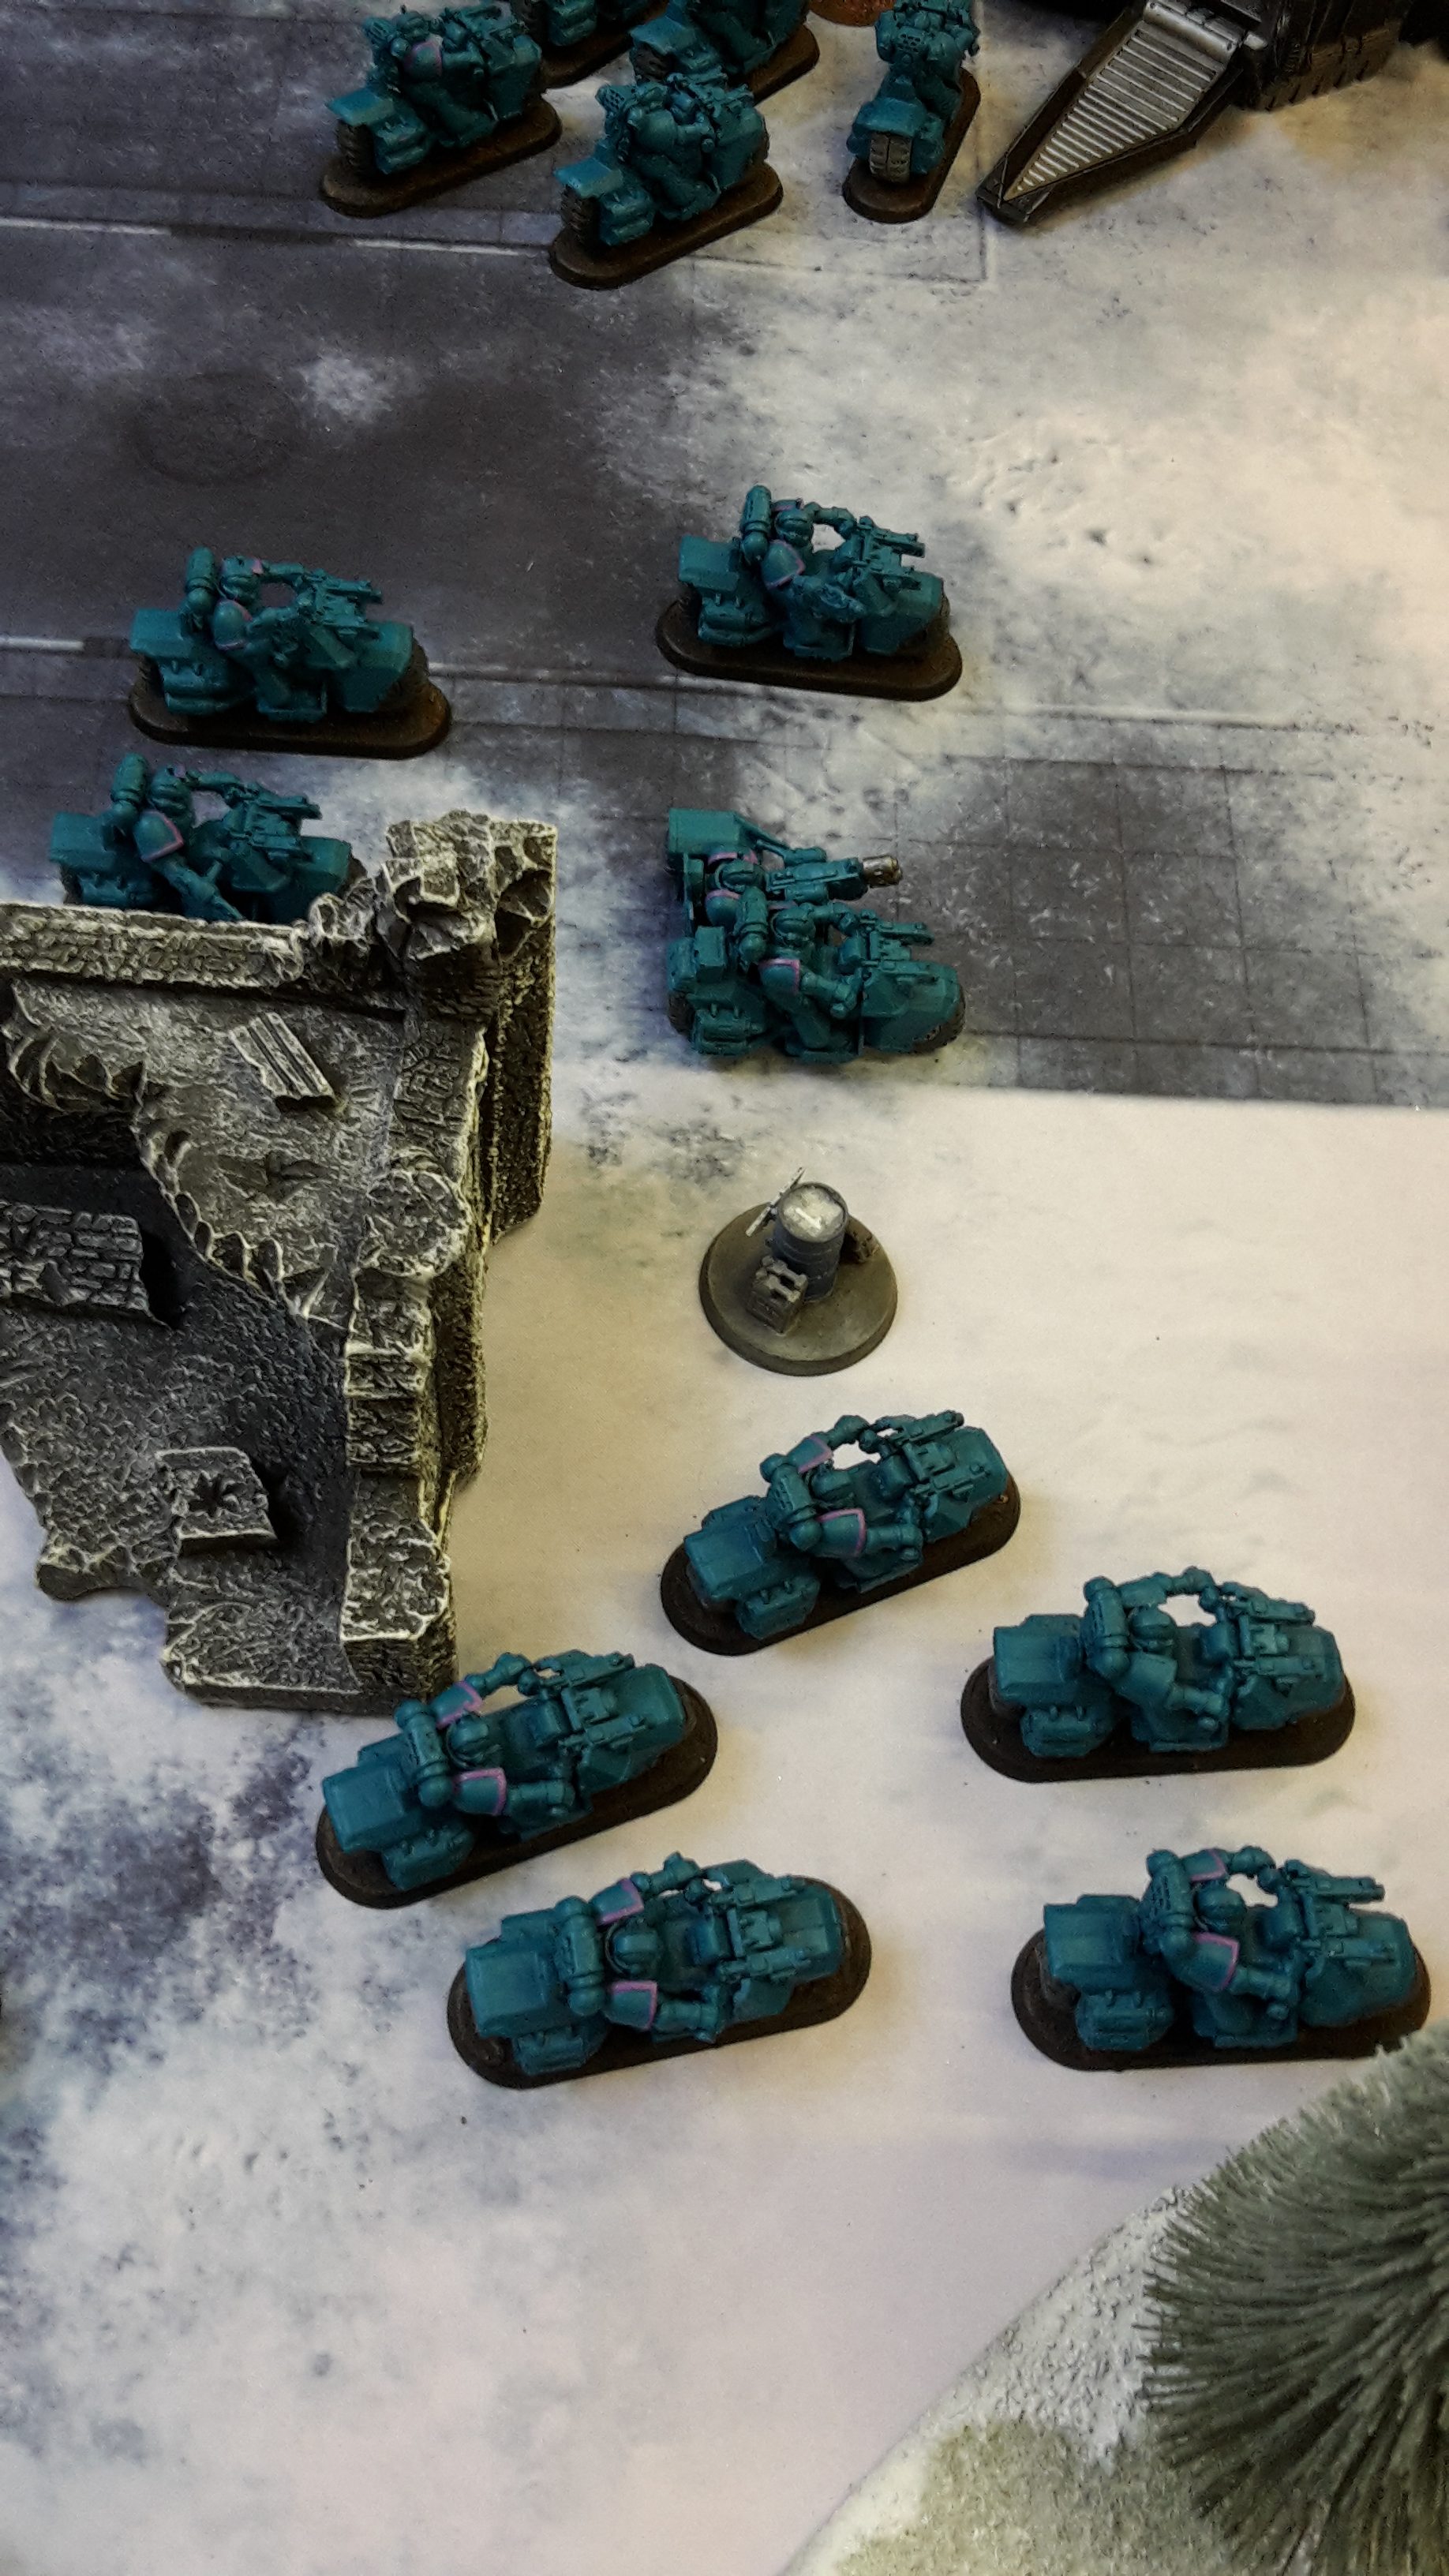
Robert’s army consisted of:
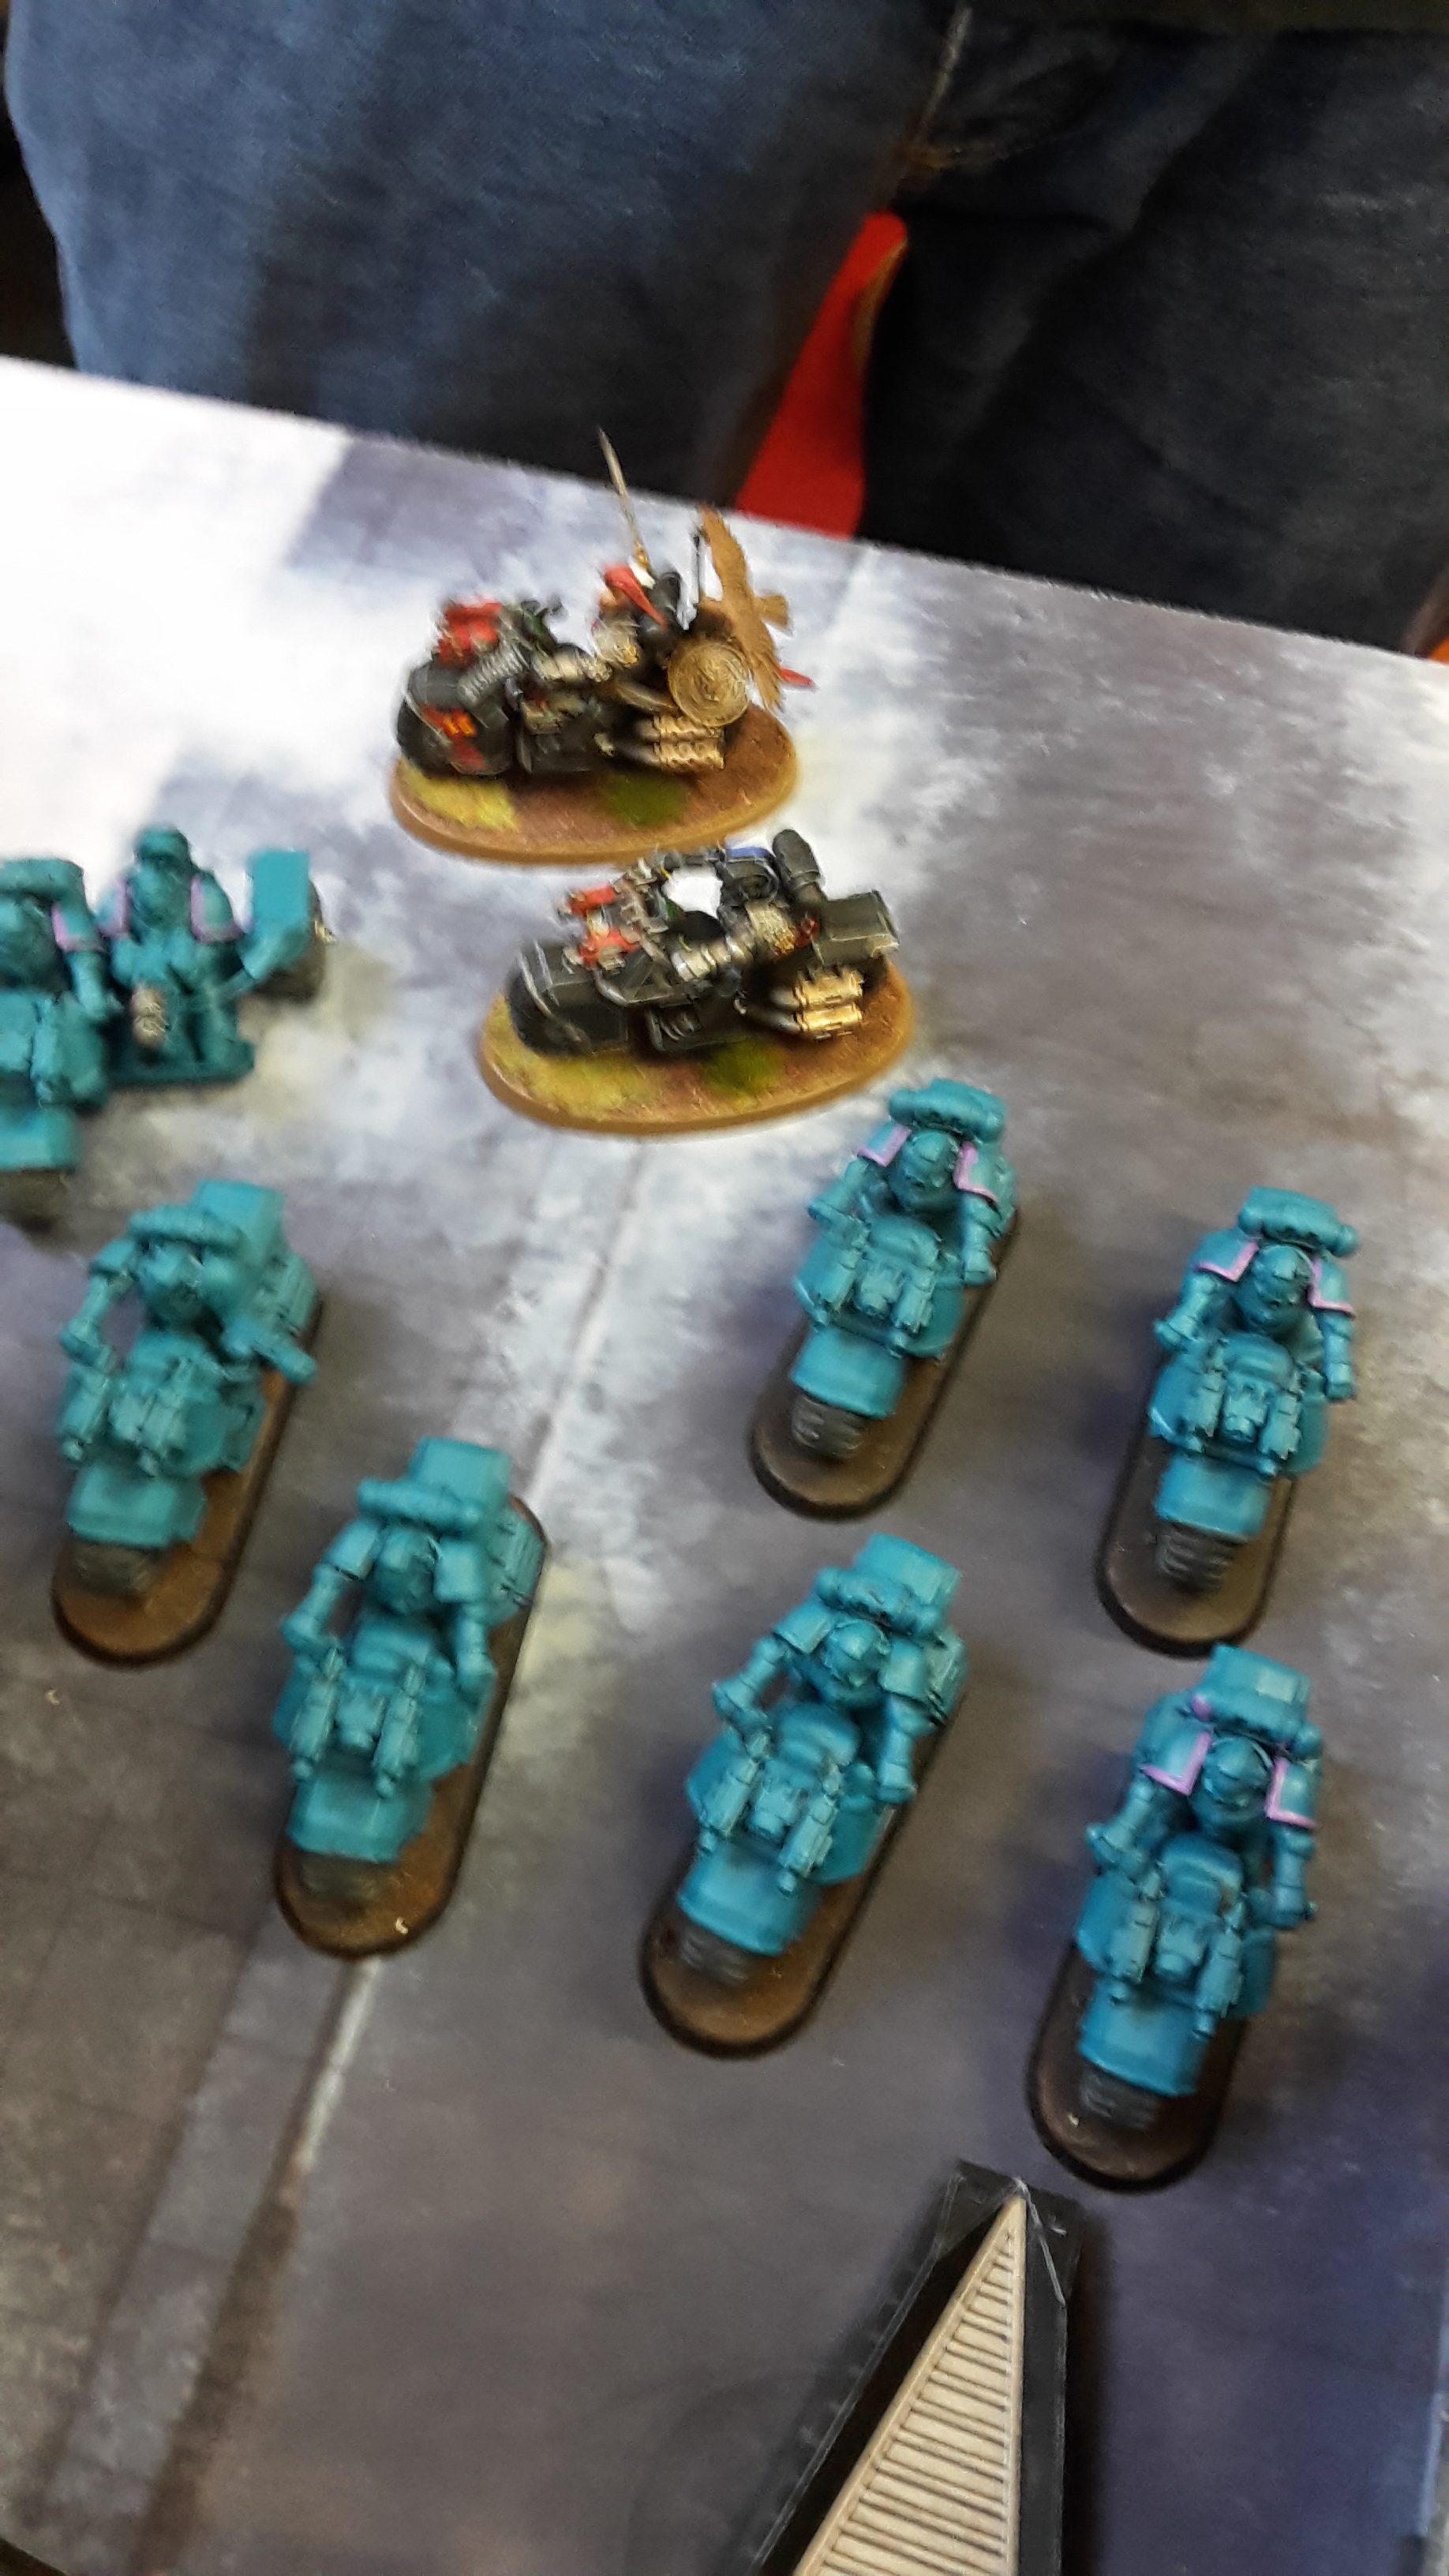
- Librarian- Mastery Level 2, Bike, The Hunter’s Eye, Force Axe
- 5 Command Squad- Bikes, Apothecary, 4 Grav Guns, 4 Storm Shields, Meltabombs
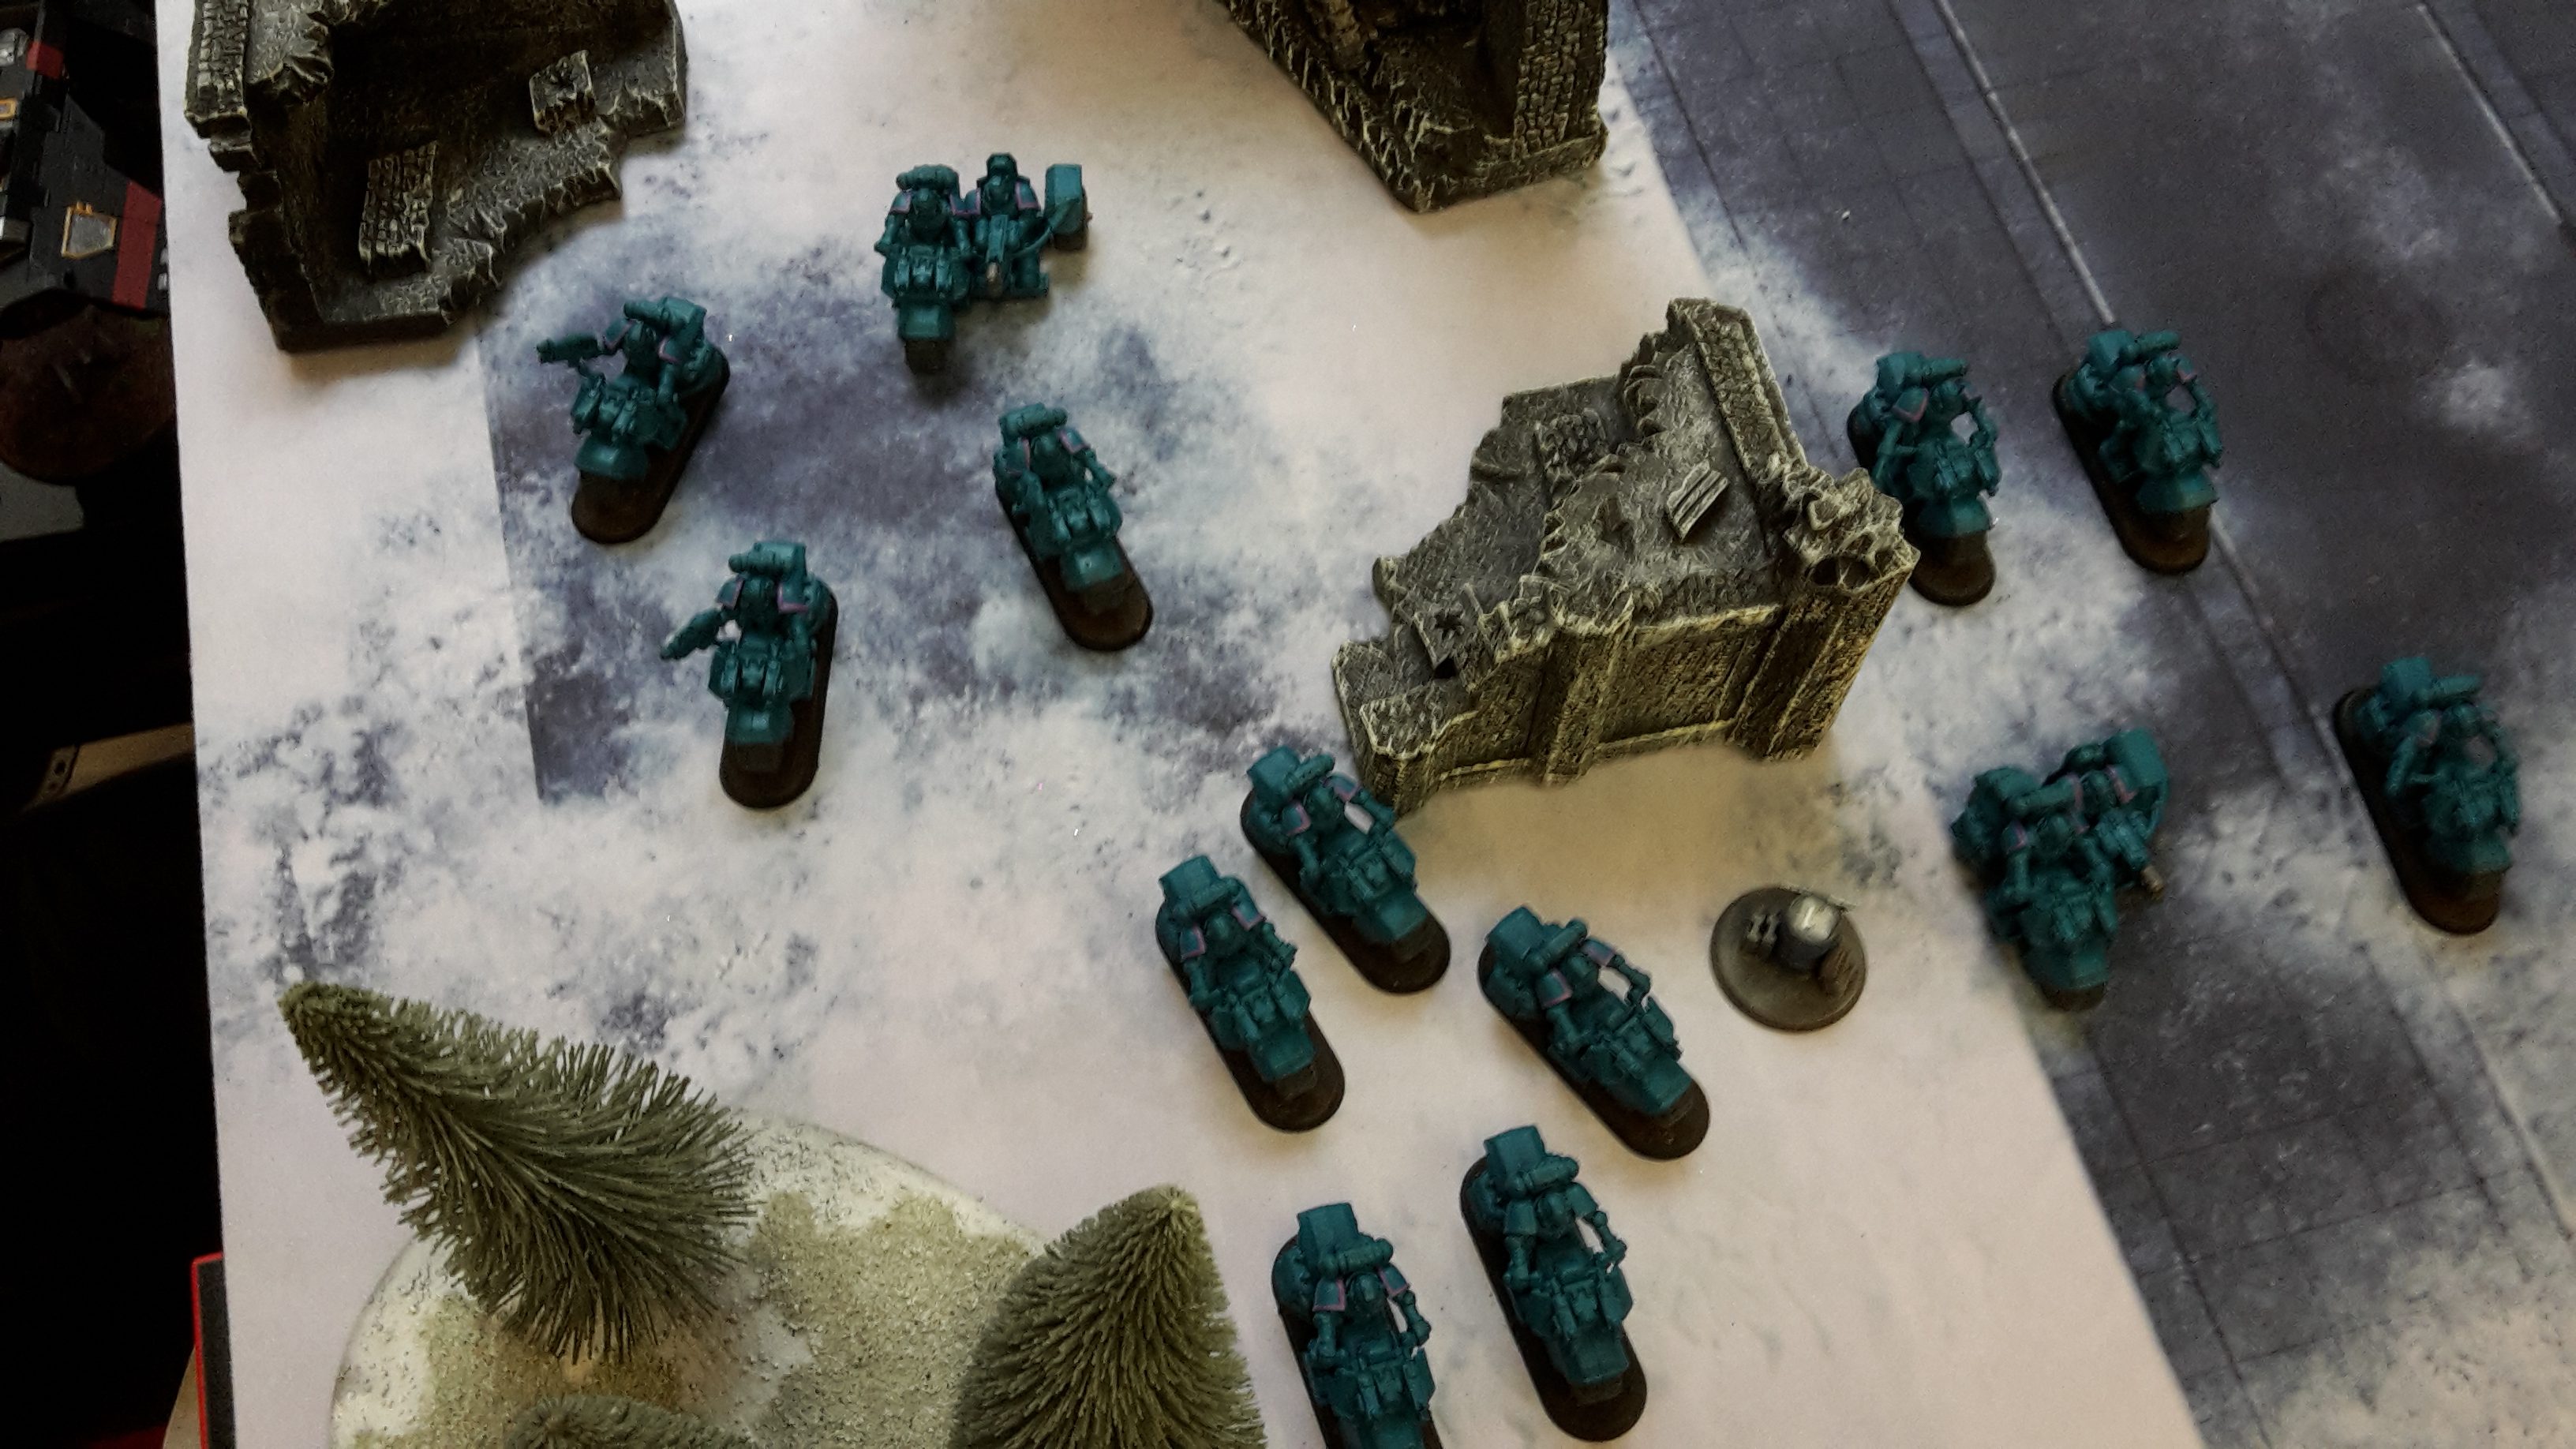
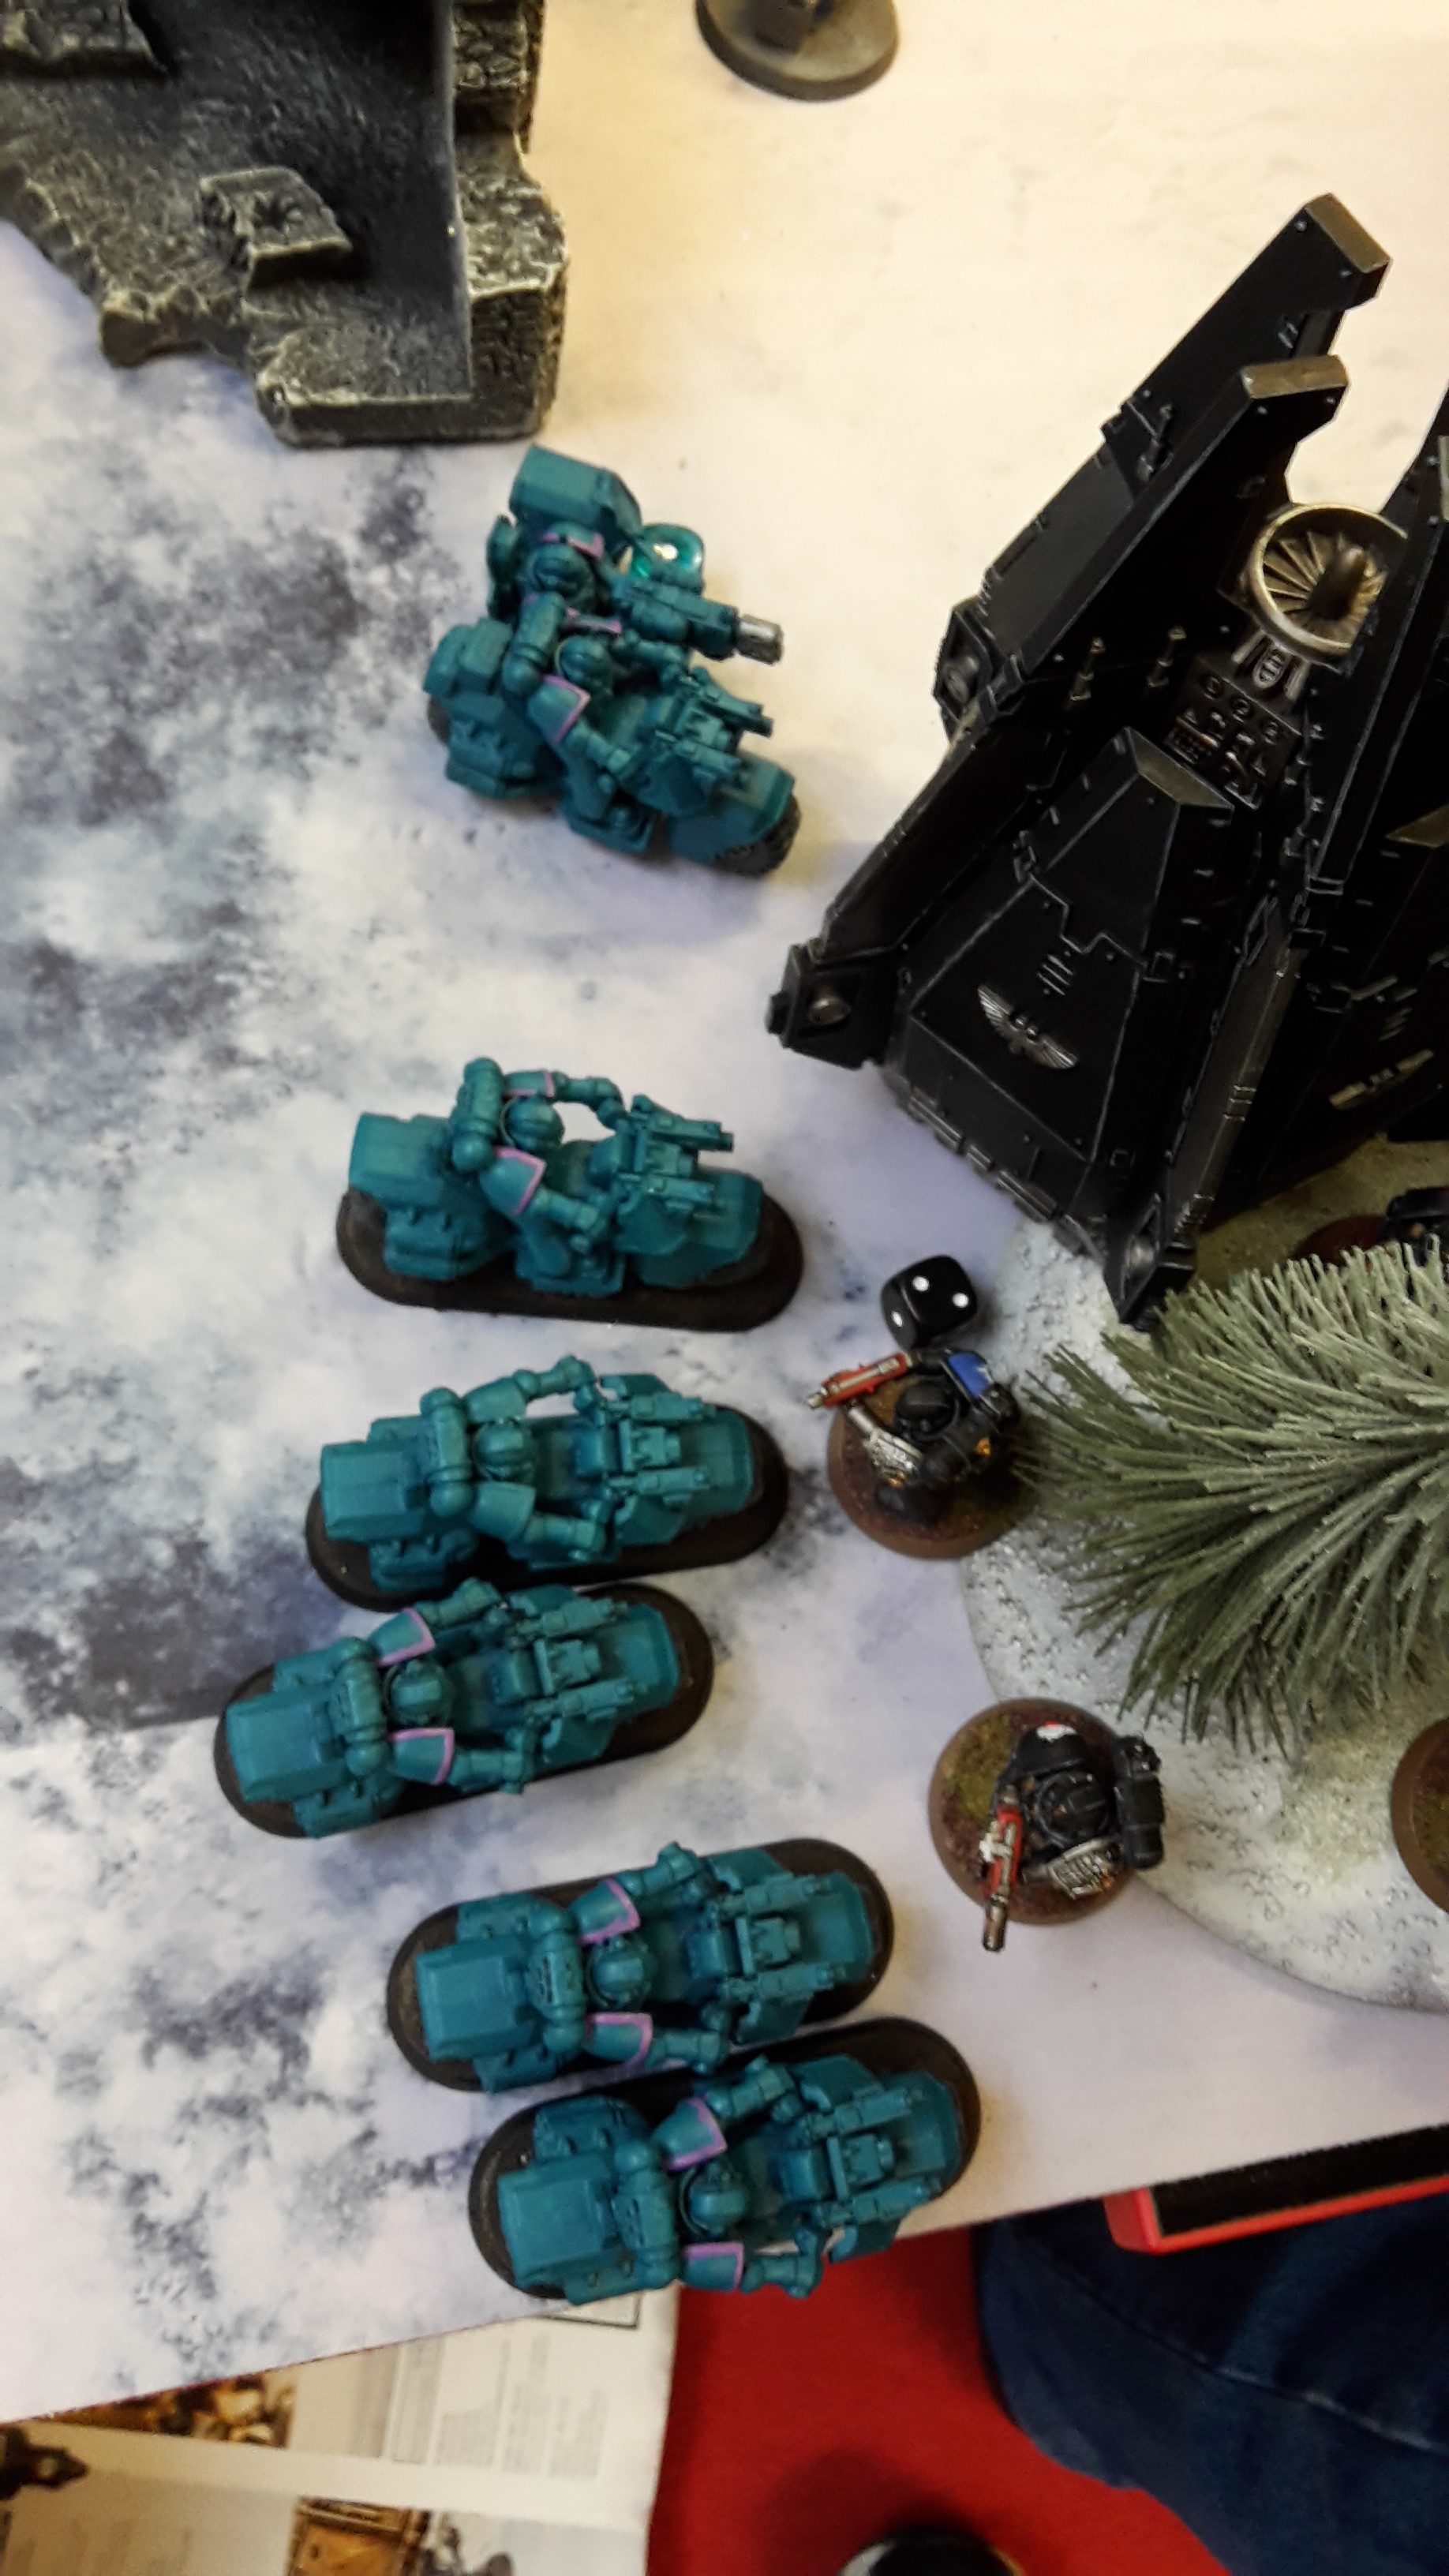
- 5 Bikers
- 3 Bikers and Attack Bike- 2 Meltaguns, Combi-Melta, Meltabombs, Multi-Melta
- 5 Bikers
- 3 Bikers and Attack Bike- 2 Meltaguns, Combi-Melta, Meltabombs, Multi-Melta
- 5 Bikers
- 3 Bikers and Attack Bike- 2 Grav Guns, Combi-Grav, Meltabombs, Multi-Melta
- 5 Bikers
- 3 Bikers and Attack Bike- 2 Grav Guns, Combi-Grav, Meltabombs, Multi-Melta
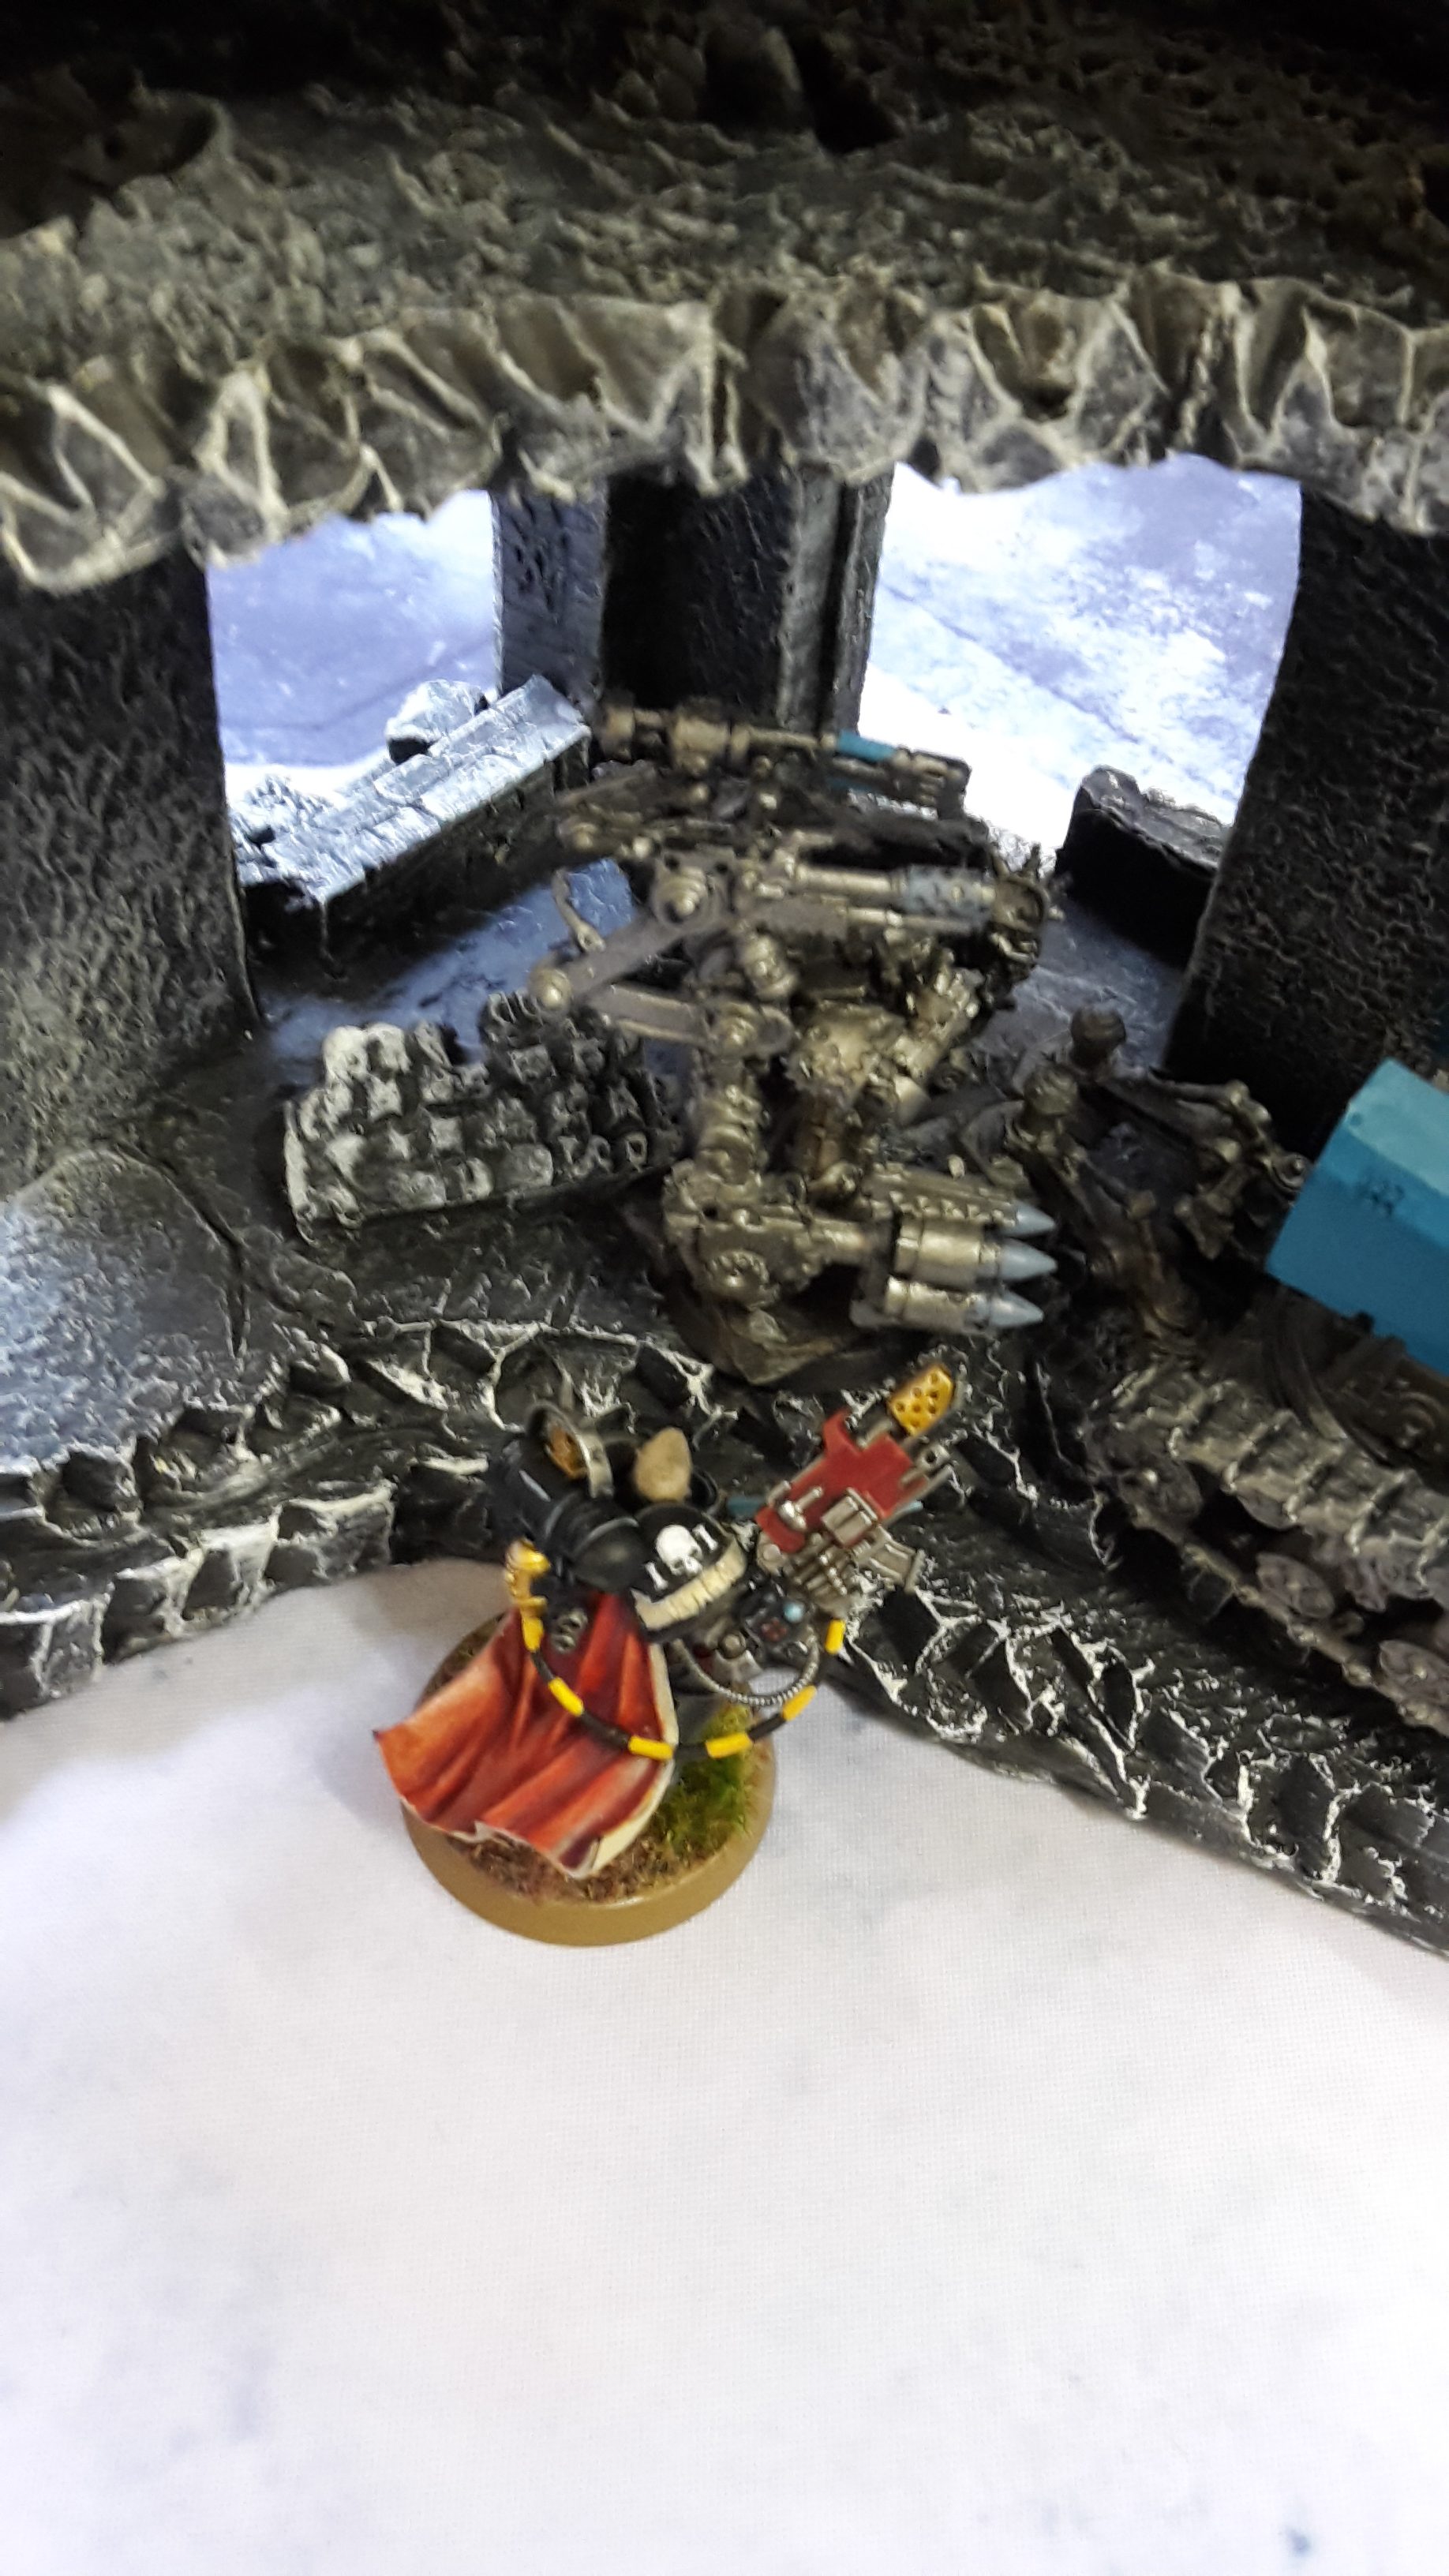
- Thunderfire Cannon
The Librarian was his warlord, and I forgot to note down what his warlord trait was. He rolled on Divination and got Prescience, Perfect Timing and Scrier’s Gaze. Of these, Prescience was the only one of use as he already had Ignores Cover thanks to the Hunter’s Eye.
This was a tough White Scars army, especially for a maelstrom game. Lots of very fast, tough, objective secured units could be tricky to deal with. Four full strength Bike squads gave him access to eight combat squads for objective grabbing. The Grav Command squad would need to be dealt with quickly, as it had the ability to decimate my entire army with Ignores cover grav fire. The Thunderfire Cannon is also annoying, able to get a lot of hits on units and kill them off through attrition.
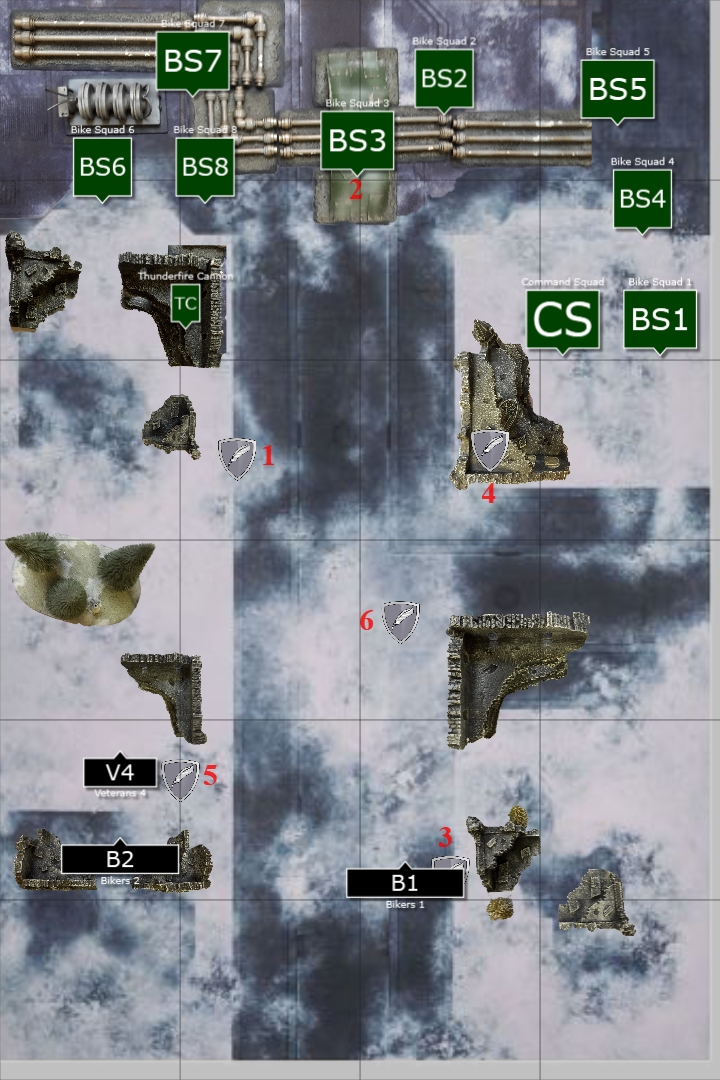
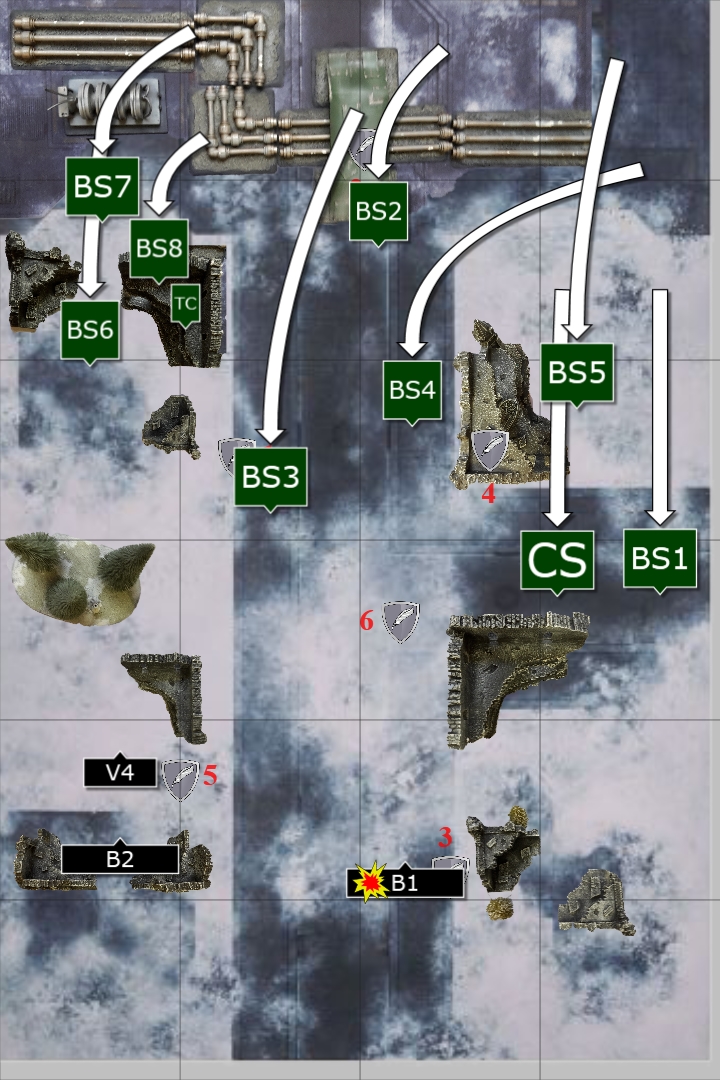
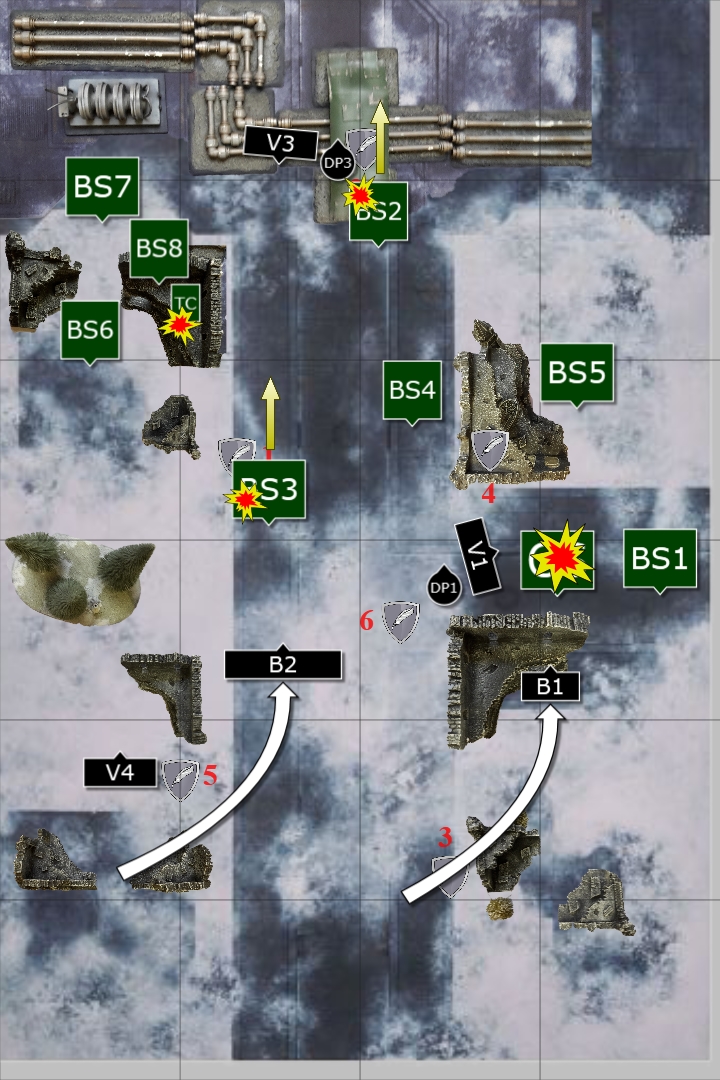
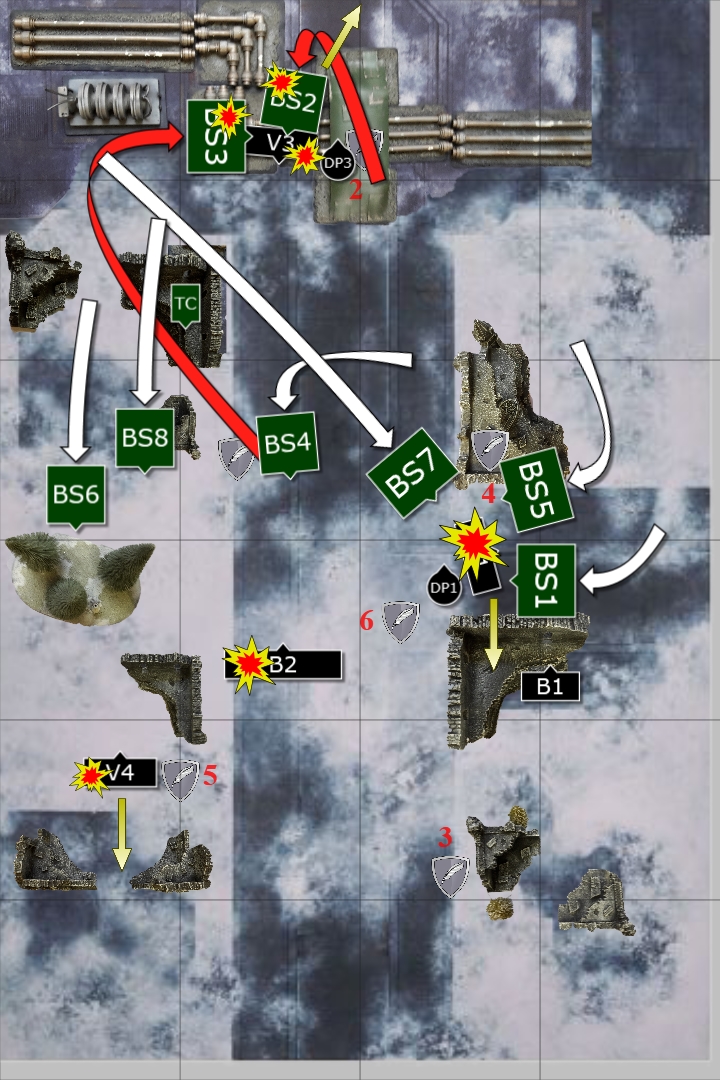
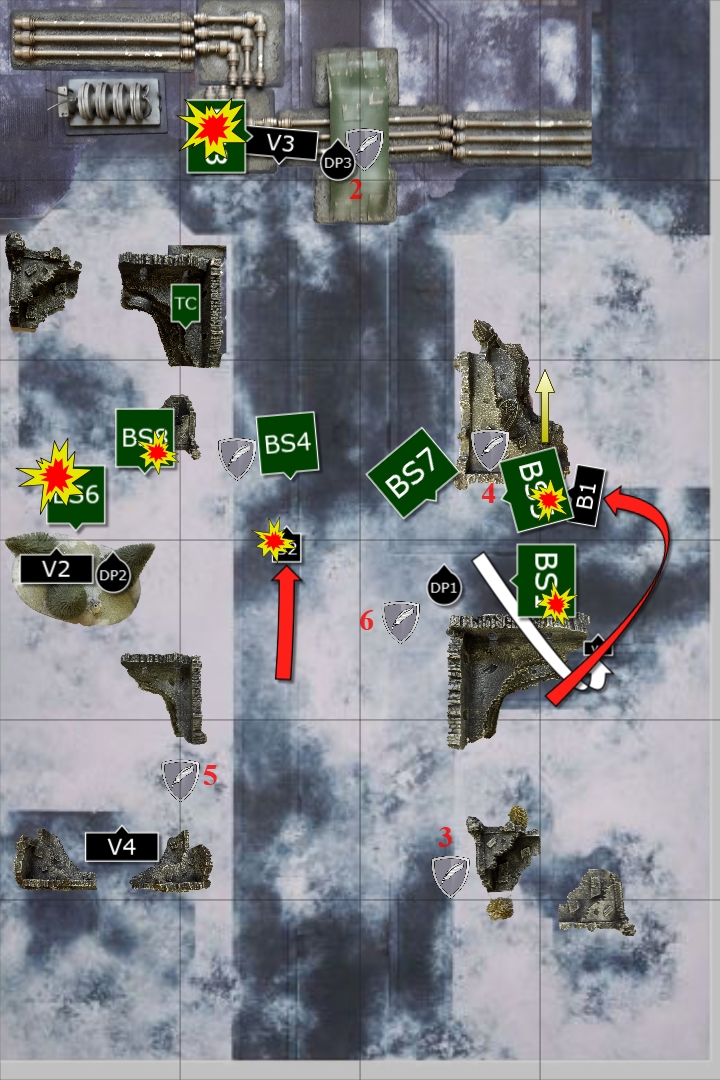
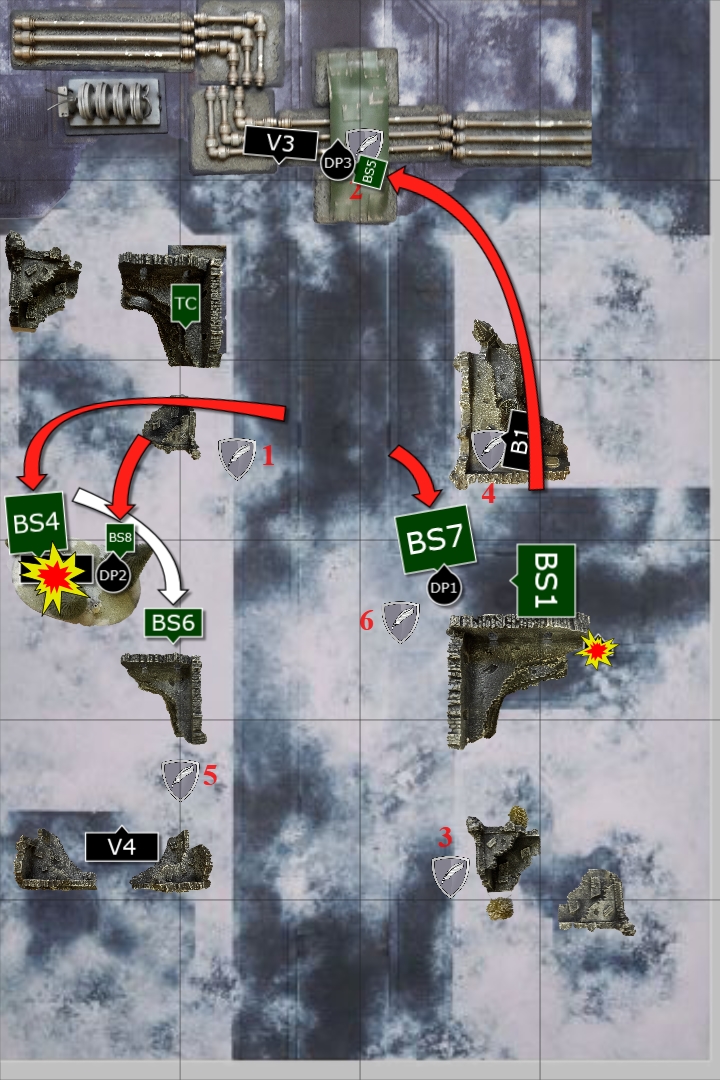
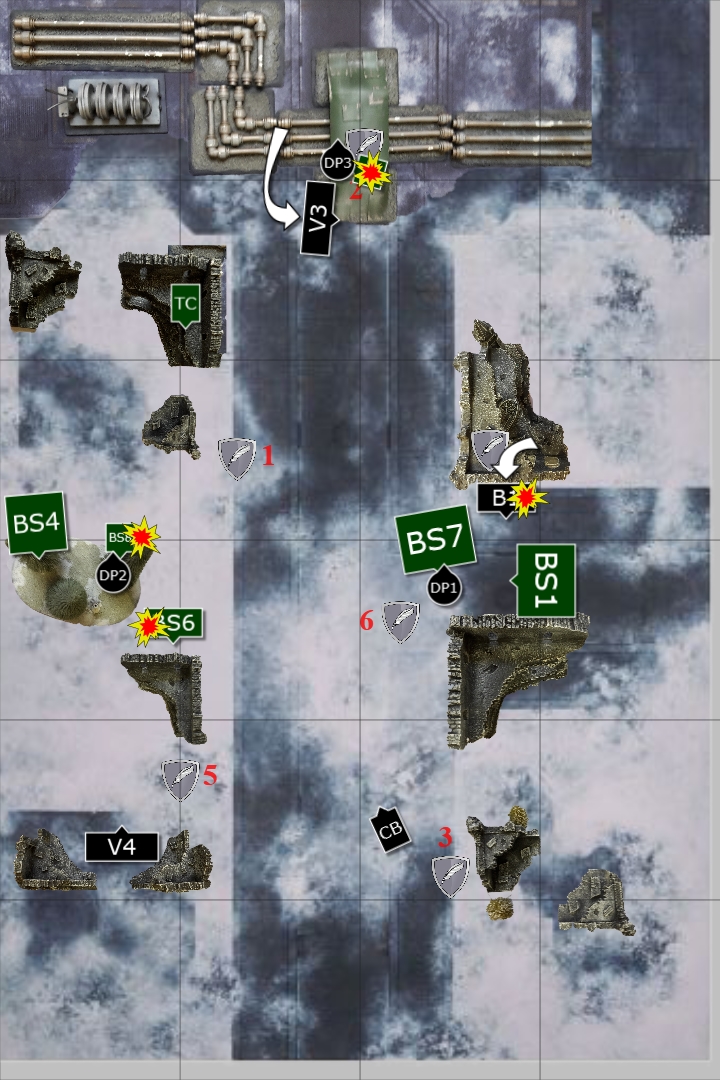
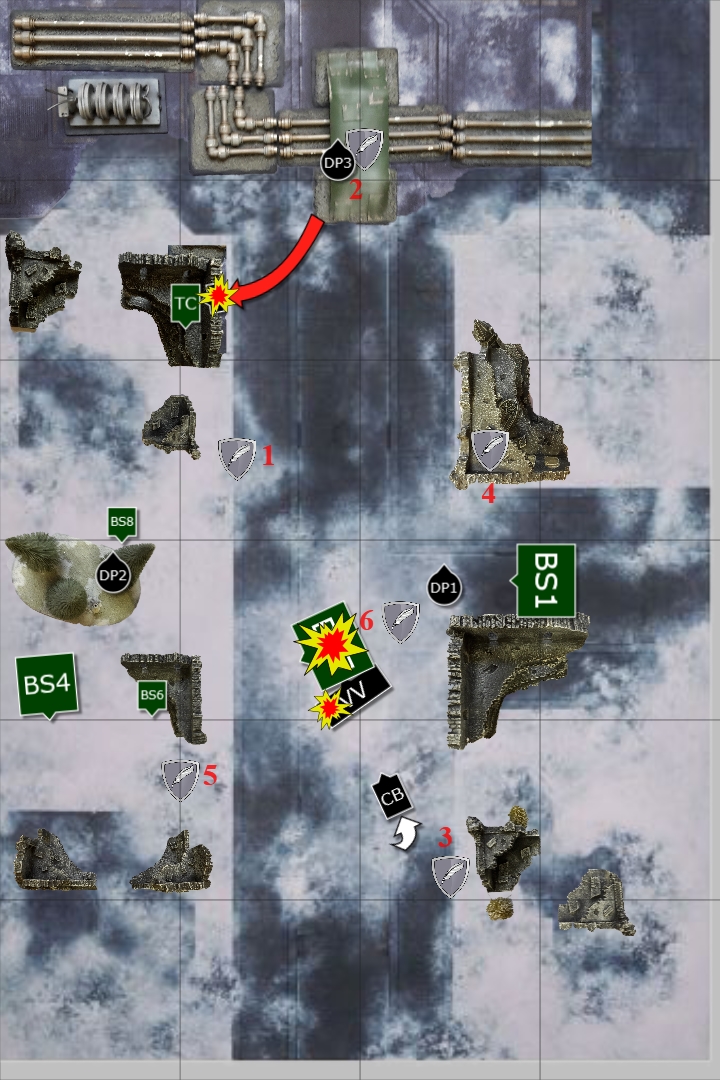
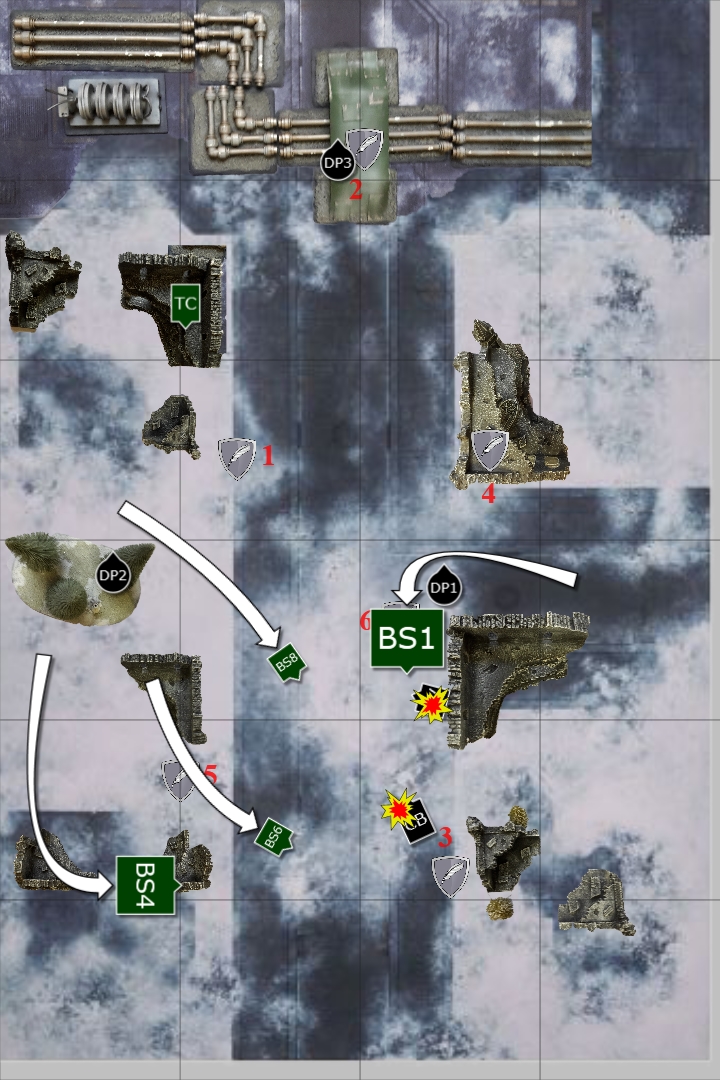
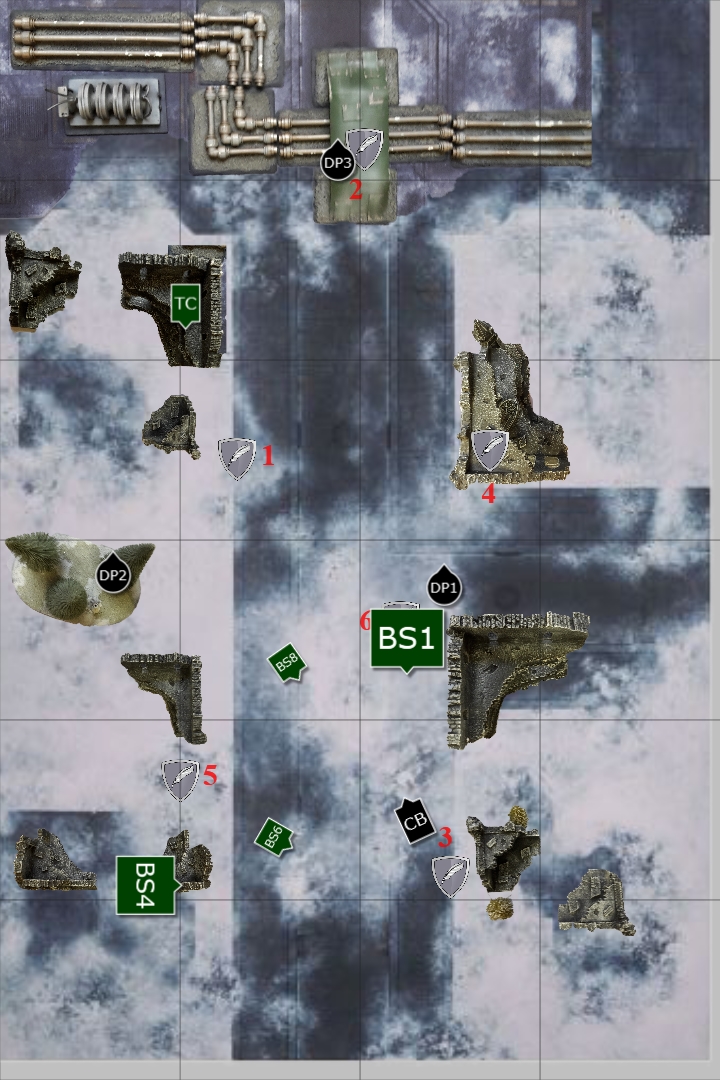
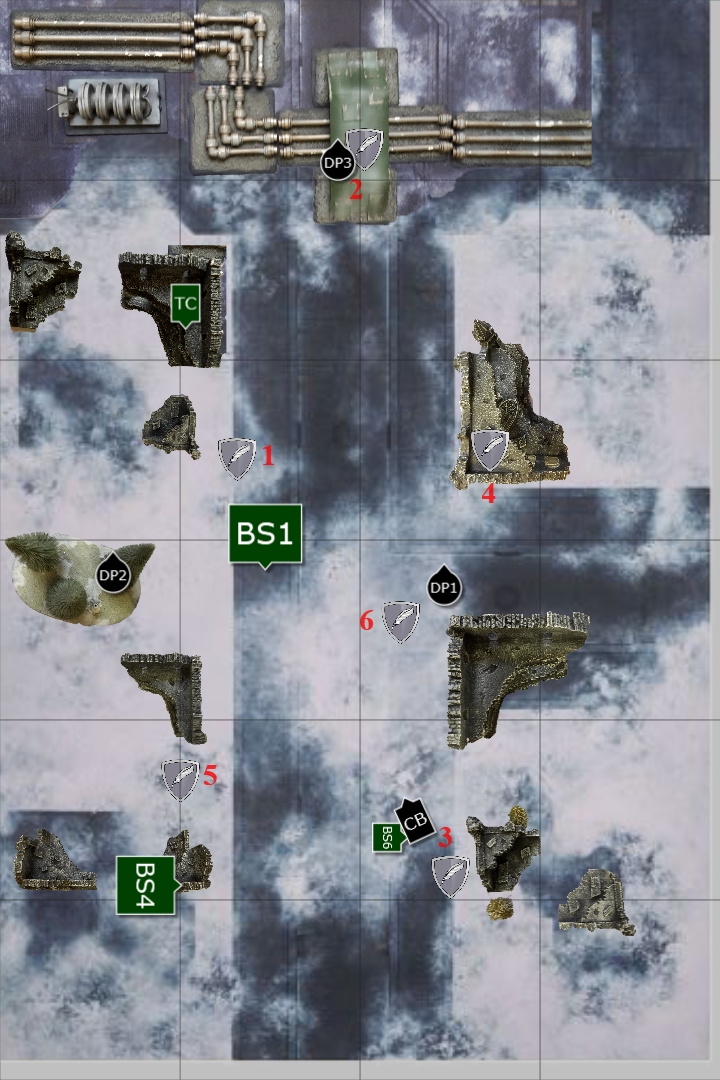
We deployed the objectives as shown below:
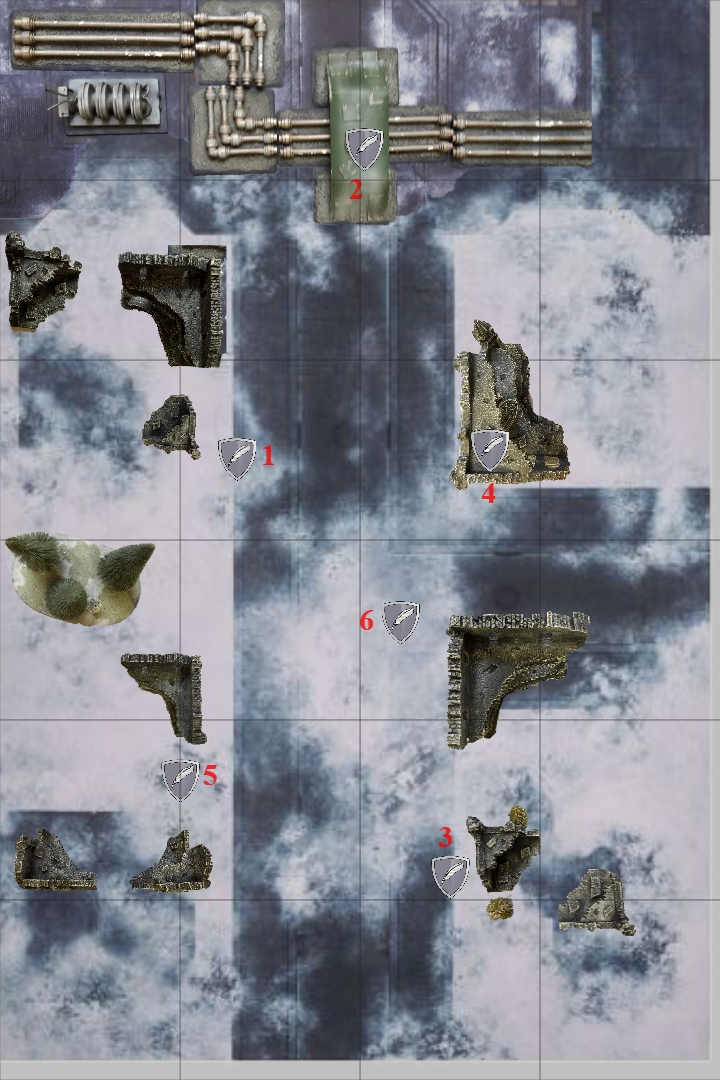
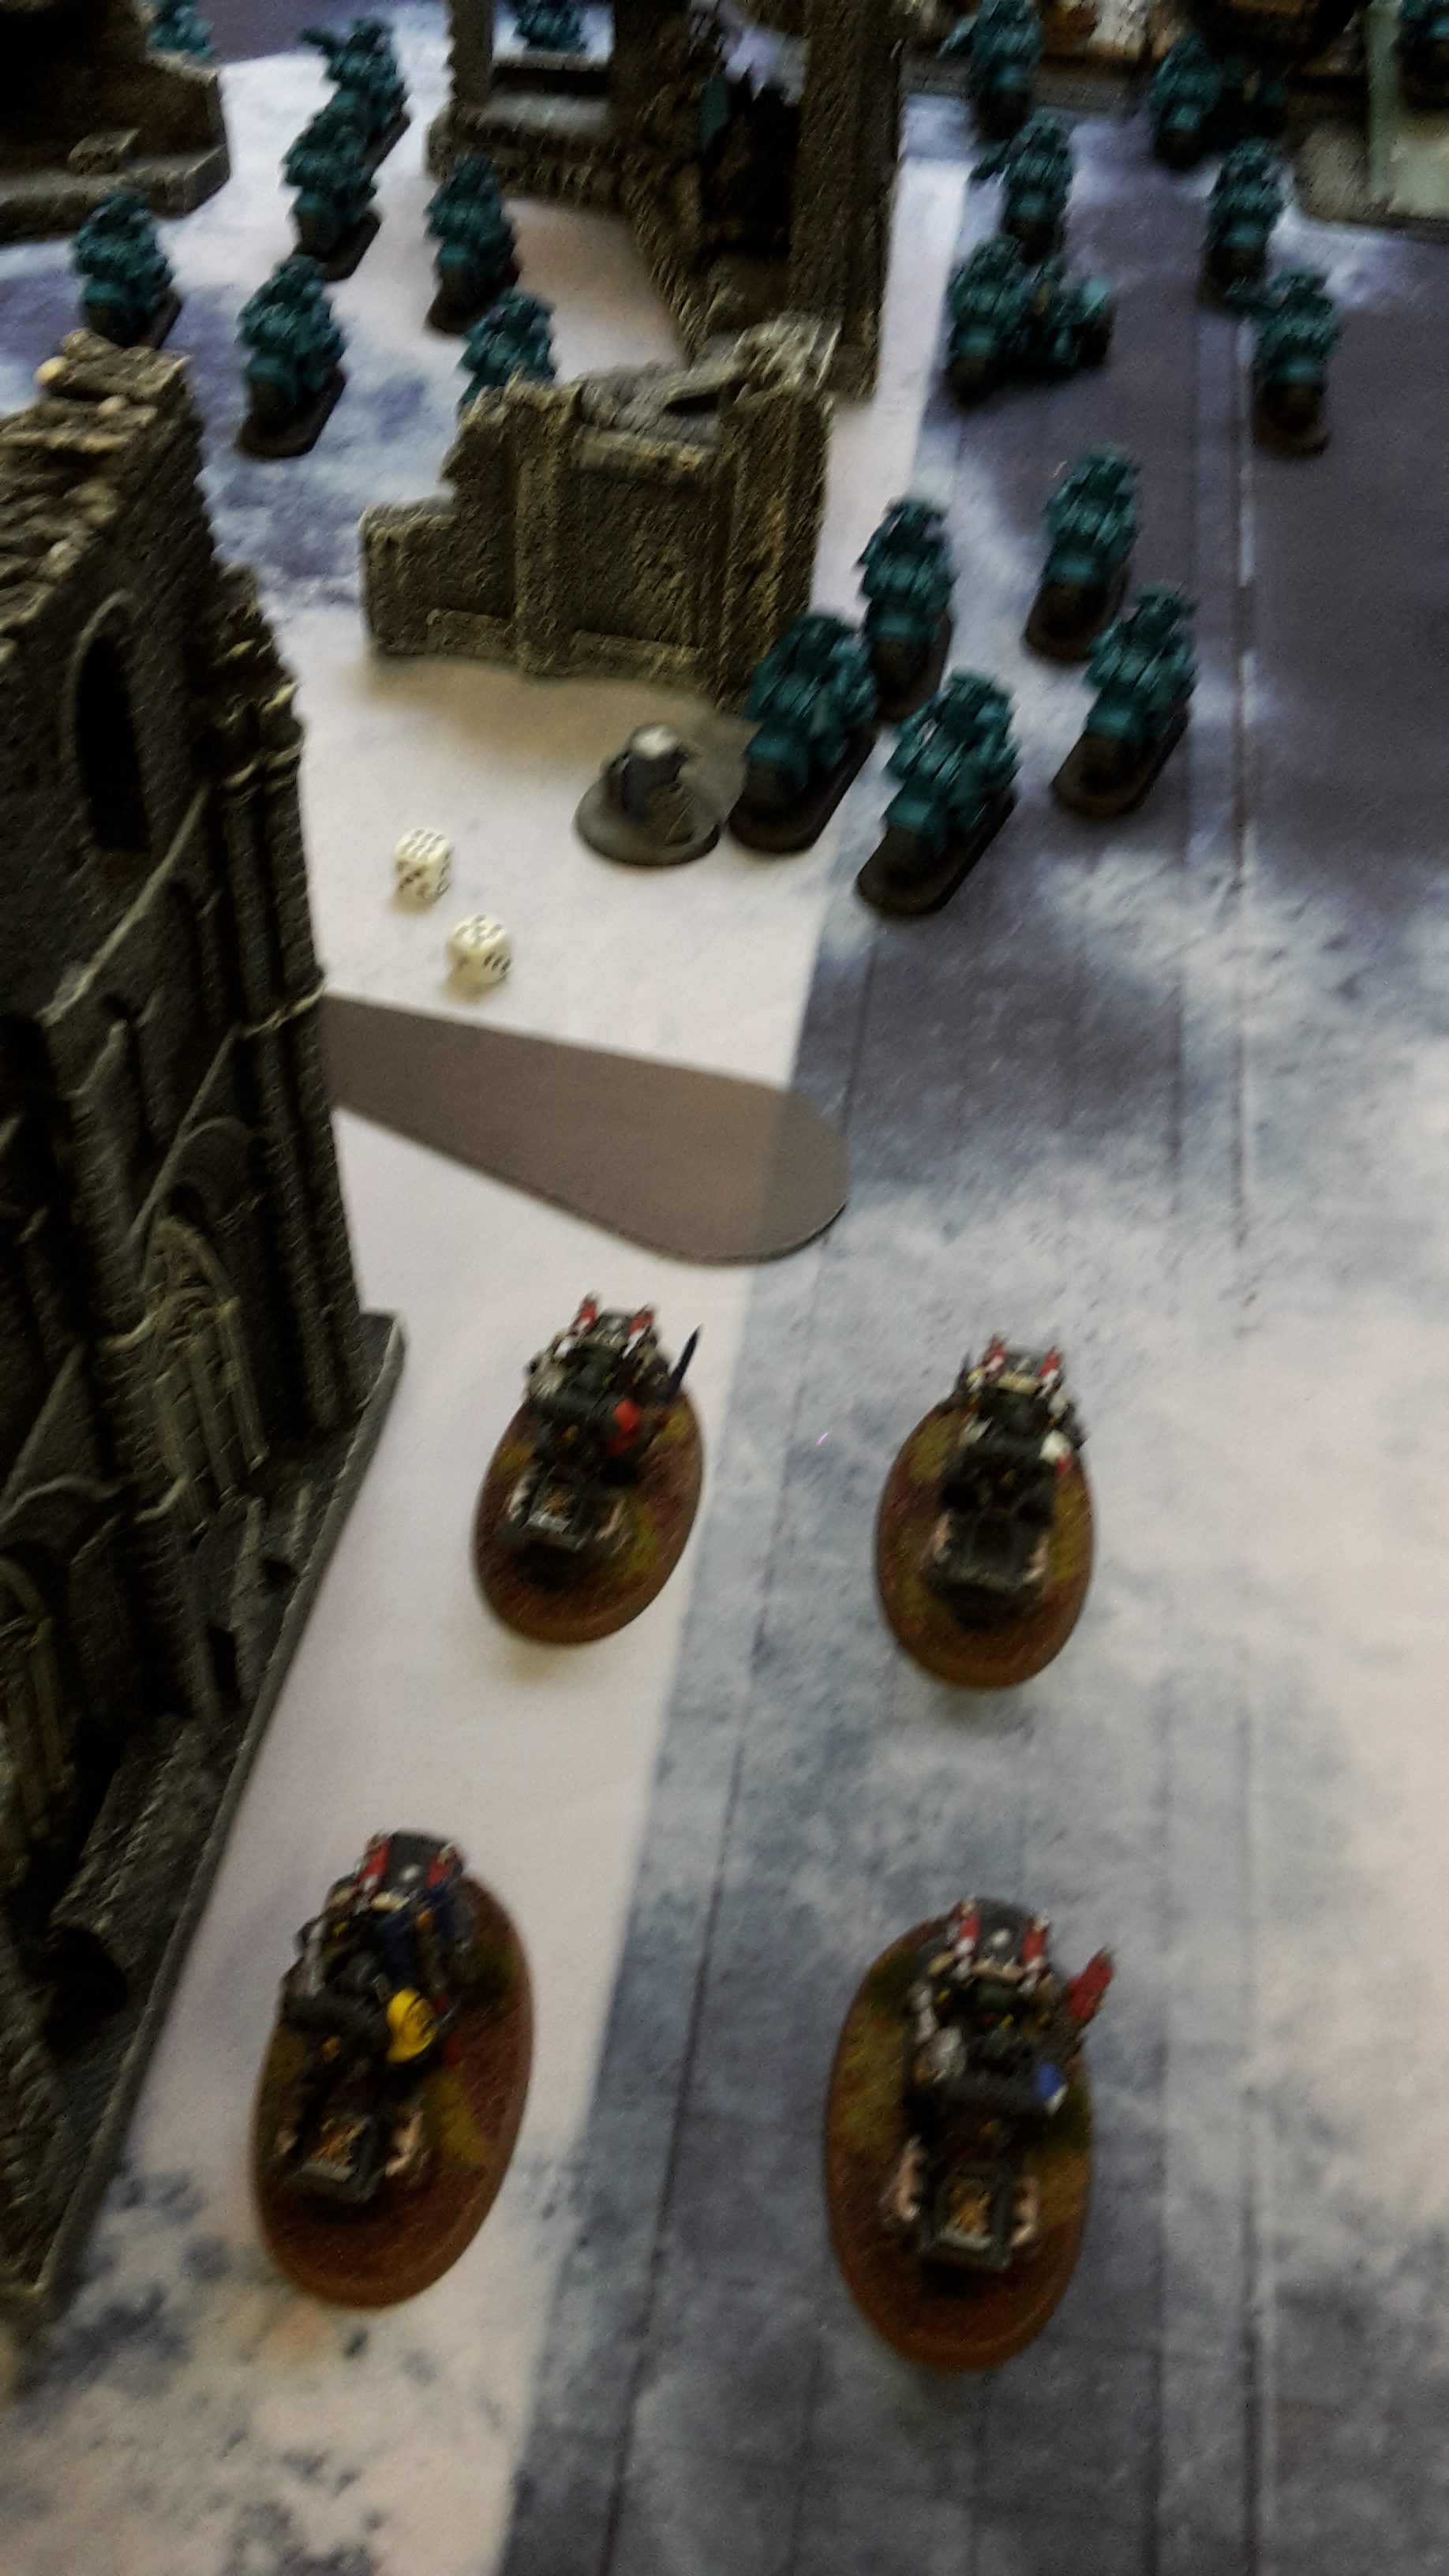
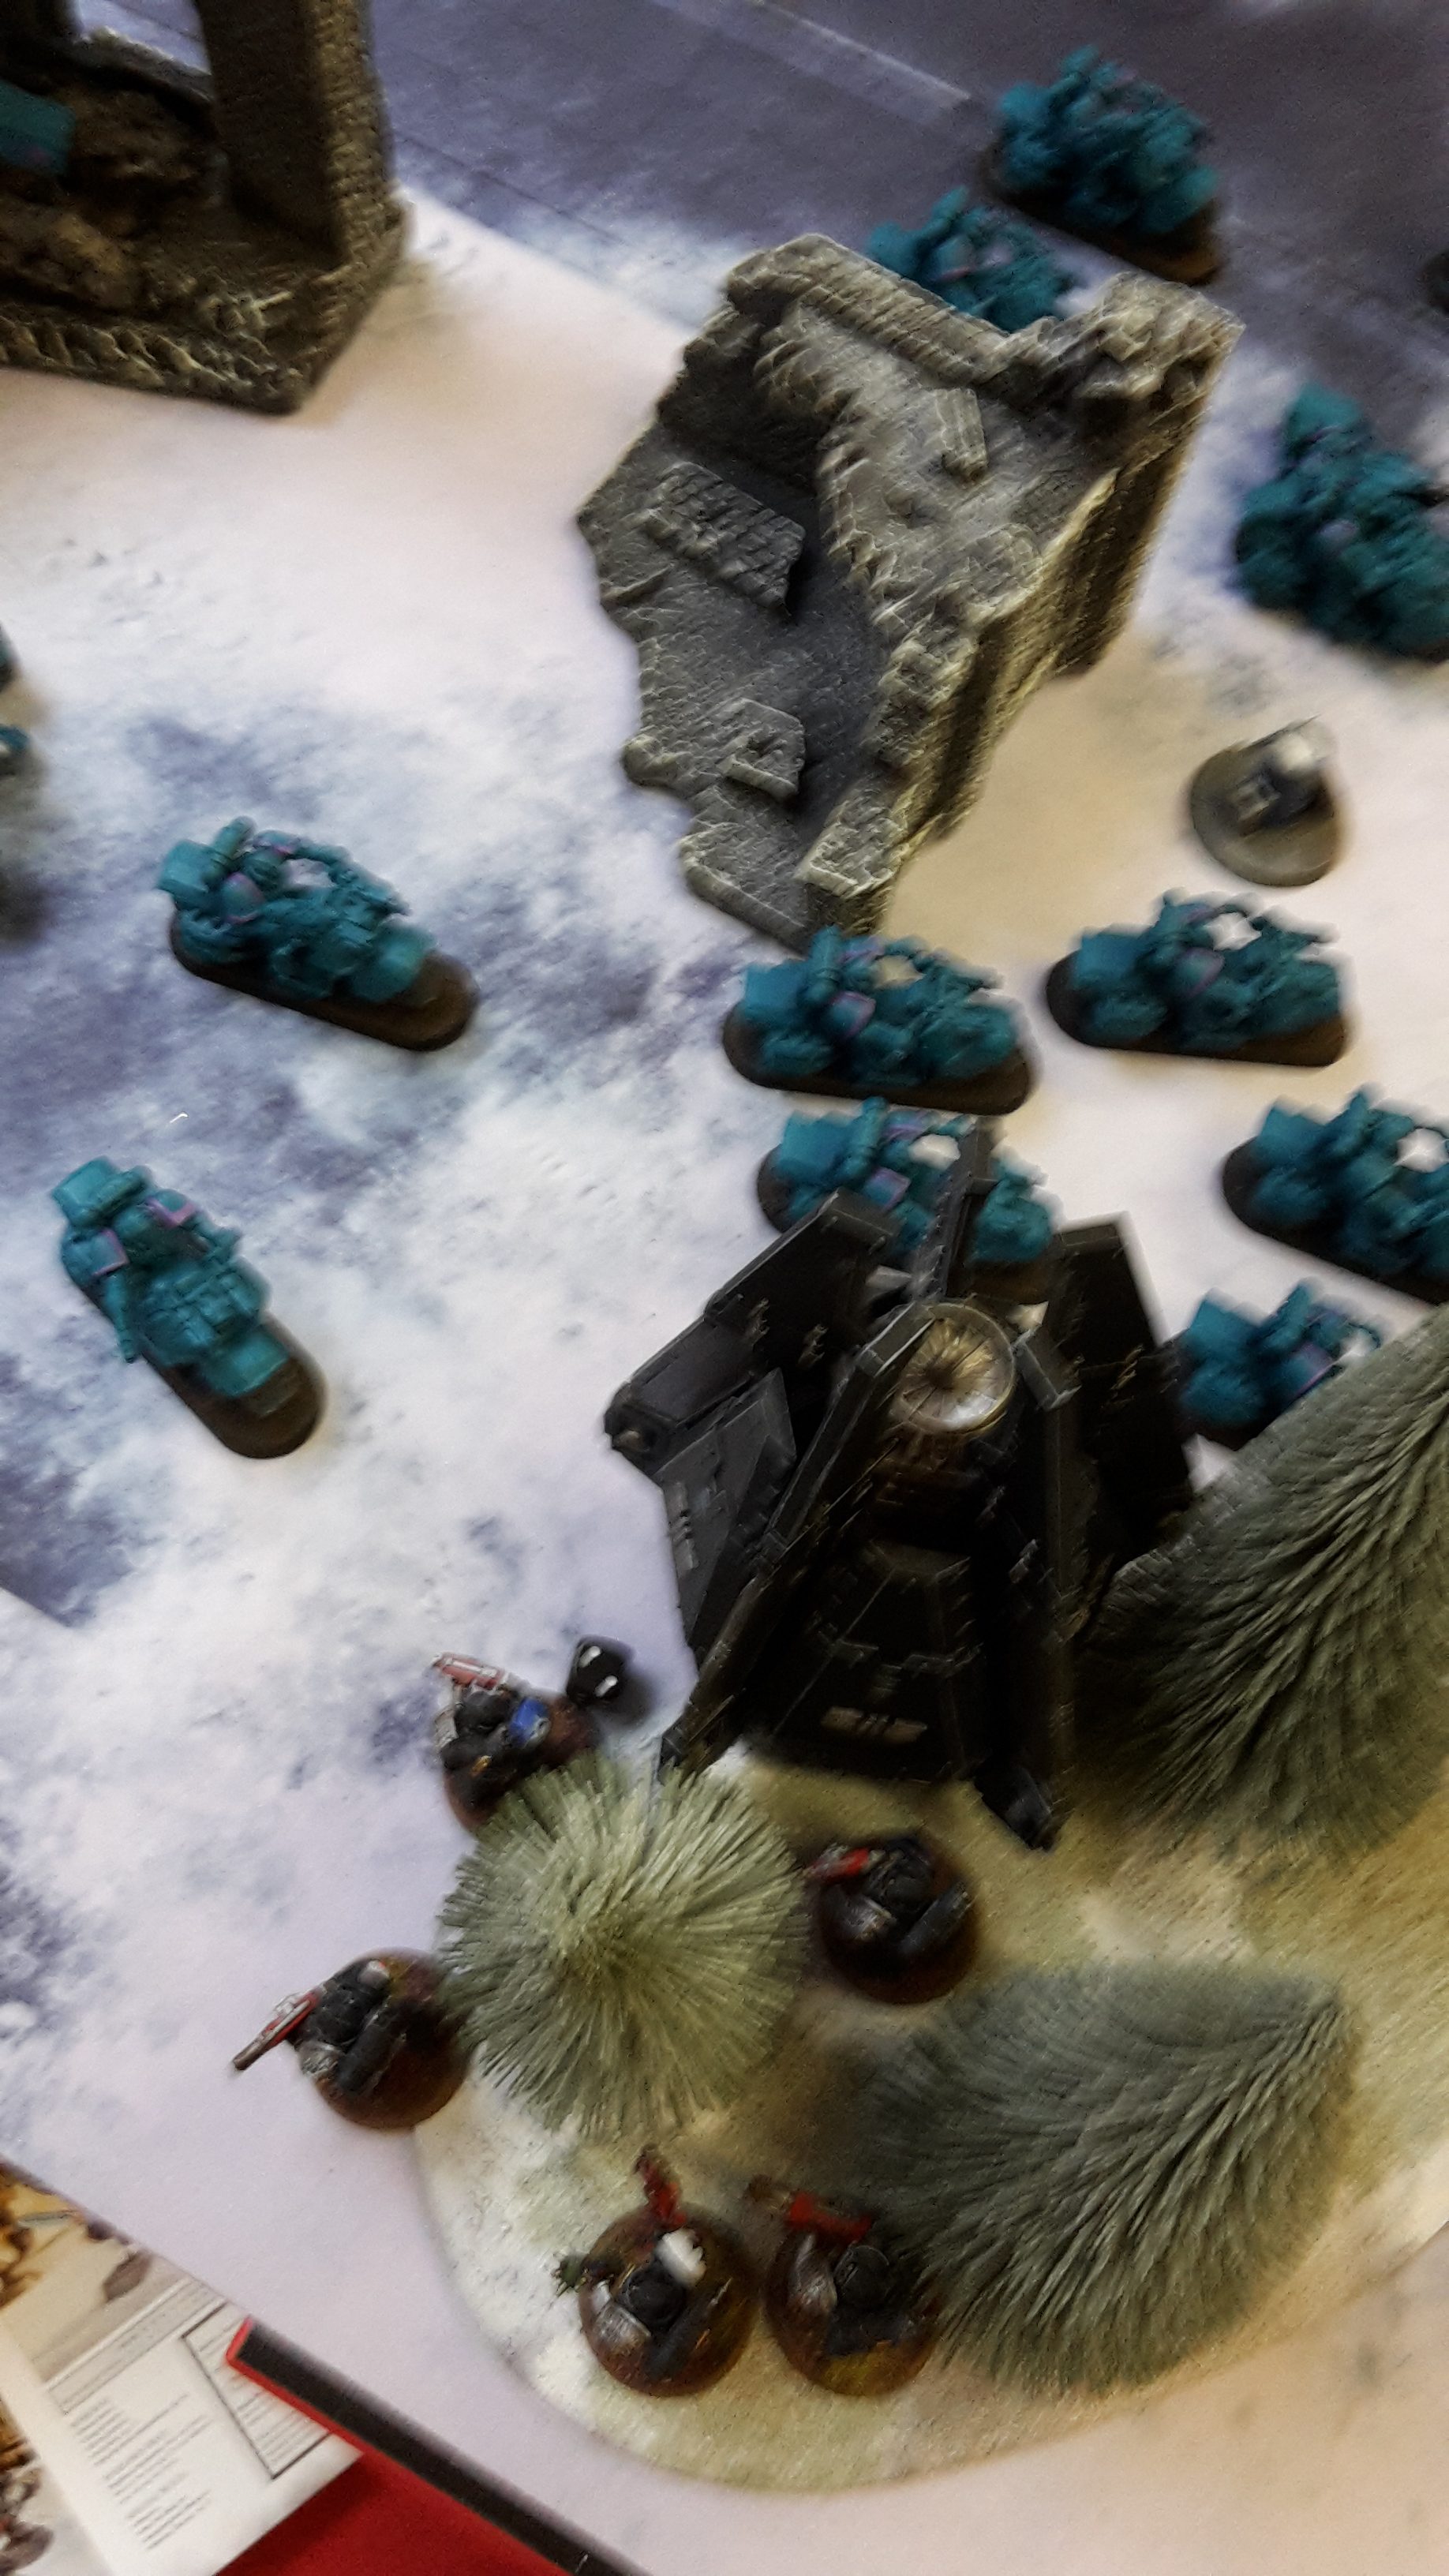
I won the roll for deployment zone and chose the side with the most ruins. The central lane of the board was interesting for the Hammer and Anvil set up, giving a clear line of fire down the board.
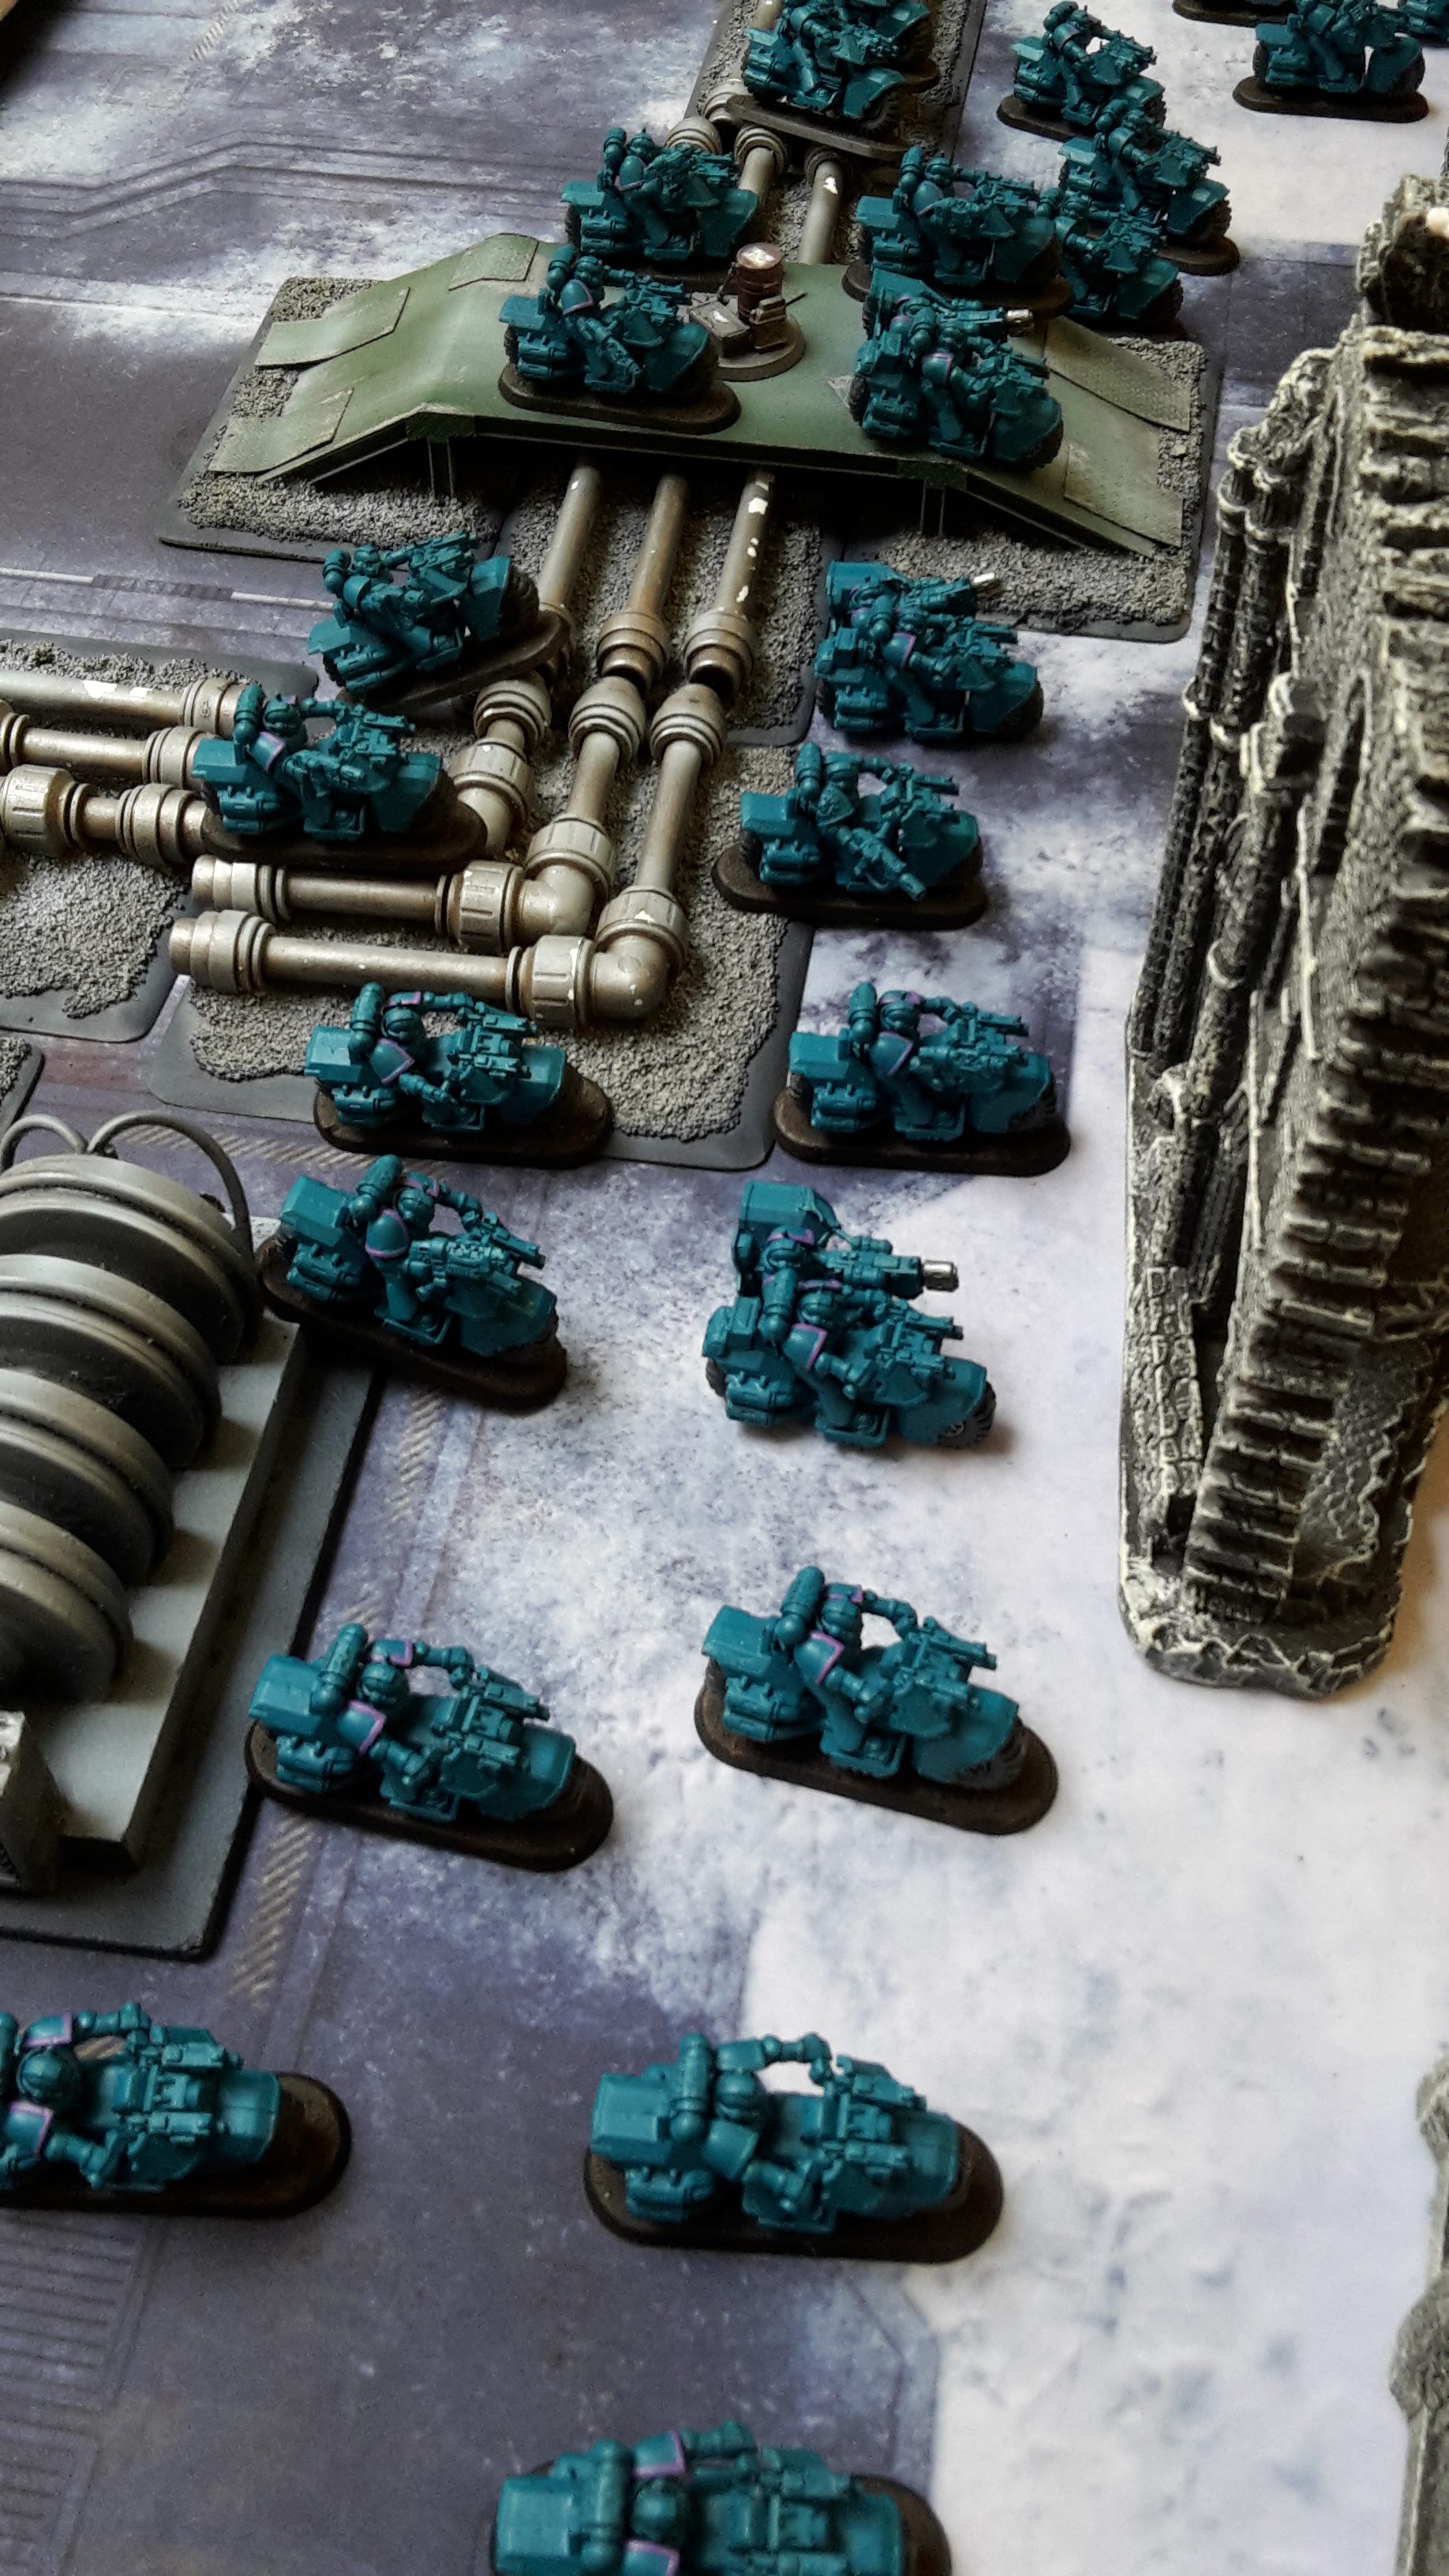
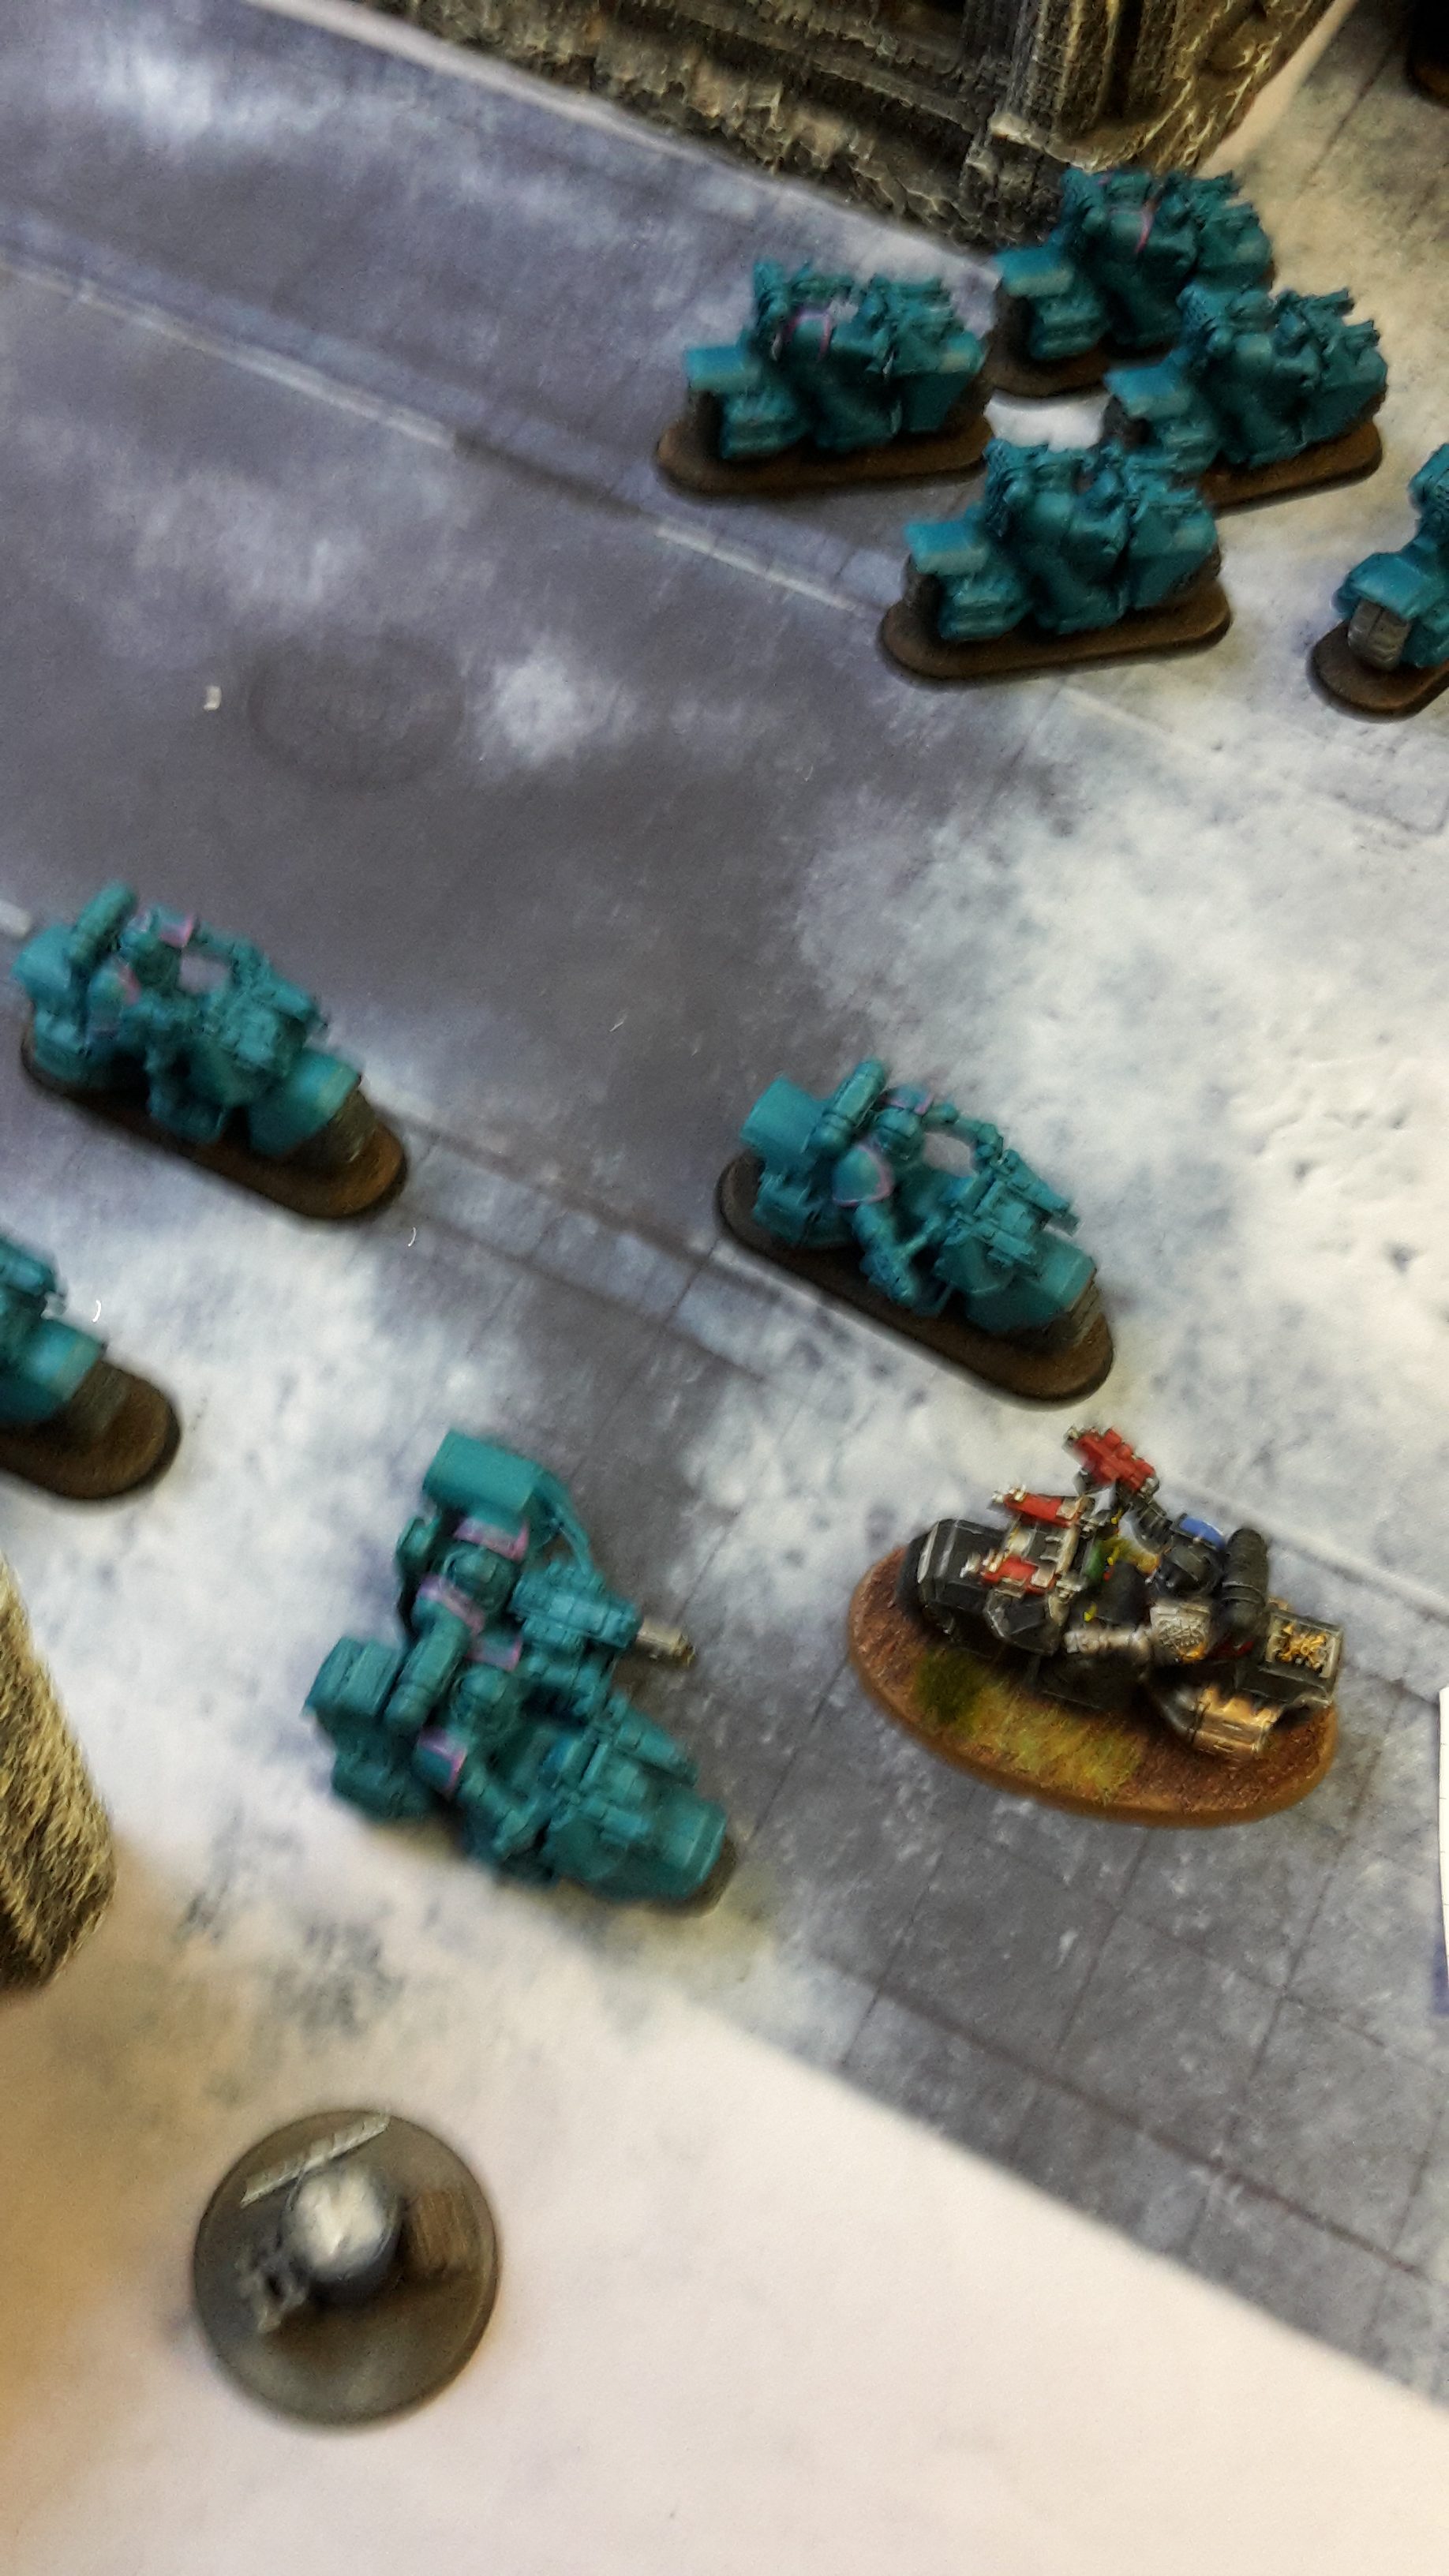
Robert won the roll for deployment and unsurprisingly, chose to go first. He set up the Thunderfire Cannon in the ruins on his right flank, then deployed the Bikers across his deployment zone. The Biker squads without the special weapons went to the front, presumably to soak up my firepower. The Command Squad went on the right flank.
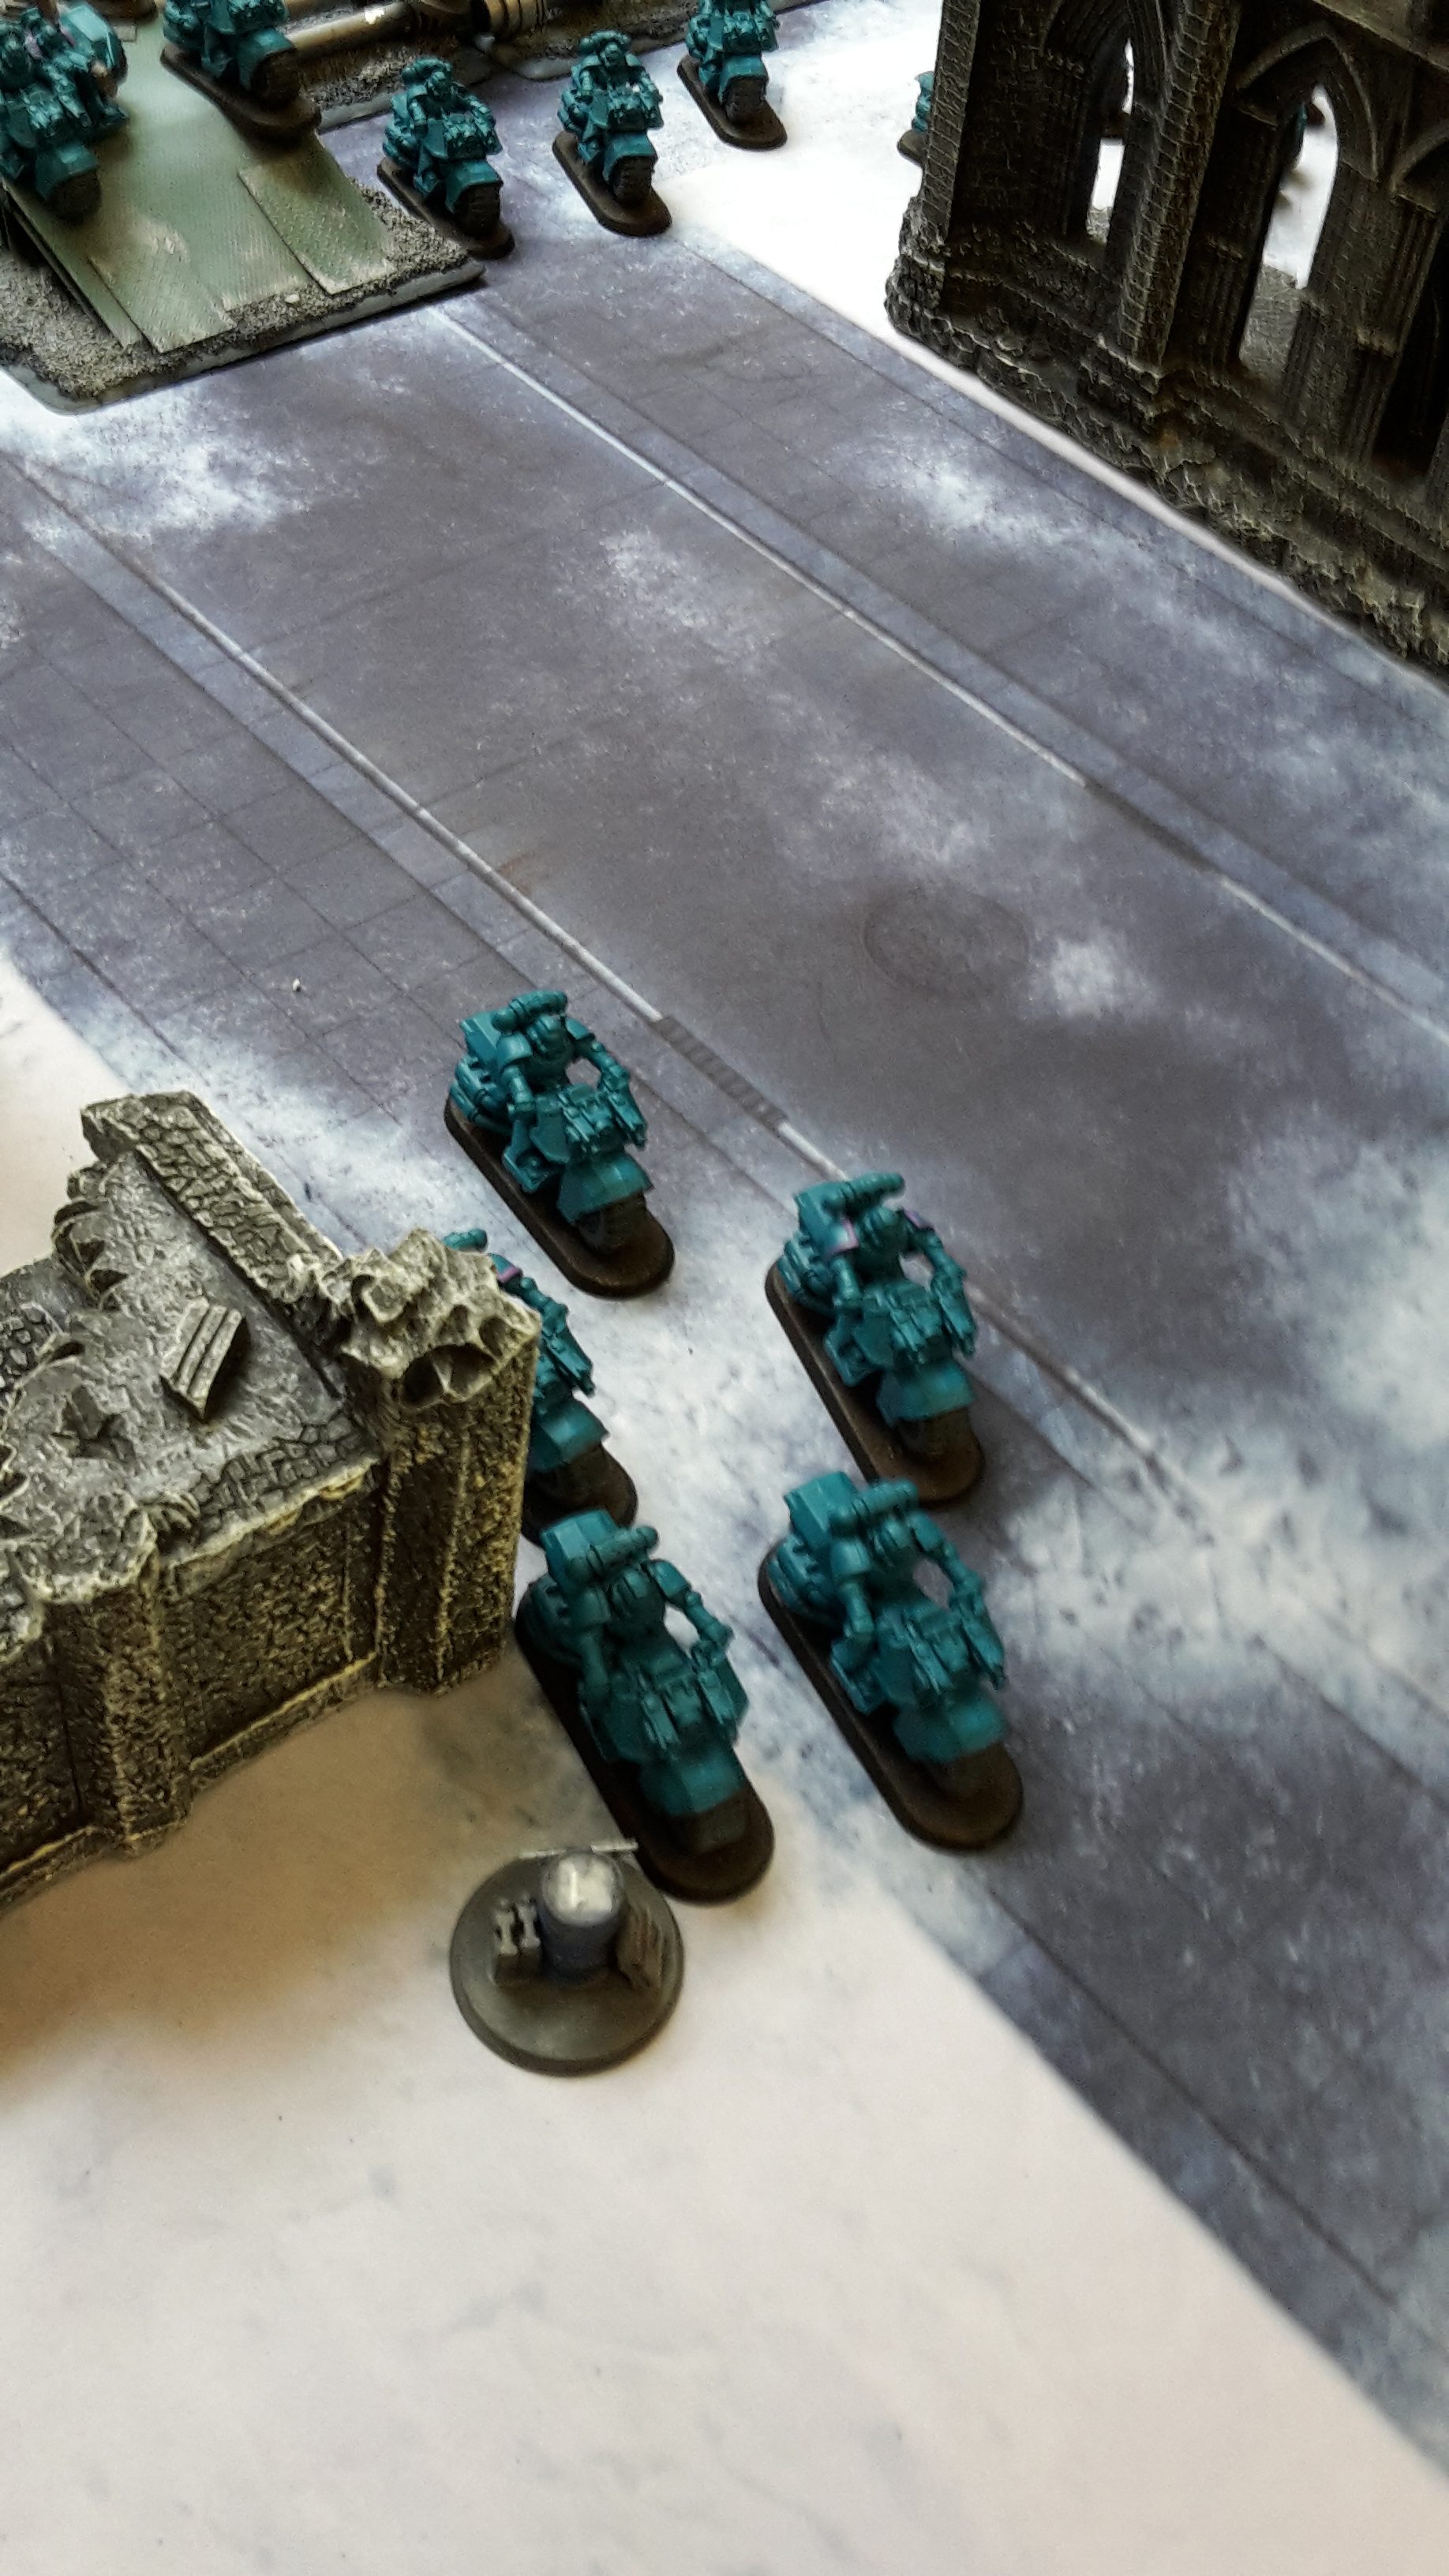
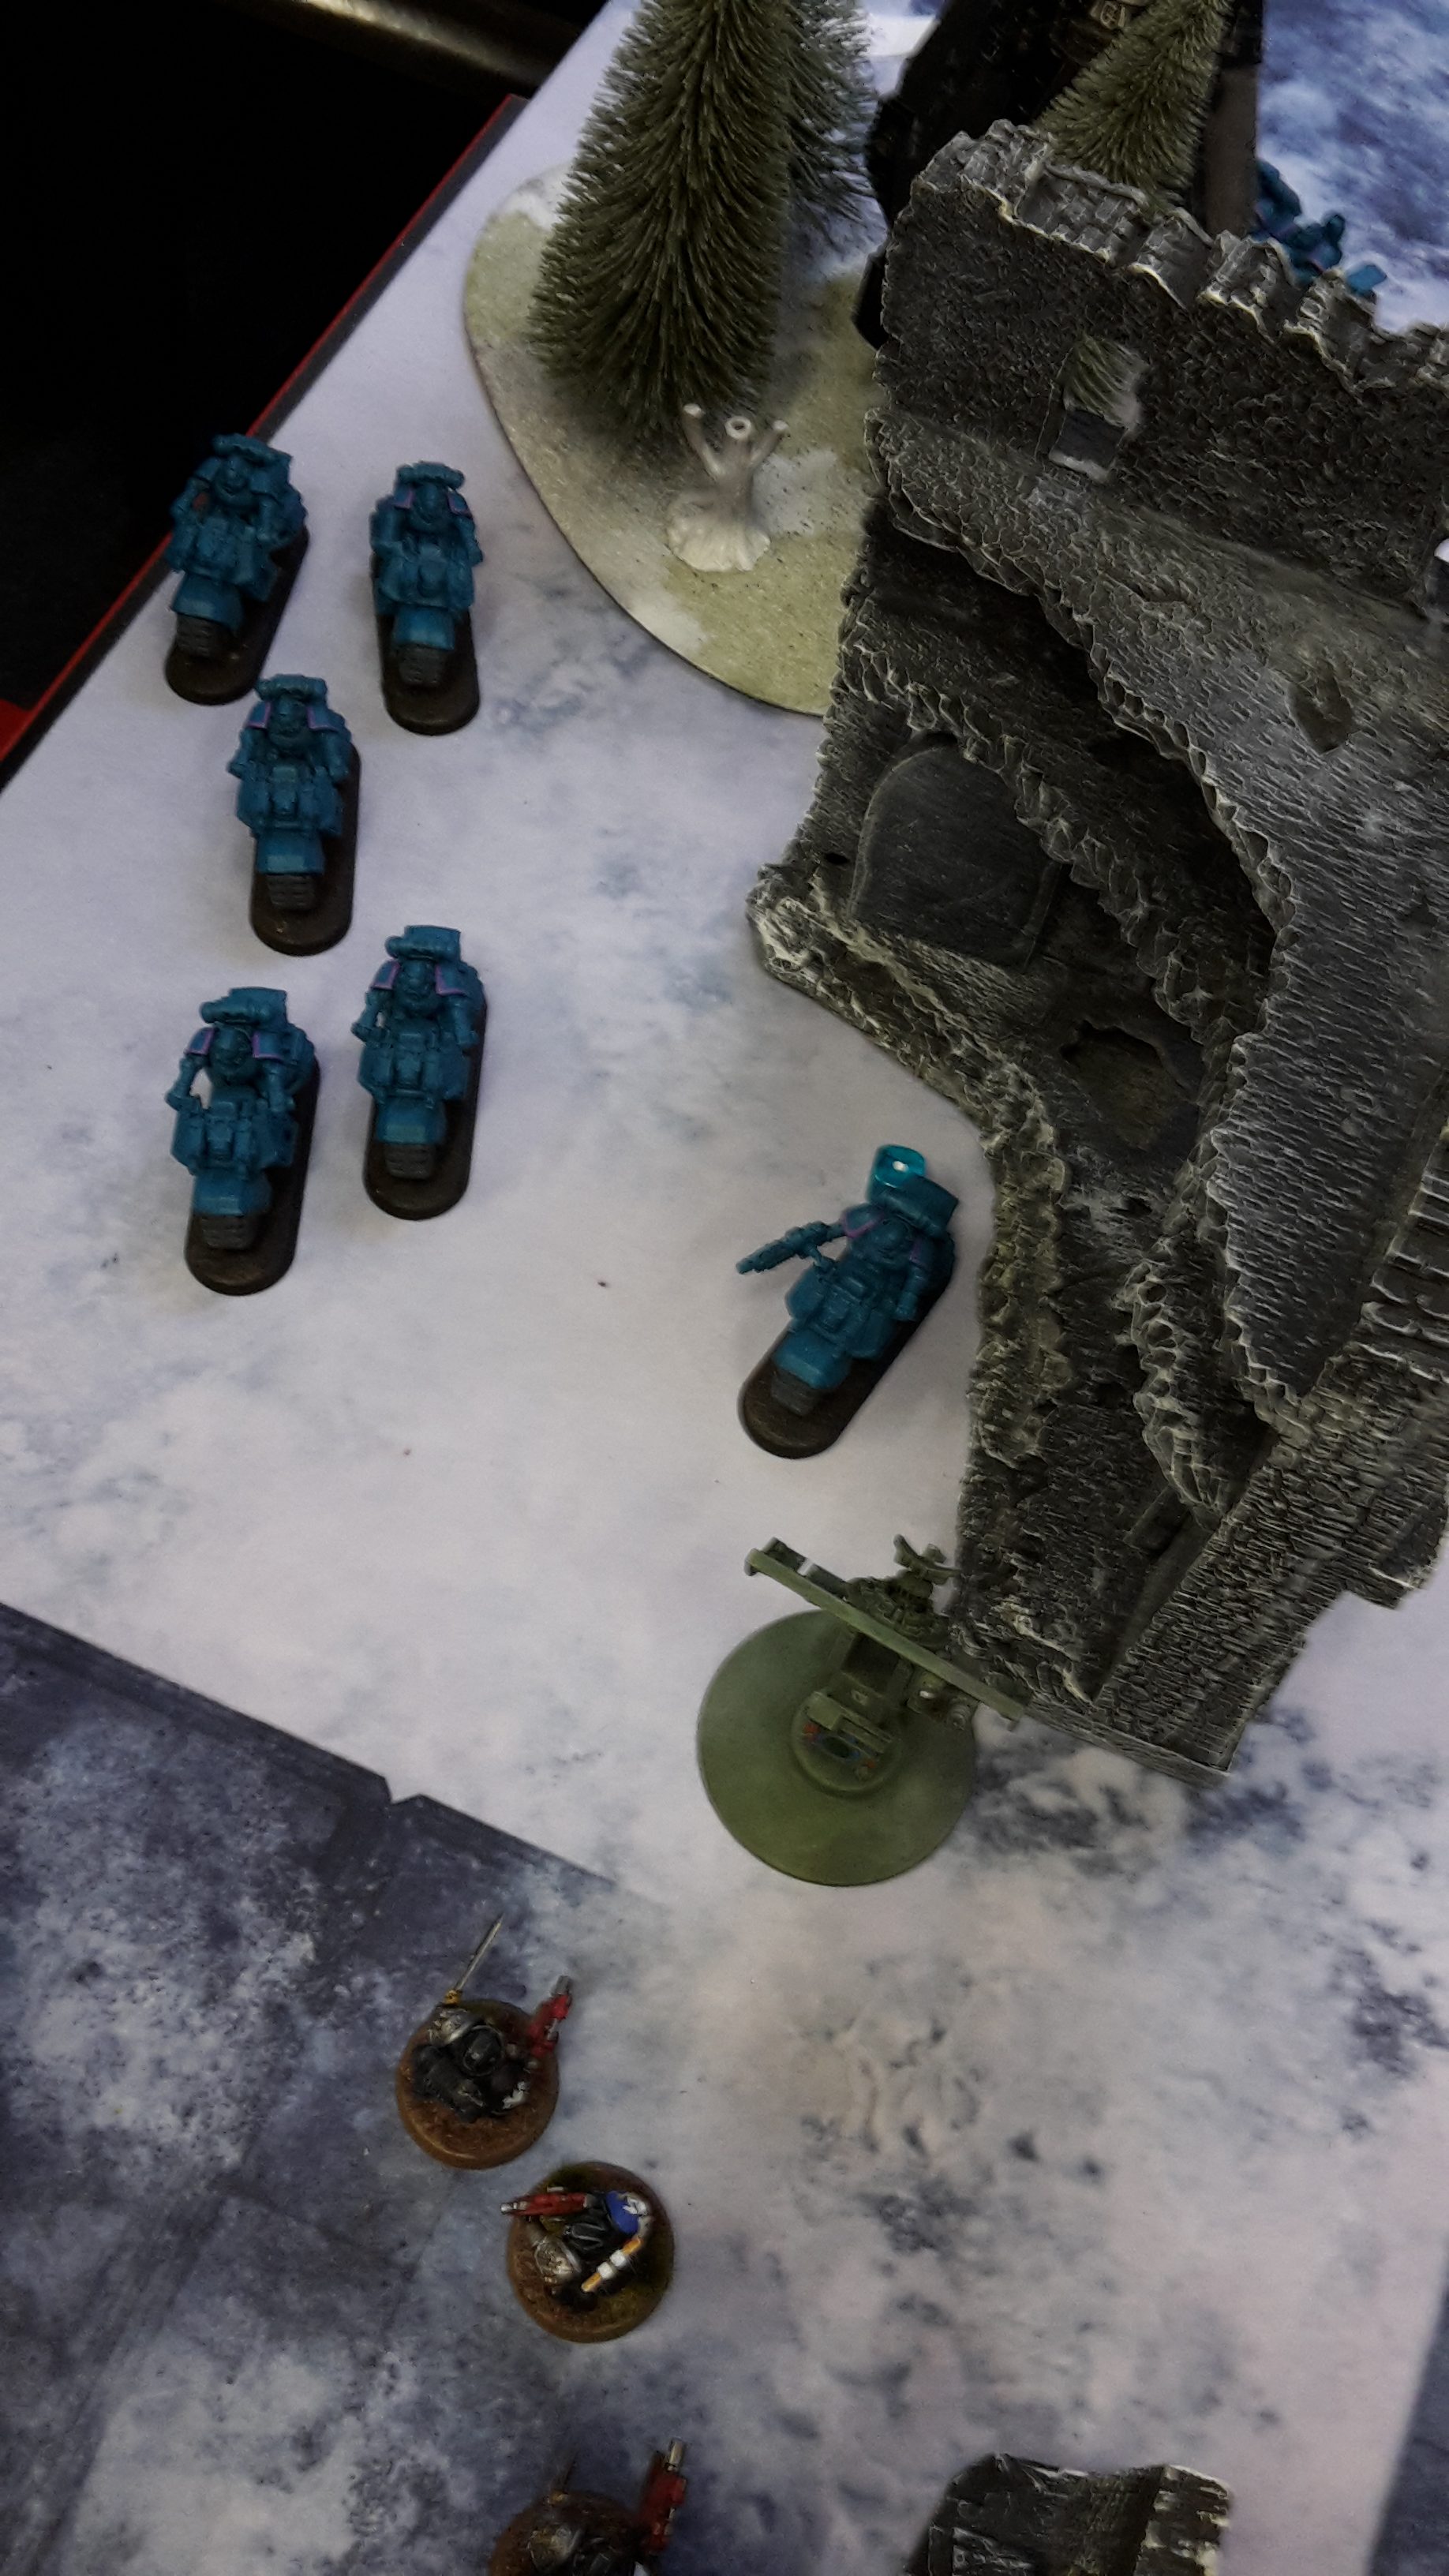
I set up the Stalker Marines holding the objective on the left, as they would be unable to get cover and still fire by taking the objective on the right. I set up both Bike squads on opposite flanks, quite far back from my deployment edge. I wanted to hold the objectives at the back, while still being within turbo-boost range of the central objectives. I ensured that all units were at least 30″ from the grav guns, so as not to be targeted on turn 1 and made sure that I set up each model at maximum coherency to minimise the effects of the Thunderfire Cannon.
I failed to seize the initiative and Robert took the first turn.
TURN 1- WHITE SCARS
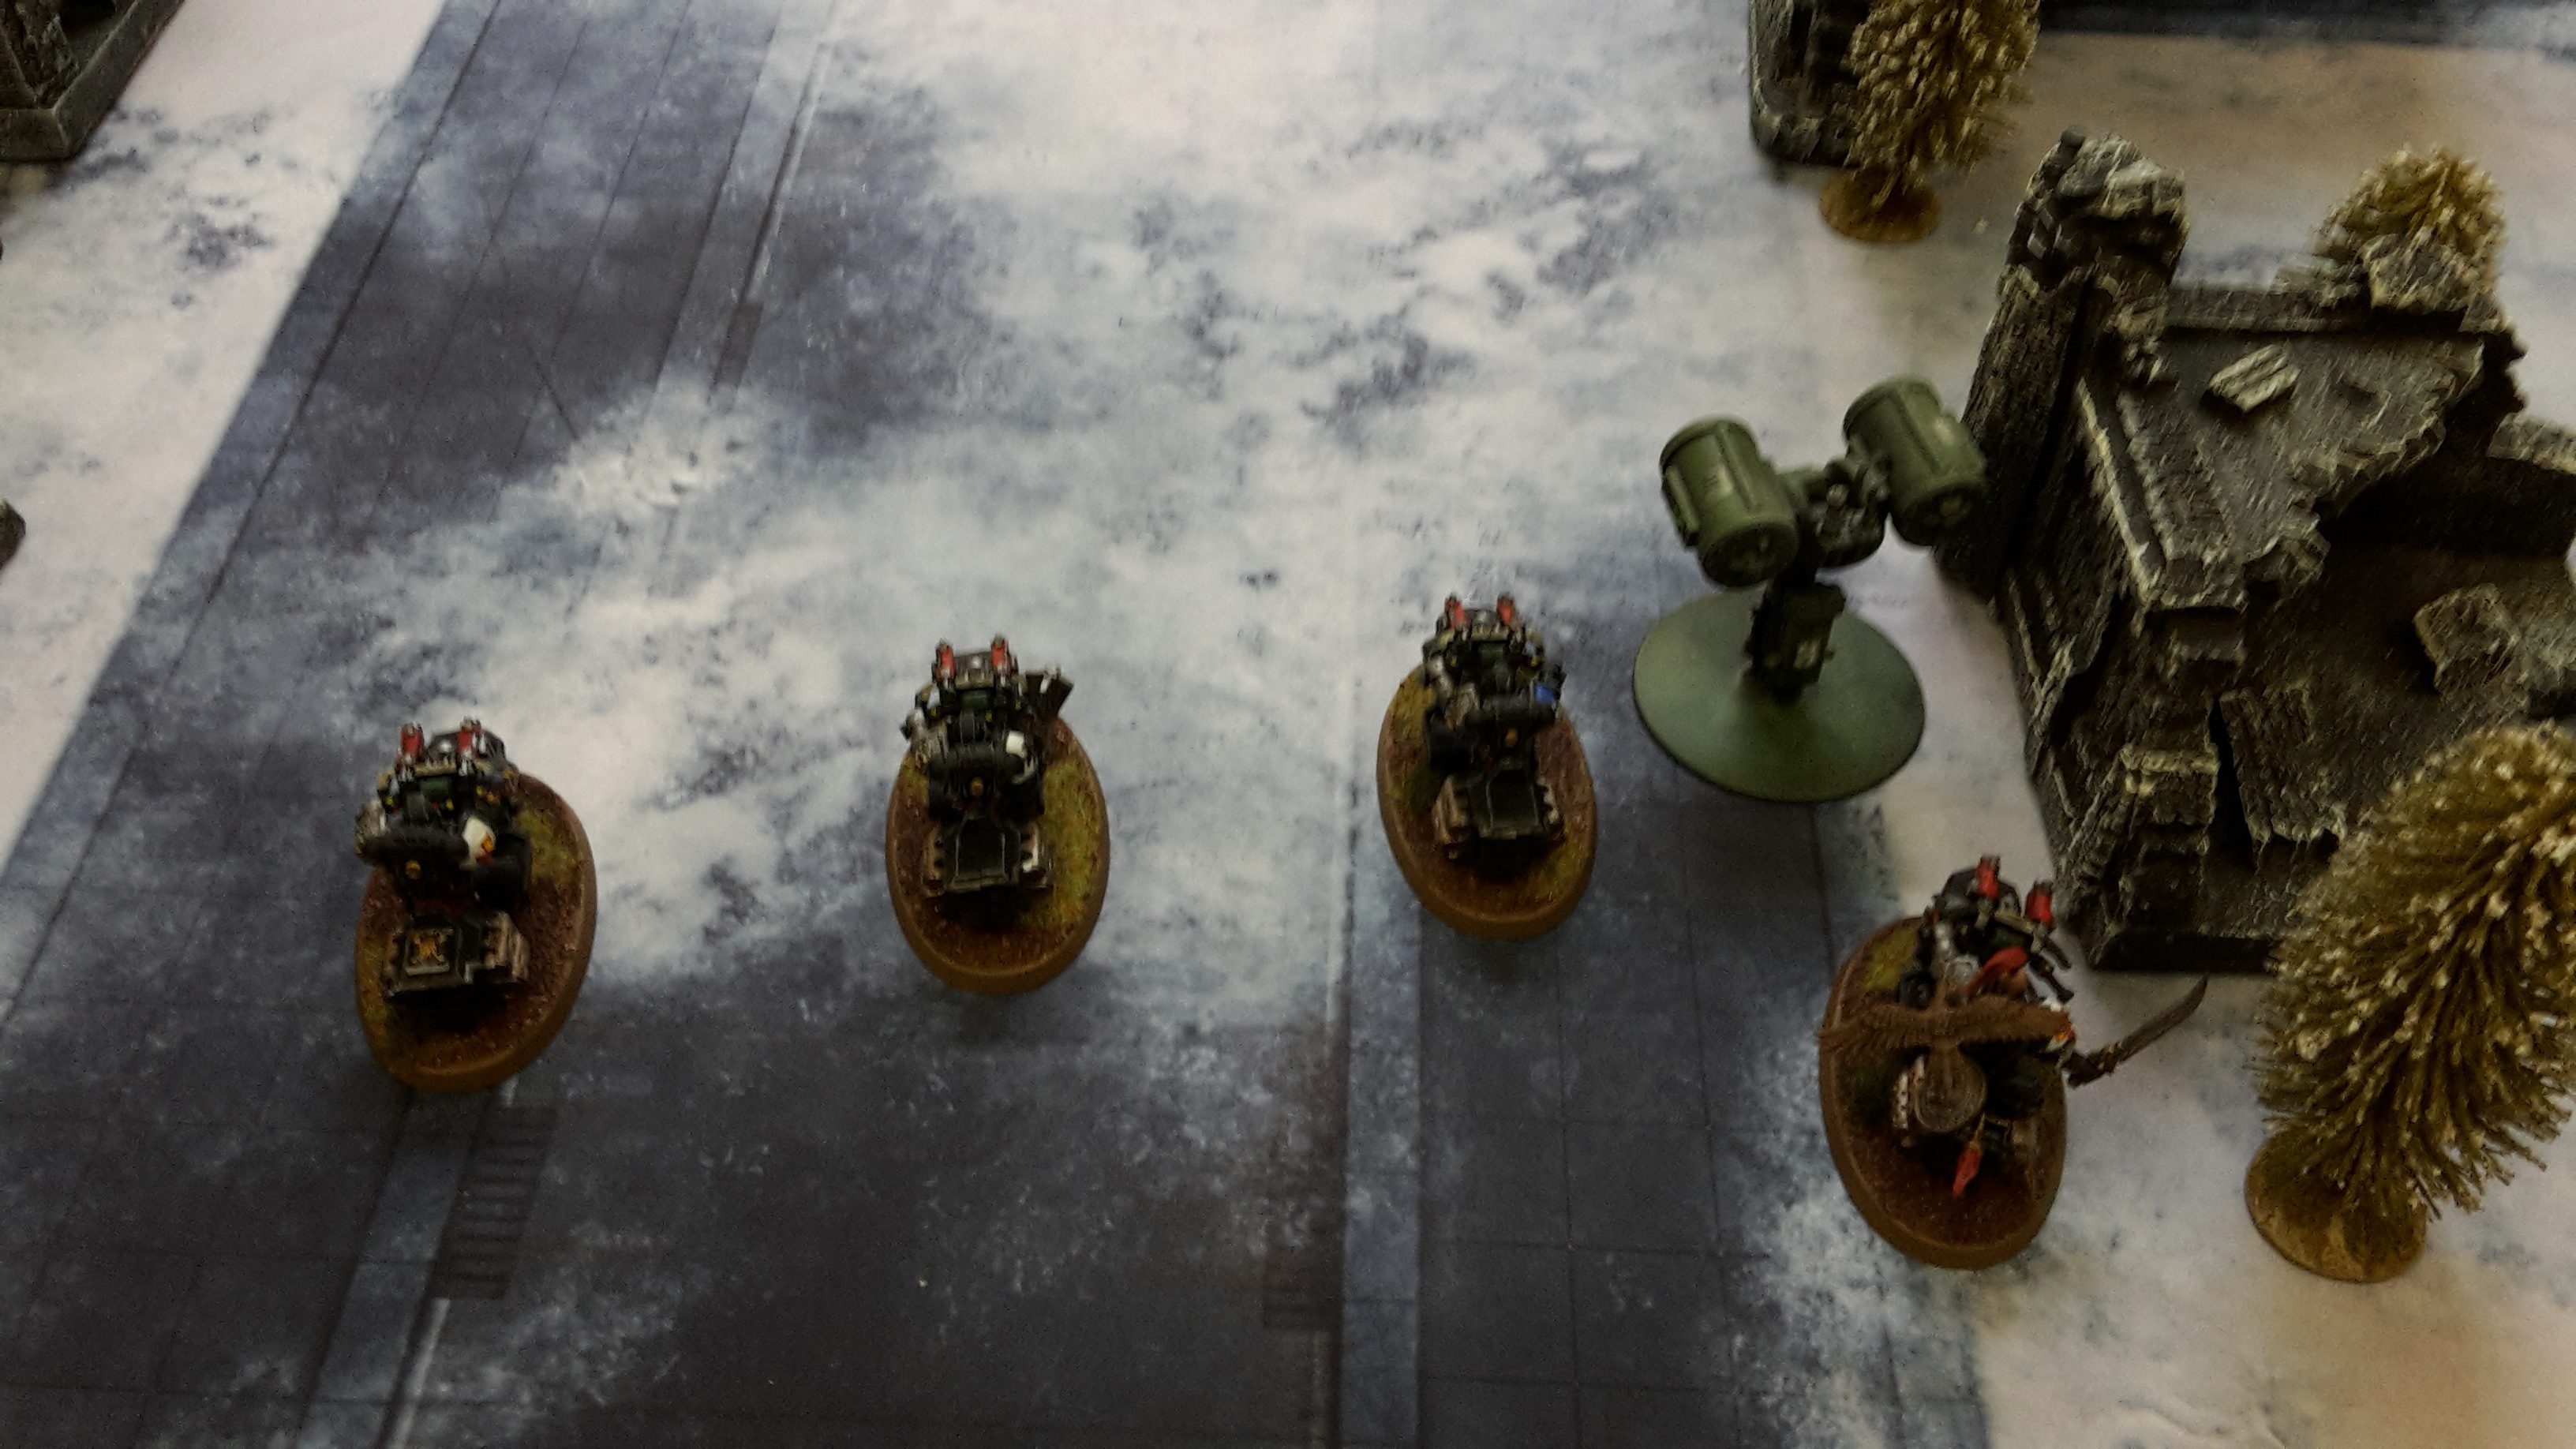
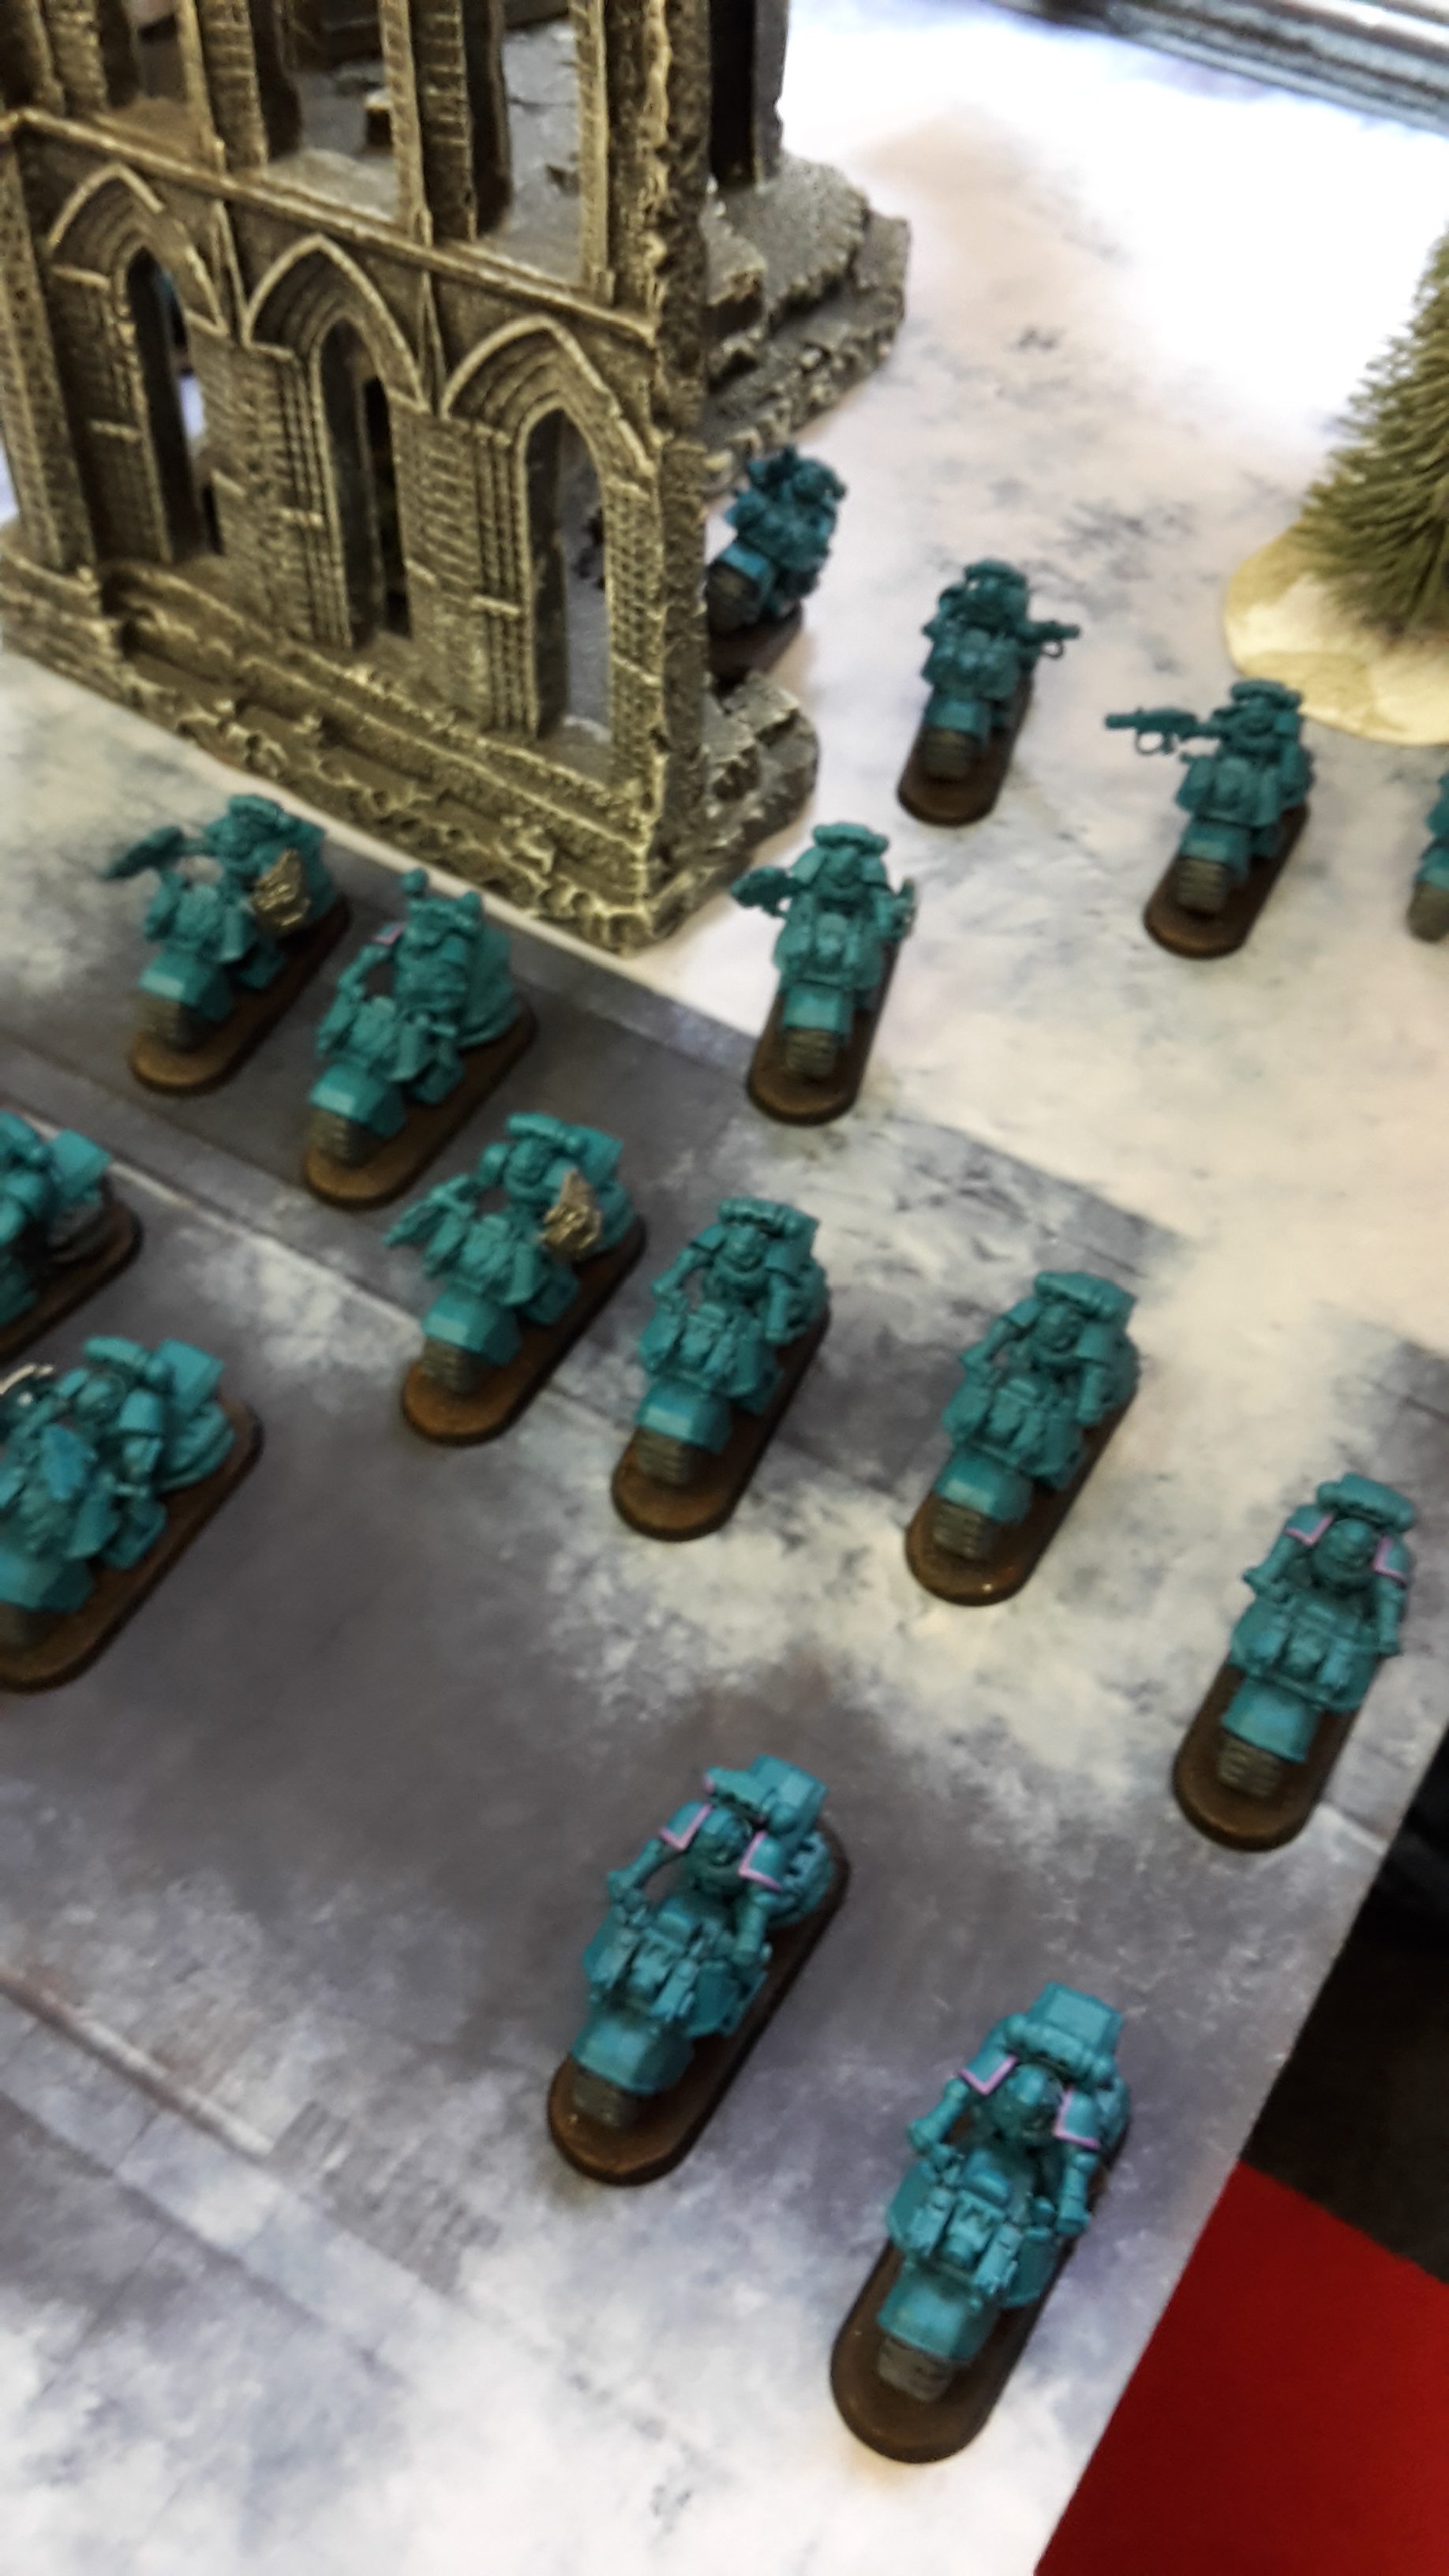
With the Deathwatch out of range for this turn, the White Scars advanced on the enemy army. The majority of the Bike squads advanced, some turbo-boosting to quicken their advance.
In the psychic phase, the Librarian attempted to cast Prescience on his squad, but failed the power on 6 dice.
In the shooting phase, the majority of the White Scars units were out of range. The Thunderfire Cannon, however, targeted the Deathwatch Bikers at the back of the field. The shells struck the squad, hitting three and wounding three. I then failed two saves and two Bikers perished. Fortunately, I passed my morale test (only just as I rolled a 9!).
At the end of his turn, Robert scored Objective 1 and discarded Big Game Hunter.
TURN 1- DEATHWATCH
In my first turn, I drew Objective 1, Objective 2 and Behind Enemy Lines (have a unit within 12″ of the enemy board edge). I also activated the Heavy Support Mission Tactics, as I wanted to try and silence the Thunderfire Cannon with my poisoned shots.
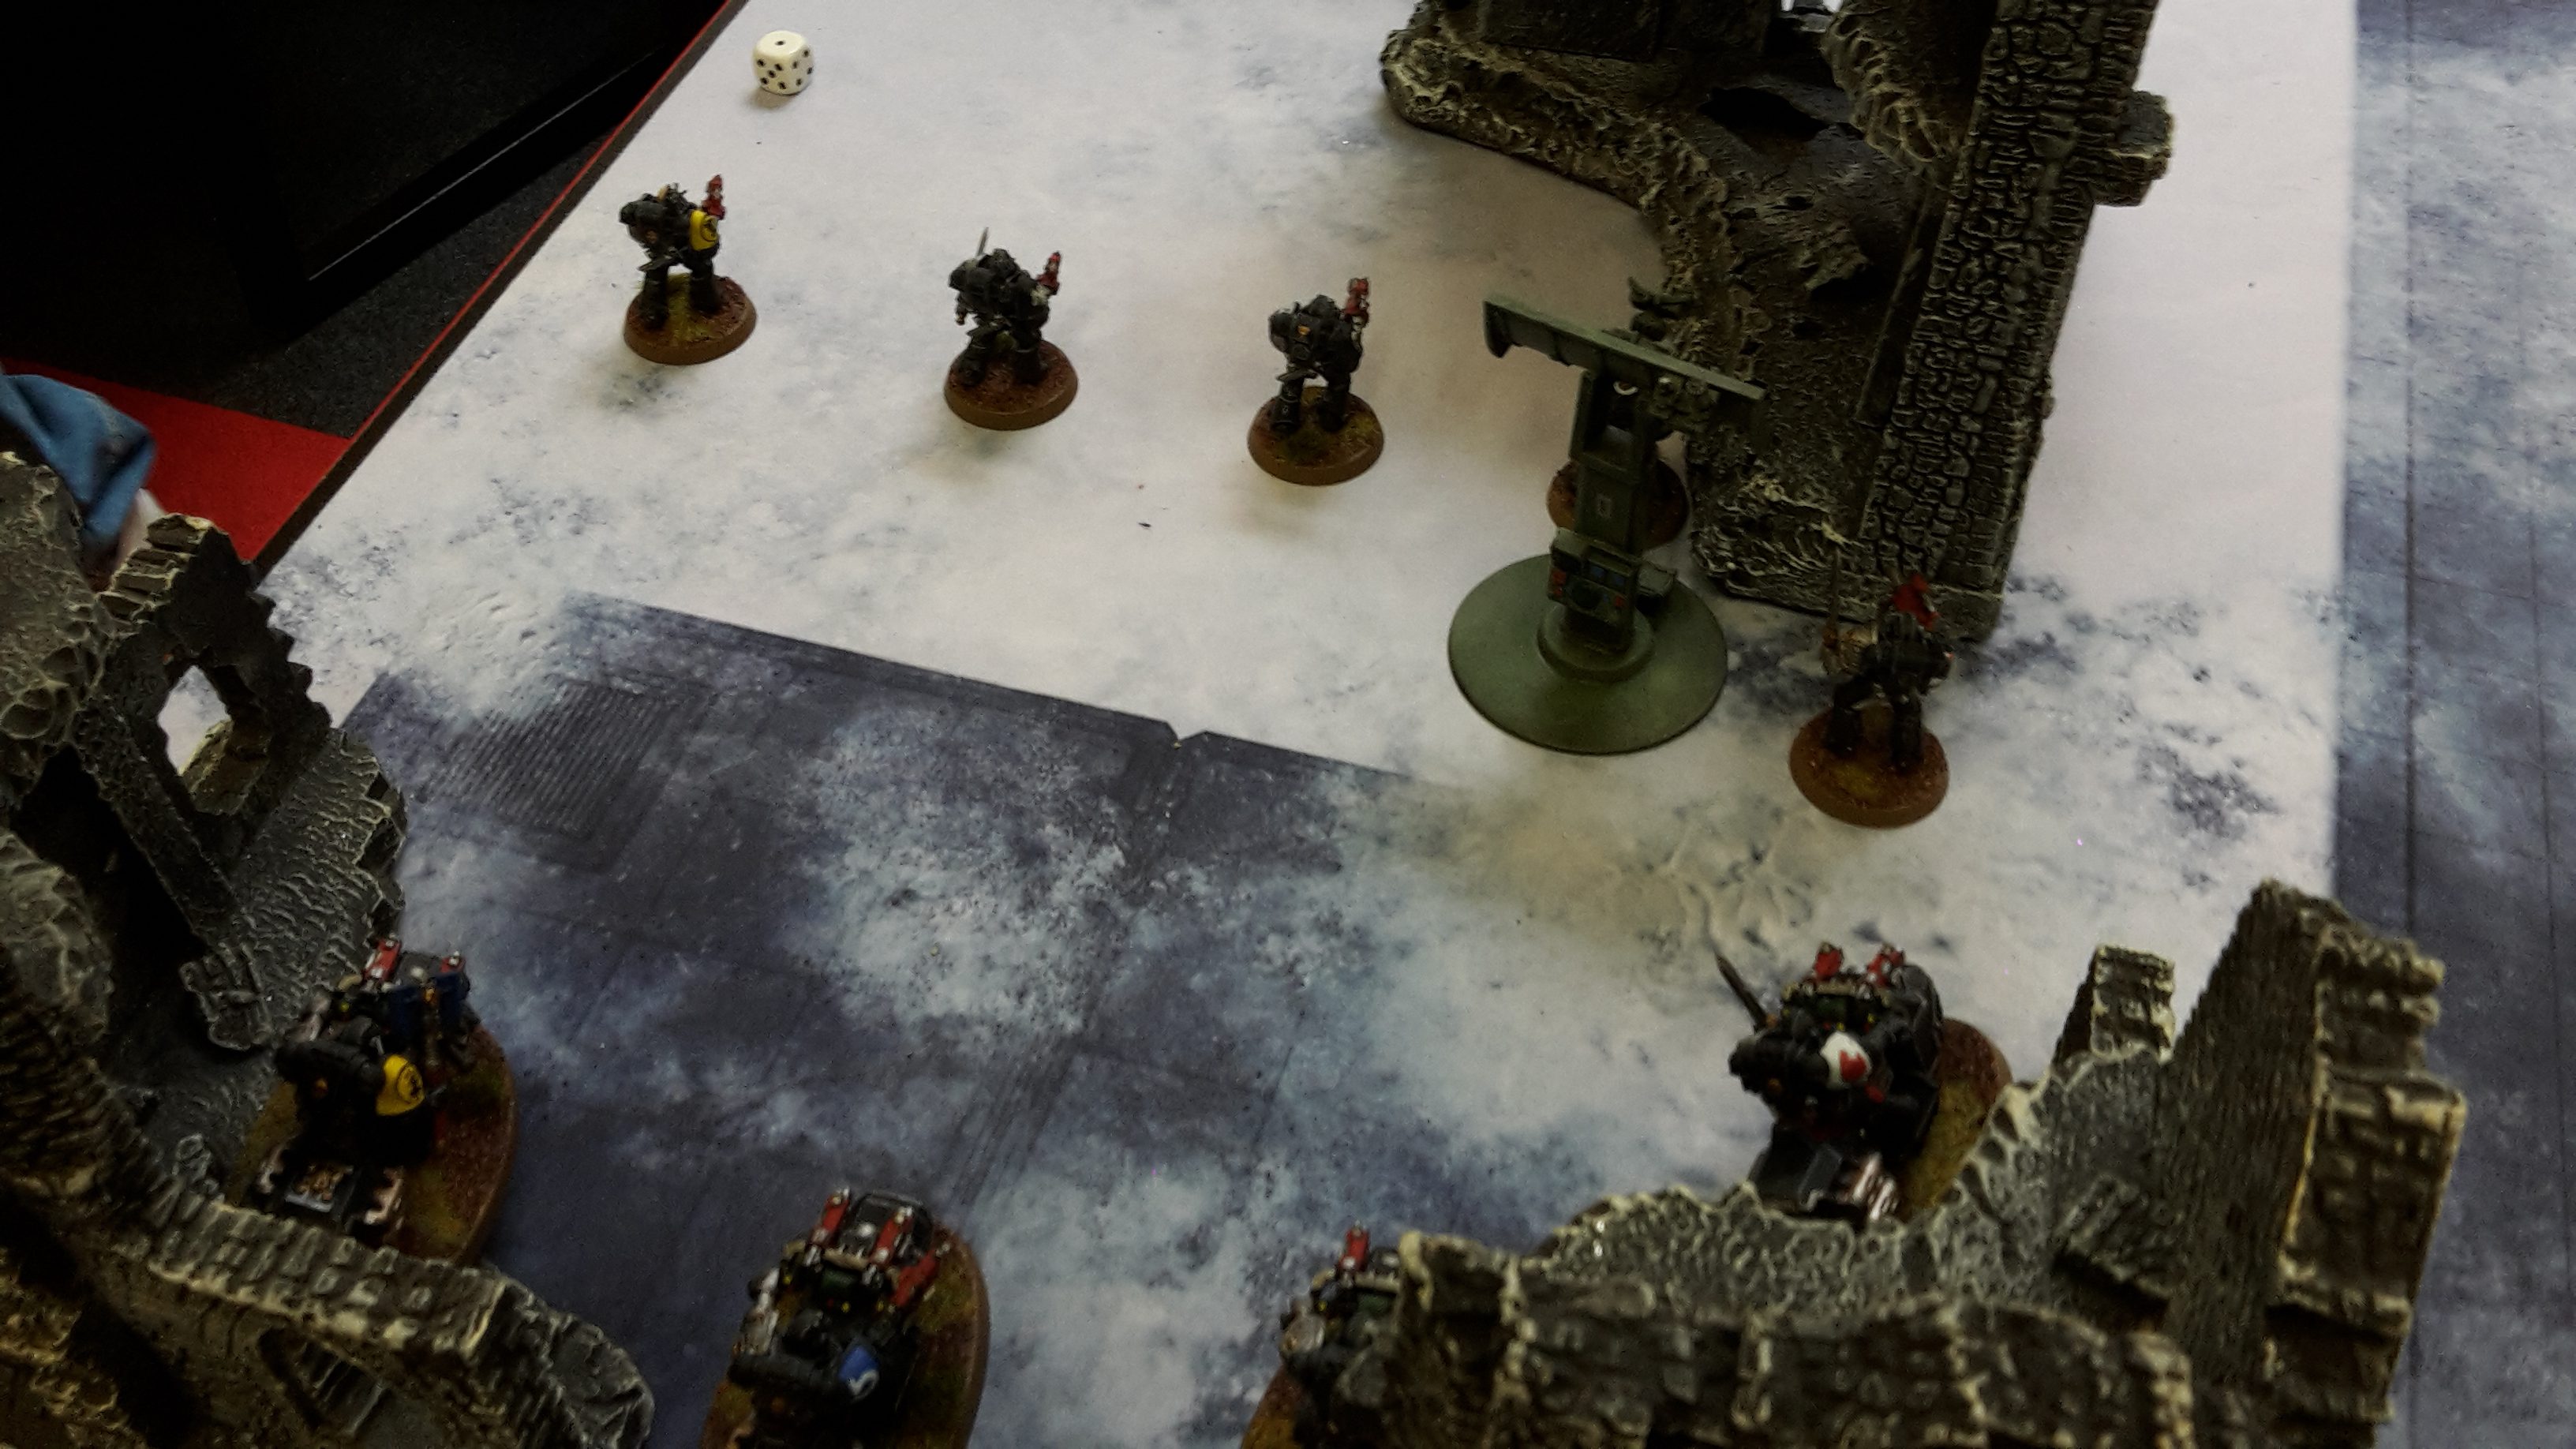
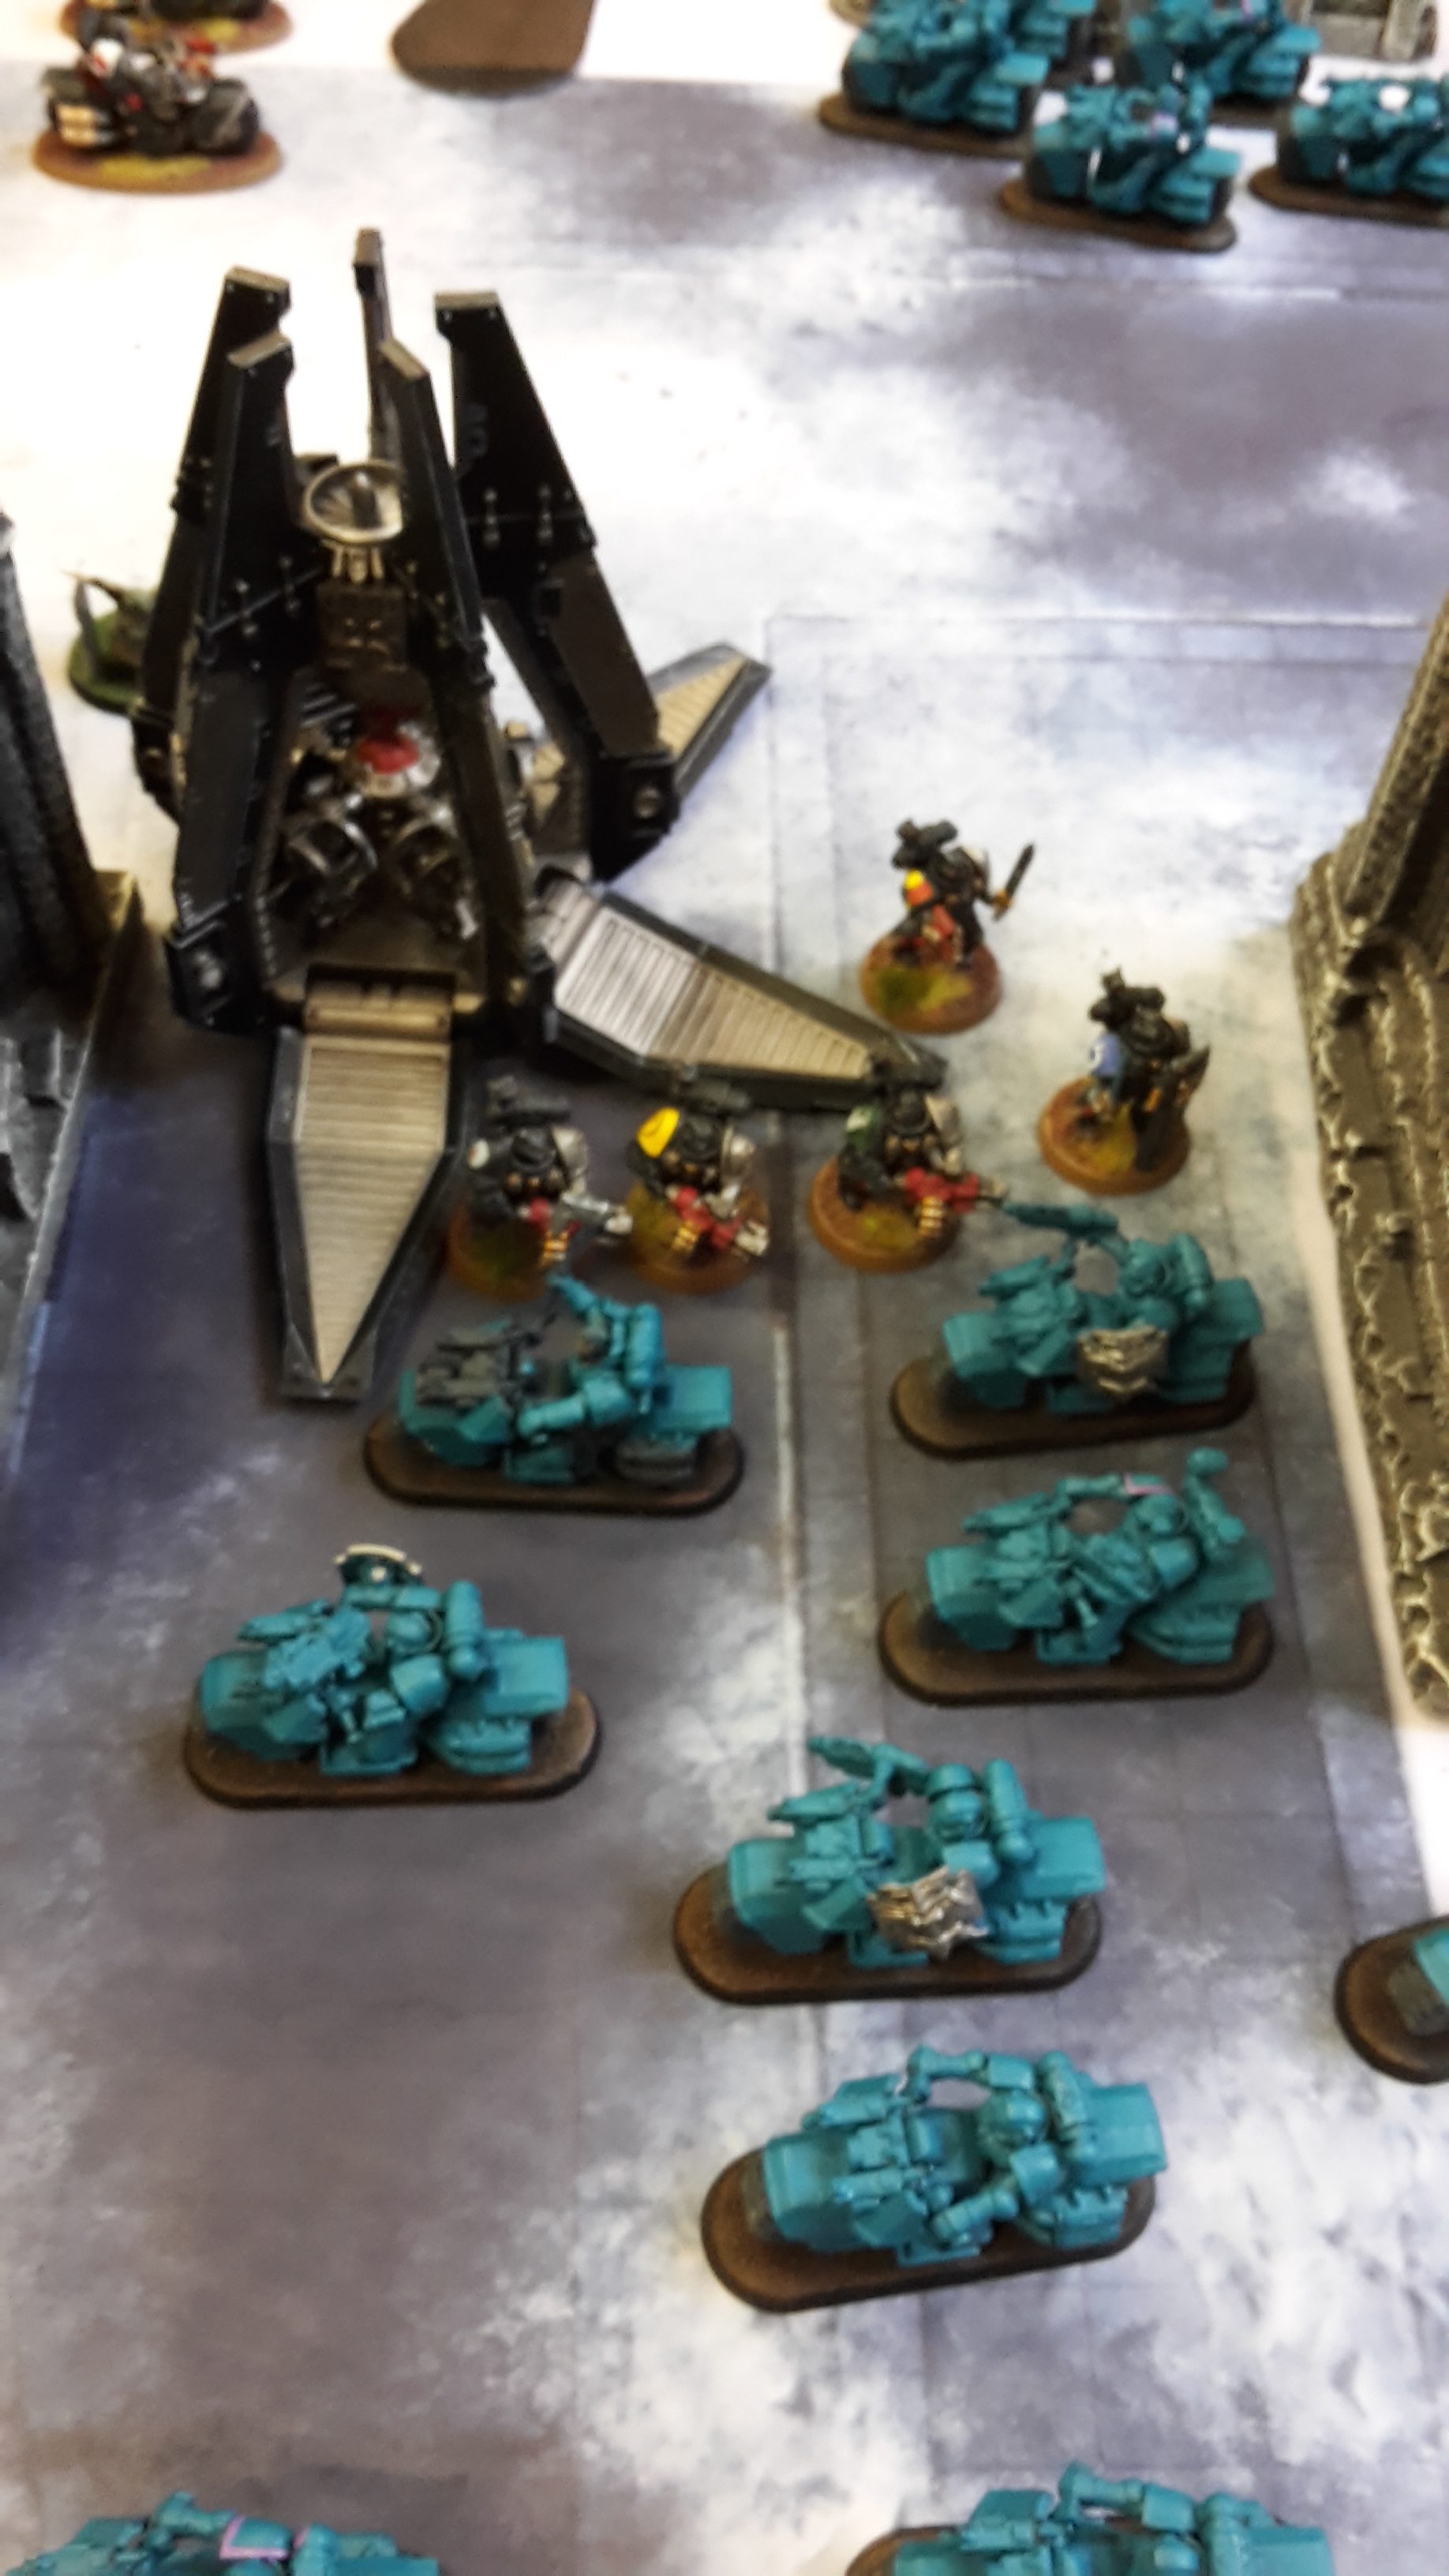
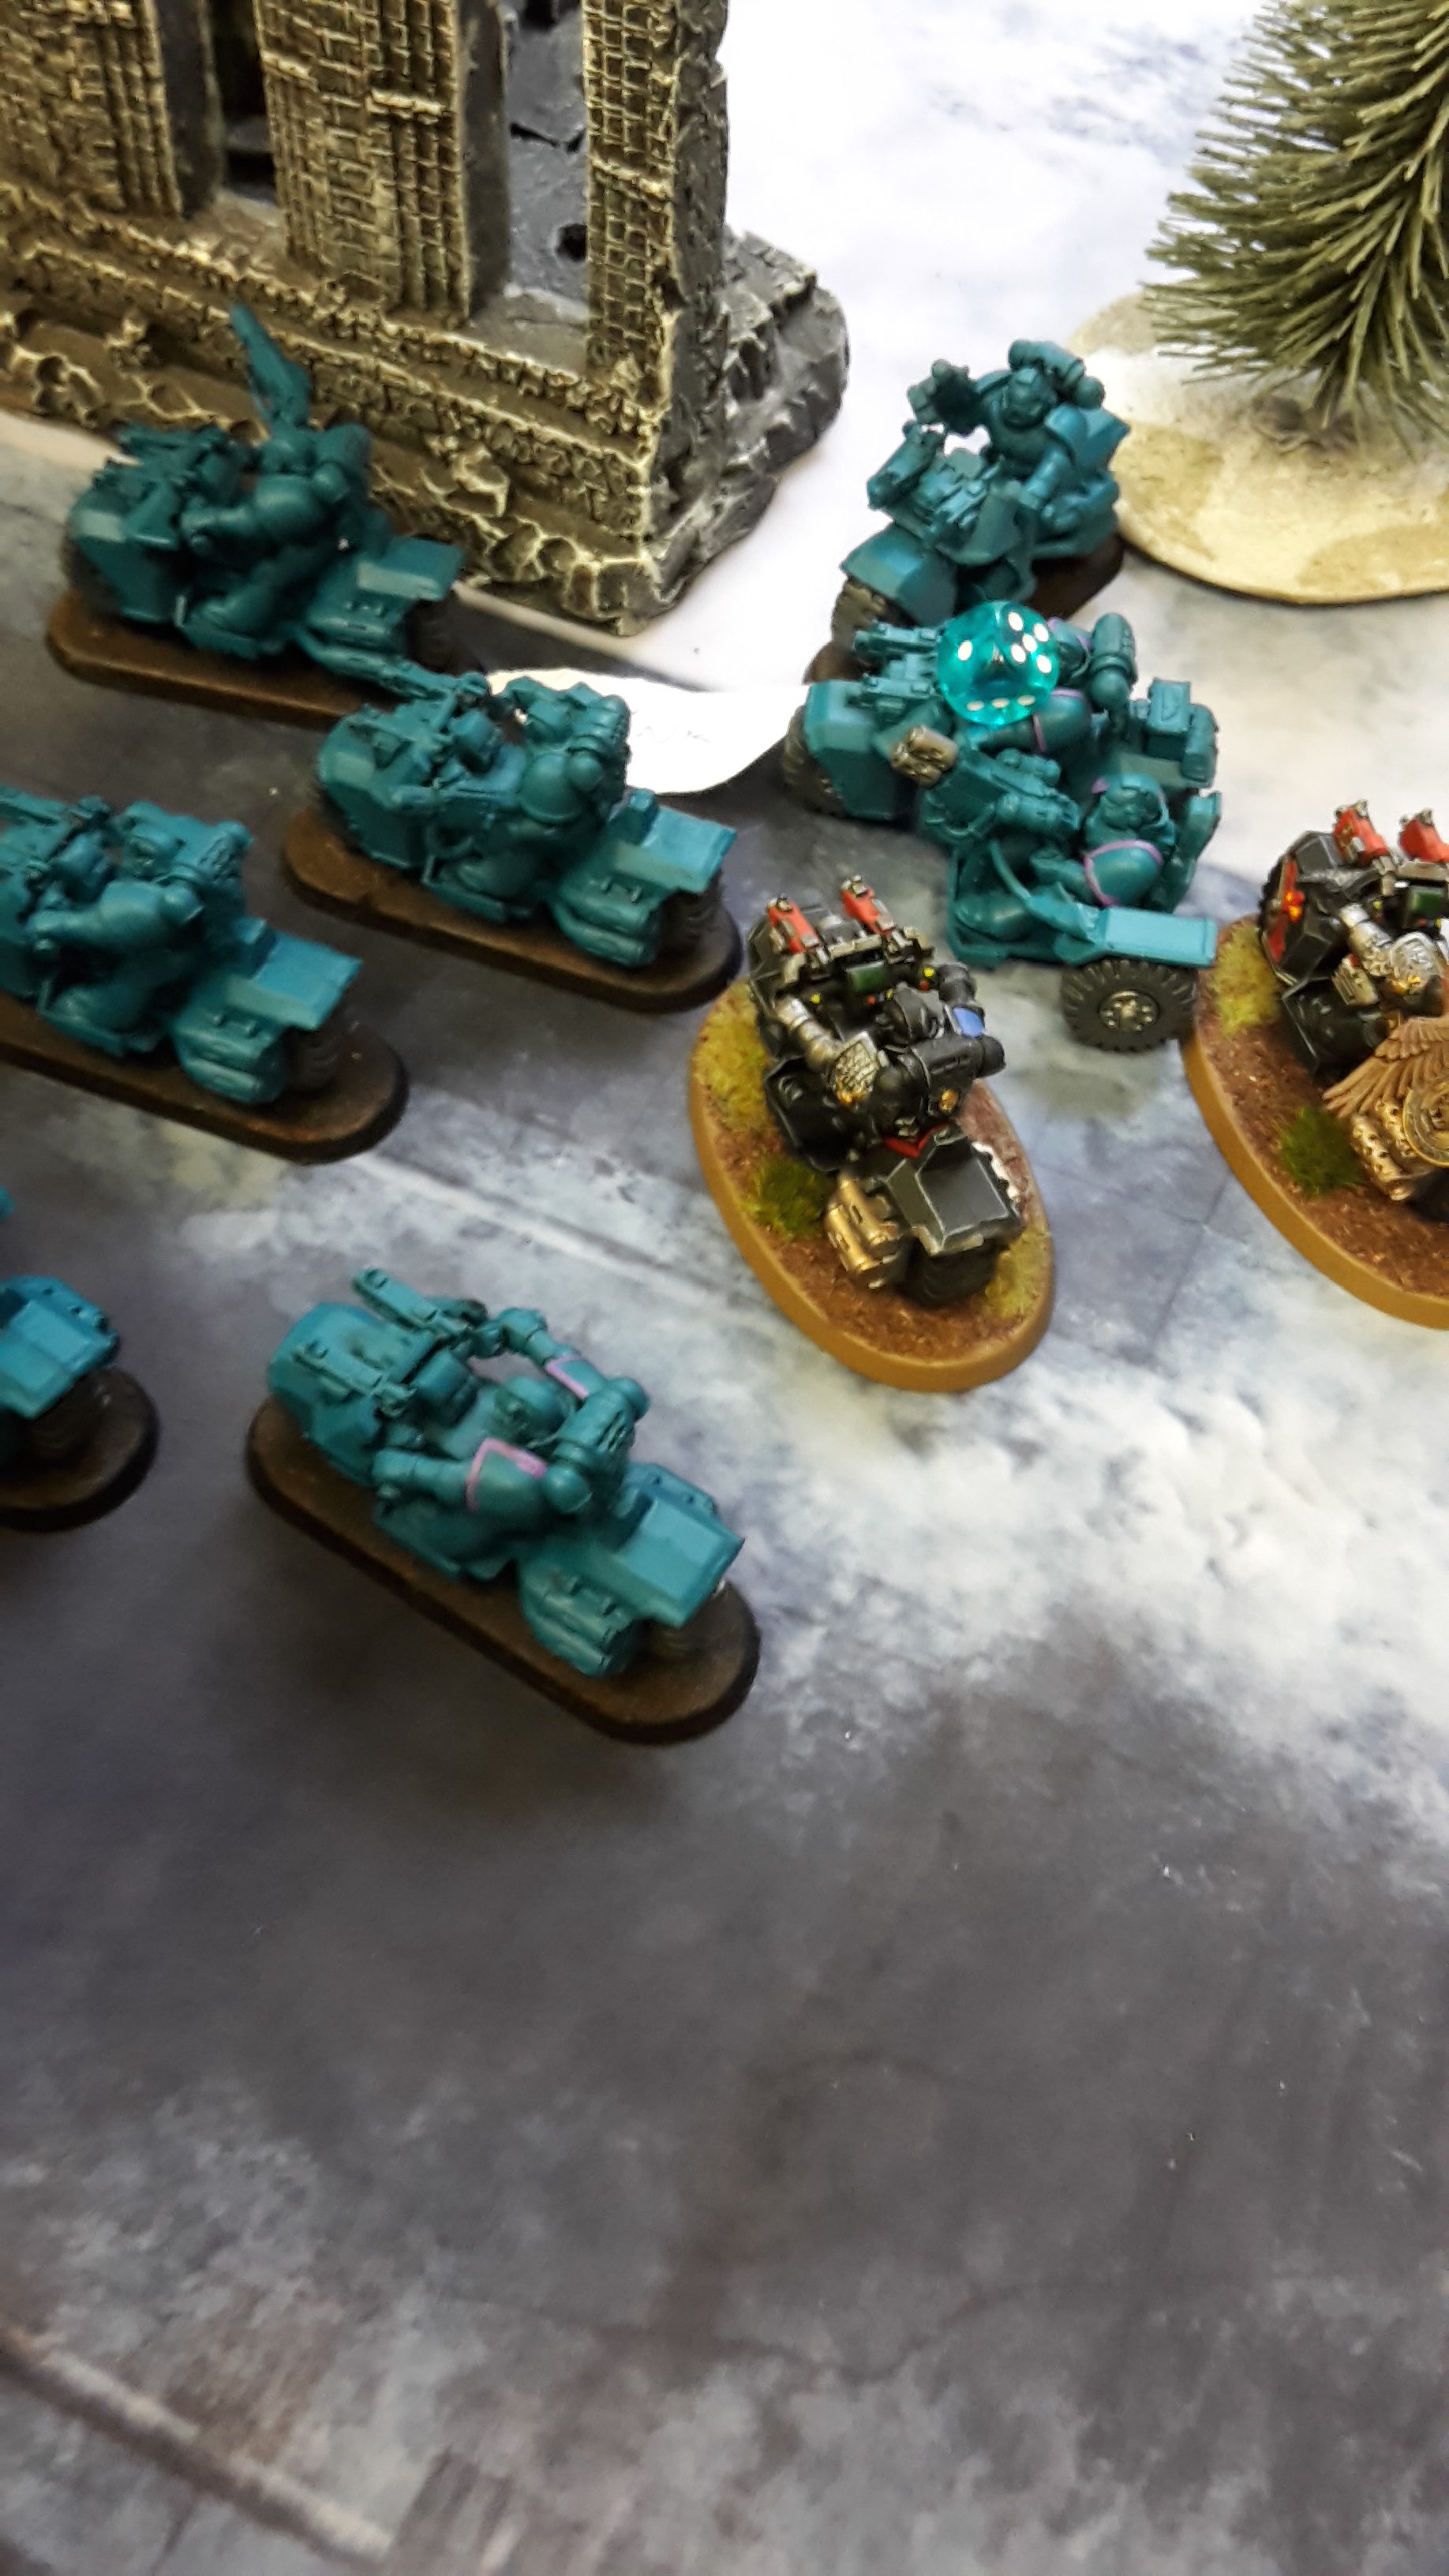
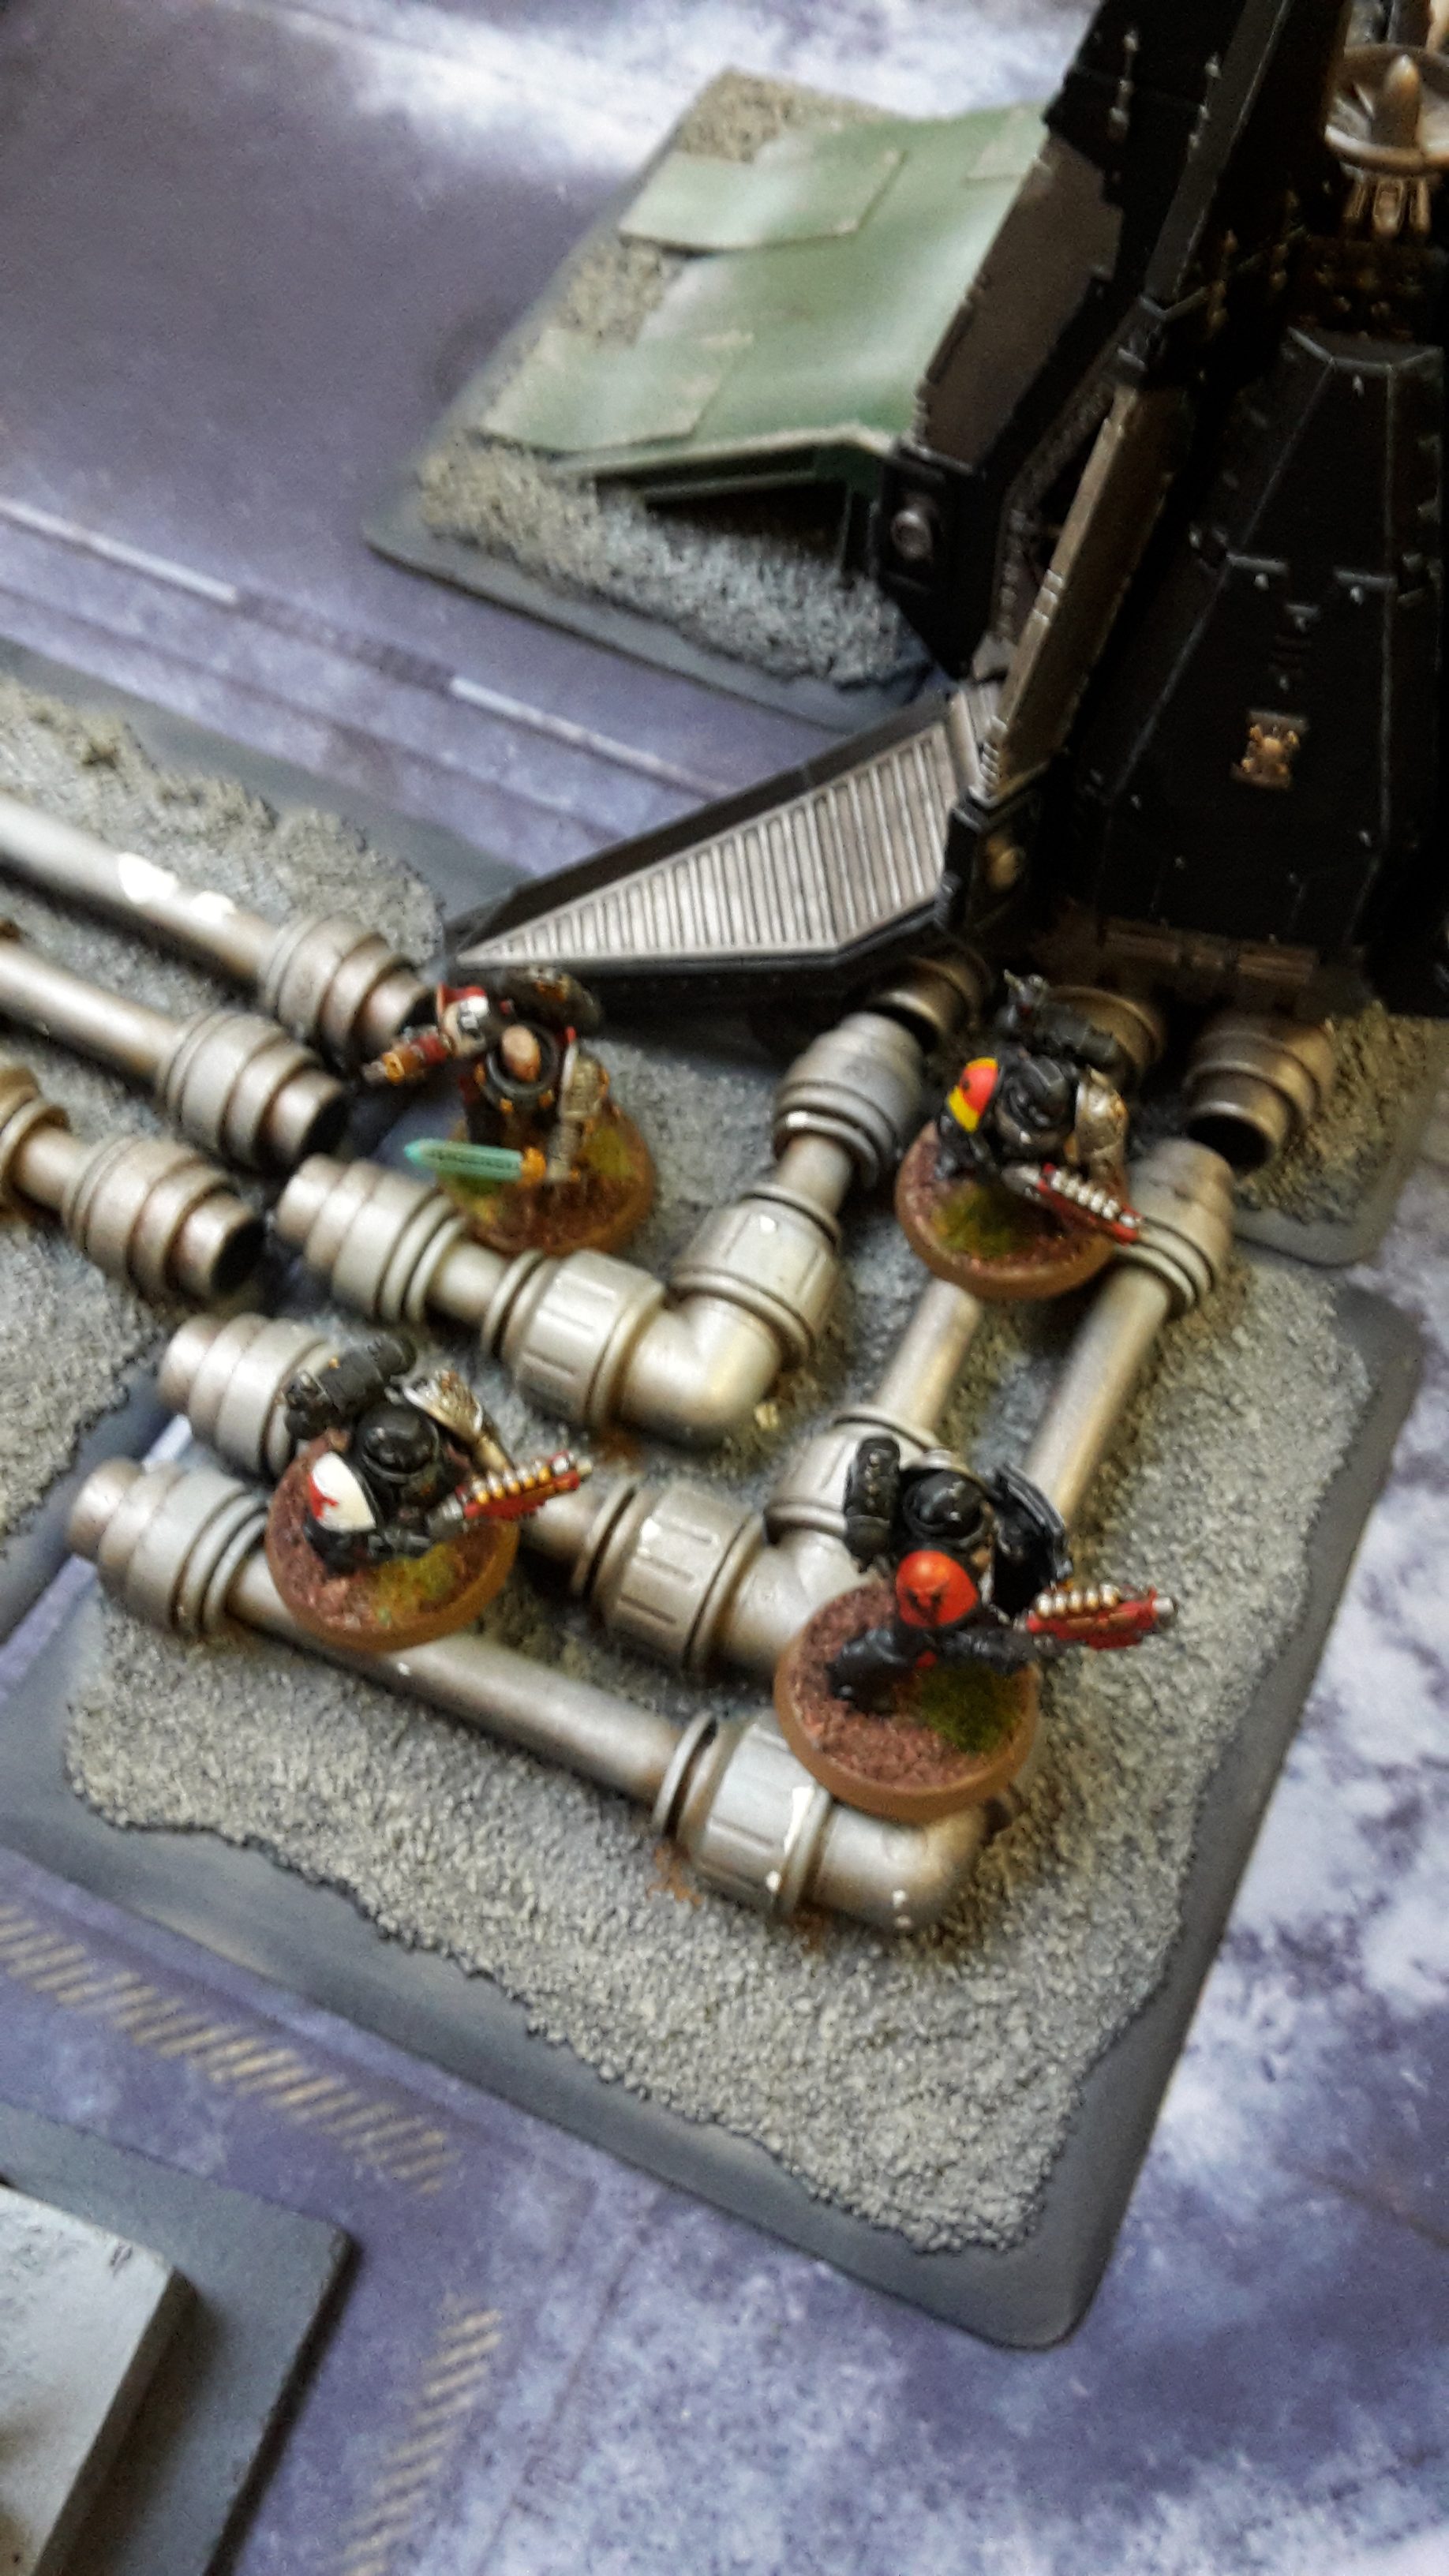
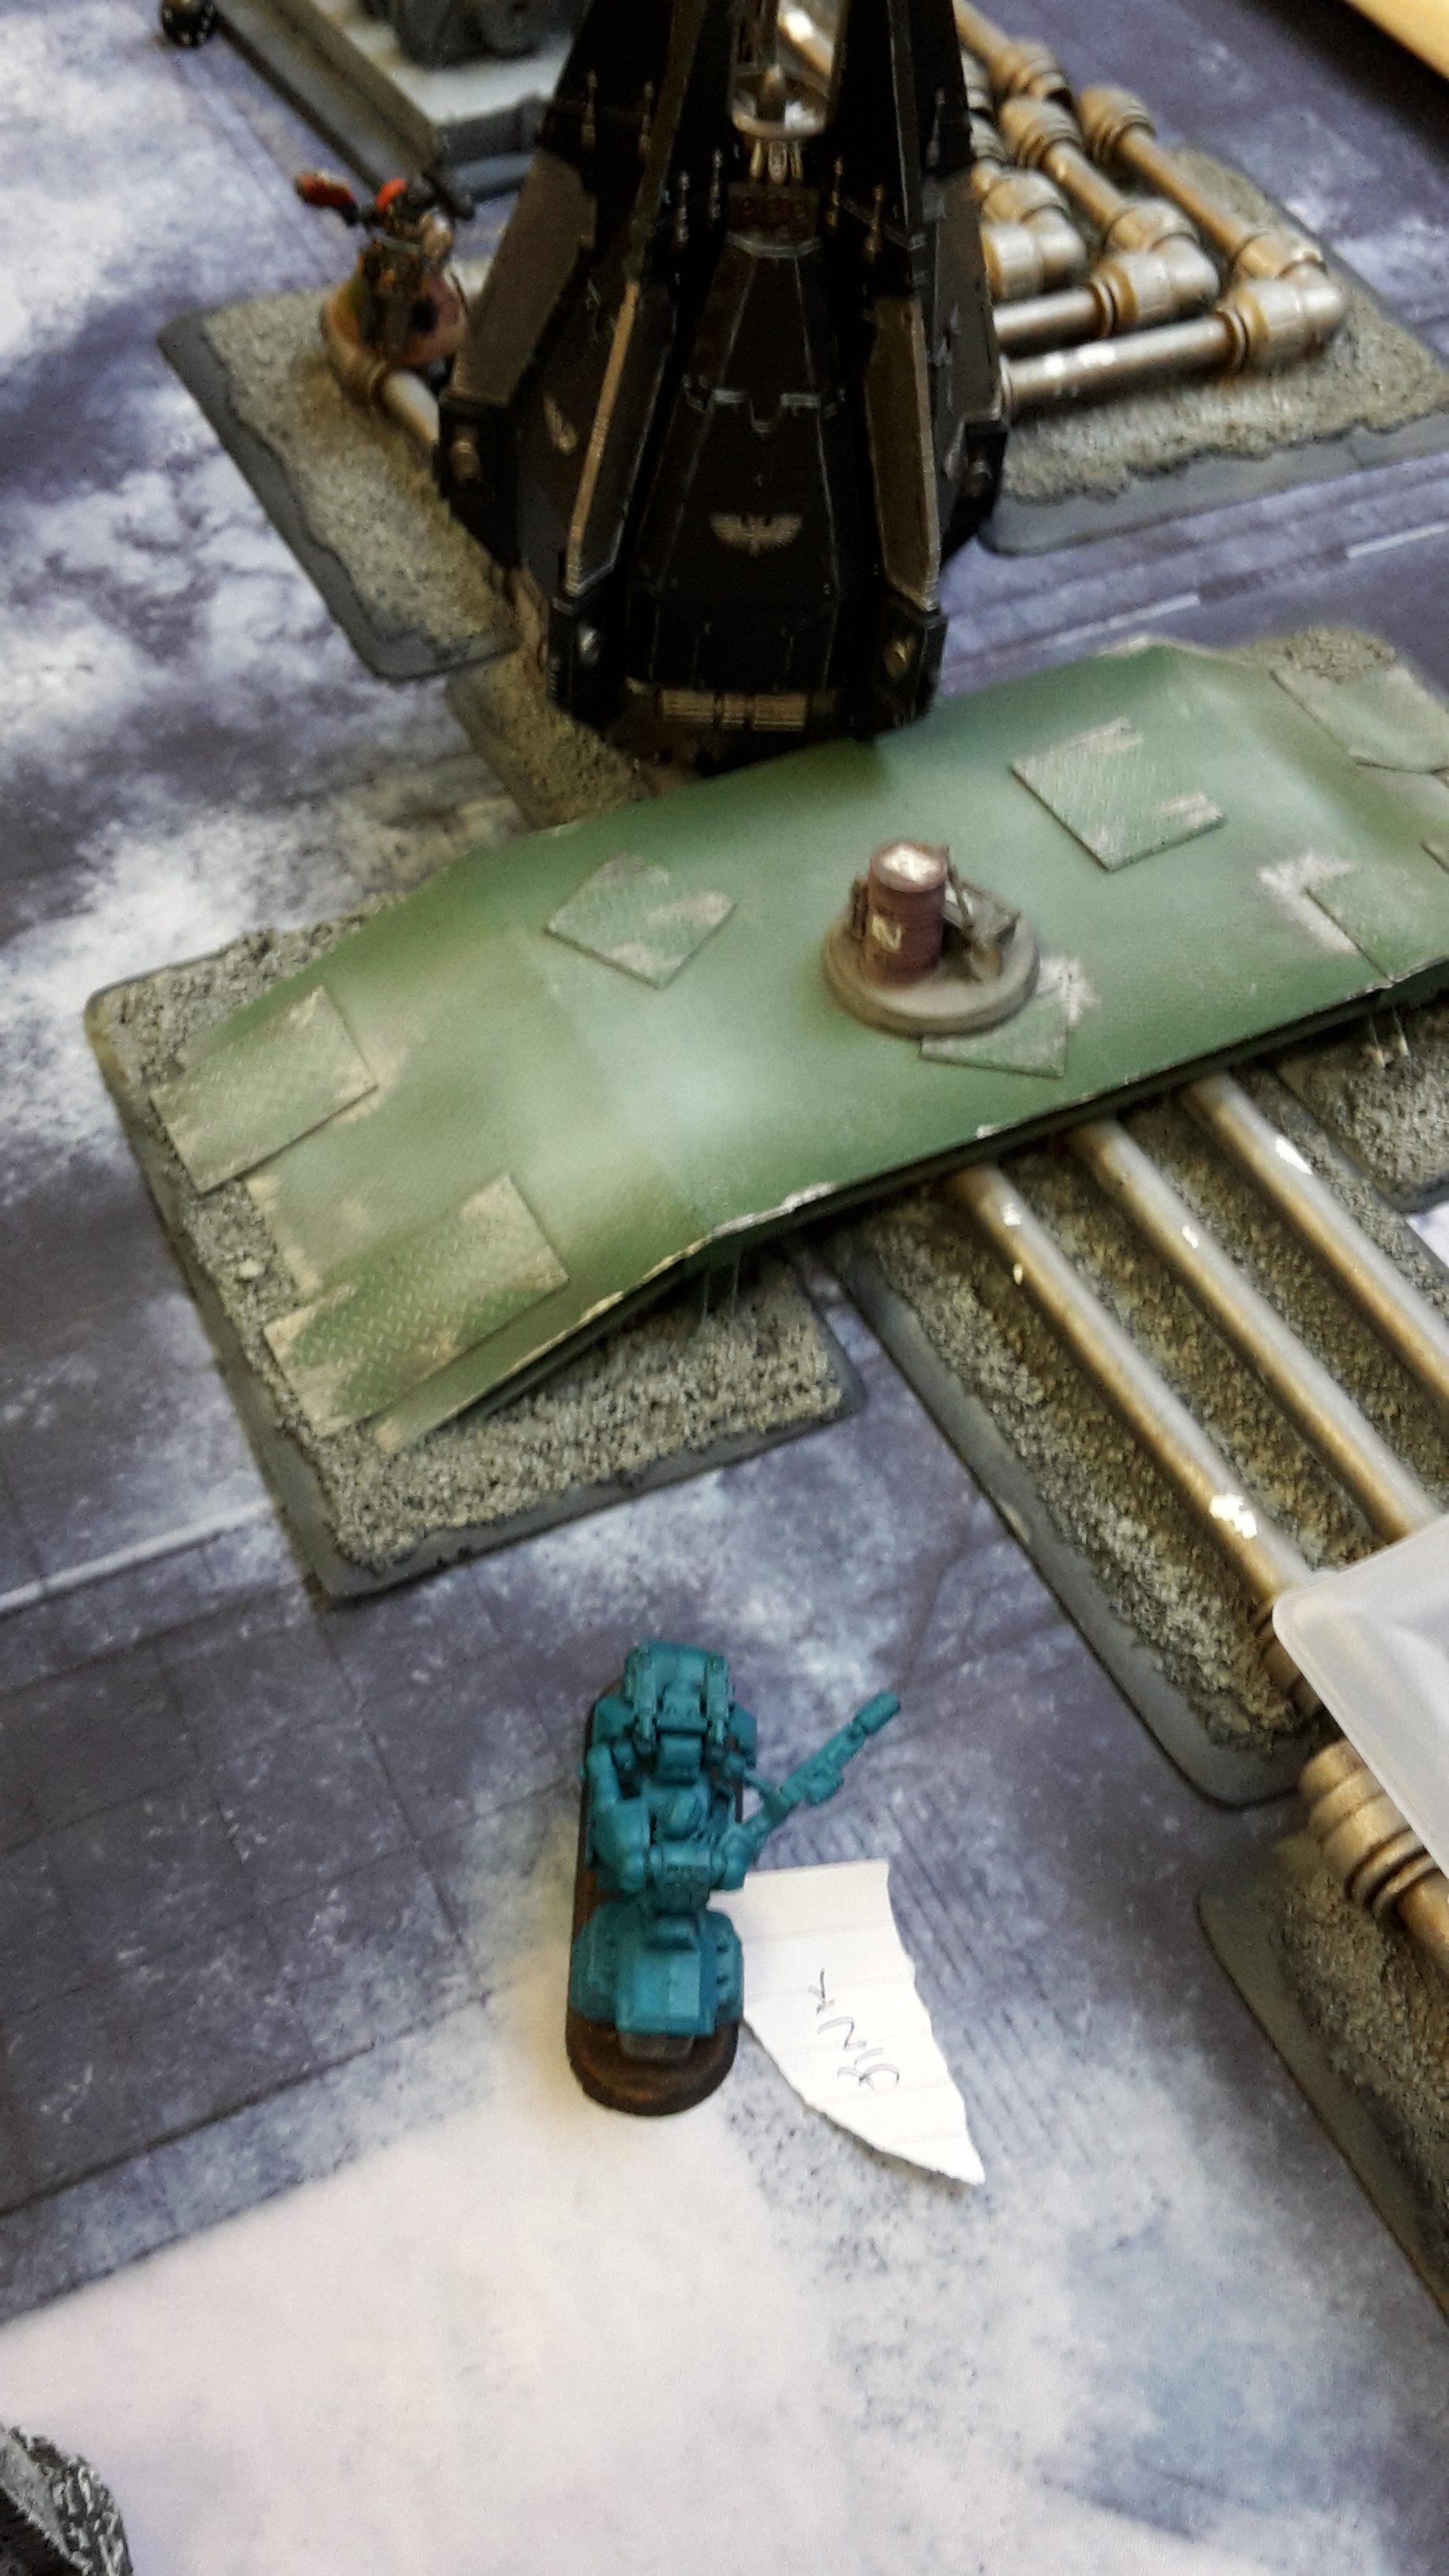
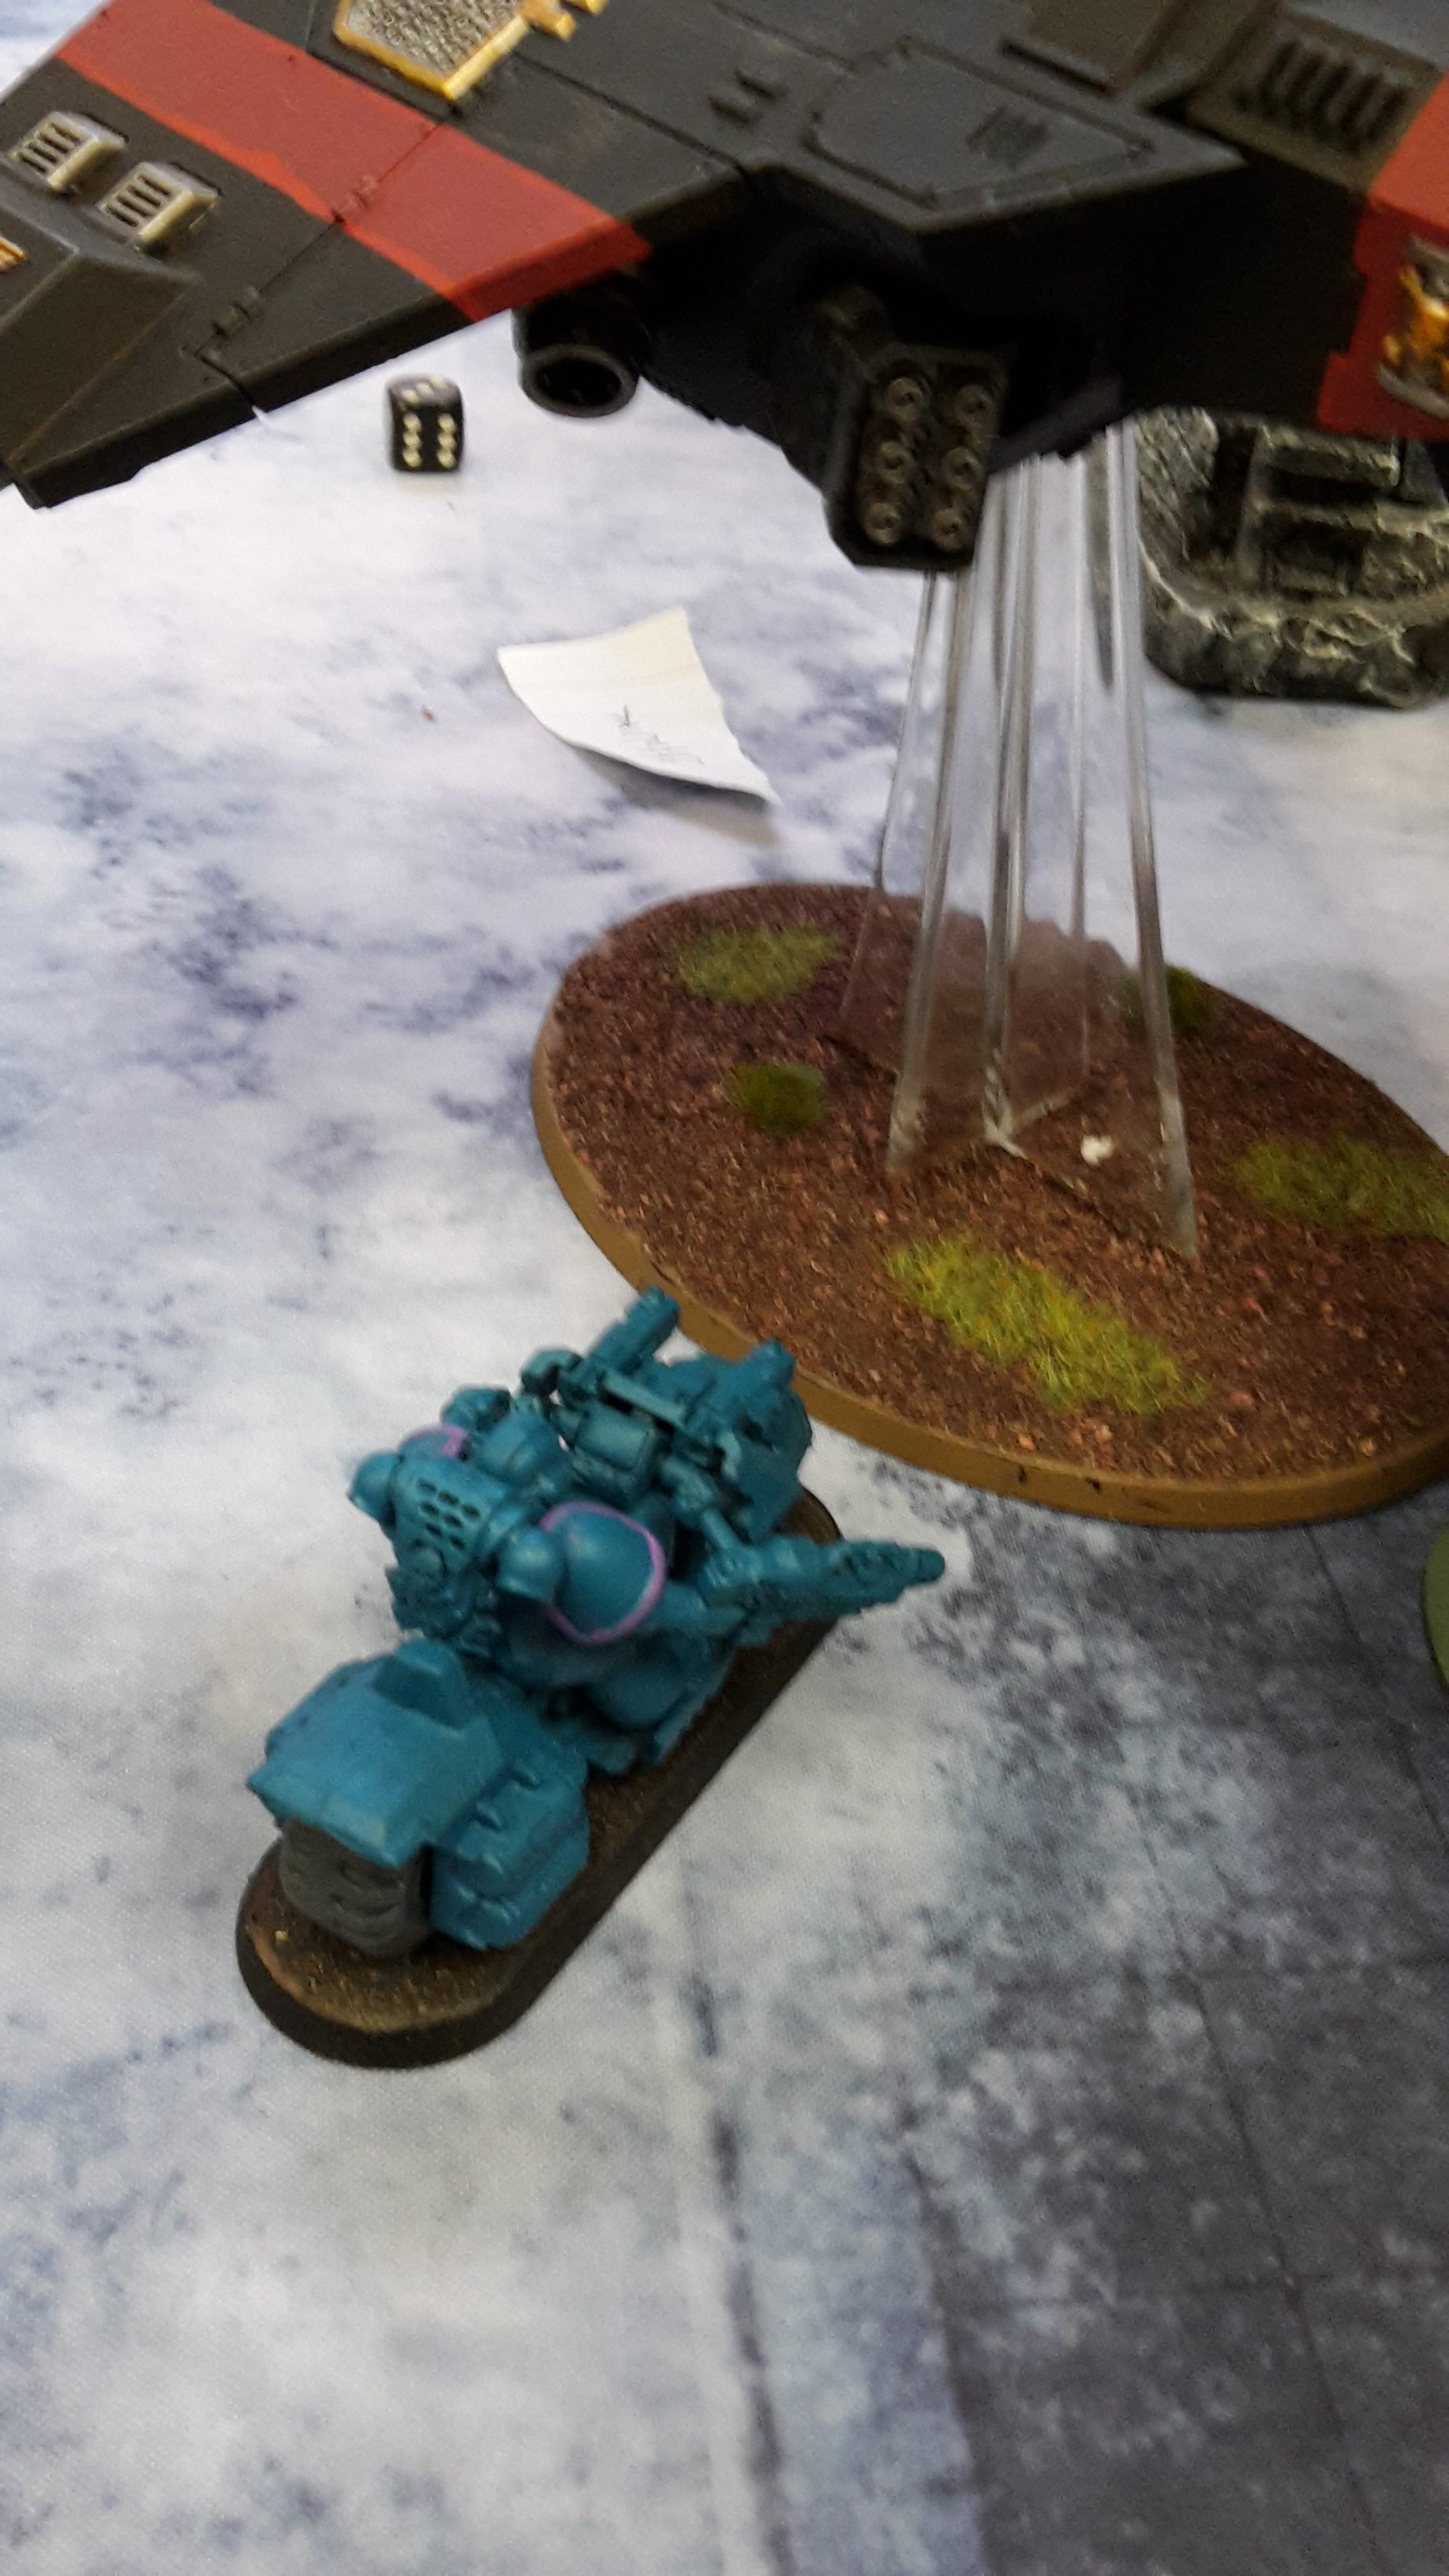
One Drop Pod arrived, carrying the Frag Cannon Veterans to land beside the White Scars Command Squad. The other carried Artemis and his squad behind the enemy lines to land besides their backfield objective.
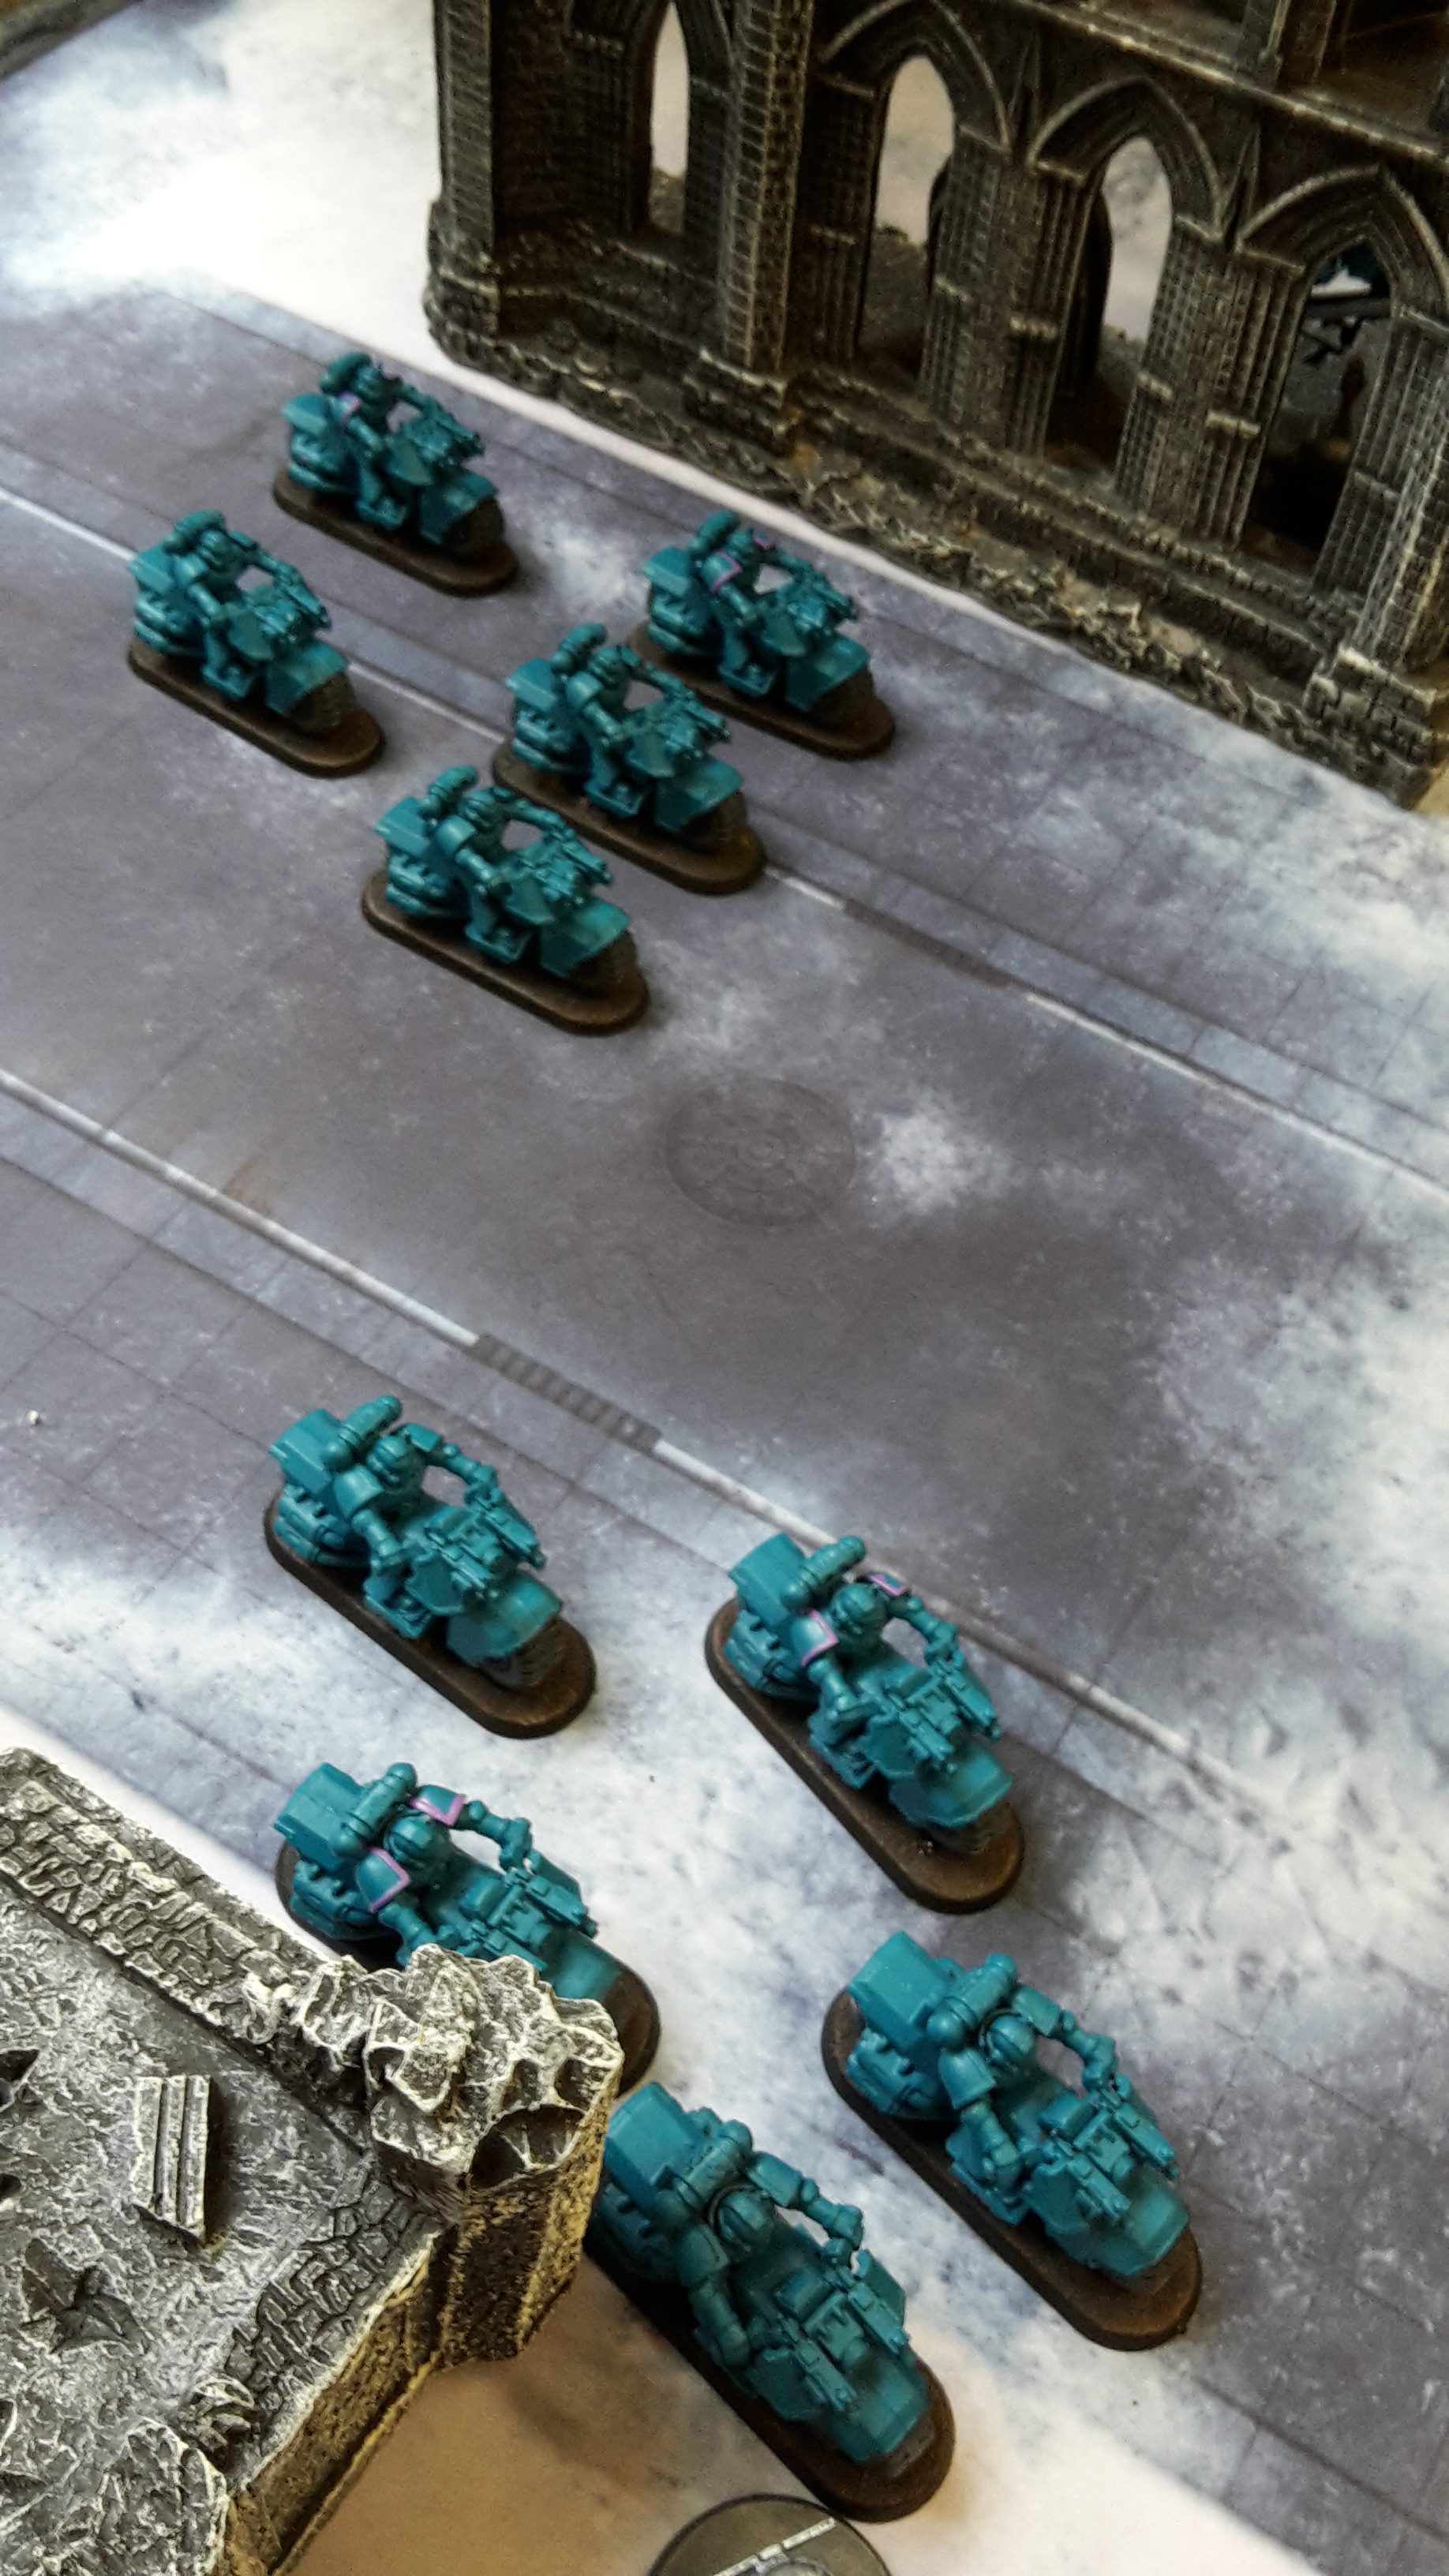
The Bikers advanced on the right flank, while the full strength squad moved to combat the White Scars bikers holding objective 1.
In the shooting phase, the Frag Cannons fired at the Command Squad, hitting them 24 times with the three cannons. I was dismayed as I only scored 13 wounds, but my equally poor rolling was matched my Robert’s, as the Librarian, Apothecary and two other Commadn Squad were slain! The other two Veterans fired their Bolters at the two survivors and managed to slay them. First Blood and Slay the Warlord for my first shot of the game, and the elimination of a unit that really needed to go.
The two Deathwatch Bikers fired at the White Scars bikers in front of them, but failed to harm the jinking riders.
The other Bikers fired at the White Scars holding objective 1, killing two of them with their poisoned shells and forcing them to fall back under the fire (Robert failed the morale test. This was more annoying for me, as I wanted to assault them and finish the job).
The Stalker Marines fired their poisoned shells at the Thunderfire Cannon, wounding it 5 times, but only managing to put a single wound on the cannon.
In the White Scars’ deployment zone, the Deathwatch fired their shotguns at the nearby Bikers armed with Meltaguns. They managed to kill one of the squad and wound the attack bike. The White Scars failed their morale test and fled, but stopped just short of the battlefield edge.
On the left flank, the Deathwatch Bikers tried to assault the White Scars Bikers, but I failed the 5″ charge by rolling a 3.
At the end of my turn, I scored Behind Enemy Lines, First Blood and Slay the Warlord. I should have also scored Objective 2, but we forgot the Bikers beside Artemis needed a morale test and rolled it at the start of Robert’s next turn. After they failed, I forgot that this would have allowed me to score Objective 2 as they fled from it.
A very good start for me. My risk at taking on the Command Squad with the Frag Cannons had paid off (thanks to some seriously poor rolling from Robert, it must be said). Had this unit survived, it would have meant death for much of my army.
VICTORY POINTS:
- White Scars- 1
- Deathwatch- 3
TURN 2- WHITE SCARS
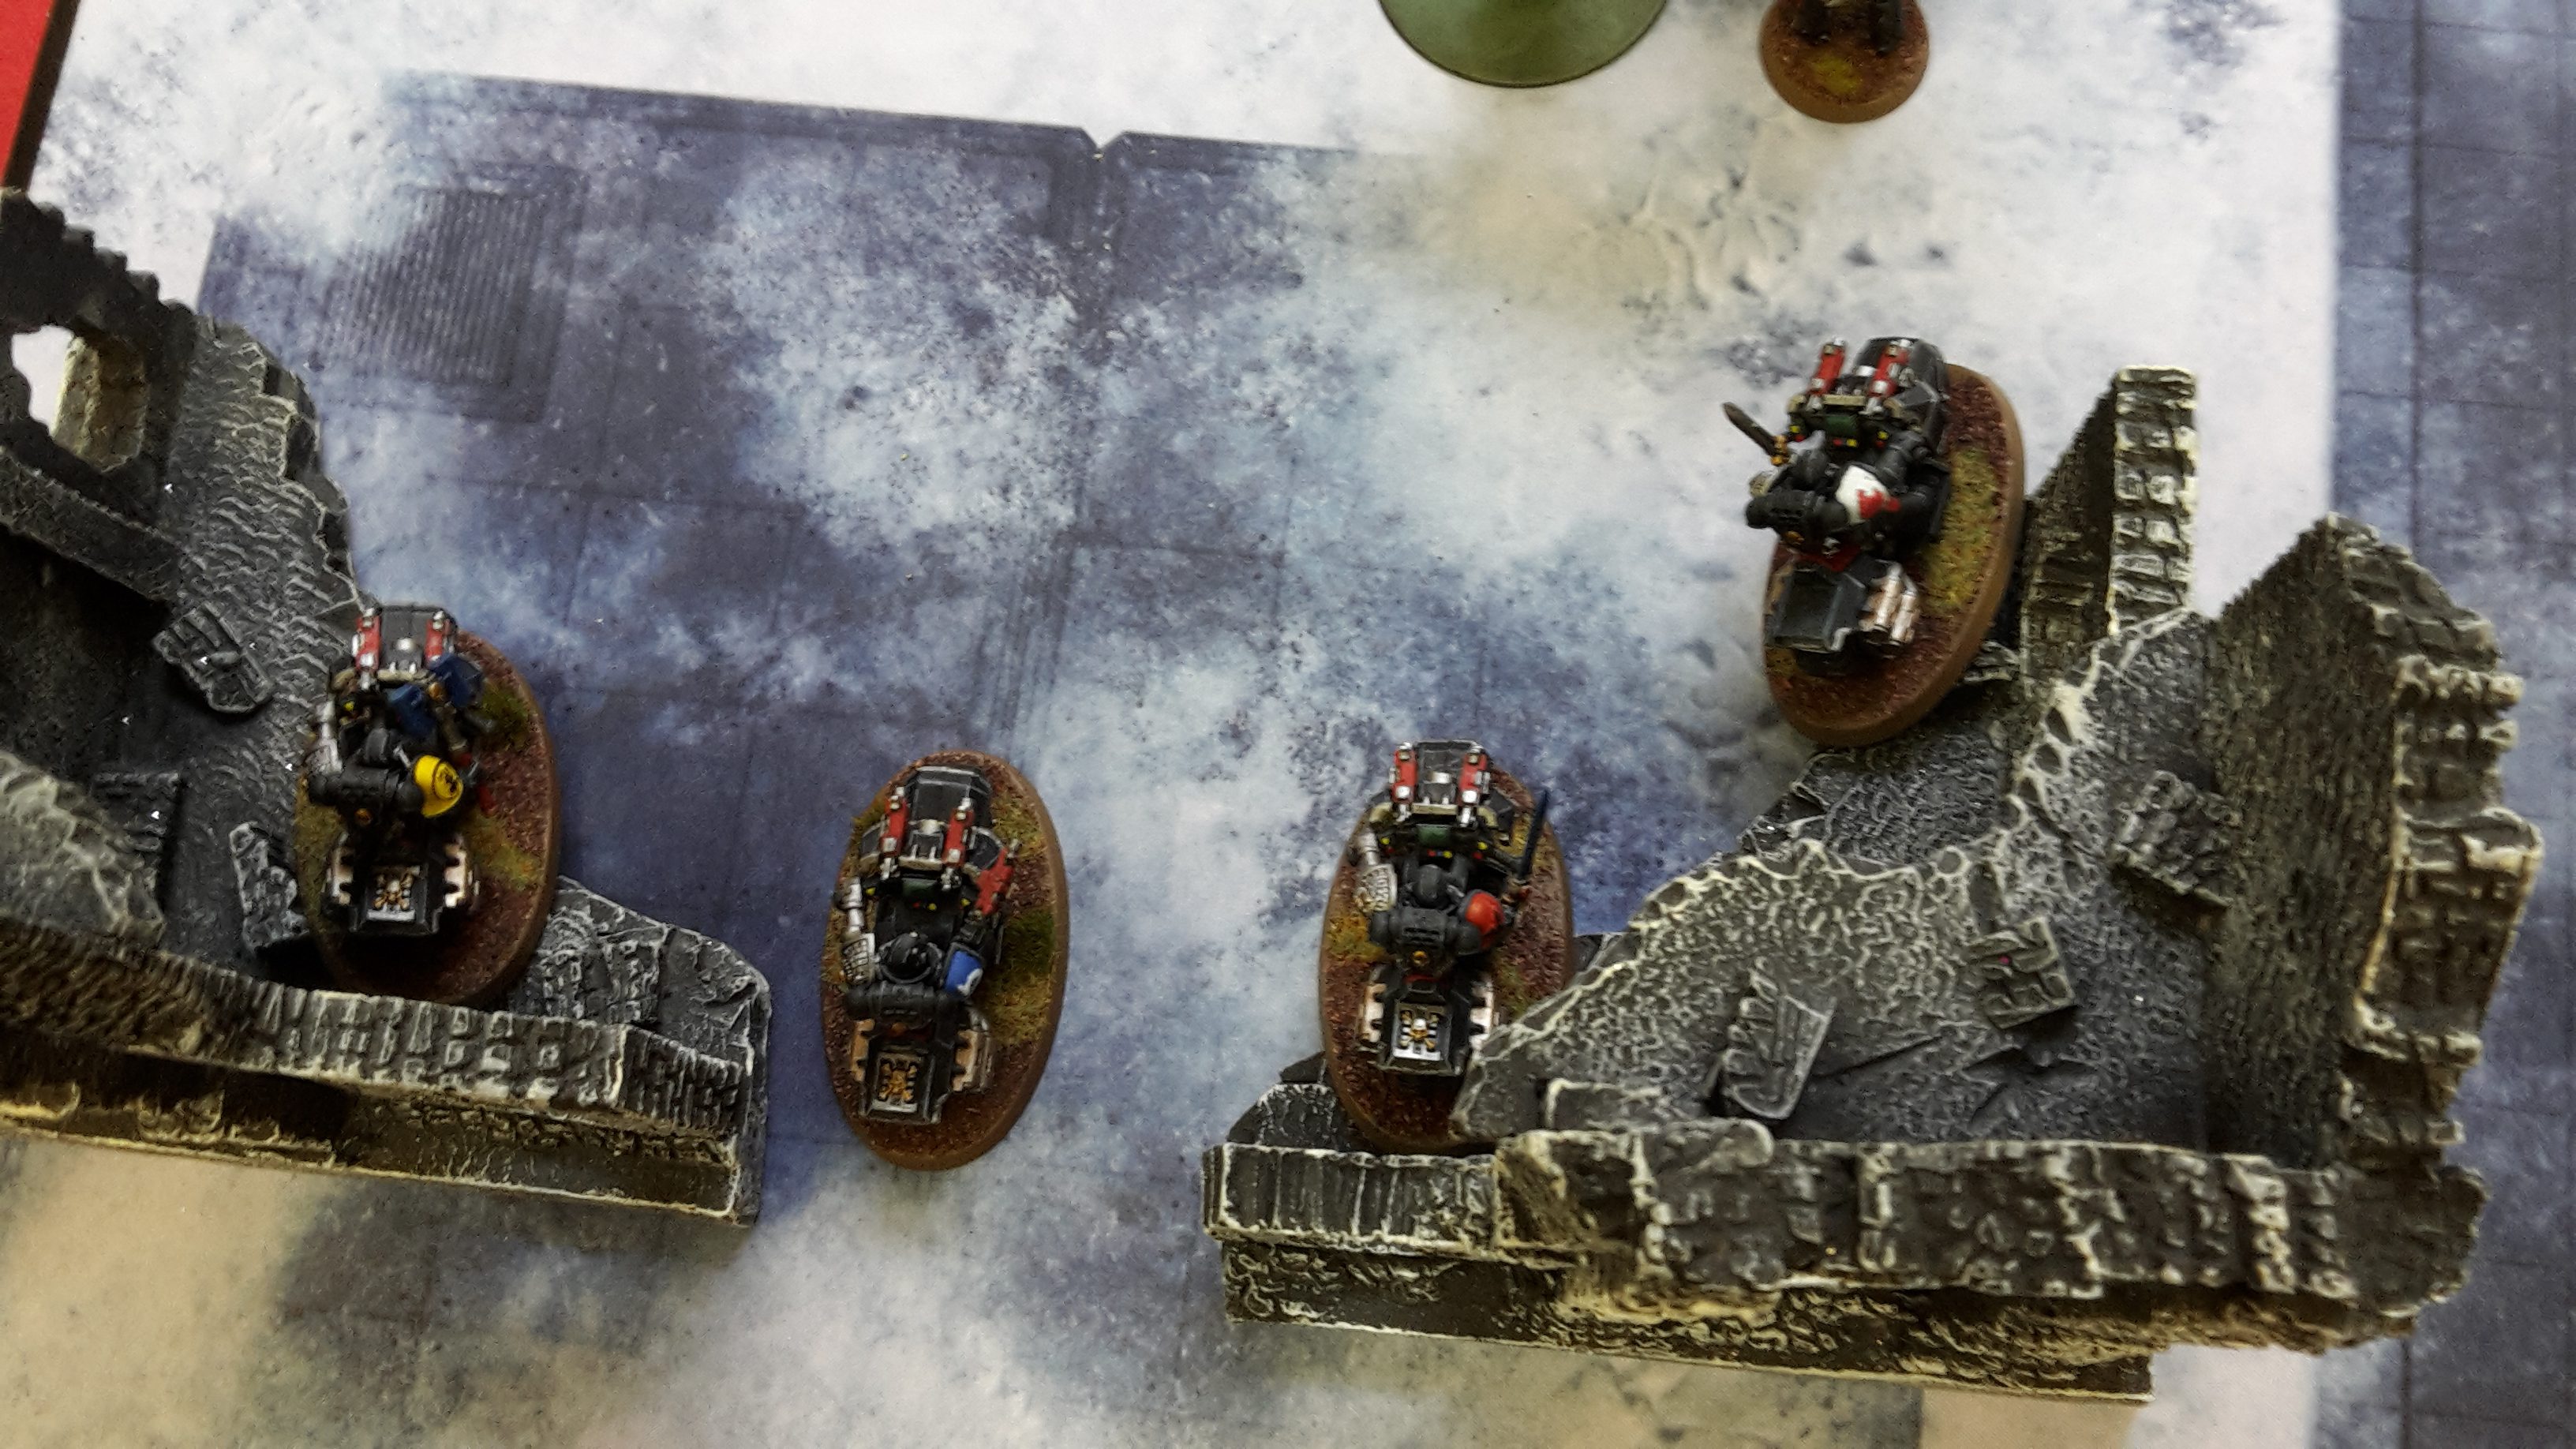
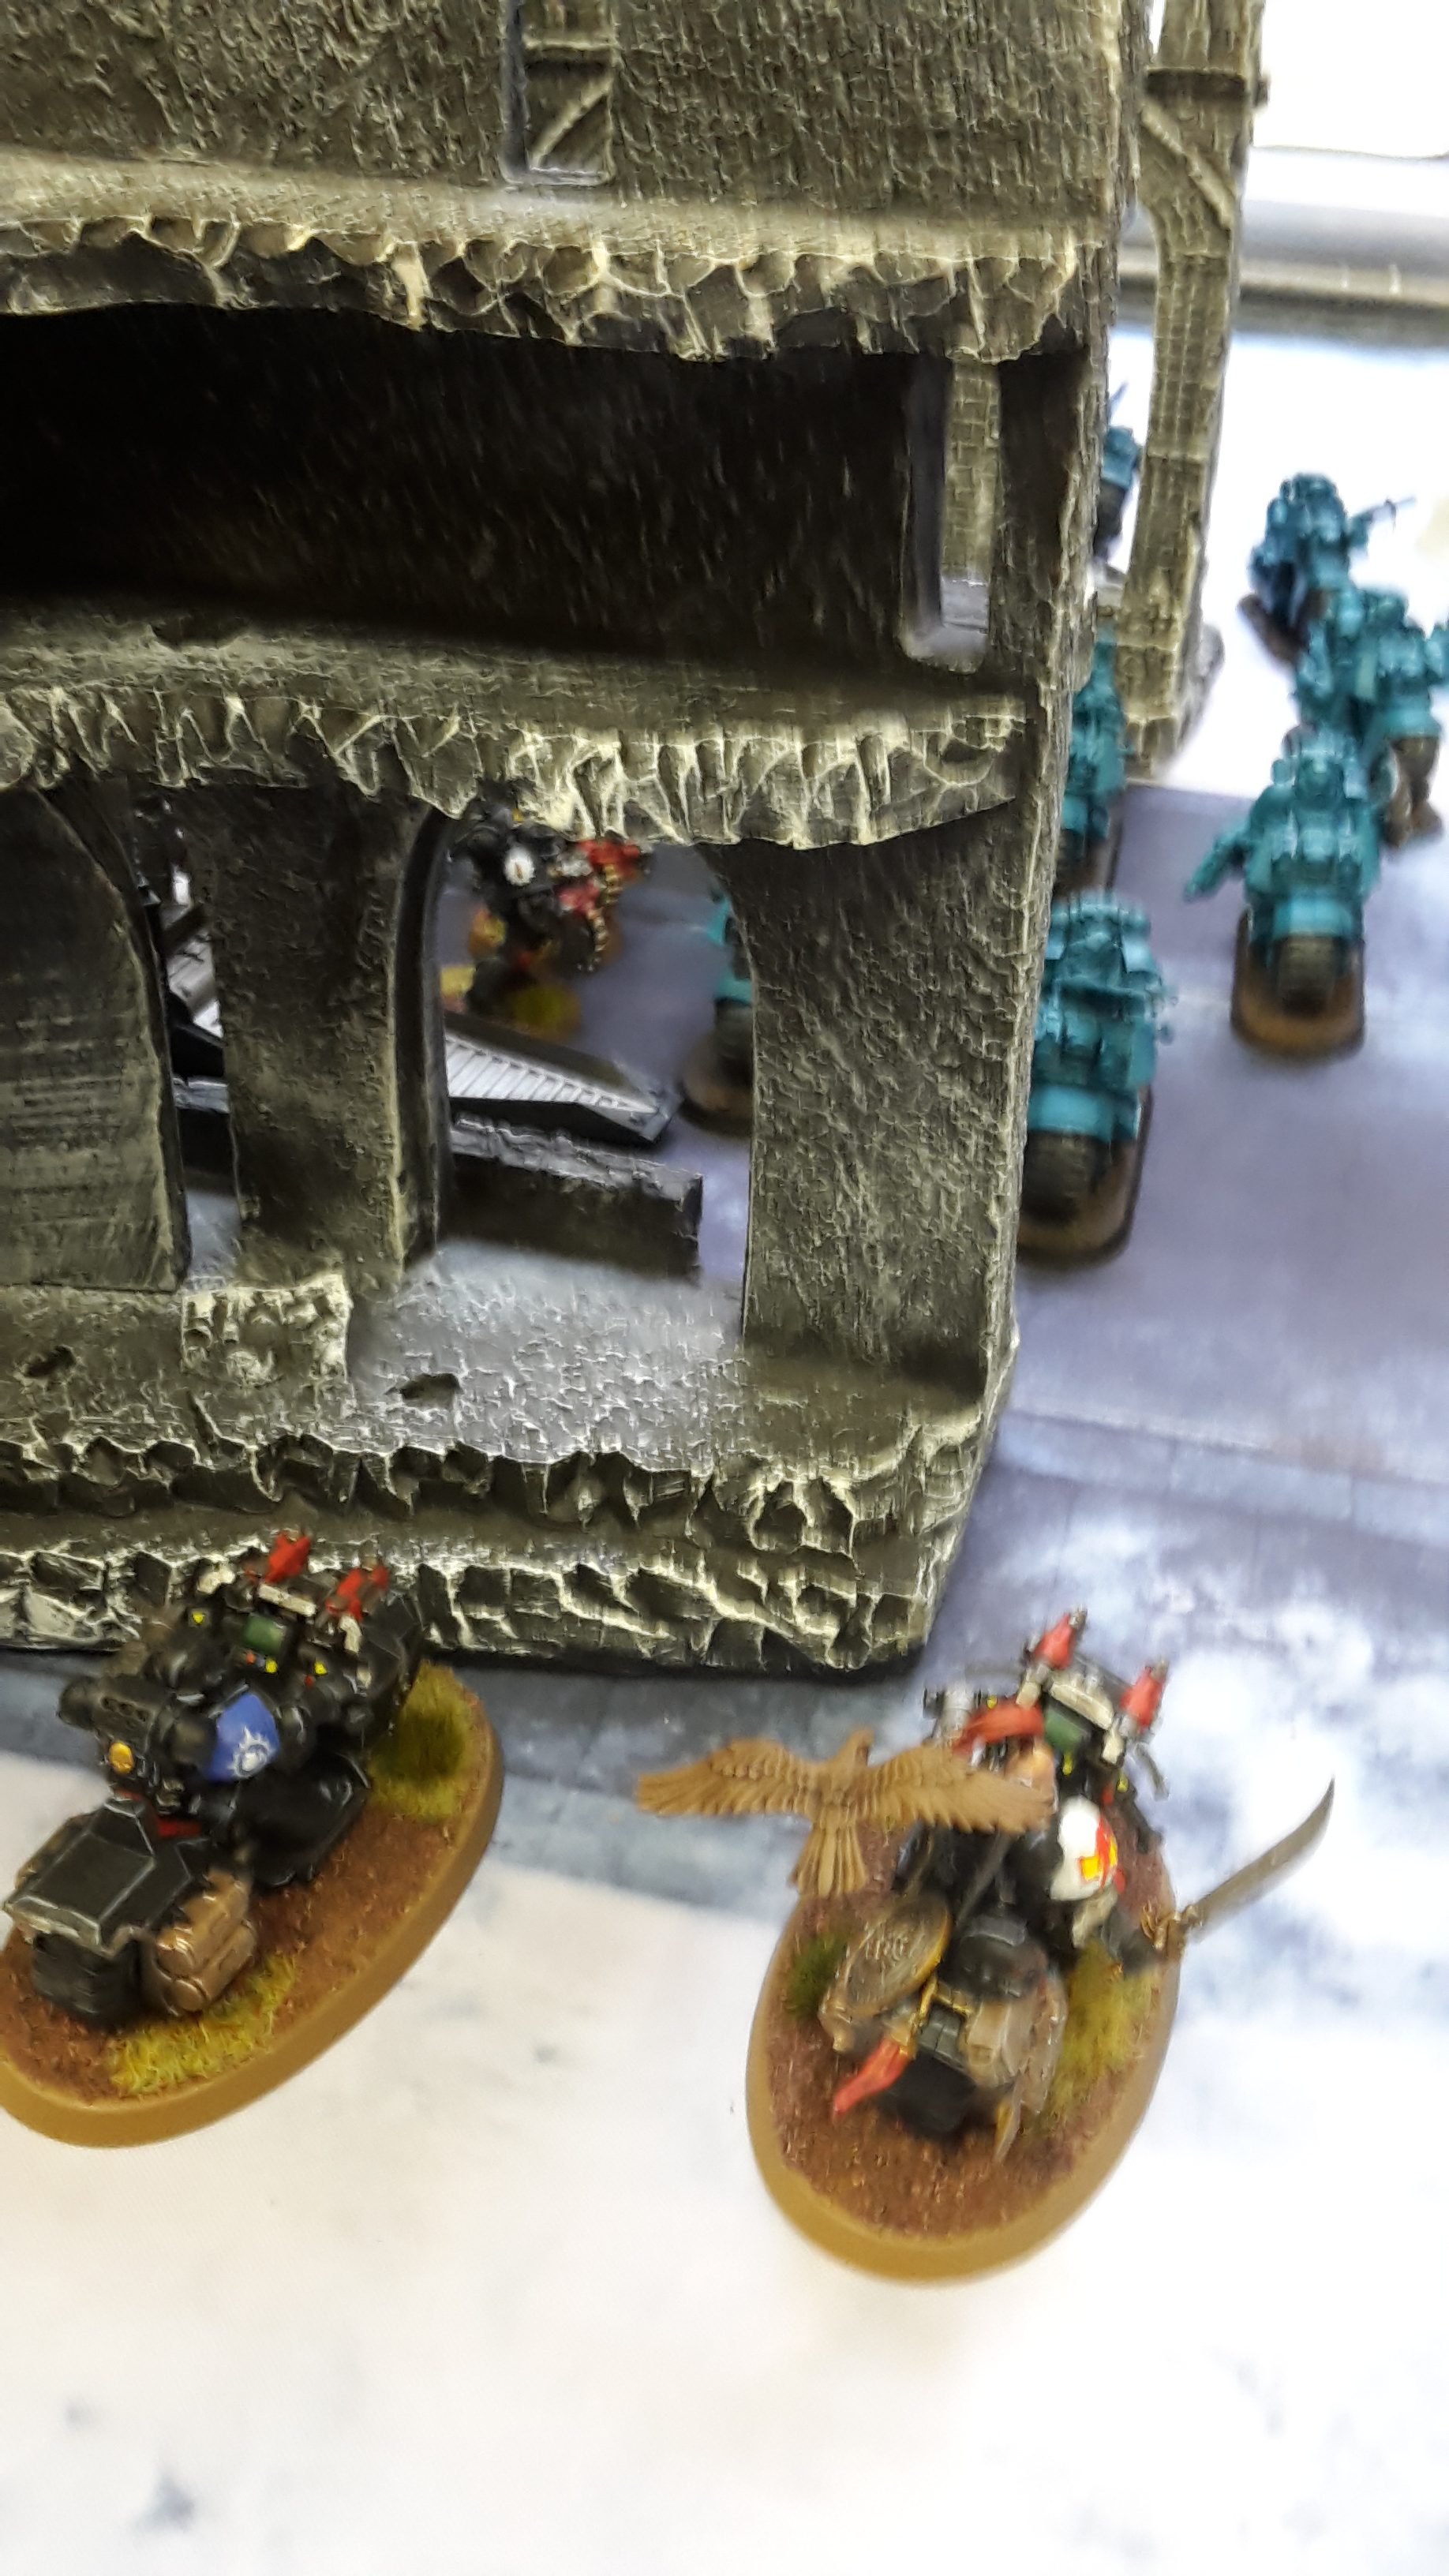
On the right flank, the White Scars Bikers turned their attention towards the Frag Cannon Deathwatch Veterans, three squads encircling them. On the right flank, the White Scars continued their advance, while the two backfield Biker units moved to engage Artemis and his squad.

On the left flank, the three Bike units opened fire on the Deathwatch Veterans, killing four of the squad with their combined Bolter and Meltagun fire. The lone survivor fled the onslaught, running through the ruins beside the two Deathwatch Bikers.
In the Scars’ deployment zone, the two Biker units opened fire on Artemis’ squad, killing one of the shotgun-wielding Veterans.
In the centre, the Grav Bikers fired at the Deathwatch Bikers, only hitting with 4 of their 9 shots, They wounded twice, but the Jinking bikers stopped both wounds. The squad’s Bolters did two wounds, but these were again saved. A second unit of Bikers fired their Bolters at the Deathwatch, wounding them four times. I failed three saves, leaving one Biker remaining. The Thunderfire Cannon fired at the lone Biker, but some poor scatter saw it hit only once and the Biker’s armour held.
Another White Scars Bike squad fired at the Stalker Marines, killing two with their shots. The survivor’s fell back from the barrage and regrouped near the ruins’ edge.
In the assault phase, the two units of Bikers assaulted Artemis’ unit. One Deathwatch Veteran perished to the Hammer of Wrath attacks. Artemis struck down one of the Bikers, while the Deathwatch took down another. The White Scars warriors were unable to harm the Deathwatch and one unit fled from the battlefield, the other staying locked in combat with the Deathwatch (Robert failed his Hit and Run test).
At the end of his turn, Robert scored no points and discarded Assassinate.
TURN 2- DEATHWATCH
This turn, I drew Supremacy (control at least 2 objectives and twice as many as your opponent) and had Objective 1 and Objective 2. I also changed to the Troops Mission Tactics.
The Drop Pod arrived. The machine spirit intended to land next to the lone Deathwatch Biker, but scattered off target and landed in the woods to the left, damaging itself in the process (I planned to land besides objective 1, but scattered and hit the woods, failing my dangerous terrain test and taking 2 hull points damage). The squad inside disembarked, taking shelter amongst the trees.
The lone Biker advanced on the White Scars in front of him. On the right flank, the lone Deathwatch Veteran and Bikers moved up to engage the White Scars.
The Veteran fired his Frag Cannon at the Bikers in front of him, killing one of the squad (despite wounding six times, I scored no rending hits and Robert failed a single save). The two Bikers fired their AP3 shells at the jinking Bikers, wounding the Attack Bike.

The newly arrived Meltagun squad fired at the Grav White Scars Bikers in front of them, the sergeant using his Auspex to good effect and slaying two of the White Scars with the AP3 shells. The Meltagun killed another of the Bikers, leaving only the Attack Bike on a single wound. The Stalker Marines fired at the Grav Bike squad in front of them, wounding them three times.
The Bikers assaulted on the right flank. Their Hammer of Wrath attacks did no harm, but the Deathwatch managed to slay 3 of the Bikers with their power weapon attacks. The White Scars struck back, wounding once, but failing to get past the Deathwatch armour. The surviving White Scar Biker fled from combat, back towards his lines.
In the centre, the lone Biker attempted to assault the White Scars Bikers in front of him, but the highly accurate Grav fire cut him down as he advanced (Robert scored 3 hits with his 6 Grav overwatch shots and killed the Deathwatch Biker).
Artemis cut down the last of the White Scars warriors he was in combat with and led his squad into the cover of the pipeline.
At the end of my turn, I scored Objective 2 and Supremacy and discarded Objective 1.
VICTORY POINTS:
- White Scars- 1
- Deathwatch- 5
At the end of turn 2, I was getting a good lead in points, but was losing a lot of my army and there were a lot of White Scars still to kill.
TURN 3- WHITE SCARS
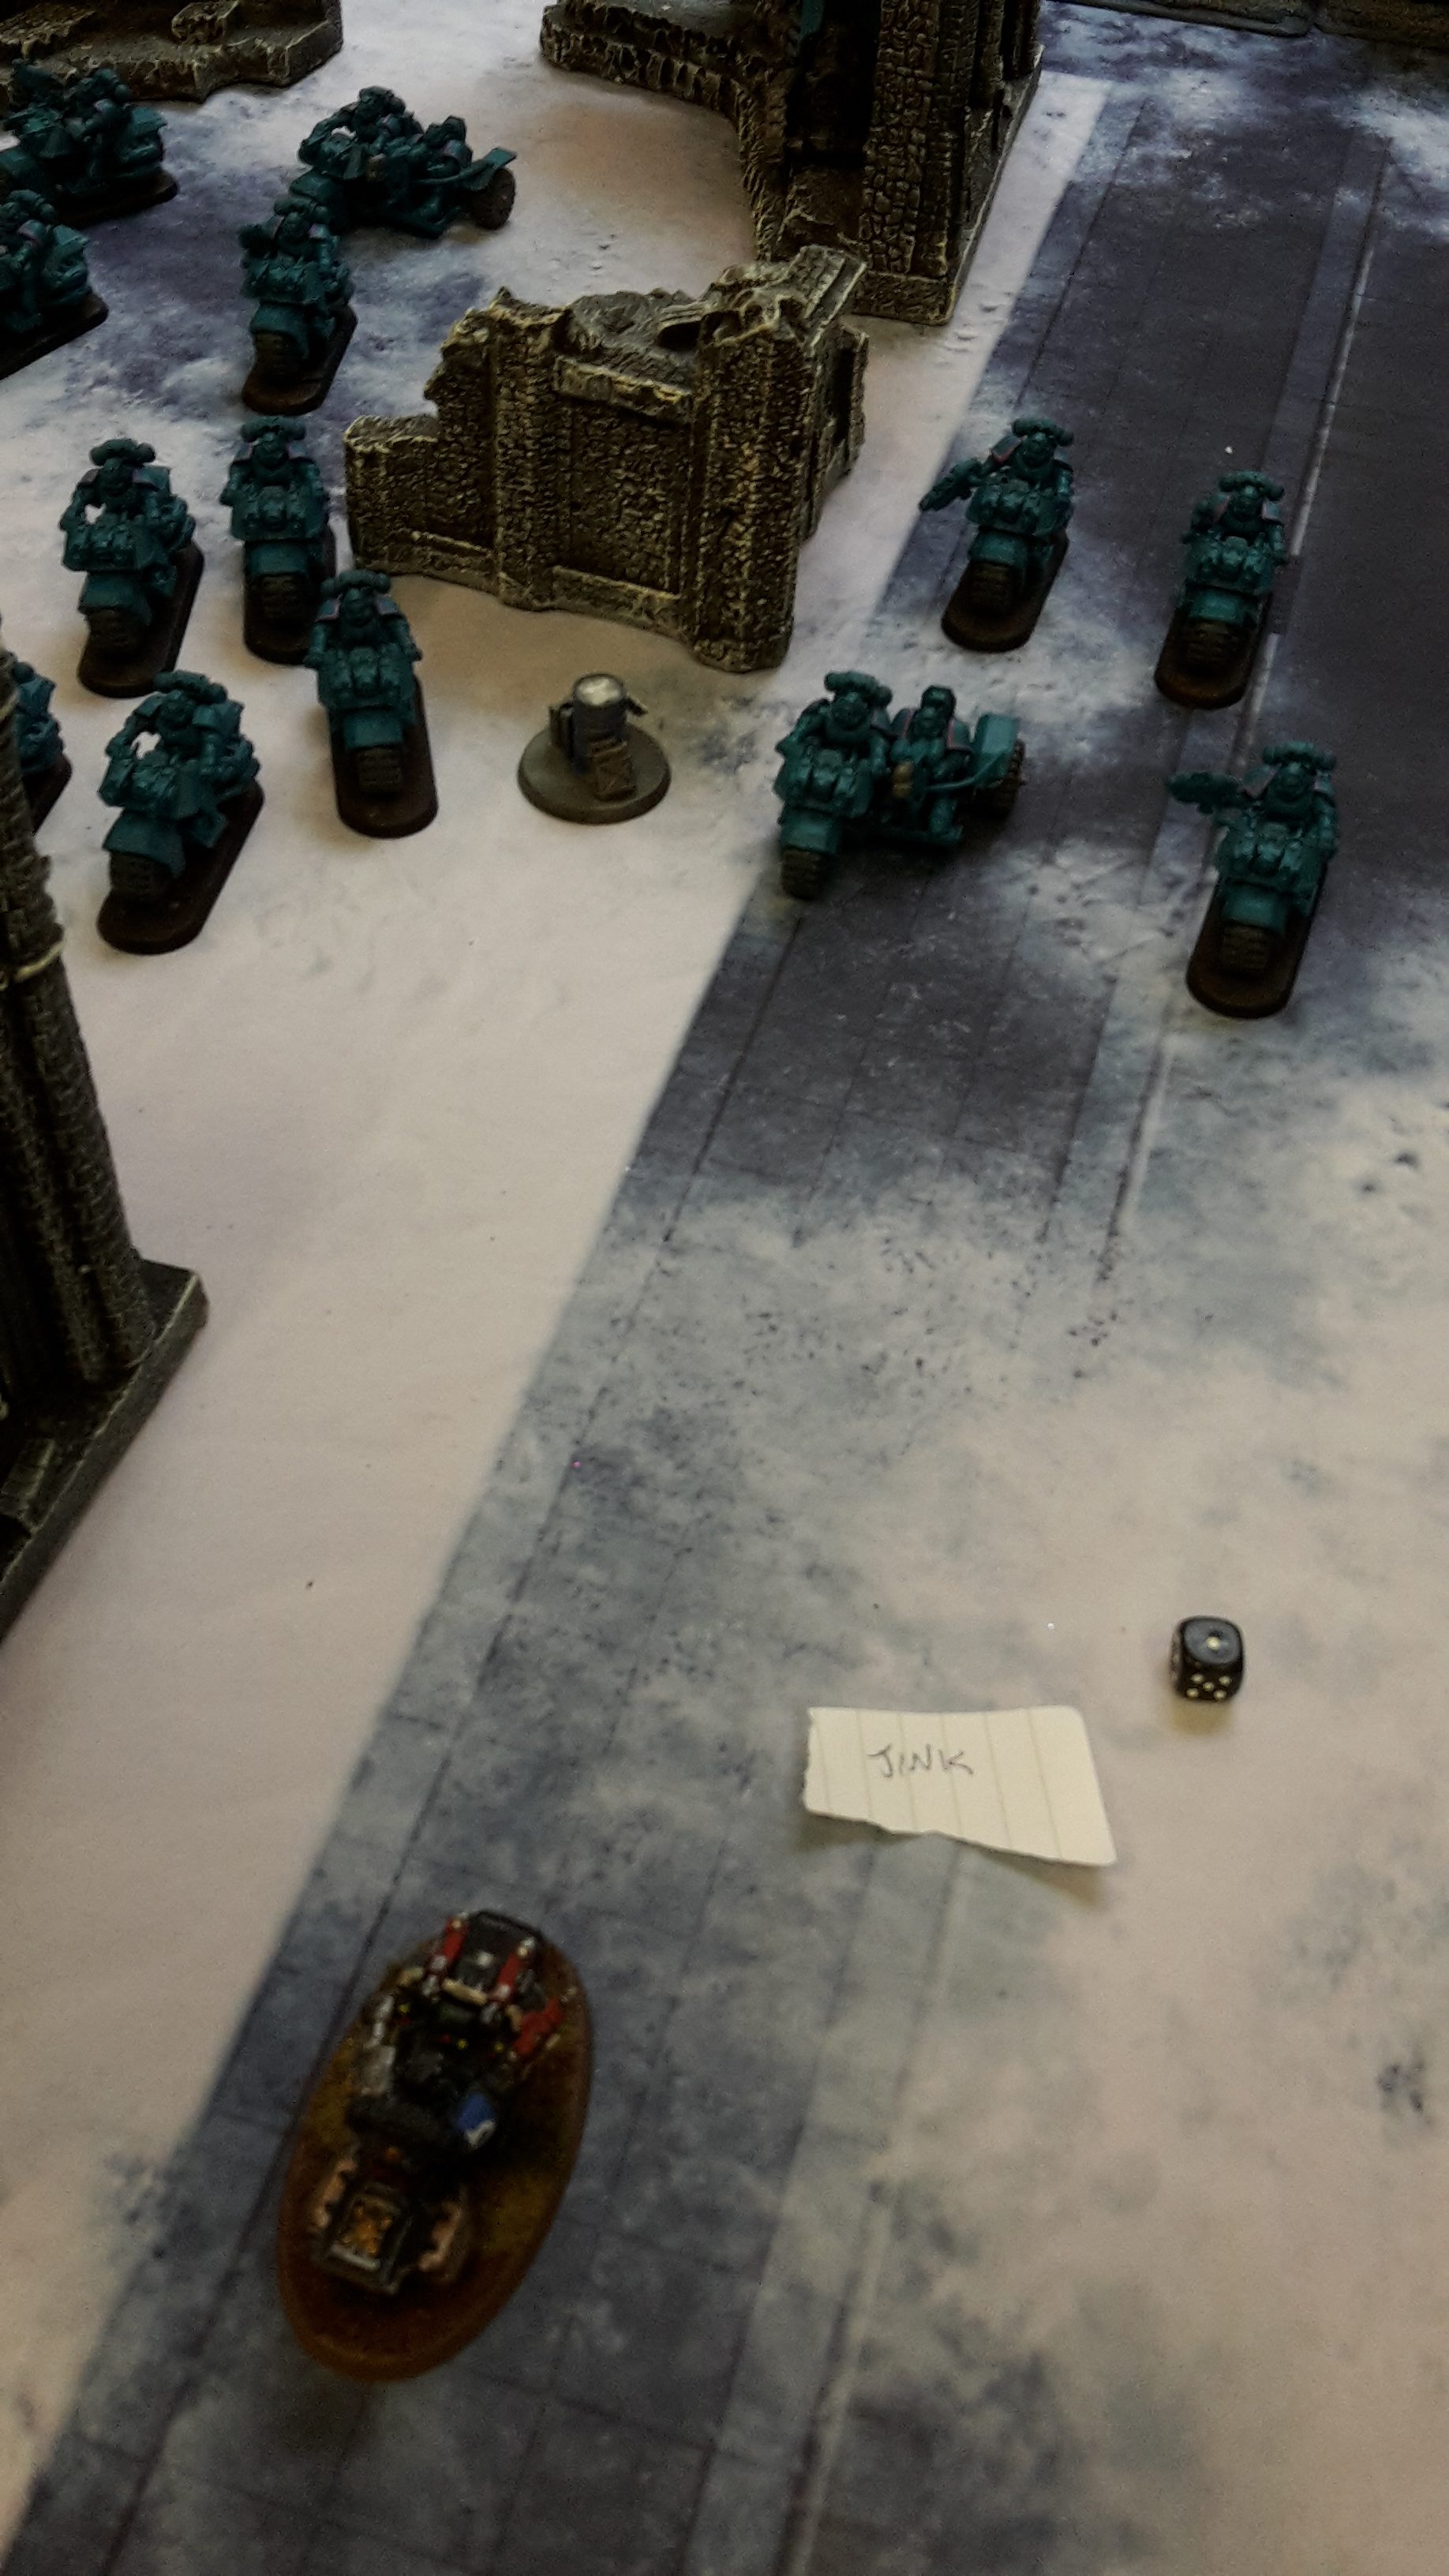
The lone Meltagun Biker that had fled from combat rallied and moved to engage the Drop Pod. The rest of the White Scars on the left flank advanced on the Deathwatch Bikers and lone Veteran. On the right flank, the Bikers advanced on the Deathwatch in the woods.
The Bikers opened fire on the last Frag Cannon-carrying Veteran, shredding him with their massed Bolter fire. The nearby Bike squad targeted the Drop Pod with a Krak grenade, but failed to harm it.
The lone Meltagun Biker snap fired at the Drop Pod in the White Scars deployment zone, but failed to hit.
On the right flank, the Bikers fired at the Veterans in the woods. Their Bolters struck, wounding the squad three times and I failed two of my saves! The Thunderfire Cannon targeted the unit, wounding them twice and killing another one of the squad. The Attack Bike snap fired at the Drop Pod, but failed to hit.
The front Biker unit snap fired at the Stalker Marines, but failed to do any harm to the unit.
In the assault phase, the White Scars launched three assaults on the three Drop Pods, but neither unit was able to harm the enemy vehicles with their grenade attacks.
The Bikers assaulted the Veterans in the woods. Their hammer of wrath attacks proved sufficient to overcome the unit and the Bikers consolidated forward.
At the end of his turn, Robert scored no points.
TURN 3- DEATHWATCH
This turn, I drew Objective 4, Objective 5 and No Prisoners (kill an enemy unit).
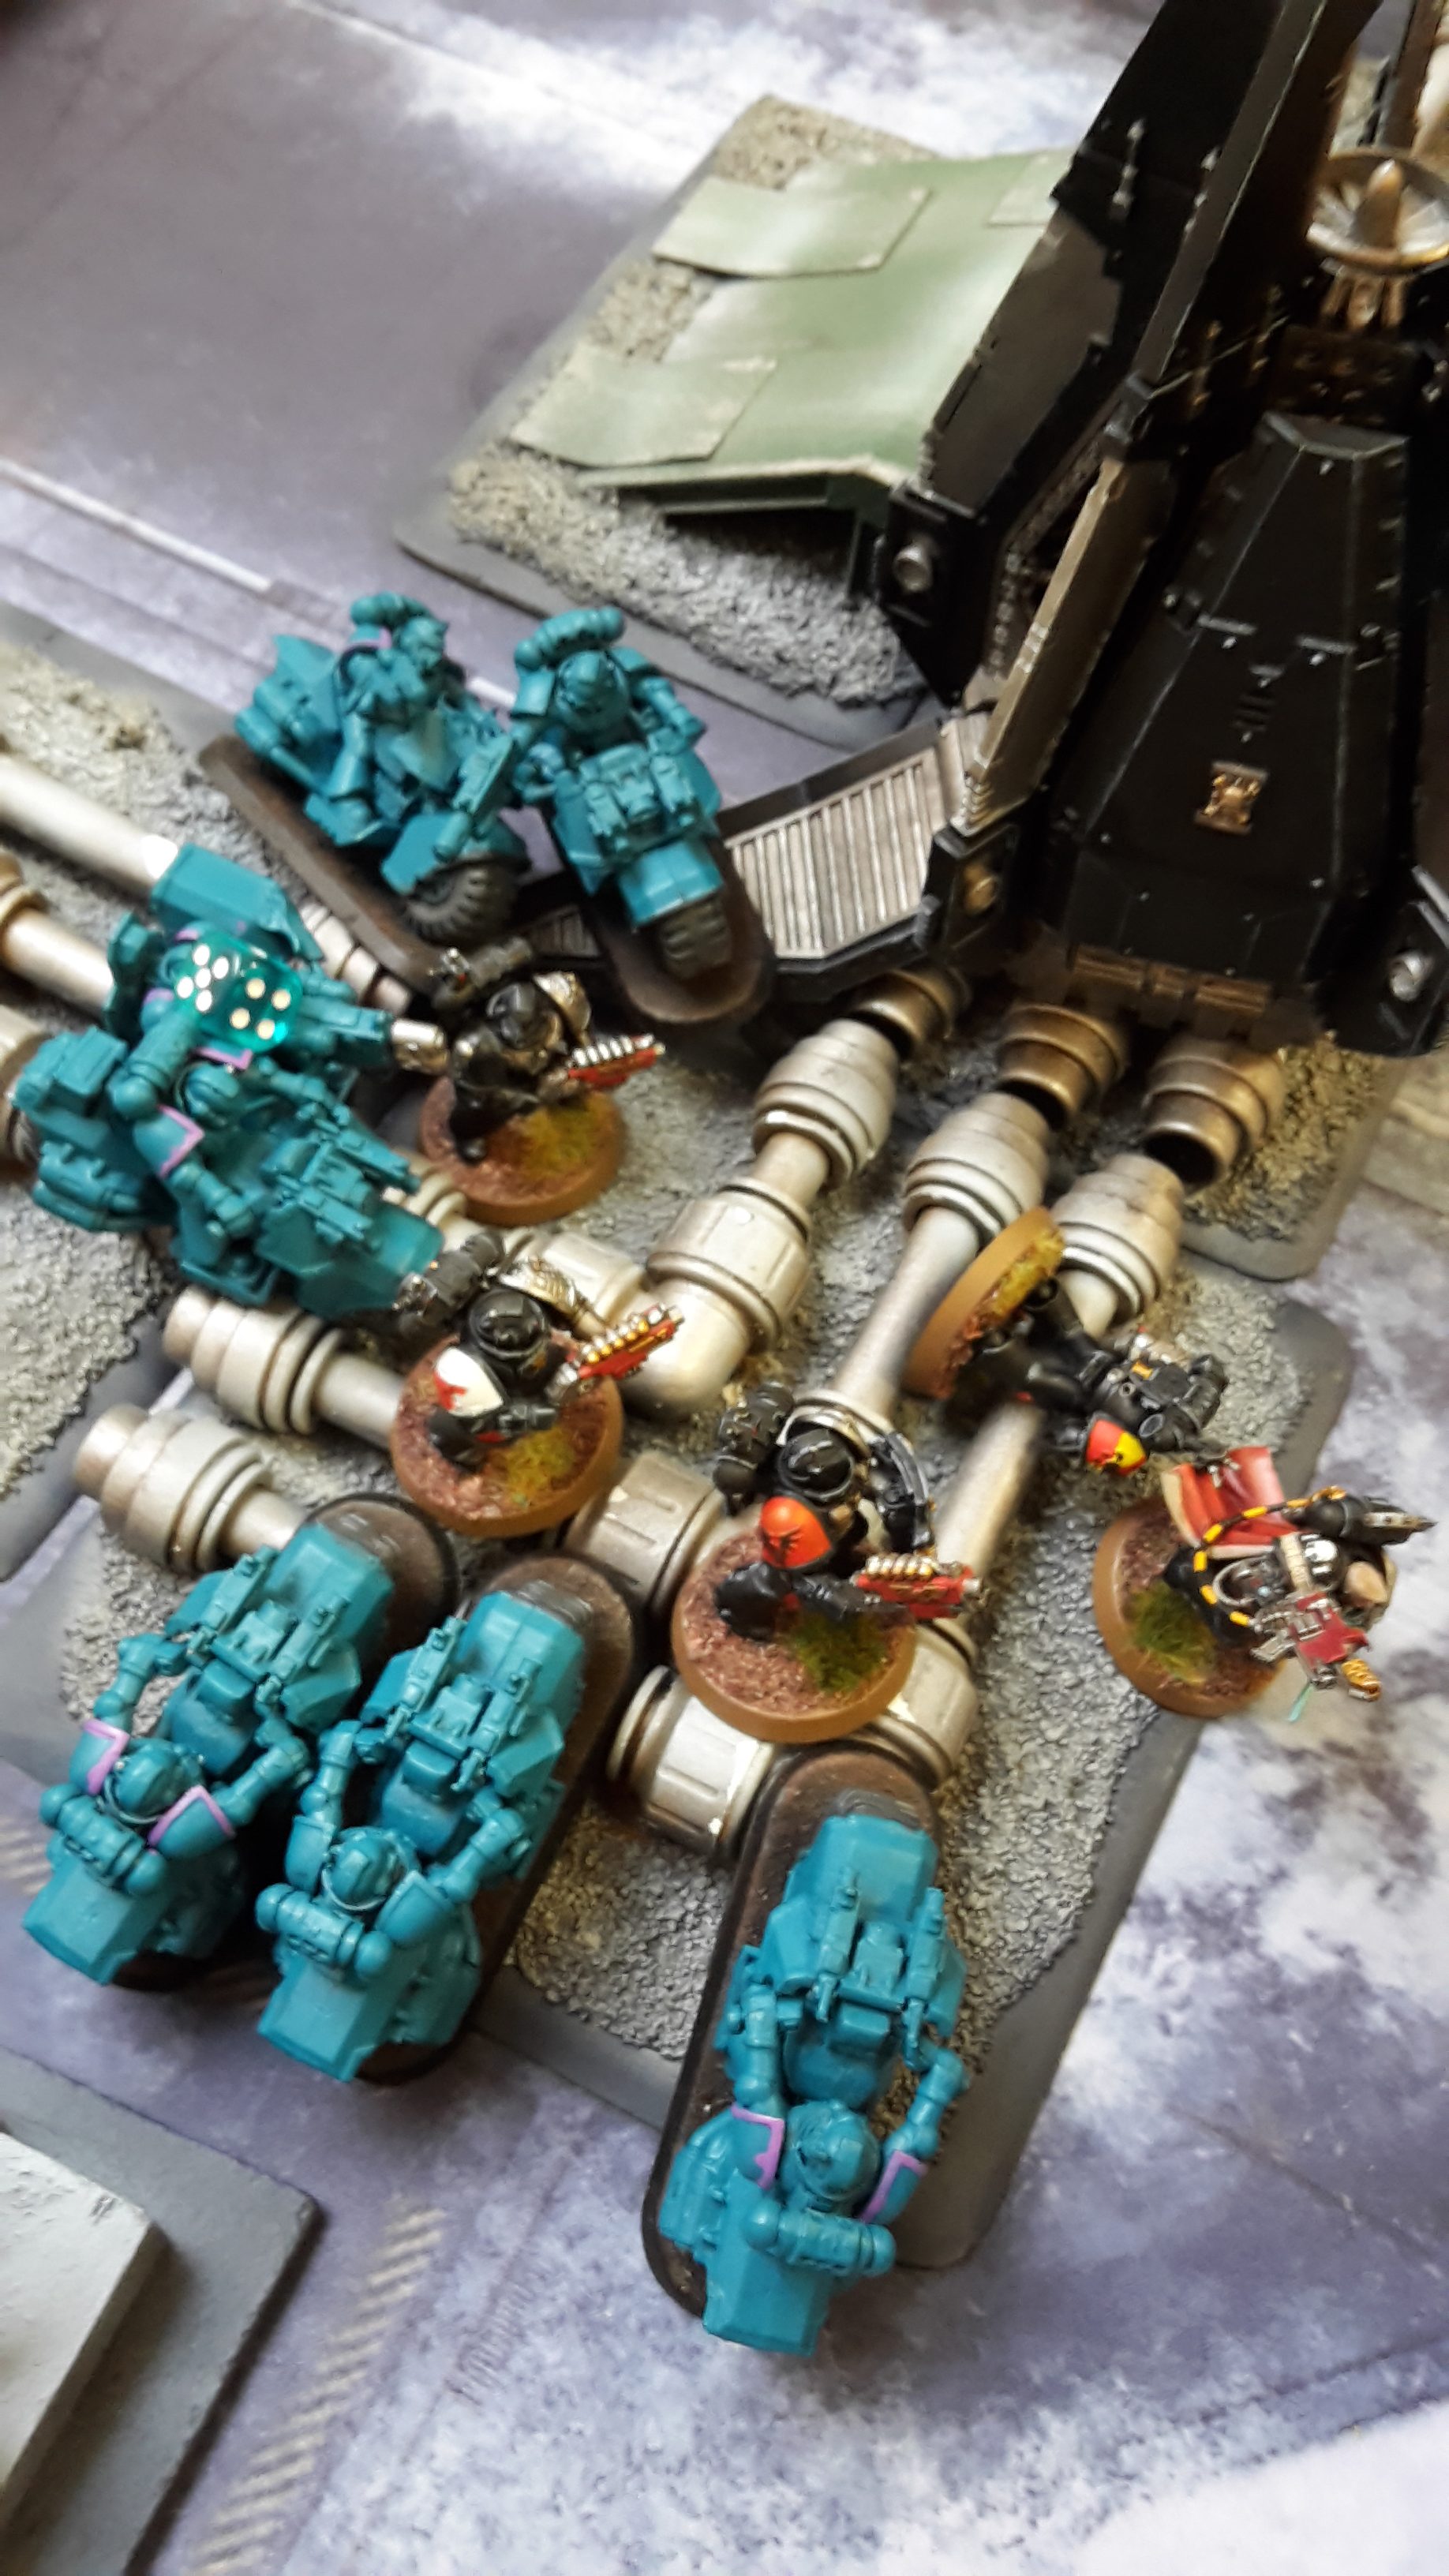
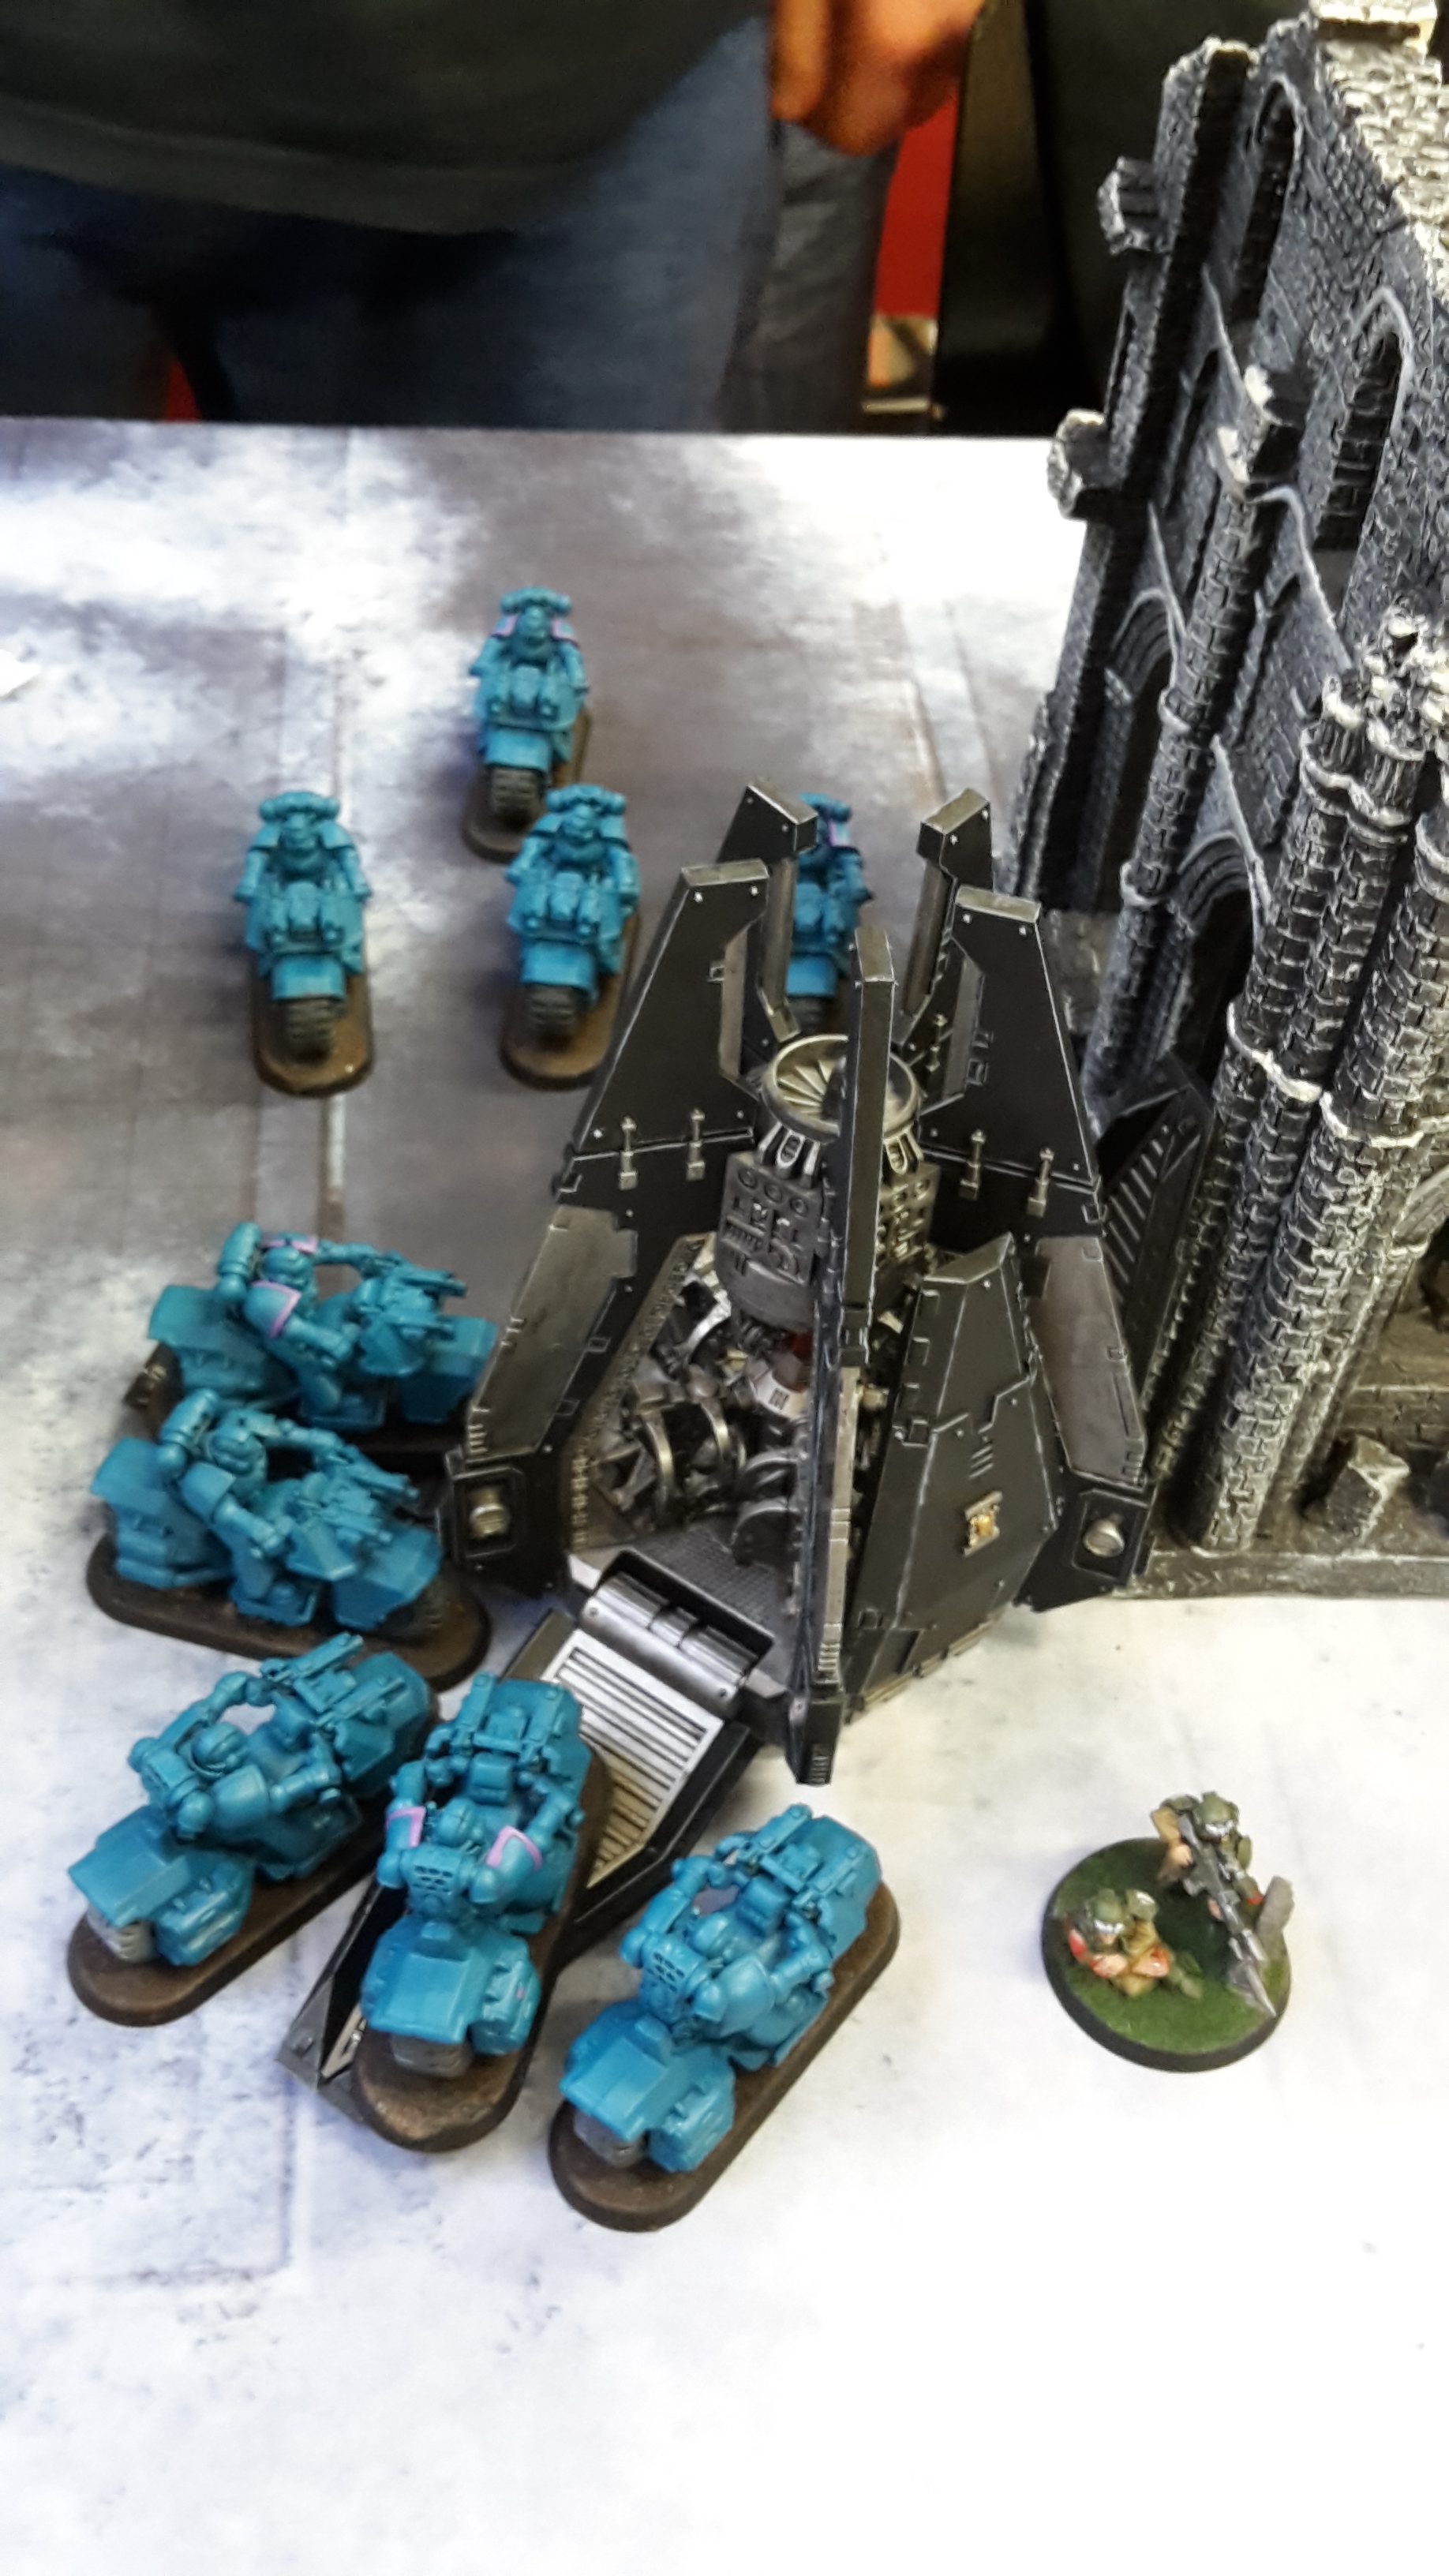
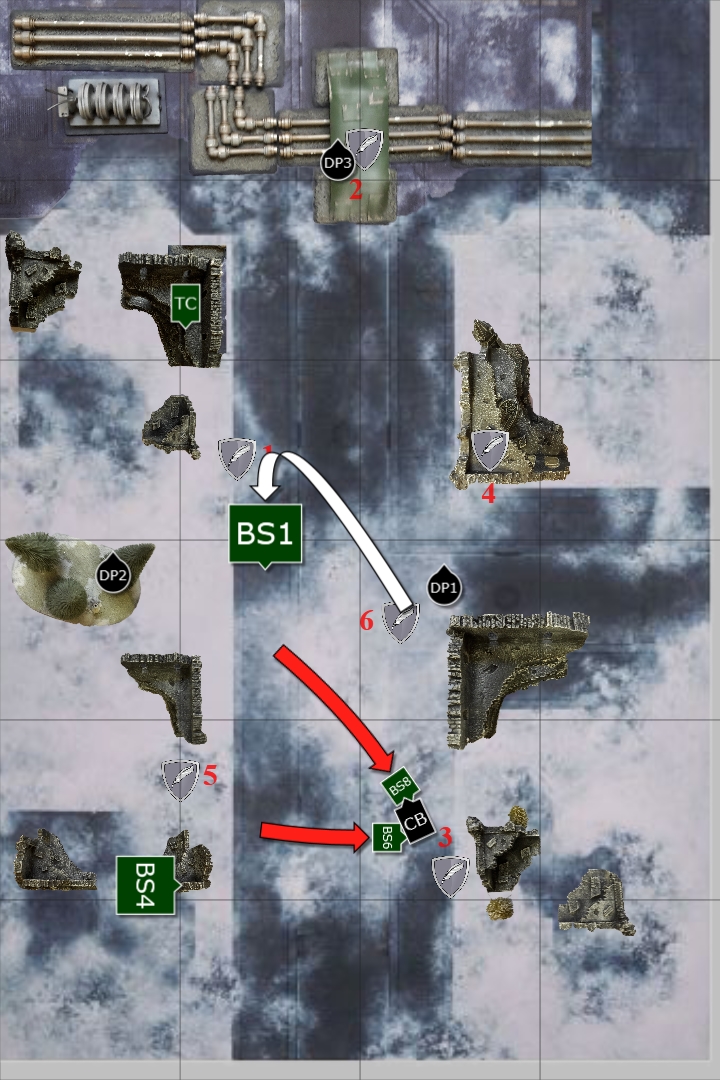
The Corvus Blackstar arrived, moving on to target the Bikers on the Deathwatch left flank. Artemis led his squad towards the lone Biker, while the Deathwatch Bikers moved to target their White Scars counterparts.
The Shotgun Veterans opened fire on the lone White Scars Biker, killing him. The Stalker Veterans fired at the two Bikers in front of them, killing one of the squad. The Corvus Blackstar opened fire on the Attack Bike. The Assault Cannon struck the Bike, wounding it once. I then fired three Missiles, hitting with two of them, but failing to wound with both despite only needing a 2+. My Bikers fired at the White Scars Bikers, but failed to hit.
The Deathwatch Bikers then launched an assault. The White Scars fired their overwatch, hitting with 5 of their 8 shots and wounding twice. I failed a save and one Biker died. Things got worse for the lone Deathwatch Biker as I rolled a double 1 and failed the 4″ charge!
At the end of my turn, I scored No Prisoners and Objective 5. I discarded Objective 4, figuring the lone Biker would not survive the following turn to claim it.
VICTORY POINTS:
- White Scars- 1
- Deathwatch- 7
At the end of turn 3, I was well ahead on points, but had very little left alive on the table. The White Scars meanwhile were still at high strength, but needed to start scoring points.
TURN 4- WHITE SCARS

On the right flank, the White Scars advanced on the Stalker Marines. On the left flank, one unit of Bikers moved to target the Deathwatch Biker, while the other unit advanced on the centre of the field.
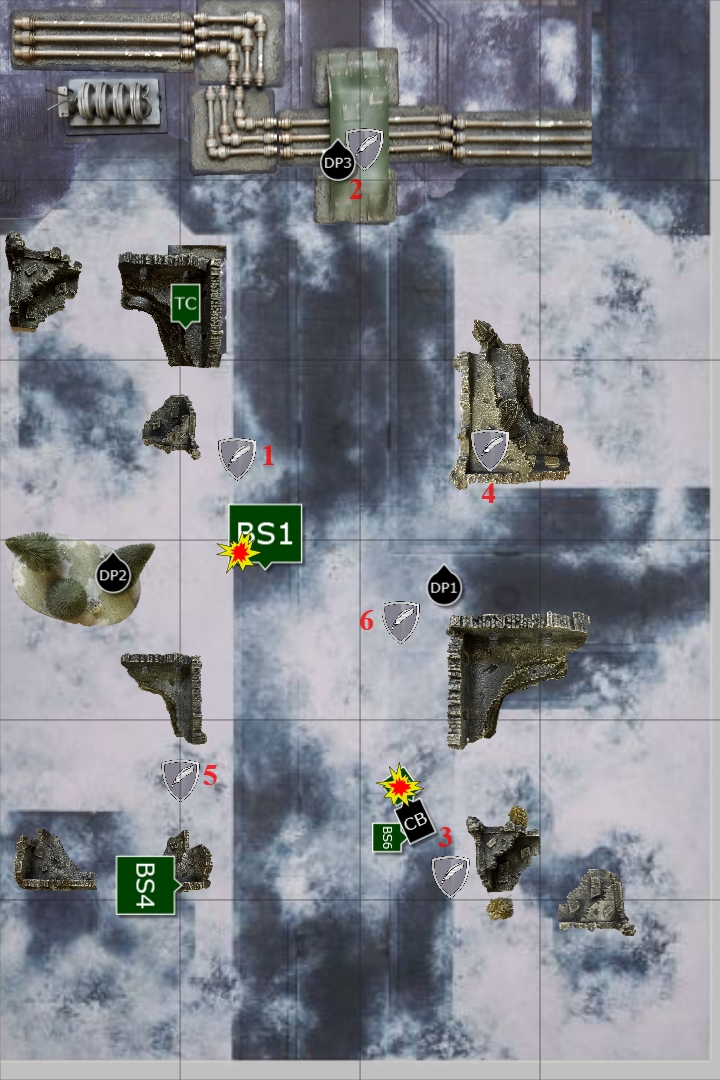
The Attack Bike snap fired at the Drop Pod, hitting the enemy vehicle and destroying it. The two Bike units in front of them fired at the Stalker Marines, wounding them six times with their combined firepower and slaying all three of the squad.
The other unit of Bikers snap fired at the lone Biker, wounding him twice and killing him.
The Thunderfire Cannon fired at Artemis’ squad. All four shots hit on target and devastated the unit, killing all the Veterans and bringing Artemis down to a single wound.
At the end of his turn, Robert scored No Prisoners and Objective 5, and chose to discard Objective 2.
That was a brutal turn for me, with a lot of failed 3+ armour saves resulting in the loss of three units and severely wounding my Warlord.
TURN 4- DEATHWATCH
This turn, I drew Blood and Guts (kill an enemy unit in the assault phase), Ascendency (control three objectives) and Objective 6.
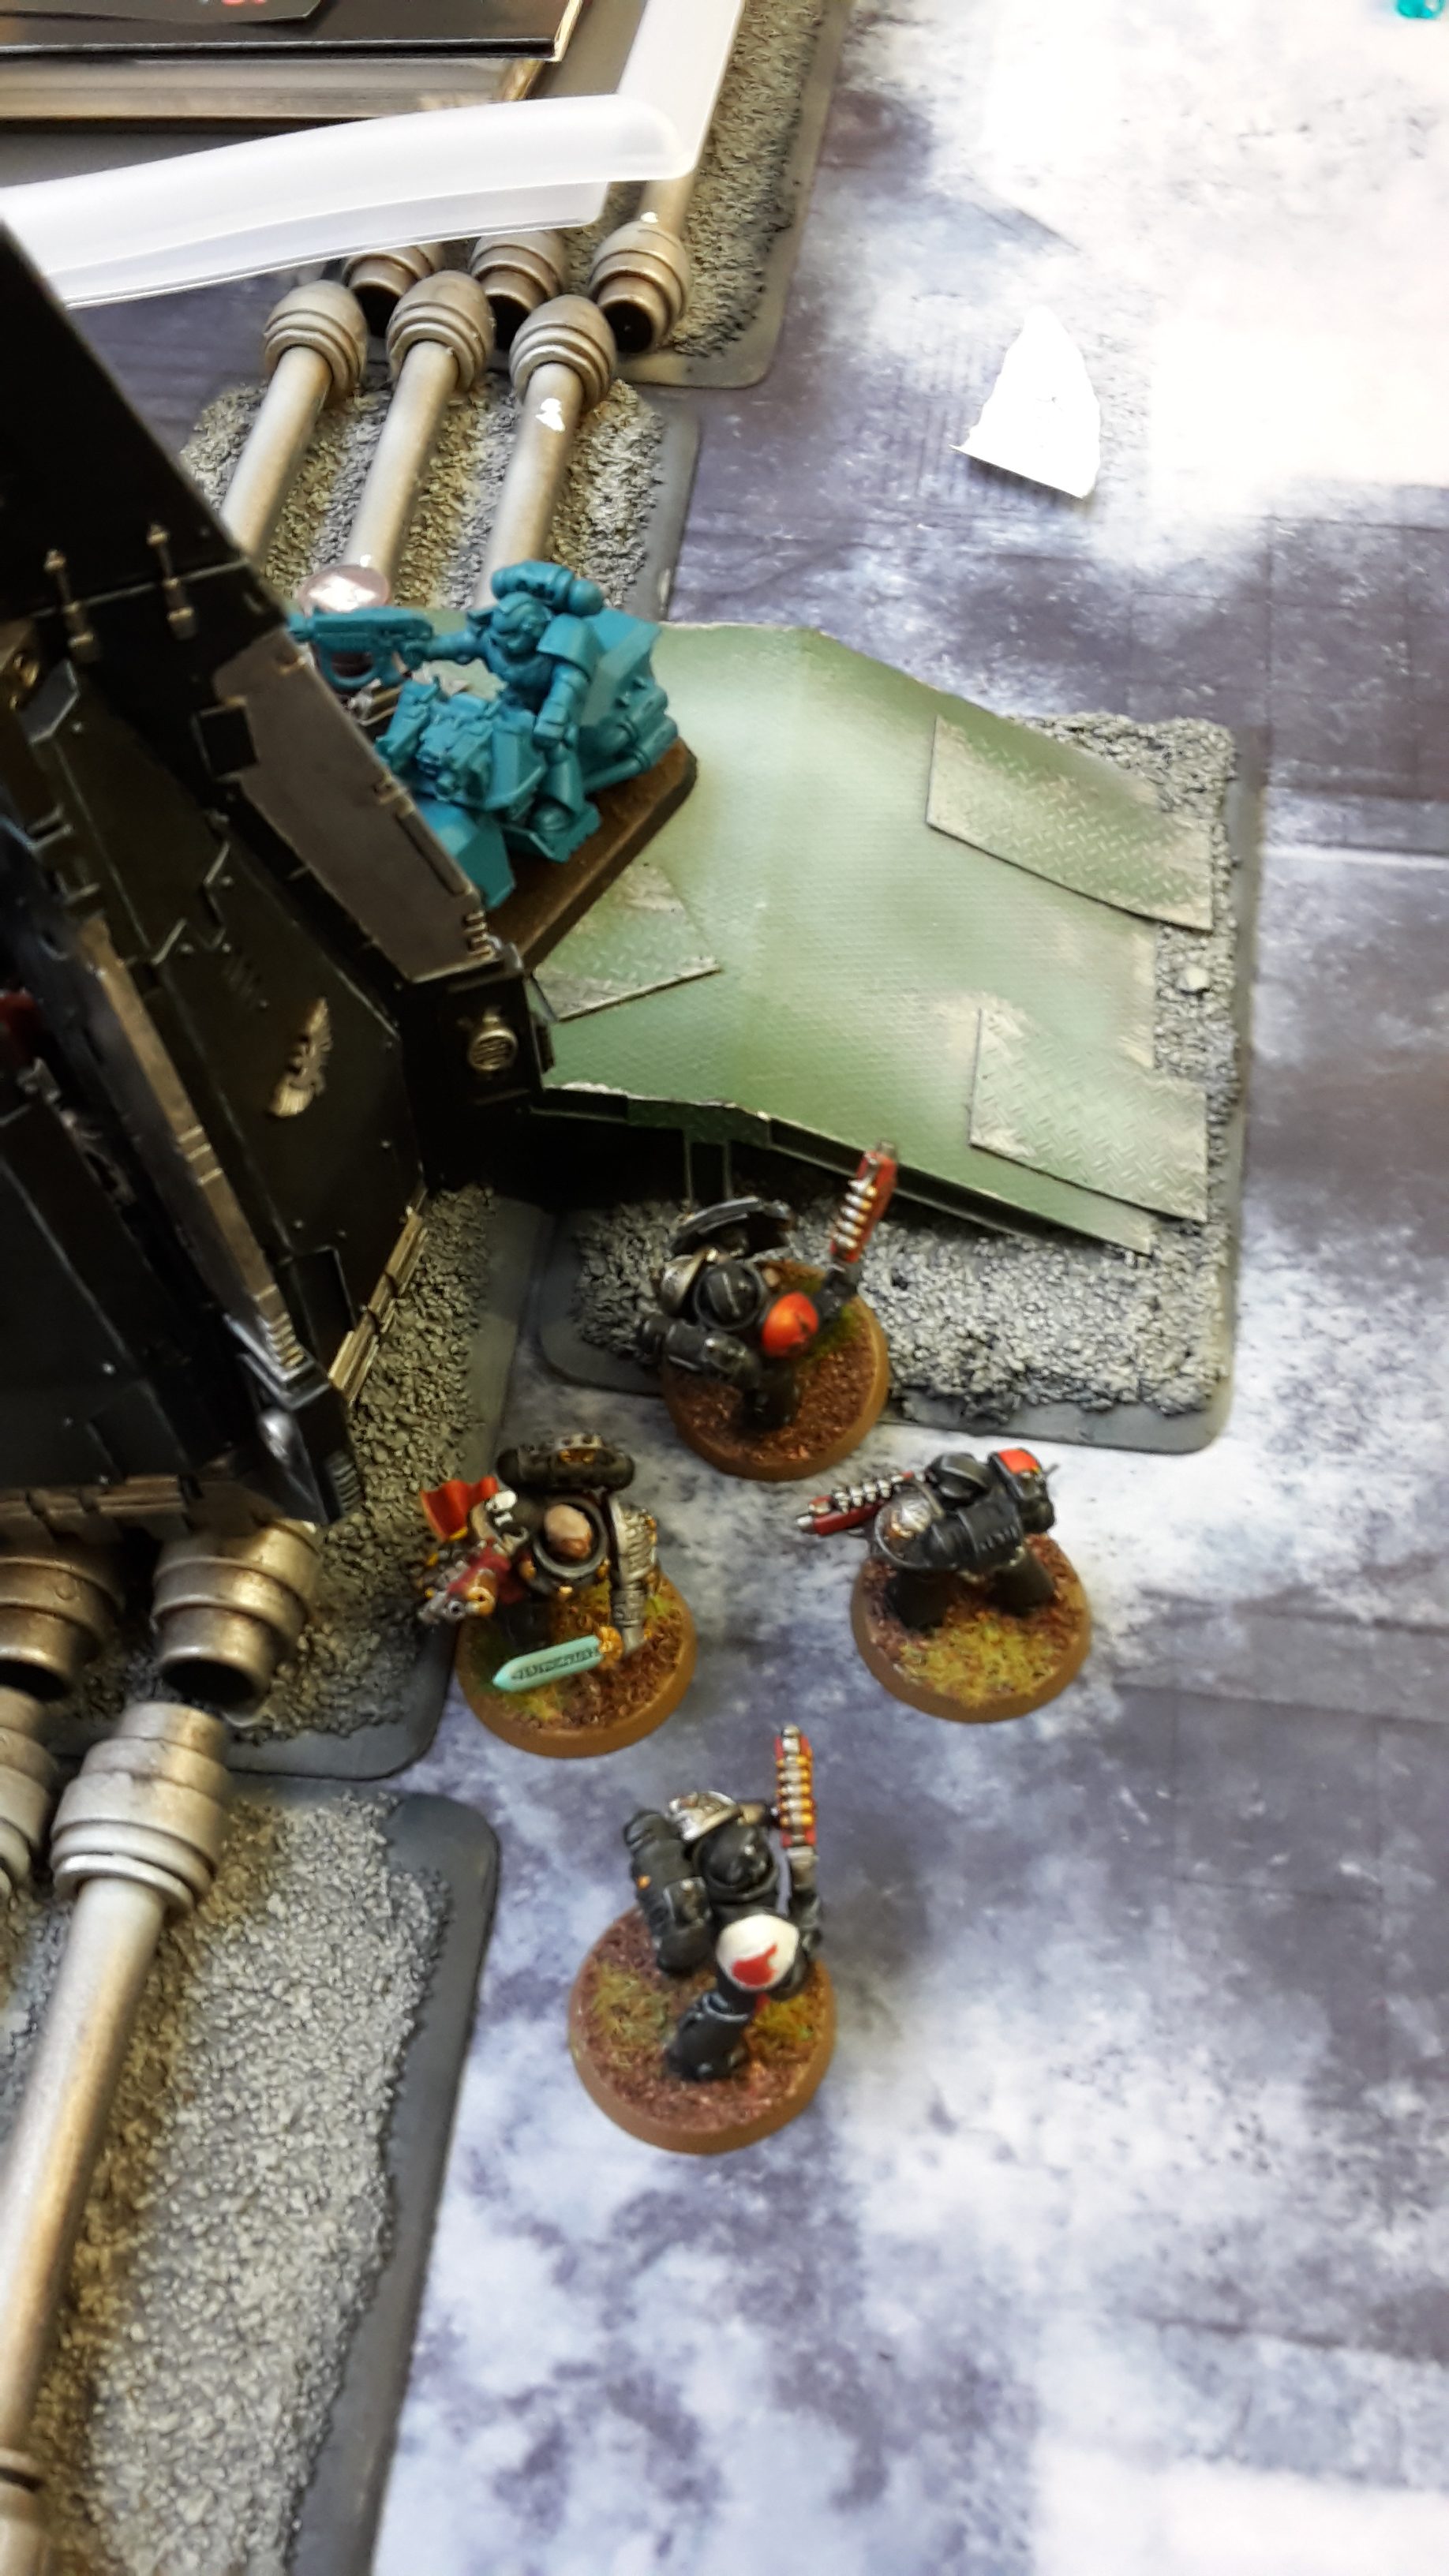
Artemis moved towards the Techmarine, hoping to kill the enemy gunner before he succumbed to his wounds. The Vanguard Veterans disembarked from the Corvus Blackstar and moved towards the Bikers in the central lane of the battlefield.
The Corvus Blackstar fired at the three White Scars Bikers in front of them, wounding them three times but felling none of the jinking Bikers. A Drop Pod fired at the Bikers, but failed to wound. The other Drop Pod fired at the Thunderfire Cannon, but could not damage it.
The Vanguard Veterans assaulted the White Scars Bikers. Once again, the White Scars’ overwatch fire was punishing. Robert hit with 5 of his 10 shots, wounding four times and killing two of the Vanguard Veterans! The Vanguards’ Hammer of Wrath attacks killed one, the Veteran with the Lightning Claws killing another. The White Scars struck back, but failed to cause any harm. Fortunately for me, the Veteran with the Heavy Thunder Hammer killed the rest of the squad and they consolidated besides the ruins.
Artemis charged the Techmarine. His flamer wounded once in overwatch, but failed to get past his armour. Artemis threw his Stasis Bomb at the Techmarine. The grenade hit, but failed to do any damage (after hitting, I rolled a 1 on the D table, to the delight of the players watching our game). The Techmarine struck at Artemis, slaying him with his servo-arm attacks.
At the end of my turn, I scored Ascendancy and Blood and Guts. Robert scored Slay the Warlord.
VICTORY POINTS:
- White Scars- 4
- Deathwatch- 9
TURN 5- WHITE SCARS
The Bikers on the left flank advanced on the Vanguard Veterans, while the rest of the Bikers continued to advance to the White Scars deployment zone. The Attack Bike and lone Grav Gun Biker moved to engage the hovering Corvus Blackstar.
The Bikers fired at the Vanguard Veterans, wounding them three times with their Bolters. My luck with saves continued and I failed two saves, losing the squad.
The Attack Bike fired at the Deathwatch flyer, penetrating it, but the jinking pilot saved the damage. The Grav Biker fired at the Corvus, scoring one wouind. I failed my jink roll and the flyer was immobilised. The Thunderfire Cannon opened fire on the Coruvs Blackstar, but the shot scattered off target, doing no damage.
The Biker attempted to assault the Corvus Blackstar, but failed to make the distance.
At the end of his turn, Robert scored no points.
TURN 5- DEATHWATCH
This turn, I drew Objective 3, Objective 6 and Assassinate.
With only three immobilised vehicles left on the table, there was little I could do this turn.
The Corvus Blackstar opened fire on the Attack Bike, but failed to harm the jinking Biker. The Drop Pod fired at the Attack Bike, wounding it twice, but failing to get past the Bike’s armour. The other Drop Pod fired at the Techmarine, wounding him once, but his 2+ armour save him from harm.
At the end of my turn, I scored Objective 3 and discarded Assassinate. We rolled to see if the game would continue and it did.
VICTORY POINTS:
- White Scars- 4
- Deathwatch- 10
TURN 6- WHITE SCARS
The Bikers continued to advance on the Corvus Blackstar. The Attack Bike snap fired at the grounded flyer, but failed to hit. The Grav Biker fired, hitting three times, but failing to damage it.
Both units then assaulted the flyer, but were unable to damage it with their grenade attacks.
At the end of his turn, Robert scored no points.
TURN 6- DEATHWATCH
This turn, I drew Overwhelming Firepower (kill an enemy unit in shooting phase) and Hungry for Glory (issue a challenge), to go with Objective 6.
The Corvus Blackstar fired at the Attack Bike and succeeded in killing it. A Drop Pod fired at another Biker unit, killing one of the squad.
At the end of my turn, I scored Overwhelming Firepower and Objective 6. We rolled to see if the game would continue to turn 7 and it did.
VICTORY POINTS:
- White Scars- 4
- Deathwatch- 12
TURN 7- WHITE SCARS

The Grav Biker fired at the Corvus Blackstar, hitting it three times, but rolling a triple 1 to wound! The Thunderfire Cannon targeted the immobilised flyer, but scattered off target once more and did no damage.
In the assault phase, the Biker assaulted once more, penetrating the Corvus Blackstar and forcing it to snap fire.

At the end of his turn, Robert scored Linebreaker.
TURN 7- DEATHWATCH
In my final turn, I drew Objective 4, Objective 6 and No Prisoners. I had actually depleted the maelstrom deck, so had to reshuffle it and draw new cards.
The Corvus Blackstar snap fired at the Bikers in front of it, but caused no damage. The Drop Pods fired at the Techmarine, but did no damage.
At the end of my turn, I scored Objective 6 and Linebreaker.
VICTORY POINTS:
- White Scars- 5
- Deathwatch- 14
A second win for the Deathwatch.
AFTER-BATTLE THOUGHTS
Mike:
Thanks to Robert for a fun and tactical game. It was a weird one where the luck swung wildly on both sides. Robert started off with some terrible luck with his saves, but it quickly switched to me in the final turns where I simply could not pass a save.
Overall, my plan seemed to work very well and I built up a solid lead in maelstrom points that Robert had trouble catching. Once again, cycling through the maelstrom cards as quickly as possible was a good tactic, allowing me to score points each turn rather than hope I would score in the subsequent turns.
I think taking out the Librarian and Command Squad on turn 1 with the Frag Cannon squad was a key point in the game. As I said in the intro, this squad had the potential to kill any unit in my army with its ignore cover Grav gun shots. I was actually quite lucky taking them out with the Frag Cannon shots, as Robert did have really poor saving throws for the unit. I’ve had games where my similar Command Squad has tanked the shots from almost an entire enemy army, so know how powerful they can be.
The other part of my plan was to target the special weapons units where possible to kill them off. After I had taken care of the Meltaguns, Grav Guns and Attack Bikes, Robert had a real problem taking out the Drop Pods. His only hope was in combat, but without any Meltabombs left, he was having to rely on rolling a 6 for his Krak grenades.
What was unusual was that he didn’t seem to need the special weapons to deal with the non-vehicle Deathwatch. His Bolter fire proved very effective at decimating my army. The overwatch fire was particularly brutal for the final turns, taking out half my squads on the charge!
There were some quite funny moments during the game. Artemis hitting with his Stasis Grenade, only to roll a 1 on the D table was very appropriate for my luck in the final turns. My cry of dismay at the roll was quite amusing to all the people watching our game and drew quite a few odd looks from the surrounding tables.
I think that having Khan in the army would have helped Robert in the game. Scouting with all his Bikers would have meant his Grav guns would have been in range on turn 1, or it would have forced me to deploy almost at my table edge.
Concentrating on taking out the Drop Pods would have also helped. He told me after the game that he kept drawing objectives that the Pods were sitting on. Taking them out would have helped him to score more points in the end.
Rob:
Wow, what a game indeed, it certainly felt a lot closer than the final score reflects. I have to agree with Michael as far as the command squad being killed off being a key point in the game, as they would’ve had quite the impact. On averages alone, some of them should’ve survived and my rolls were just not great. Those frag cannons are lethal though, no one should underestimate them no matter how durable one’s unit is!
Although, another key point was the maelstrom cards, as mine were just not in my favour. Especially after I lost a lot of special weapons that could’ve dealt with those blooming drop pods haha (a wise strategy on Michael’s part). Sadly, relying on krak grenades for the drop pods was not likely to bear any fruit, which is a choice I stand by. I do wish I managed to finish off that Corvus though, even if just for pride and a couple extra points at the end.
That instance with Artemis though was priceless, much like the command squad for me, it was a moment to shake your head, or in Michael’s case shout and laugh at the dice gods’ decision.
Overall, it was a fun game. I do wish I had Khan though and agree with Michael that he would’ve been a difference maker. Someone also suggested doing minimum sized units with special weapons, but I decided against this as I wanted as many Objective Secured units as possible, and it was a friendly tournament and I probably had too much grav only.
It was a fun game with many fun and funny moments and the secret nature of the mission making it very interesting. I hope we play again as I like a challenge and the deathwatch certainly brought it, with my only advice to Michael being to possibly bring more AP2 perhaps, though the list still offers a lot I can assure you, haha! Cheers matey!
Thanks to Rob for taking the time to write up his after battle thoughts for me.
So with two wins under my belt, things were looking good for the Deathwatch.
And as always, Frontline Gaming sells Games Workshop product at up to 25% off of retail, every day!
Frontline Gaming will buy your used models for cash or store credit!

