
Hi everyone, Michael here with a review of one of the Ravenwing formations, the Ravenwing Silence Squadron. For more reviews, analyses and battle reports, check out the Tactics Corner.
Overview:
The Ravenwing Silence Squadron is tasked with snatching the Dark Angels’ prey from the battlefield, ensuring that no enemy reinforcements can rescue them and none may survive to act as witnesses. The formation is designed to target and kill multi-wound models, ideally the enemy warlord. However, the rules granted by the formation make this a difficult task for the flyers to achieve.
Formation:
Special Rules:
- Capture Run- When making a Bombing Run with the Stasis Bomb from the Dark Talon, the bomb hits automatically (no need to roll for scatter). In addition, any models that suffer an unsaved wound from the Stasis Bomb must take an initiative test using two dice (taking the highest result). If they fail, the model is removed as a casualty. In addition, if the enemy Warlord is slain by the Capture Run, Slay the Warlord is worth an additional D3 Victory Points.
- Fighter Escort- When making reserve rolls, make a single roll for the whole formation, which you can choose to re-roll. If successful, all units from the formation arrive at once from reserve.

Tactics:
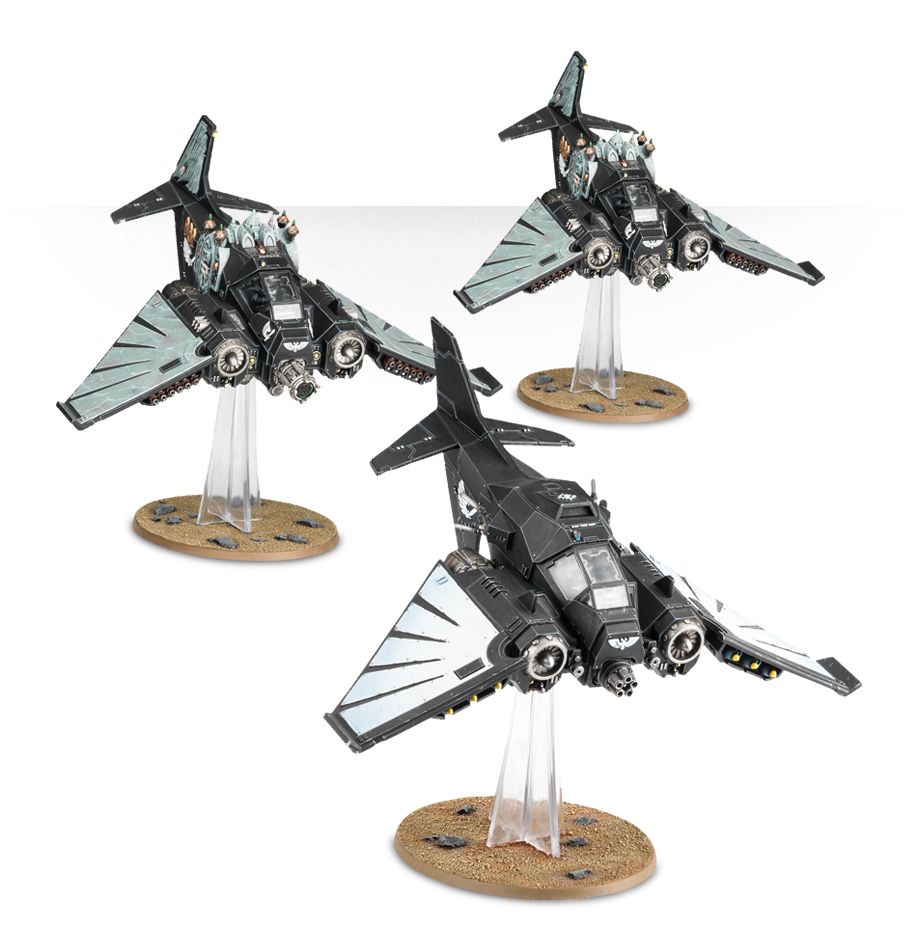
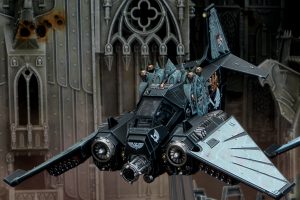
The Ravenwing Silence Squadron features three decent, but not spectacular flyers from the Ravenwing and comes in at a pricey 500 points.
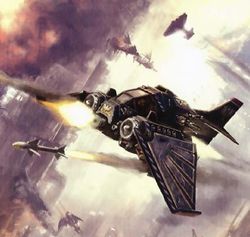
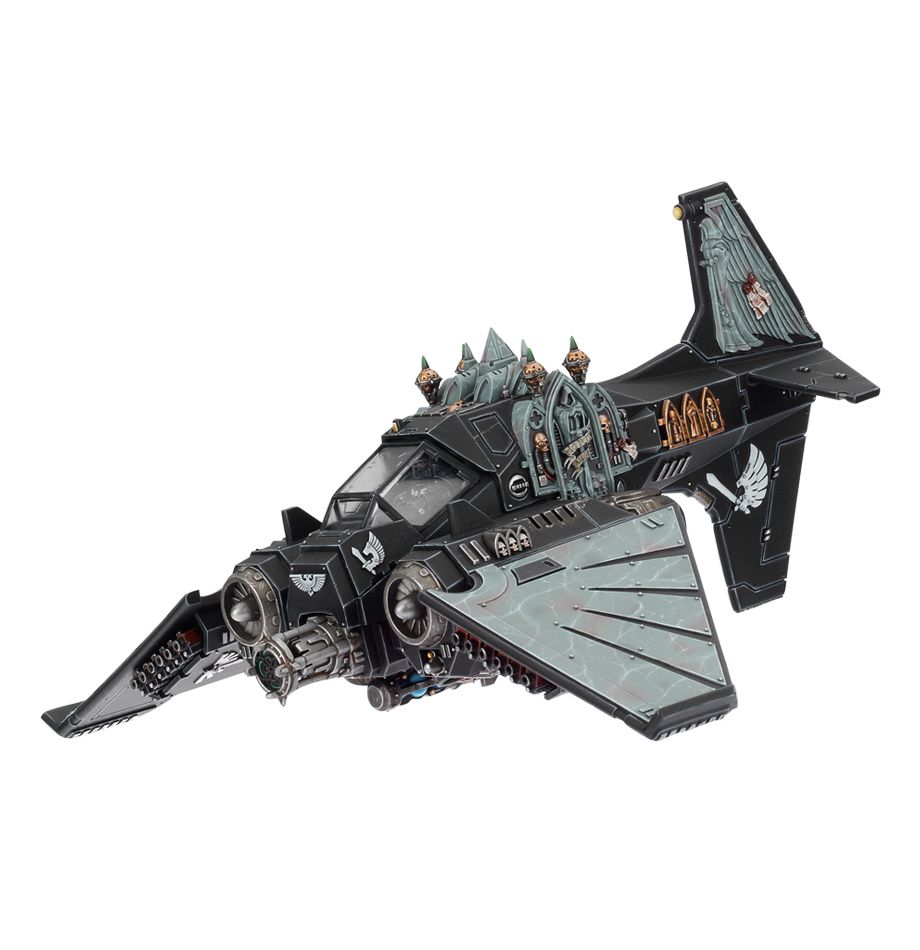
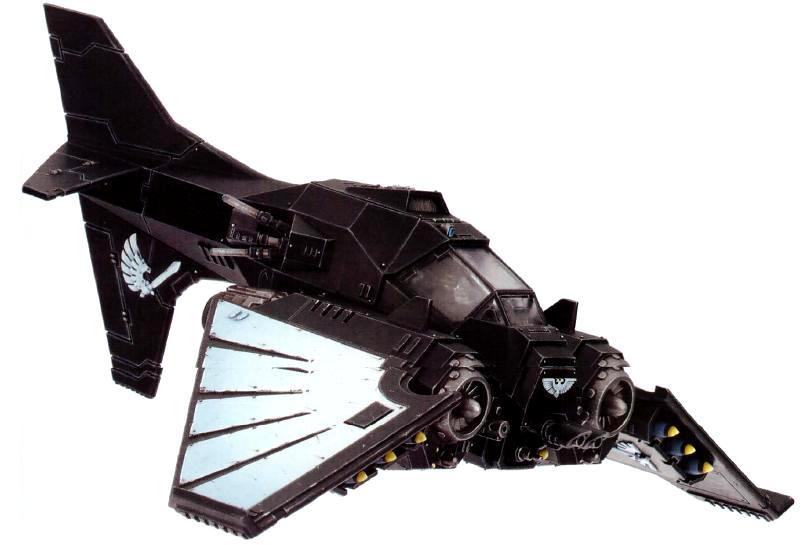
The Rift Cannon on the Dark Talon is a potent weapon. Its S10, AP2, small blast should worry most units in the game, and the Hurricane Bolters can be good for taking on infantry hordes or getting some chance wounds against MEQs. The two Nephilim Fighters can put out a decent amount of firepower with two Avenger Mega Bolters, or can swap them for Lascannons to pair with their Blacksword Missiles for vehicle or monstrous creature hunting.
Getting a re-roll on the reserves roll for the formation can be useful, allowing your three flyers to arrive as early as possible in the game. You could use the reserve re-roll to delay the flyers from arriving. Not something you probably want to do that often with such an expensive formation, but it can be useful if your opponent has some Interceptor firepower you would rather deal with first.
The Capture Run special rule is actually of pretty good benefit to the Dark Talon. No scatter on the bombing run means that you can ensure maximum number of hits when you place the blast, with no fear of your one use only weapon scattering off target. Forcing your opponent to roll two dice for the initiative test and choose the highest is also a nice bonus. Given that a hit from the Bomb provides -3WS and -3I to the enemy unit, you are almost guaranteeing that they will fail the initiative test for almost every unit in the game.
However, as the bomb is only S4, AP5, you are going to struggle to damage a lot of the prime targets for the bomb. The chances of killing the enemy warlord with such a paltry weapon is also very slim.
The best target for the bomb would be multi-wound creatures with low toughness, poorer save and lower initiative. Units such as Wraiths, Grotesques and Tyranid Creatures would be strong targets for the bombing run. You could also go after units such as Riptides or Crisis Suits, hoping to get lucky with the wound roll and hope your opponent has a poor armour save. It is highly unlikely, but the look on your opponent’s face when your bomb takes out a Riptide or Stormsurge would be well worth it!
Overall, it is hard to recommend the Ravenwing Silence Squadron, given the meagre bonuses that the formation provides. If you are set on taking three of the Ravenwing flyers, you would most likely be better served using the formations and bonuses provided by the Death From the Skies supplement.
And as always, Frontline Gaming sells Games Workshop product at up to 25% off of retail, every day!
Frontline Gaming will buy your used models for cash or store credit!

