

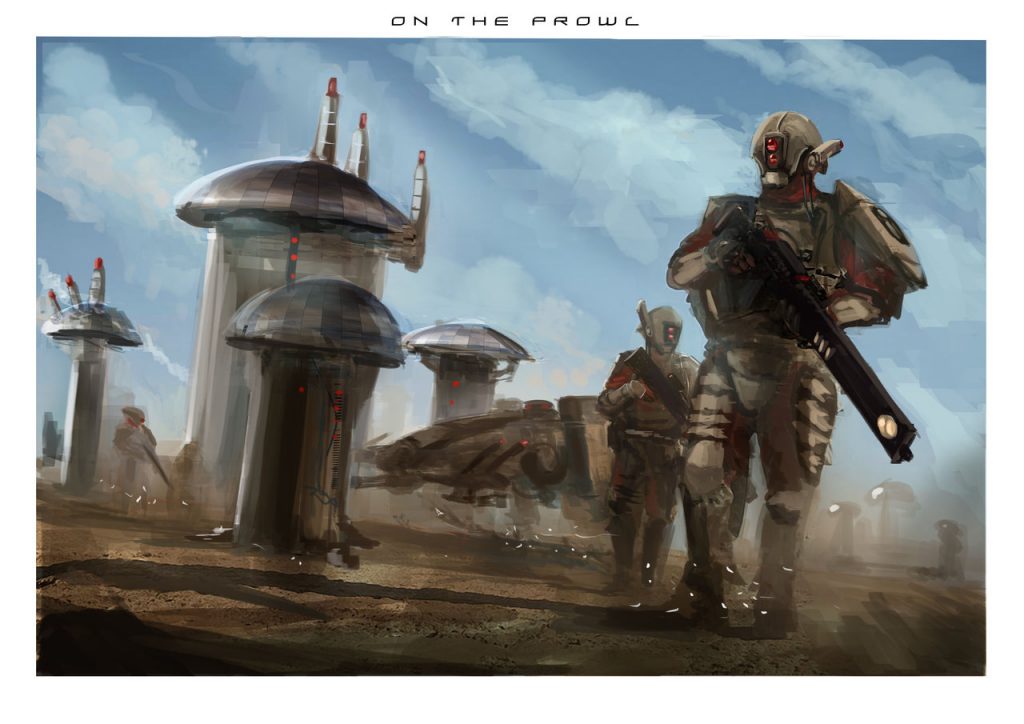
The formation that’s hardly even a formation at all, the Hunter Cadre. Not to be confused with any other sort of Cadre, Contingent, or Continent.
Overview
A Hunter Cadre is the core formation available to a Hunter Contingent as well as one of the options for a Dawn Blade Cadre. Since it is a core formation in these detachments, you will rarely see it taken on its own- though doing so is technically legal, for those that wish to do so. The Hunter Cadre is unique compared to other core formations around in that it is incredibly flexible in its unit selections- most of the choices from the Tau codex are available as part of it, although not quite all of them. As such, it can be run a lot of very different ways and functionally shares more in common with a Combined Arms detachment than most other formations.
Roughly speaking, the Cadre consists of a Commander for a mandatory HQ, 3-6 units of troops of your choice, and 1-3 units each chosen from the Elites, Fast Attack, and Heavy Support sections of the codex. This isn’t entirely accurate, but it’s close enough for most purposes.
Special Rules and Unit Options
In addition to the detachment benefits gained from its “parent” detachment (either the Dawn Blade or Hunter Contingent), a Hunter Cadre has several interesting abilities that it grants to its units. While they are not exceptionally strong compared to most other formations, the ability to stack them up with other benefits gives them some good potential. Unbreakable Bonds of Fellowship extends the range of Supporting Fire to 12″ when used to benefit other models in the formation- while it may not seem like a big increase, 12″ is actually a pretty large range and should mean that most of your army can coordinate shots against incoming attackers. Make sure you have some Markerlights in the formation to really get the best advantage of this- a couple of marker tokens can really turn overwatch into a nightmare for the opponent. The other ability, Ambushes and Feints, is easily the stronger of the two; it lets you pretend to play Eldar by giving all of your units the Run (or move Flat Out) before shooting during the shooting phase. This is useful both for mobile units to keep them getting towards where they need to be as well as to static units to give them a limited capability to reposition themselves without losing firepower. The fact that vehicles can Flat Out and shoot is quite excellent and something almost no other army can manage. However, there is one caveat on Ambushes and Feints- it only works if you start the shooting phase within 12″ of an HQ from the formation, so you’re a bit reliant on that bubble.
Uses
So, given that the Hunter Cadre is so flexible in its composition, what do you do with it? Well, let’s go through and talk about its components piece-by-piece to get a better idea what it can do. Remember, you need 3-6 “troops” and 1-3 of each of the other slot equivalents (EL, FA, HS) when constructing the Cadre.
All Hunter Cadres start with a Commander, who has access to all of the usual options. Since the Commander is easily one of the best HQ choices in the codex this is hardly any kind of disadvantage, although the high price tag (150+ pts) can sometimes be an issue. Since Commanders almost always want a unit to hang out with, gear yours accordingly- typically a squad of Crisis or Drones will do the job, but occasionally other units can be useful as well (Broadsides, Stealth suits, etc.) As the center of your bubble for Ambushes and Feints the Commander can be quite important to the list, so make sure they are properly protected; Iridium Armor is great for this, but in more casual lists the Coldstar battlesuit can also be very useful, since it lets you reposition very quickly and flexibly. Note that unlike some other formations, you do not have the ability to replace the Commander with a named version; you have to take a Command choice if you want access to either Farsight or Shadowsun.
Along with the Commander you also have the option to take a Cadre Fireblade, who can provide an additional 12″ bubble for Ambushes and Feints. The Fireblade isn’t often seen as a top-quality HQ, but it can have a surprising number of uses- naturally they function best alongside a Strike Squad with Pulse Rifles, but don’t underestimate them when used with Sniper Drone Teams, either; that’s potentially six BS5 Markerlight shots per turn.
For the “Elite” choices, Crisis suits are a solid go-to unit. They do a lot of jobs quite well and can take good advantage of all of the abilities available to both the Hunter Cadre and its parent detachments. (You also have the option to take 0-1 Crisis Bodyguards as an additional choice, but I have no idea why you’d want to.) Crisis can fill your minimum requirement cheaply or can be expanded out to be real beaters. Any of the loadouts have value in the army, although ones that rely on standard to-hit rolls (rather than blasts/templates) tend to have more value in such armies. Ghostkeels and Stealth Suits are both available in this slot as well, but since the excellent Optimized Stealth Cadre is an auxiliary choice, I think few people will go that route. Riptides, which are somewhat tougher to fit in (since their other formations are a bit more awkward) are much more likely to be taken.
For the “Troop” slots, any of the normal Tau troops can be taken (but not Crisis suits, even if you are a Farsight version.) Kroot are always a solid choice for any Tau army- though fragile, they give excellent deployment options and their Sniper weapons really like being able to shuffle around with Ambushes and Feints. While they can’t make use of Unbreakable Bonds themselves, other Tau units will be able to do so, allowing you to establish a much better “forward wall” with them. Strike Squads tend to be about the same as ever; if you’re bringing along a Cadre Fireblade to give you more bubble space, you almost certainly want to give him a Strike Squad to hang out with. A trio of them is also the cheapest you can get for this slot, though it seems a bit wasteful to go that route. Breachers deserve some note as benefiting particularly from the formation- not only do they love the extra Run move from Ambushes and Feints in order to get into perfect range for their guns, the Devilfish they inevitably ride in does as well, since it lets you get them forward quicker without giving up all firepower.
The FA slots are in some ways the weakest option, since they have a number of the Tau’s most lackluster units there. However, it also has some truly excellent ones, so it’s not as though you can’t make good use of what’s available. Piranhas are one of the all-stars; equipped with a Fusion Blaster, they can potentially move 30″ in a single turn to blast a tank from out of nowhere and can very easily catch an unwary player off guard. Beyond that, their ability to count as two units for a Combined Fire attack (one for them, one for their Drones) is incredibly useful. Drones are also a common choice, since they can play tagalong with a Commander if no other units are available for that duty. Pathfinders, though not exceptional, can be a little bit more useful with Ambushes and Feints to help them maintain a safe position. Vespid, sadly, benefit little from the formation and thus remain a fairly underwhelming unit in almost all senses.
The “HS” slots are slightly unusual compared to the others in that they include one unit that is not actually a Heavy Support- namely, the KV128 Stormsurge. The Stormsurge can make little use of the formation’s abilities (as it can’t overwatch and can’t run while its anchors are down), it’s still an impressive unit in its own right and can add a lot of punch to the army. Broadsides are as excellent as always, providing a ton of firepower for a pretty low cost; they really like being able to Run and still shoot, since it gives them mobility they otherwise lack. Sniper Drone Teams come in as a surprising inclusion, providing not only some decent firepower but also one of the better ways for the formation to access Markerlights. Lastly, the Hammerhead is a unit I don’t often lean towards due to the Riptide doing a very similar job with better survivability, but the ability to move 6″, Flat Out 6″, and then fire the main cannon can make for a surprisingly-dangerous firepower platform for a lot cheaper than the cost of a battlesuit, so it’s worth keeping in mind.
So. Put all of that together, and what do you get? I think there are two basic ways to construct a Hunter Cadre- mechanized or foot. Foot versions will probably focus more on Unbreakable Bonds, since they will naturally have more units that can take advantage of it (as they aren’t buying many/any vehicles.) Mechanized versions will be more interested in Feints and Ambushes, since it lets them continue moving while firing to full effect (as well as getting their Breacher Teams into position in a pinch.) Both versions need to look very carefully at their parent detachment when building to make sure they are able to do everything they need- a Hunter Contingent won’t need as many Markerlights as a Dawn Blade will, but it will need significantly more anti-tank.
Final Thoughts
The Hunter Cadre isn’t a particularly strong formation, even with all of its bonuses working full strength- you’re unlikely to ever see one up at the top tables of anything but the smallest tournaments. While there was a lot of panic about Combined Fire when it was first released, I think most people severely overestimated how effective it would be; regardless, the ITC (and later GW) FAQs put all of that to rest pretty firmly. However, if you’re looking for a slightly-unusual sort of Tau army to bring to the table, especially one that can pull some interesting shenanigans and make a lot better use of many of the nominal “core” units of the Tau codex, the Hunter Cadre has a lot to offer without being particularly restrictive of how you theme your forces.
As always, remember that you can get your Games Workshop product at up to 25% off at the Frontline gaming store.