

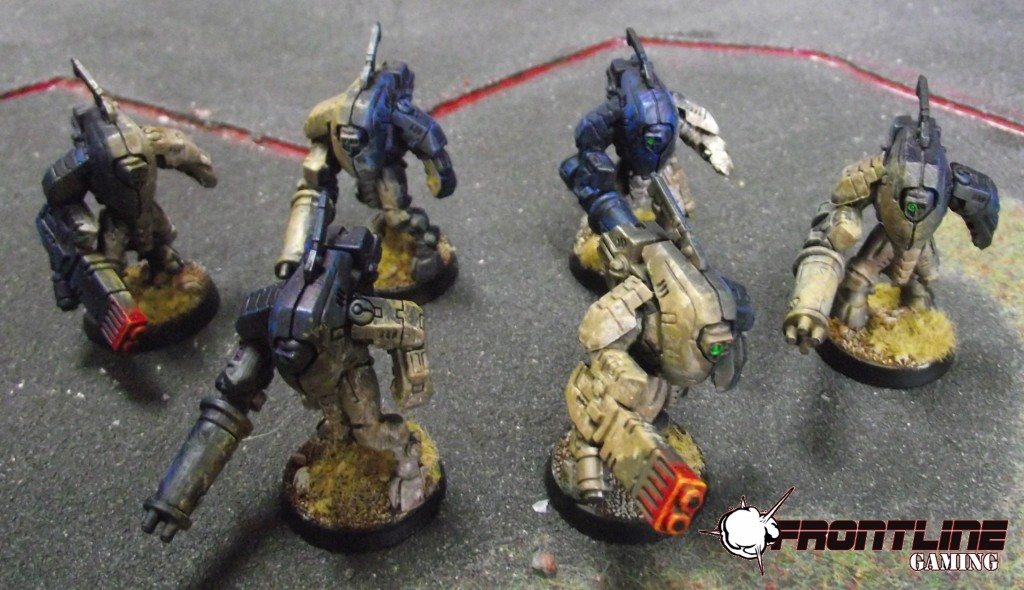
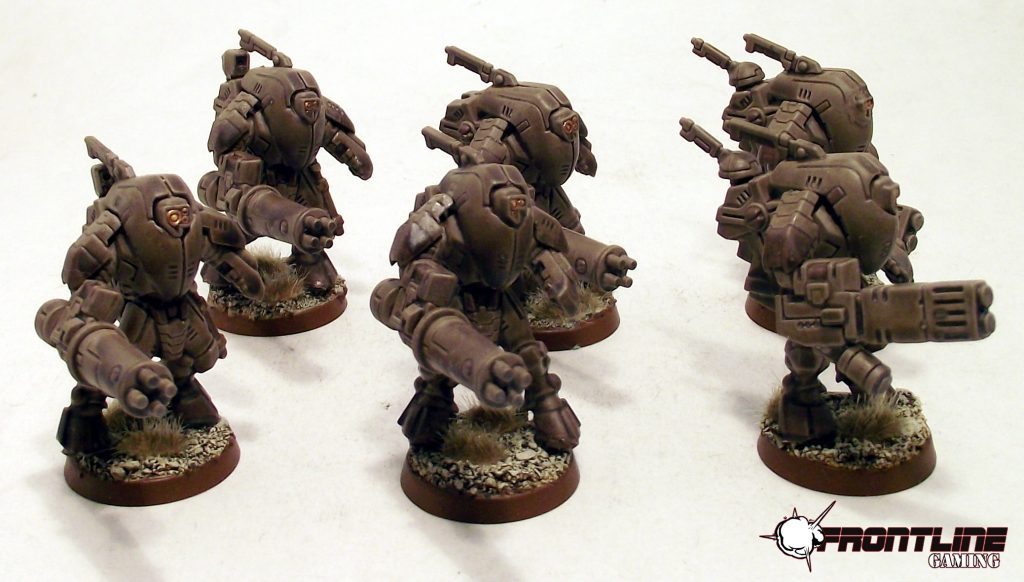
Hey everyone, this is Hotsauceman here to tell you about my favorite unit in my collection. The XV25 Stealth Battle Suits. Remember, if you want some good tips on making less well known units work, try the Tactics Corner for more fun stuff.

Ahh, Stealth Suits, the once often neglected suits of the Tau empire. They were never bad, but they shared their slot with more powerful suits. Because you where restricted to slots, why take these over XV104 Riptides? So it never saw much use. But now since they are in several good formations, they can actually be considered useful, depending on how you use them. This article will tell you how to kit them, what to avoid and in general what is good about them.
Stealth suits are the wild-card of the Tau empire. They are never factored into the battle plans of a Tau commander and are given total autonomy to complete their mission. They are considered by the Tau to be eccentric and not entirely hinged. So they are often left alone even off the field. Their main targets tend to be supply depots, supply lines, and other such targets that can cripple the opponents outside of the battlefield
Wargear
- Stealth Battlesuit: Grants Nightvision, 3+ save and a Multi-tracker. The Multi-tracker won’t be be useful unless you have the sergeant take a Markerlight.
- Burst-cannon: Even being short-ranged, their shots are not something to sneeze at. Four shots at str5 is pretty good
Optional:
- Any can take 1 Support System. I will touch on those in a moment on which ones you want.
- Fusion Blaster: For every 3, one can replace their Burst Cannon with it. This is a longer range Meltagun. I love it and always choose this option.
- The sergeant can take a Markerlight, Target lock and/or Homing Beacon.
Special Rules:
- Infiltrate: Not bad, but you have a better way to get these guys up the field. JETPACKS!!!!!!!
- Shrouded & Stealth: Combines for a 4+ save in open, and pretty much a 2+ in any terrain.
- Supporting Fire: Yup, can still Overwatch with all their buddies. Again, not bad.
Tactics.
Ok, so, as evidenced by their stats and wargear options, these guys are not frontline fighters and are not meant to be in the middle of the board. Or at the least not at first. But the first thing is, how are we gonna kit these suckers out? Being relatively expensive, try not to pack to many points onto them. Out of the whole of the Support Systems, there are a few that stand out. My favorite being Target Lock for the Fusion Blaster. This allows you to fire one weapon into a tank, while the others into a small horde. I would typically keep the others bare, for keeping points cheap. But if you want to, the option for an Advanced Targeting System is there. Getting Precision Shots on sixes when rolling so many dice can get pretty fun, they are also near nothing in points costs. But again, be careful of making these guys too expensive. Because it is really cheap, a Homing Beacon is really fun to use. Remember, Homing Beacons DO NOT have to stipulation to being on the board before hand. So go hog-wild with that.
Now, tactics. There are so many ways to use these guys. But you have to be careful because they are expensive. Stealth & Shrouded are good, but in the era of the Hunter’s Eye, they don’t save you from much beyond normal squad’s weapons. Barrage weapons are a thing, but I rarely see those with ignores cover, but mostly target saturation. Jump-Shoot-Jump is still a viable tactic for these guys. I prefer to deep strike these guys rather than to Infiltrate. It prevents them from dying in an alpha-strike.
One super nasty trick to try with these guys is a group of 2-3 deep striking teams. All loaded up with Homing Beacons. You then drop down one, let it scatter normally. Then the next two come down, not scattering. Then all your other reserves come down. They don’t scatter at all, making for some surprisingly accurate deep striking as you fan out from the original point. Is it risky? Yeah, But through boldness, victory. So try it out. This works really well with the Retaliation Cadre. Super accurate deep striking will help, just make sure your reserve rolls don’t fail ya. As harassment units they can be fun, in the back-line they can do some damage. With them zipping around shooting the odd tank or the odd solo model, they are pretty good. They are also surprisingly good at taking maelstrom objectives. with their movements being really fast and their half decent survivability in ruins make them hard to push off.


Formations where really a boon for this unit. Because they used to share a slot with the venerable Riptide and Crisis suits, they where not taken, despite being a decent unit if played right. But now they have formations, GOOD ONES too. In the two Tau Decurions, they are pretty solid. They can be taken in several different formations in them. In the Hunter Contingent, they can gain a BS boost and share marker lights with another squads. Not bad in that it makes them more destructive. The Dawnblade contingent also allows them to re-roll armor penetration rolls and re-roll to wound. It is pretty bad ass.
Onto specific formations, my god, I would be remiss if I did not bring up the best one. Optimised Stealth Cadre. Simple, but devastating. A unit of XV95 Ghostkeel suits, and 2 stealth suit teams. First, all their weapons ignore cover, increase their BS by one, AND their guns strike the rear armor of a vehicle (SUCK IT KNIGHTS!!!!!!!) That really speaks for itself. Yeah, you have to be within 6 inches of the Ghostkeel, but that isn’t that hard. It really isn’t that hard to work with. Best to run min units of these, so you can fit two of them in! The Deepstriking Stealth Suits trick I mentioned earlier work well with this formation. The other one is the Infiltration Cadre. They really don’t benefit anything from this formation, other than being a cheap way to get the unit killed, so your reserves come in. they can only carry one Markerlight(if three Markerlights from a single unit hit a target, you gain a seeker missile shot) I guess if you load up on Markerlight Drones it could be of use. But nothing really that big. The Rapid Insertion Cadre is just not good. The stealth suits HAVE to start on the board, and if it survives, the rest of the units don’t scatter, despite my previous talk about a Homing Beacon…………..GW doesn’t know how some things work I think. So it is a formation that seems fun on paper, but isn’t that useful.
I have loved these units since I first started Tau, they were the first models I got. So it makes me happy to see them have some use when before they where relegated to the foam. Remember though, now they are on 32mm. So switch them, it makes them even better believe it or not. And remember, Frontline Gaming sells Games Workshop product at up to 25% off, every day.