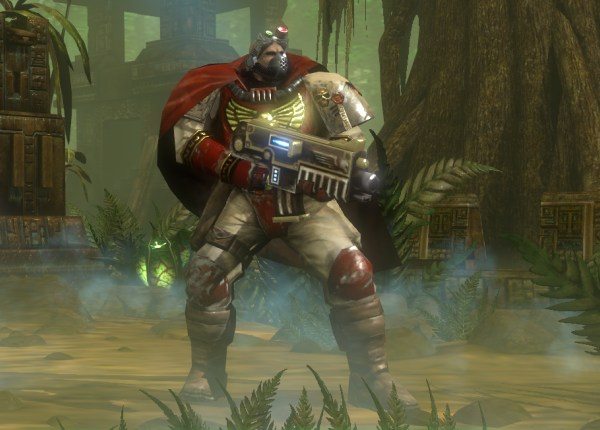
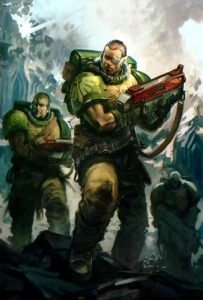
Ladies and Gents, today we are going to take a good look on how to effectively use the 10th Company Task Force, a Space Marine Formation that almost everybody uses but not always to the most effective ends, well… I think it is time to fix that… We are going to make it so that your opponents fear the scouts… the guy on the next table fears your scouts… hell, even on occasion you could fear your own scouts… trust me, it’ll happen… *whispers* let it happen… For more great articles on how to fear almost every unit in the game, be sure to check out the Tactics Corner!
Alright, I’m glad you’ve clicked the “read more” tab, thank you for joining us! By clicking that tab you’ve indicated to me and everyone else that you are ready to accept “the fear”… a theme that is going to arch the entire article about the 10th Company Task Force… they may not seem scary, but they are, very much so. Before we begin, it would be appropriate for me to point out that this is not an article about Space Marine Scouts or Scout Bike Squads, this is an article about the Formation itself, be sure to check out tactics articles on the components of the this article for further information in the Tactics Corner. Now that that’s out of the way… let’s get to know our greatest fear…
From The Shadows
Let’s break down all the different pieces that make up this Formation so we can take a good look at all the units we can choose from:
Formation Composition:
- 3-5 Units chosen in any combination from the following: Scout Squad, Scout Bike Squad
- 0-1 Sergeant Telion
Restrictions:
- All Scout Bike Squads in this Formation must be equipped with Cluster Mines.
Command Benefits:
- Concealed Positions: Each time a unit from this Formations deploys during the Infiltration phase of deployment, they receive the Stealth special rule during the game until they move, once they move (for any reason) they lose that special rule.
- The Trap is Sprung: During the first turn of the game, all units from this Formation have the Precision Shots special rule.
Alright, so what do we make of a Formation like this? It doesn’t have three units of Warp Spiders, five Wraithknights, or three Riptides… so… why is it so scary? We have to realign our perception of power in an instance like this; even though the Formation doesn’t radiate brute force, it does possess a talent of a tactical nature when it comes to deployment and objective priorities. Additionally, it can be placed in other lists with relative ease and can easily be thought of as a “Plug and Play” Formation, something to the effect of the Riptide Wing, just clearly not as popular.

Boogie Men From Under The Table Edge
The most popular way of running this Formation is with Scout Squads, so let’s jump into ways that you can use those Scout Squads to really send chills up your opponent’s spine. In testing the Formation, I have figured out that there are three distinct ways that you can use a bunch of Scouts so that you will get the MOST out of them that you possibly can:
- Up in Yo’ Grill: Using this particular tactic is simple and it doesn’t really matter how many units of Scouts you put in the Formation, though the more the merrier in a situation like this. Effectively, ignore the special rule Concealed Positions and just deploy your Scouts as close to your opponent as you possibly can, use their Scout move to get even closer, and then take your turn moving yet another 6″ closer… the point of this tactic is to get all your Scouts in Rapid Fire range with all of their Boltguns and then block your opponent’s movement from their deployment zone – you have to create a cage of Scouts that your opponent will have a hard time escaping while the rest of your army closes in. Being a player of an Ultramarines Gladius Strike Force, I use this particular tactic almost every single tournament, it works best if you have something to back up the Scout Squads with (Drop Pods filled with dudes comes to mind) and give your opponent the choice… “Do I shoot at the Scouts? Or that super dangerous thing?”… The thing most opponents don’t realize… the Scouts are the real danger to the outcome of the game. It is good to note that you need to be hyper-aggressive using this tactic and it works tremendously well if you are awarded the first turn of the game. When equipping the Scouts, I would suggest using them entirely naked, all Boltguns, all the time… if you have the urge to throw a special weapon in there, make sure it is nothing that is affected my movement (Heavy Bolter, Grav-Gun, etc…)… stick with something close range and gnarly, I suggest a Combi-Melta or a Combi-Plasma on the Sergeant – you need to be mobile, keep that in mind.
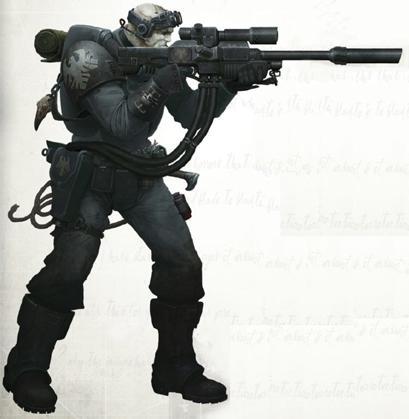
- Holding Up The Fort: Now, this tactic takes two steps… the first one is being very savvy during the Objective placement portion of game set up, you need to try your best to place Objectives in such a way that your opponent can’t deny you the ability to Infiltrate onto them AND the cover they infiltrate in to should grant you a 4+ cover. Aside from Objective placement, this tactic takes very little thought, Infiltrate each unit of Scouts into a piece of Ruins Terrain and sit there ALL GAME LONG! Thanks to the Concealed Positions special rule, you turn that 4+ cover save into a 3+… and with the help of Camo Cloaks, you turn your Scouts into Mini-Terminators and they become far more trouble than their worth for your opponent. I would suggest giving them the ability to reach out and damage your opponent without having to move around, so an eight point Heavy Bolter is a really good choice to go along with the unit’s Boltguns. I have never been a fan of Sniper Rifles and I don’t really suggest them… however, if you are really keen on it, feel free.
- The Back Up Plan: Sometimes… shit goes sideways… it’s just the way it goes… If, hypothetically, your master plan doesn’t work and you don’t get first turn or there are no pieces of good terrain to Infiltrate into… that is okay! Very simply Outflank the Scouts… Outflank is such a good ability that you can really turn a less optimal situation into a victory by making your opponent worry about where the bloody Scouts are coming on from, it is a proven back-up plan that can really make you look like you planned their demise in this fashion the entire time!
Nothing To Fear But Fear Itse… OH GOD, THE SCOUTS!!! RUN!!
A less popular way of running this Formation is by running the Scout Bike Squads, even though that unit is perfectly fine and in some instances incredible – this Formation is usually used to unlock the Company Support special rule in the Gladius Strike Force, and most players don’t want to spend more on the Formation than they absolutely have to. However, if you have the inclination to go against the grain, the Scout Bikes can be a really useful unit to include in your army; The Scout (12″), Infiltrate, and are a fast moving, T5 unit with a whole lot of attitude. Additionally, if you take all Scout Bikes they are forced to take the Cluster Mines and those can be incredibly annoying… effectively you make three to five pieces of Terrain Dangerous Terrain for the duration of the game (but only for enemy models). This can be incredible, especially if your opponent is playing an army that relies on their cover save.

The Timid Mr. Telion
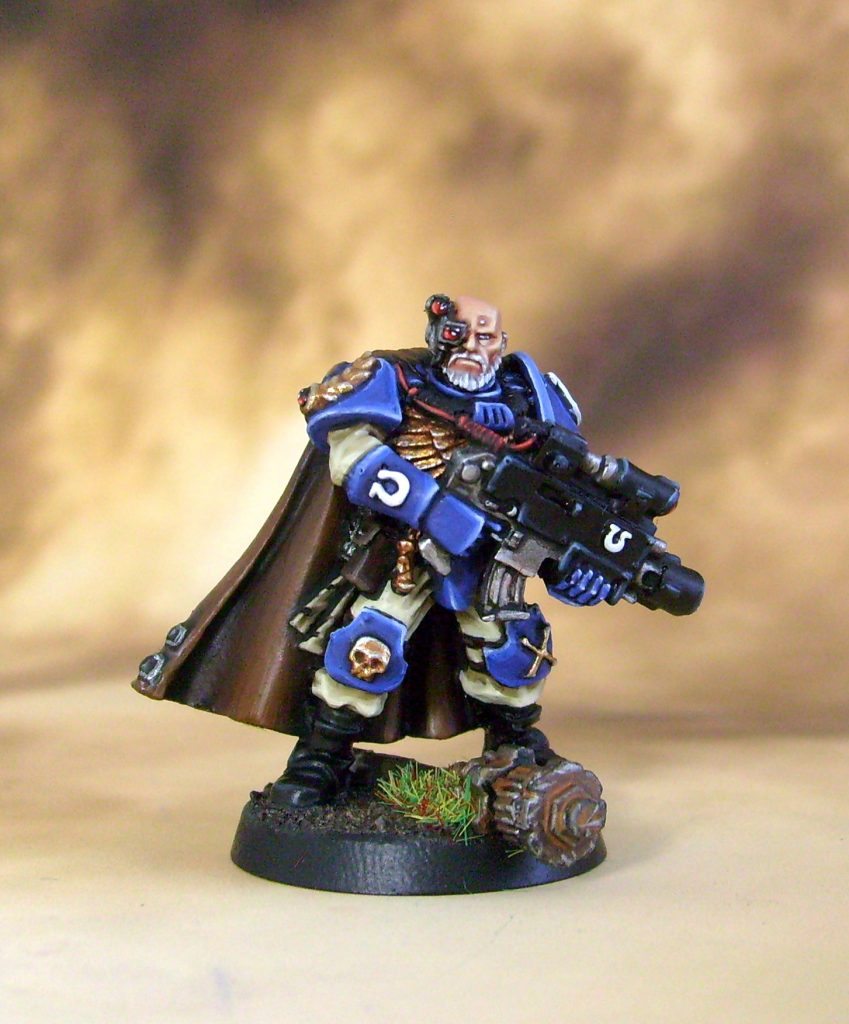
Oh… Mr. Telion… It hurts me that we never see him that often… but I understand why. The main issue with including Telion is that he locks you into playing Ultramarines, which isn’t really the most optimal way to run The 10th Company Task Force. Also, as I’ve said before, most players use this Formation to simply unlock Company Support (Free Transports) and want to avoid spending more on the Formation than they have to. However, Telion definitely has some uses, especially in regards to his Warlord Trait, if you choose him as your Warlord, he automatically gets Storm of Fire which lets him dish out Rending to a unit every turn, incredibly useful in an army filled with Boltguns.
Yellow Is The Color Of Fear
Even though the most popular way of running this Formation is White Scars, I am actually pretty convinced that the most optimal way of putting this on the table is by using the Imperial Fists Chaper Tactics. Considering the primary weapons and heavy weapons used by the Scouts are Bolt Weapons, being able to re-roll one’s to hit with them all game along is pretty darn wonderful. You can make arguments that White Scars with Hit and Run are better, or Raven Guard with the additional cover in the beginning of the game… but I am pretty sure that their usefulness in the Shooting Phase of the game is amplified greatly by constantly being able to re-roll some of their To Hit rolls.

Get The Fear… Unless You’re Too Afraid
All-in-all, this Formation has proven (time and time again) to be an integral part of my Battle Company and these are a few awesome tactics you can employ to use the Scouts to their maximum efficacy… Above all else, never dismiss them… They are dangerous, even in their most basic form, and if you dismiss their usefulness then you are losing out on a big advantage your army has at its disposal. If you feel like trying it out, Scouts are incredibly cheap in comparison to other GW kits and you can get them even cheaper because Frontline Gaming Offers GW products up to 25% off, shoot an email to Reece and he will set you up with everything you need to get your Scout on…
Unless you’re too afraid…

And as always, Frontline Gaming sells Games Workshop product at up to 25% off of retail, every day!
You can also pick up some cheap models in our Second Hand Shop. Some of these gems are quite rare, sometimes they’re fully painted!