Welcome to my first battle report from my games at the recent Caledonian Revolution tournament. The tournament was held at the North Western Gaming Centre down in Stockport and featured 75 players. For more battle reports, check out the Tactics Corner.
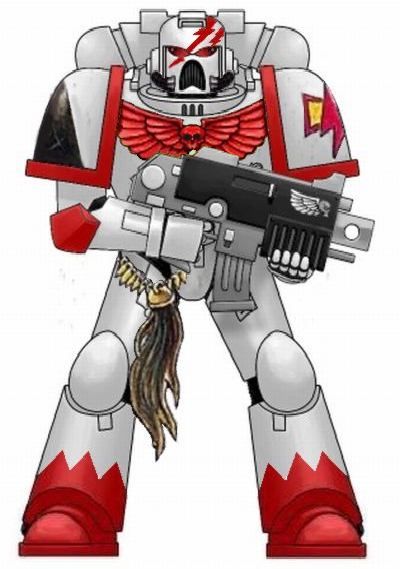
I decided to take my White Scars to the tournament and had been practicing with my list for a few months with varying degrees of success, so was feeling OK about my chances in my games over the two days of the tournament. Ideally, I wanted to win at least 3 of the 5 games and finish in the top half of the rankings table.
After a disastrous drive down the motorway on the Friday and a lack of sleep on the Friday night (my hotel decided that 5 am was the perfect time to use the industrial dish washer located directly below my room), I got my army ready to see what table I would be playing on. I was due to play Matt and his Daemons in my first game, but he had to drop out of the tournament. I was informed later that he had actually won the last Caledonian Revolution, so I was not too upset about this.
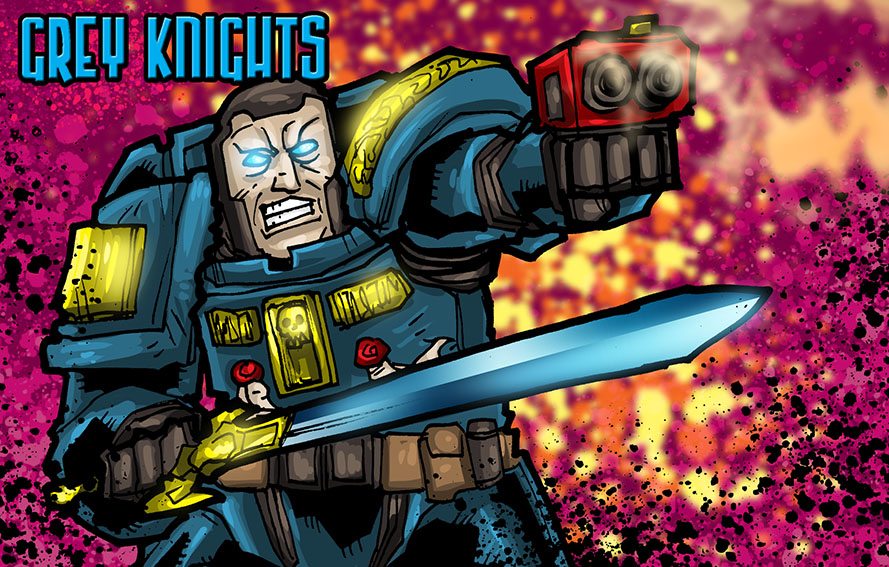
My opponent for the first round turned out to be Sid with his Tau, Grey Knights and Assassins army. Things were already looking up, as Sid had only come in second at the last Revolution………

My army consisted of:
Hunting Force
- Khan- Moondrakken (with CS)
- Command Squad- Bikes, Apothecary, 4 grav guns, 4 storm shields, Banner of the Eagle (CS)
- 6 Bikers- 2 grav guns, sergeant with power axe and meltabombs (BS1)
- 6 Bikers- 2 grav guns, sergeant with meltabombs (BS2)
- Attack Bike- Multimelta (AB)
- 6 Scout Bikers- 2 Grenades launchers, sergeant with meltabombs and homing beacon (SB)
Stormbringer Squadron
- 5 Scouts- bolt pistols, combat weapons, sergeant with meltabombs (S1)
- Landspeeder Storm- Heavy Bolter, Cerberus Launcher (LS1)
- Landspeeder- Multimelta, Typhoon Missile Launcher (L)
Combined Arms Detachment
- Chaplain- Bike, Hunter’s Eye, Meltabombs (with CS or C2)
- 5 Scouts- Bolters, sergeant with meltabombs (S2)
- Landspeeder Storm- Heavy Bolter, Cerberus Launcher (LS2)
- 3 Bikers- 2 meltaguns, sergeant with meltabombs (BS3)
- 3 Centurions- Grav cannons and grav amps, hurricane bolters (C)
- Drop Pod (DP)
- Stormhawk Interceptor- TL assault cannon, Skyhammer missile launcher, Las-talon (SI)

Sid’s army consisted of:
Nemesis Strike Force
- Librarian- Nemesis Force Halberd, Mastery level 2 (with SS)
- 5 Strike Squad- Nemesis Force Swords (SS)
- Dreadknight- Heavy Incinerator, Nemesis greatsword and power fist, personal teleporter (D1)
- Dreadknight- Heavy Incinerator, Nemesis greatsword and power fist, personal teleporter (D2)
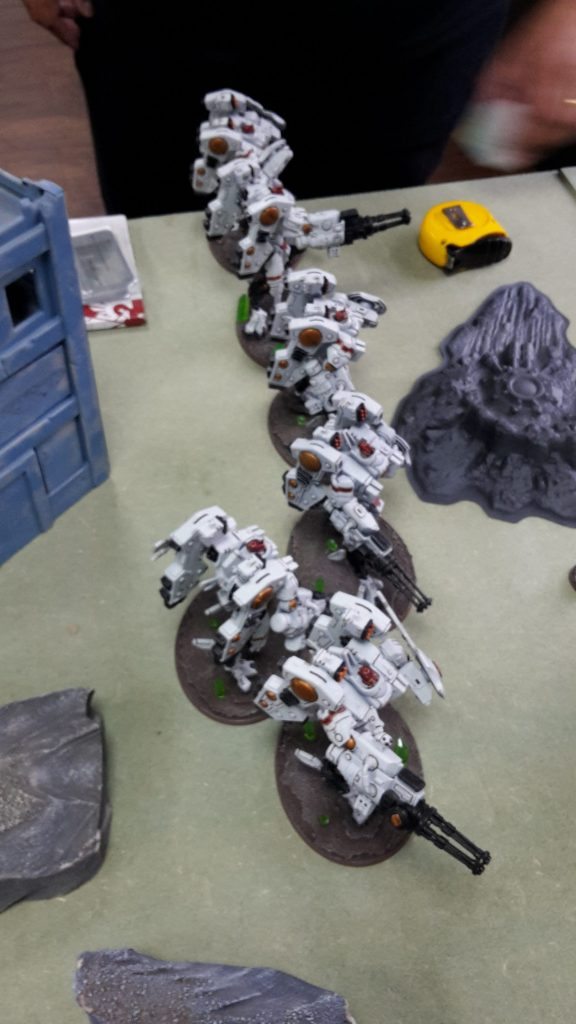
Riptide Wing
- Riptide- Early Warning Override, Heavy Burst Cannon, Twin-Linked Smart Mission System (R1)
- Riptide- Early Warning Override, Heavy Burst Cannon, Twin-Linked Smart Mission System (R2)
- Riptide- Early Warning Override, Heavy Burst Cannon, Twin-Linked Smart Mission System (R3)
Riptide Wing
- Riptide- Early Warning Override, Heavy Burst Cannon, Twin-Linked Smart Mission System (R1)
- Riptide- Early Warning Override, Heavy Burst Cannon, Twin-Linked Smart Mission System (R2)
- Riptide- Early Warning Override, Heavy Burst Cannon, Twin-Linked Smart Mission System (R3)
- Culexus Assassin (A)
When I first saw Sid’s list I thought “six Riptides and not a single Markerlight, this is going to be easy with all my Grav. He then told me what the Riptide Wing special rules and his weapon rules. Easy, it would not be!
The Librarian was his warlord with his trait being move through cover (ruins) and stealth (ruins). For his psychic powers, he got:
- Librarian- Psychic Shriek, Mental Fortitude, Hallucination
- Dreadknight 1- Banishment, Sanctuary
- Dreadknight 2- Banishment, Sanctuary
The tournament used ETC missions. This meant that scoring for the game was a combination of the primary objectives, maelstrom points, kill points and tertiary objectives (slay the warlord, etc). You could only score 2 maelstrom cards per turn.
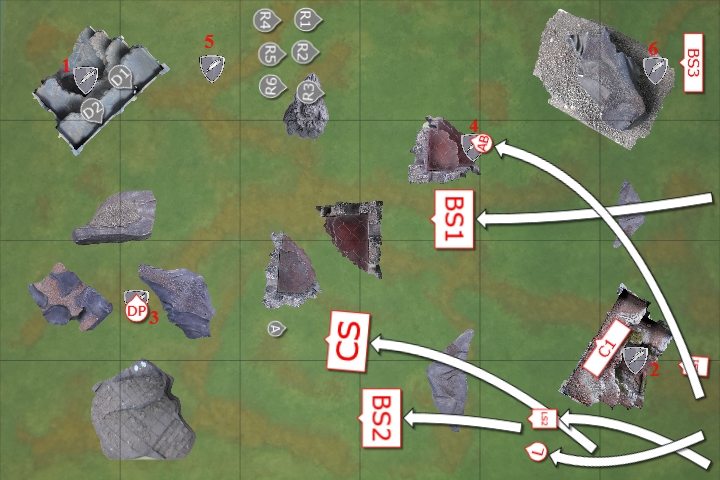
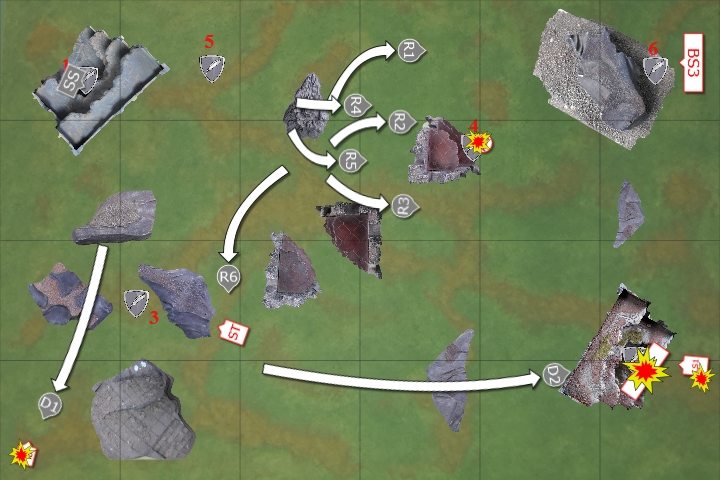
The first mission was Crusade (4 objectives) with Hammer and Anvil deployment on table 7. The Maelstrom mission was Contact Lost (one card for each objective held).
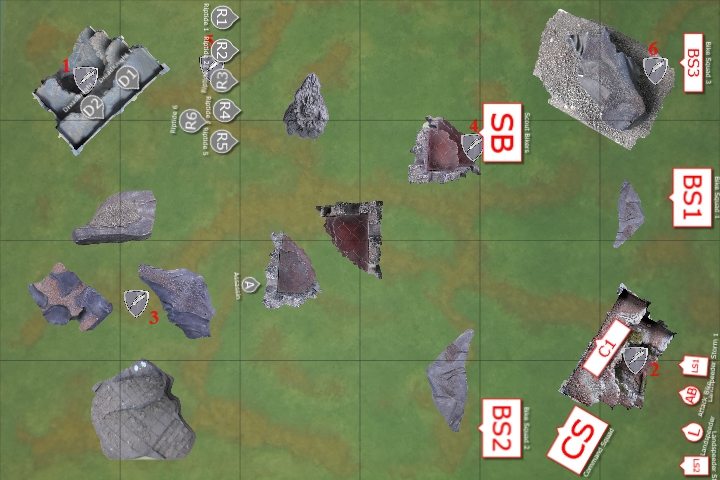
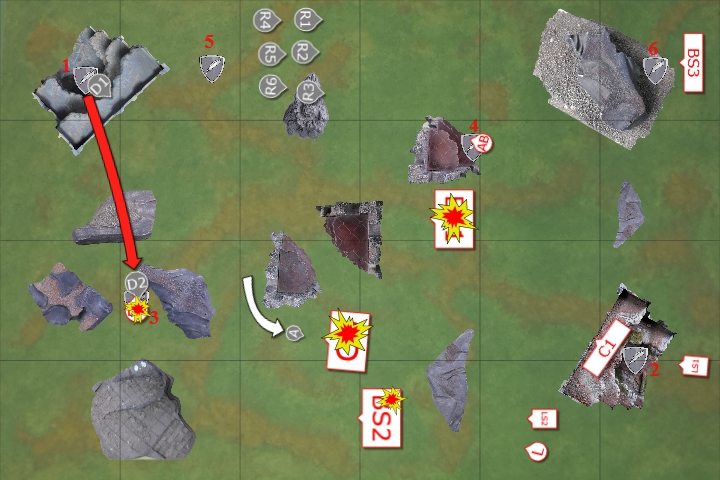
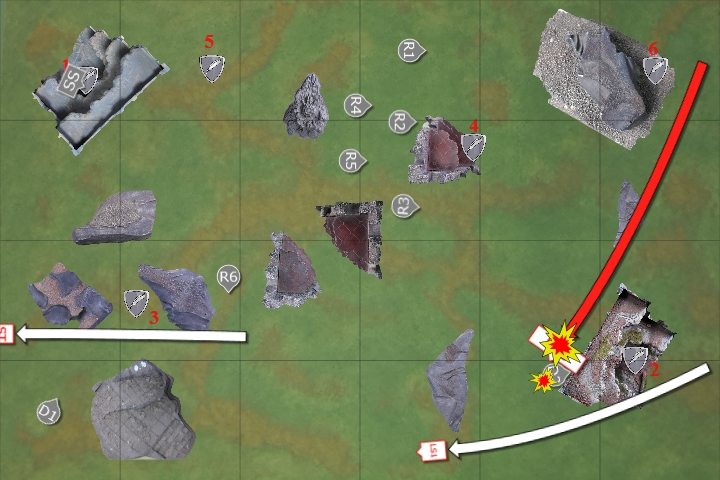
We set up the objectives as shown below (objectives 1-4 were the crusade objectives):

I won the roll for deployment zone and chose the side with the larger of the ruins. Sid won the roll for deployment and chose to go first. Damn, I was really hoping for first turn to strike the Riptides.
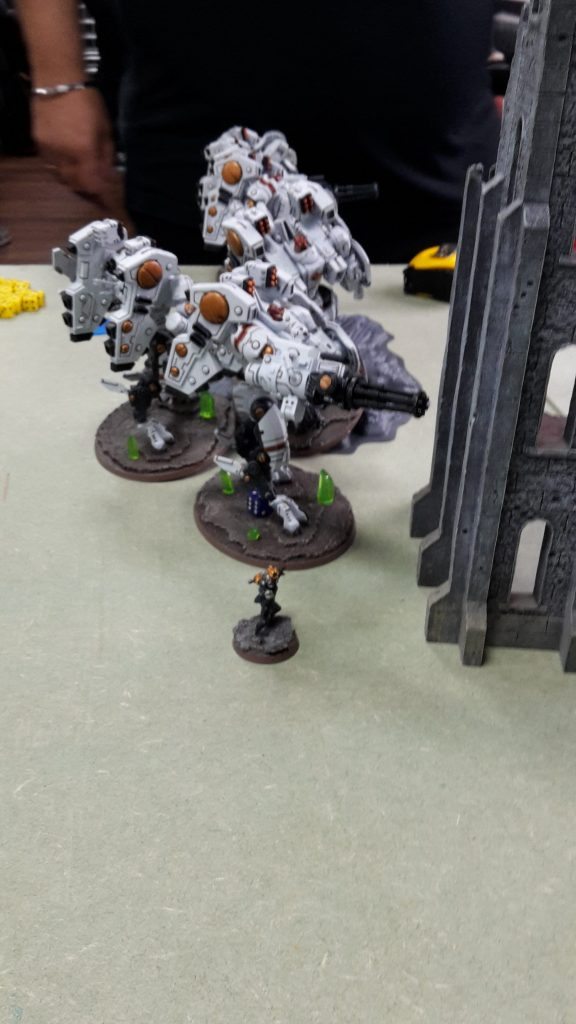
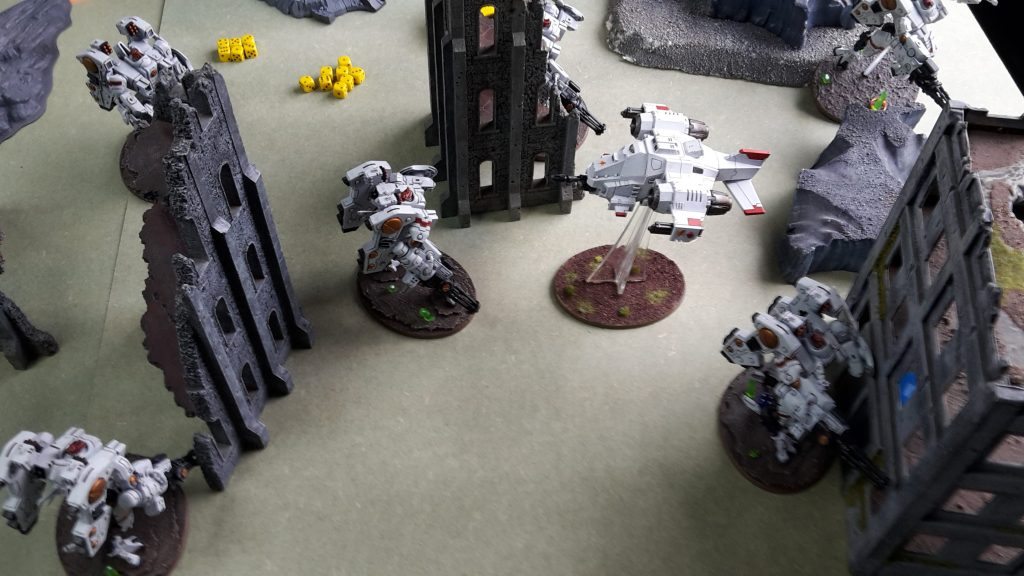
He set up the Riptides on his deployment line on the left, with the two Dreadknights in the ruins. The Librarian and Strike Squad went in reserve.
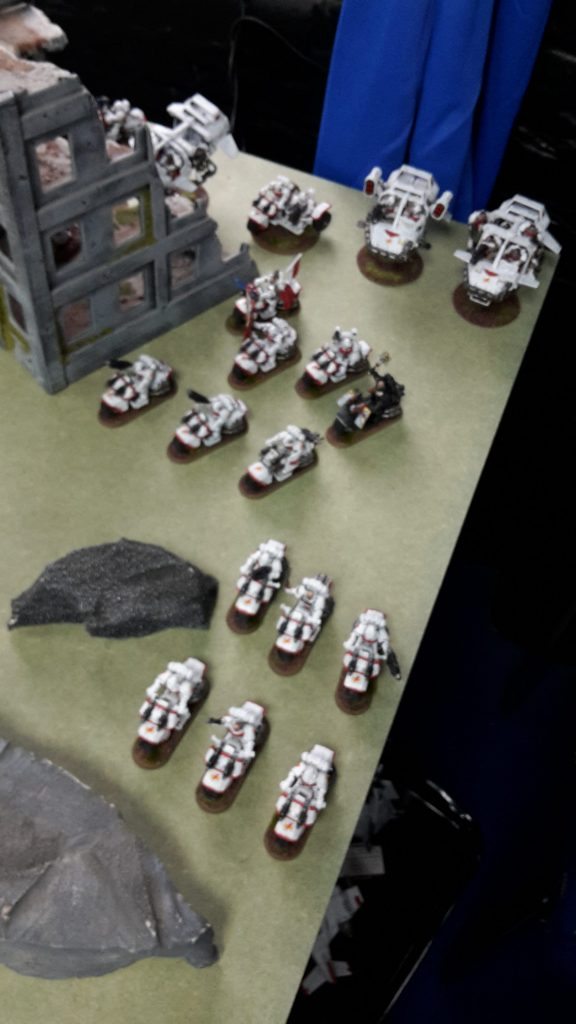
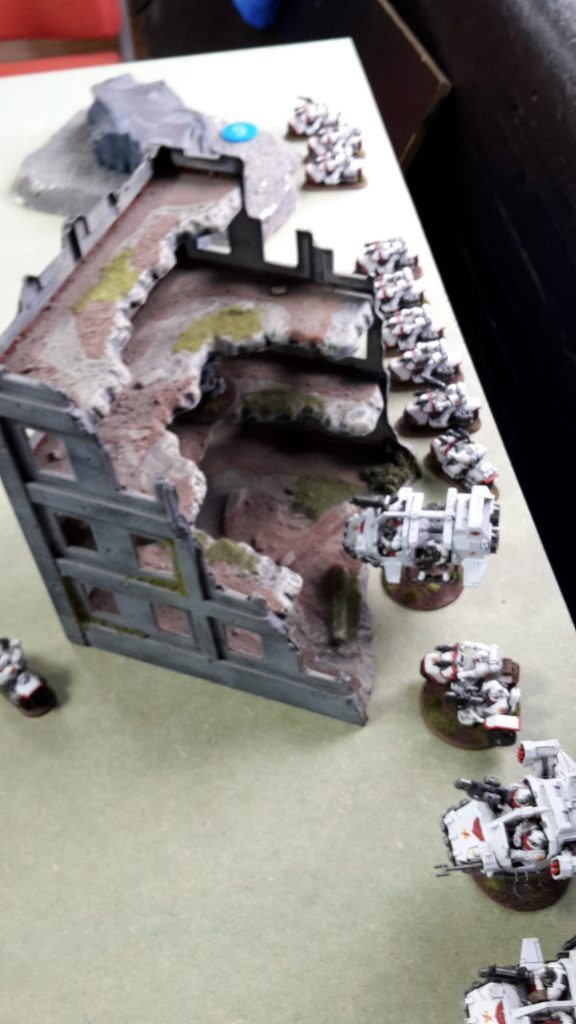
I deployed my Centurions in the ruins. I decided not to drop pod them as all the Riptides had Interceptor and I thought they would be lost too easily. I set up the other units as shown below. The Command Squad and one unit went forward on my left flank, the rest of my units moved out of range of the Riptides’ guns. I infiltrated the Scout Bikers onto objective 4. Sid infiltrated his Cullexus beside the Riptides.
For my Hunting force, my targets were:
- Primary- Librarian
- Secondary- Dreadknight
- Tertiary- Riptide
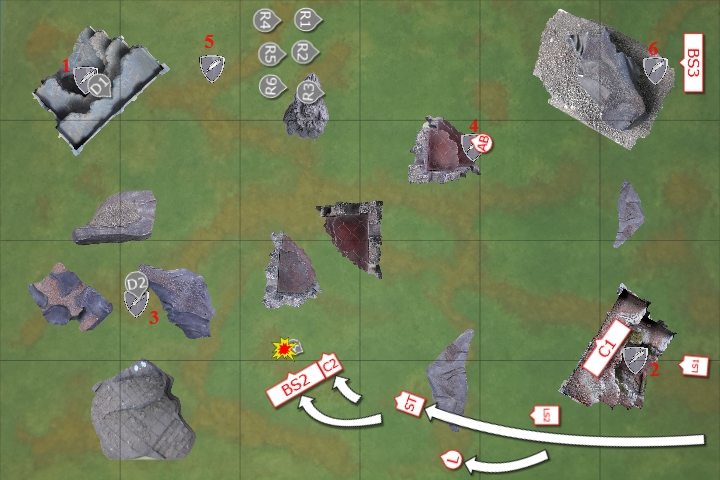
I failed to seize, so for my Scout moves, I moved the Command Squad back. There was no night fighting in the game.
TURN 1- TAU/GREY KNIGHTS
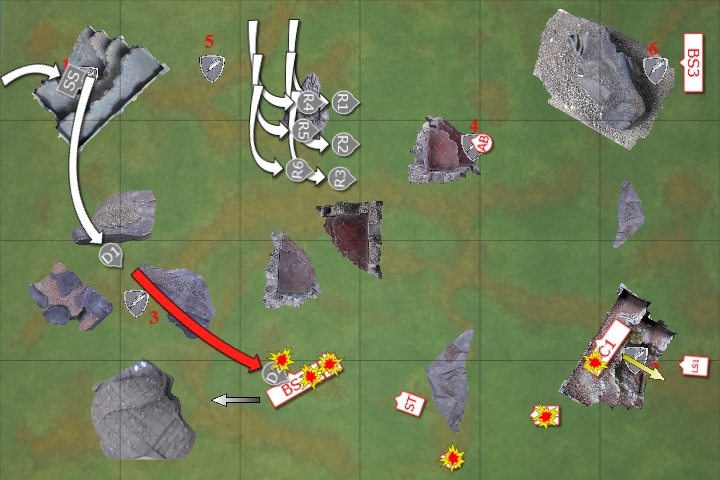
On turn 1, Sid drew Big Game Hunter (destroy an enemy vehicle).
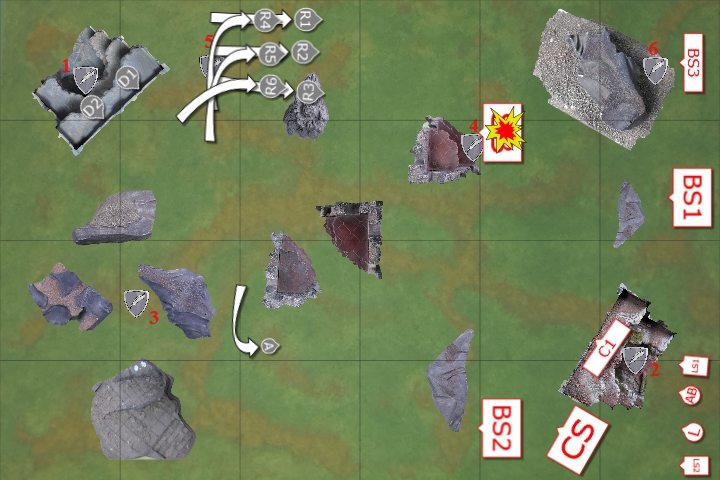
The Riptides advanced on the Scout bikers, the White Scars infiltrators being the only unit in range. Three of the Riptides opened fire on the Scout Bikers, easily wiping them out.
The Tau battlesuits used their assault move to retreat the White Scars. At the end of his turn, Sid scored First Blood and one kill point.
TURN 1- WHITE SCARS
In my first turn, I drew Supremacy (control 3 objectives).
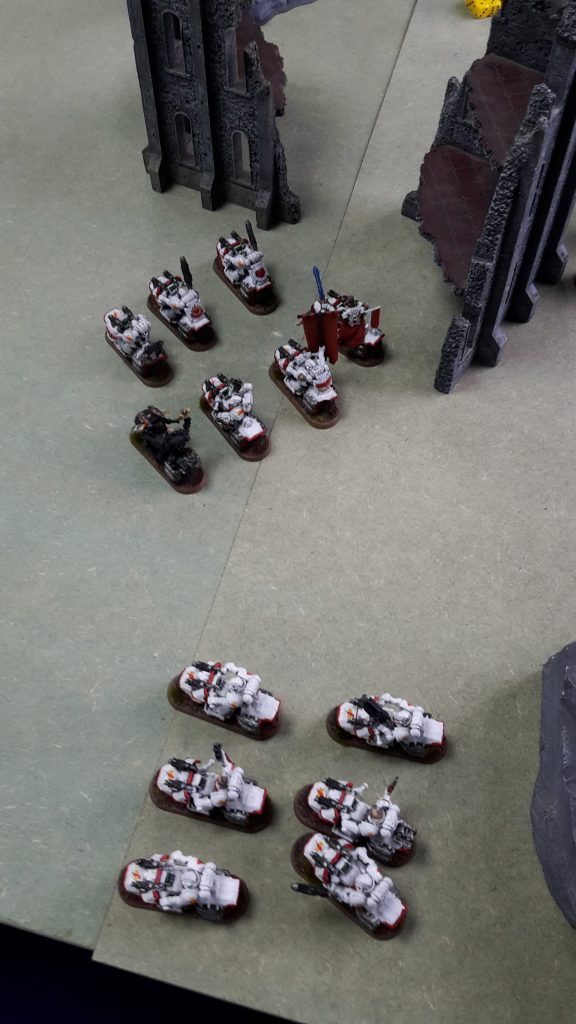
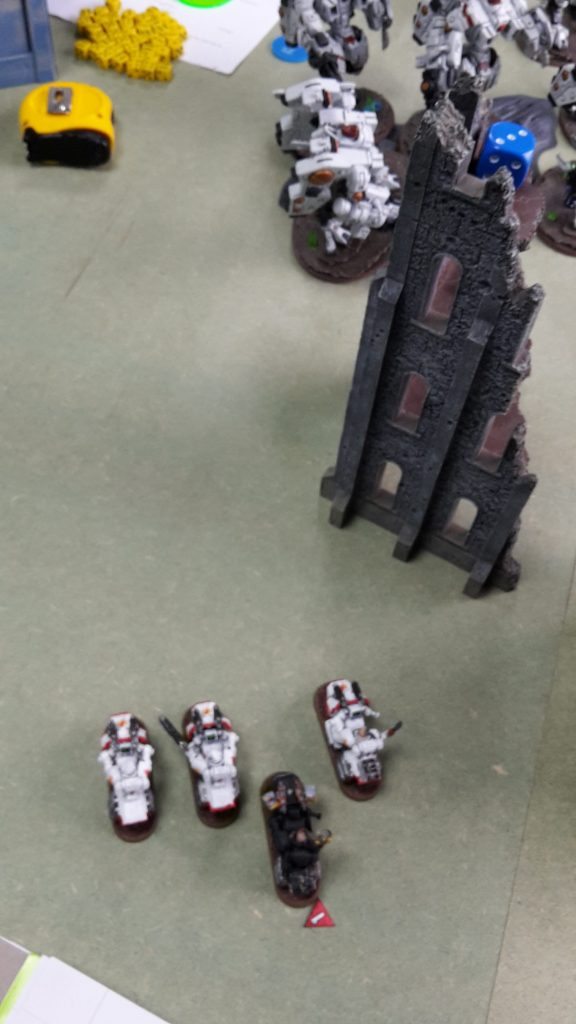
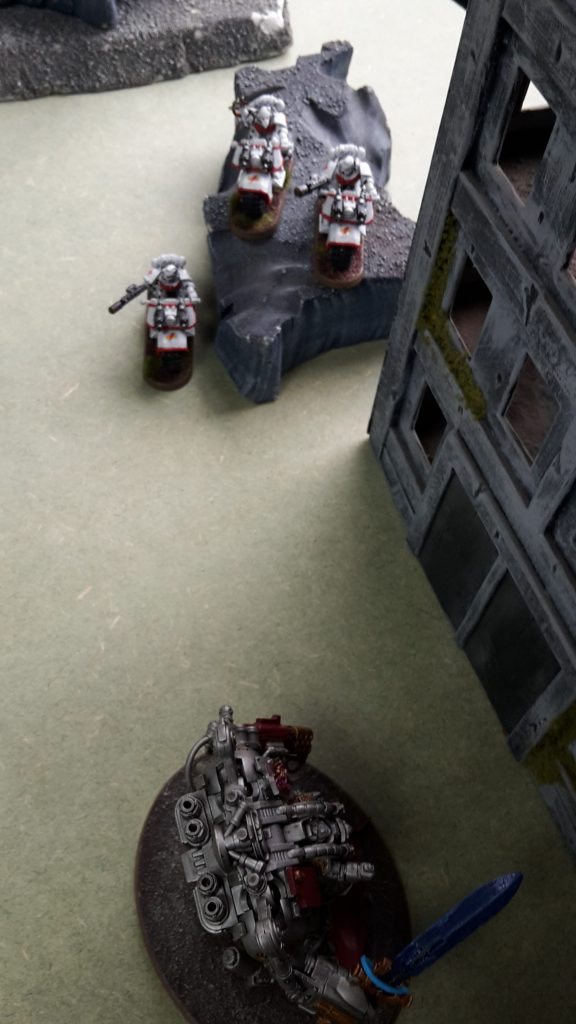
The empty drop pod arrived, landing on target in the rocky outcrop on the left flank. The White Scars Command Squad, Bikers and Speeders advanced on the enemy.
The Landspeeder Storm and Landspeeder fired at the Assassin, but failed to hit him. The bikers fired at the Cullexus, wounding him once, but the Assassin saved the attack.
At the end of my turn, I scored Supremacy for 2 points.
VICTORY POINTS:
Tau/Grey Knights- Maelstrom 0, Kill Points 1
White Scars- Maelstrom 2, Kill Points 0
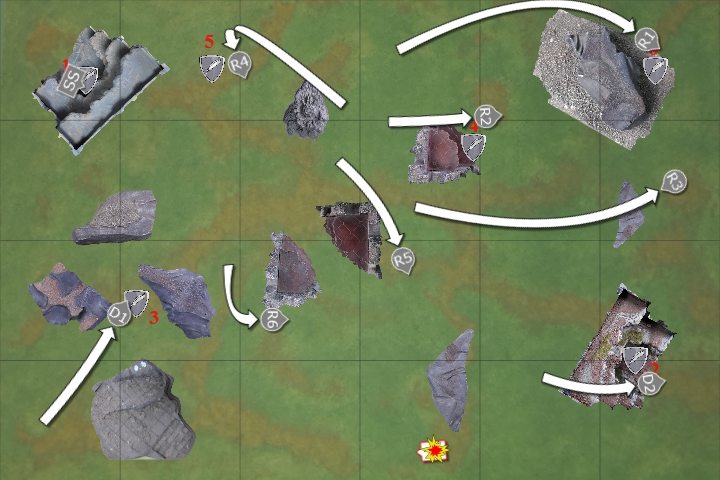
TURN 2- TAU/GREY KNIGHTS
This turn, Sid drew Objective 4 and Blood and Guts to go with Big Game Hunter from last turn.
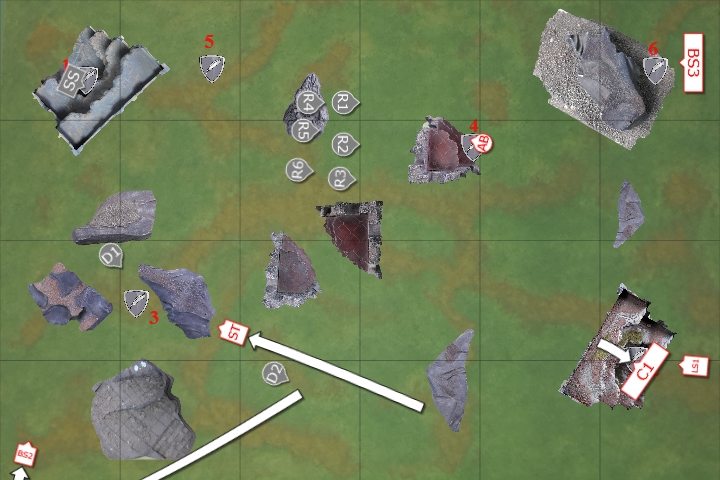
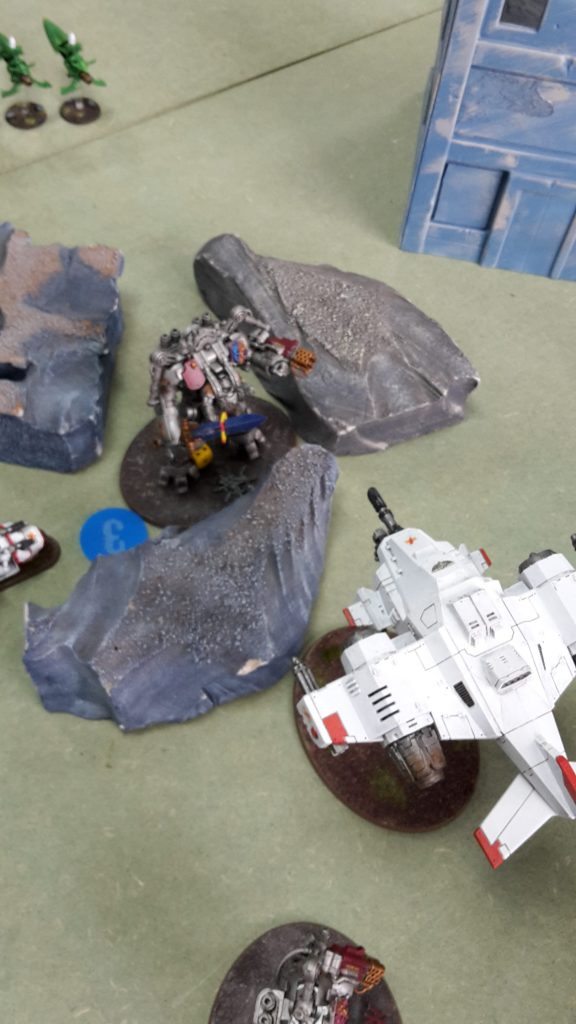
One of the Dreadknights advanced on the newly arrived drop pod, while the Riptides turned to target the White Scars, while the Assassin advanced on the Command Squad. Two of the Riptides wounded themselves trying to overcharge their weapons.
In the psychic phase, the two Dreadknights cast Sanctuary on themselves. The Dreadknight fired on the drop pod, but failed to damage it.
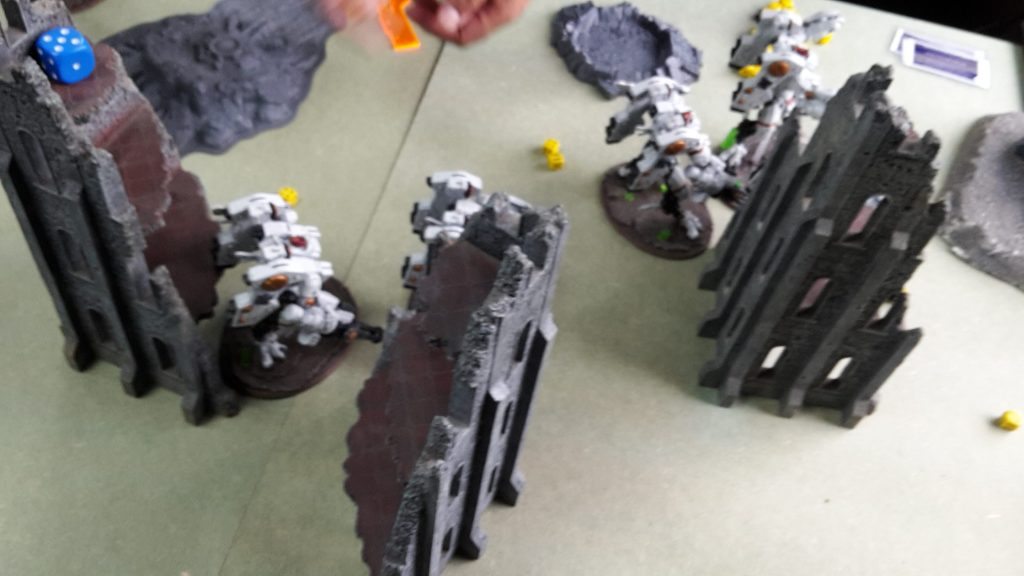
The Riptide wings activated their special rule, allowing them to fire twice in the shooting phase. The first Riptide opened fire on the Command Squad, killing one of the unit. The second Riptide killed another of the unit. The third Riptide killed two of the Command Squad and wounded Khan twice. The fourth Riptide killed the last of the Command Squad, killed Khan and wounded the Chaplain once.
The Command Squad took the brunt of the enemy firepower (over 100 shots), tanking a lot of wounds, but had suffered the consequences.
The fifth Riptide fired on one unit of bikers, wounding them 5 times. I then failed four of my five 3+ saves. It fired again, wounding them 7 times and I failed six more 3+ saves and the unit was wiped out.
The sixth Riptide fired on the second biker unit, killing three of the squad. The squad passed their morale test.
The Cullexus attempted to charge the Chaplain, but failed to make the distance. The Dreadknight assaulted the Drop Pod, easily destroying the vehicle.
At the end of his turn, Sid scored four kill points, Slay the Warlord and Big Game Hunter.
At this point, the game was pretty much over. My army had been decimated by the insane amount of firepower that the six Riptides could put out and it was unlikely I would survive for much longer. I decided to play on to see if I could rack up a few more victory points anyway and we had only played about 20 minutes of the 3 hour game time, so stopping then was a big waste of time.
TURN 2- WHITE SCARS
This turn, I drew Objective 5, Objective 6 and Witch Hunter. Not great cards for me. Objective 5 was in the enemy deployment zone, surrounded by Riptides, and I would be unlikely to kill one of the Dreadknights.
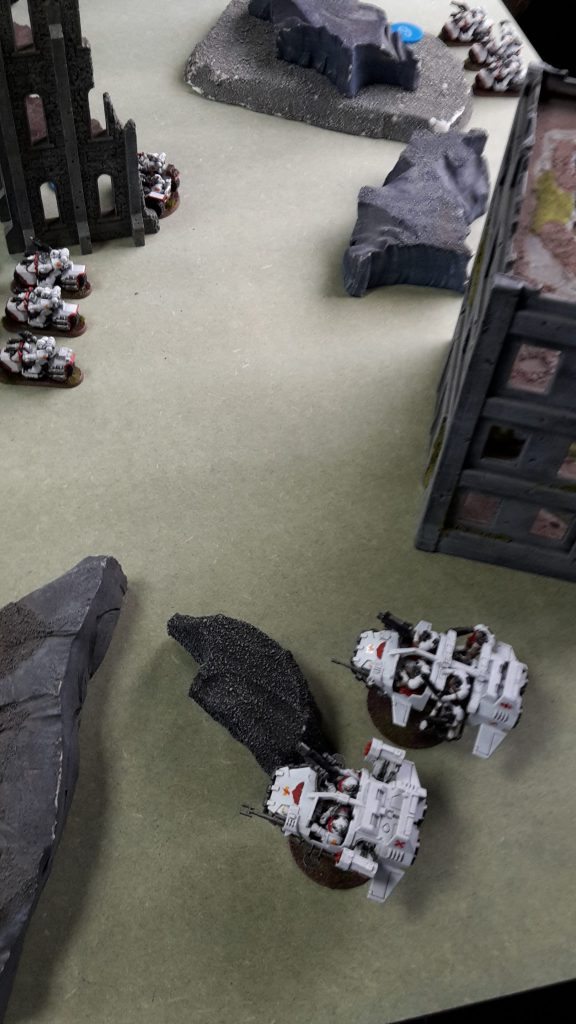
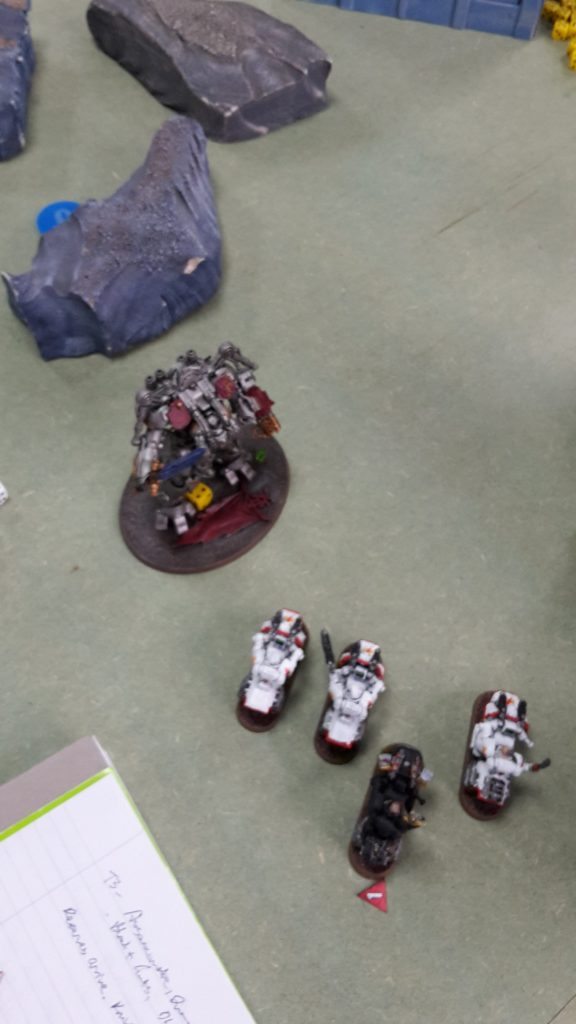
The remnants of the grav bikers joined the Chaplain to target the Assassin. The Stormhawk arrived, moving on towards the centre of the battlefield.
The bikers fired on the Assassin, wounding him twice, but failing to get past his save. The Stormhawk fired on the Cullexus, killing him. The Landspeeder fired at the Dreadknight, wounding it once, but failing to get past its save.
At the end of my turn, I scored Objective 6 and one kill point.
VICTORY POINTS:
Tau/Grey Knights- Maelstrom 1, Kill Points 5
White Scars- Maelstrom 3, Kill Points 1
TURN 3- TAU/GREY KNIGHTS
This turn, Sid drew Assassinate (kill a character), Overwhelming Firepower (kill 3 units in the shooting phase), Blood and Guts (kill 3 units in the assault phase), Objective 3 and Objective 4.
The Librarian and Strike Squad arrived, moving on from the battlefield edge and into the ruins to secure the objective. One Dreadknight advanced on the bike squad with the Chaplain, the other moving to secure a second objective, while the Riptides advanced on the White Scars lines.

In the psychic phase, one Dreadknight cast Sanctuary on itself. The other also cast Sanctuary, periling in the process and taking a wound. The Librarian then cast Mental Fortitude, but I was able to block it.
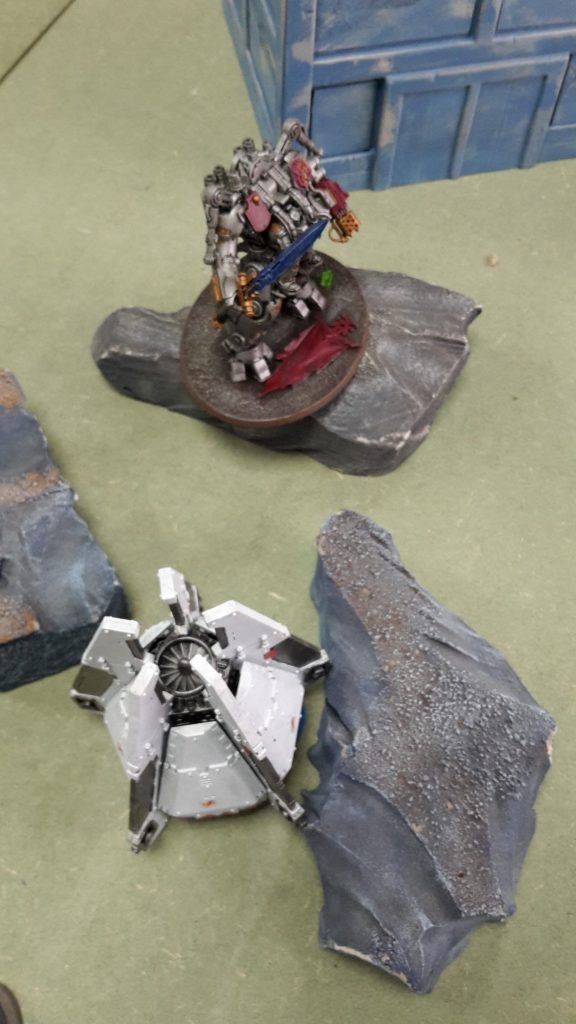
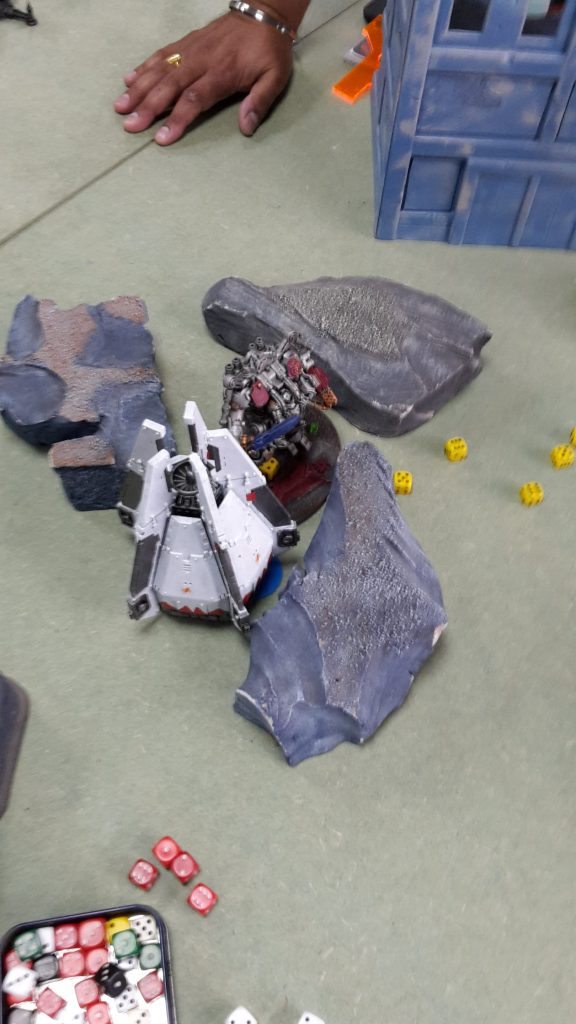
One Riptide opened fire on the Landspeeder, hitting it 7 times and penetrating it 3 times. I failed all three Jink saves and the vehicle was wrecked. The second Riptide fired at the Landspeeder Storm, the SMS exploding the skimmer and killing 2 of the scouts (the explosion caused 2 wounds and I failed both saves). The third Riptide fired at the Scouts, wiping the unit out.
The second Riptide Wing then opened fire. The four Riptide fired on the Centurions, wounding them twice, but I passed the saves. The fifth Riptide fired at the Centurions, wounding them 3 times and killing one. The Sixth Riptide opened fire on the Centurions, wounding them 8 times, but I made all my saves. The Centurions failed their morale test and fell back 6″.
The Dreadknight charged the Chaplain’s squad, killing the Chaplain and two of the bikers. The lone sergeant struck back with his Meltabombs, wounding it once. The White Scar hit and ran out of combat.
At the end of his turn, Sid scored Assassinate and Overwhelming Firepower and 4 kill points for 7 points this turn.
TURN 3- WHITE SCARS
This turn, I drew Behind Enemy Lines (have a unit in the enemy deployment zone), Objective 3, Objective 5 and Hungry for Glory (issue a challenge).
The Stormhawk advanced on the Dreadknight. The lone biker moved up, turbo-boosting to get to the corner of the battlefield.
The Stormhawk Interceptor fired at the Dreadknight, but its firepower was ineffective against the boosted invulnerable save of the Knight.
At the end of my turn, I scored Behind Enemy Lines and discarded Witchhunter.
VICTORY POINTS:
Tau/Grey Knights- Maelstrom 4, Kill Points 9
White Scars- Maelstrom 4, Kill Points 1
TURN 4- TAU/GREY KNIGHTS
Sid drew Scour the Skies (destroy a flyer), Behind Enemy Lines, No Prisoners (kill 3 enemy units), Blood and Guts, Objective 3 and Objective 4.
One Dreadknight advanced on the lone Biker, while the other advanced on the Centurions, using its teleporter to get in range. The Riptides manoeuvred to mop up the White Scars.
In the psychic phase, both Dreadknights cast Sanctuary on themselves. I managed to block one of them (on a double 6! My first bit of luck the whole game).
Two of the Riptides fired at the Centurions, killing one of the unit with their combined firepower. The Dreadknight fired its Incinerator at the Centurions, catching the Landspeeder Storm also. The Centurion and speeder survived, but the flamer wiped out the Scouts on the transport.
The fourth Riptide fired at the lone Biker, killing him. The fifth Riptide fired at the Centurions, killing the last member of the squad. The final Riptide fired at the attack bike, killing the unit.
At the end of his turn, Sid scored Objective 4 and No Prisoners and 4 kill points. He discarded Blood and Guts.
TURN 4- WHITE SCARS
This turn, I drew Objective 1, Objective 3, Objective 5 and Hungry for Glory (issue a challenge).
The Stormhawk left the battlefield, the Landspeeder Storm turbo-boosted forward, while the three-man bike squad advanced on the Dreadknight. The squad fired at the Dreadknight, wounding it once with their meltaguns.
The bike squad charged the Dreadknight (I actually failed the charge, but Sid allowed me to make it in. It would not have made any difference on the game result) and the Sergeant issued a challenge. The Knight struck at the squad, easily killing them.
At the end of my turn, I scored Hungry for Glory.
VICTORY POINTS:
Tau/Grey Knights- Maelstrom 7, Kill Points 14
White Scars- Maelstrom 5, Kill Points 1
TURN 5- TAU/GREY KNIGHTS
This turn, Sid drew Objective 1, Objective 2 and Objective 5.
The Tau and Grey Knights advanced on the objectives and Landspeeder Storm. The Riptides opened fire on the Speeder, wiping it out.
He scored objective 1 and 2 and one kill point.
TURN 5- WHITE SCARS
This turn, I had Objective 1, Objective 3 and Objective 5.

The Stormhawk Interceptor arrived back on the battlefield. Facing 6 Riptides with Interceptor. The inevitable occurred and my final unit was destroyed.
Sid scored a kill point and Linebreaker. He also scored all four of the objectives.
VICTORY POINTS:
Tau/Grey Knights- Maelstrom 9, Kill Points 16
White Scars- Maelstrom 5, Kill Points 1
Sid scored 12 points for the eternal war mission and 8 points for the kill point differential (the maximum). This gave a final score of:
Tau/Grey Knights- 31 Victory Points, 20 Tournament Points
White Scars- 5 Victory Points, 0 Tournament Points
AFTER-BATTLE THOUGHTS
Thanks to Sid for a swift and brutal introduction to competitive 40k at Caledonian Revolution. Sid actually ended up finishing third overall at the tournament, so I didn’t feel too bad about getting tabled in my first game by him.
When discussing the game during and after the battle, we both agreed that I made two key errors during the game that helped secure my defeat.
The first was that I should have put the Centurions in the drop pod. I did not as all the Riptides had Interceptor and figured they would just get shot up as they landed. However, as the game showed, the 2+ save of the Centurions meant that they were actually quite durable to the firepower of the Riptides, as it took the firepower of six Riptides to kill them off during the game. If Sid fired all the Riptides to intercept the Centurions, he may have killed them, but he would not have been able to fire at the bikers the following turn, giving me a big advantage. If he did not manage to kill them with Interceptor, the Centurions probably would have taken out one of the Riptides.
By deploying the Centurions in the ruins, they were effectively taken out of the game anyway. With the assault moves and range of the Riptide guns, Sid could afford to keep them out of range of my Centurions and save them from harm.
My other mistake was my Scout moves. I deployed most of my army out of range of the Riptide guns for the first turn and scouted back when I failed to seize the initiative. What I should have done was scout my entire army forward to short range of the Riptides. I would have still borne the brunt of the Tau firepower on the first turn, but I would have been in a better position to strike back on my first turn. As it was, I just allowed Sid to pick me off piecemeal as all my guns were out of range until at least turn 2, where he was able to finish me off.

By making these changes, I don’t think I would have won the game, but I don’t think it would have been such a crushing defeat.
Despite the game being such a one-sided crushing, it wasn’t such a terrible game. Sid was a great player, a great opponent and a very gracious winner. There was no gloating and a lot of commiseration for my terrible saving throw rolls (pretty standard for me). Plus, we finished in 1.5 hours of our 3 hour game time, so I got to take a long, leisurely lunch.
With a tabling in game 1, I fully expected to rocket down the tables to the higher numbers, but would hopefully be in for a closer battle for game 2 of the tournament.
For more battle reports, check out the Tactics Corner (or my own blog, St Andrews Wargaming).
And as always, Frontline Gaming sells Games Workshop product at up to 25% off of retail, every day!
You can also pick up some cheap models in our Second Hand Shop. Some of these gems are quite rare, sometimes they’re fully painted!