

Heyo everyone, this is Hotsauceman here to tell you about my favorite new Tau Empire formation, the Retaliation Cadre. Remember to check out the Tactics Corner for more ways to beat Reece if you ever see him across the table.


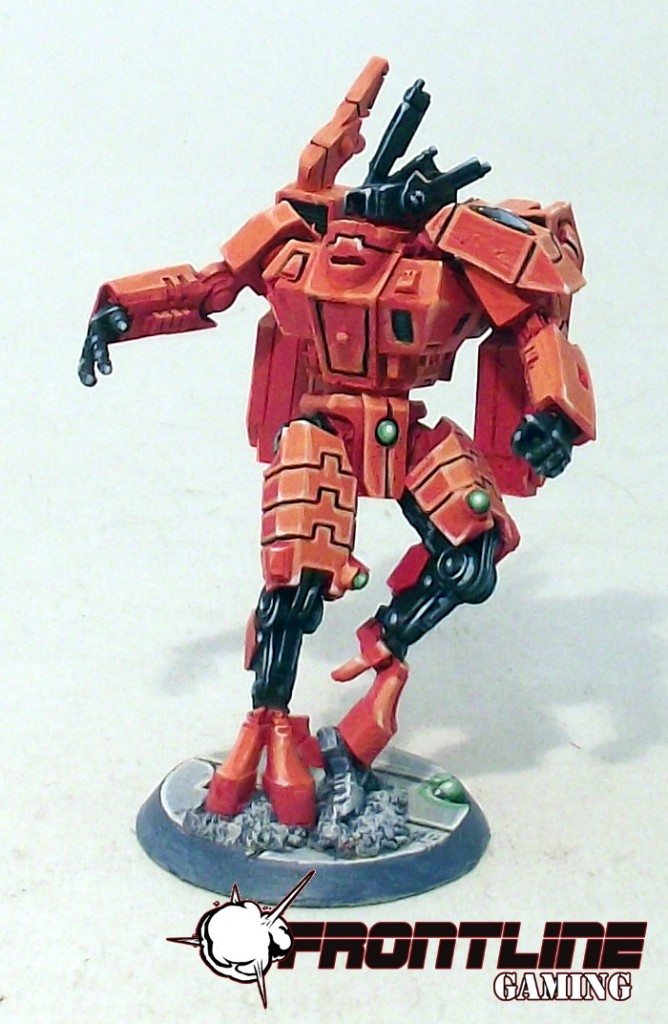
The retaliation cadre is a collection of all the suits available to the tau codex. In the fluff they all deep-strike from low orbit from either an Orca or a Manta. Pretty simple. Not whole lot of fluff to go into it. They drop down and wreck face, just like the formation.

Contents
- 1 Commander
- 3 Units of XV8 Crisis BattleSuits
- 1 Unit of XV88 Broadside Battlesuits
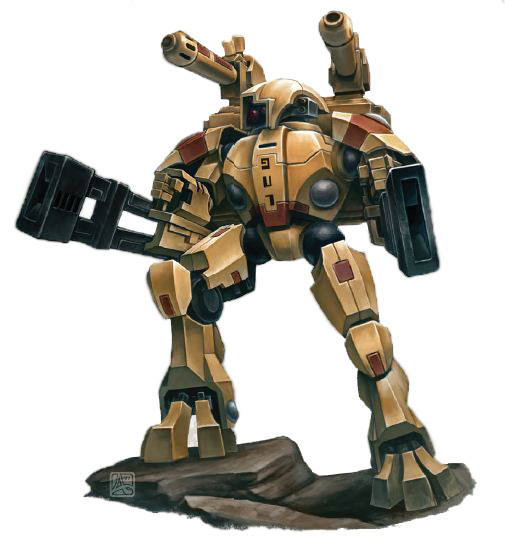
- 1 Unit of Xv104 Riptide Battlesuits
Pretty straight forward. Obviously you can kit them out however you like, but I will get into my favorite way to play this formation in a bit and the weapons I like to use with it.
Rules
Relentless: This is kinda stupid, all the models in the formation already have it…..HOLY MOLY Relentless Broadsides. I think that speaks for itself.
Low Altitude Deployment: If all the units start is reserve, they automatically come in turn 2. No roll needed. Yeah, pretty awesome. Especially with those new flyer rules that give you -2 to your opponents rules.(Hint: If you want to negate that, bring some Remora Drone Fighters)
Drop Zone Clear: +1 BS the turn they arrive from deepstrike. This is another good one, with the right amount of wargear and markerlights, you could have BS5 and twinlinked. So worth it.

Tactics
Alright so this formation is a bit tricky to pull off and I have been having trouble doing it. This is the typical way I run it.
- Commander Crisis Suit 2x Fusion Blaster, XV84 Prototype suit(Markerlight/Target Lock)
- Riptide. Early Warning Override, Ion Accelerator Velocity Tracker
- 1 Unit of 2 Crisis suits. Each with 2 fusion blasters
- 1 Unit of 2 Crisis suits. Each with 2 plasma rifles
- 1 Unit of 2 Crisis suits. Each with 2 Cyclic Ion blasters
- 1 Unit of Broadsides. Each with Skyfire, and High Yield Missile Pods.
So while this isn’t the full list, this is how I love to play this formation(we will go with what pairs well with this in a moment). The Commander tends to go with the 2 fusion blasters, deepstriking them down, hitting the target with a networked markerlight. This would make the squad BS5, pretty much guaranteeing your shots hit. This will kill most tanks outright and put a sizable dent in a lot of superheavies. Or you could use the inbuilt target-lock it has to shoot another vehicle. Battle company will live in fear of this formation.
Cyclic Ion Blasters might seem like an odd choice. But given that your deepstriking your going to be close to the enemies. So it’s better than a missile pod and it has an alternate fire mode that gives you a str8 small blast that is unlikely to scatter because you can up your BS to crazy numbers.
From what I hear, people consider the broadsides a tax more than an asset. I can certainly see why. They are hard to play with. Although they are relentless, they are still slow. Not only that, but a small unit cannot do a lot of damage unsupported. I typically drop them near a flank to deal with small units that are holding objectives. Stuff like tactical marines or Grots. Than once those are out of the way you can move them into the objectives and start firing properly. They have to be in a good position in order to work properly. But if played right can be pretty good.
Deepstriking a riptide has always been a scary thing for me with its giant footprint. I tend to deepstrike it a good way from anything that it can scatter into. I mostly deepstrike it in my or near my deployment zone. With its massive range on its guns it can still fire its massive guns.
The best synergy with this formation is anything with a homing beacon. The best use is with Tetras. Those guys can outflank with their homing beacons, and because of how it is worded the turn they come in, you don’t scatter. Outflank them, deepstrike down and than BOOM no scatter. The problem is that with Dawn of war deployment you could end up on the wrong side if you do outflank.
Now drones are a must for this army. What drones to use though? It’s obvious on the broadsides, their unique missile drones. With pseudo-shred and pseudo-tank hunter you get from the Dawn Blade Contingent, anything you shoot at will be in a world of hurt. I,m always leery of the shielded missile drones for my riptides. When one dies, I always seem to fail a leadership test & run off the table. But they’re not half bad. Gun Drones seem to be the best for the suits IMO. They will have BS3 and twin-linked on the drop, you can pound some models into the ground with mass str5 shooting.

This formation is an auxiliary for the Hunter Contingent. But because the core is so large and points intensive, it will be difficult for you to fit this in a standard tournament format. But if you do, being able to combine shots with other units is insane. But it is a core for the Dawn Blade Contingent. OHHHH BOY is it a fun core. Short rundown is that the Dawn Blade lets you choose one model to re-roll wounds/armor penetrations against. Also allows you to re-roll your warlord trait. I typically do the Tau table. This formations pairs well with the Drone Net formation giving any drones you give the suits +1 BS(Possible BS4 on the drop) and much needed markerlight support.
Like I said earlier, this is pretty much my favorite formation and I have a lot of fun when running it. It can be fairly versatile and pack a mean punch if you drop your guys where they are meant to be. But you will feel the pain whenever one of them dies, so run it carefully. These models tend to be expensive so losing one will severely hamper your ability to kill stuff and take objectives. So when you drop, be sure the target the biggest and nastiest thing you can kill with them. Or else you will be hosed. As always, feel free to share your opinions in the comment section, and remember Frontline Gaming sells Games Workshop product at up to 25% off, every day.
[yop_poll id=”137″]