

Loopy here, once again, to patter on about the Khorne Daemonkin. This week, I’m talking about the Slaughtercult.
In the Tactics Corner, there’s an article on the Blood Host Detachment where we discussed the pros and cons of that Detachment versus a Combined Arms Detachment and other KDK offerings. We’re not going to delve too deeply into that aspect of the Slaughtercult’s role in this particular article. Here, we’ll discuss ways you can harness the Slaughtercult if you’re set on using it as the star in your games.
The Formation
The Slaughtercult is the sole Core Formation in the Khorne Daemonkin Codex. It’s a very typical example of a Core formation. It includes a diverse array of choices for its 0-1 HQ choices including a Chaos Lord, Daemon Prince, Herald, Blood Throne, Bloodthirster of Unfettered Fury (Lash and Axe), or Skulltaker. If you want your Strength D shots, you’ll have to either get it from the Lord of Slaughter selection or a Combined Arms Detachment.
The Formation also features a smattering of support units which are on the verges of the core Daemonkin army from a narrative perspective: 0-2 units of Cultists and 0-2 units of Chaos Spawn. Clearly, these selections are meant as put-forward cannon-fodder rather than to swarm the enemy. One of the special rules even allows you to remove the Cultists from play rather than allow them to break after a failed Morale check. This behooves you not to give them any upgrades. The Spawn are mostly meant to screen… and also die, eventually. They just find it easier to romp through terrain and claim a cover save.
As with any Core Formation, the bulk of the options and selections lie in the Troops. You must select 2-8 units, in any combination, of Chaos Space Marines, Berzerkers, and Bloodletters. The Boon of Khorne ability of the Slaughtercult seems clearly meant to benefit these selections, allowing the entire formation to select a second ability on the Blood Tithe Table whenever something else is selected. The second ability must be lower on the chart than the first one and cannot be used to summon anything.
The well-known Elites requirement is, and I’m not afraid to say it, a steaming pile of Nope. The 1-4 units of Possessed are a disappointing sore spot in the Formation, not only from a competitive perspective, but from a narrative one. If you’re trying to portray a unit as a hell-bent command squad of some kind, adding Chosen to the Codex and using them as the Elites requirement for this Formation seems like a much more solid choice in my eyes. The Possessed are a cross to bear and when I use this Formation, I try to put them in a Rhino and make them go do something, even if it is just score a Tactical Objective and give me 2 Blood Tithe points early in the game.

The Bad Deal
In the Blood Host Detachment (the KDK Combi-Detachment), the Slaughtercult is often taken in a minimalist fashion with a pair of 8-strong Bloodletter units and a Chaos Lord on Juggernaut. In a competitive list, you’ll probably save the Cultists as the tax for one of your Combined Arms Detachments and give them Objective Secured. This makes your opponent at least think about shooting at them. In these kinds of lists, the special rules affect such a small portion of your army that it’s easy to even forget they’re there. All the other detachments bring much heavier assault options, fire support, and psychic backup.
When writing a Daemonkin list like this, it’s sometimes a chore to decide where to spend your points. You have so much tied up in a Formation that does so little that finding room for things like Be’lakor, or the Grimoire become a challenge. Much of the time, combining your Slaughtercult along with whatever gimmick you need to be competitive results in a disappointing number of Flesh Hounds, a unit which is integral to the success of most KDK builds.
In my opinion, if you’re going to use Daemons gimmicks to be competitive, you’re probably just better off taking Chaos Daemons with CSM backup and maybe a Chaos Knight.
If you want to give up on an allies gimmick with your Daemonkin, your options open up a great deal. You can focus on the concept of the Slaughtercult army. The main idea with this kind of list is that your list choices focus on the core of the army. You aggressively throw your army down the enemy’s throat, causing as much damage as you can while tying up the enemy with bodies and bodies of Fearless Infantry. While the enemy is engaged, you’re free to summon forth the more specialist units you need to complete tasks that your Troops cannot. Meanwhile, your entire army can benefit from secondary abilities from the Blood Tithe table.
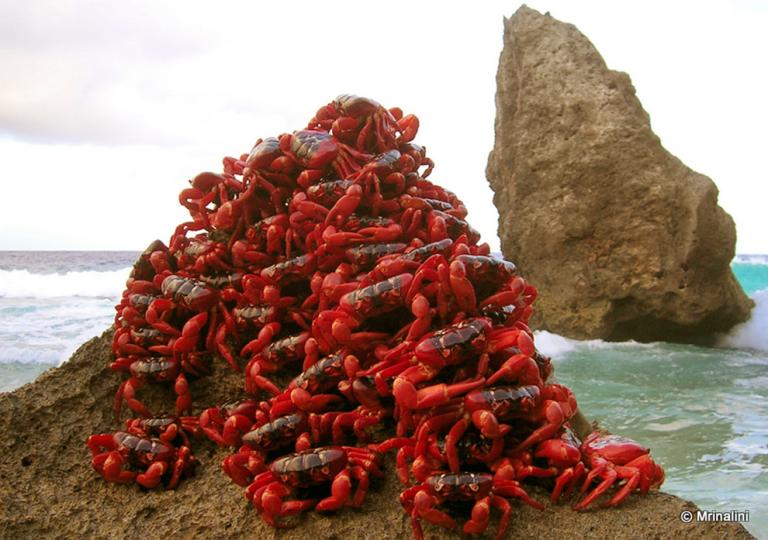
The Red Tide
The most gimmicky and least imaginative version of this list is also (as always) the most amusing. The Red Tide features over 140 Bloodletters at the 1850 level accompanied by a Herald on a Juggernaut. The army has a lot of bodies with 5++ saves and a very decent assault profile thanks to Furious Charge and AP3 attacks. Focusing on mitigating damage with cover saves or even taking insane risks with deepstriking 20-strong units of Bloodletters could find you swinging your swords on turn 3. Move forward as fast as you can and get tied up with anything you can reach. Once there, begin summoning in your support units as a counter-assault. One of the tough parts of playing a list like this will be patience. You’ll want to generate extra attacks and Feel No Pain in the early stages of the battle, but you want and need the support units to eliminate the threats your Bloodletters cannot destroy.
This list falls in charred swaths to sustained weapons fire such as the kind generated by the Tau and Eldar. This is especially true when you consider much of that weapons fire usually doesn’t allow you to take advantage of any army-wide Feel No Pain you may have selected from the Blood Tithe table. This army can suffer greatly from poor deployment, so you’ll have to be careful to focus on the center if deploying first and being aware of your opponent’s mobility at all times.
A “True” Slaughtercult
Stepping away from the madness of the Red Tide and easing into more of a mixed list of units that have far more flexibility is a better call for the Slaughtercult army. The Lord on Juggernaut as the Warlord can eliminate many different threats if not the most potent threats in your opponent’s army. Within a unit of Spawn hunkered down in some terrain (and wearing the Blood-Forged Armour), the Lord should be fairly safe and mobile for at least two turns if you don’t have crappy terrain at your club. You can juggle him to one of the four units of Bloodletters when it comes time to assault.
A pair of Chaos Space Marine units, each with 2 Meltaguns (and a Champion with Combi-Melta and Powerfist) are expensive, but are actually capable of dealing with a number of threats. They are still Space Marines, after all, and if you put them in Rhinos with pintle-mounted combi-meltas, you now have some fairly decent durability. In assault, the units can benefit a great deal from the additional Tithe abilities with extra attacks, improved strength, and/or Feel No Pain. Note that if you find your meta is plagued with Monstrous Creatures rather than vehicles, you may want to risk Plasma rather than Melta.
When you force the Rhinos and two units of Cultists forward, out in the open, of course your opponent can choose not to shoot them, but you’ll be aggressively pushing everything forward, presenting harder and slower targets. These easy targets should die sooner rather than later and this present a fairly decent opportunity for a Turn 3 Bloodthirster. Note that the Space Marines present a much better possibility of success for that summon than the Cultist Champion and a less pricey one than the Lord.
A Bloody Compromise… Blood-prom-ise?
We can dial this back a bit and consider a compromise where we don’t give up on the idea of using the Blood Host Detachment. However, instead of relying on Combined Arms Detachments and gimmicks, we allow the Slaughtercult and the Gorepack to shine on their own.
Much like the True Slaughtercult, you’ve got piles of Bloodletters to push forward and the Juggerlord as a fast harrier. We complete the Blood Host by replacing the CSM, Spawn, Cultists, and one unit of Bloodletters with a Gorepack. With 40 Flesh Hounds to keep him company, the Lord will be much happier. Also, the two units of Chaos Bikes aren’t terrible delivery methods for Special Weapons, however you may want to keep one of these units hidden deep within a mid-table ruin in order to use the Biker Champion as a means of summoning a Bloodthirster.
This compromise lets the Slaughtercult actually do something which feels a lot better than letting it sit there eating points. Also, thanks to the Blood Host’s +1 Tithe Point per game turn, the chances of bringing forth the units you need to win the game are far greater. This is not only because you get what you want, but the Slaughtercult Troops can get a leg up while screening for whatever’s just been summoned thanks to the extra Tithe from the Boon of Khorne special ability.
Sometimes it’s Good to Be Bad
This kind of army is clearly not meant to win a GT, but can be successful and fun when played in a club setting or against certain Gladius Strike Force builds. Don’t bring it when your buddy asks you to help them test their tourney list or if you think you’re gonna be playing against someone who has no concept of their opponents’ fun. But if you’re playing against people you genuinely consider friends, give it a try. You may find that it is rather good.
What do you think? Have I finally lost all grip on reality? Have you ever tried to let the Slaughtercult be the star of the show? Please share your own experiences in the comments below.
Remember, Frontline Gaming sells Games Workshop product at up to 25% off, every day.
[yop_poll id=”117″]