
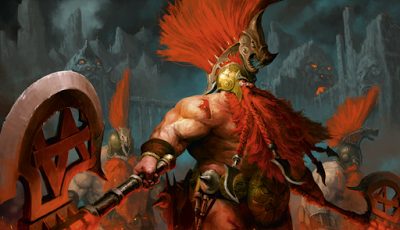
Greetings, folks! Anvil here, and I’m excited to discuss about the newest kids on the block: Duardin Fyrelsayers!
Fyreslayers are Duardin that were created after the fight between Grungi and Vulcatrix. Durable and stubborn to manly levels of awesome, they don’t need no stinking clothes or armor. Instead, they fight as mercenaries for the precious ur-gold, a metal that is imbued with magical properties (it’s like warpstone, but with less cancer), and then hammered into their skin. Today, we’re going to go over a quick examination of the first wave of warscrolls for this new faction, and we’ll cover more as they are released. Be sure to check out other articles like this in the Tactics Corner!

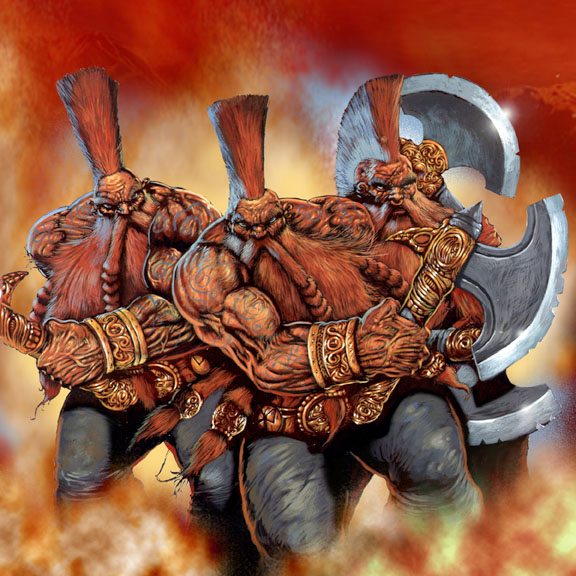
Vulkite Berzerkers
Primary: Tank, Striker
These are the bread-and-butter troops of the Fyreslayers, and they do not disappoint at all. Perhaps being the most durable Horde unit in the game, they charge into battle with either dual Fyresteel Handaxes, or a Bladed Stingshield paired with a Fyresteel Handaxe or Fyresteel War Pick. Finally, they all can be equipped with Fyresteel Throwing Axes to chuck at their enemy before charging or getting another attack against them while in combat, which I’ll back to in a minute. Interestingly, their leader, known as a Karl (axes kill people, Karl!), increases his weapon’s Damage by 1, instead of being more accurate or more attacks. They have an okay save of 5+, but with a slow 4” Movement and only 1 Wound, which is expected of Hordes. What IS surprising is their Bravery of 7, which makes them difficult to get rid of using Battleshock tests, especially when they are up to a Bravery of 8 or 9 because of their numbers (remember, +1 to Bravery for every 10 models in a unit). Finally, they have the option of taking the Horn of Grimnir, which allows them to reroll 1 die for charging, which in some ways is more reliable than rerolling both dice, but sometimes not so much.
The weapons they wield are actually quite good. Fyresteel Throwing Axes have a short 8” range, with 1 attack, 4+ To Hit, 4+ To Wound, and 1 Damage. This may not seem impressive at first, but it’s deceiving. When they’re in combat, most of the models will not be in range to perform melee attacks, which is expected of Hordes. But you can shoot while in combat, and that’s going to be a lot of axes! Doing the math, you are going to have 25% of your models perform wounds in the shooting phase on average, which makes all the difference in how many attacks you take and forcing Battleshock. So 10 models average 2.5 potential wounds, 20 models 5 potential wounds, 30 models 7.5 wounds, etc. You get the idea. Free attacks are free attacks. With their melee weapons, it depends on whether you are expecting to deal with heavily armored enemies or you just plan to drown them in dice. Fyresteel Axes are 1”/2/4+/3+/-/1 [Range/Attacks/To Hit/To Wound/Rending/Damage] while Fyresteel War Picks are 1”/2/4+/4+/-1/1. Personally, I would either dual-wield axes or have a war pick/shield combo going for them, as an axe/shield combo does not have a lot of synergy. Unlike most warscrolls, when dual-wielding axes, you reroll ALL hit rolls instead of just 1’s, which is huge! That’s mathematically better than a 3+ roll. And with 2 attacks each and being on the smaller 32 mm bases (meaning you can fit more in combat), that’s a lot of forced saves. The war picks are not as reliable, but have the valuable -1 Rending, which is quite good as long as you’re not facing units that ignore it like some Seraphon with shields do, or they have low saves to begin with. Their shields have a neat rule that lets you choose an enemy unit that your Vulkite Berzerkers charged within ½” and roll a die for each model in your unit. Note that the wording states it’s all models and not just the ones in range. On a 6, the charged unit suffers a Mortal Wound. Large groups of Vulkite Berzerkers can really lay down the hurt on a charge! Fortunately, if they didn’t charge that turn, they still get some benefit from the shield, adding 1 to their save rolls.
So they have only 1 wound each and a mediocre 5+ save. What makes them so durable? Berzerk Fury gives them a dice roll whenever they take a Wound or Mortal Wound, just like many Nurgle units do. On a 6 or more, they ignore it. But if they had 10 or more models at the beginning of the phase (not turn, phase), they add 1 to that roll. And if they had 20 or more models at the beginning of the phase, you add 2 instead to the roll. That is insane! Shrugging off the most devastating wounds on a potential 4+ is something that most units can’t brag about. Getting a regular save, plus their Berserk Fury save, plus their high Bravery, adds up to a unit that is incredibly difficult to budge and with a large footprint to block movement as well. Combine all of the other abilities and stats, and you have a very solid unit to use in your games.
Hearthguard Berzerkers
Primary: Tank, Striker
This is the first unit that is a bit of a head-scratcher for me. Every other warscroll, I can see a reason to use them above other units. But this time, they are too close to Vulkite Berzerkers in terms of what they can do. They share a similar stat profile to their horde cousins, but with 1 higher Bravery. They also have Fyresteel Throwing Axes with the same profile, but their melee weapons are where they start to differ. They can wield either the Berzerker Broadaxe, a 1”/1/3+/3+/-1/ 2 weapon, or a Flamestrike Poleaxe with a 1”/1/3+/4+/-/1 weapon, with the Karl adding 1 to the base damage profile of both weapons. The weapons themselves are pretty decent at being reliable and good damage, but hurt from lacking multiple attacks. The poleaxes have a nice rule that for each time you hit, you roll a die, and each 3+ inflicts a Mortal Wound. Both have their merits, but I think the axes are better to take on units that rely on numbers while the poleaxe is good for more elite units or monsters to take advantage of those mortal wounds.
They have a similar rule to the Berzerk Fury, in that they can ignore wounds and mortal wounds on a 6+. This time, however, it’s not based on numbers. Instead, they get to straight-up add 2 to the roll if there’s a Fyreslayer Hero within 10” of the unit. Despite not having more wounds, they at least don’t get easier to kill as their numbers go down as long as you have heroes close by. Because of this, I think they fit the role of Tank better than Striker due to their low attacks but still respectable survivability. For now, I like the Vulkite Berzerkers more than these models as far as rules go, but that can change depending on what other heroes come out as well as Battalion Warscrolls.
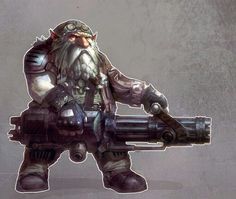
Auric Hearthguard
Primary: Striker; Secondary: Tech, Support
Auric Hearthgaurd are the ranged Strikers of the army with the very cool (hot, whatever you kids call it nowadays) looking Magmapikes. Again, they sport the same statline as the Vulkite Berzerkers, and also wield Fyresteel Throwing Axes. Unlike them, they have the deadly Molten Rockbolts with a profile of 15”/2/4+/3+/-1/1. Decent range with multiple attacks and rending make them great at assisting any of your units on the front lines, speeding up the kills so you can charge again. They are rather weak in close combat, like most ranged units, and don’t have the “Ignores Wounds” roll that Vulkite and Heartguard Berzerkers do, making them fragile if caught off-guard. However, they are a great answer against Monsters with their Molten Rockbolts’ ability. When they wound a Monster, roll a die at the end of the current phase. On a 5 or more, they are slowed down by the cooling rock, reducing their movement by half, and subtracting 1 from their attack rolls. These debuffs can not only make it difficult for a monster to charge you, but even if they are already in close combat, the -1 to hit hurts a lot. Not only does it reduce their chances of hitting your units, but it can potentially prevent them from rolling a result that would give them a very strong benefit, like ones that usually require a 6 or more. Finally, Auric Hearthguard add 1 to their hit rolls when targeting a unit that is within 5” of a Fyreslayer Hero. I don’t anticipate the current hero they have to get up close to the enemy, the salamander beasts probably will, allowing for pretty consistent shooting. Overall, they’re a pretty solid shooting unit that can lend a lot of support to your other units.
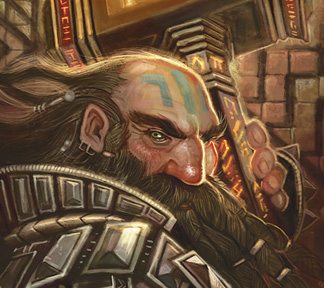
Auric Runemaster
Primary: Tech; Secondary: Support
Auric Runemasters are not combat characters at all. So much so that I don’t think their weapon profiles are worth discussing. But that’s not why you take them. First, they have stats expected of him: 4+ Save, 6 Wounds, 4” Movement, and 8 Bravery, with the Priest keyword to work with your terrain or realm rules. Survivable, but nothing super special to discuss. However, his rules have a very interesting method of buffing your units and hurting your opponents. His Holy Seeker rule states that after both sides are set up, your opponent must choose a unit that has some ur-gold on them. They can reroll 1s for wound rolls, which is a tempting buff to have on a powerful unit. However, if the Auric Runemaster ends his movement within 10” of that unit, he howls to the rest of the army, and all of your models add 1 to the attacks profile of their weapons when targeting the ur-gold carrier. You throw more axes, chop more with your axes and picks, get more strikes with your poleaxes, fire more rockbolts, etc. Your opponent has the option of either giving the gold to a unit that won’t use it effectively but won’t be an ideal target for your army to kill, or to give it to their more powerful units, only to be at a massive disadvantage should the Auric Runemaster get close enough. It’s a big gamble that can go both ways.
The other ability that this model has is Volcano’s call. This can do a lot of damage against units that consists of many models and slow down others or risk losing them. The Runemaster can pick a terrain feature within 20” and roll a die for each model within 1” of it. For each 6 that you roll, that model’s unit suffers 1 Mortal Wound. In addition, any model that wants to run or charge through that terrain must roll a die, and are slain outright if they roll a 1. What’s interesting about this rule is that at first glance, it is a good crowd thinner and decent anti-range since most ranged units like to take cover in terrain to improve their survivability. But it can also serve a purpose by targeting a piece of terrain that your Fyreslayers are occupying. Unlike most units, most of your Fyreslayers can shrug off mortal wounds, which allows them to survive the ability with minimal damage. But that sets them up to be protected from charges. That’s a very large risk to take for most players, possibly losing a powerful model because they rolled a 1 when trying to charge. This is one of those rules I like a lot because it’s simple but deep, giving you multiple options of how to use it.
That’s all for today, but I’ll be sure to keep these New Challenger articles going as they release these models. These articles should not slow down my regular posts, and we’ll go into deeper detail as they release the battletomes and the rest of the army. As always, Frontline Gaming sells Games Workshop product at up to 25% off, every day!