

Hello everyone Frankie here to finally discuss some tactics with the Battle Company!

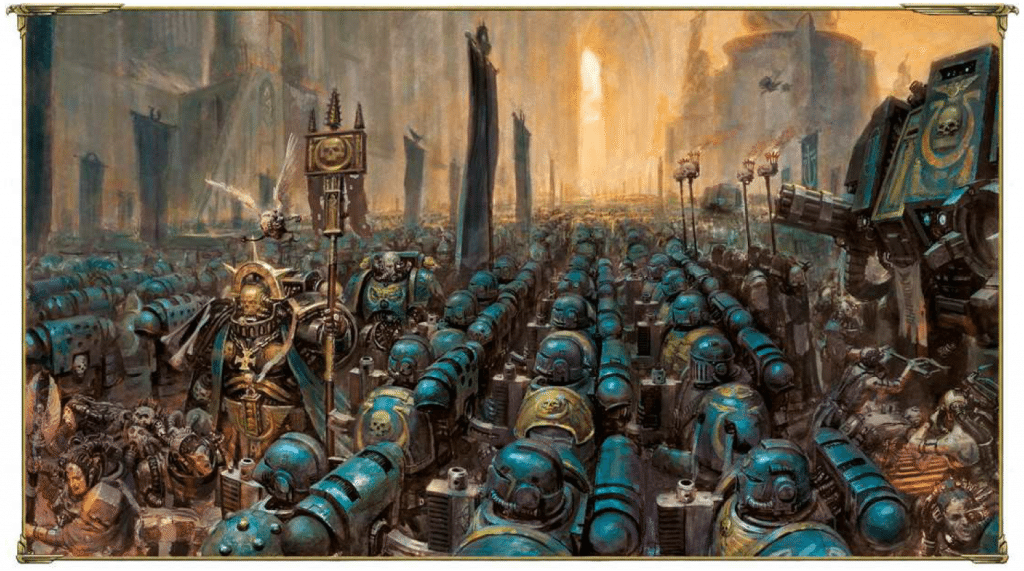
Now that you have your Battle Company built it’s time to put it to the test. First thing I added to my list was a single Drop Pod. The Drop Pod makes it so you can null deploy against armies that you need to. It’s nice to null deploy against Deathstars and armies that need to kill you in close combat. When you null deploy make sure that your opponent can’t table you on the first turn. If you get the choice of turn order, always take second turn in this scenario as your Pod will come in at the bottom of the turn, effectively taking a turn away from your opponent and avoiding any chance of getting tabled turn 1. I usually outflank most of my army but it’s also important to put a few units in normal reserve for back field objective grabs. The null deploy really helps during the war of attrition and to make sure you get the alpha strike.
Next is the scout move with the Battle Company I run. This is one huge advantage that the White Scars have. It allows you to get into maximum damage output range before the game starts. It also allows you to basically redeploy when fighting against other alpha strike armies. When you scout move make sure to put the weapons you will need to fight certain units in the right places, this will be key. Sometimes it’s nice to deploy you more import units behind others bainting him with a less valuable unit. Last thing to keep in mind is you cannot charge when you scout forward so sometimes it’s worth it to not scout with units like bikes so you can charge Dropped units or assault units that scout/infiltrate.

If you don’t take an alpha strike army like I do then it is import to deploy your units in safe places and make sure they will be able to survive throughout the game. Another option is the Drop Pod list in which case rain hell down upon your opponents. Slamanders are great for this style list as are Ultramarines. Pack in as many special weapons as you can, and bring the thunder. A unit of Grav Cents works well too, but you’ll need to ally in a Fast Attack Drop Pod to make the most of their capabilities. The Battle Company has so many options so just remember to play to the strengths of yours.

Now the most important strategy: target priority. This is one of the hardest things with Battle Company, or any army. I always look at my opponent’s list and try to find the units that will do the most damage to me: Imperial knight Crusaders, Heldrakes, Khorne Hounds, Seekers of Slaanesh, Centurions, etc. Once you identify these units it’s important to figure out how you’re going to deal with them. Are you going to shoot them, charge them or hide from them? All of these options are viable and all of them depend on what else is in the enemy list and what tools you have that are a threat to them and in threat range. But it is key to identify the units that will do the most damage to your transports and marines and go after those first. You can’t lose your mobility, that is critical.

Now we are onto the war of attrition! This is what the Battle Company does best. You have so many bodies and transports that it’s almost impossible for your opponents to kill all of your units before the end of the game. It’s important to not waste any units and to hide units that take too much damage. I cannot tell you how many games I’ve won because a single Marine has captured an objective on the last turn. Your opponent will be frustrated with the threat overload you present him with and as everything is ObSec, every single model is important and potentially game winning.
In order to flood the battlefield I usually always combat squading, even on kill points in most instances. The extra units make it that much harder for your opponent and allow different units to do different things throughout the mission, grabbing those all important mission points.

The last tactic with the Battle Company is play to the mission. This goes for any army but is especially true for Battle Company because it’s easy to lose sight of the mission when moving so many units, dealing as much damage as you do and losing lot’s of units in return. Make sure to have board control! I accomplish this by having my heavy hitters (Bike squads and Devastators) in the center of the table and the rest of my army circling them. With board control, make sure you have 2-3 units in range of each objective so that you can flood them when needed. Also make sure to have units in position to pick up those maelstorm missions throughout the game. I use my Bikes and sometimes Scouts for this purpose but you could easily use Drop Pods, Rhinos or similar less valuable units.

Anyways I hope some of these help you out when playing with your army and remember play to the strengths of your Battle Company. Next week I will discuss tactics when playing against a battle company.